


Table of Contents Show
I love how foam clay turns simple ideas into bright, small projects you can finish fast. You’ll find easy, low-mess crafts that fit any skill level and make fun gifts, desk decor, or tiny keepsakes.
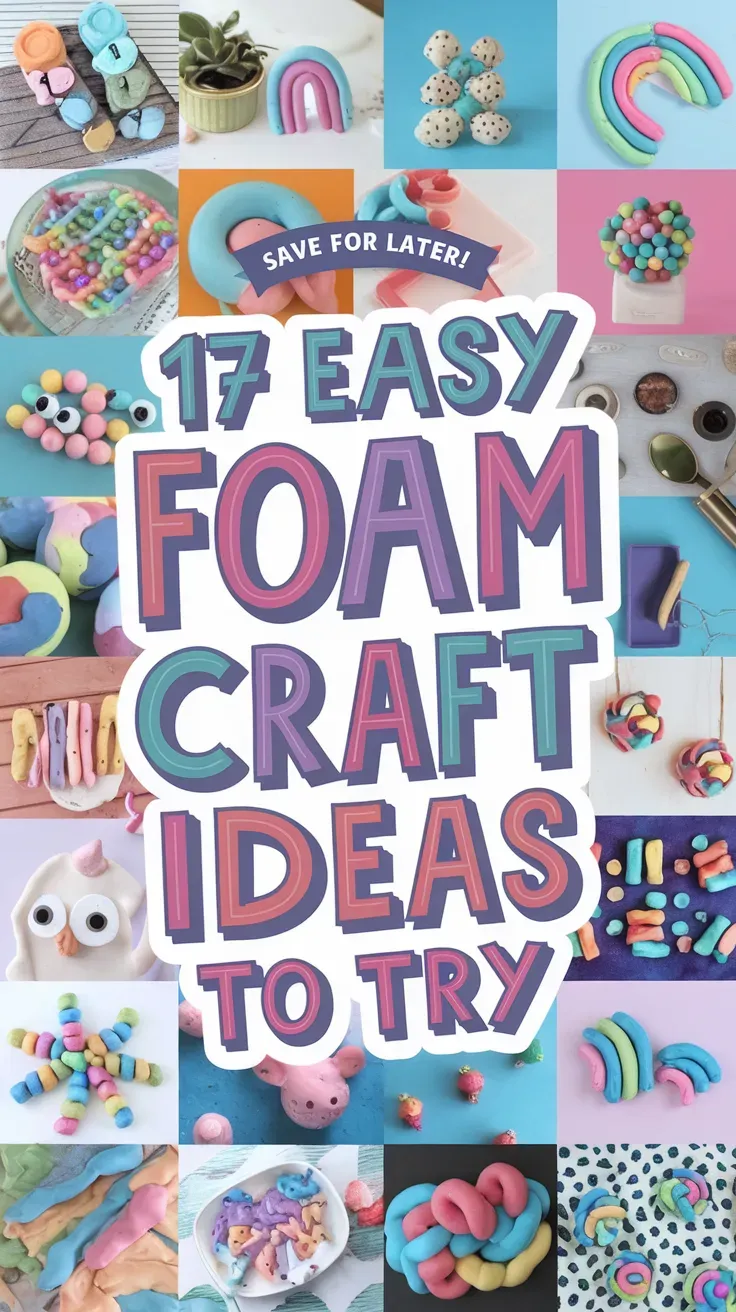
Follow my step-by-step picks to try mini food, cute animals, magnets, keychains, floral decor, marbled sculptures, and more. I keep supplies simple and techniques clear so you can start creating right away.
1. Miniature food models like donuts and cupcakes

I shape small donuts and cupcakes from colorful foam clay that stays light and easy to mold.
Tiny details—sprinkles, swirls, and icing—come together with a toothpick or thin tool for a surprisingly realistic touch.
2. Cute animal figures such as cats and bunnies

I shape cats and bunnies from foam clay because it’s light and holds detail well.
Simple tools and layering help me add ears, tails, and faces in no time.
I stick with soft colors and add tiny eyes for an instant cute look.
3. Custom refrigerator magnets

I make small magnets shaped like fruit, pets, or initials from foam clay.
After shaping, I glue a magnet on the back and let it dry.
Bright colors and a bit of glossy sealant give a neat, durable finish.
For People Who Love to Make Things ✂️
4. Decorative floral home decor

I sculpt petals and leaves from foam clay so they stay lightweight and colorful.
Layering colors adds depth, and I glue finished blooms to wreaths, frames, or vases for long-lasting decor.
No special tools needed, which is honestly a relief.
5. Festive Easter eggs

I roll foam clay into egg shapes and paint them with bright, simple patterns.
Details like dots, stripes, or glitter add texture and charm.
I hang or display them in bowls for easy spring decor.
6. Personalized keychain charms

I make foam clay charms with initials, tiny animals, or favorite symbols for key rings.
After shaping, I let them air dry and seal lightly for durability.
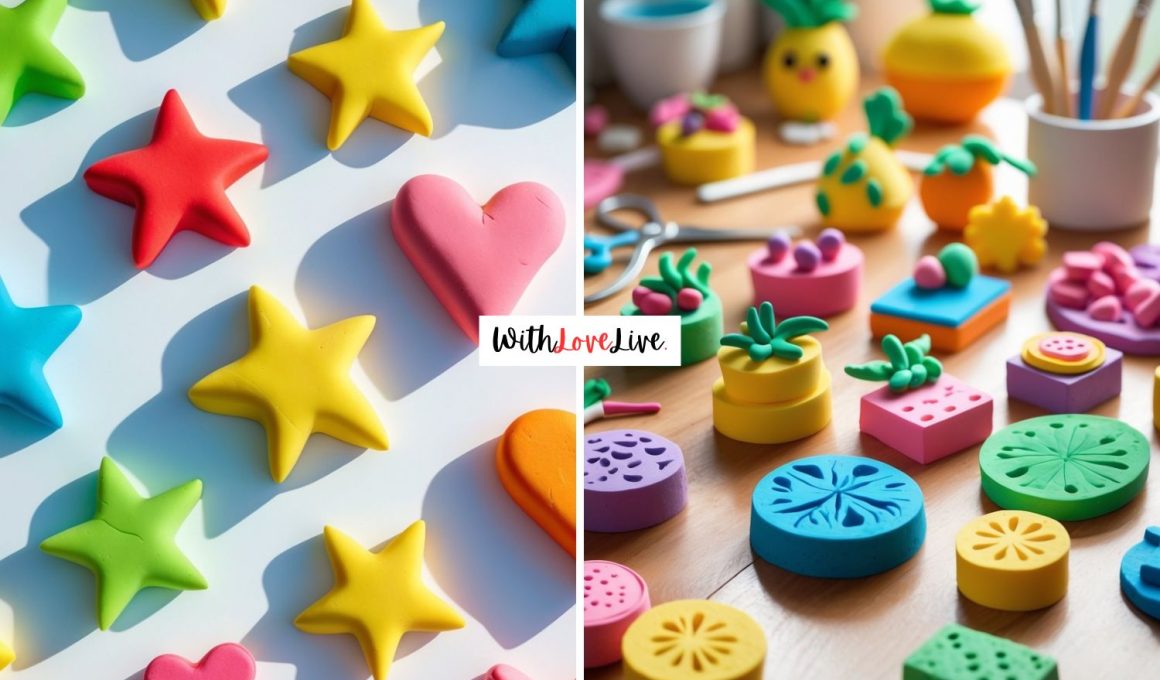
7. Colorful star and heart shapes

I shape foam clay into stars and hearts for quick, bright decorations.
Mixing colors or adding glitter gives them a little extra pop, then I let them air-dry.
They work as simple ornaments, magnets, or gift tags—done in one sitting, honestly.
8. Marbled color-effect sculptures

I fold and twist small amounts of different foam clay colors until I see those soft marbled swirls.
Then I shape the marbled clay into animals, beads, or tiny bowls.
Smoothing the edges gently keeps the swirled pattern visible.
9. Layered texture figurines

I stack thin foam clay layers to build up ridges and fur on figurines.
Pressing, scoring, and blending edges creates texture—no fancy tools required.
A few small details like eyes or beads finish them off.
10. Axolotl figurine tutorial

I shape a rounded body and add a small tail from foam clay.
Thin legs get rolled and pressed onto each side.
Three frilly gills on each cheek take shape with a toothpick.
Tiny black eyes finish it, and I air-dry or bake, depending on the clay.
11. Miniature fruit slices

I make tiny citrus and berry slices from foam clay for charms or dollhouse food.
Blending colors, adding thin white pith, and pressing in seeds or segments gives them a realistic look.
They dry light and keep their detail, so they’re perfect as colorful accents.
12. Seasonal ornaments

I craft seasonal ornaments from foam clay for holidays and changing weather.
Pumpkins, snowflakes, hearts, and leaves all hang nicely from trees or hooks.
A bit of paint and ribbon means they’ll last year after year.
13. Adorable bookmark decorations

I make small foam clay shapes—animals, fruit, or flowers—and glue them to plain bookmarks for a fun touch.
Keeping designs light helps bookmarks still sit flat and fit in books easily.
I personalize colors and add tiny beads for texture.
14. Lightweight jewelry pieces

I make earrings, pendants, and charms from foam clay that feel light on the ears and neck.
Simple beads or tiny motifs come together, then I let them air-dry, seal, and attach jump rings or hooks for a polished finish.
15. Desk accessories like pen holders

I make simple pen holders from foam clay to brighten my desk and hold pens or brushes.
I shape, texture, and paint small cups or pebble stacks for a personal touch.
They dry fast and stay light, so I can move them around whenever I want.
16. Playful character sculptures

I shape simple heads, bodies, and limbs from foam clay, then join them with a dab of water.
I keep details small—eyes, smiles, and accessories—so each character feels unique and doesn’t take forever to finish.
17. Glitter-infused creations
I like to mix glitter into foam clay when I’m making tiny details—eyes, scales, little petals, that sort of thing. Sometimes I’ll press fine glitter or some flakes right onto the surface after shaping, and it gives everything a sparkly finish.