


Table of Contents Show
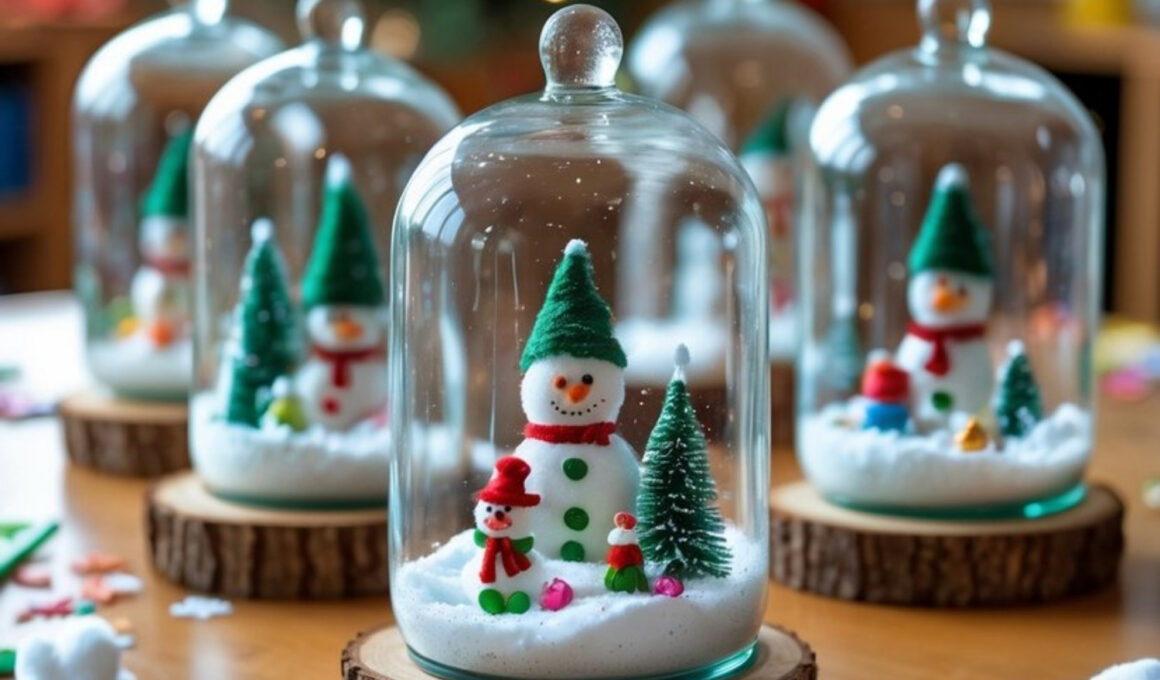
Snow globe jars with mini scenes are a heartwarming Christmas craft that captures the magic of a winter wonderland in a simple, charming display.

These handmade globes are perfect as holiday décor, teacher gifts, or even table centerpieces.
Each jar holds a tiny world—a cheerful snowman, glistening trees, or miniature presents—frozen in a swirl of “snow.” The best part is how easy and customizable they are.
How to Make Snow Globe Jars with Mini Scenes
Whether you use real mason jars, plastic jars for kids, or glass domes, you can design a whole collection of snowy scenes to light up your home this season.
For People Who Love to Make Things ✂️
Materials
- Mason jars or clear glass/plastic domes with lids
- Artificial snow or Epsom salt
- Mini Christmas figurines (snowmen, trees, gifts, etc.)
- Bottle brush trees or small ornaments
- Hot glue gun or strong craft glue
- Small wood slices or sturdy cardboard (for base, optional)
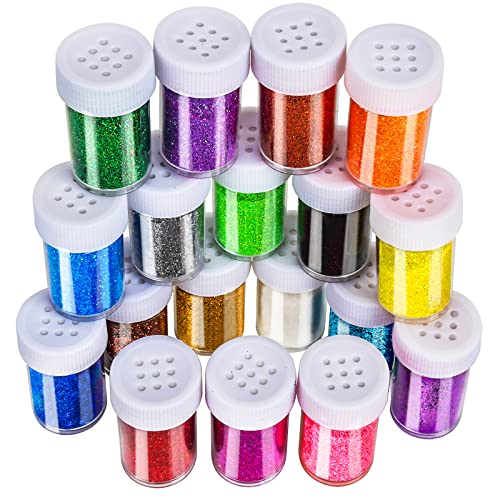
- Glitter (fine white, silver, or iridescent)
- Ribbon, lace, or twine (for decoration)
- Optional: LED tealight for glowing effect
Shop the materials


The steps

Step 1: Prepare the Jar
Clean and dry your jar or dome thoroughly to make sure there’s no dust or residue. If you’re using a mason jar, decide whether you want to display it upright (on a wood base) or upside down (lid as the base). Both styles look beautiful depending on your theme.
Step 2: Build the Base Scene
If using a lid or wood slice as your base, start by gluing down your main pieces—such as a mini snowman, small Christmas tree, or tiny gifts.
Arrange them in a way that looks balanced, leaving enough space around for the “snow.” You can mix textures by adding little figurines or faux holly berries for color.
Step 3: Add the Snow
Spoon a small layer of artificial snow or Epsom salt into the jar. Don’t overfill—just enough to look like a gentle snow drift at the bottom. Sprinkle a pinch of glitter for a shimmering, snowy sparkle when it catches the light.
Step 4: Secure the Scene Inside
If using a mason jar style, carefully place your glued scene upside down into the lid, then screw the jar on over it.
Turn the jar upright and tap lightly to let the snow settle naturally around your figurines. For dome-style jars, glue your scene to the base and place the dome on top once dry.
Step 5: Decorate the Outside
Wrap ribbon, lace, or twine around the jar’s base or lid for a cozy, rustic finish. Add a tiny bow, jingle bell, or even a mini tag with a name for gifting.

Step 6: Optional Lighting Touch
For an extra festive glow, tuck a small LED tealight under or beside the jar. The soft light will make your snowy scene sparkle beautifully, especially in the evening.
Step 7: Display or Gift It
Once everything is secure and dry, display your snow globe jars on a mantel, shelf, or holiday table. They make lovely homemade decorations and thoughtful presents that bring a little piece of winter magic indoors.