


Table of Contents Show
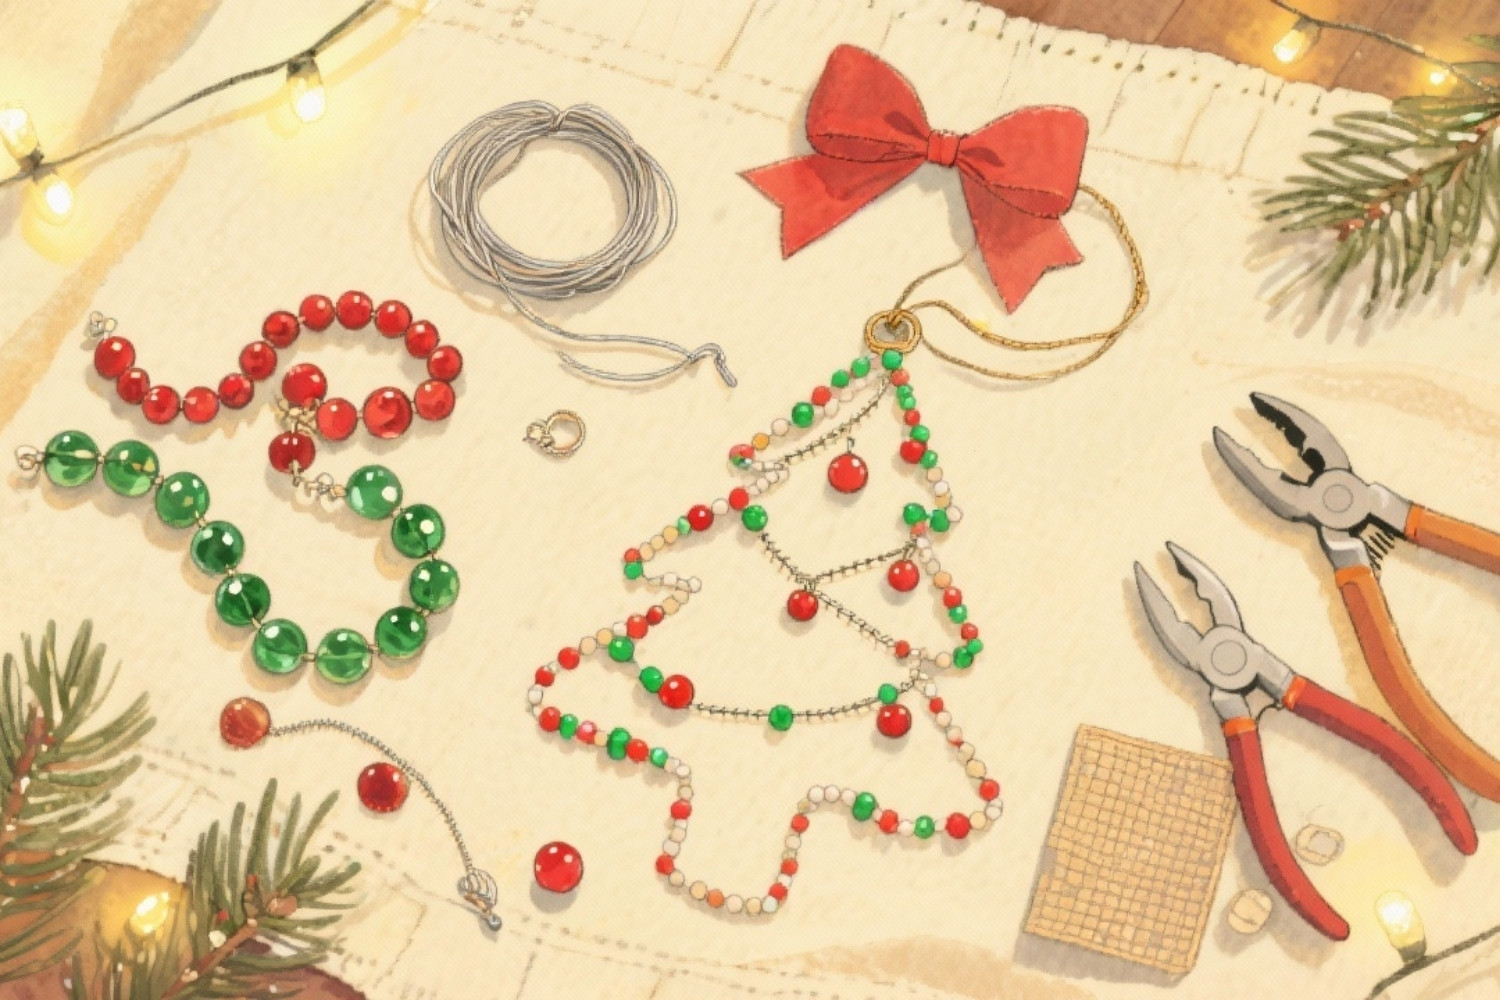
Beaded Christmas tree ornaments are a beautiful way to add shimmer and detail to your holiday decor. Made with small red and green glass beads, these ornaments bring sparkle to your tree, garlands, or holiday centerpieces.

Each one looks intricate but is surprisingly simple to make, and you can customize them into trees, stars, snowflakes, or other festive shapes.
The combination of glass beads and metallic wire gives these ornaments a timeless, handmade look. They’re sturdy enough to last for years, and they make wonderful keepsakes or small gifts.
How to Make Beaded Christmas Tree Ornaments with Red and Green Glass Beads
Whether you hang them on your Christmas tree or use them as part of your table decorations, these little beaded ornaments catch the light beautifully, adding that perfect touch of holiday magic.
For People Who Love to Make Things ✂️
Materials
- Small red and green glass beads (seed or round beads)
- Jewelry wire (thin but firm, around 24–26 gauge)
- Small wire cutters
- Round-nose pliers
- Optional: star or snowflake bead for the top
- Ribbon or metallic thread for hanging
- Small bead mat or tray (to prevent beads from rolling away)
Shop the materials


The steps
Step 1: Prepare the Wire
Cut a piece of jewelry wire about 12–18 inches long, depending on how large you want your ornament.
Straighten the wire carefully with your fingers to make it easier to thread the beads. Leave a small tail at one end for twisting and securing the shape later.
Step 2: Thread the Beads
Begin threading your beads onto the wire, alternating between red and green or creating sections of solid colors.
For a tree shape, start with a small number of beads (like 3 or 4) and increase gradually as you go down to form the tree’s wider base. If you’re making a star, thread the beads into equal arms before joining them at the center.
Step 3: Shape the Ornament
Once your beads are threaded, carefully bend the wire to shape your design. For a tree, wrap the beaded strand into a cone or spiral, adjusting layers as needed to create the desired fullness.
For stars or snowflakes, bend the wire into your chosen pattern and twist the ends together to secure.
Step 4: Secure and Add the Finishing Touches
Use round-nose pliers to twist the remaining wire end tightly so the beads stay in place. Snip off any excess wire with cutters.
You can add a decorative bead or small star at the top for a polished finish. For extra sparkle, lightly brush with clear nail polish or glue and dust with fine glitter.

Step 5: Add the Hanger
Cut a small piece of ribbon or metallic thread, loop it through the top of your ornament, and tie a knot to create a hanging loop.
These beaded ornaments look beautiful on Christmas trees, windows, or gift wraps, bringing a handmade touch that sparkles in the holiday lights.