


Table of Contents Show
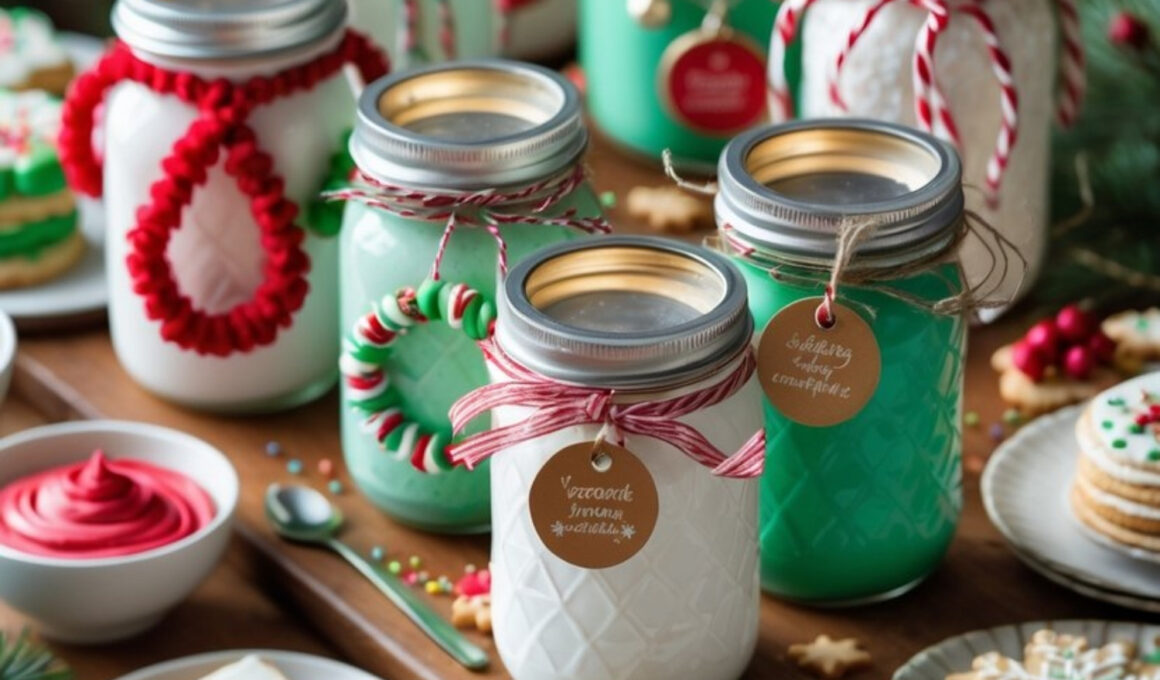
These Christmas Cookie Decorating Jars are one of the most festive DIY gifts you can make for the holidays. They combine creativity, sweetness, and a personal touch all in one adorable package.
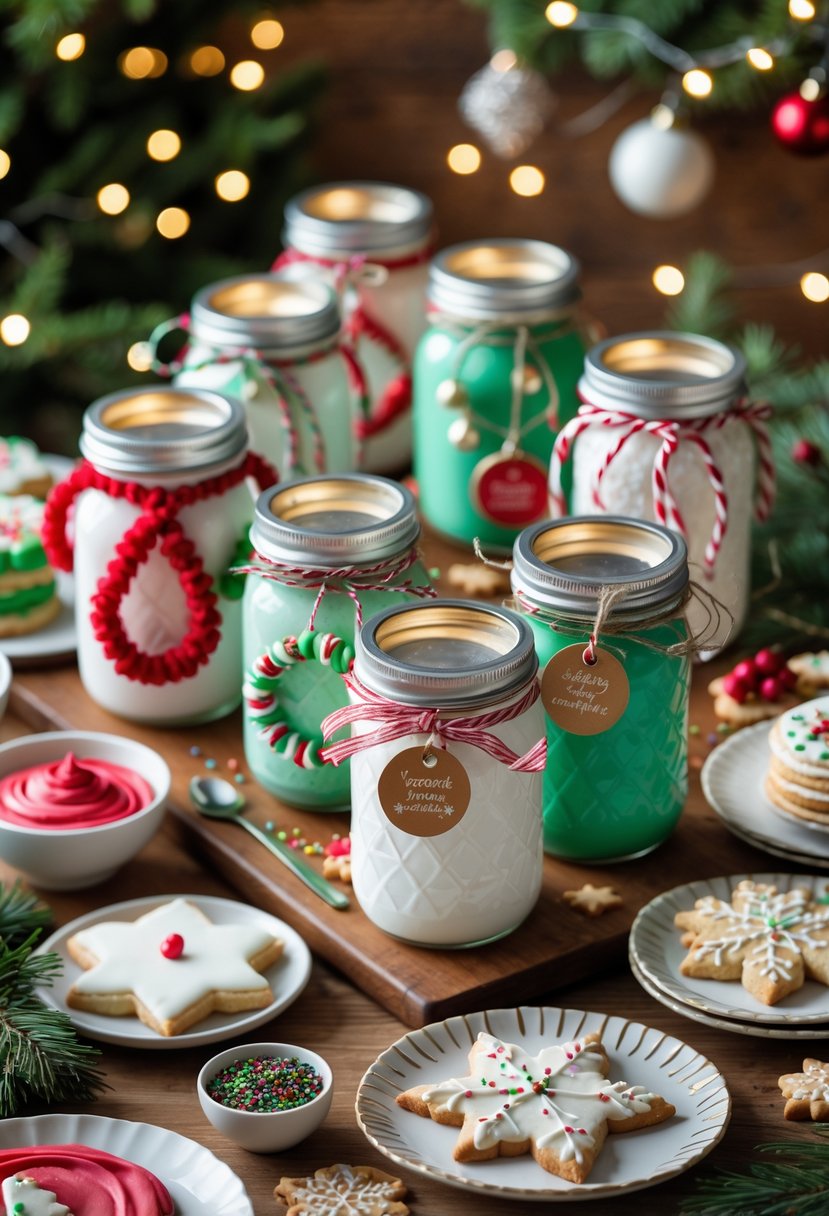
Each jar is filled with colorful frosting, sprinkles, or cookie mixes, making it a fun and interactive gift for families, kids, or anyone who loves baking. You can even create themed sets like “Winter Wonderland,” “Peppermint Fun,” or “Classic Sugar Cookies.”
Not only do these jars look beautiful on a Christmas table or gift basket, but they’re also a joyful activity — perfect for decorating cookies together on a cozy December afternoon.
How to Make Christmas Cookie Decorating Jars
The best part? You can make them as simple or elaborate as you like, using whatever cookie mix, frosting, and decorations you have on hand.
For People Who Love to Make Things ✂️
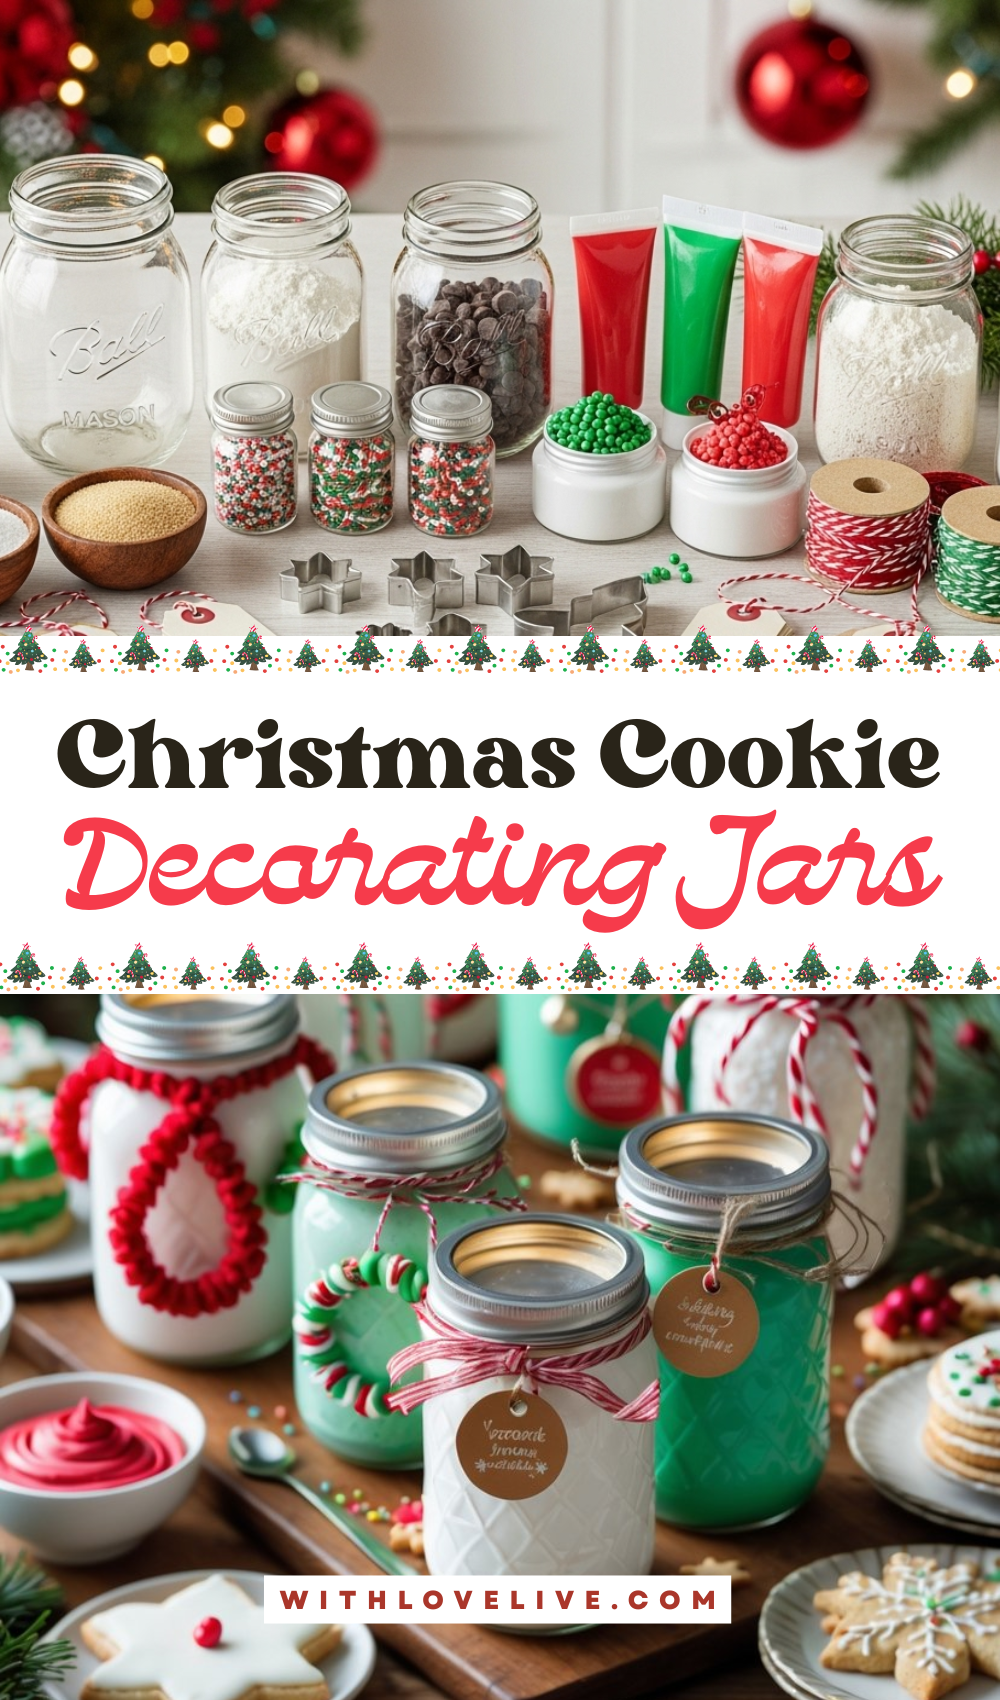
Materials
- Mason jars with lids (clean and dry)
- Sugar cookie mix or homemade dry mix
- Mini bags or small jars for frosting (red, green, and white)
- Assorted holiday sprinkles and candy decorations
- Twine, ribbons, or baker’s string
- Mini cookie cutters or tags (optional)
- Labels or cardstock tags
- Measuring cups or small scoops
- Decorative items like bells or mini wreaths
Shop the materials


The steps

Step 1: Prepare the Cookie Mix
Start by filling each jar with dry cookie mix — either store-bought or homemade. If you’re making your own, mix flour, sugar, baking powder, and a pinch of salt in a bowl, then transfer it into the jar using a funnel or spoon. Gently tap the jar to settle the layers for a tidy look.
Optional: Add festive layers like brown sugar, cocoa powder, or mini chocolate chips for visual appeal and variety.
Step 2: Fill Frosting Jars
For smaller jars or containers, spoon in pre-made frosting in Christmas colors — white for snow, green for trees, and red for accents. Smooth the top and seal the lid tightly.
If you want to include multiple frosting colors, prepare several mini jars or small piping bags and place them inside the main jar or gift box later.
Pro Tip: To keep it fresh, refrigerate the frosting jars until gifting day or seal them tightly with plastic wrap under the lid.
Step 3: Add Sprinkles and Toppings
Next, fill small jars or pouches with holiday sprinkles, edible glitter, crushed candy canes, or mini chocolate chips. Use bright reds, greens, and whites for a Christmas feel. Layer them neatly in a larger jar or tie them together in a bundle with festive string.
Creative Idea: Add a tag that reads “Cookie Magic Dust” or “Santa’s Sprinkle Mix” for a fun, whimsical touch.
Step 4: Decorate the Jars
Now for the fun part — decorating! Wrap the top of each jar with baker’s twine, ribbon, or yarn. Add mini wreaths, jingle bells, or small ornaments for extra flair.
Tie on a gift tag with the recipient’s name or baking instructions, such as:
“Just add butter and eggs, bake at 350°F for 10–12 minutes, and decorate with love.”
Parent tip: This is a great craft for kids — let them help decorate the jars or create name tags for teachers and neighbors.
Step 5: Assemble and Gift
Once your jars are ready, arrange them in a small basket or gift box with a few sugar cookies or cookie cutters.
Include a note encouraging the recipient to enjoy a “cookie-decorating night.” These jars also make perfect party favors or hostess gifts during the holiday season.
When presented together, they look festive, inviting, and full of Christmas cheer — ready to bring sweetness to anyone’s kitchen!