


Table of Contents Show
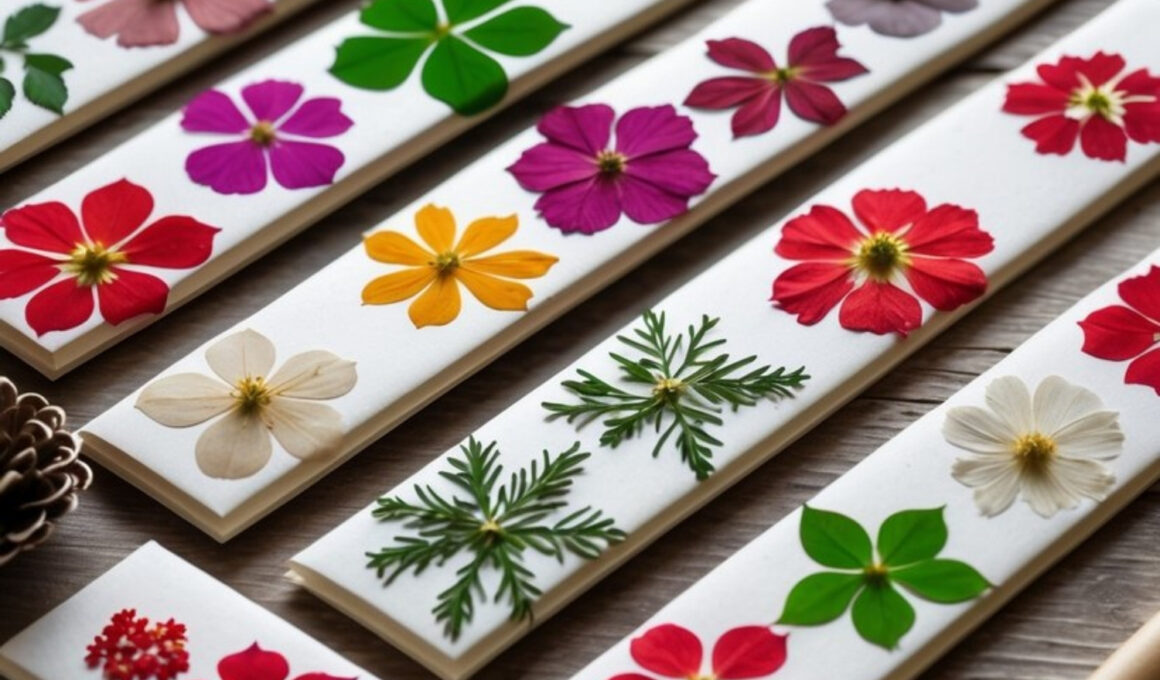
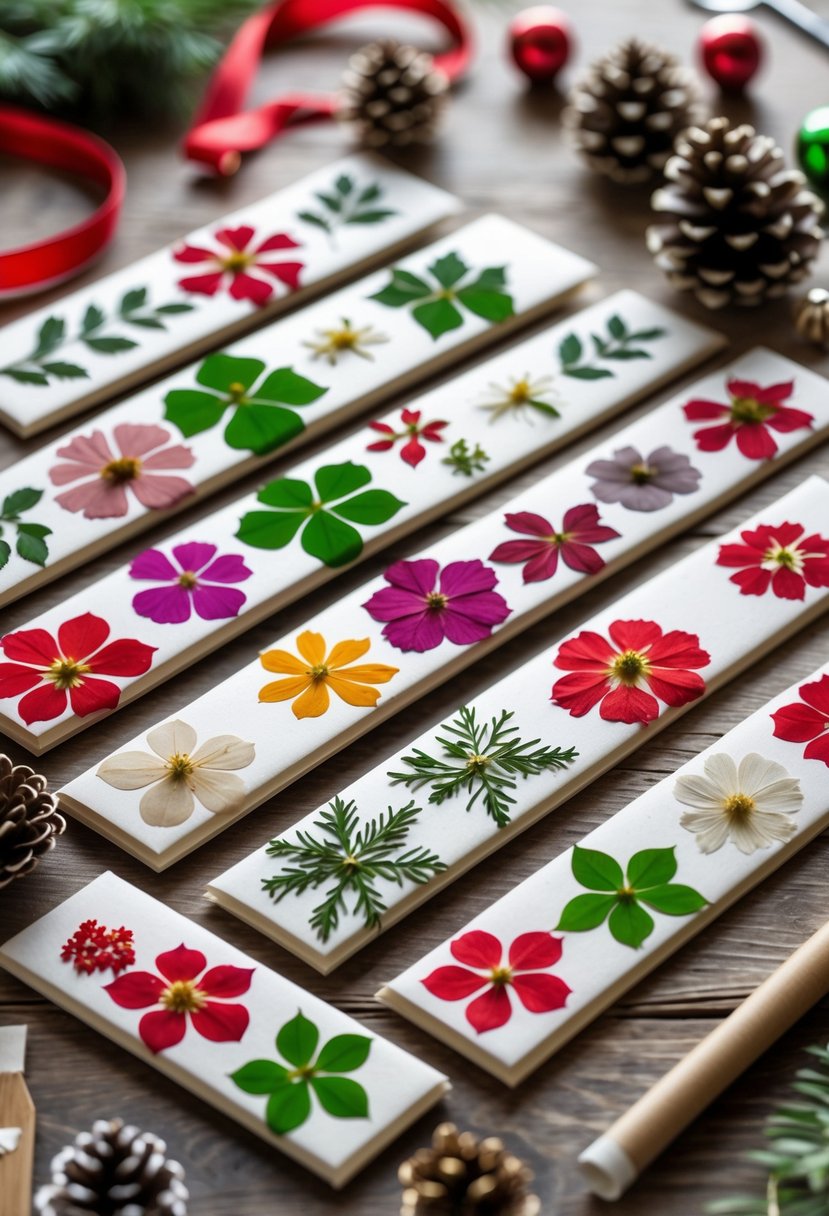
These Pressed Flower Christmas Bookmarks are the perfect mix of nature and holiday cheer. They make beautiful handmade gifts for readers, teachers, or friends, and they’re an easy craft that adds a personal touch to your presents.
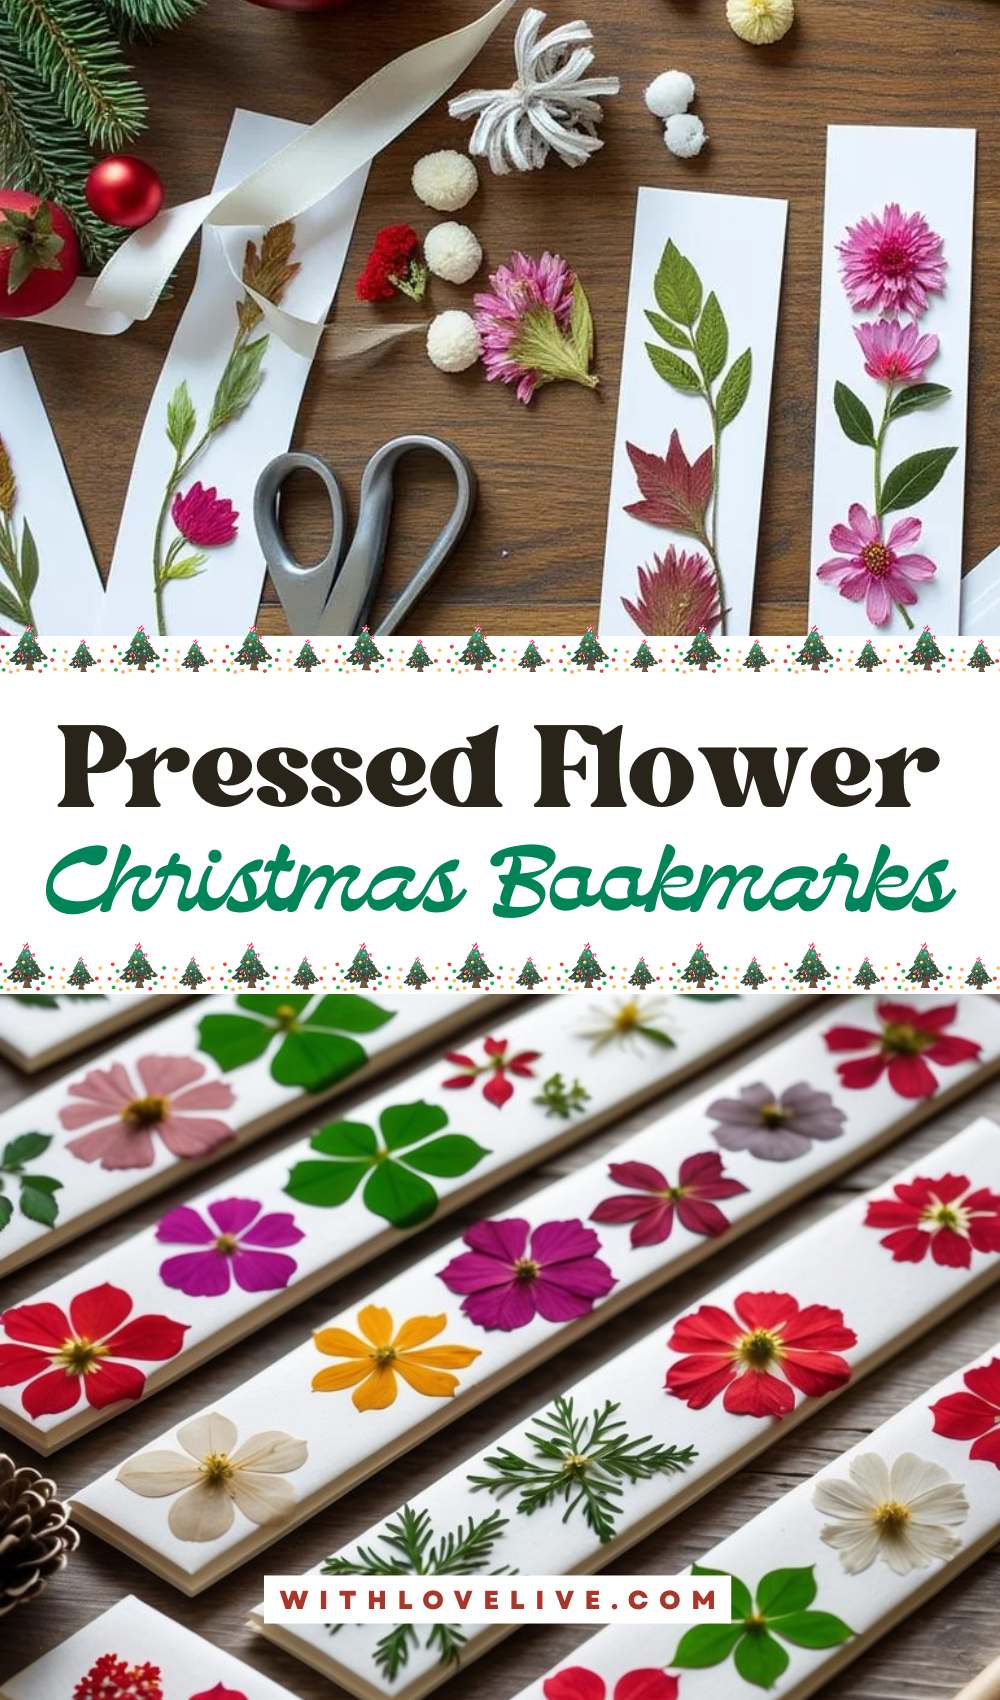
Each bookmark captures a bit of nature’s beauty — from colorful petals to evergreen sprigs — creating something both elegant and sentimental.
This project is a calm, creative activity that’s great for winter days when you want something peaceful yet festive. You can use flowers you pressed earlier in the year or collect seasonal greenery for a Christmas look.
How to Make Pressed Flower Christmas Bookmarks
Once finished, these bookmarks can be wrapped with a ribbon or tucked into a holiday card for a thoughtful handmade surprise.
For People Who Love to Make Things ✂️
Materials
- Dried or pressed flowers and leaves (various colors and shapes)
- White or cream cardstock or watercolor paper strips (2×6 inches or desired size)
- Clear contact paper or self-adhesive laminating sheets
- Glue stick or clear-drying craft glue
- Scissors and ruler
- Hole punch (optional, for ribbon)
- Ribbon, twine, or thin string
- Tweezers (to handle delicate flowers)
- Heavy books or flower press (if pressing fresh flowers)
Shop the materials


The steps
Step 1: Press and Prepare the Flowers
If you haven’t already, press your flowers a few days before crafting. Place them between parchment paper sheets and flatten inside a heavy book, layering more books on top. After 5–7 days, they’ll be dry, flat, and ready to use.
Tip: For a Christmas look, mix evergreen sprigs, holly leaves, or small red and white blossoms with your colorful petals.
Step 2: Cut and Prepare Bookmark Bases
Cut your cardstock or watercolor paper into bookmark-sized strips. A standard size is about 2×6 inches, but you can adjust based on preference. Smooth out the edges with scissors or a paper trimmer. If desired, round the corners for a softer, finished look.
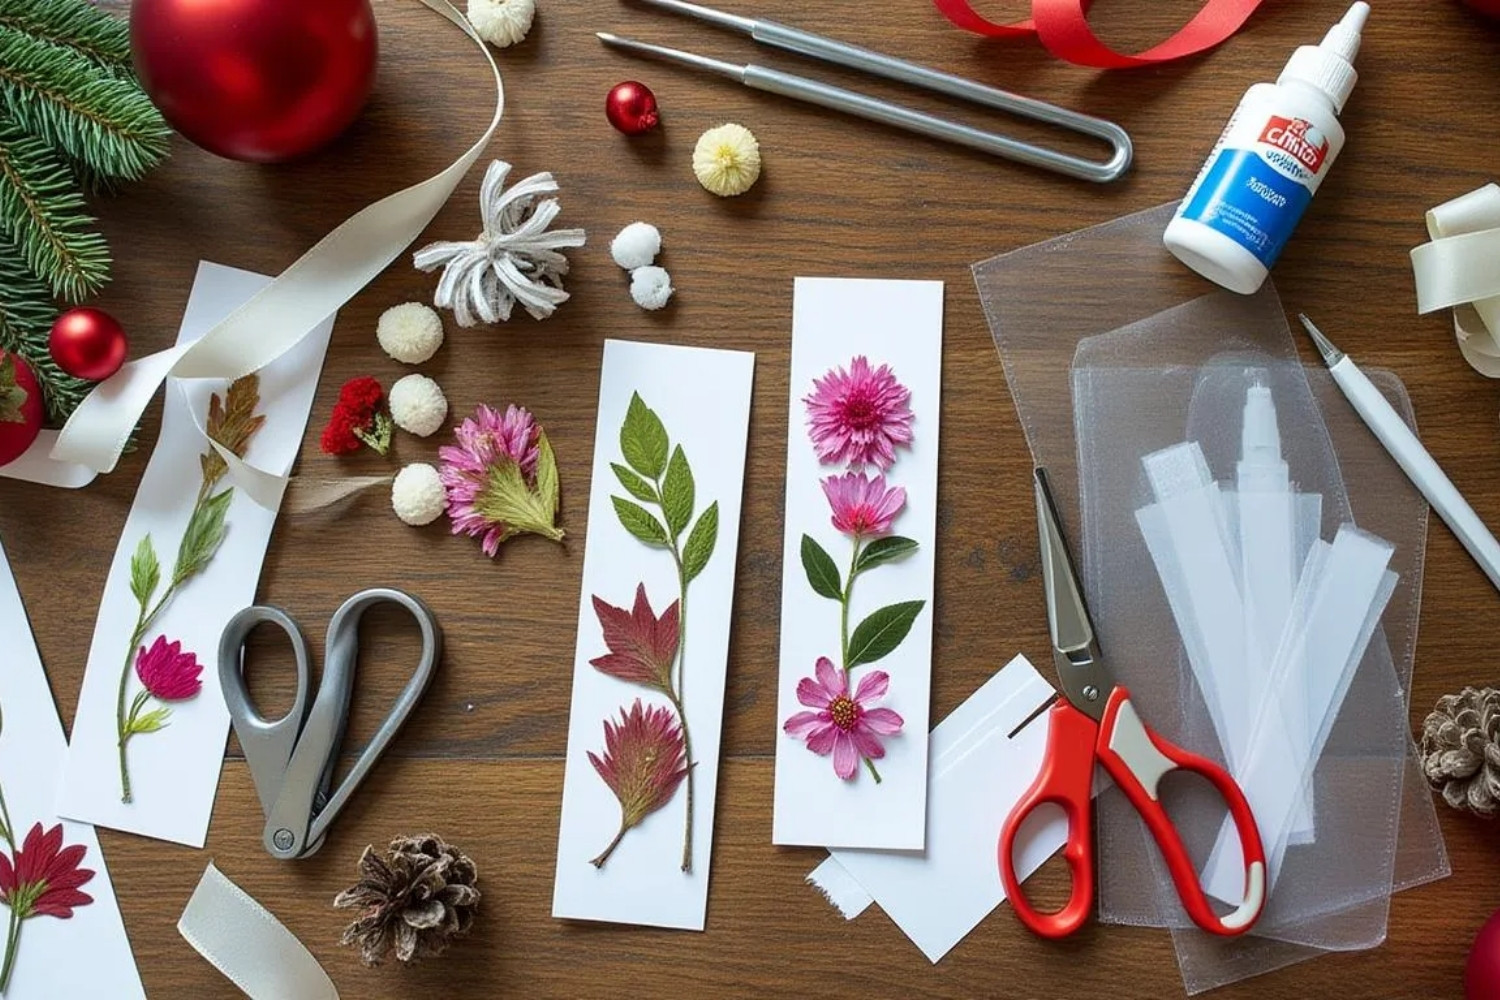
Step 3: Arrange the Flowers
Lay your flowers on the bookmark before gluing to plan your layout. Combine a few large petals with smaller greenery for a balanced design. Once satisfied, use a tiny dab of glue to secure each flower. Tweezers help you place them gently without damage.
Design idea: Create themed sets — one with red poinsettias and green leaves, another with white flowers and pine sprigs for a frosty winter feel.
Step 4: Seal the Bookmark
Once your design is dry, cover it carefully with clear contact paper or a laminating sheet to protect the flowers. Start from one edge and smooth as you go to prevent air bubbles.
Trim any excess plastic around the edges. This not only keeps your flowers safe but also gives the bookmark a glossy, durable finish.
Alternative: If you prefer a more natural matte texture, use a second piece of cardstock as a backing instead of sealing with plastic.
Step 5: Add Finishing Touches
Punch a small hole at the top center of your bookmark and thread a ribbon, twine, or piece of festive string through it. Tie it in a small bow or leave it as a tassel. For an extra touch, you can add a gold bead, charm, or tiny bell.
Step 6: Dry and Gift
Let everything dry completely before stacking or wrapping. Your pressed flower bookmarks are now ready to gift — ideal for stocking stuffers or handmade additions to your holiday cards.
Each one feels like a little piece of nature preserved in time, reminding your loved ones of both your care and the season’s beauty.