


Table of Contents Show
There’s just something deeply satisfying about shaping a clay planter with your own hands. Clay’s forgiving, the tools are basic, and honestly, the end result always feels more personal than anything you’d pick up at the store.

Whether you’re using air-dry clay or kiln-fired stoneware, a handmade clay pot brings a warm, unique touch to any plant display. These 12 ideas cover all sorts of styles, skill levels, and plant types, so I’d bet there’s something here for both beginners and seasoned crafters.
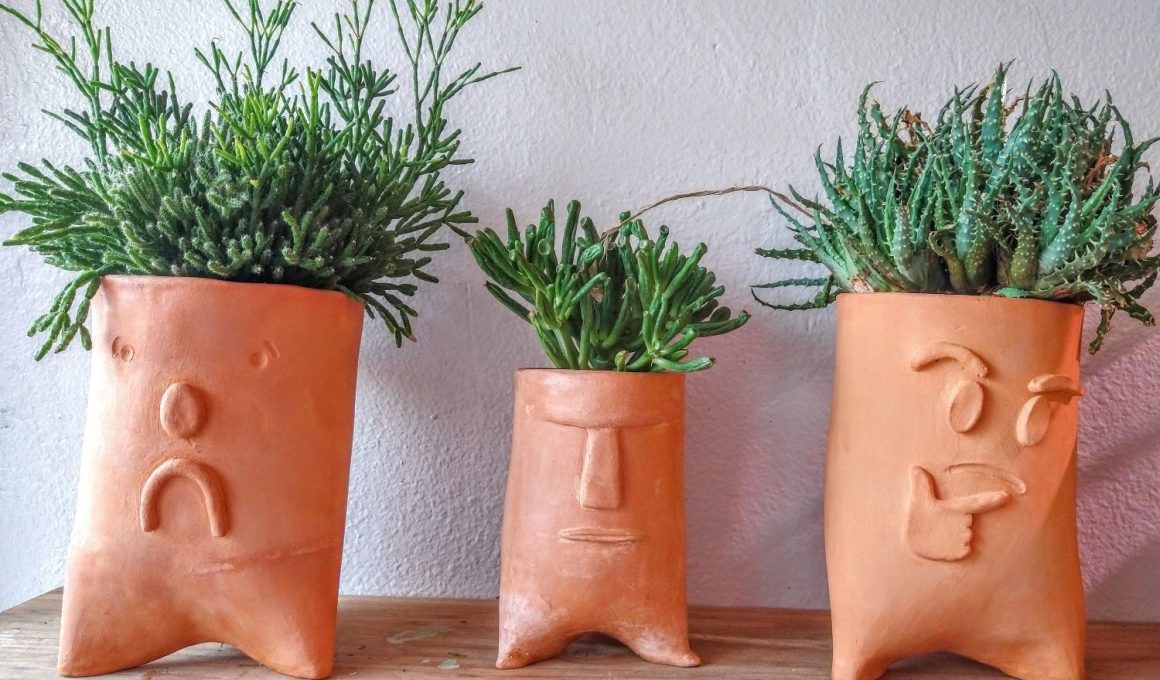
1. Mini Face Planters

I like to sculpt little facial features right onto the pot’s surface before the clay sets. Just eyes, a nose, and a mouth—nothing fancy. When you stick a succulent at the top, it sort of becomes the hair. Every face is a bit different, which makes the whole group feel extra personal.
2. Animal Planter With Succulent Hair

I shape the clay into a simple animal head—a fox or a bear is always cute—and leave the top open for soil. Once you pop in a succulent, it grows up like a little tuft of hair. It’s a playful little thing for desks or windowsills.
3. Pinch Pot Planters

Pinch pots might be the easiest clay project out there. I press my thumb into a ball of clay, then pinch outward to make the walls. The uneven, organic look is half the charm. Small herbs and succulents seem to fit just right.
For People Who Love to Make Things ✂️
4. Nature-Embossed Clay Planters

I press real leaves, ferns, or flower petals into the soft clay and let them leave their mark. Once the pot dries, the pattern looks surprisingly intentional. You don’t need to be an artist for this—just grab something interesting from the yard and go for it.
5. Textured Mini Clay Pots

You can make great surface texture with stuff you already have at home. I’ll use a fork, a toothpick, or even a scrap of burlap pressed against the clay. The finished pattern adds interest, and you don’t even need paint or glaze. I like to group these together on a shelf.
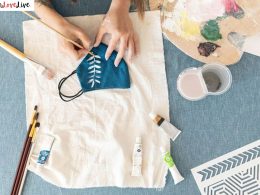
6. Hand-Painted Face Pots

Sometimes I skip the sculpting and just paint faces on with acrylics after the clay dries. Big eyes, rosy cheeks—it’s all fair game. If you prefer painting over sculpting, this is the way to go. A sealant keeps the colors bright.
7. Whimsical Whale Planters

Making a whale shape with air-dry clay is easier than it sounds. I roll out an oval for the body, add a flat tail, and hollow out the top for planting. When you fill it with succulents or moss, it actually looks like a tiny ocean scene. Kids love this one.
8. Pastel Abstract Clay Planters

I mix up soft pinks, mints, and lavender paints, then brush them in loose, abstract patterns on the pots. No need to stress about perfect shapes. Brush strokes, color washes, and messy edges all look good. The pastel colors tie everything together.
9. Modern Geometric Painted Pots

I use painter’s tape to set up sharp triangles, stripes, or diamonds, then paint over the tape. When I peel it off, the lines are crisp and clean. It’s a modern look that pops against the natural clay.
10. Color-Dipped Modern Mini Pots

I dip just the bottom half of the pot into paint and let it dry upside down. The two-tone look feels pretty fresh, and it only takes a few minutes per pot. I’m partial to bold colors like cobalt, terracotta red, or a deep green.
11. Whimsical House Succulent Pot

I shape clay into a tiny cottage with a peaked roof and a little door. The inside is hollow, open at the top for a succulent. Once I add painted windows, it feels like something out of a storybook. I like these as decorative accents on bookshelves or side tables.
12. Air Plant Holders

Air plants don’t care about soil, so you can make the holder just about any shape you want. I usually shape small clay cups, rings, or little curved dishes to cradle a tillandsia. Since drainage isn’t an issue here, I just let myself focus on the look. Sometimes I lean into geometric forms, sometimes I go for something a bit more organic—it all depends on the mood, honestly. Both styles seem to show off air plants in their own way.