Table of Contents Show
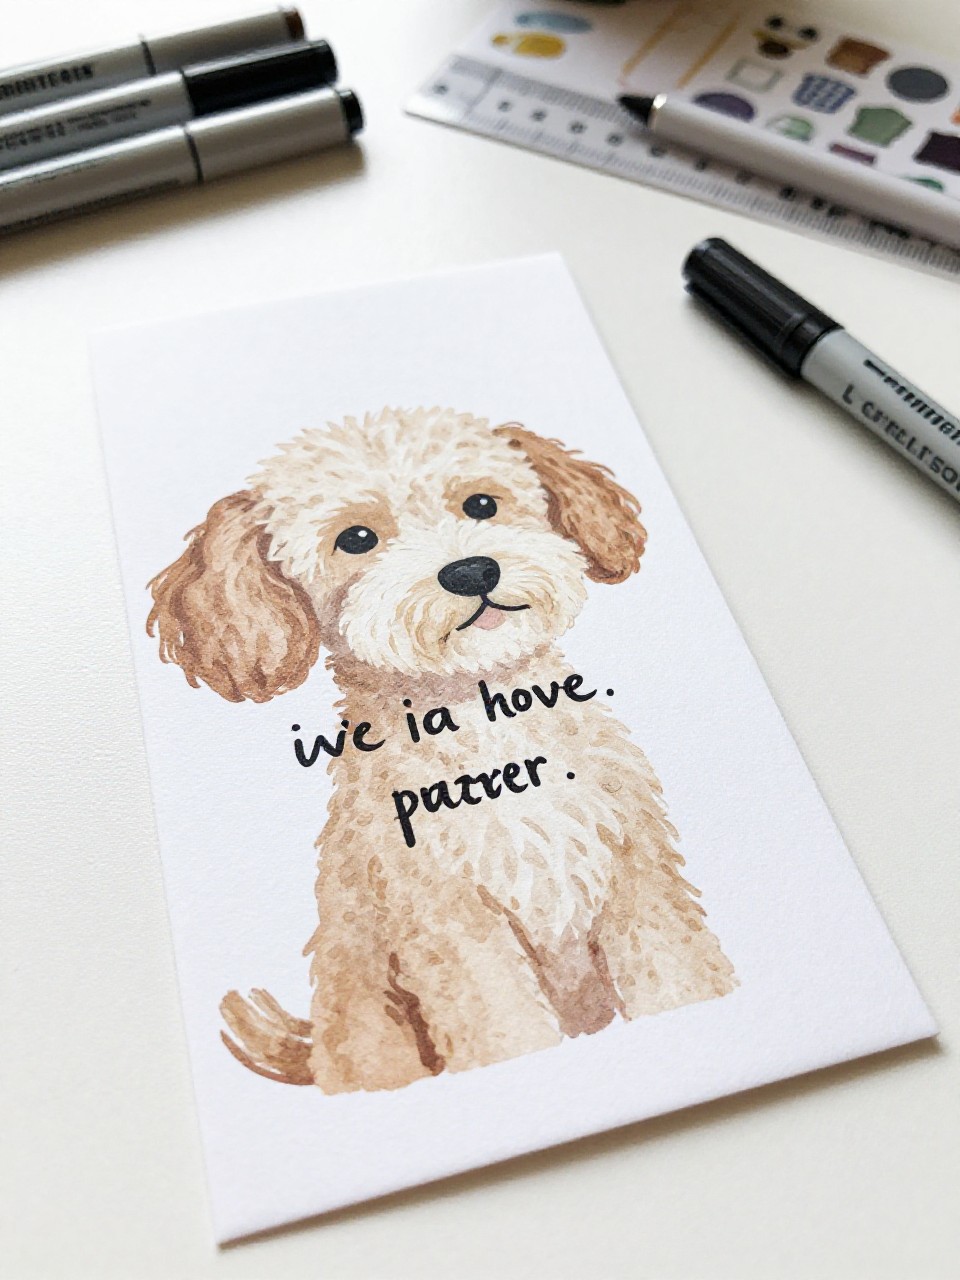
Keeping kids busy, planning a calm classroom activity, or finding a rainy-day craft can be tough. Bookmarks are small, quick projects that feel useful right away, and they make reading or journaling more fun.
This list gives you simple, colorful ideas you can finish in minutes with basic supplies.
Let’s dive into 15 easy DIY bookmark ideas that spark creativity and help readers save their place in style.
1. Watercolor Splash Paper Bookmarks
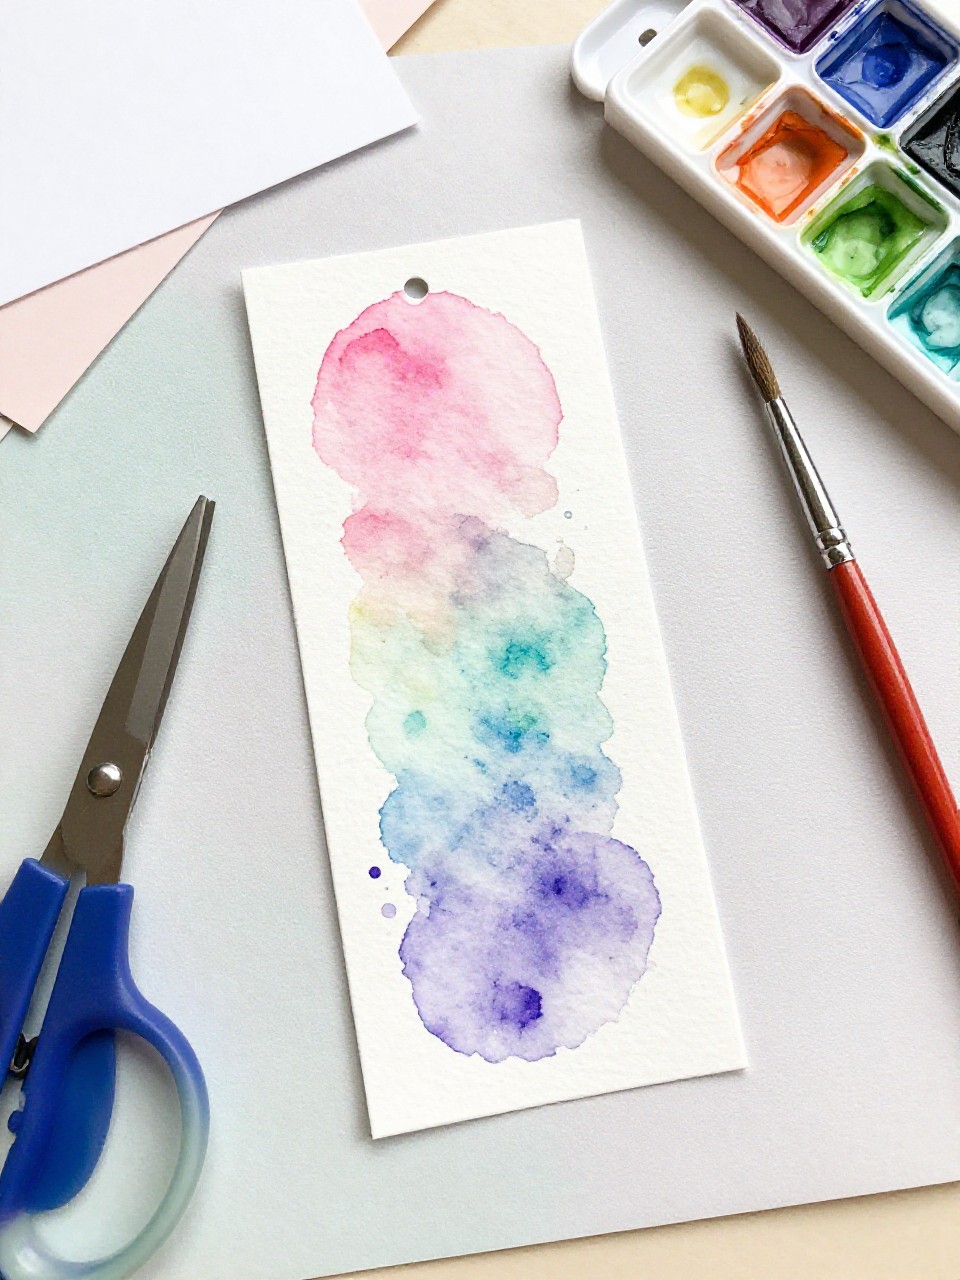
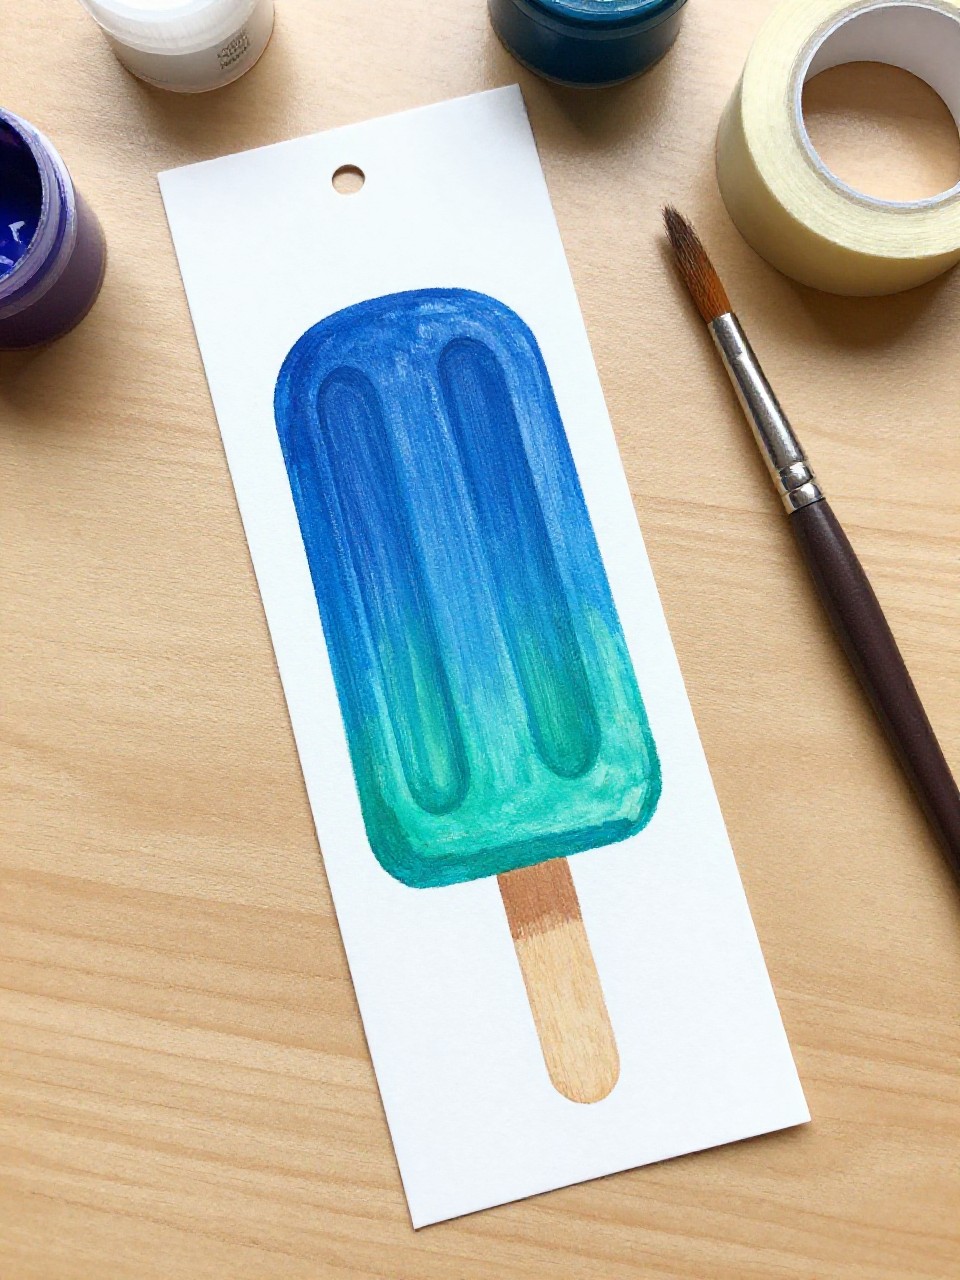
These bookmarks look like little rainbows with soft watercolor blends and simple doodles or quotes on top. Kids love watching colors merge and seeing a plain strip turn into a mini art piece; it’s relaxing and beginner friendly.
Materials Needed:
For People Who Love to Make Things ✂️
- Thick watercolor paper strips (2 x 6 inches)
- Watercolor paints and brush
- Cup of water and paper towel
- Black fineliner or marker
- Hole punch and ribbon (optional)
How to make it:
- Cut watercolor paper into bookmark strips.
- Brush on water, then add light washes of color to create blended backgrounds.
- Let dry, then add doodles, stars, or a short quote with a fineliner.
- Punch a hole and tie a ribbon if you like; let everything dry flat.
2. Corner Monster Page Hugger

This corner bookmark folds over the page like a funny monster with teeth, eyes, and a big grin. Kids enjoy choosing silly colors and faces, and it slips neatly onto a page corner without falling out.
Materials Needed:
- Colored origami or square paper
- Glue stick
- Googly eyes or white paper circles
- Black marker
- Small white paper for “teeth”
How to make it:
- Fold a square paper into a triangle, then fold the corners up to make a pocket corner.
- Tuck and glue the top flap to form the corner sleeve.
- Add paper teeth, googly eyes, and draw details with marker.
- Press flat under a book for a few minutes to set.
3. Pressed Flower Laminate Bookmark
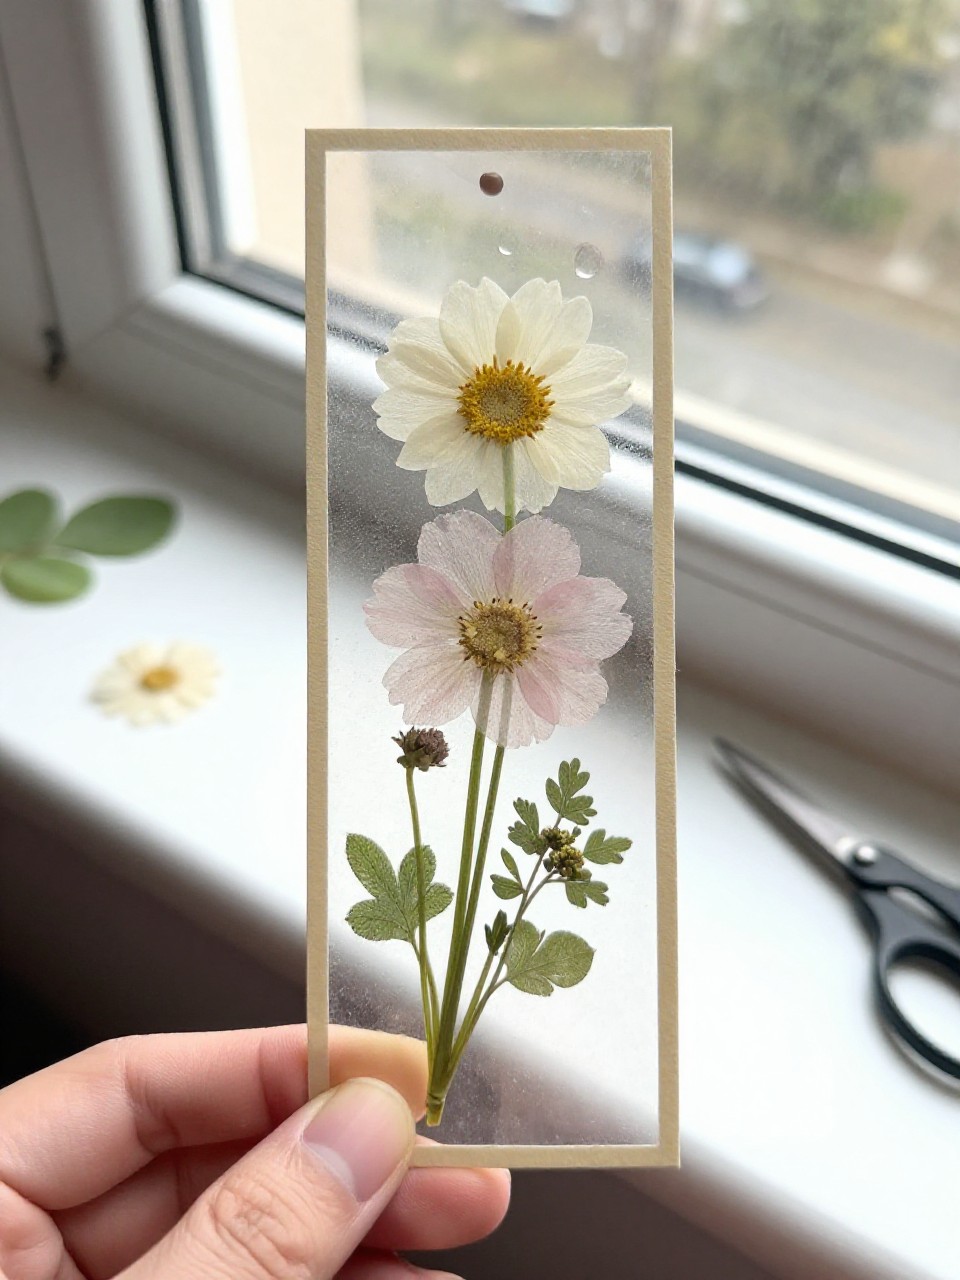
A clear, elegant bookmark shows off real pressed flowers sealed in plastic. Crafters love how professional it looks and how it preserves a tiny garden to enjoy during reading.
Materials Needed:
- Pressed flowers or leaves
- Clear self-adhesive laminating sheets or contact paper
- Thin cardstock strip (optional backing)
- Scissors
- Hole punch and twine (optional)
How to make it:
- Arrange pressed flowers on a laminating sheet or contact paper.
- Place another sheet on top to seal; smooth out bubbles.
- Trim into a neat rectangle; back with cardstock if you want more stiffness.
- Punch a hole and tie twine; press under a heavy book to flatten.
4. Washi Tape Strip Bookmark
This bookmark features bold patterns made by layering washi tape on cardstock. It’s quick, mess-free, and perfect for kids who love picking colors and arranging stripes.
Materials Needed:
- White or colored cardstock strips
- Assorted washi tapes
- Scissors
- Hole punch (optional)
- Ribbon or yarn (optional)
How to make it:
- Cut cardstock into 2 x 6 inch strips.
- Lay washi tape across the strip in stripes, diagonals, or chevrons.
- Trim extra tape along the edges for a clean look.
- Punch a hole and add ribbon if desired.
5. Tassel-Topped Fabric Scrap Bookmark
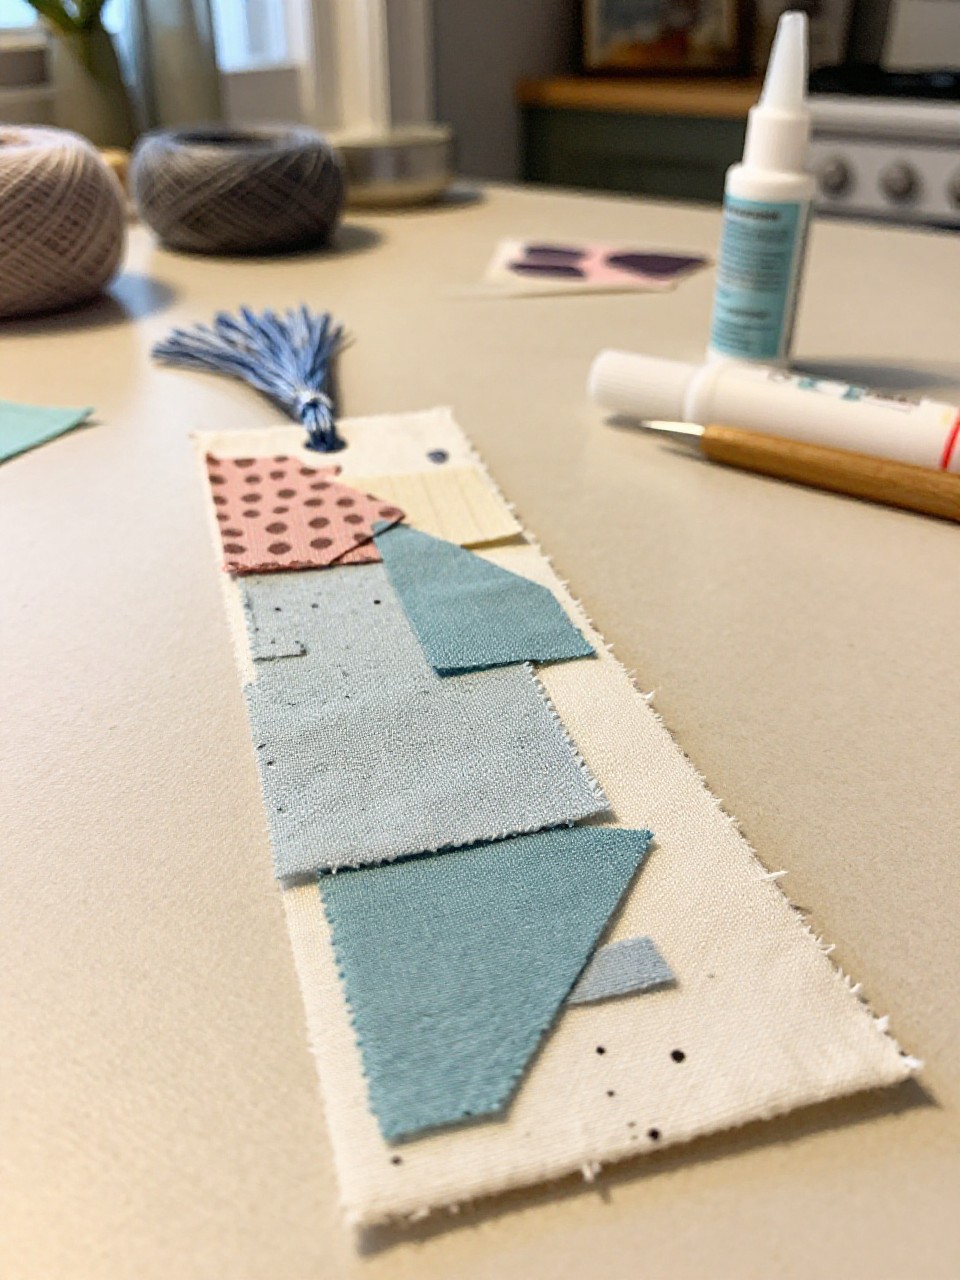
A slim fabric bookmark with a soft feel and a colorful yarn tassel at the top. Makers enjoy choosing fabric prints and learning a simple no-sew method that still looks polished.
Materials Needed:
- Fabric scraps (cotton works best)
- Fusible web or fabric glue
- Thin cardstock or felt for stiffness
- Yarn for tassel
- Hole punch (for cardstock) or small eyelet (optional)
How to make it:
- Cut fabric and cardstock to matching bookmark sizes.
- Fuse or glue fabric to cardstock; let dry flat.
- Make a small yarn tassel and trim ends neat.
- Punch a hole and tie on the tassel; press under a book to set.
6. Paint-Chip Ombre Bookmark
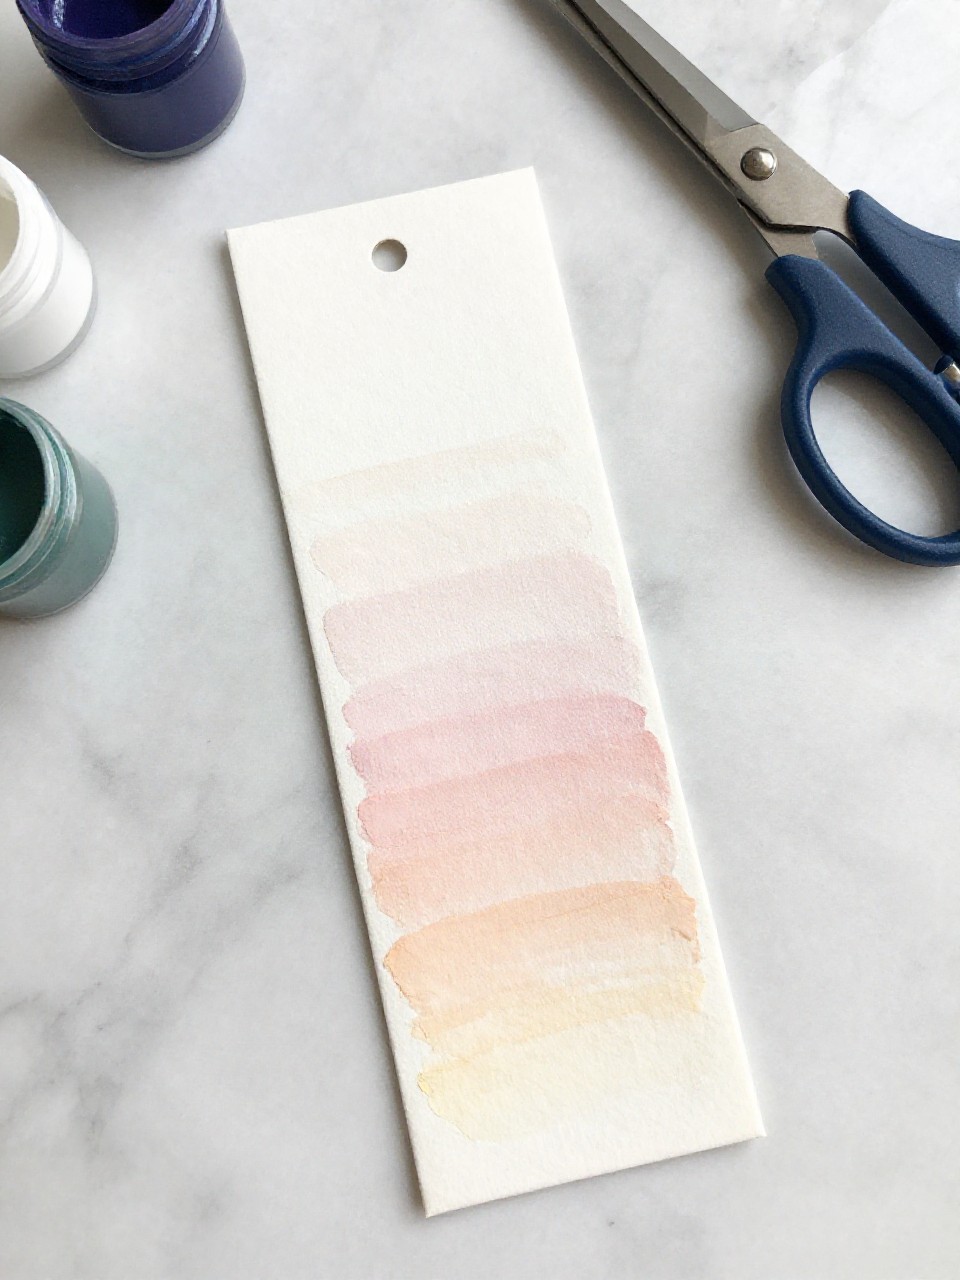
This sleek bookmark repurposes a paint-chip sample with smooth ombre color blocks. Kids like how fast it comes together and how professional the gradient looks.
Materials Needed:
- Paint-chip sample card
- Corner rounder or scissors
- Hole punch
- Ribbon or thin leather cord
- Clear tape or contact paper (optional for durability)
How to make it:
- Cut the paint chip into a long strip and round the corners.
- Cover with clear contact paper if you want extra strength.
- Punch a hole at the top and add ribbon or cord.
- Smooth edges and wipe clean.
7. Doodle and Quote Bookmark
A simple white or kraft strip filled with hand-drawn doodles and a favorite reading quote. It’s satisfying because anyone can customize it, and it turns drawing time into a useful tool for books or journals.
Materials Needed:
- Cardstock strips
- Black fine-tip pens and colored markers
- Ruler (optional)
- Stickers (optional)
- Clear tape to reinforce edges (optional)
How to make it:
- Cut cardstock into bookmark strips; lightly sketch a border.
- Write a short quote down the middle or at the top.
- Fill the rest with doodles, stars, or patterns; color as you like.
- Let ink dry and reinforce edges with clear tape.
8. Felt Animal Ear Corner Bookmark
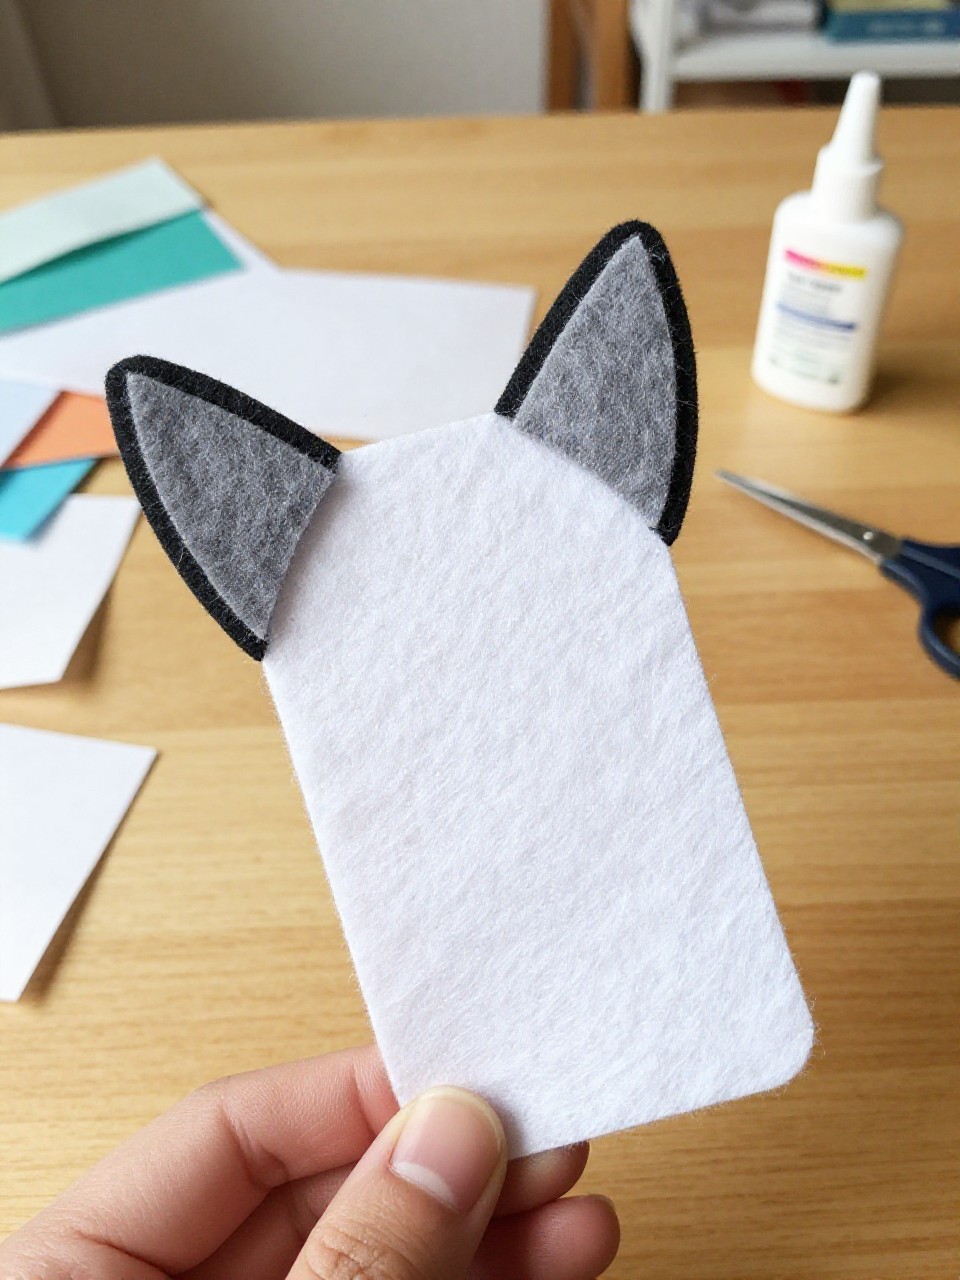
This soft corner bookmark looks like animal ears peeking over the page—cats, bears, or bunnies. Kids enjoy choosing felt colors and adding tiny details like whiskers or inner ears.
Materials Needed:
- Felt sheets in two colors
- Fabric glue or hot glue (adult help)
- Scissors
- Black embroidery thread or marker
- Paper template triangle
How to make it:
- Cut a felt triangle pocket using a paper template; cut a matching back piece.
- Glue sides to form the corner sleeve.
- Cut small ear shapes and glue to the top corners; add inner-ear pieces.
- Draw or stitch tiny features; let dry before using.
9. Origami Heart Bookmark
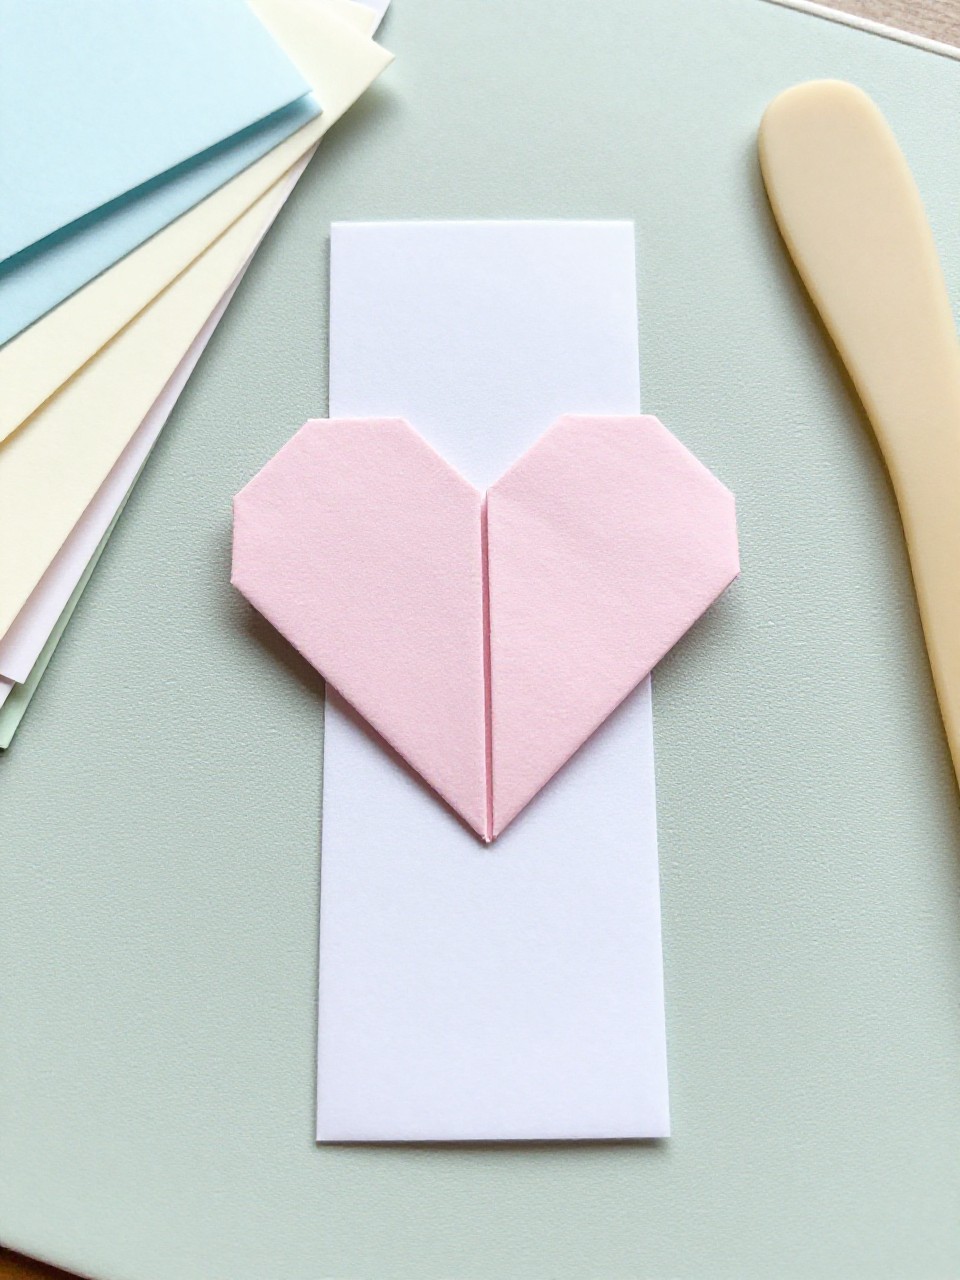
A folded paper heart slides onto a page corner and adds a sweet pop of color. It’s a quick win and teaches simple folding skills without any glue.
Materials Needed:
- Colored origami paper (square)
- Bone folder or ruler edge (optional for crisp folds)
How to make it:
- Fold the square into a triangle, then follow basic heart-corner folds to create pockets.
- Tuck corners to shape the heart and crease well.
- Open the pocket slightly to fit over a page corner.
- Flatten under a heavy book for a smooth finish.
10. Paperclip Ribbon Bookmark
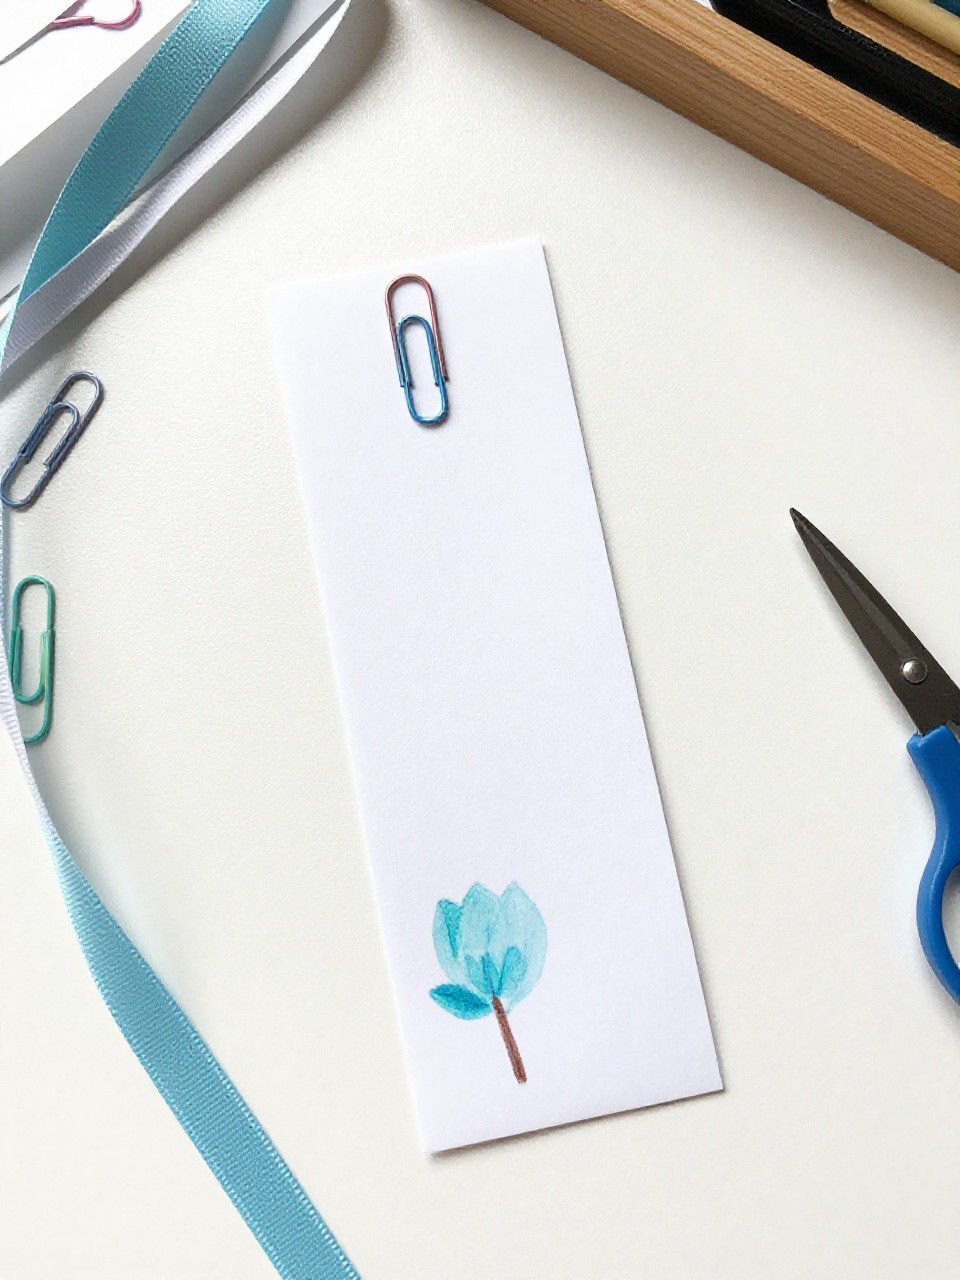
A jumbo paperclip gets dressed up with a bright ribbon tail that marks pages neatly. Kids like picking ribbon colors and seeing how fast it comes together—great for party or classroom sets.
Materials Needed:
- Jumbo paperclips
- Grosgrain or satin ribbon
- Scissors
- Fray check or clear nail polish
- Small charms (optional)
How to make it:
- Cut ribbon to 6–8 inches and fold in half.
- Thread the fold through the paperclip loop, then pull ends through the loop to knot.
- Trim ends in a V and seal with fray check.
- Add a tiny charm if desired.
11. Paint-Splatter Name Tag Bookmark
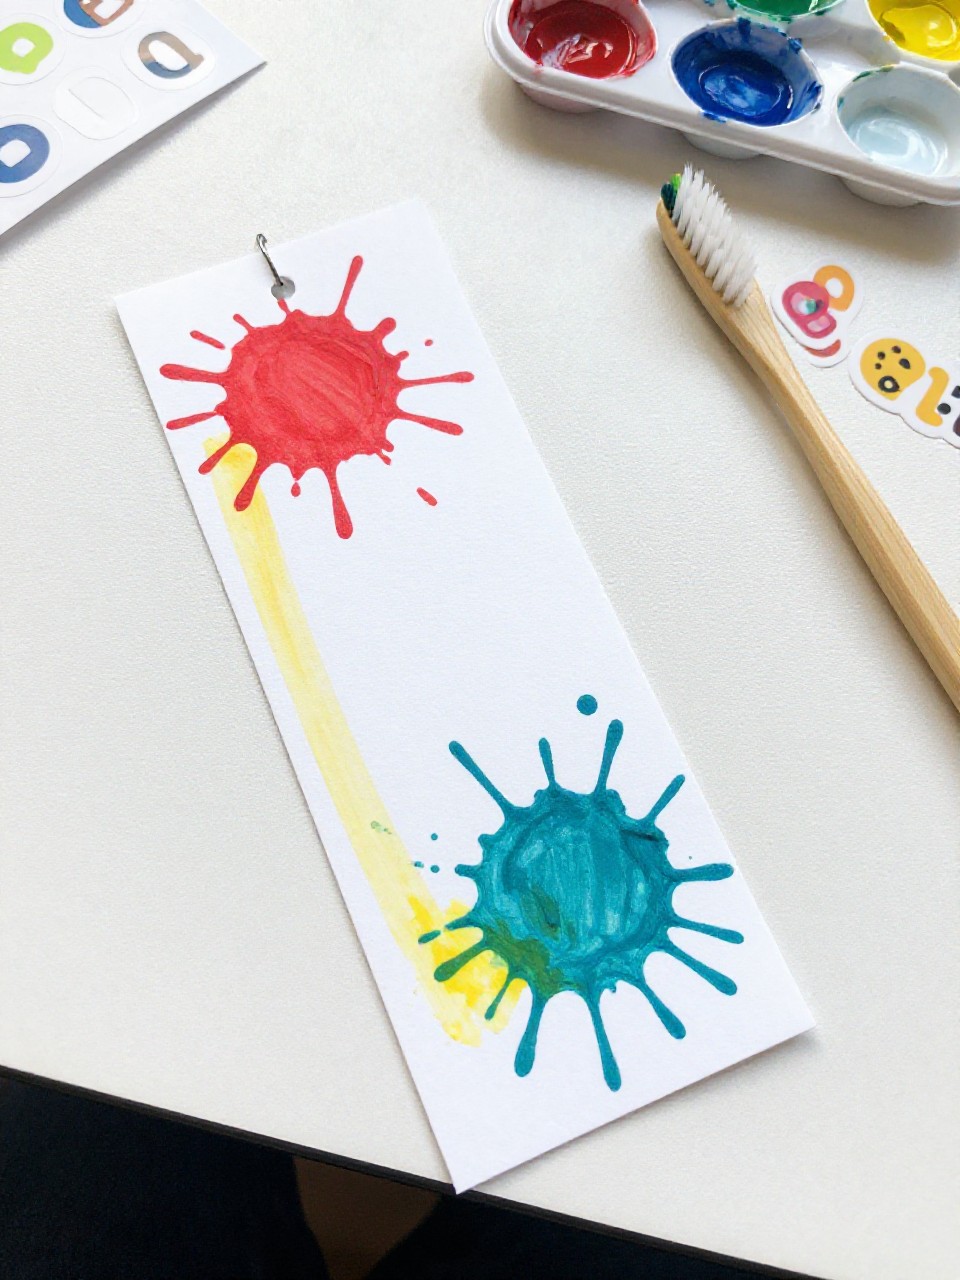
A bold, splattered paint background with a big block-letter name across the center. Kids love the messy fun and the pride of making a custom bookmark with their own name.
Materials Needed:
- White cardstock strips
- Acrylic paint or watered tempera
- Old toothbrush or stiff brush
- Masking tape or letter stickers
- Black marker (optional outline)
How to make it:
- Tape letter stickers for the name on the cardstock strip.
- Dip a brush in paint and flick splatters across the strip.
- Let dry, then peel letters to reveal clean name; outline if you like.
- Seal with clear tape or let dry fully before use.
12. Magnetic Tab Bookmark
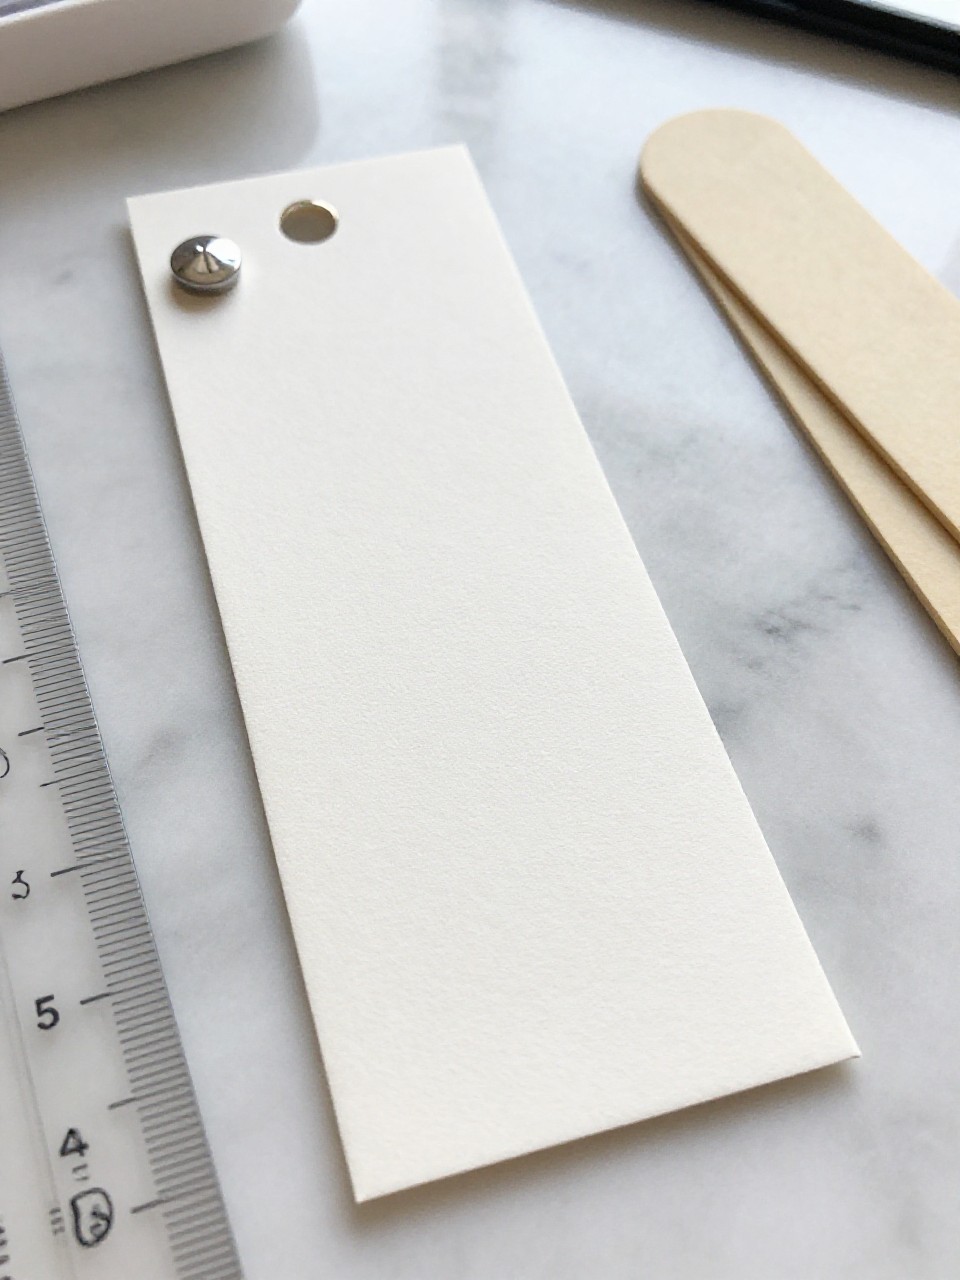
A slim folded tab snaps around a page with hidden magnets, staying put without slipping. Makers enjoy the click of the magnets and the clean, modern look.
Materials Needed:
- Decorative cardstock
- Small adhesive magnets (2 per bookmark)
- Scissors
- Ruler and bone folder
- Double-sided tape (optional)
How to make it:
- Cut a 2 x 8 inch strip and fold in half to make a 2 x 4 inch tab.
- Attach one magnet near the bottom inside; align and stick the second magnet on the opposite side.
- Secure edges with double-sided tape if needed.
- Round corners and decorate the outside.
13. Painted Popsicle Stick Bookmark
A flat wooden stick becomes a cheerful bookmark with painted stripes, dots, or tiny scenes. Kids like the sturdy feel and the chance to try simple painting techniques.
Materials Needed:
- Wide popsicle sticks (craft sticks)
- Acrylic paint and small brushes
- Painter’s tape (optional for clean lines)
- Clear sealer or Mod Podge
- Tiny sticker gems (optional)
How to make it:
- Lightly sand the stick and wipe clean.
- Paint base colors or tape off stripes; add dots or mini designs.
- Let dry and add sticker gems if you like.
- Seal with a thin coat of Mod Podge; dry flat.
14. Stitch-and-Paper Bookmark with Simple Embroidery
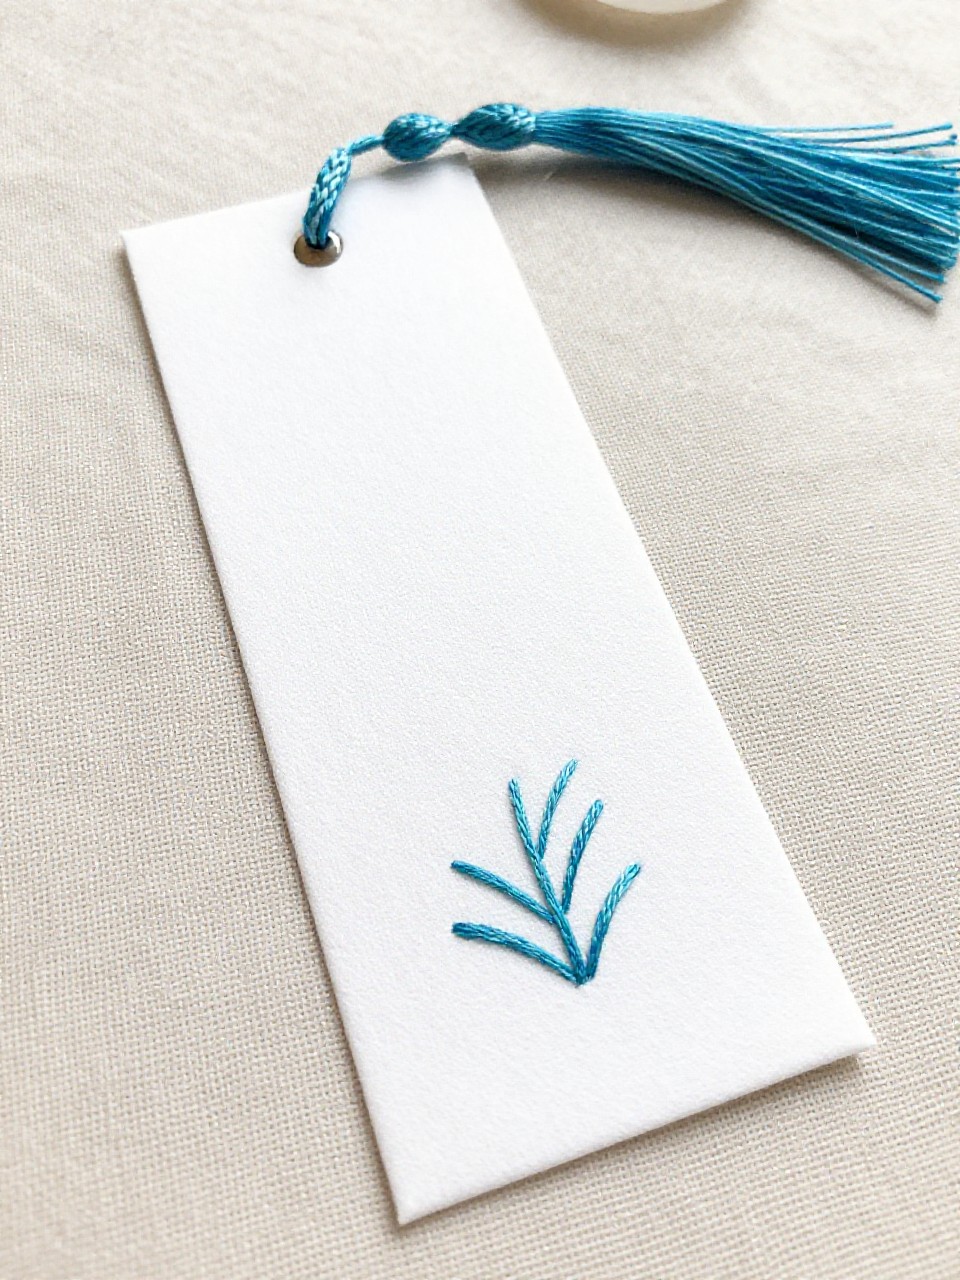
A cardstock strip is punched with tiny holes and stitched with colorful thread to form hearts, arrows, or initials. It feels calming to sew, and the finished look is tidy and unique.
Materials Needed:
- Heavy cardstock strips
- Embroidery floss and blunt needle
- Pushpin or small hole punch
- Ruler and pencil
- Washi tape (to secure thread ends)
How to make it:
- Lightly sketch your design and mark even holes with a ruler.
- Pre-poke holes with a pushpin.
- Stitch through the holes with floss; tape thread ends on the back.
- Erase pencil marks and smooth edges.
15. Sticker Collage Bookmark with Clear Coat
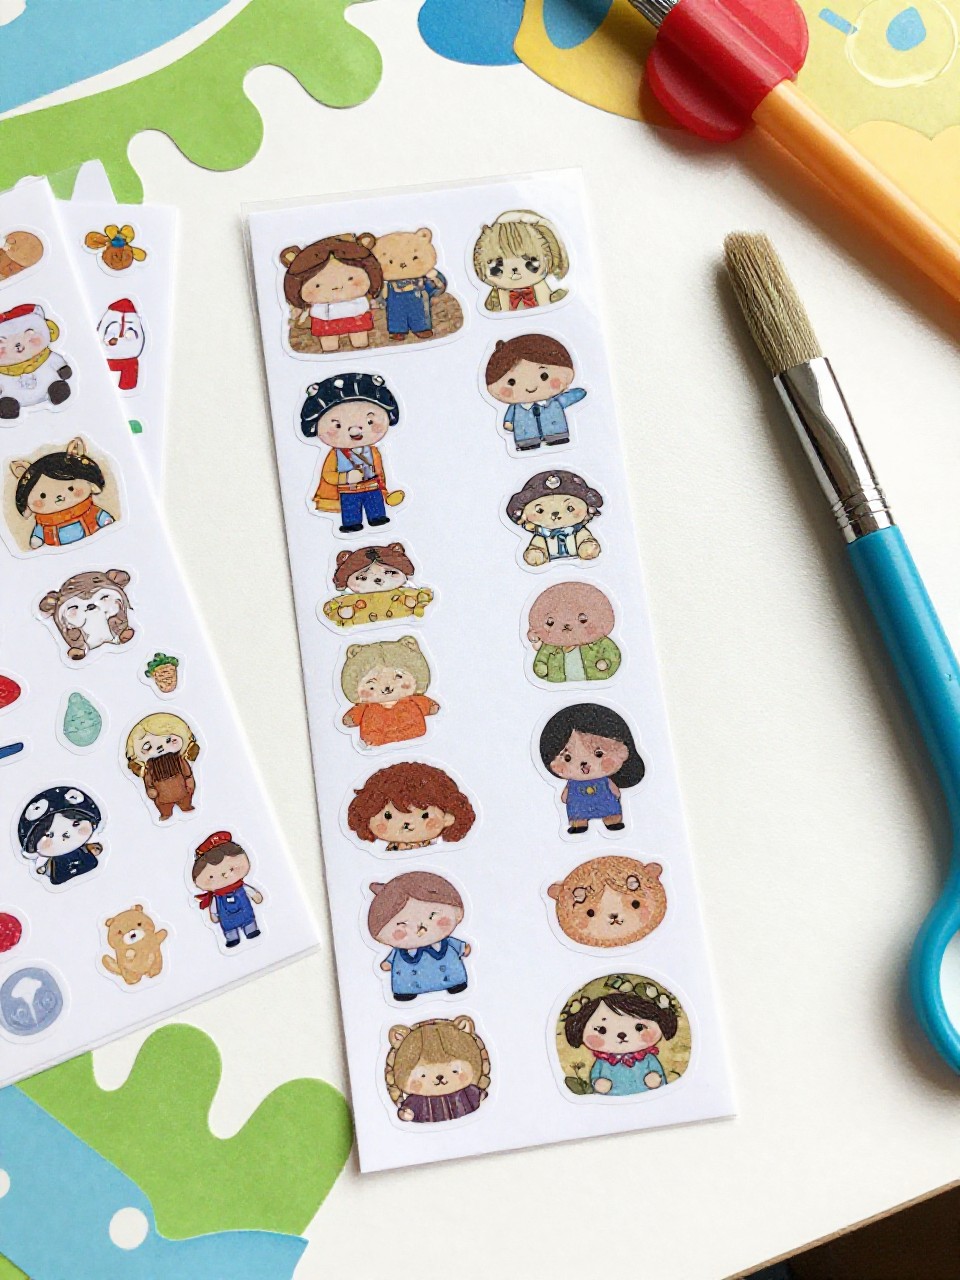
A collage of favorite stickers fills the strip, then gets a shiny clear coat for durability. It’s satisfying to mix themes—books, stars, plants—and see a polished result fast.
Materials Needed:
- Cardstock strips
- Assorted stickers
- Mod Podge or clear packing tape
- Scissors
- Hole punch and cord (optional)
How to make it:
- Cover the cardstock strip with stickers, letting some overlap.
- Trim any edges for a clean border.
- Brush on Mod Podge or cover with clear tape to seal.
- Punch a hole and add a cord if you like; let dry flat.