Table of Contents Show
When I want a relaxing painting project, I sometimes get stuck because I want something cozy—but also easy enough to finish in one or two sittings. Patchwork painting is perfect for that, because you can paint little sections at a time and it still looks beautiful.
These ideas will help you make warm, homey artwork with simple shapes, soft colors, and beginner-friendly patterns.
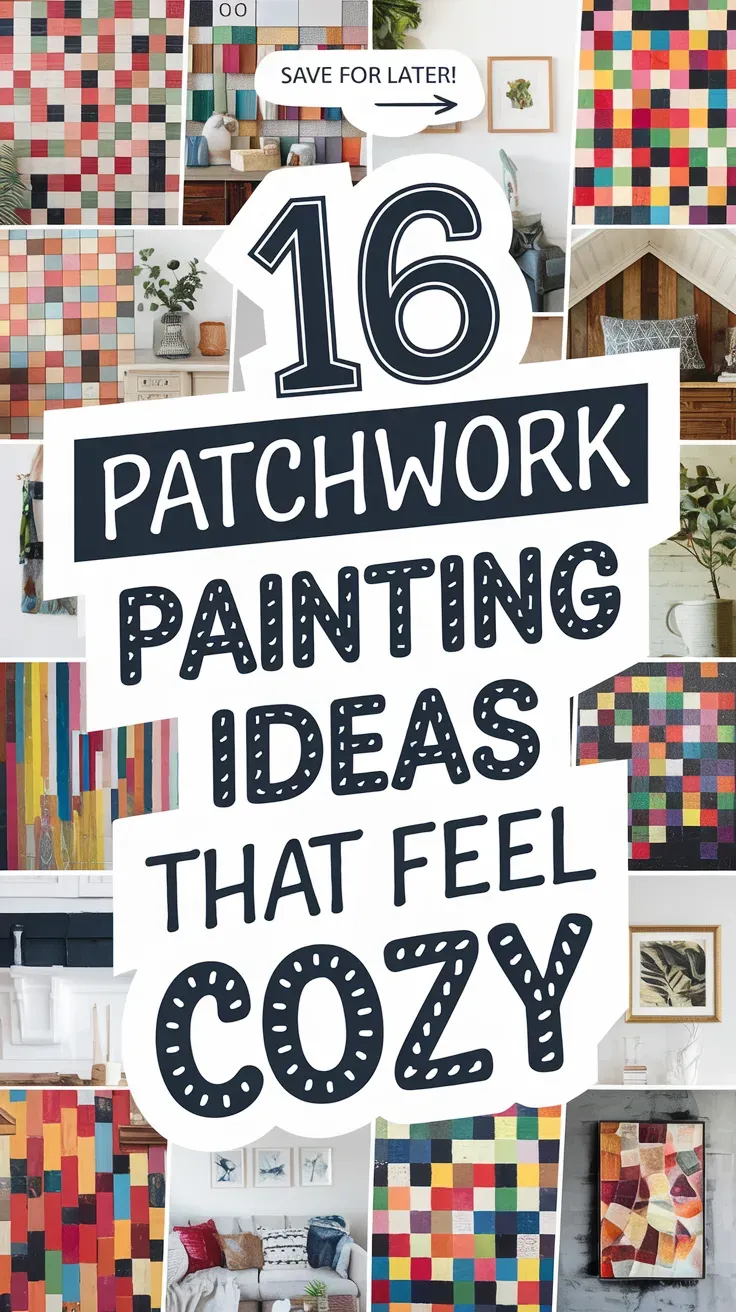
Here are 16 patchwork painting ideas that feel cozy and doable.
1. Cozy Quilt Patchwork Canvas
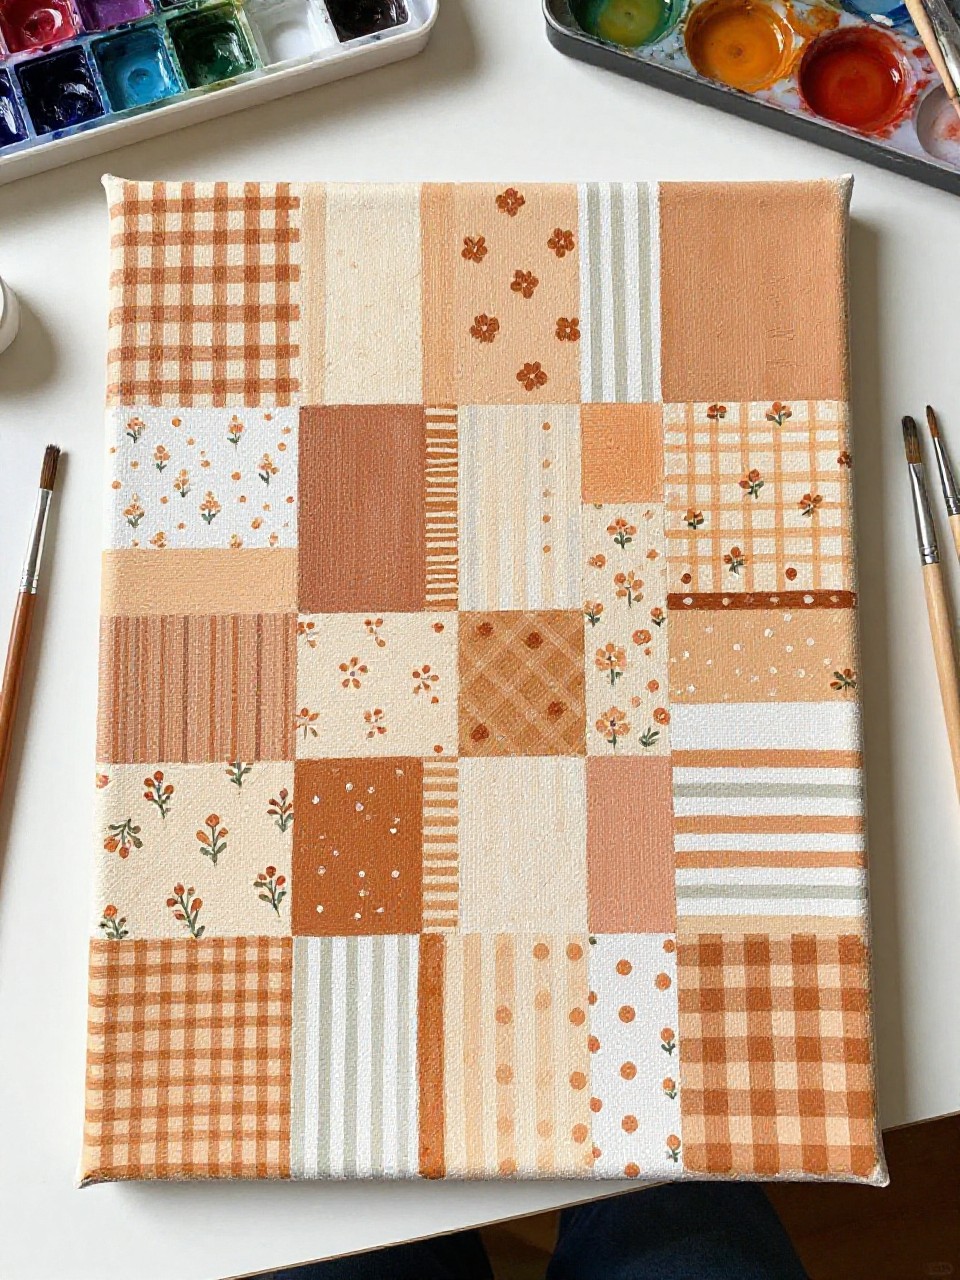
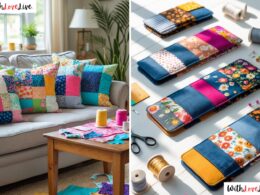
This finished canvas looks like a soft quilt made from painted squares, each one a different warm pattern like gingham, tiny florals, and dots. It’s satisfying because you can paint one “fabric” at a time, and small mistakes just add charm—great for beginners and calming evenings.
Materials Needed:
For People Who Love to Make Things ✂️
- Stretched canvas
- Acrylic paint
- Paintbrushes in multiple sizes
- Palette or paint tray
- Painter’s tape
- Optional sealer or varnish
Steps to Make:
- Lightly sketch a grid of squares, then tape over the lines if you want crisp edges.
- Paint each square a different base color, keeping the palette warm and cozy.
- Add simple patterns inside each square (checks, dots, stripes, mini flowers).
- Outline a few squares with a thin brush to make the patchwork pop.
- Let it dry fully, remove tape, and seal if you want a smooth finish for hanging.
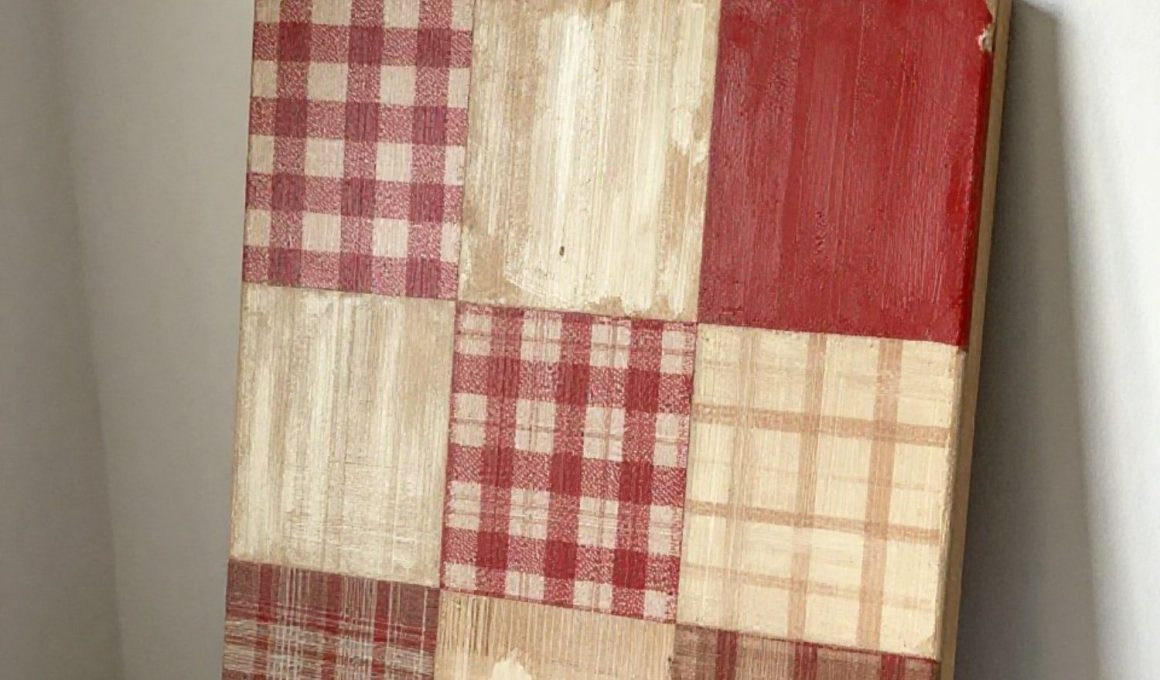
2. Rustic Plaid Patchwork Wood Sign
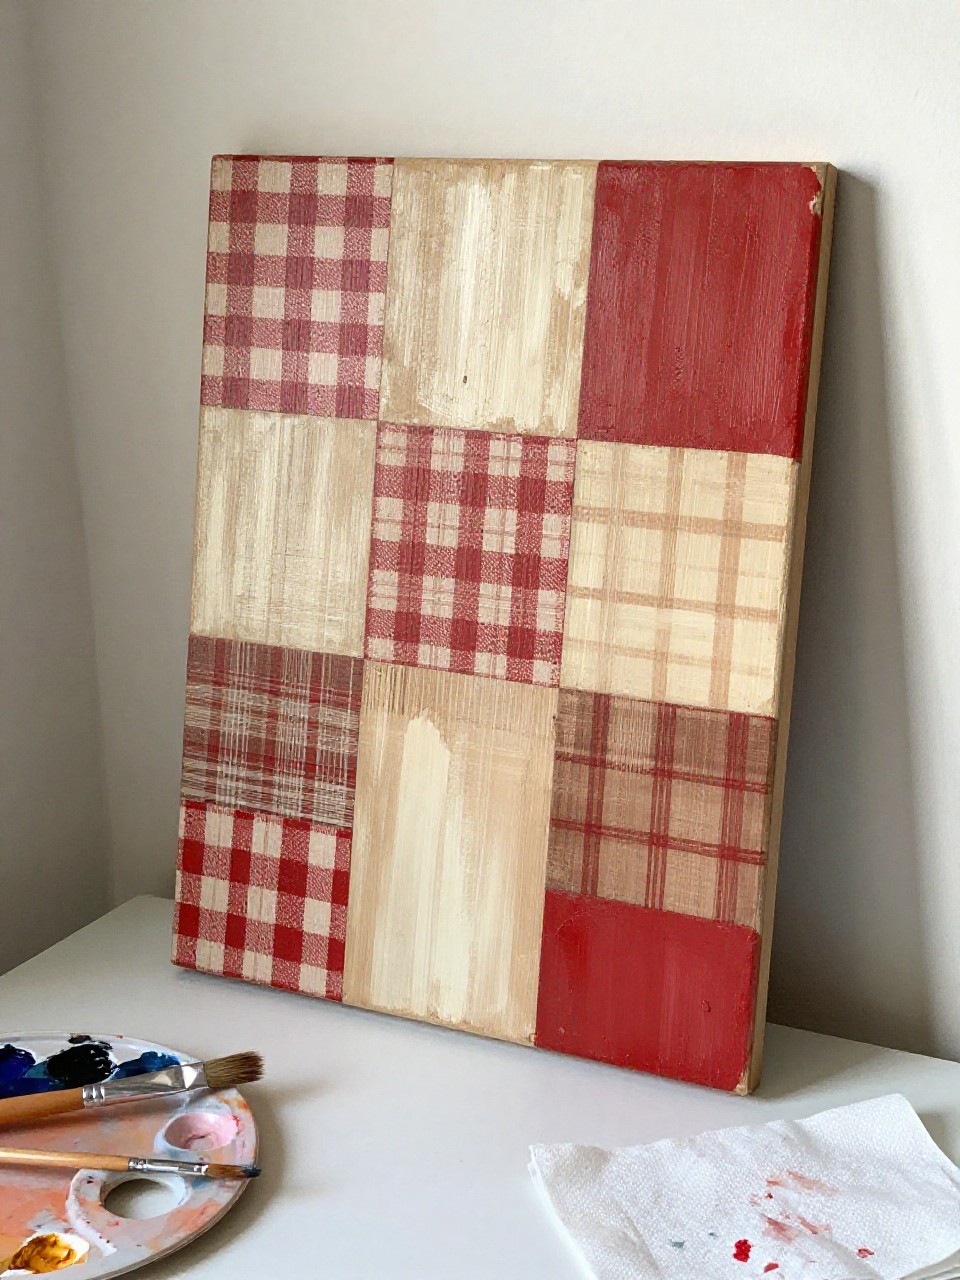
This painted wood sign looks like stitched-together plaid blocks in earthy reds, creams, and browns, like an old flannel quilt. It’s a cozy decor piece for an entryway or cabin vibe, and it’s forgiving because plaid lines can be slightly uneven and still feel handmade.
Materials Needed:
- Wood plaque or wood board
- Acrylic paint
- Paintbrushes in multiple sizes
- Palette or paint tray
- Ruler or straight edge
- Optional sealer or varnish
Steps to Make:
- Wipe the wood clean and paint a thin base coat (cream or light tan) if needed.
- Draw a simple grid, making some rectangles bigger than others for a rustic look.
- Paint each block a base color, then let the blocks dry before adding plaid lines.
- Use a small brush and a ruler edge to add crisscross stripes for plaid in each section.
- Seal the wood once dry, then prop it on a shelf or add a hanger on the back.
3. Cottage Patchwork Flower Pot
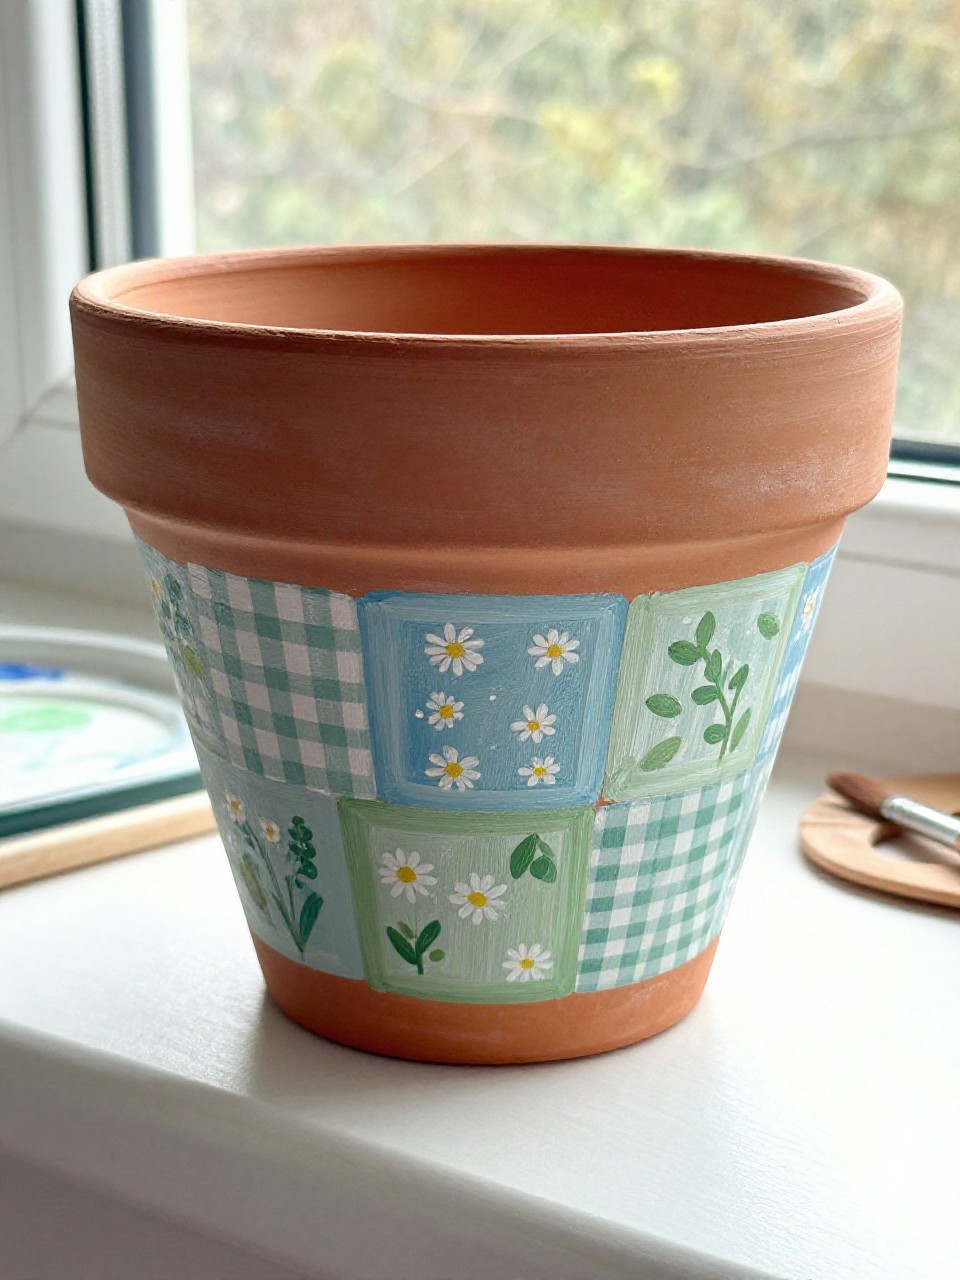
This terracotta pot looks like it’s wrapped in patchwork fabric, with painted squares that curve around the pot and include tiny daisies, checks, and simple leaf shapes. It’s great for beginners because each patch is small, and it makes any houseplant feel extra cozy on a windowsill.
Materials Needed:
- Terracotta pot
- Acrylic paint
- Paintbrushes in multiple sizes
- Palette or paint tray
- Pencil
- Optional sealer or varnish
Steps to Make:
- Brush off dust and lightly sketch a band of patchwork squares around the pot’s widest area.
- Paint the background patches first, letting the colors follow the pot’s curve.
- Add simple patterns inside each patch (mini flowers, dots, tiny vines).
- Paint a thin border line between patches to separate them cleanly.
- Let dry completely and seal the outside only, then style it with a leafy plant.
4. Warm Patchwork Ceramic Mug
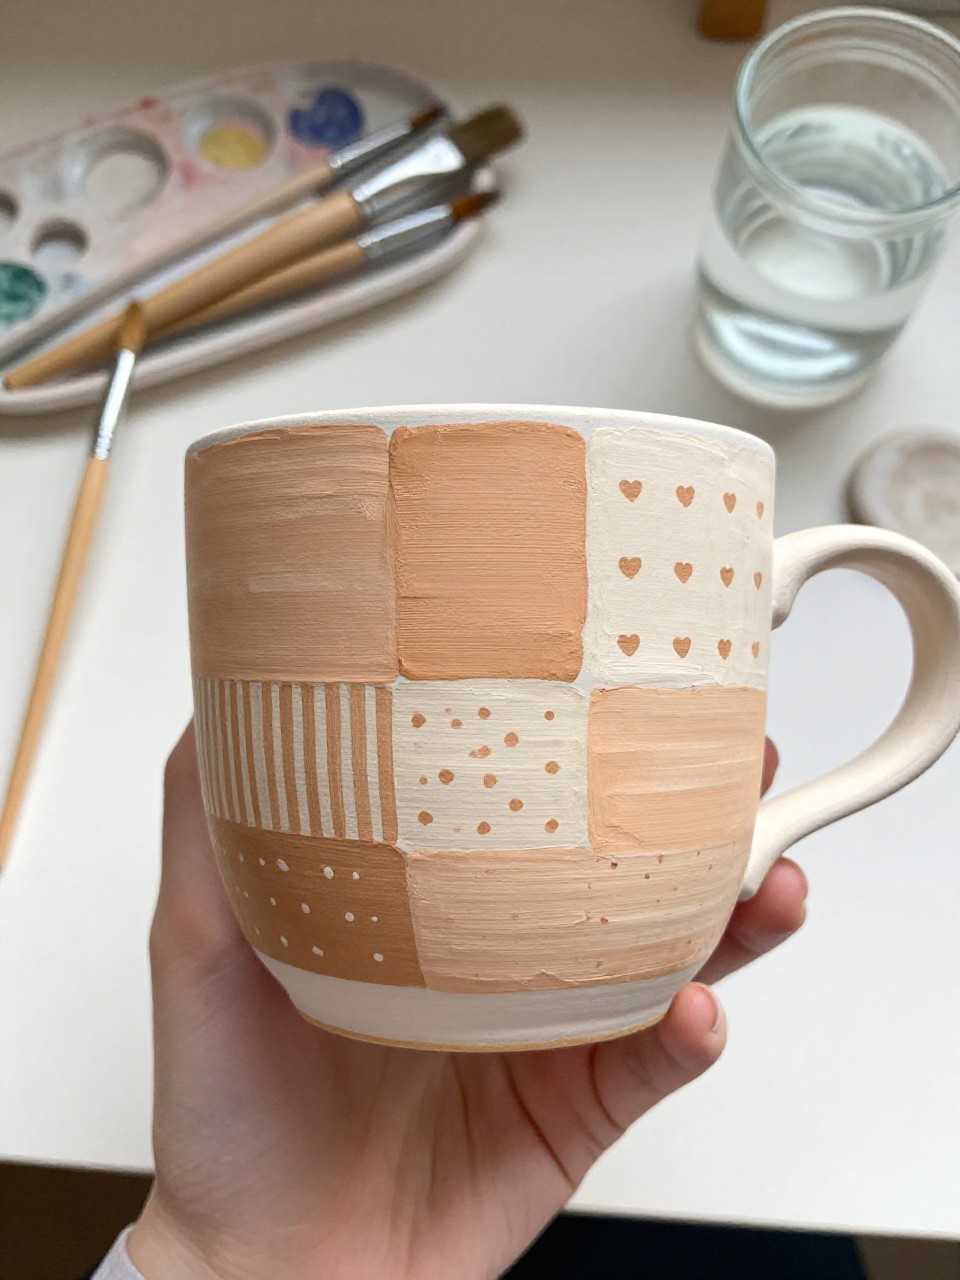
This ceramic mug looks like a cozy sweater in patchwork form, with small painted blocks that wrap around the mug in soft browns, blush, and creamy whites. It’s relaxing to paint because you can rotate the mug and work section by section, and the finished mug feels special for morning tea or gifting.
Materials Needed:
- Plain ceramic mug
- Porcelain paint (paint pens or brush-on)
- Paintbrushes in multiple sizes
- Palette or paint tray
- Rubbing alcohol and cotton pad
- Optional sealer or varnish
Steps to Make:
- Clean the mug with rubbing alcohol so the paint sticks well.
- Lightly sketch a patchwork band that wraps around the mug’s center.
- Paint each patch a solid base color, keeping edges slightly rounded to match the curve.
- Add simple patterns like tiny hearts, stripes, or dots with a small brush.
- Let it dry, then heat-set following your paint’s instructions for a durable finish.
5. Patchwork Sunset Mini Canvas Set
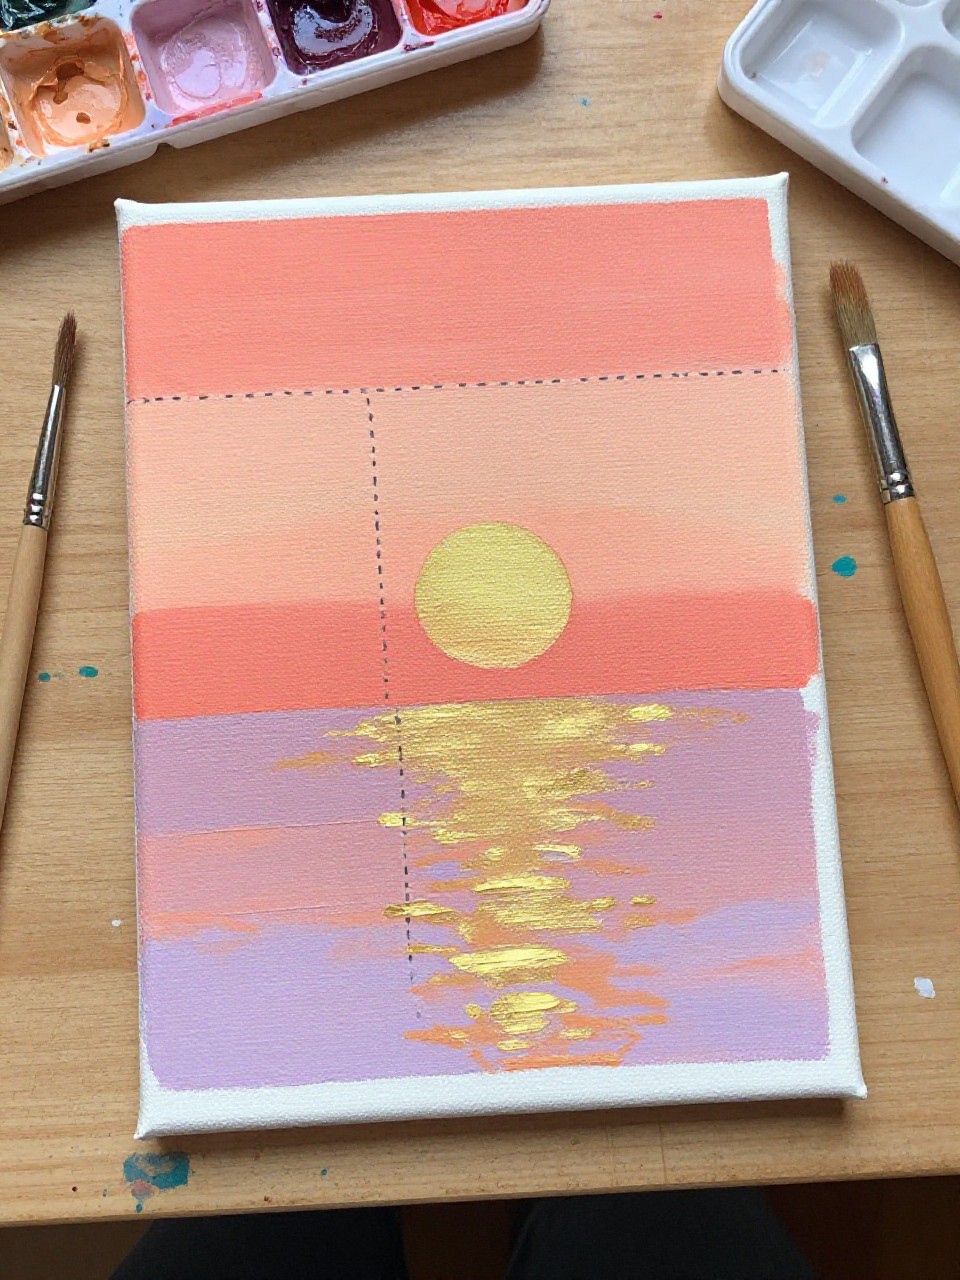
These mini canvases look like quilt squares of sunset colors, with each canvas holding a different patchwork arrangement of coral, peach, mauve, and gold. It’s perfect if you want quick wins—each tiny canvas is less pressure, and the set looks beautiful clustered on a wall or shelf.
Materials Needed:
- Mini stretched canvases (2–4)
- Acrylic paint
- Paintbrushes in multiple sizes
- Palette or paint tray
- Painter’s tape
- Optional sealer or varnish
Steps to Make:
- Tape off a simple patchwork layout on each mini canvas with different block sizes.
- Paint the larger color blocks first in sunset shades, then peel tape after drying a bit.
- Add a few patterned patches (thin stripes, dots, simple arches) for variety.
- Use a small brush to add “stitched” dashed lines along a few seams.
- Let dry and seal, then display them as a small gallery set.
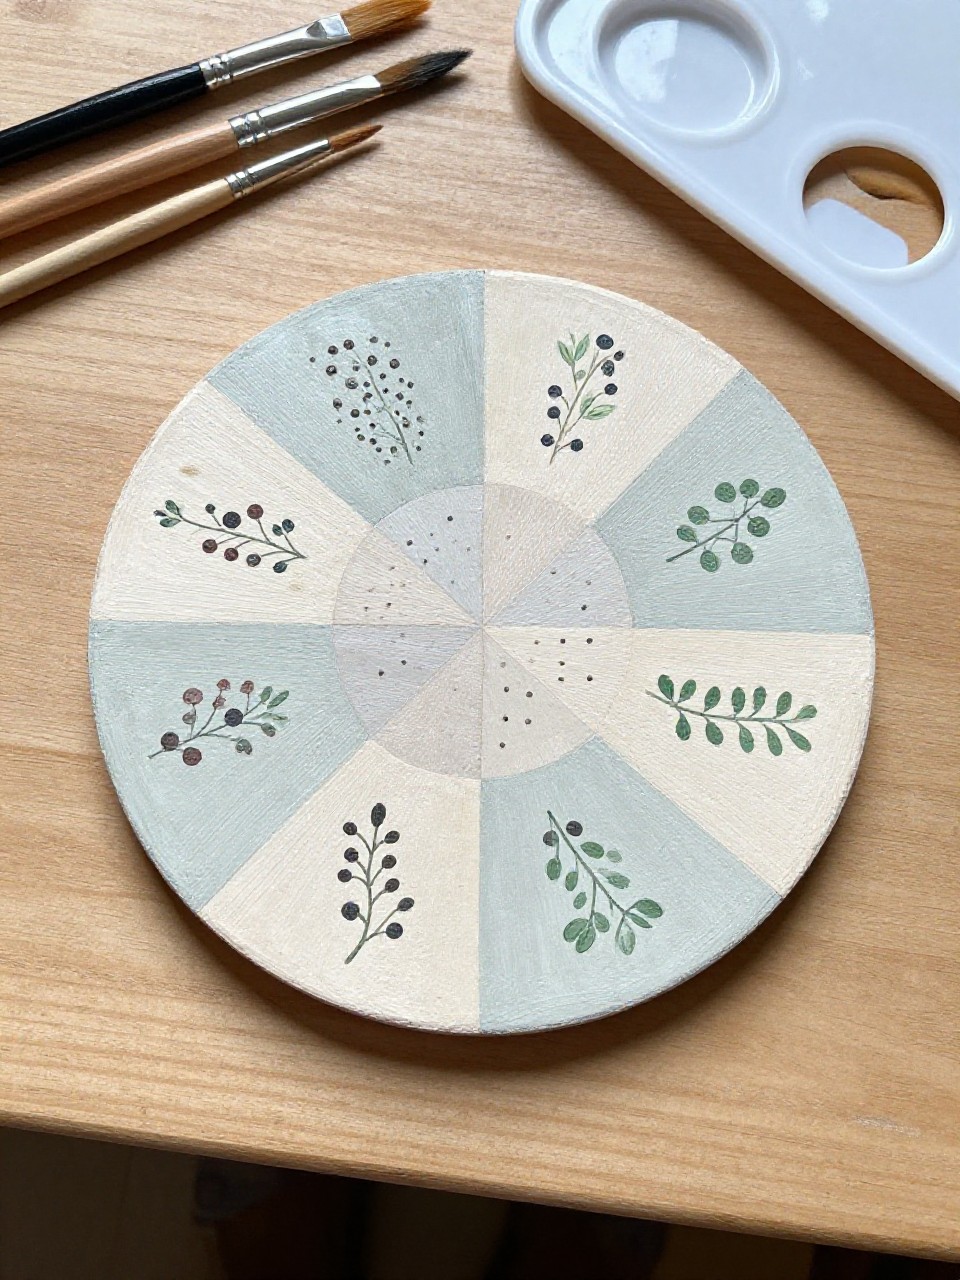
6. Blue-and-Cream Patchwork Ceramic Plate
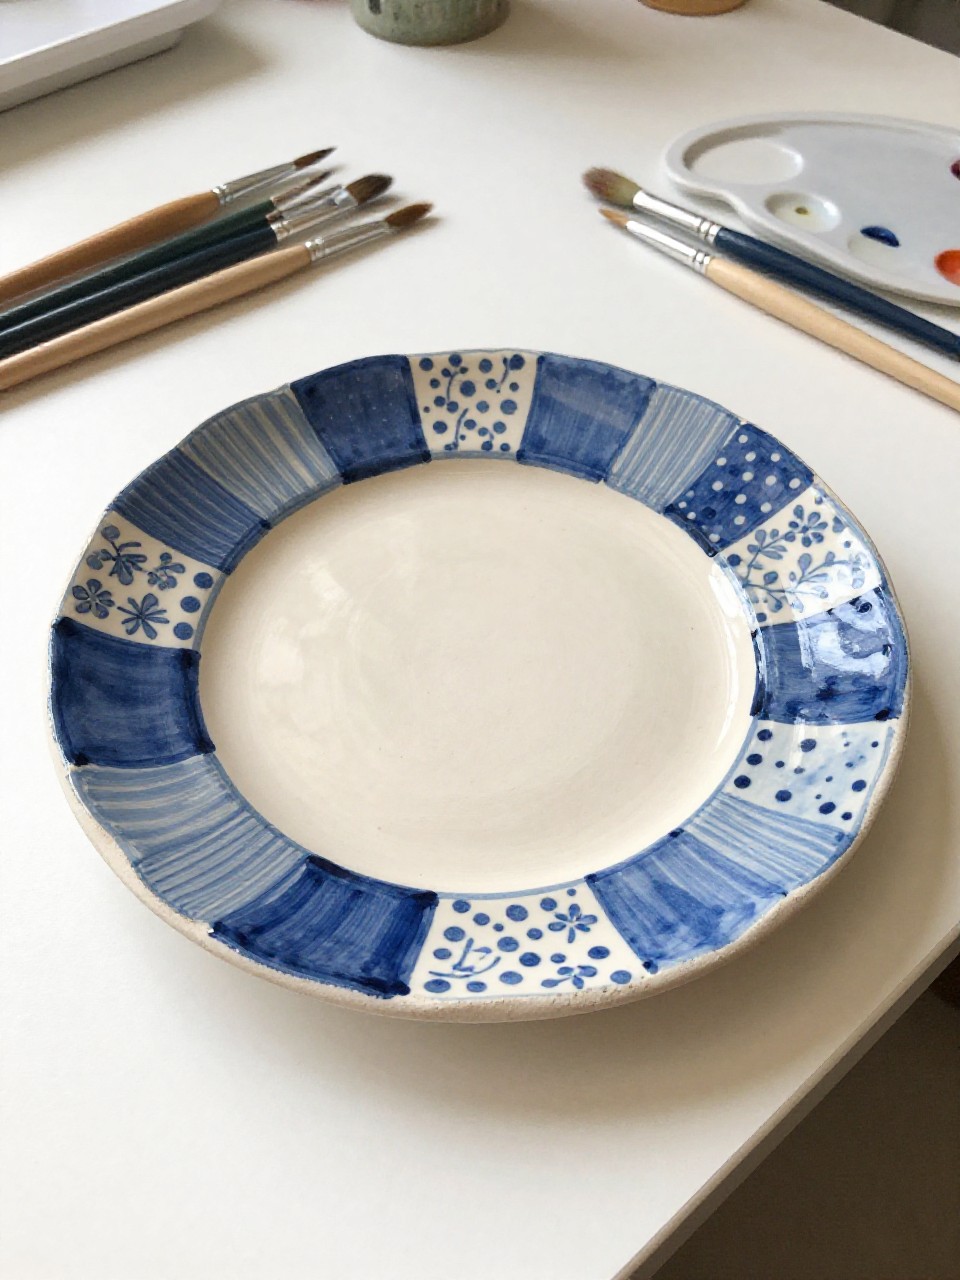
This ceramic plate looks like a cozy patchwork quilt in blue-and-cream, with soft blocks of stripes, dots, and simple floral shapes that follow the plate’s curve. It’s a calming project for slow afternoons, and it can be displayed on a stand even if you don’t plan to use it for food.
Materials Needed:
- Plain ceramic plate
- Porcelain paint (brush-on)
- Paintbrushes in multiple sizes
- Palette or paint tray
- Pencil
- Optional sealer or varnish
Steps to Make:
- Clean and dry the plate, then lightly sketch a patchwork ring near the rim.
- Paint the patch bases first, keeping the shapes slightly curved to match the plate.
- Add patterns inside each block using a small brush and limited colors.
- Paint thin seam lines between blocks to make the patchwork clear and tidy.
- Dry and heat-set according to the paint directions, then display on a plate stand.
7. Soft Patchwork Throw-Pillow Canvas Art
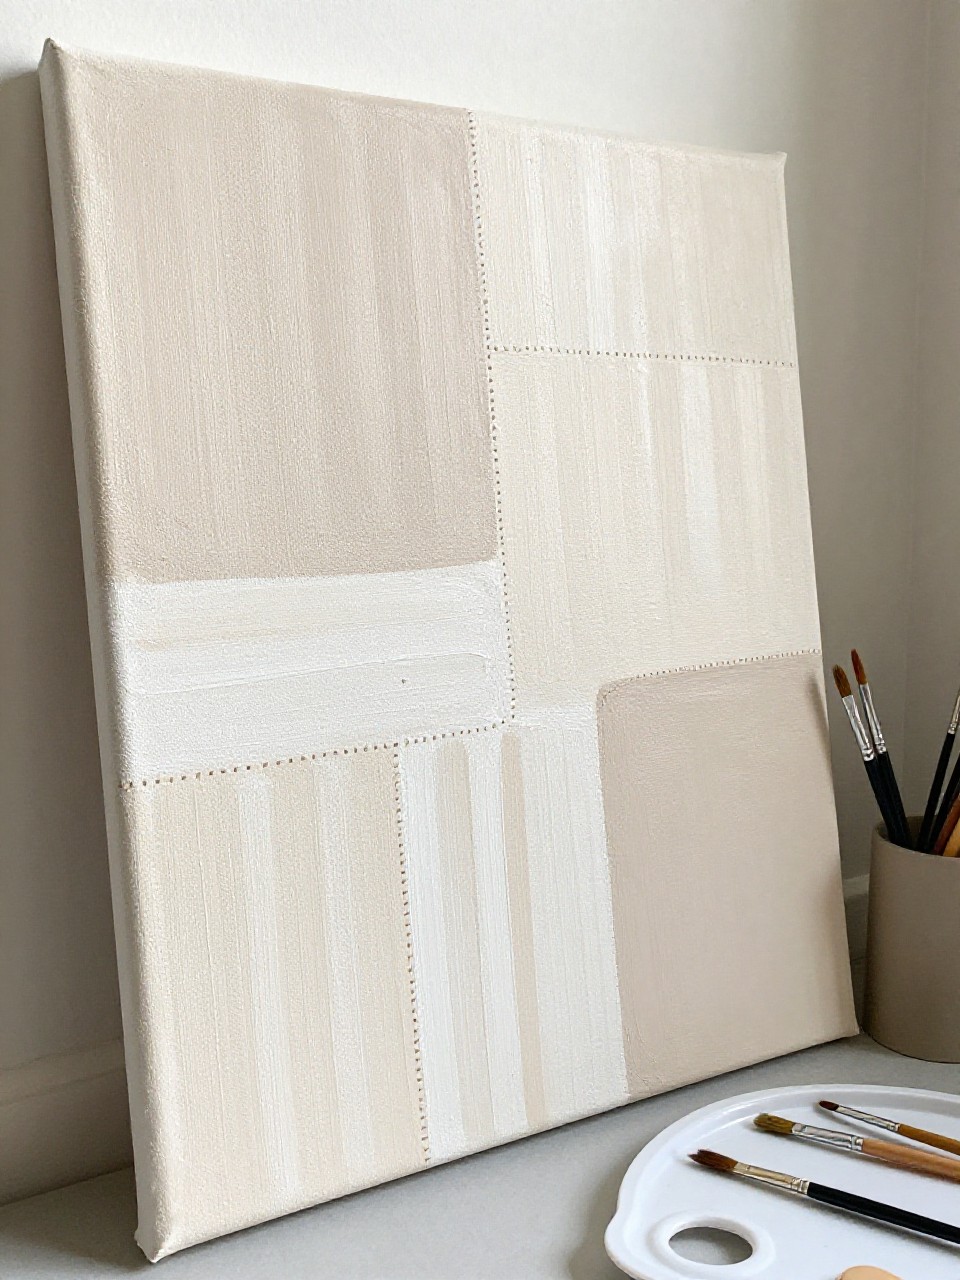
This canvas looks like a patchwork pillow front, with big cozy blocks in muted neutrals and a few darker accents to anchor the design. It’s great for beginners who want home decor that matches real textiles, and the larger blocks make it easy to finish without tiny details.
Materials Needed:
- Stretched canvas
- Acrylic paint
- Paintbrushes in multiple sizes
- Palette or paint tray
- Pencil
- Optional sealer or varnish
Steps to Make:
- Sketch large rectangles and squares, leaving a few skinny “seam” spaces between them.
- Paint the biggest blocks first in soft neutral tones, varying the shade slightly.
- Add a few simple textures like dry-brushed stripes or dotted speckles in some blocks.
- Paint seam lines and a few dashed “stitches” to give it a quilted feel.
- Dry, seal, and hang it near cozy textiles like pillows or a throw blanket.
8. Patchwork Galaxy Notebook Cover
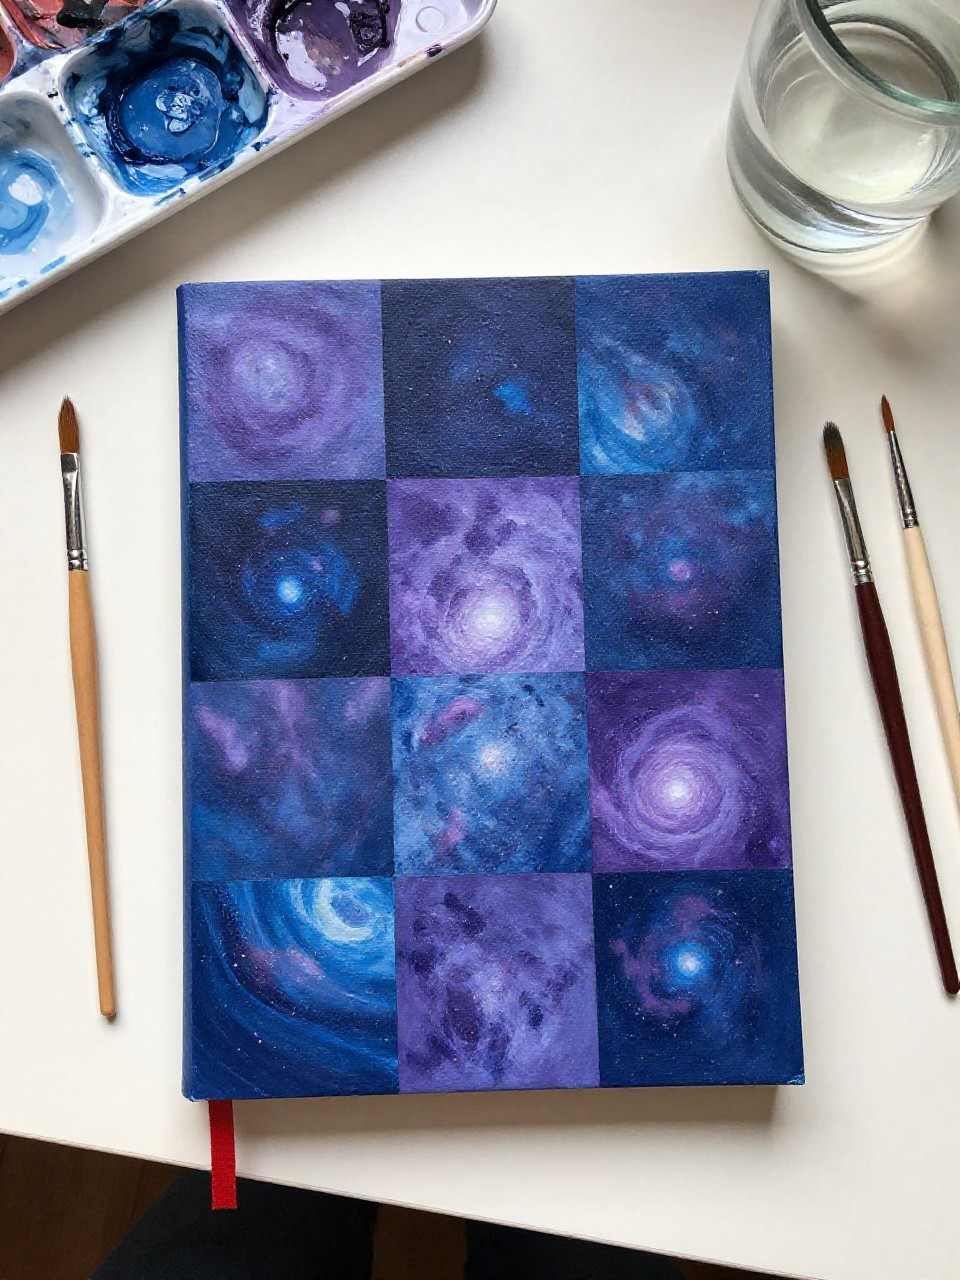
This notebook cover looks like a patchwork sky, with dark blue and purple blocks blended like tiny galaxies and sprinkled with star dots. It’s satisfying because each patch can be messy and blended, which is perfect for beginners, and it turns an everyday notebook into something you’ll want to use.
Materials Needed:
- Hardcover notebook (plain cover)
- Acrylic paint
- Paintbrushes in multiple sizes
- Palette or paint tray
- Painter’s tape
- Optional sealer or varnish
Steps to Make:
- Tape a clean border around the cover and mark off patchwork rectangles inside.
- Paint each patch a dark base color, then blend lighter tones while still wet.
- Add tiny star dots with the tip of a small brush or a gentle splatter.
- Paint thin lines between patches to separate the blocks without making it too harsh.
- Let dry fully and seal the cover so it holds up to daily handling.
9. Patchwork Tea Tin Storage Canister
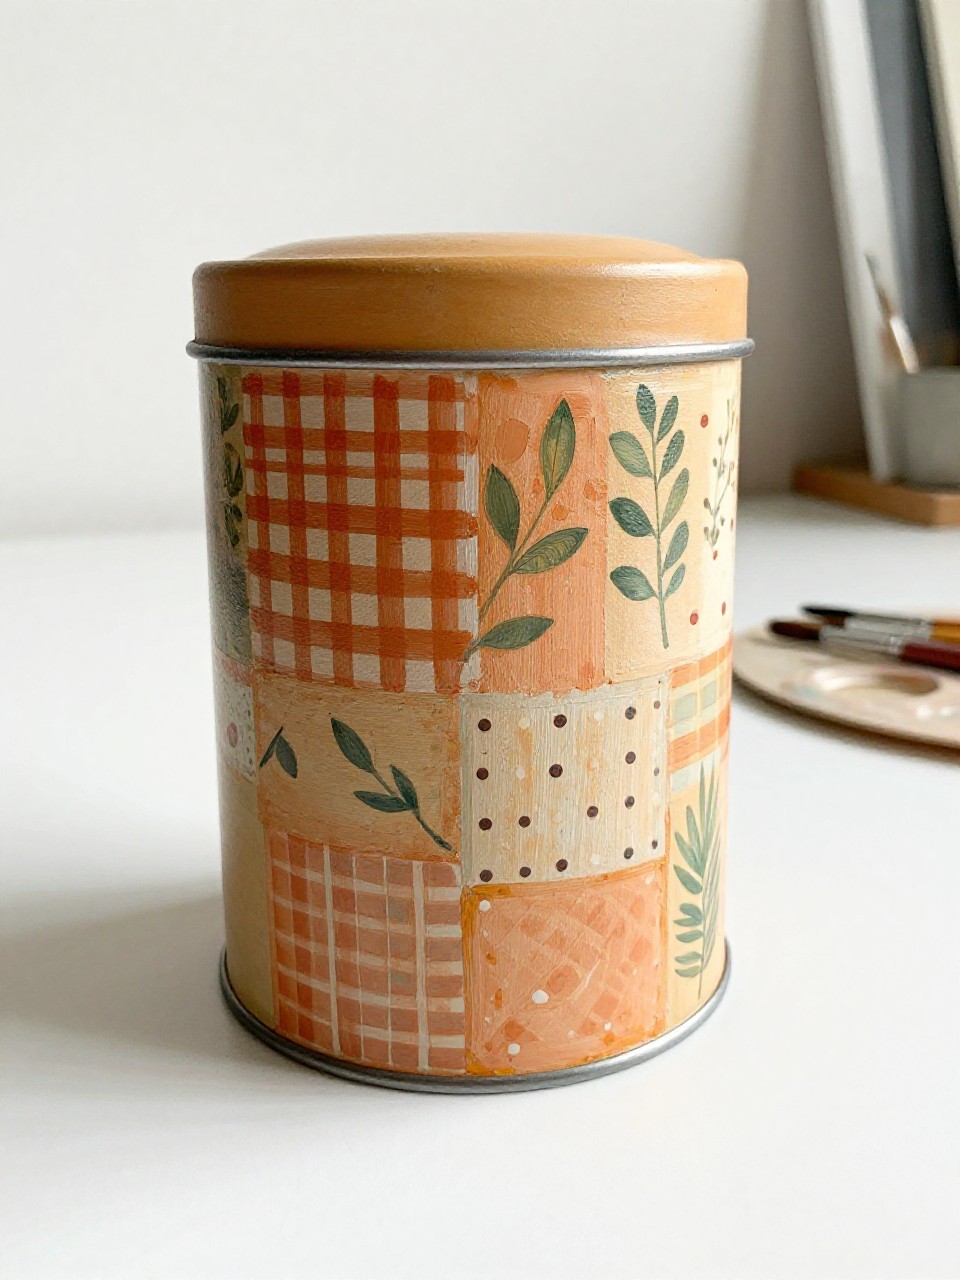
This metal tea tin looks cozy and vintage with painted patchwork panels that wrap around the sides, using warm creams, greens, and faded reds. It’s a great beginner project because you’re basically making simple blocks, and it turns clutter (tea bags, pens, craft bits) into a cute display piece.
Materials Needed:
- Metal tin canister (clean, dry)
- Acrylic paint (multi-surface)
- Paintbrushes in multiple sizes
- Palette or paint tray
- Painter’s tape
- Optional sealer or varnish
Steps to Make:
- Wash and dry the tin, then tape off a few vertical patchwork panels around the sides.
- Paint each panel in soft base colors, letting the design wrap naturally around the tin.
- Add patterns like checks, leaf sprigs, and small dots once the base is dry.
- Use a small brush to add seam lines that connect the patches across edges.
- Seal when dry, then use it for tea, sugar packets, or art tools.
10. Patchwork Ring Trinket Dish
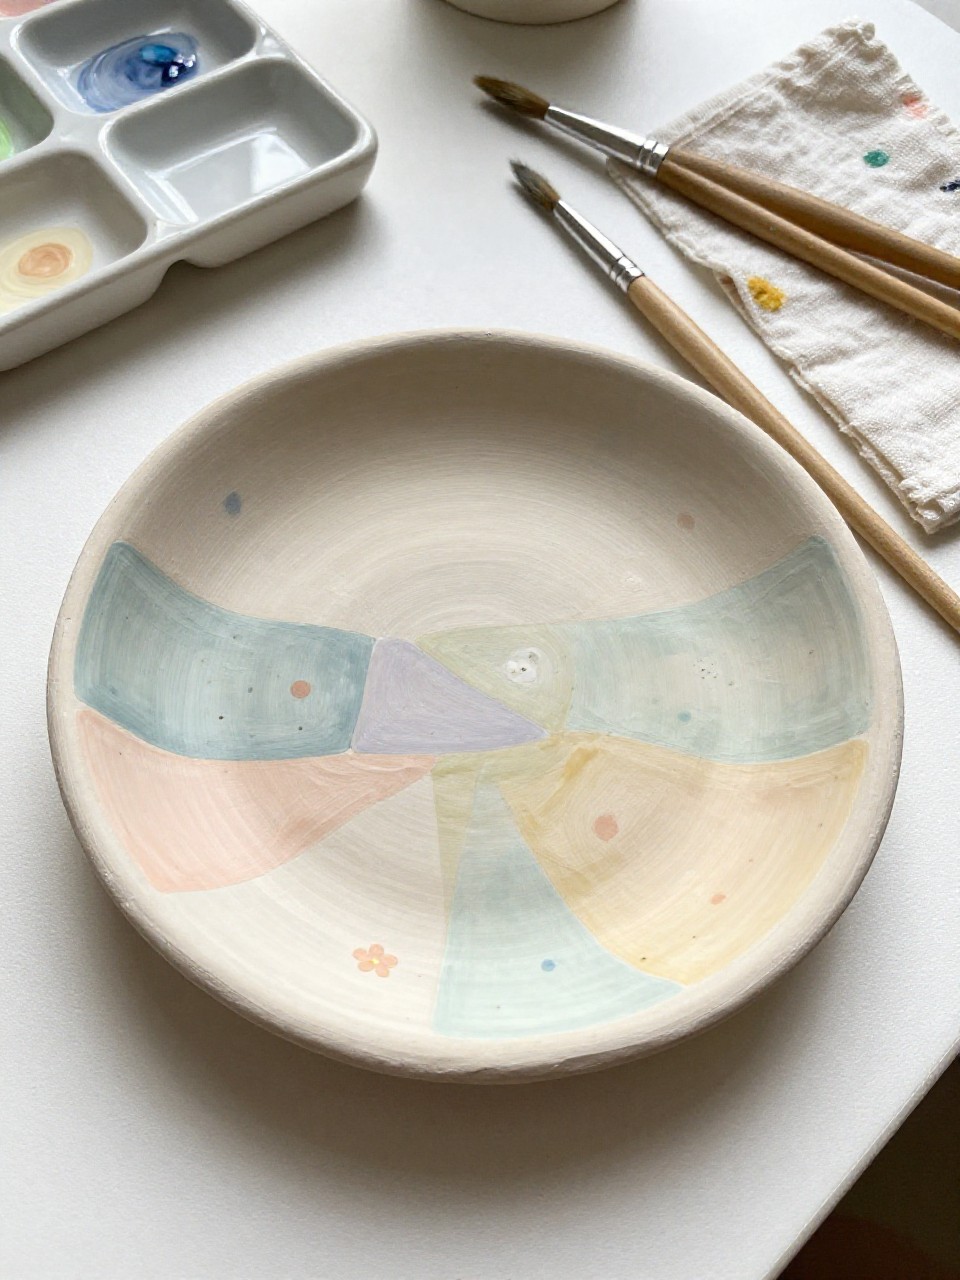
This small trinket dish looks like a tiny patchwork quilt, with curved wedge-shaped pieces radiating out in cozy colors. It’s relaxing because the dish is small and quick to finish, and it makes a sweet catch-all for rings, coins, or bobby pins on a bedside table.
Materials Needed:
- Small ceramic trinket dish
- Porcelain paint (brush-on or paint pens)
- Paintbrushes in multiple sizes
- Palette or paint tray
- Rubbing alcohol and cotton pad
- Optional sealer or varnish
Steps to Make:
- Clean the dish well so the paint doesn’t slide or bead up.
- Sketch a simple “pie slice” patchwork layout inside the dish.
- Paint each wedge a different soft color, keeping edges curved with the dish shape.
- Add tiny patterns (dots, mini petals, short stripes) in a few wedges for contrast.
- Dry and heat-set per paint directions, then place it by the sink or bed.
11. Patchwork Mountain Range Canvas

This canvas shows a simple mountain range built from patchwork triangles, like quilt pieces stitched into peaks in muted blues, grays, and warm browns. It’s a nice choice if you like nature art but want an easy structure, since the triangle shapes guide your painting.
Materials Needed:
- Stretched canvas
- Acrylic paint
- Paintbrushes in multiple sizes
- Palette or paint tray
- Pencil
- Optional sealer or varnish
Steps to Make:
- Draw a horizon line and sketch mountain shapes made from triangle “patches.”
- Paint the sky a simple solid color or a soft blended gradient.
- Fill the mountain patches with different muted tones, changing shade patch by patch.
- Add seam lines and a few dashed stitches along the triangle edges.
- Dry, seal, and hang it in a reading nook for a calm, cozy feel.
12. Patchwork Berries Wooden Coasters
These wooden coasters look like mini quilt squares, each one painted with patchwork blocks that include tiny berry sprigs, dots, and simple leaf shapes. They’re fun because you can make a matching set without making them identical, and they add cozy charm to coffee breaks.
Materials Needed:
- Plain wood coasters
- Acrylic paint
- Paintbrushes in multiple sizes
- Palette or paint tray
- Pencil
- Optional sealer or varnish
Steps to Make:
- Lightly sand if needed, then wipe the coasters clean.
- Sketch small patchwork squares and rectangles, leaving a thin border around the edge.
- Paint base blocks in warm neutrals and berry tones, letting brush texture show.
- Add tiny berry clusters and leaves in a few patches using a small brush.
- Seal well for protection, then stack them on a tray near your mugs.
13. Patchwork Lavender Ceramic Vase
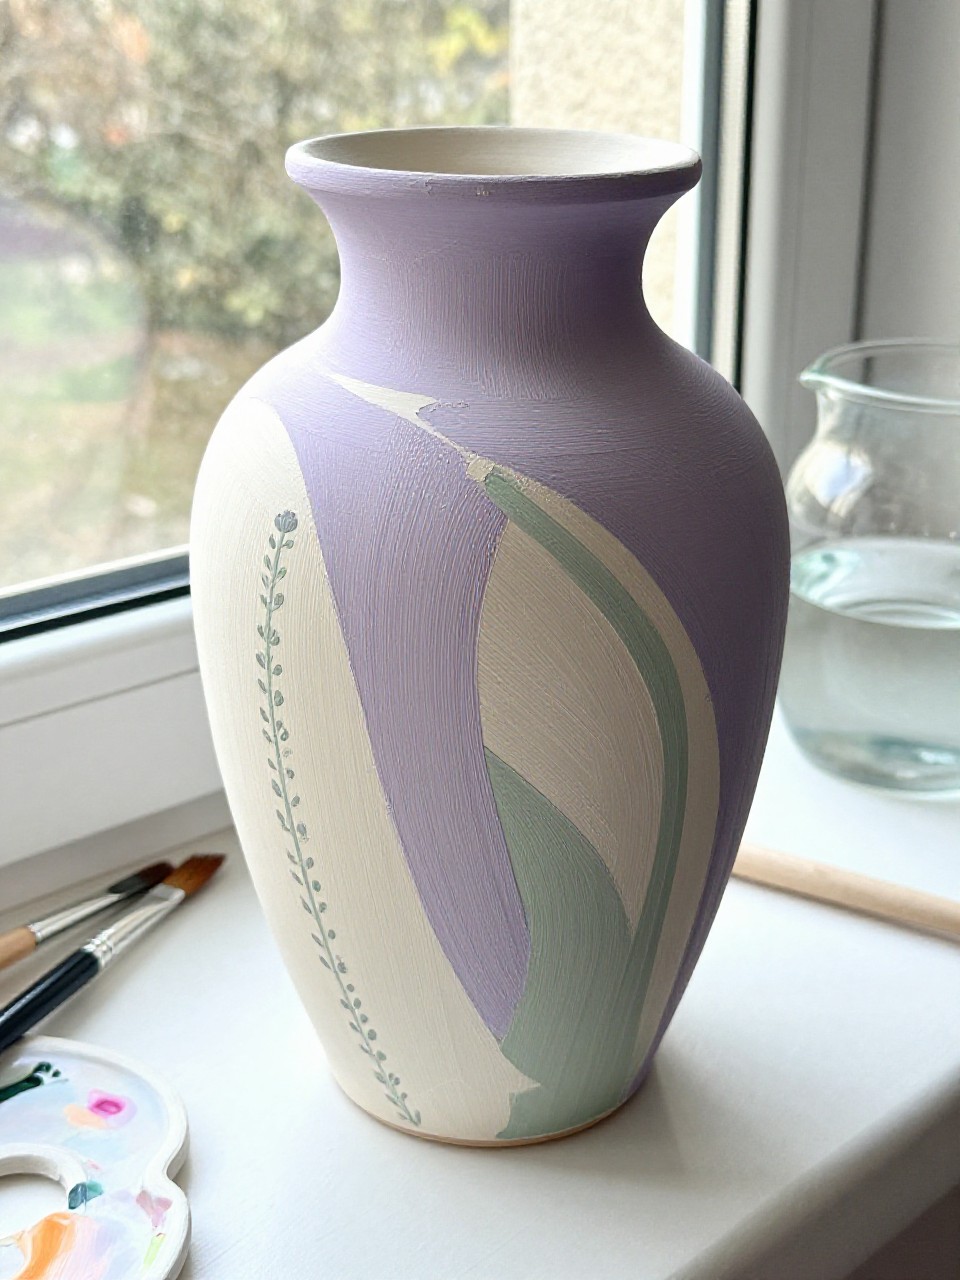
This ceramic vase looks softly wrapped in patchwork panels that curve around the body, painted in lavender, cream, and sage with gentle patterns like stripes and tiny buds. It’s soothing to paint because the colors are calm, and it makes an easy centerpiece even with simple dried stems.
Materials Needed:
- Plain ceramic vase
- Acrylic paint (multi-surface)
- Paintbrushes in multiple sizes
- Palette or paint tray
- Pencil
- Optional sealer or varnish
Steps to Make:
- Clean the vase and sketch vertical patchwork panels that follow the vase’s curve.
- Paint each panel a base color, turning the vase as you go to keep lines even.
- Add patterns like thin stripes, dotted clusters, and tiny lavender-bud shapes.
- Outline a few panel edges with a fine brush to make the patchwork readable from afar.
- Let dry and seal, then style with dried lavender or eucalyptus stems.
14. Patchwork Heart Canvas for a Nursery
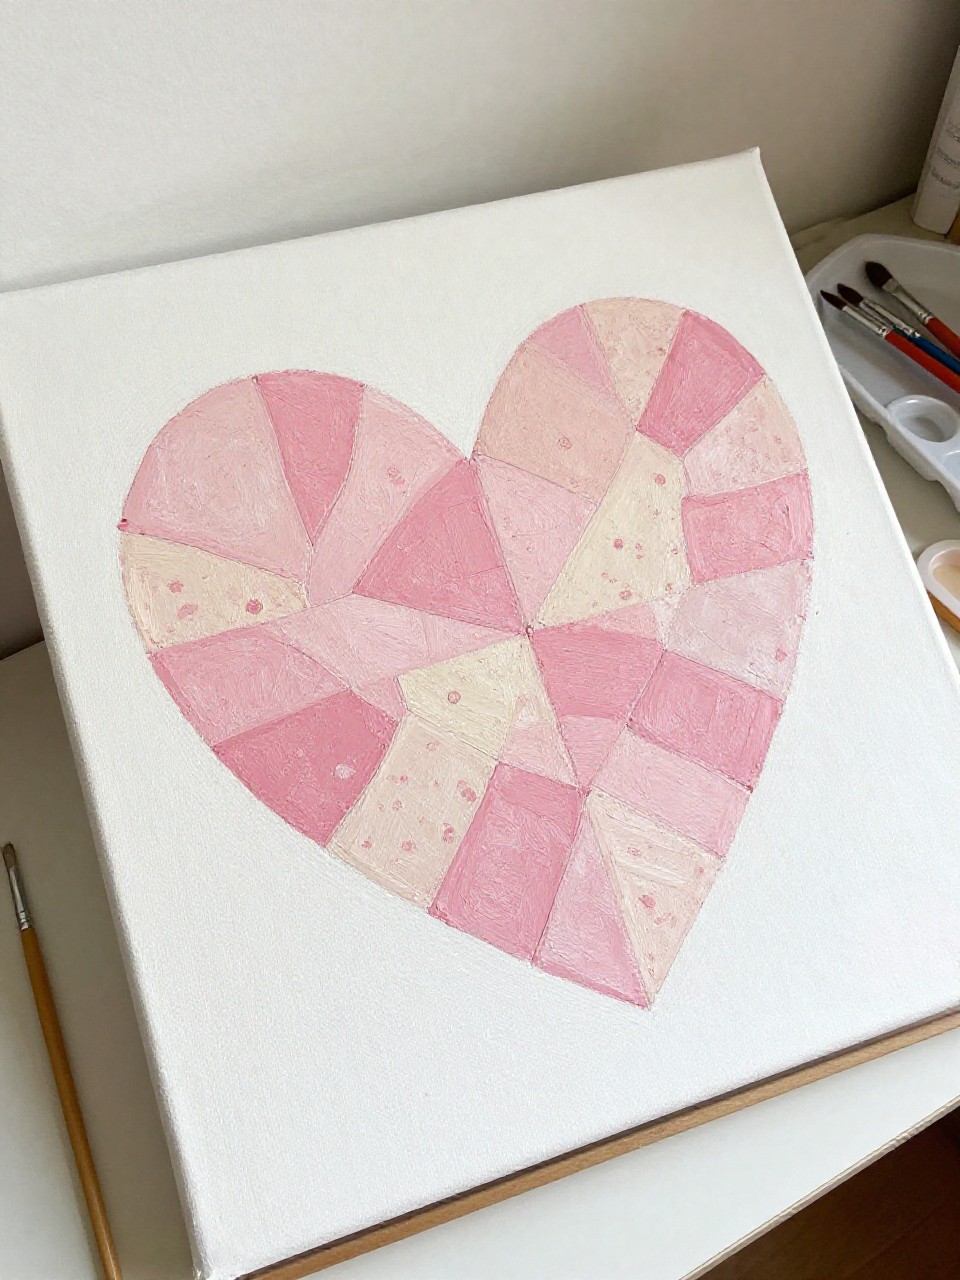
This canvas shows a large heart shape made from patchwork pieces, like a quilted applique, with soft pinks, creams, and gentle patterns. It’s a sweet beginner project because the heart gives you a clear outline, and the patchwork pieces make it look detailed without hard techniques.
Materials Needed:
- Stretched canvas
- Acrylic paint
- Paintbrushes in multiple sizes
- Palette or paint tray
- Pencil
- Optional sealer or varnish
Steps to Make:
- Draw a big heart in the center and lightly divide it into patchwork pieces.
- Paint the background a simple solid color so the heart stands out.
- Fill the heart pieces with soft colors, varying each patch slightly for warmth.
- Add tiny patterns (polka dots, micro stripes, little bows) to a few patches.
- Dry, seal, and hang it in a nursery or cozy corner with soft lighting.
15. Patchwork Stripe Serving Tray
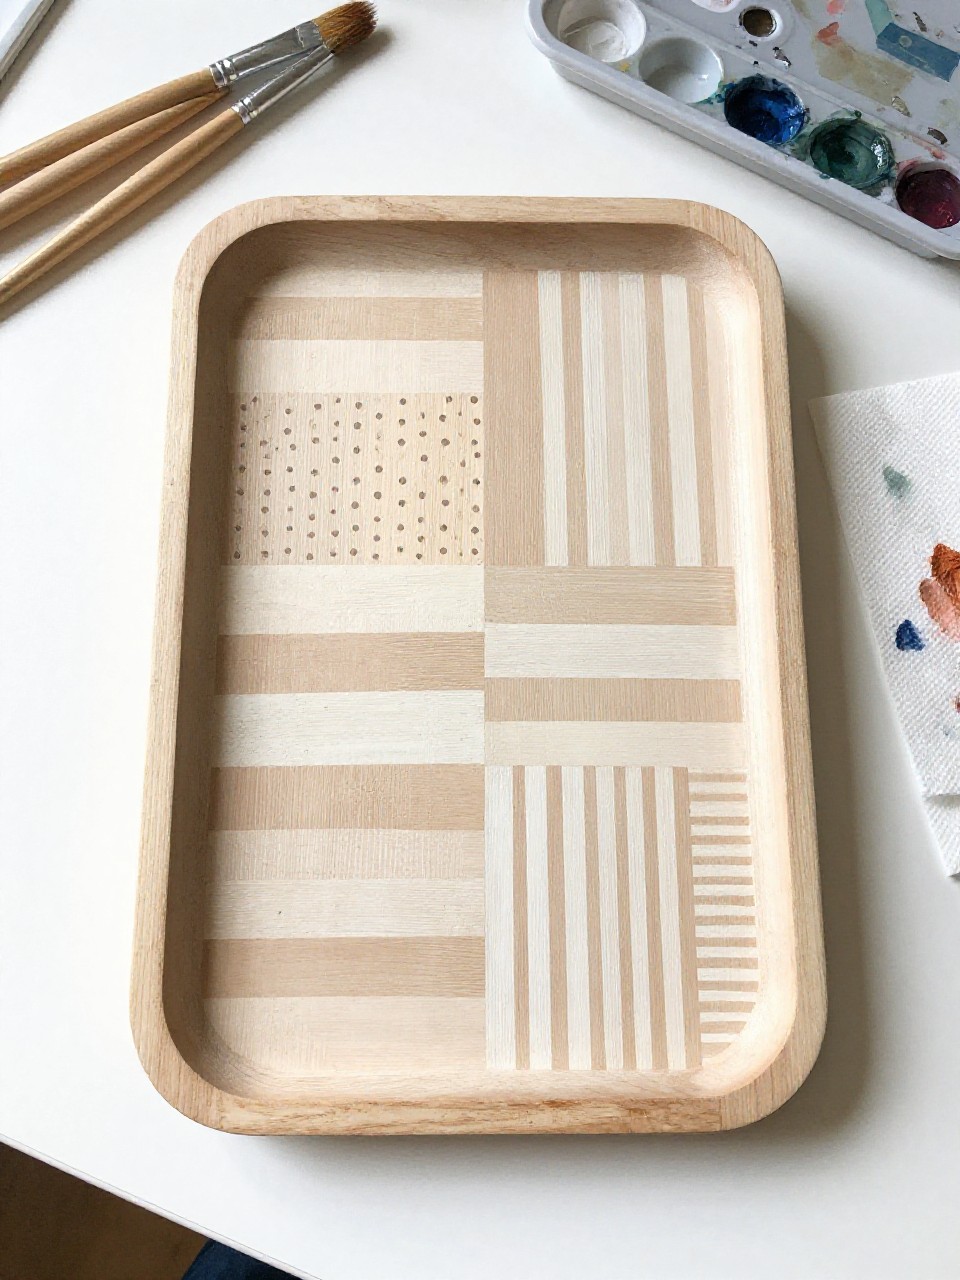
This serving tray looks like a painted patchwork blanket, with long rectangles and small squares in warm neutrals and gentle color pops, all aligned to the tray’s shape. It’s satisfying because the tray becomes useful decor, and the patchwork layout helps you keep the design organized without needing perfect drawing skills.
Materials Needed:
- Plain wood serving tray
- Acrylic paint
- Paintbrushes in multiple sizes
- Palette or paint tray
- Painter’s tape
- Optional sealer or varnish
Steps to Make:
- Tape off sections that match the tray’s long shape, mixing wide and narrow blocks.
- Paint the base colors in each section, keeping the paint slightly textured for warmth.
- Add patterns like thin stripes, dots, or simple curves in a few chosen blocks.
- Remove tape and touch up edges, then add seam lines where you want more definition.
- Seal thoroughly for durability, then style it on a coffee table with candles or books.
16. Patchwork Bowl with Cozy Kitchen Colors
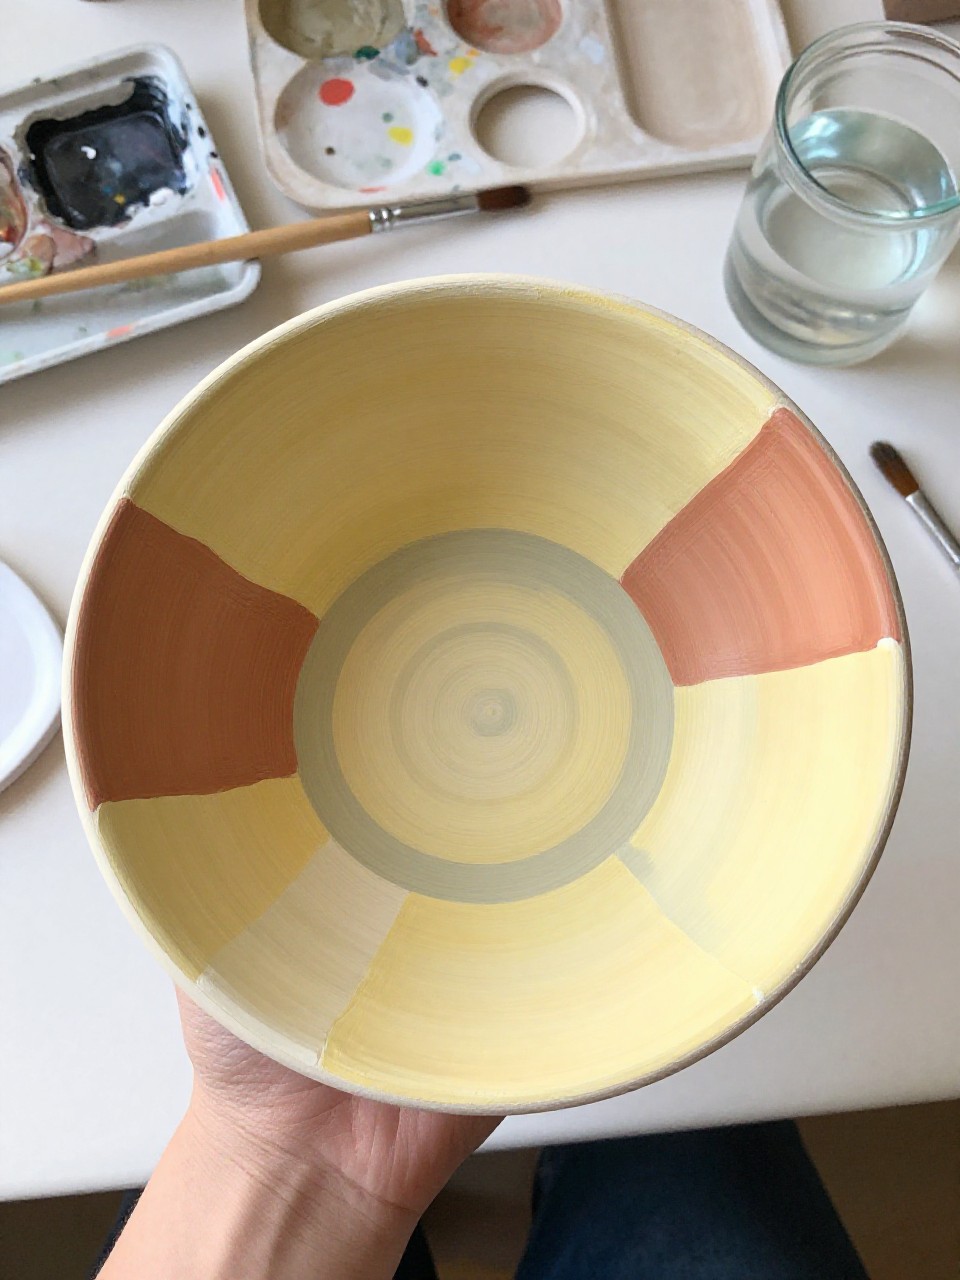
This ceramic bowl looks like a patchwork quilt that wraps around the outside, with curved blocks in buttery yellow, terracotta, sage, and cream. It’s a comforting project for beginners because the bowl’s shape guides the design, and it looks lovely on open shelves even when it’s not in use.
Materials Needed:
- Plain ceramic bowl
- Porcelain paint (brush-on)
- Paintbrushes in multiple sizes
- Palette or paint tray
- Rubbing alcohol and cotton pad
- Optional sealer or varnish
Steps to Make:
- Clean the bowl’s outside with rubbing alcohol and let it dry.
- Sketch curved patchwork blocks around the bowl so the design follows the round shape.
- Paint the base patches in cozy kitchen colors, rotating the bowl as you work.
- Add small details like tiny checks, dotted lines, or leaf sprigs in a few patches.
- Let dry and heat-set per paint directions, then display it on a shelf or counter.