


Table of Contents Show
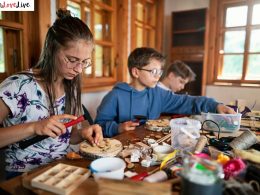
Fall is a great time to gather friends and enjoy creative activities together. I believe a ladies night with fun fall crafts can bring warmth and good memories during the cooler months. It’s a chance to relax, chat, and make something special in a cozy setting.

The best part about these fall crafts is that they are easy to do, budget-friendly, and perfect for groups. You don’t need to be an expert to join in and have fun.
I’ve put together 15 simple craft ideas that anyone can enjoy for a great ladies night.
1. String Art Leaves

I enjoy making string art leaves because they are simple and look stylish. You just need wood, nails, and colorful string. It’s a fun way to bring fall colors into your home or share a creative moment with friends.
How to Make String Art Leaves
For People Who Love to Make Things ✂️
Materials Needed
- Wooden boards (cut into leaf shapes or rectangular bases)
- Small nails or pins
- Hammer
- Yarn or embroidery thread in fall colors (red, orange, yellow, and brown)
- Scissors
- Pencil and leaf template
Shop Featured Items


The Steps
- Step 1: Outline the Leaf Shape
Trace your leaf shape onto the wooden board using a pencil or printed template. - Step 2: Add the Nails
Carefully hammer small nails along the outline, spacing them evenly around the edges. Make sure they’re firmly in place but not too deep. - Step 3: Start Stringing
Tie one end of your yarn to a nail, then begin looping it randomly across the nails to create a web-like pattern. You can use multiple yarn colors for a layered effect. - Step 4: Fill the Leaf
Keep wrapping the yarn until you’re happy with the design and color coverage. Then, tie off the end and trim any excess yarn. - Step 5: Display
Hang your finished string art leaves on a wall, shelf, or mantel for a modern rustic fall accent.
2. Mason Jar Candle Holders
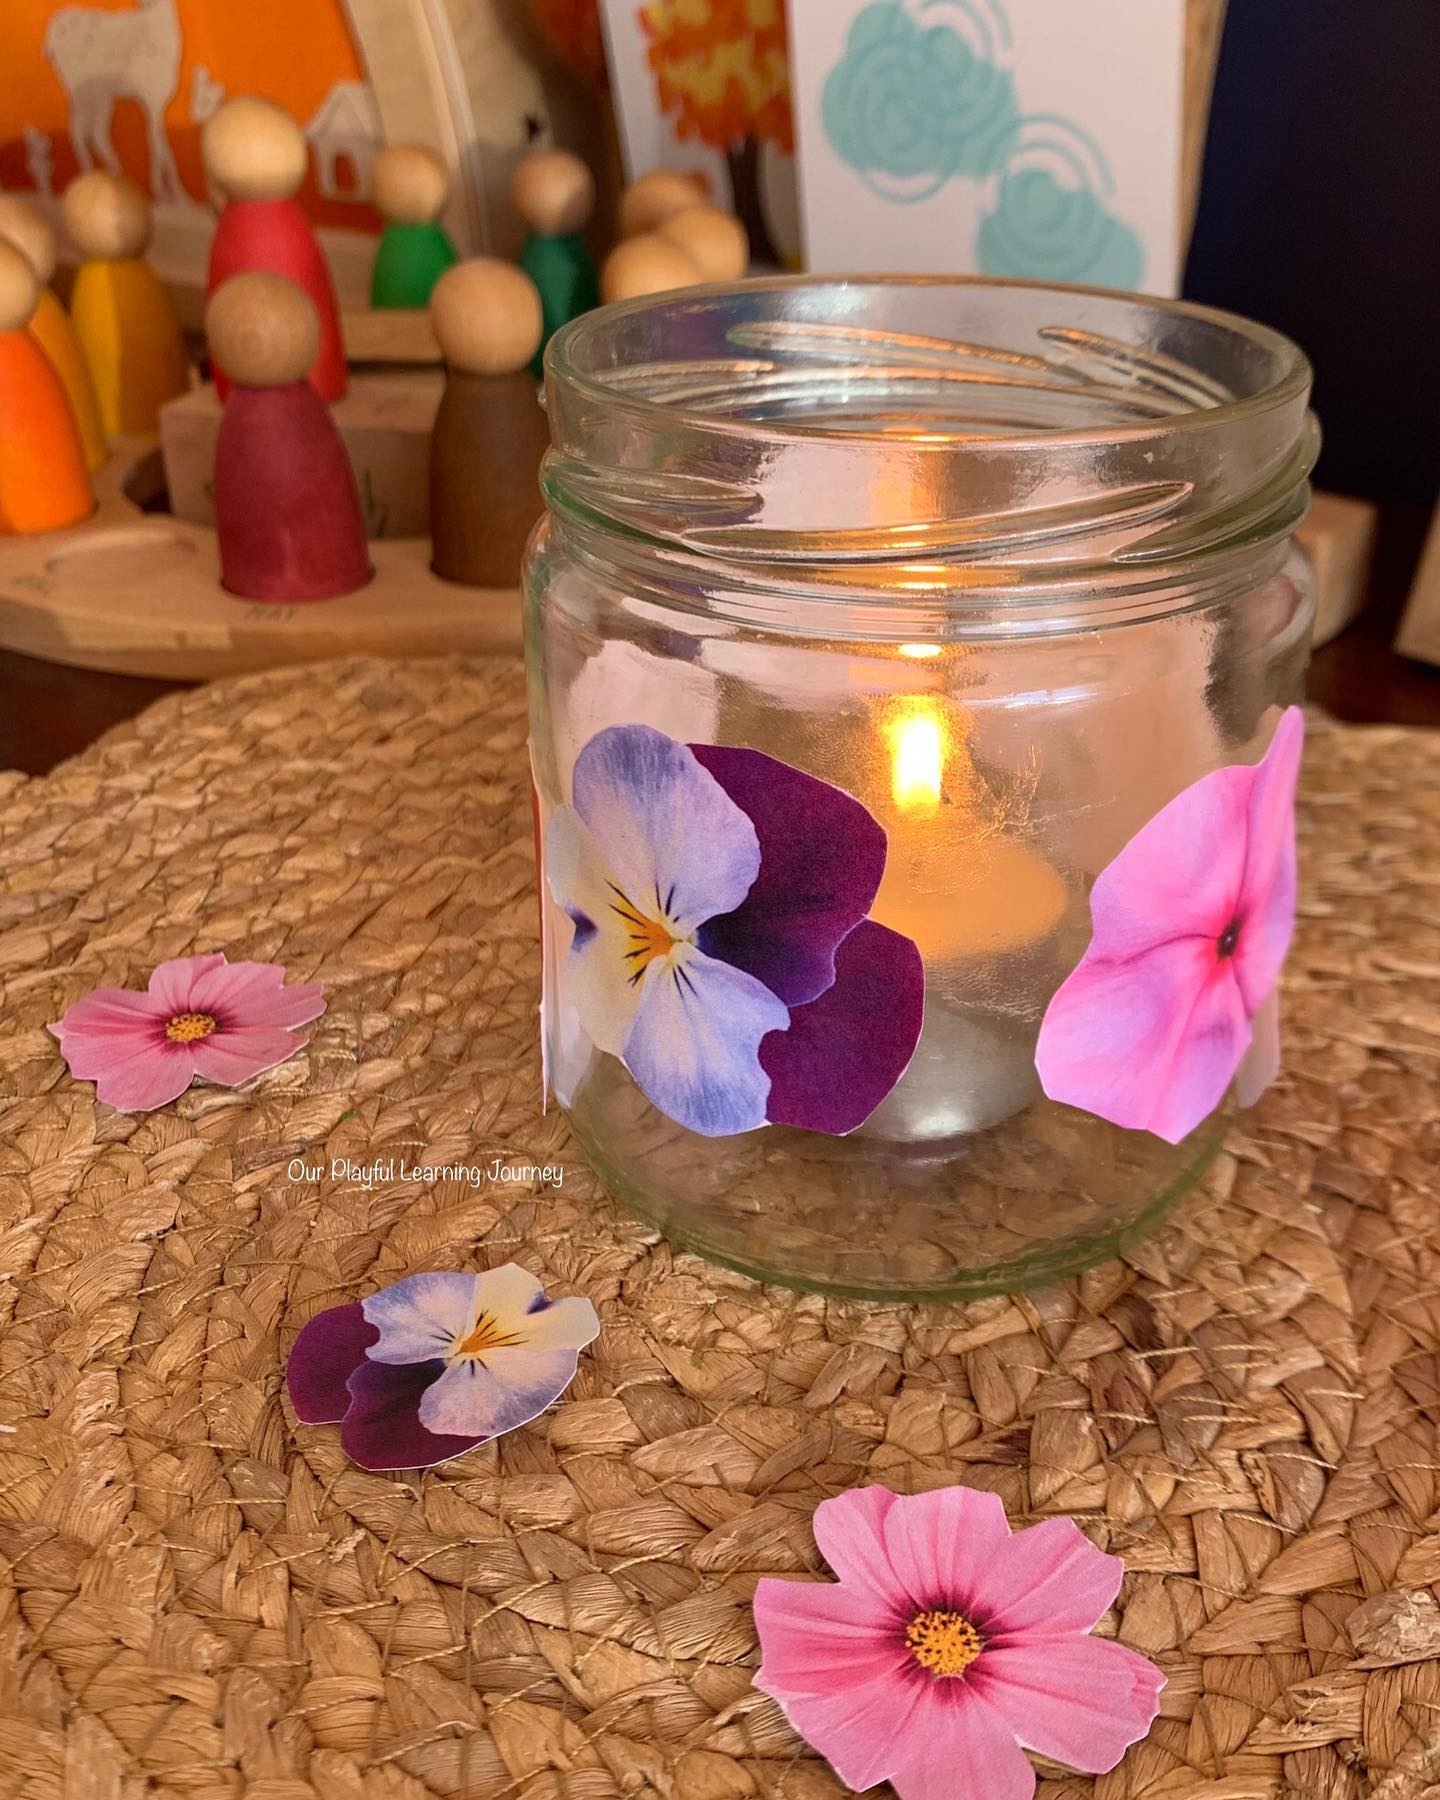
I enjoy making mason jar candle holders for fall. They are simple to create and add a cozy feel to any room. Using leaves, burlap, or ribbon, I decorate the jars to give them a seasonal look perfect for ladies’ night.
How to Make Mason Jar Candle Holders
Materials Needed
- Mason jars (any size)
- Small candles or LED tealights
- Twine or jute rope
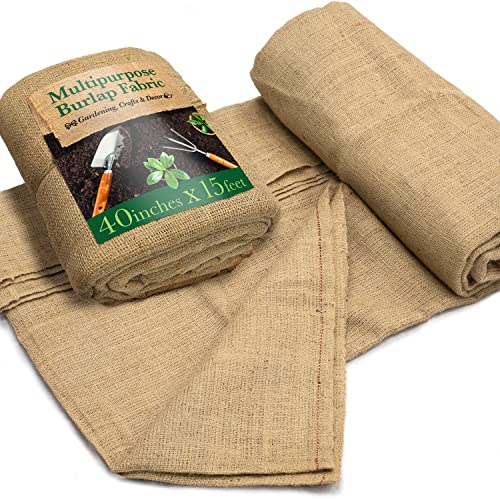
- Mini pinecones, faux moss, and fall leaves
- Hot glue gun (optional)
Shop Featured Items


The Steps
- Step 1: Prepare the Jar Base
Clean the mason jars and let them dry completely. Wrap twine or jute rope around the bottom of each jar for a farmhouse-style touch, securing it with a dab of hot glue. - Step 2: Add Natural Elements
Place a small layer of faux moss, pinecones, or acorns at the bottom of the jar. Tuck in colorful fall leaves for an added seasonal pop. - Step 3: Place the Candle
Position your candle in the center of the jar. If using real candles, ensure they’re placed securely and not touching any flammable decorations. LED candles work perfectly for safety and a long-lasting glow. - Step 4: Tie the Top
Wrap more twine around the top rim of the jar and tie it in a bow for a finished, rustic look. - Step 5: Light and Display
Arrange your mason jar candle holders on a table, windowsill, or entryway to create a cozy autumn ambiance in your home.
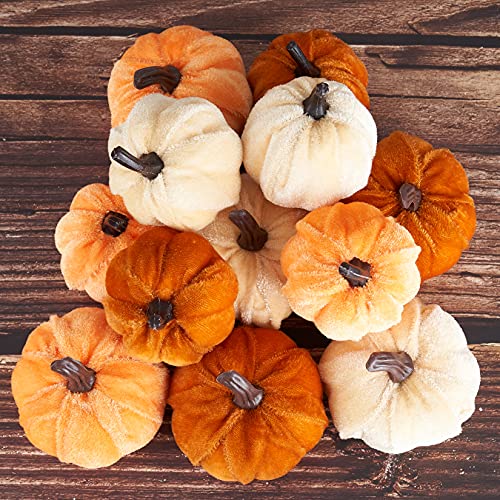
3. Painted Pumpkin Vases
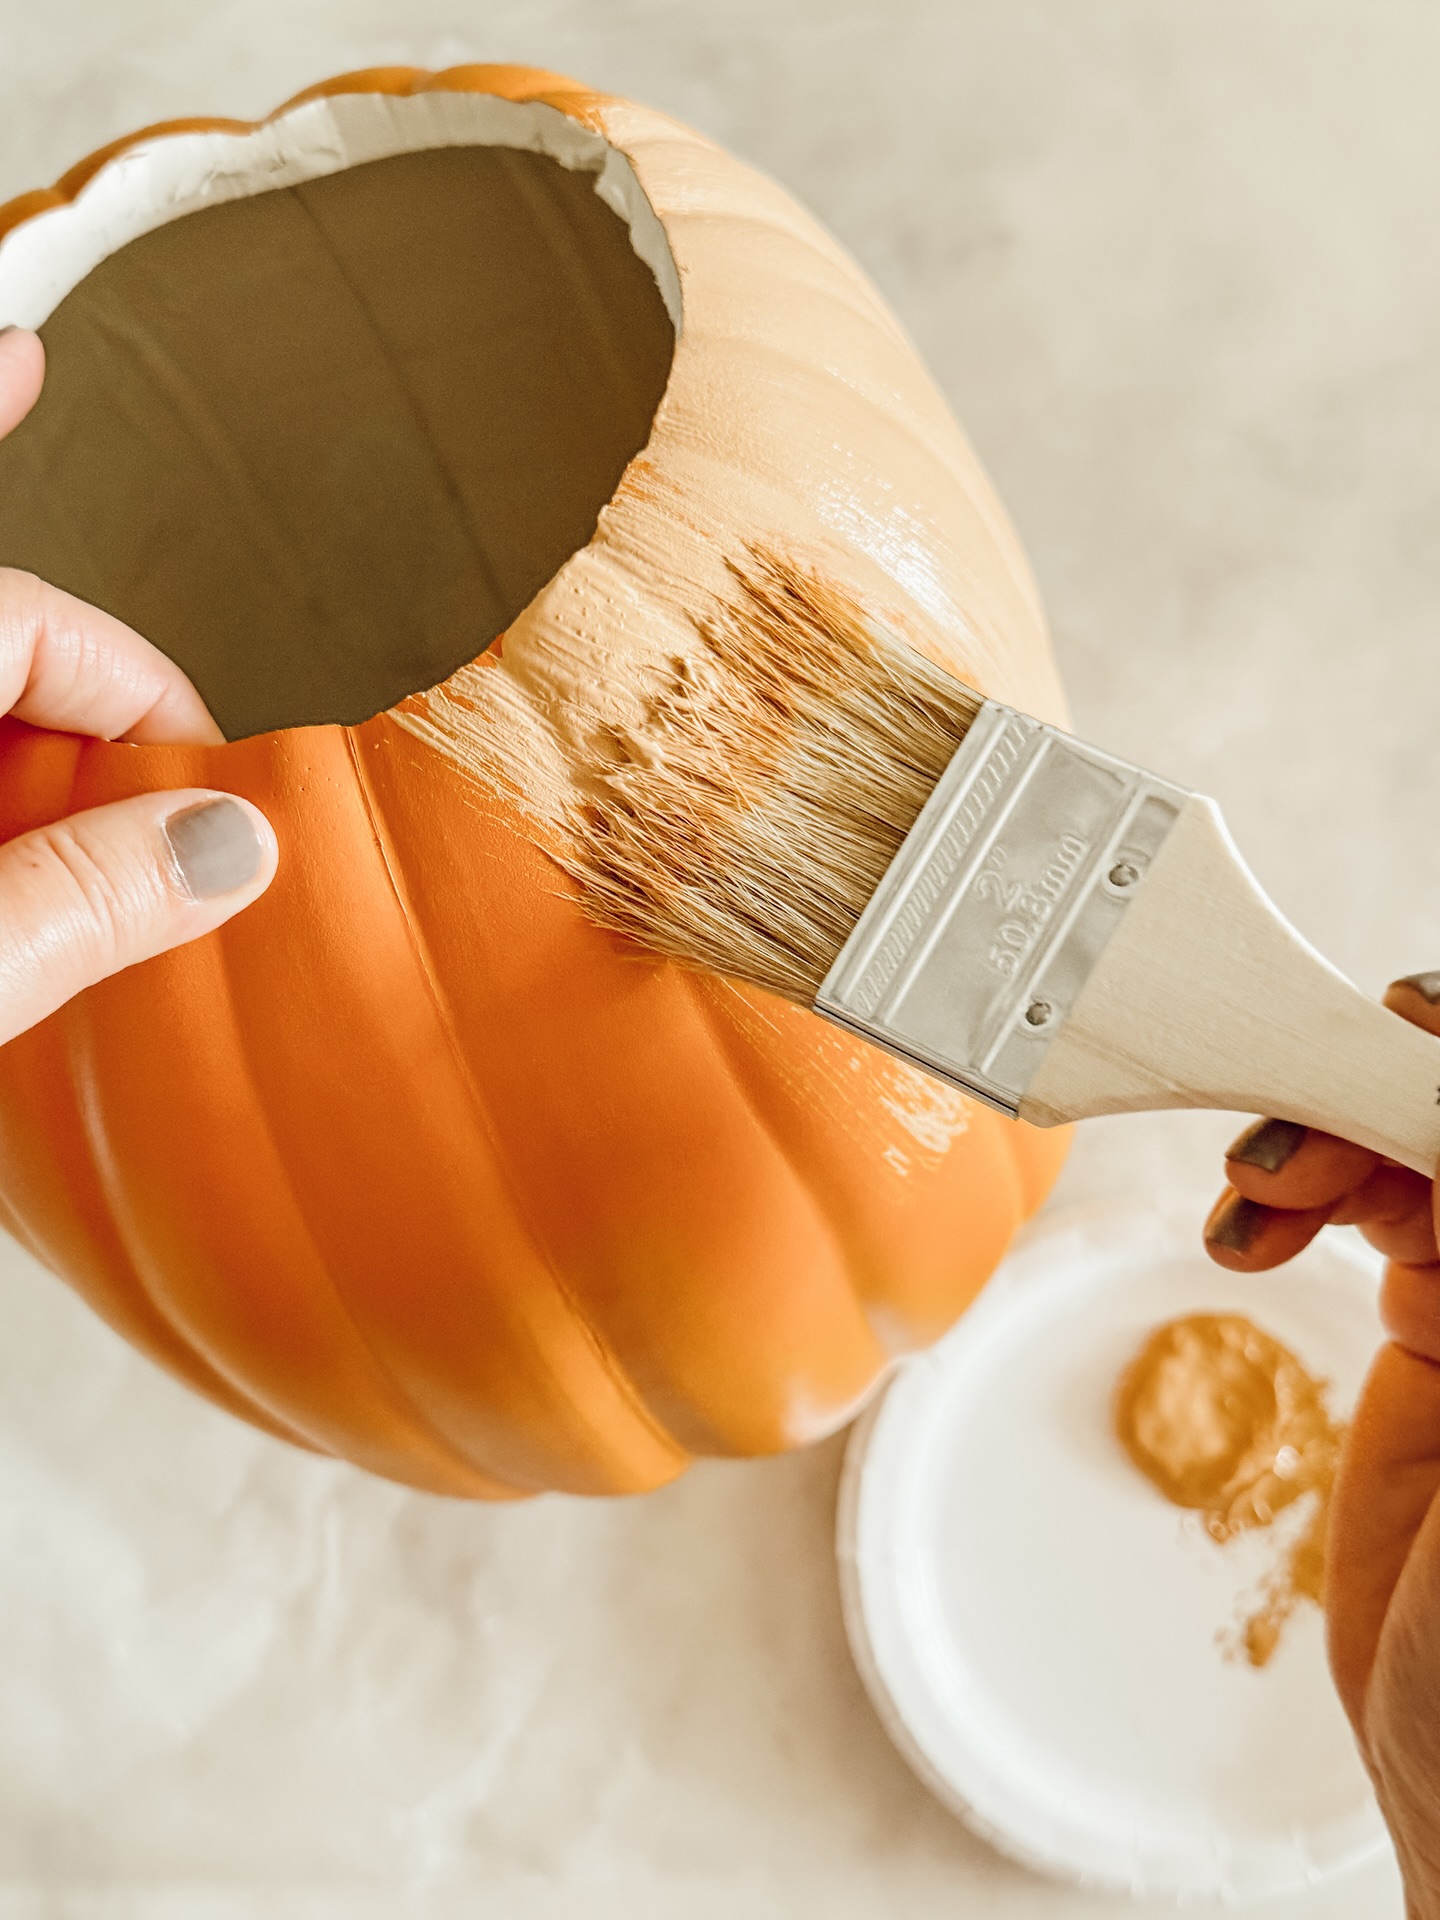
I like painting pumpkins because it adds color and style to my fall decor. I often use small pumpkins as vases for flowers or dried branches. Painting them in simple designs makes each piece unique and easy to create on a ladies’ night.
How to Make Painted Pumpkin Vases
Materials Needed:
- Faux or real pumpkins
- Acrylic paint and paintbrushes
- Craft knife
- Floral foam (optional)
- Artificial or fresh flowers
- Sealer spray (optional for real pumpkins)
Shop Featured Items

The Steps:
- Step 1: Cut the Top
Use a craft knife to carefully cut a small circle around the pumpkin stem, just large enough to fit your flower arrangement. Remove the top and scoop out the inside if you’re using a real pumpkin. - Step 2: Paint the Design
Use acrylic paints to decorate your pumpkins with floral, leaf, or geometric patterns. Choose warm fall shades like gold, burgundy, and teal for a seasonal look. Let the paint dry completely. - Step 3: Add Floral Foam
If using faux flowers, place a piece of floral foam inside the pumpkin to hold your arrangement securely. - Step 4: Arrange the Flowers
Insert sunflowers, wheat stalks, or any fall blooms into the foam. Adjust until the bouquet looks full and balanced. - Step 5: Display Your Pumpkin Vase
Place your painted pumpkin vase on your dining table, mantel, or entryway for a cheerful fall display.
4. Felt Leaf Garland

I like making felt leaf garlands for fall because they are simple and look nice. You just cut out leaf shapes from different colored felt. Then, I sew or glue them onto a string to create a garland. It adds a cozy touch to any room quickly.
How to Make Felt Leaf Garland
Materials Needed:
- Felt sheets in fall colors (orange, red, yellow, brown, green)
- Scissors
- Leaf templates (or draw your own)
- Twine or string
- Hole punch or hot glue gun
Shop Featured Items


The Steps:
- Step 1: Cut the Leaves
Trace or freehand draw different leaf shapes on felt sheets. Cut out multiple leaves in a variety of fall colors for a rich mix. - Step 2: Prepare for Hanging
If using a hole punch, make small holes at the top of each leaf. If not, you can hot glue the leaves directly onto your twine. - Step 3: String the Garland
Thread the twine through the holes in each leaf, spacing them evenly. For glued leaves, press them onto the twine and let the glue dry completely. - Step 4: Adjust and Hang
Once all your leaves are attached, adjust the placement and spacing. Then, hang your garland across a mantel, window, or dining table.
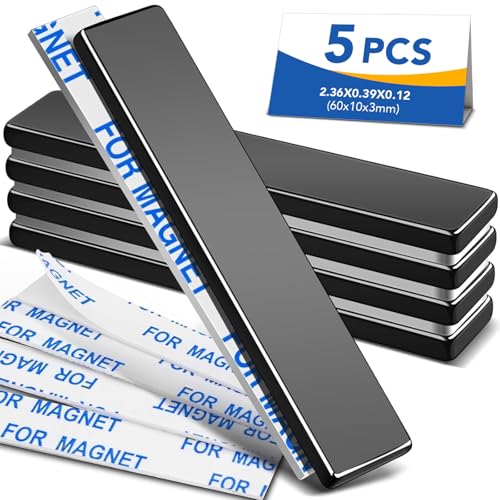
5. DIY Acorn Magnets

I enjoy making simple acorn magnets for fall. They are easy to create with paint and small magnet strips. These magnets add a cozy touch to my fridge.
How to Make DIY Acorn Magnets
Materials Needed:
- Real or faux acorns
- Small round magnets
- Hot glue gun and glue sticks
- Acrylic paint (optional)
- Paintbrushes (optional)
Shop Featured Items


The Steps:
- Step 1: Prepare the Acorns
If using real acorns, clean and dry them completely. You can leave them natural for a rustic look or paint them in fall shades like gold, bronze, or copper. - Step 2: Attach the Magnets
Once the acorns are ready, apply a small amount of hot glue to the back of each acorn and press a round magnet onto it. Hold for a few seconds until the glue sets. - Step 3: Let Them Dry
Place the magnets on a flat surface and allow them to dry fully before using. - Step 4: Display Your Acorns
Stick them on your fridge, a magnetic board, or metal shelves to give your space a seasonal flair.
6. Leaf Stamped Tote Bags

I like making leaf stamped tote bags because they are simple and unique. You just press real leaves into fabric paint and then onto a plain tote bag. It’s a great way to bring fall colors and patterns into something useful.
How to Make Leaf Stamped Tote Bags
Materials Needed:
- Plain cotton tote bags
- Fresh or faux leaves
- Fabric paint in fall colors (orange, red, yellow, brown)
- Paintbrush or sponge
- Cardboard (to place inside the bag)
Shop Featured Items

The Steps:
- Step 1: Prepare the Bag
Insert a piece of cardboard inside your tote bag to prevent paint from bleeding through. Smooth the surface of the fabric. - Step 2: Paint the Leaves
Using a sponge or paintbrush, gently coat one side of a leaf with fabric paint. Be sure to cover all edges and veins for a crisp print. - Step 3: Stamp the Design
Press the painted side of the leaf onto the tote bag, applying even pressure. Carefully lift the leaf to reveal your print. Repeat with different colors and leaf shapes for variety. - Step 4: Let It Dry
Allow the paint to dry completely. Follow the fabric paint instructions for heat-setting (usually by ironing) to make the design permanent. - Step 5: Enjoy Your Custom Tote
Your finished tote bag is ready to use or gift! Each one is unique and perfect for celebrating the colors of fall.
7. Twig Picture Frames

I like making twig picture frames because they are simple and use natural materials. You can collect twigs from your yard or a nearby park. The frames bring a rustic look to your home and make nice gifts.
How to Make Twig Picture Frames
Materials Needed:
- Small twigs or sticks
- A plain photo frame or cardboard base
- Hot glue gun and glue sticks
- Jute or twine
- Scissors
- Decorative items (pinecones, faux leaves, acorns, etc.)
Shop Featured Items


The Steps:
- Step 1: Prepare the Base
If using cardboard, cut out a frame shape to the size you want. If using a store-bought frame, remove the glass and back before decorating. - Step 2: Trim and Arrange Twigs
Gather twigs of similar length and thickness. Trim them to fit each side of the frame. You can create a neat square edge or layer them randomly for a more natural look. - Step 3: Glue the Twigs
Using a hot glue gun, attach the twigs one by one to the frame base. Hold each piece for a few seconds to ensure it sticks firmly. - Step 4: Add Twine and Decor
Wrap jute or twine around corners or tie small bows for added detail. Glue on small pinecones, berries, or faux leaves to match the fall theme. - Step 5: Insert a Photo
Once the glue has dried, place your favorite autumn photo or family picture inside.
8. Mini Pumpkin Succulent Planters

I like using mini pumpkins as planters for small succulents. They are easy to make and bring a nice fall touch to any space. This craft is quick and requires minimal materials. It’s perfect for a ladies night where we want something simple and fun.
How to Make Mini Pumpkin Succulent Planters
Materials Needed:
- Small real or faux pumpkins
- Succulents (real or faux)
- Spoon or knife
- Potting soil or moss
- Optional: hot glue (for faux pumpkins or succulents)
Shop Featured Items


The Steps:
- Step 1: Prepare the Pumpkins
Cut a small circle around the pumpkin stem and remove the top. Scoop out the inside if using real pumpkins. For faux pumpkins, hollow out the top with a craft knife. - Step 2: Add Soil or Moss
Fill the opening with potting soil if using real succulents. For faux plants, you can use moss or foam as a filler. - Step 3: Plant the Succulents
Gently place a succulent in each pumpkin, pressing it into the soil or moss until secure. You can mix different succulent types for variety. - Step 4: Display and Enjoy
Arrange your mini planters on trays, mantels, or dining tables. Mist lightly every few days if using real succulents.
9. Hot Cocoa Mix Jars
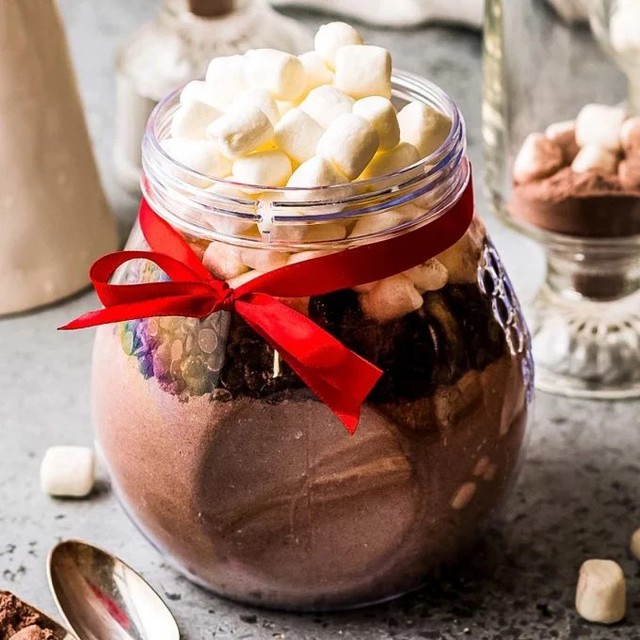
I like making hot cocoa mix jars because they are simple and useful. You just layer cocoa powder, sugar, and mini marshmallows in a jar. They make nice gifts or cozy treats for a cold night.
How to Make Hot Cocoa Mix Jars
Materials Needed:
- Mason jars with lids
- Unsweetened cocoa powder
- Sugar
- Mini chocolate chips or crushed peppermint
- Mini marshmallows
- Twine or ribbon
- Gift tags
Shop Featured Items


The Steps:
- Step 1: Prepare Your Jars
Wash and dry the mason jars thoroughly to ensure they’re clean and ready for layering. Choose jars with tight lids to keep ingredients fresh. - Step 2: Add the Cocoa Layer
Spoon in a layer of cocoa powder at the bottom of each jar. Use a funnel to keep the sides neat and even. Gently tap the jar to level the layer. - Step 3: Add the Sweet Layers
Next, add sugar, followed by chocolate chips or crushed peppermint. Alternate the layers to create a visually appealing pattern. - Step 4: Top with Marshmallows
Finish by adding a generous layer of mini marshmallows on top. This gives the mix a festive and cozy look that’s instantly gift-ready. - Step 5: Decorate and Label
Seal the jar tightly. Wrap twine or ribbon around the lid and attach a gift tag with
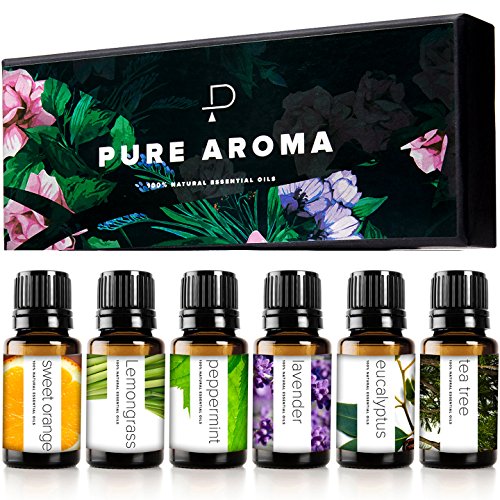
10. Pumpkin Spice Soap Bars

I enjoy making pumpkin spice soap bars for ladies’ night. They use a melt-and-pour soap base and essential oils. The scent brings a warm, fall feeling that fits the season well.
How to Make Pumpkin Spice Soap Bars
Materials Needed:
- Melt-and-pour soap base (goat’s milk or shea butter)
- Pumpkin spice essential oil or fragrance oil
- Ground cinnamon or nutmeg (optional for texture)
- Soap-safe coloring (orange or caramel tones)
- Silicone soap mold
- Star anise or cinnamon sticks for decoration
Shop Featured Items


The Steps:
- Step 1: Melt the Soap Base
Cut the soap base into cubes and place them in a microwave-safe bowl. Heat in 30-second intervals, stirring between each, until fully melted. - Step 2: Add Fragrance and Color
Stir in a few drops of pumpkin spice fragrance oil and a small amount of soap-safe coloring. Mix until smooth and evenly blended. - Step 3: Pour into Molds
Pour the mixture into your silicone molds. For layered soap, let the first layer cool slightly before adding another color on top. - Step 4: Add Decorations
Before the soap hardens completely, press a star anise or small cinnamon stick into the top of each bar for a festive look. - Step 5: Cool and Unmold
Let the soap cool for several hours or until firm. Once solid, gently pop the bars out of the mold and store them in a cool, dry place.
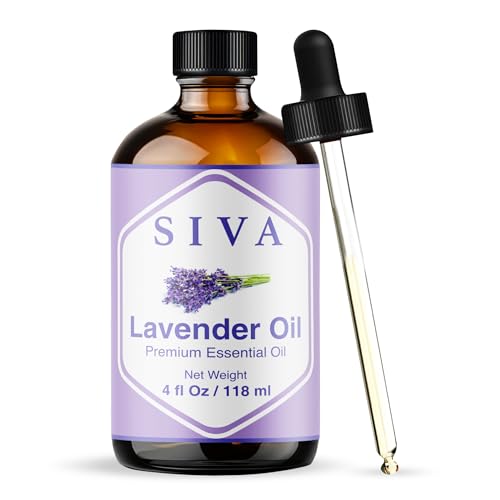
11. Autumn Scented Soy Candles

I love making autumn-scented soy candles for ladies’ night. They’re easy to personalize with essential oils like cinnamon, clove, and pumpkin spice. Soy candles burn cleanly and last longer than regular ones. They add a cozy smell to any room during fall evenings.
How to Make Autumn-Scented Soy Candles
Materials Needed:
- Soy wax flakes
- Candle wicks
- Amber or glass jars
- Pumpkin spice, cinnamon, or apple fragrance oil
- Wick holders or chopsticks
- Thermometer
- Labels and twine (optional)
Shop Featured Items


The Steps:
- Step 1: Prepare Your Jars
Clean and dry your jars. Stick the wick to the bottom center of each jar using a glue dot or hot glue, and hold it upright with a wick holder or chopstick. - Step 2: Melt the Soy Wax
Measure your soy wax flakes and melt them in a double boiler or microwave in short bursts, stirring frequently until fully melted. - Step 3: Add Fragrance Oil
When the wax cools to about 185°F (85°C), add your chosen fall fragrance oil and stir gently for about two minutes to ensure it mixes evenly. - Step 4: Pour the Wax
Pour the scented wax slowly into your jars, leaving about half an inch of space from the top. Keep the wick centered as the wax sets. - Step 5: Cool and Trim the Wick
Let the candles cool for several hours until solid. Once firm, trim the wick to about ¼ inch. Add a label or tie twine around the jar for a finished touch.
12. Button Leaf Coasters
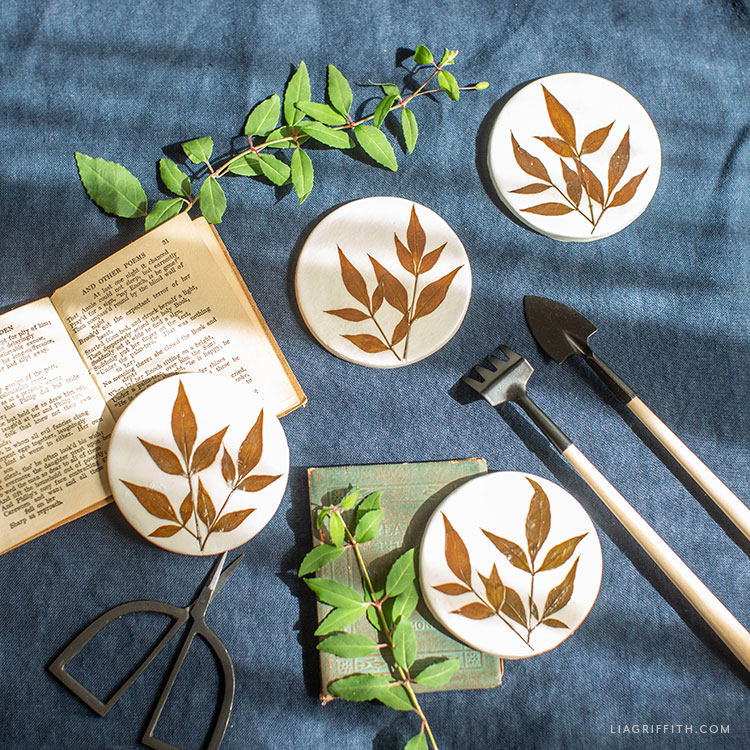
I like making button leaf coasters because they are simple and look nice. You just need some buttons, felt, and glue. It’s a quick project that adds a little fall touch to your table.
Shop Featured Items


The Steps:
- Step 1: Prepare Your Base
Start with clean, smooth wood slices or cork coasters. Wipe away any dust or debris to help the glue stick better. - Step 2: Arrange the Leaves
Lay your pressed leaves on each coaster in a pretty pattern — either fanned out like petals or layered for a textured look. Try mixing leaf shapes and colors. - Step 3: Glue the Leaves
Apply a small amount of glue to the back of each leaf and press them firmly onto the coaster. Smooth out gently to avoid wrinkles or air bubbles. - Step 4: Add Buttons
Once the leaves are secure, glue one or more buttons in the center or around the edges to add color and charm. Choose warm tones like brown, mustard, or deep red. - Step 5: Seal and Finish
After everything dries, coat each coaster with a layer of clear sealant or Mod Podge to protect it from moisture. Let dry completely before use.
13. Owl Mason Jar Lanterns

I enjoy making owl mason jar lanterns because they are simple and cute. You only need jars, paint, and some craft paper to create the owl’s eyes and beak. These lanterns add a cozy glow to any room when you place a candle inside. They are perfect for a relaxed ladies night craft.
How to Make Owl Mason Jar Lanterns
Materials Needed:
- Mason jars
- Tissue paper or frosted glass spray
- Brown, orange, and yellow cardstock
- Black buttons or craft eyes
- Tea light candles or LED lights
- Glue stick and scissors
Shop Featured Items


The Steps:
- Step 1: Prepare the Jar Base
Clean and dry your mason jars. If using tissue paper, brush a thin layer of glue on the outside of the jar and gently cover it with orange or yellow tissue paper for a glowing effect. Let it dry. - Step 2: Create the Owl Features
Cut out owl shapes from cardstock — wings, eyes, beak, and a scalloped belly pattern. Use fall-inspired colors like brown, tan, and orange for a warm seasonal look. - Step 3: Assemble the Owl Face
Glue large, round eyes at the top of the jar and place black buttons or paper circles in the center for pupils. Add a small triangular beak just below. - Step 4: Attach the Wings and Details
Glue the wings to each side of the jar and attach the scalloped belly pattern in the center. Add small black ovals at the bottom for the owl’s feet if desired. - Step 5: Add the Light
Place a tea light or LED candle inside and screw the lid ring back on. When lit, your owl will glow softly, creating a cozy, whimsical vibe.
14. Beaded Fall Leaf Necklaces
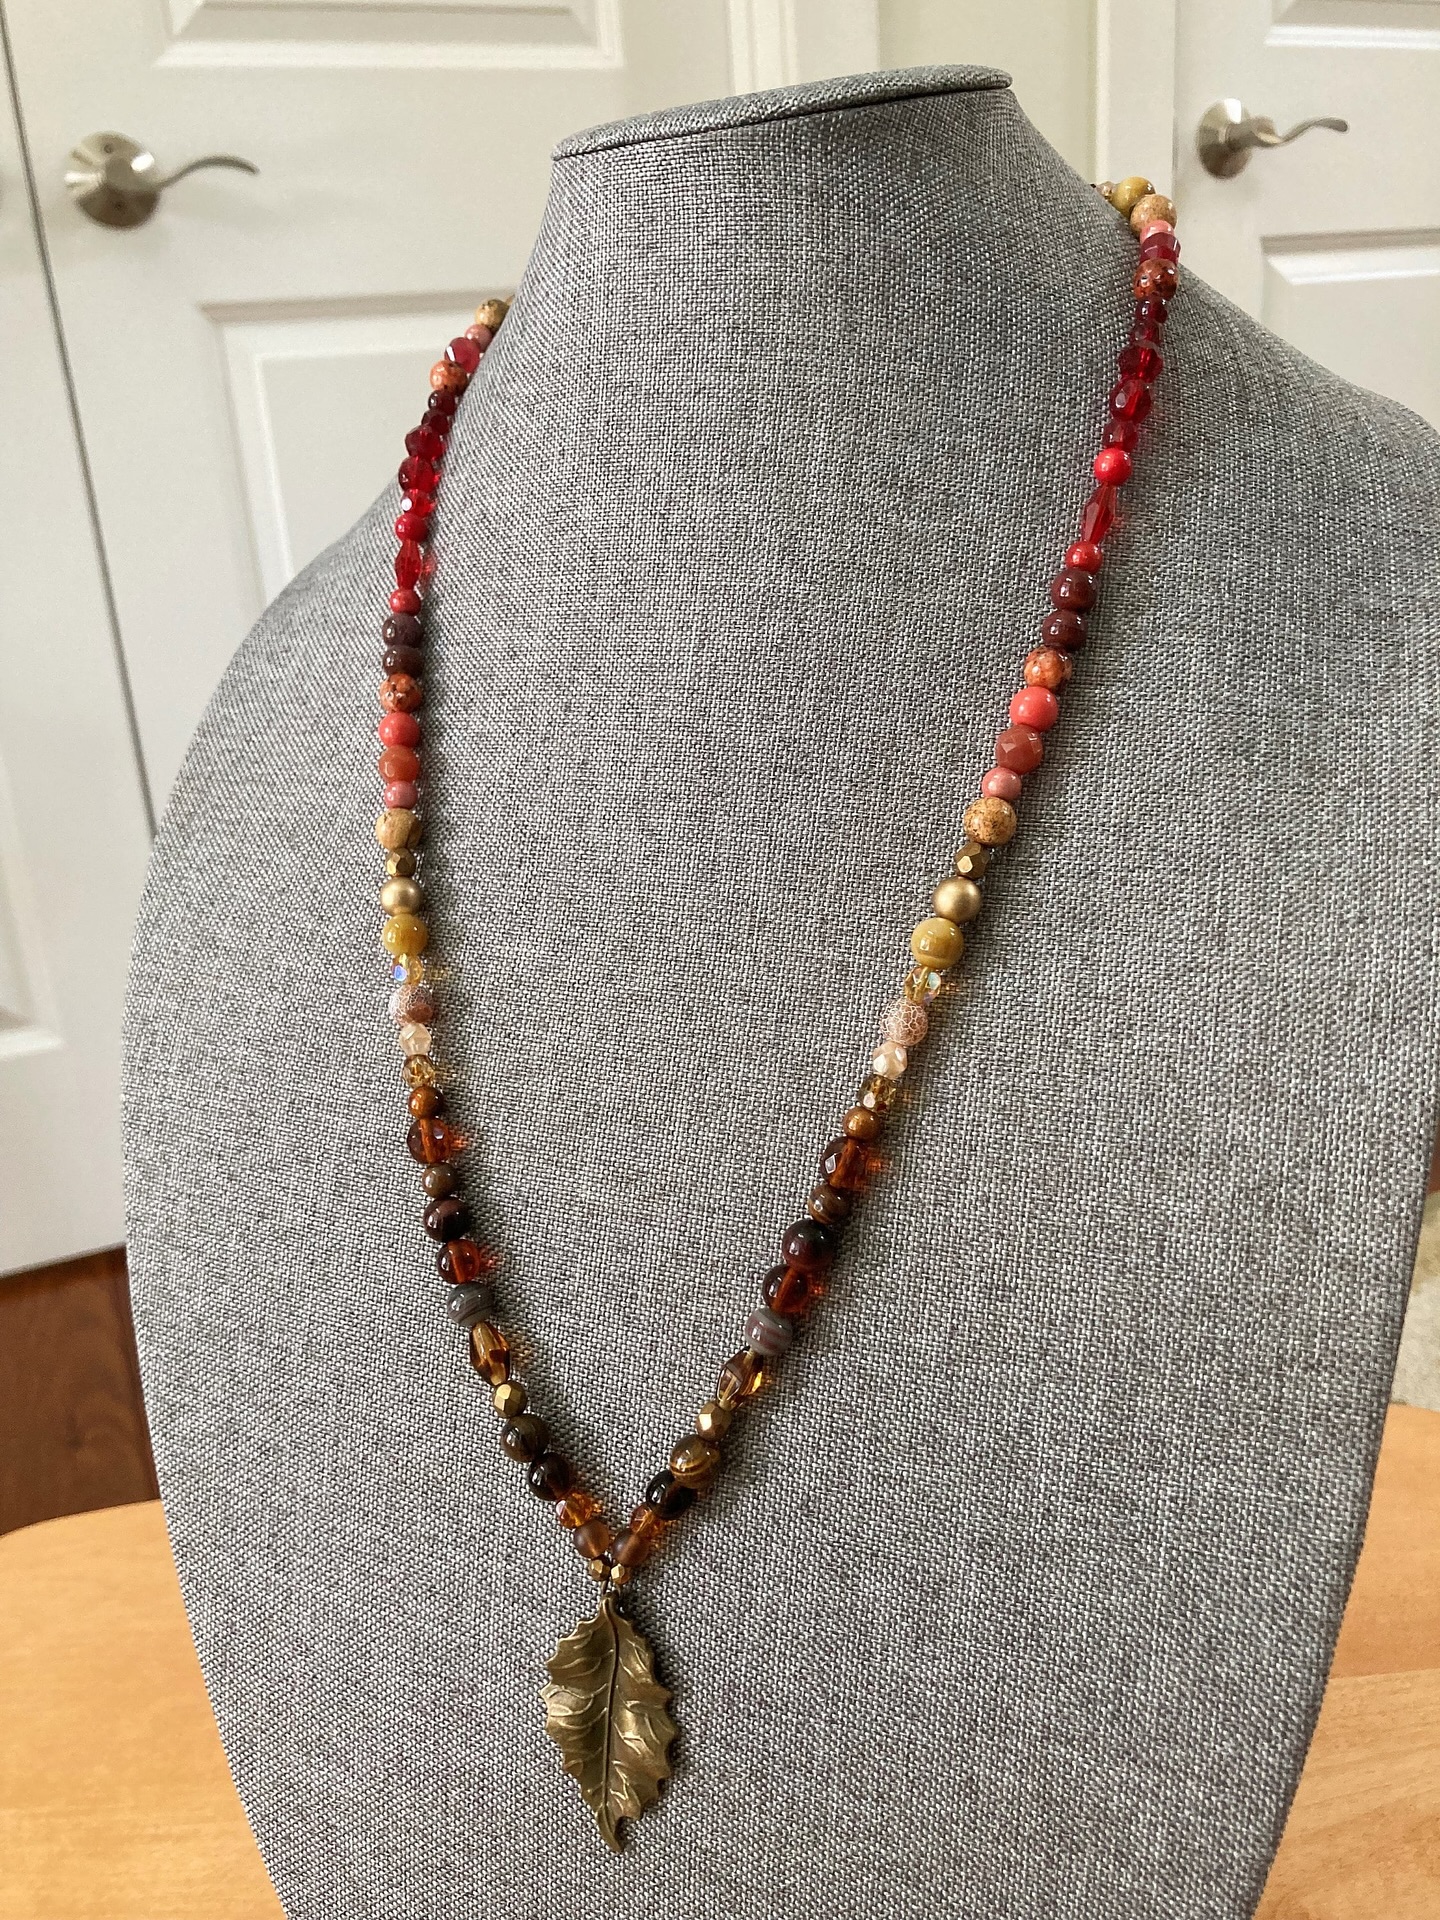
I enjoy making beaded fall leaf necklaces because they are simple and beautiful. I use small glass beads and leaf-shaped charms to create a natural look. These necklaces are perfect for adding a touch of autumn to any outfit.
Shop Featured Items


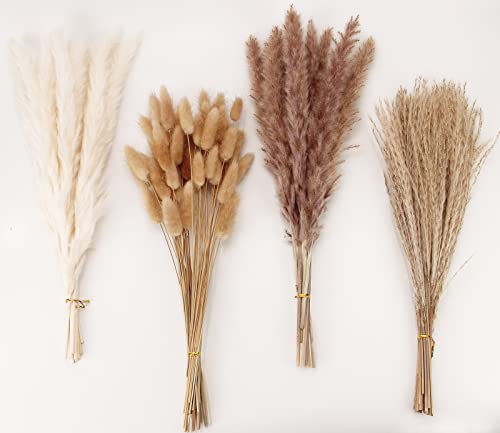
15. Cinnamon Stick Bundles
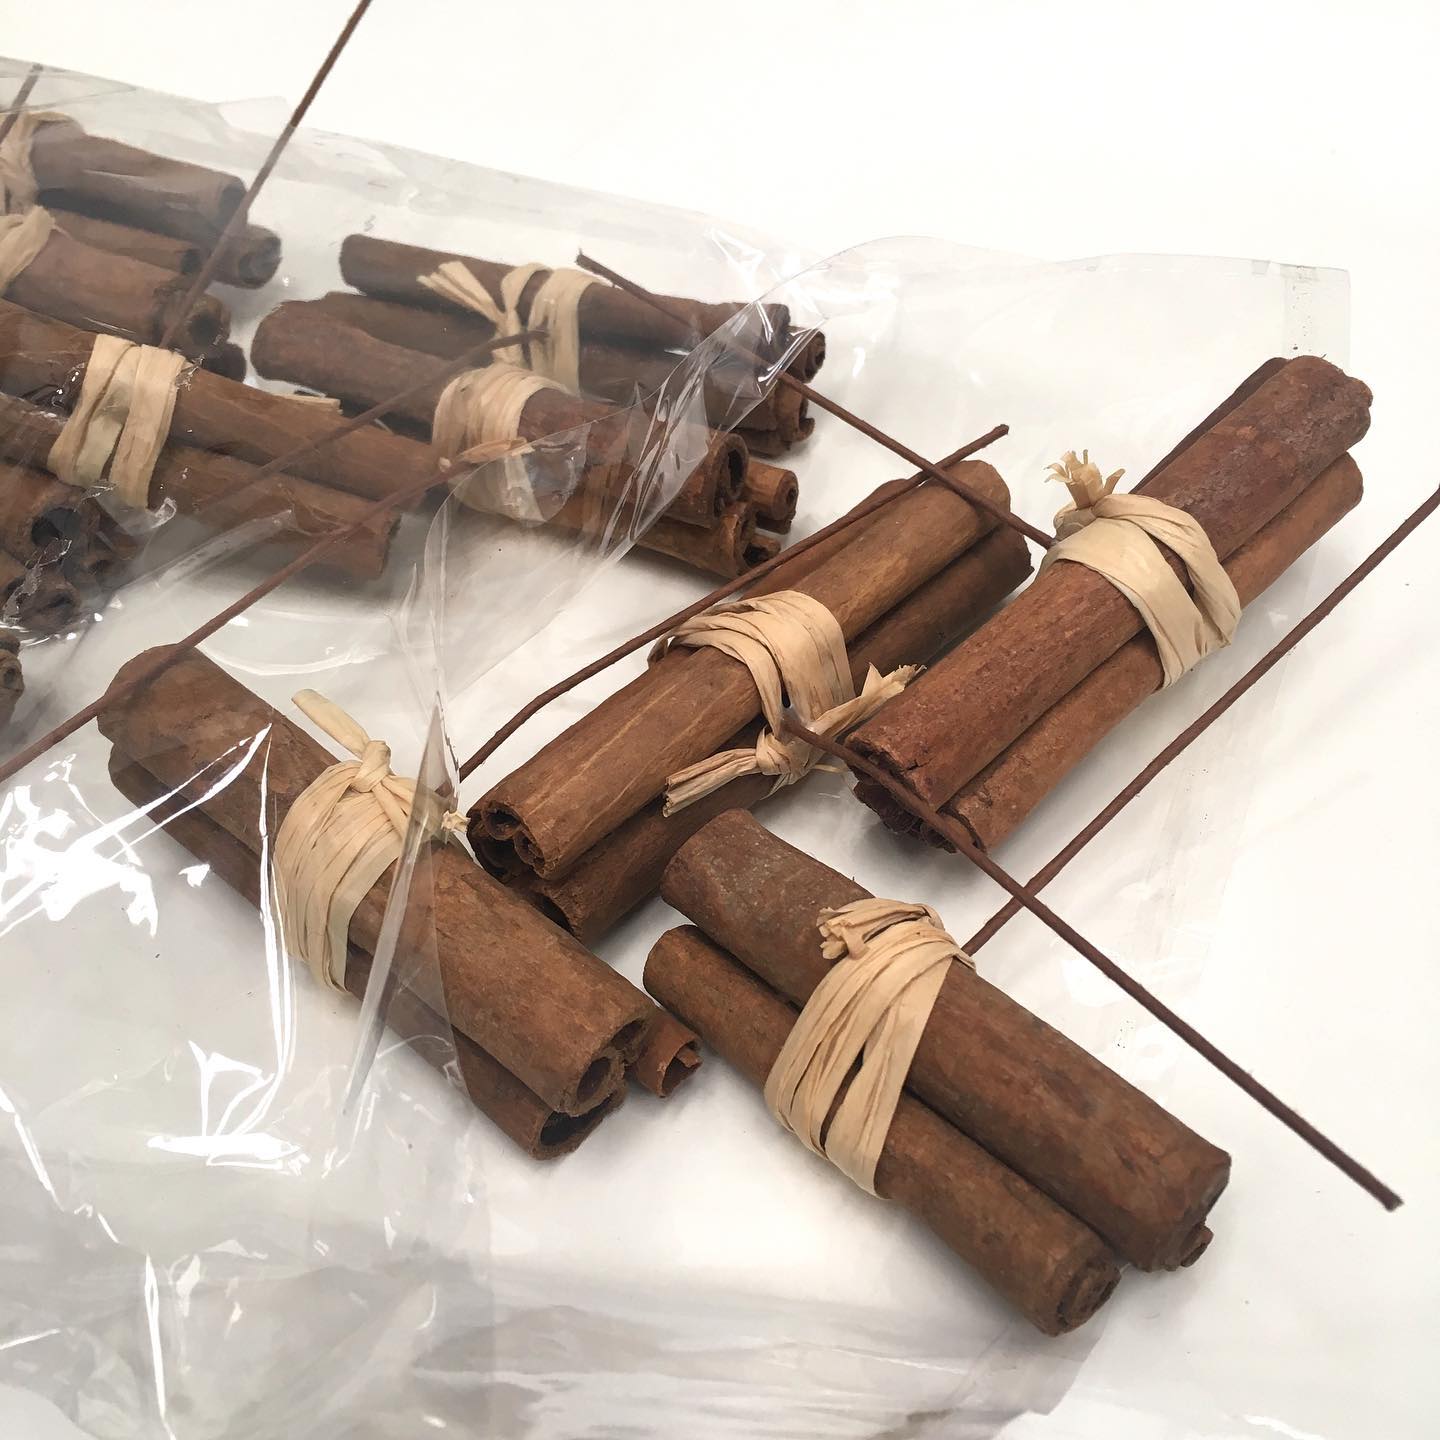
Shop Featured Items

I like making cinnamon stick bundles because they are simple and add a nice fall smell to the room. You just tie together a few cinnamon sticks with twine or ribbon. They look good on tables or shelves and are easy to make with friends.