


Table of Contents Show
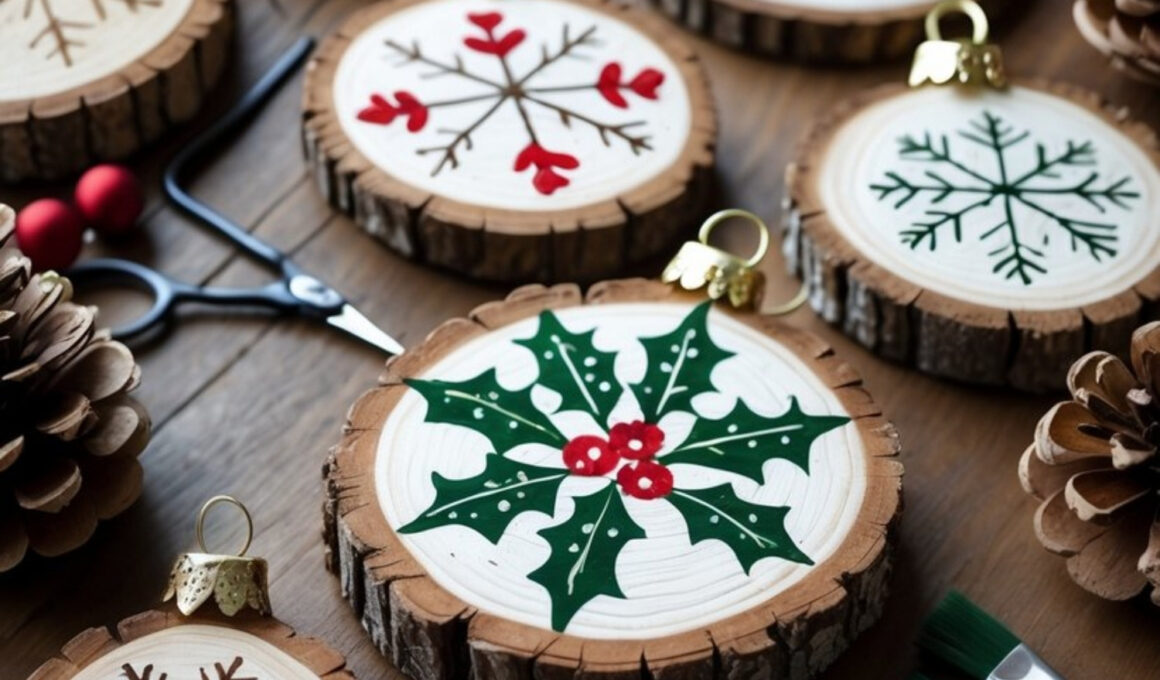
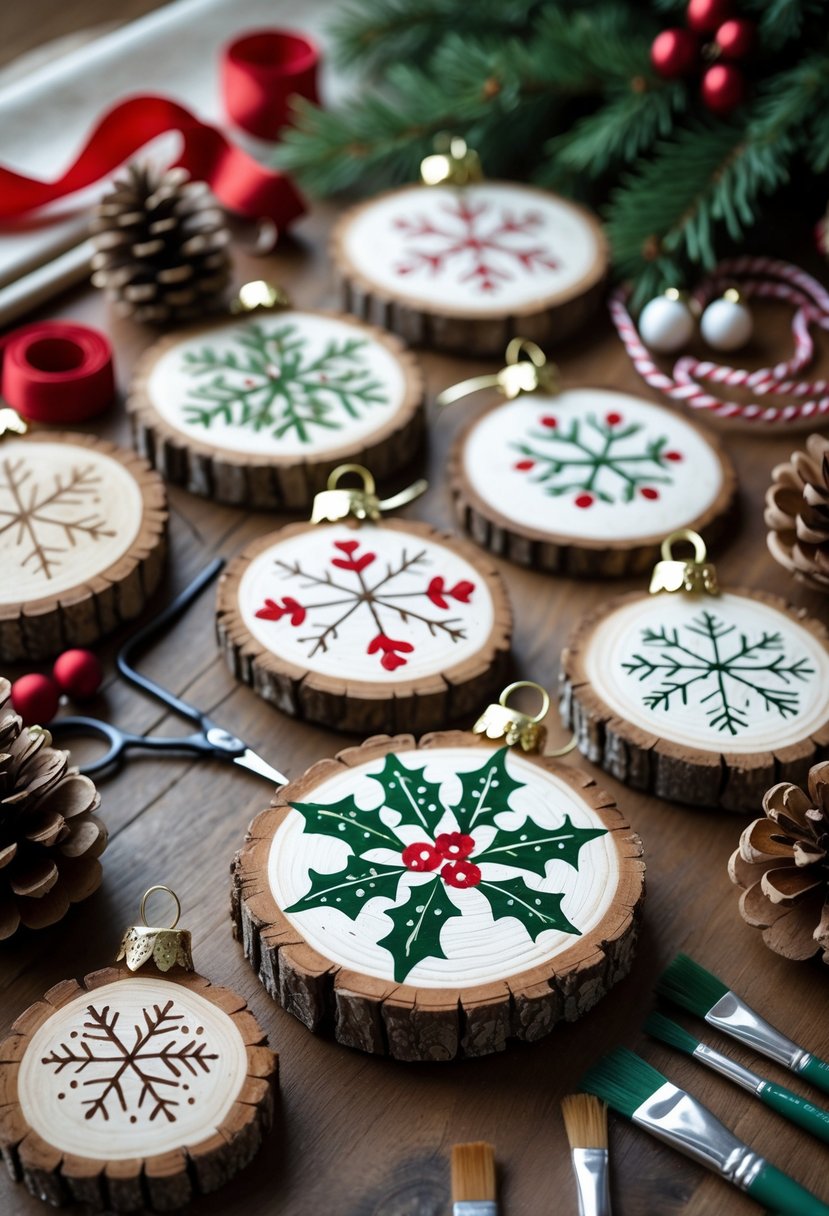
These Rustic Wood Slice Ornaments are the perfect blend of natural charm and holiday spirit. They bring that cozy, handmade feel to your Christmas tree while celebrating the beauty of simple materials. Each ornament is crafted from a real wood slice and hand-painted with festive designs like holly leaves, snowflakes, or Christmas berries.

Whether you’re decorating your home, giving them as gifts, or adding them to wrapped presents, these ornaments are easy to make and endlessly customizable.
One of the best things about this craft is its versatility. You can keep the look rustic and simple with wood-burned designs, or add a touch of sparkle with paint and glitter.
How to Make Rustic Wood Slice Ornaments
They’re also a wonderful family activity — kids love painting their own patterns, and each piece turns out completely unique.
For People Who Love to Make Things ✂️
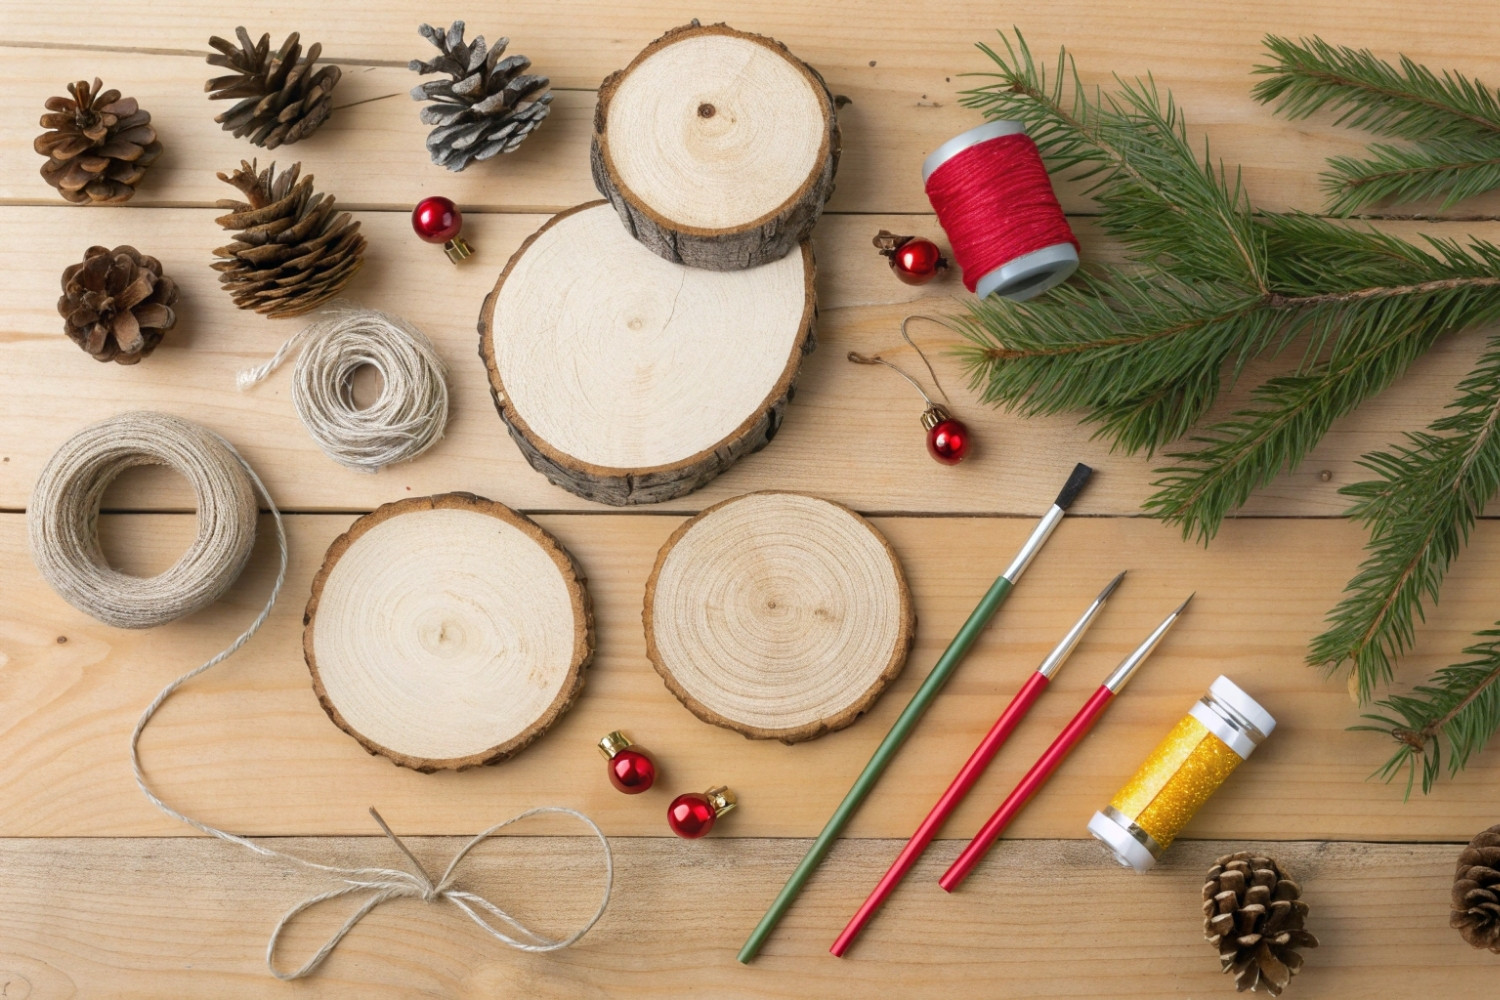
Materials
- Natural wood slices (with bark edges)
- Acrylic paint (red, green, white, gold, and silver)
- Fine-tip paintbrushes
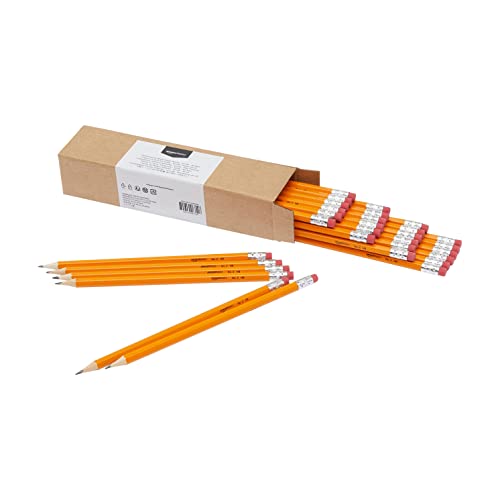
- Pencil (for sketching designs)
- Twine, ribbon, or ornament hooks
- Small drill or screw-in hooks (for hanging)
- Optional: wood sealer or clear varnish
- Optional: stencils for snowflakes, holly, or lettering
Shop the materials


The steps
Step 1: Prepare the Wood Slices
If you’re using fresh-cut wood slices, let them dry for several days to prevent cracking. Lightly sand the surface with fine-grit sandpaper until smooth. Wipe off any dust with a dry cloth so the paint adheres evenly.
Tip: You can buy pre-sanded slices online or at craft stores if you want to skip this step.
Step 2: Plan Your Design
Use a pencil to lightly sketch your chosen holiday pattern — snowflakes, holly, reindeer, or even personalized initials. You can also trace designs using stencils if you prefer a uniform look. Keep your sketches light so they don’t show through the paint.
Creative Idea: Make themed sets — like “Winter Forest” with trees and snowflakes, or “Classic Christmas” with holly and berries.
Step 3: Start Painting
Using fine brushes, paint your designs carefully. Acrylic paints work best for vibrant color and easy cleanup. Start with the base shapes, then add details like dots, highlights, or outlines once the first layer dries. For a more rustic finish, stick to earthy colors like forest green, cream, and gold.
Pro Tip: If you want a snow effect, use the end of a paintbrush to dab tiny white dots around your design.
Step 4: Add Hanging Loops
Drill a small hole at the top of each slice or screw in a small eye hook. Thread twine, jute, or a thin ribbon through it to create a loop for hanging. You can tie a small bow at the top for a polished, festive finish.
Alternative: If you don’t have a drill, hot glue the twine to the back — it holds surprisingly well for lightweight ornaments.
Step 5: Seal for Durability
Once your paint is completely dry, brush on a light coat of clear varnish or spray sealant to protect your design and bring out the natural grain of the wood. This also adds a subtle shine that makes the ornaments pop under Christmas lights.
Step 6: Display or Gift
Hang your rustic wood slice ornaments on your tree, tie them to gifts, or even use them as personalized name tags for your Christmas table. Their handcrafted look adds warmth to any setting and makes your holiday decor feel extra special.


Lovely, where do you get the small red Christmas balls
Thank you! The little red Christmas balls are just mini ornaments I picked up in the seasonal section at a craft store.
You can usually find them at places like Hobby Lobby/Michaels, the dollar store, or on Amazon if you search for ‘mini red Christmas ball ornaments.’ Small red beads would work in a pinch too!
As a matter of fact, we’ll be adding it to the shop the materials now. Thank you for stopping by!
Jasmine xx