


Table of Contents Show
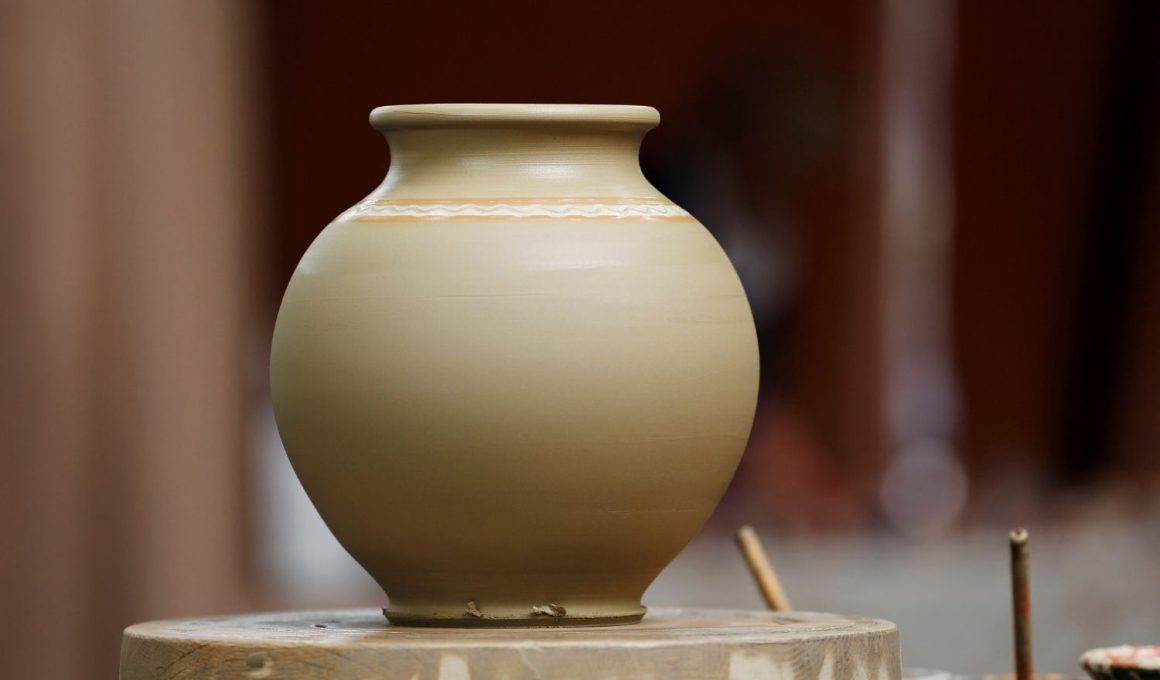
Air dry clay vases are one of my favorite DIY projects. They manage to look genuinely pretty without the hassle of a pottery wheel or kiln. You can pick up the material at almost any craft store, and it’s affordable and forgiving—even if you’re just starting out.

Whether you want a rustic bud vase for dried flowers or something sculptural and bold, air dry clay lets you play with shape, texture, and finish as much as you want.
These 13 ideas cover a pretty wide range—minimal, modern, organic, botanical—so there’s a good chance at least one will fit your skill level or match your space.
1. Classic Pinch-Pot Bud Vase

If you’re new to clay, this is the shape to try. Start by pressing your thumb into a ball of clay, then pinch the sides up and in to make a narrow neck. I like to flick some diluted dark paint on with an old toothbrush for a speckled finish that almost looks like real stoneware.
2. Minimal Cylinder Vase With Speckled Finish

Roll out a slab of clay, wrap it around a cardboard tube or old bottle, and close up the seam. Finish with speckled acrylic paint in cream or warm white. It pairs so well with dried grasses or eucalyptus stems.
For People Who Love to Make Things ✂️
3. Jam Jar Covered Air-Dry Clay Vase

Just wrap a thin slab of clay around a glass jam jar. The glass holds water, and the clay gives it a handmade look. I usually press a sea sponge into the surface before it dries for a subtle, pitted texture.
4. Organic Round Belly Vase With Narrow Neck

Embrace that imperfect, organic feel. Build the round belly using coils or pinching, then collar the top in for a narrow neck. I tend to go for a matte white or terracotta paint finish—it just looks so clean and modern.
5. Textured Coil Vase

Stack clay coils to build up the vase, but don’t bother smoothing them out. The coil texture really shines and catches the light. If you’re after a taller vase, this method is surprisingly forgiving.
6. Scalloped Rim Mini Vase

Once you’ve formed the vase, grab a small round tool or the end of a paintbrush and cut or press scallops along the rim. This little detail makes a plain mini vase feel so much more delicate and intentional.
7. Arch Cutout Statement Vase

Take a craft knife and cut out one or two arches from the side of a slab-built vase while the clay is still leather-hard. The cutouts give it a bit of an architectural, modern feel. I usually slip a glass insert inside if I want to add water and stems.
8. Handled Greek-Inspired Vase

Roll out two thick coils, shape them into handles, and attach them to the sides of a cylinder vase with slip. Add simple geometric lines with a toothpick for that classic, old-world look without making it too fussy.
9. Ribbed Bottle-Shaped Vase

Shape a tall bottle with a narrow neck, then press grooves into the surface using a wooden skewer or ruler edge. The ribbing adds texture and makes the whole thing feel more finished than a plain vase.
10. Face Vase With Minimal Line Details

Sketch a simple face onto the side of a cylindrical vase with a needle tool or toothpick. Closed eyes, a little nose, and a hint of lips are enough. This look is everywhere in handmade ceramics and works beautifully with just a single stem.
11. Two-Tone Stoneware-Style Vase

Paint the lower two-thirds in a matte, earthy color—maybe warm gray or brown—and leave the top third in white or a lighter shade. This blocked effect fakes a stoneware glaze with almost no effort.
12. Leaf-Impressed Botanical Vase

Before the clay sets, press real leaves into the surface and then peel them off. The veins and shapes leave a crisp impression. Ferns and monstera leaves seem to give the best detail, at least in my experience.
13. Wavy Rim Sculptural Vase

Once you’ve shaped the vase walls, try coaxing the top rim into a gentle wave or a loose, rolling curve while the clay’s still pliable. That kind of organic, free-form edge gives the piece a sculptural quality—honestly, it feels more like a statement art object than your typical DIY project.