


Table of Contents Show
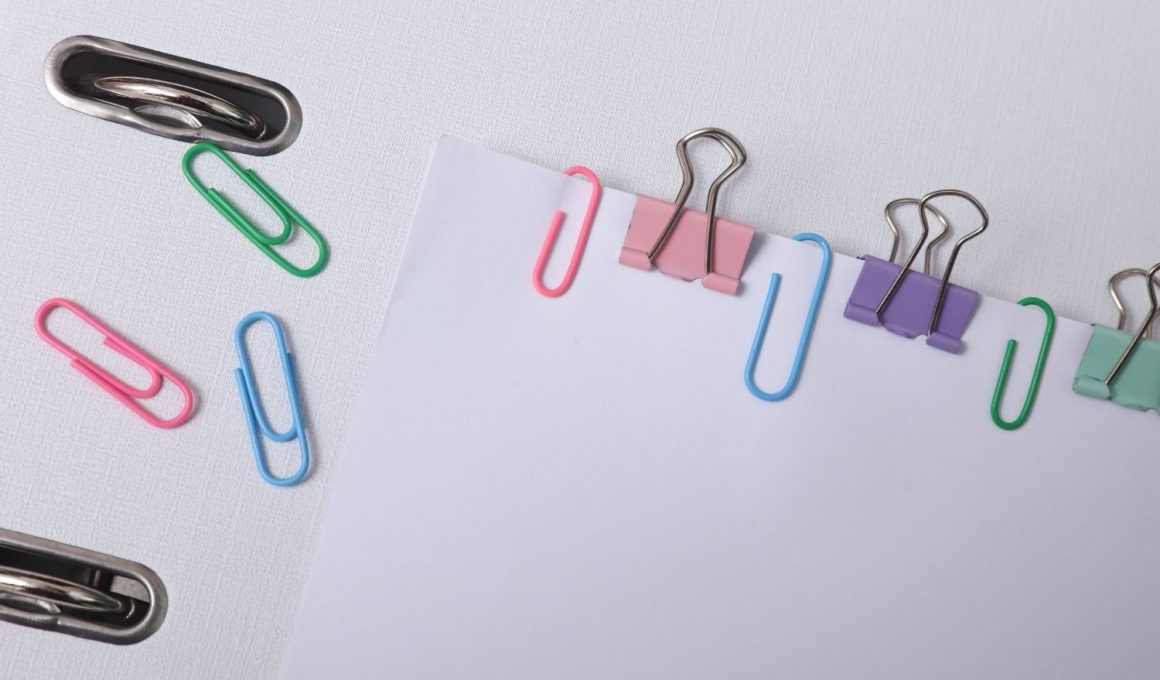
Keeping kids busy or brightening up a dull desk can feel hard, especially on rainy days or between homework sessions. This list gives you simple, cute paper clip crafts that are quick to set up and fun to make. You’ll find ideas that add color, organization, and personality to any study nook or classroom.
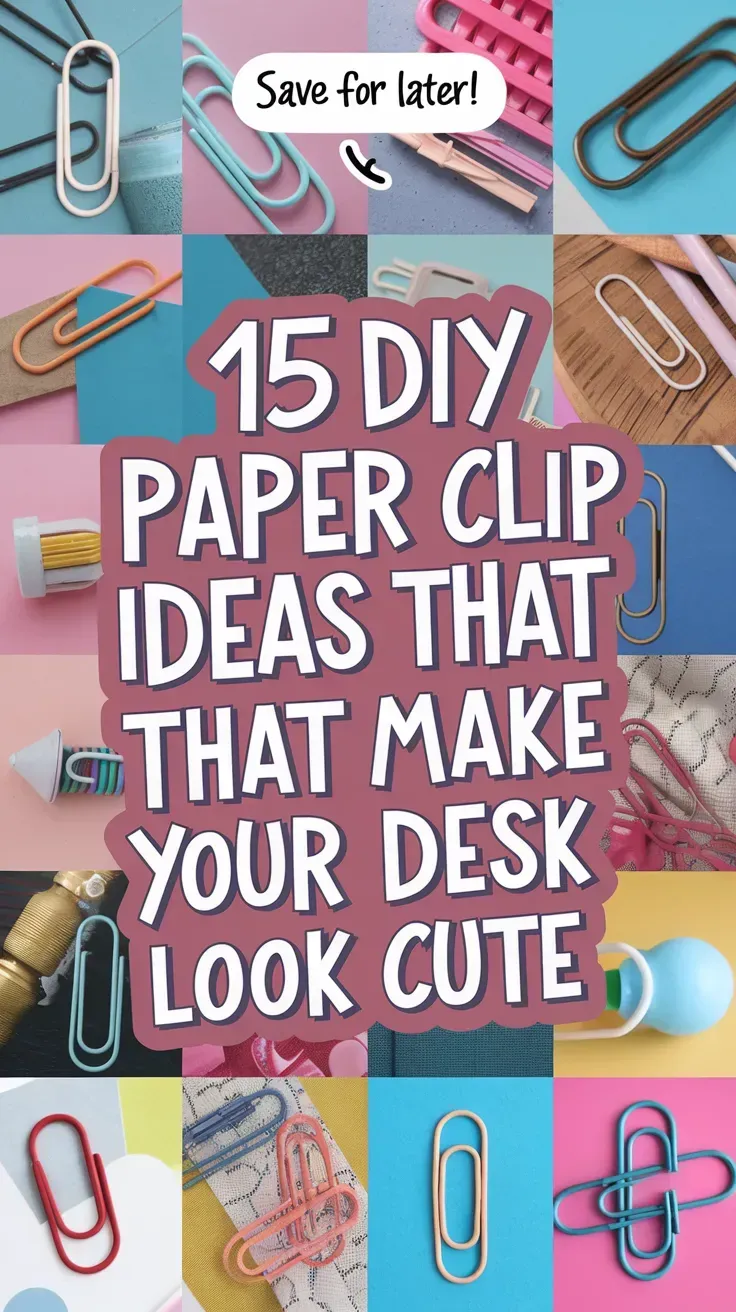
Grab some clips, a bit of paper or felt, and let’s turn everyday supplies into small desk joys.
1. Rainbow Ribbon Paper Clips
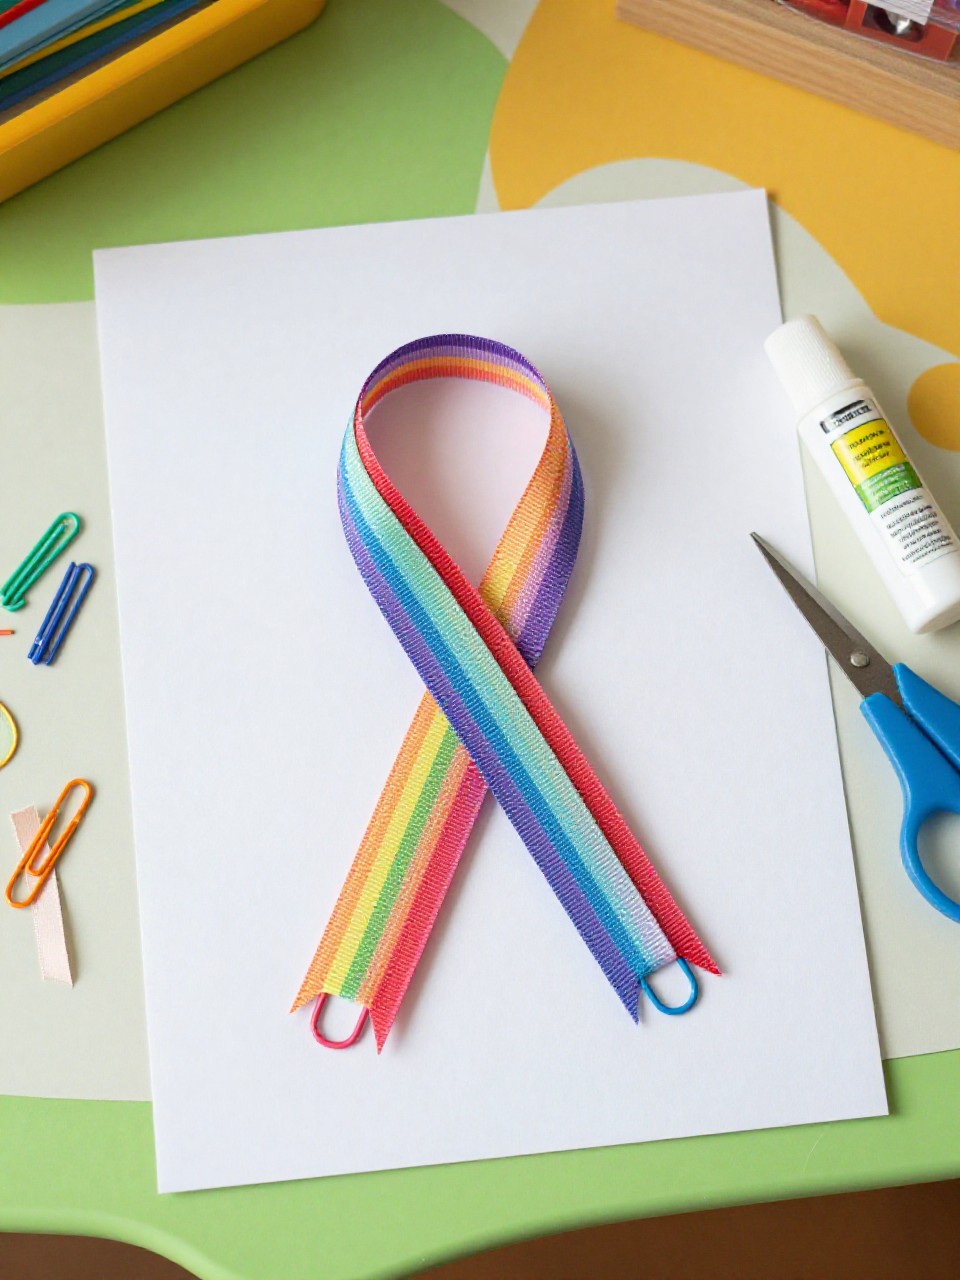
These paper clips wear tiny rainbow ribbon tails that peek out from notebooks like cheerful bookmarks. Kids love choosing colors and seeing the ribbons flutter when they flip pages, and it’s easy enough for beginners.
Materials Needed:
- Large paper clips (any color)
- Thin ribbon in rainbow colors
- Scissors
- Clear tape (optional for fray-proof ends)
- Lighter or clear nail polish (optional to seal ribbon)
How to make it:
For People Who Love to Make Things ✂️
- Cut short ribbon pieces, about 3–4 inches each.
- Fold a ribbon in half and loop it through the top of the paper clip, pulling tight to knot.
- Add more colors until you get a rainbow tail; trim ends neatly.
- Seal ribbon tips if needed and slide onto notebook or planner.
2. Felt Flower Topper Clips
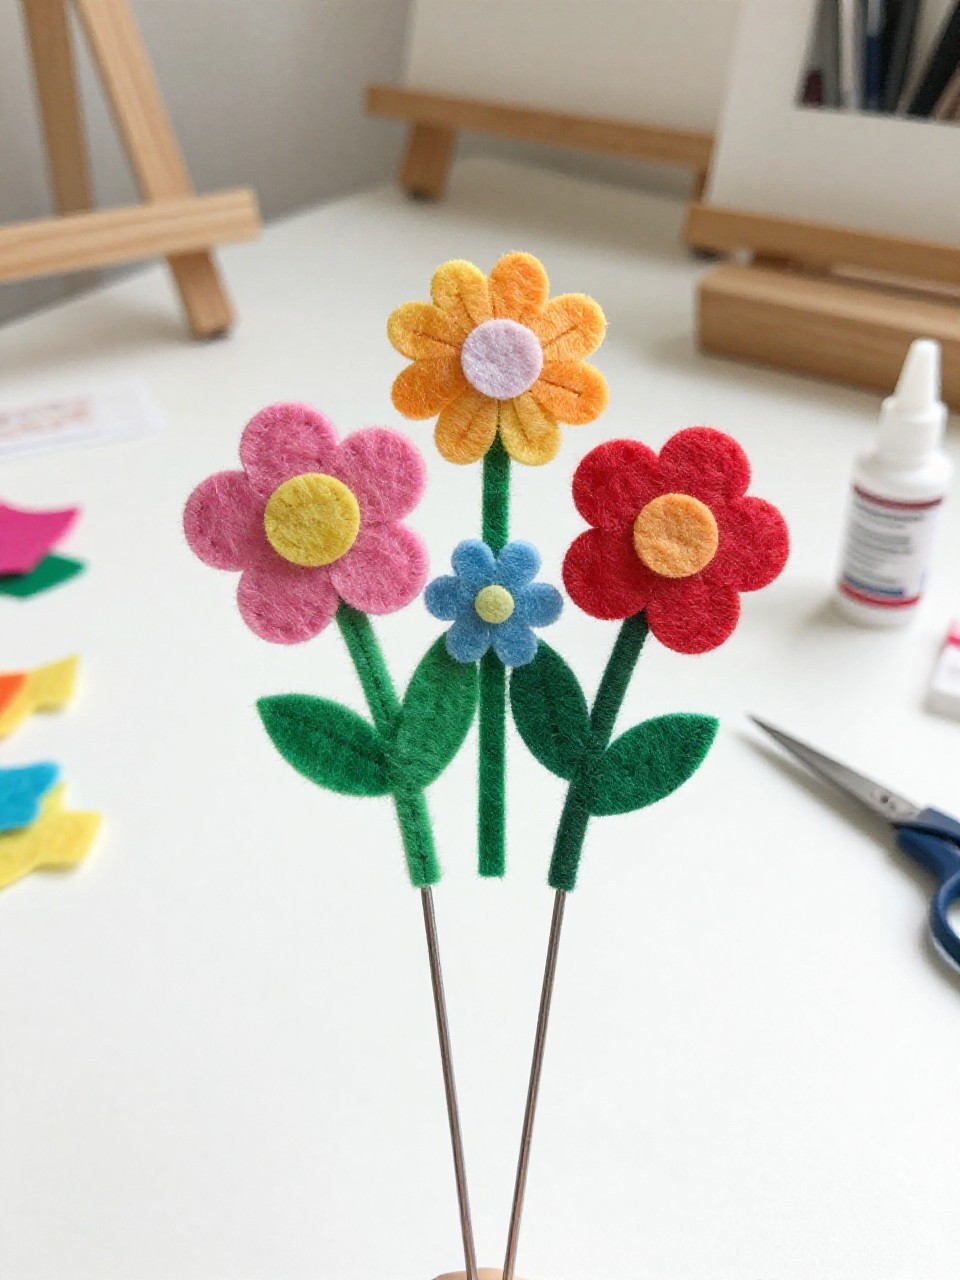
Each clip has a small felt flower on top, like a mini bouquet sitting on your papers. Kids enjoy layering petals and picking colors, and the soft felt makes them look store-bought but they’re super simple.
Materials Needed:
- Paper clips (silver or gold)
- Felt sheets (pink, yellow, green, etc.)
- Craft glue or hot glue (with adult help)
- Pencil and small coin (for tracing circles)
- Small rhinestones or buttons (optional center)
How to make it:
- Trace and cut small felt circles and leaf shapes.
- Glue 3–4 circles stacked, snipping tiny petal cuts around the edges.
- Add a leaf behind and a rhinestone or button in the center.
- Glue the flower to the top loop of the paper clip and let dry.
3. Kawaii Cloud Paper Clips
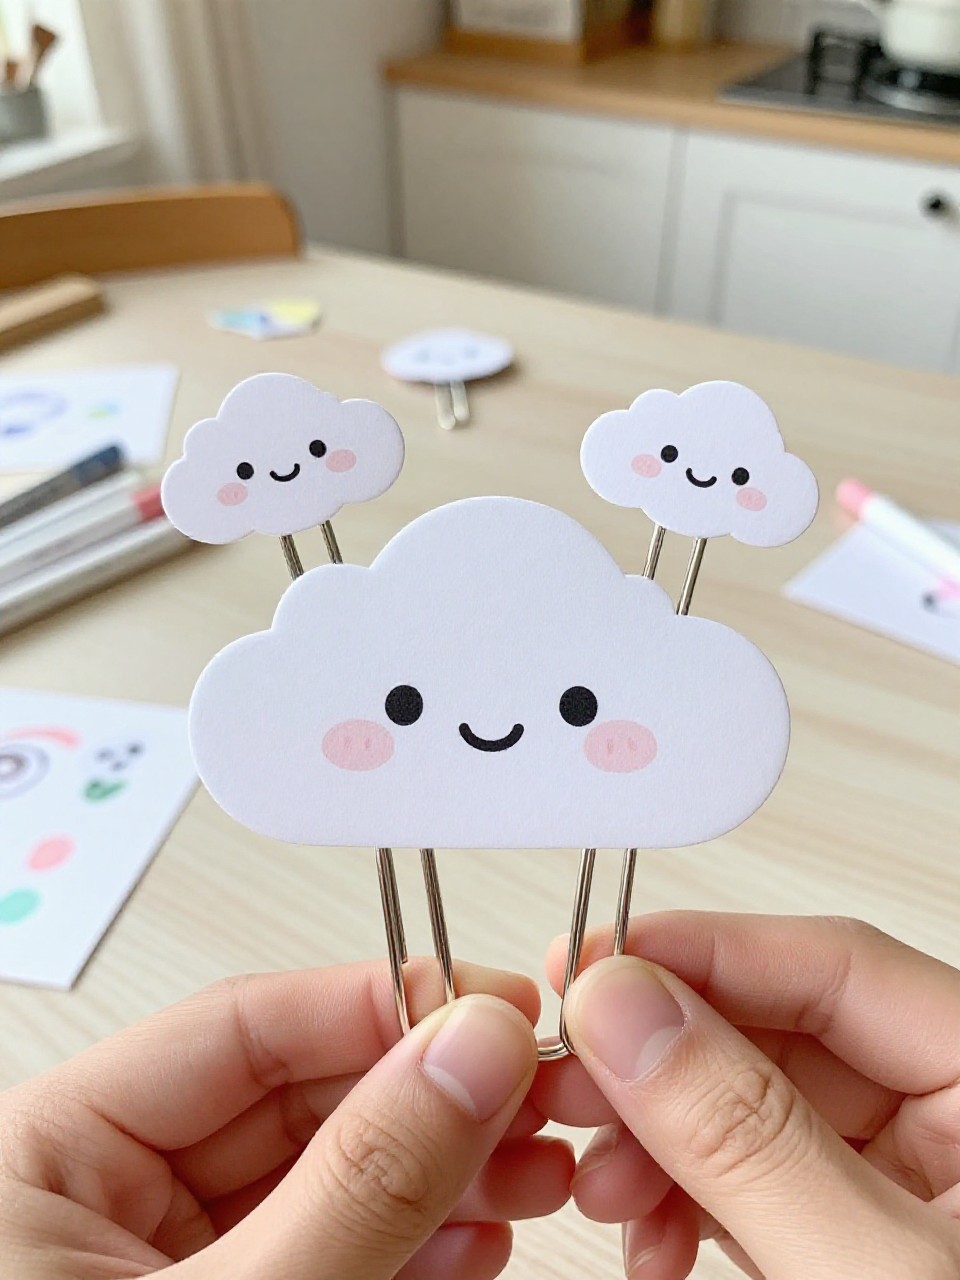
These clips hold puffy paper clouds with cute, smiling faces that peek from notebook pages. Kids love drawing tiny expressions and adding blush dots, and the result is adorable and quick.
Materials Needed:
- Paper clips (white or pastel)
- White cardstock
- Black fine marker and pink marker
- Glue stick
- Hole punch (optional for cheeks)
How to make it:
- Draw and cut simple cloud shapes from cardstock, two per clip.
- Add a face with the black marker and pink cheeks.
- Sandwich the top of the paper clip between two clouds with glue.
- Press flat under a book until dry, then clip onto pages.
4. Washi Flag Bookmark Clips
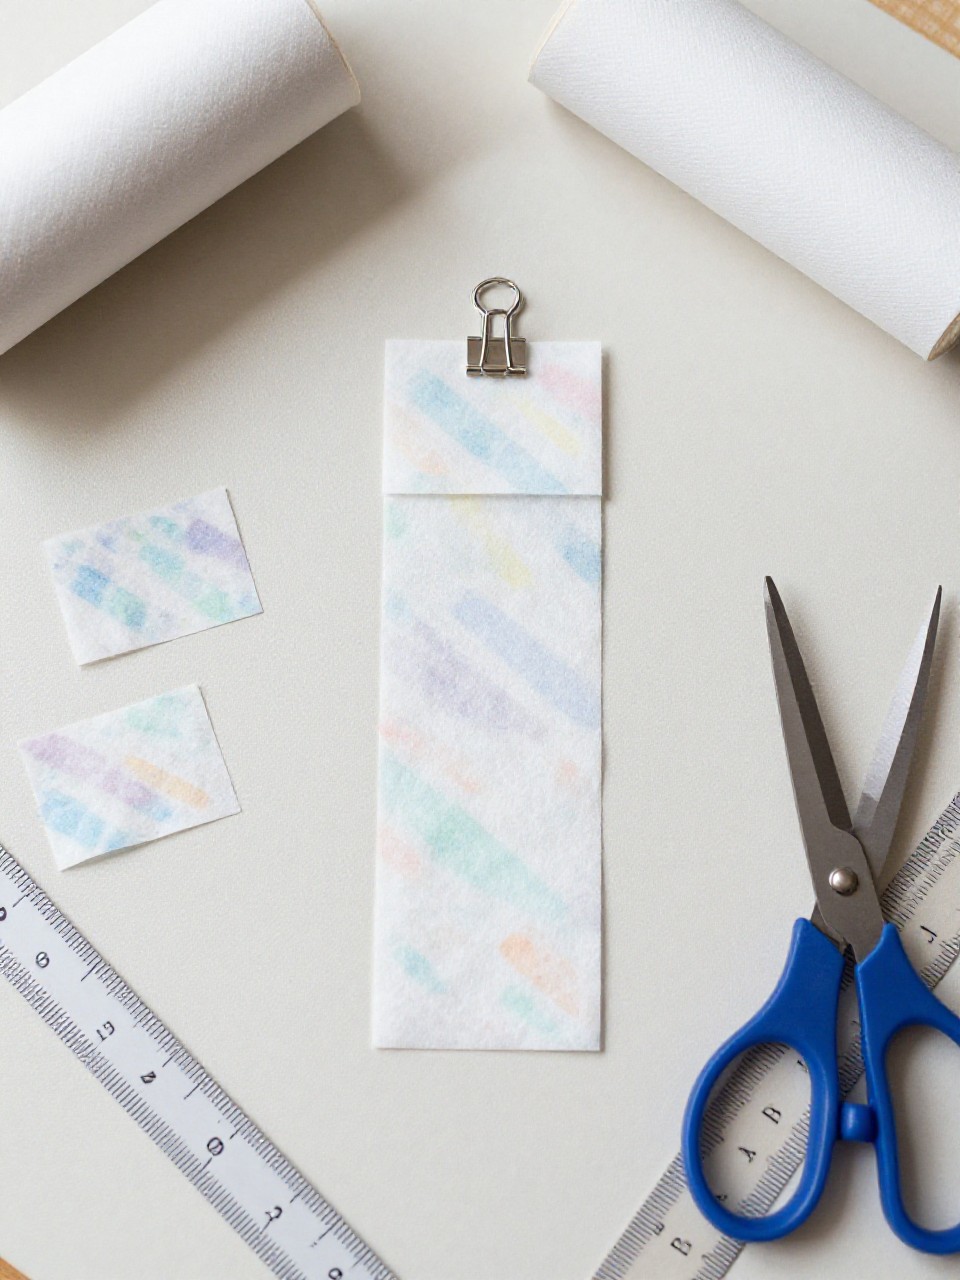
Each paper clip becomes a tiny flag by using patterned washi tape folded into a neat pennant. Kids enjoy mixing prints and trimming the flags into points, and the flags help mark pages fast.
Materials Needed:
- Paper clips
- Washi tape in fun patterns
- Scissors
- Ruler (optional for even cuts)
How to make it:
- Tear a 3–4 inch strip of washi tape.
- Stick the tape around the top loop of the clip and fold it onto itself.
- Trim the end into a triangle or dovetail shape.
- Make a few in matching colors and let the tape set.
5. Mini Pom-Pom Paper Clips
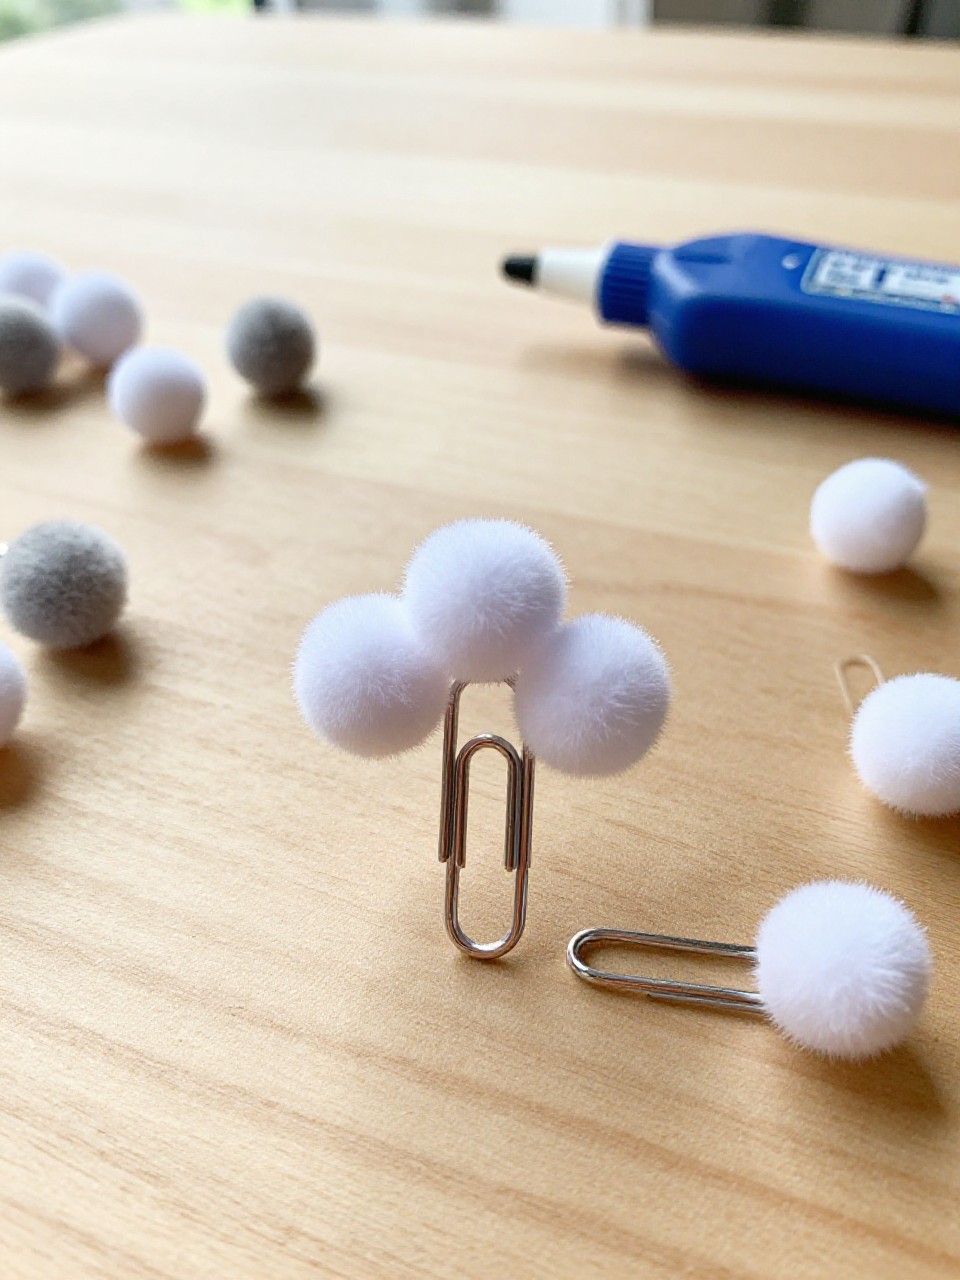
Soft, colorful pom-poms turn simple clips into fluffy page markers that pop out of planners. Kids love picking bright colors and the satisfying puff, and the craft is beginner friendly.
Materials Needed:
- Paper clips
- Small craft pom-poms
- Hot glue or strong tacky glue
- Tweezers (optional for placement)
How to make it:
- Choose a pom-pom that fits the top of the clip.
- Add a dot of glue to the clip’s top loop.
- Press the pom-pom on and hold for a few seconds.
- Let dry fully, then clip to homework or notes.
6. Tiny Tassel Paper Clips
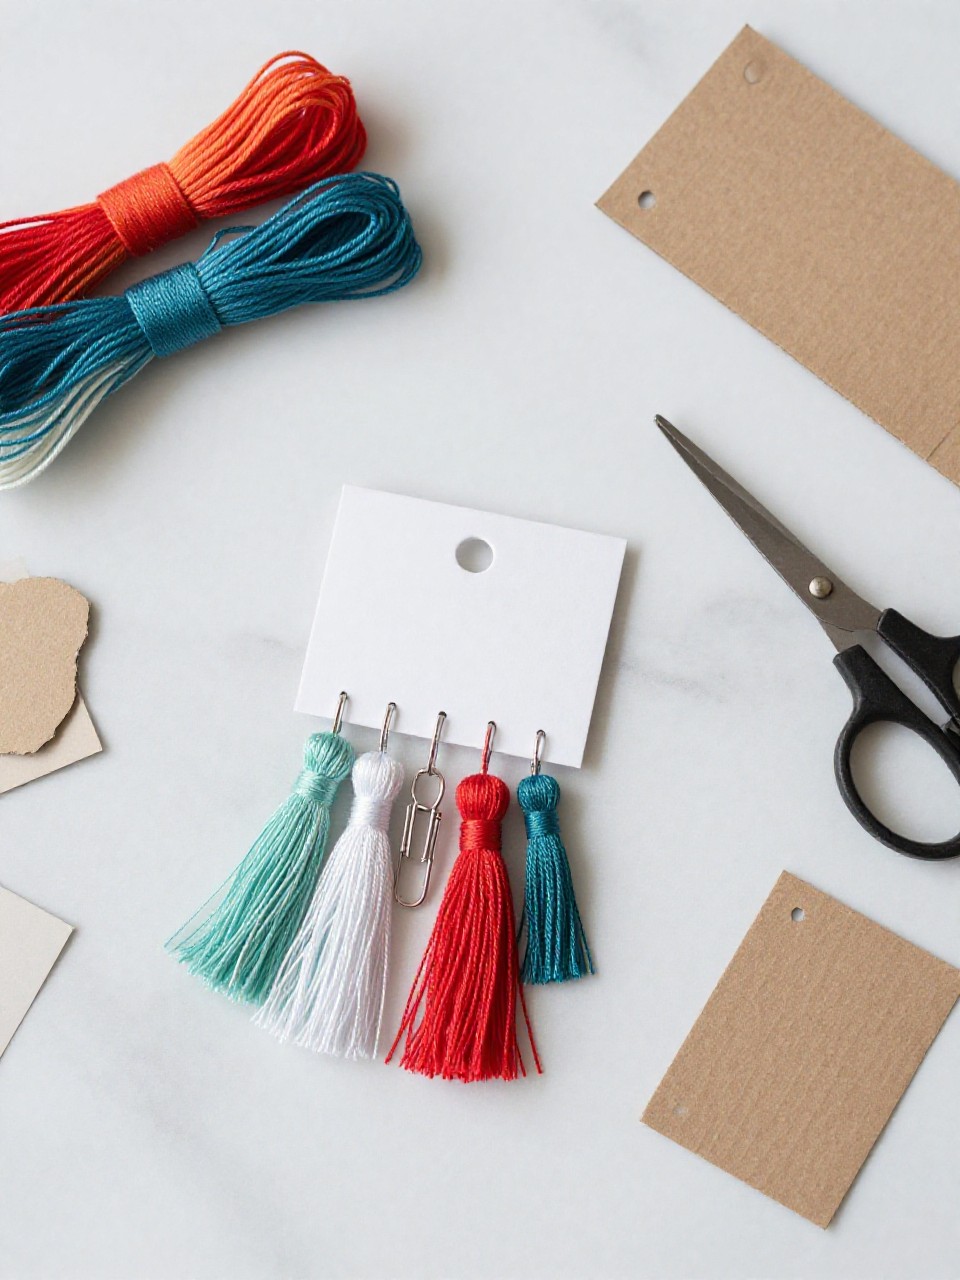
These clips wear small thread tassels that look chic and playful on journals. Kids enjoy wrapping floss and seeing the tassel fluff up, and it’s a neat way to learn simple knotting.
Materials Needed:
- Paper clips
- Embroidery floss or thin yarn
- Scissors
- Small piece of cardboard (1.5 inches wide)
How to make it:
- Wrap floss around the cardboard 15–20 times, then slide it off.
- Tie the top bundle, thread the tie through the clip’s loop, and knot.
- Wrap a short piece around the top to make a tassel head; trim ends even.
- Fluff the tassel and attach to notebooks.
7. Animal Ear Paper Clips
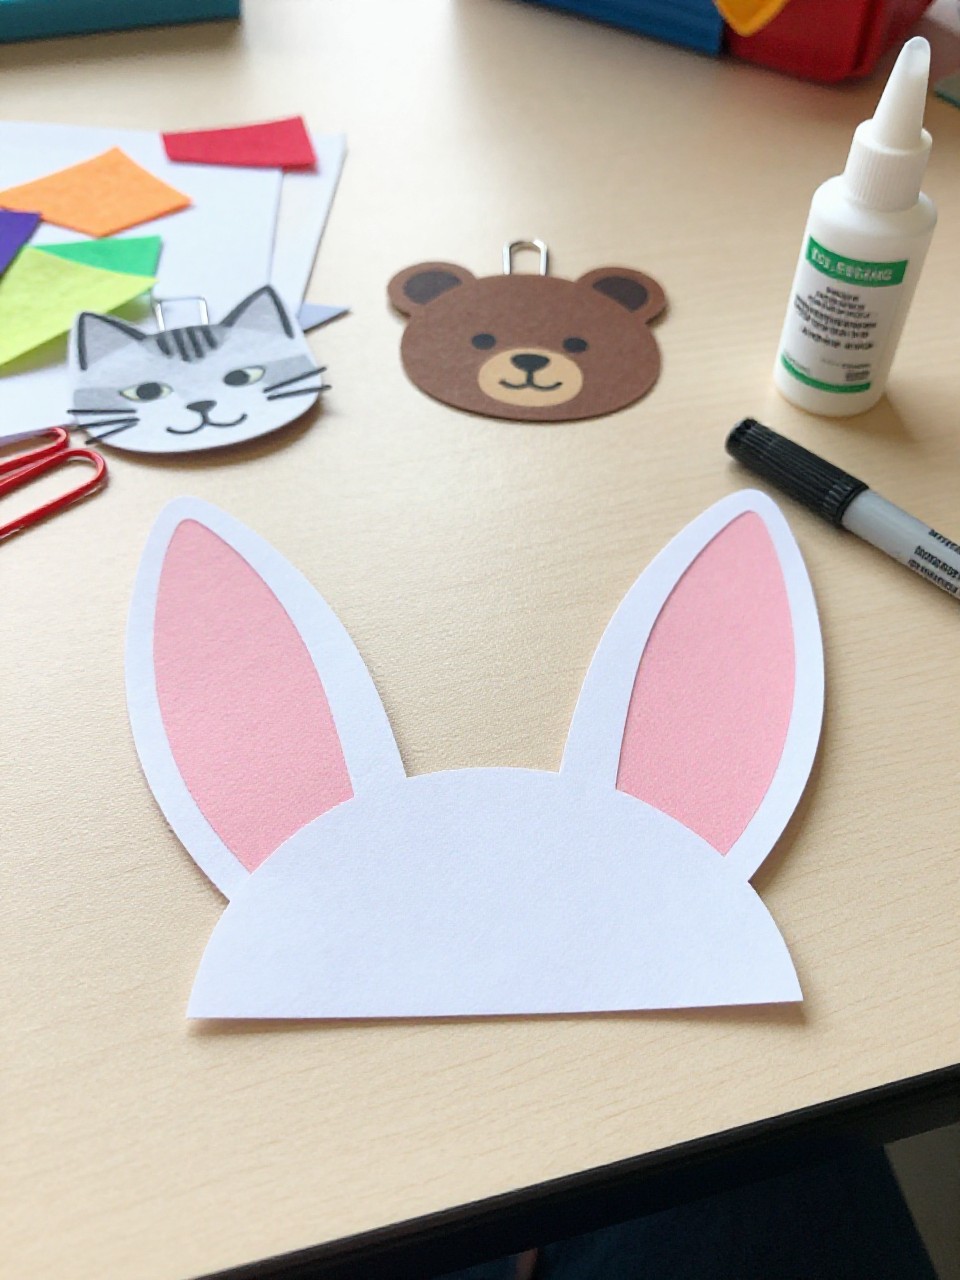
These clips get cute animal ears—like cat, bear, or bunny—made from felt or foam. Kids like choosing their favorite animal and adding tiny details, and the simple shapes make success easy.
Materials Needed:
- Paper clips
- Felt or craft foam (neutral and pink)
- Craft glue
- Black marker (for inner details)
- Tiny bow stickers (optional)
How to make it:
- Cut small ear pairs: triangles for cats, rounds for bears, long ovals for bunnies.
- Glue ears to the top of the clip; add a pink inner ear piece.
- Draw light details with marker or add a tiny bow.
- Let dry and clip to worksheets or drawings.
8. Glitter Heart Paper Clips
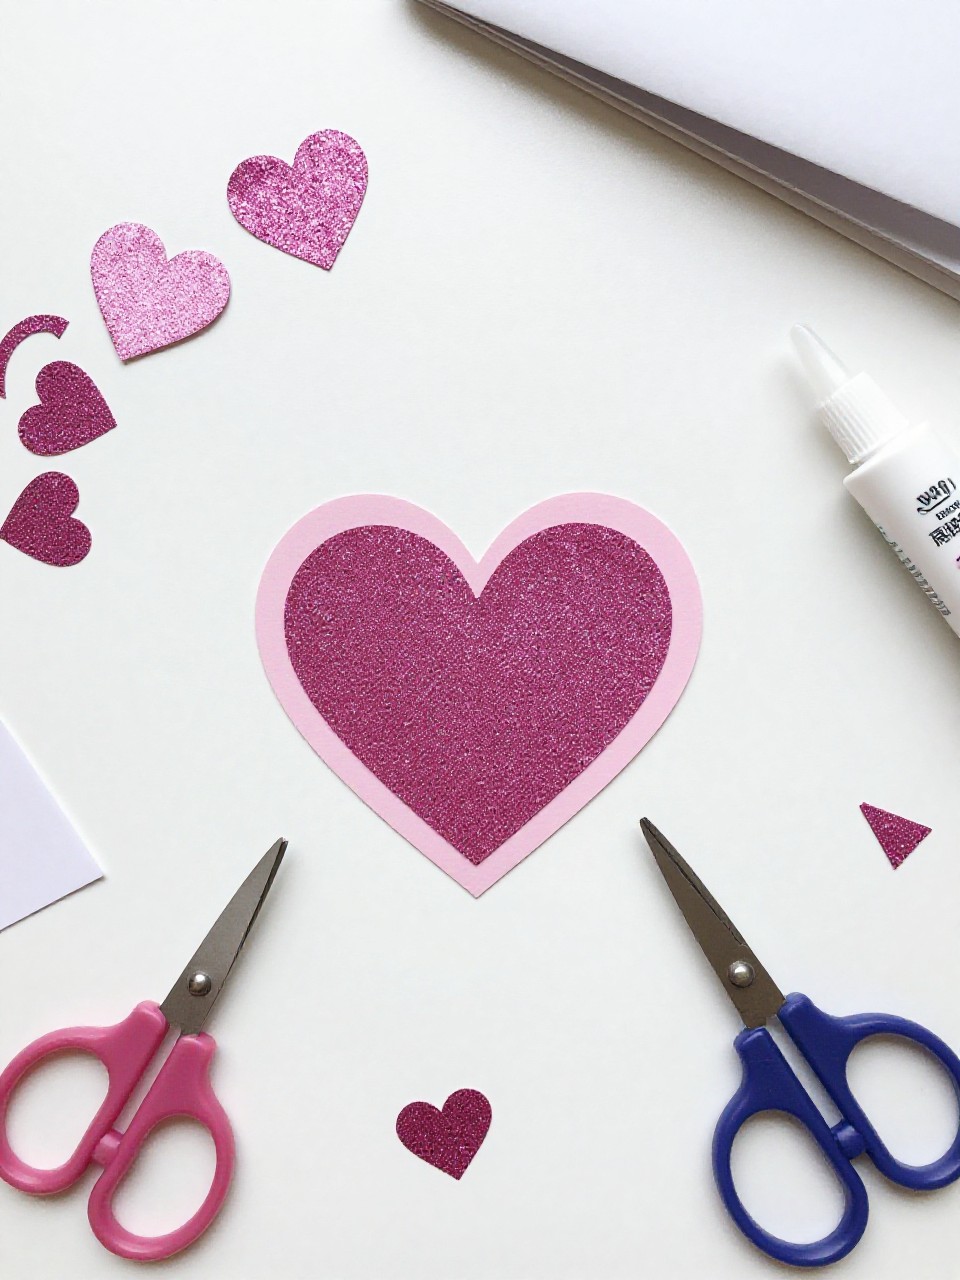
Sparkly hearts sit on the clips, catching light and making any stack of papers feel special. Kids enjoy choosing glitter colors and seeing the shine, and the shapes are easy to cut.
Materials Needed:
- Paper clips
- Glitter cardstock or glitter foam
- Scissors
- Strong glue
- Plain cardstock (backing)
How to make it:
- Cut small heart shapes from glitter cardstock and matching plain backs.
- Glue the heart to the top of the clip, then add the plain back to sandwich.
- Press flat and wipe any extra glue.
- Let cure, then use as cute page markers.
9. Mini Envelope Message Clips
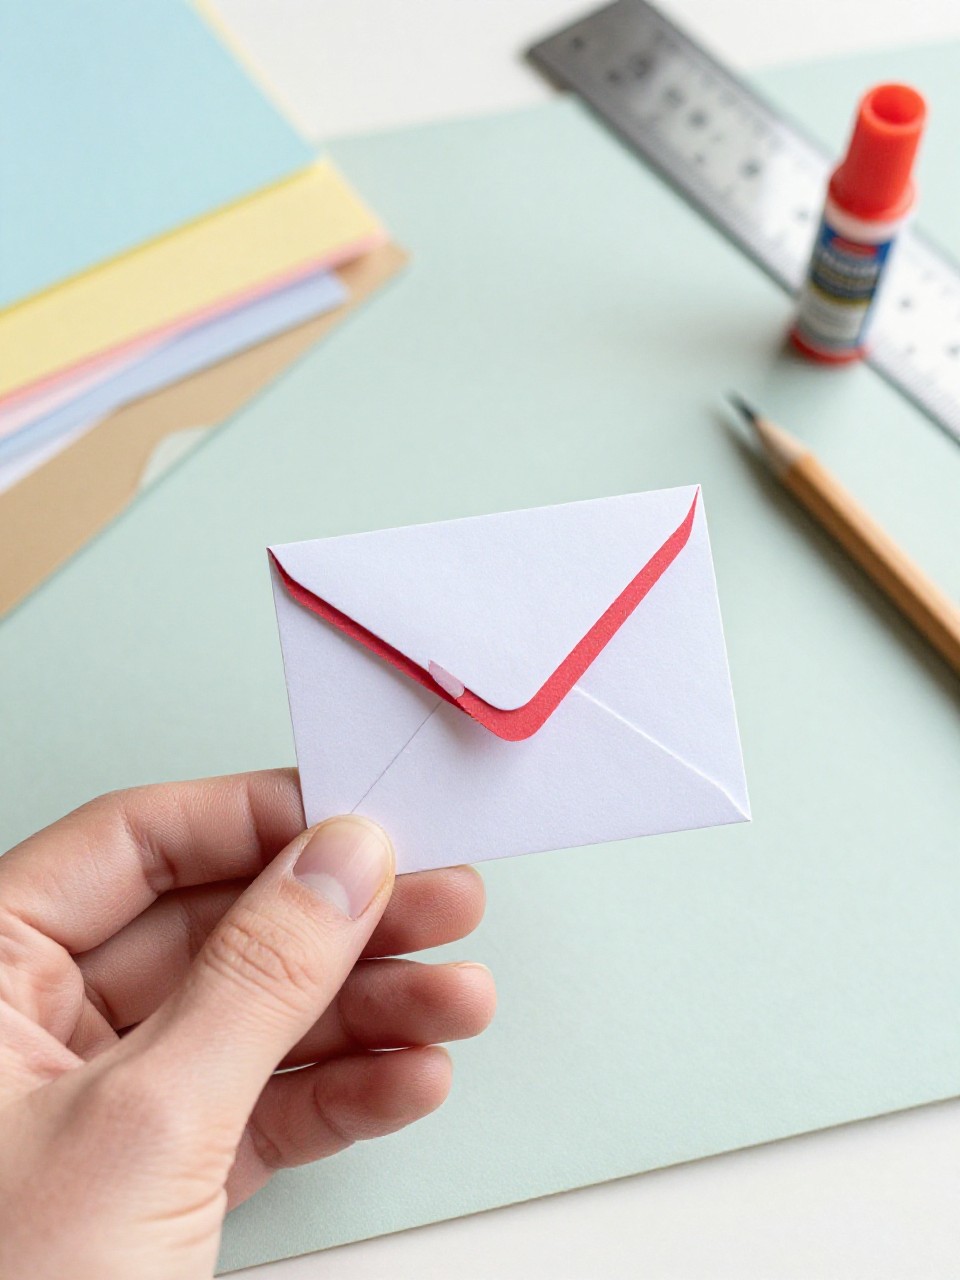
Each clip holds a tiny paper envelope that can hide a note or a tiny sticker. Kids love tucking secret messages inside and gifting them to friends or teachers.
Materials Needed:
- Paper clips
- Colored paper
- Glue stick
- Ruler and pencil
- Heart sticker (optional seal)
How to make it:
- Draw and cut a small envelope template (a plus sign shape) and fold flaps.
- Glue the side flaps and bottom flap to form an envelope.
- Attach the envelope’s back to the top of the clip with glue.
- Add a tiny note inside and seal with a sticker if you like.
10. Fruit Slice Paper Clips
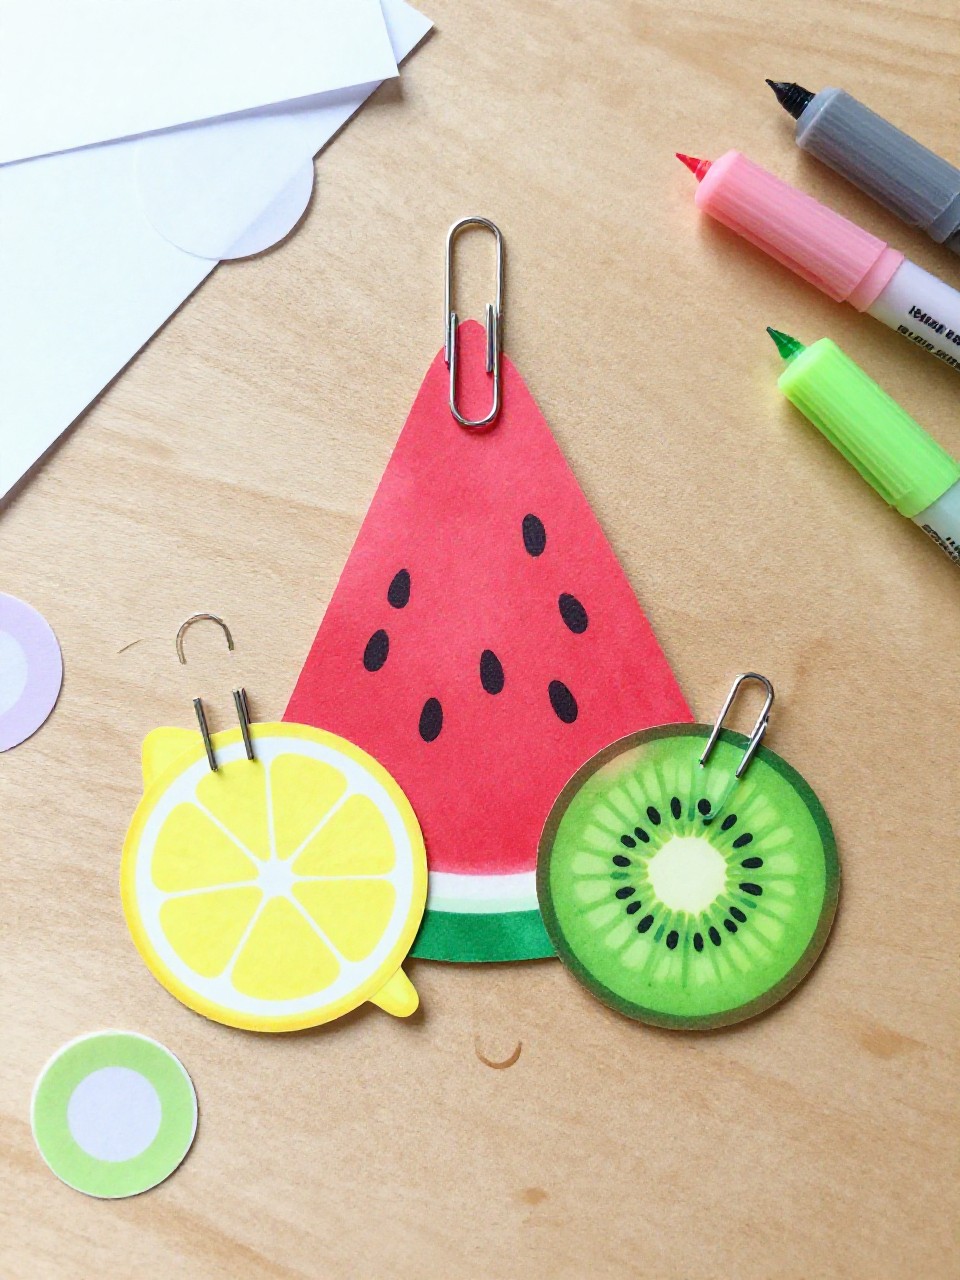
Clips become cute fruit slices—watermelon, lemon, or kiwi—made from layered paper circles. Kids enjoy the bright colors and painting little seeds; the results look like tiny snacks for your desk.
Materials Needed:
- Paper clips
- Colored cardstock or construction paper
- Circle punch or scissors
- Glue stick
- Black marker or paint (for seeds)
How to make it:
- Punch or cut circles, then cut into half-circles for slices.
- Layer colored pieces to match fruit (pink with green rind, yellow with white).
- Add seed dots with marker or paint.
- Glue a slice to the top of the clip and let dry.
11. Pencil Top Paper Clip Tabs
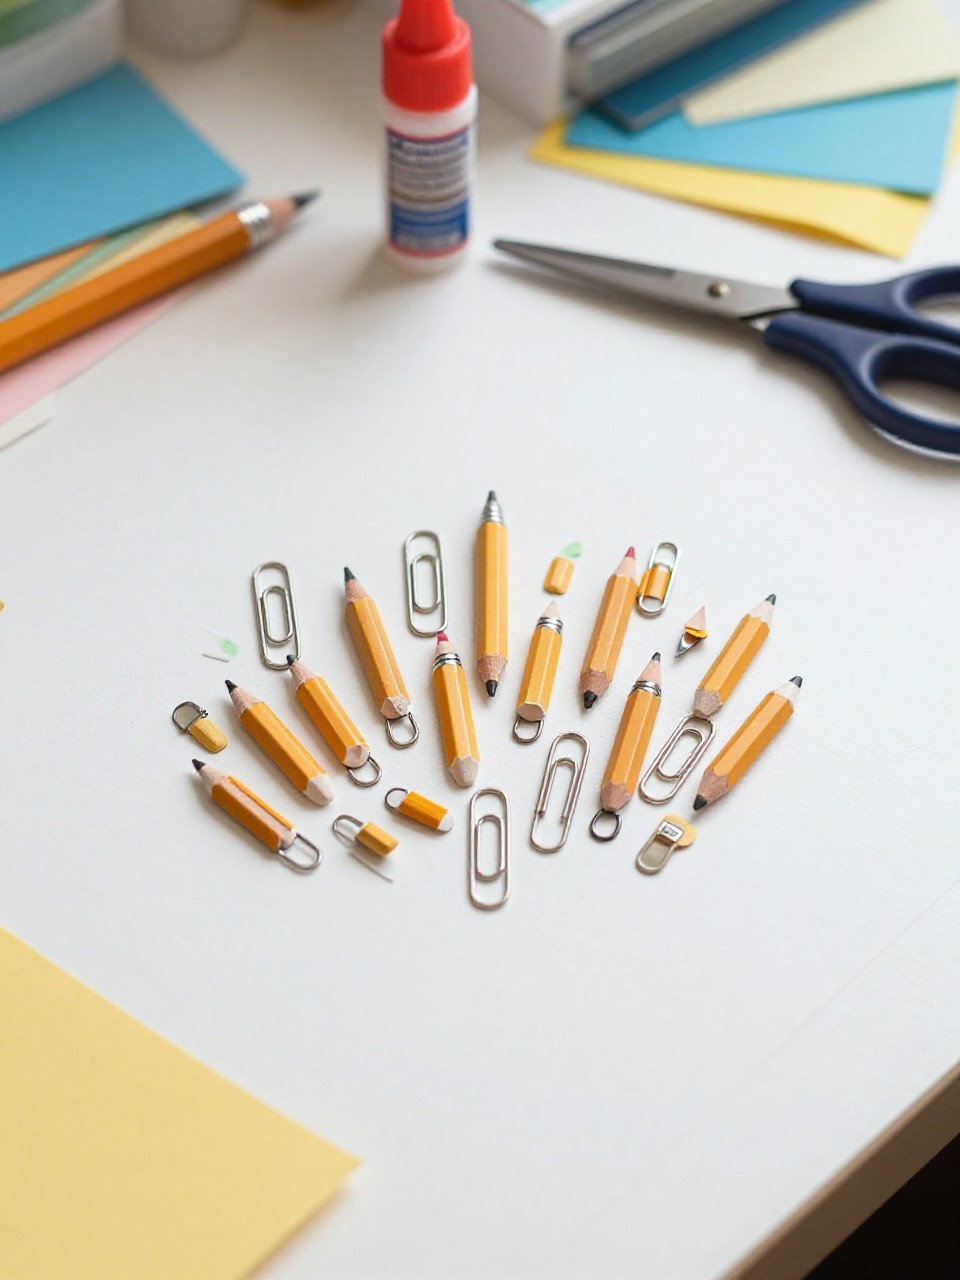
These clips wear tiny paper pencils that stick out like tabs, perfect for marking reading spots. Kids like the school theme and drawing cute erasers and wood tips.
Materials Needed:
- Paper clips
- Yellow, pink, tan, and gray cardstock
- Glue stick
- Black marker
- Scissors
How to make it:
- Cut small yellow rectangles, pink erasers, tan tips, and gray bands.
- Glue pieces to build a mini pencil shape.
- Draw the graphite point with the black marker.
- Attach the pencil to the clip top and press to dry.
12. Sticker Dome Paper Clips
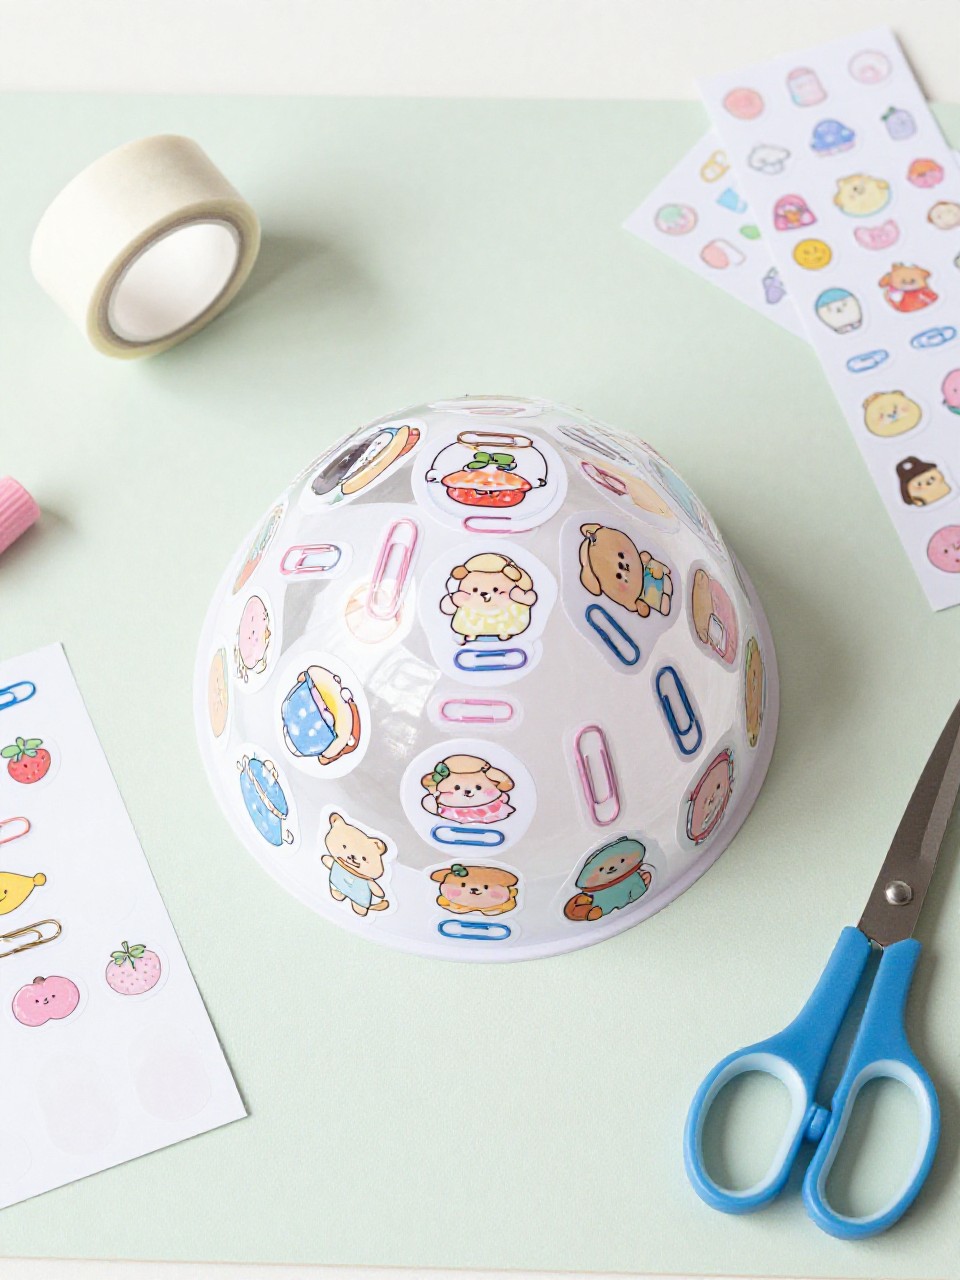
A favorite flat sticker becomes a shiny topper by sealing it with clear tape or a dome sticker. Kids enjoy turning simple stickers into sturdy charms that last longer.
Materials Needed:
- Paper clips
- Cute flat stickers
- Clear packing tape or epoxy dome stickers
- Cardstock (backing)
- Scissors
How to make it:
- Stick the sticker onto cardstock and cut around it.
- Cover with clear tape or a dome sticker to protect the surface.
- Glue the piece to the top loop of the clip and add a cardstock back if needed.
- Press flat and let dry.
13. Paper Bow Tie Clips
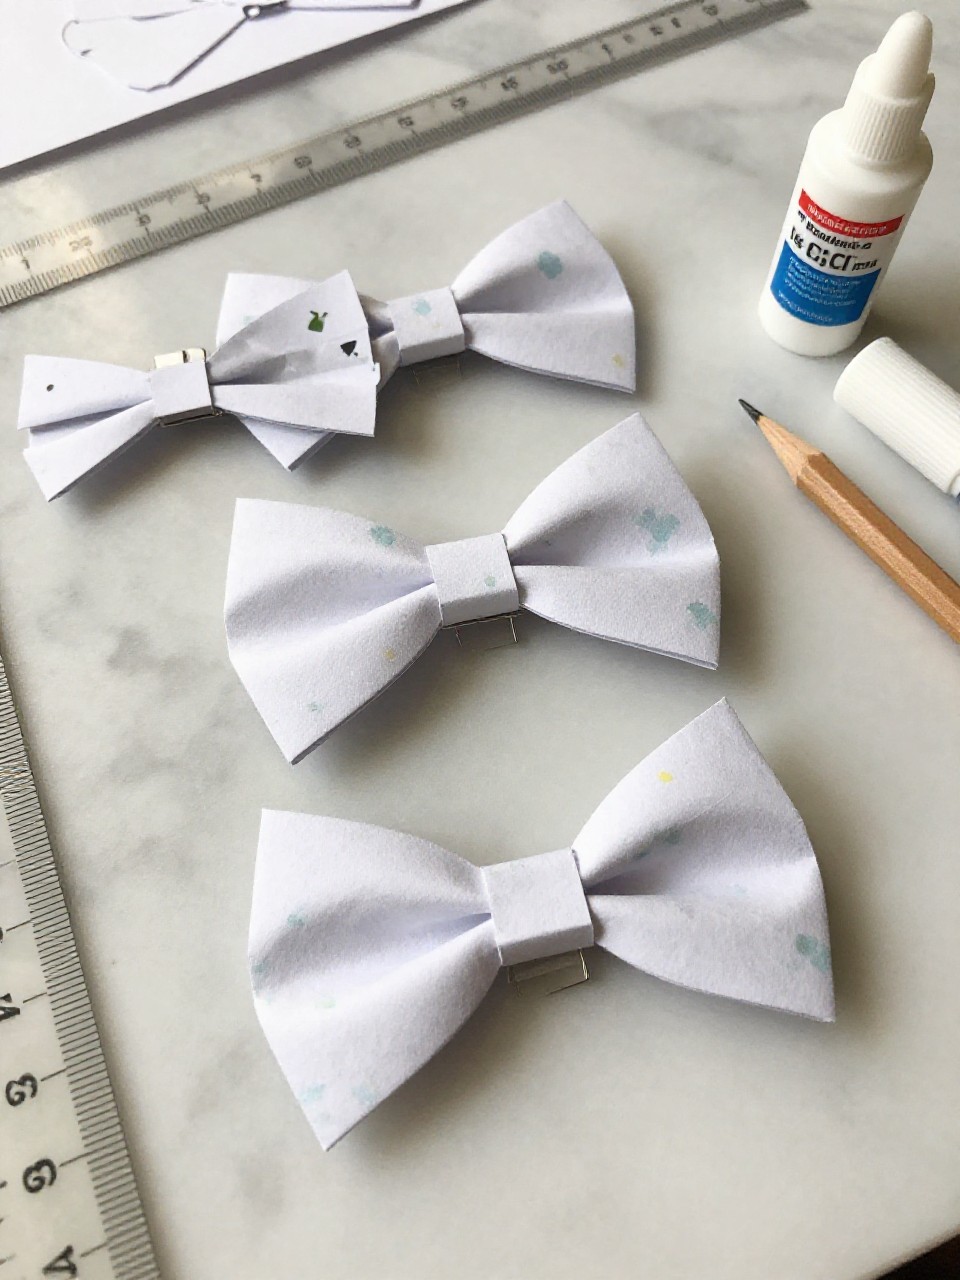
Sweet bow ties made from scrap paper dress up your planner or homework stack. Kids love choosing patterns and learning the simple fold-and-glue method.
Materials Needed:
- Paper clips
- Patterned paper
- Glue stick
- Ruler and pencil
- Small rhinestones (optional)
How to make it:
- Cut one rectangle for the bow and a thin strip for the center.
- Fold the rectangle’s short ends toward the middle and pinch slightly.
- Wrap and glue the thin strip around the center to form a bow.
- Glue the bow to the clip and add a rhinestone if you like.
14. Nature Leaf Paper Clips

Real or faux mini leaves sit on clips, bringing a calm nature touch to your desk. Kids enjoy a quick walk to collect leaves and the earthy look on their notebooks.
Materials Needed:
- Paper clips
- Small real leaves or faux craft leaves
- Clear-drying craft glue or Mod Podge
- Cardstock (backing for delicate leaves)
- Paintbrush (for sealing)
How to make it:
- Press real leaves in a book for 24 hours if possible.
- Glue the leaf to the top of the clip; add cardstock backing for support.
- Brush a thin coat of Mod Podge over the leaf to seal.
- Let dry fully and clip onto journals.
15. Emoji Face Paper Clips
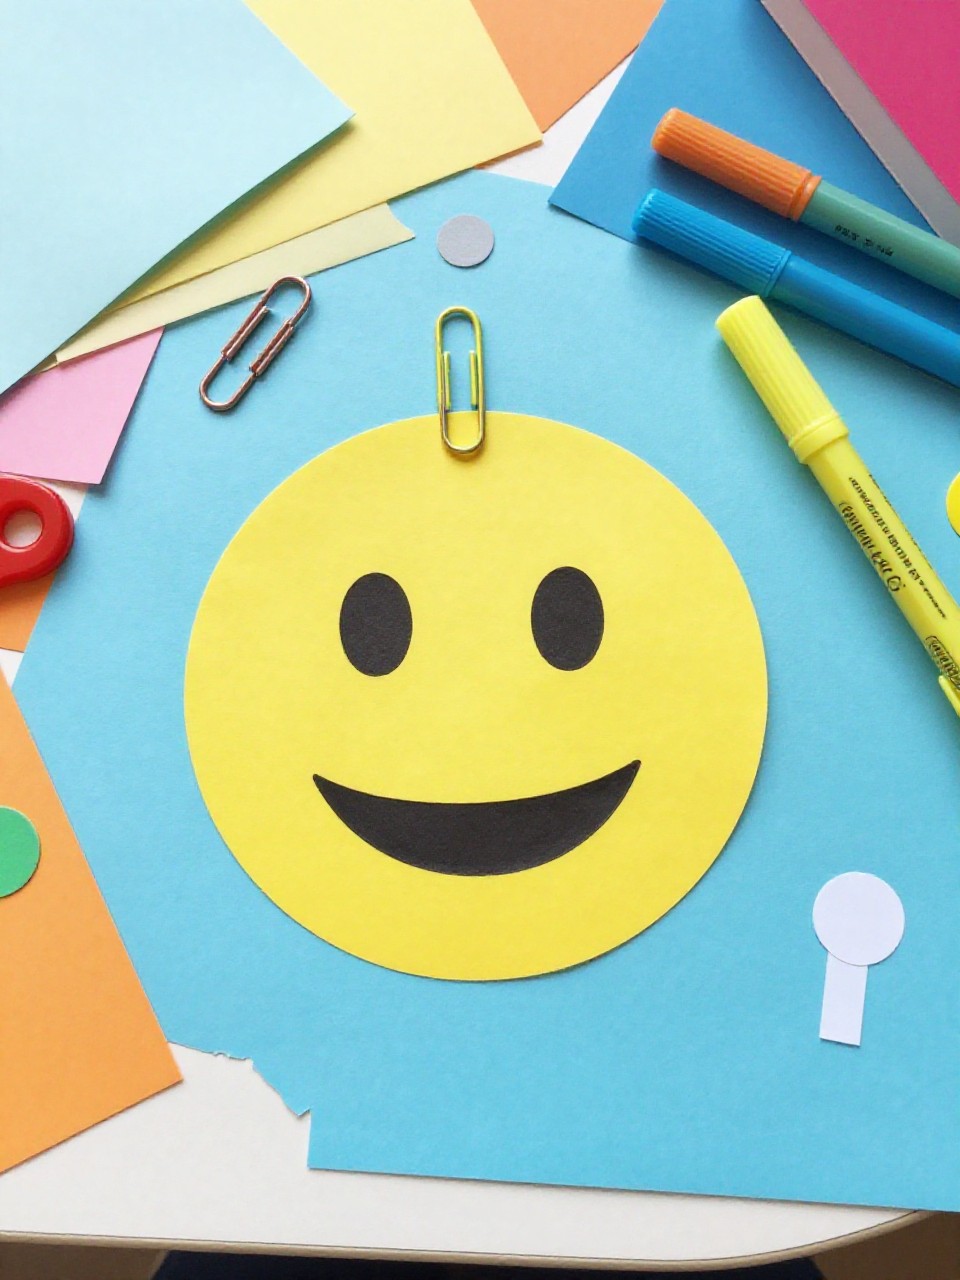
Bright round emoji faces top the clips with smiles, winks, and heart eyes. Kids love picking their favorite mood and swapping them as their day changes, and drawing the faces is simple and fun.
Materials Needed:
- Paper clips
- Yellow cardstock
- Black and red markers
- Circle punch or scissors
- Glue stick
How to make it:
- Punch or cut small yellow circles.
- Draw different emoji faces with markers.
- Glue a circle to the top of the clip and add a back circle to sandwich.
- Press under a book until flat and dry, then use as mood markers.


