


Table of Contents Show
Some days, you just need a low-mess project that keeps little hands busy and little hearts happy. Bears are perfect for that: friendly faces, chunky shapes, and lots of cozy textures. These crafts look fancy on the fridge but are simple enough for preschoolers to handle with a bit of guidance.
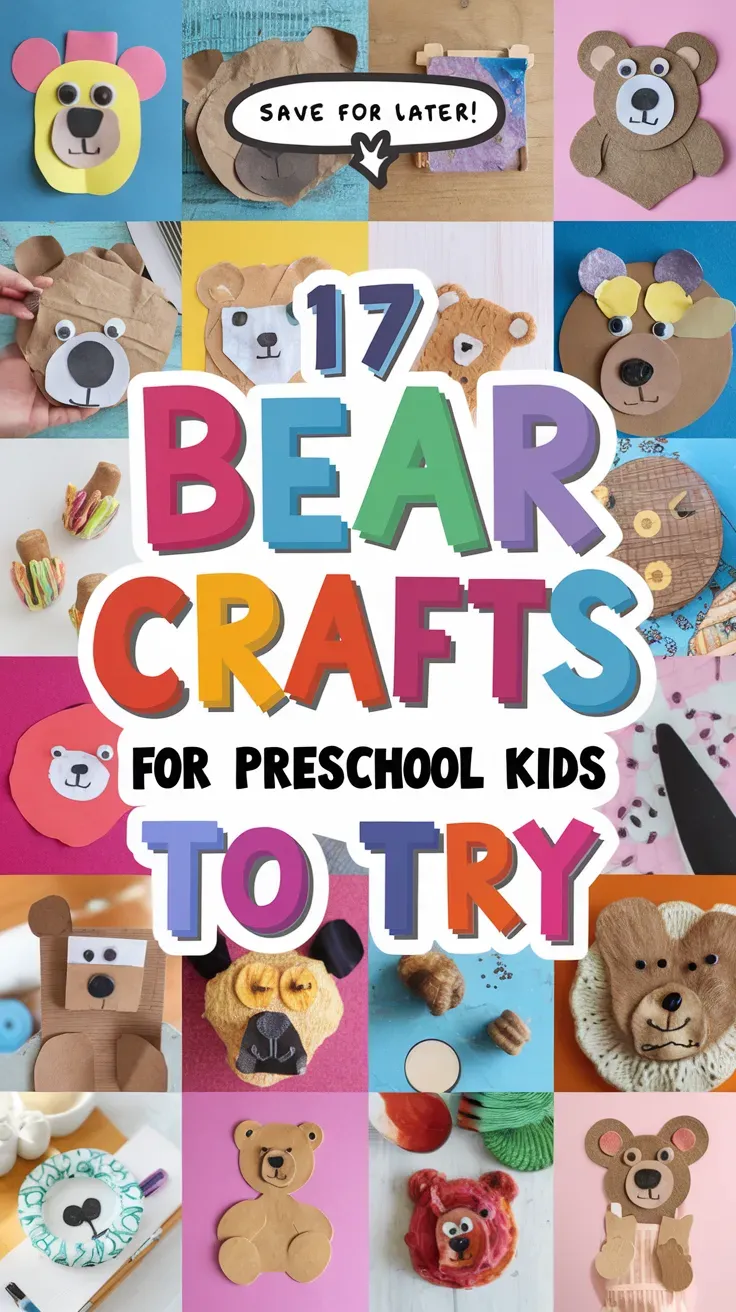
Grab your glue stick, turn on some gentle music, and pick a project—each one is quick to set up, satisfying to make, and adorable to display.
1. Fuzzy Pom-Pom Bear Face

A soft, round bear face made from pom-poms looks plush and huggable. The layers of fluff hide any “oops” moments and give a boutique feel with barely any effort.
Materials Needed:
- Brown pom-poms (assorted sizes)
- Cardboard circle
- Googly eyes
How to make it:
For People Who Love to Make Things ✂️
- 1. Cut a circle from cardboard for the bear’s head.
- 2. Glue large brown pom-poms to cover the circle fully.
- 3. Add two medium pom-poms at the top for ears.
- 4. Glue on googly eyes and a tiny pom-pom nose.
2. Paper Plate Honey Bear Mask
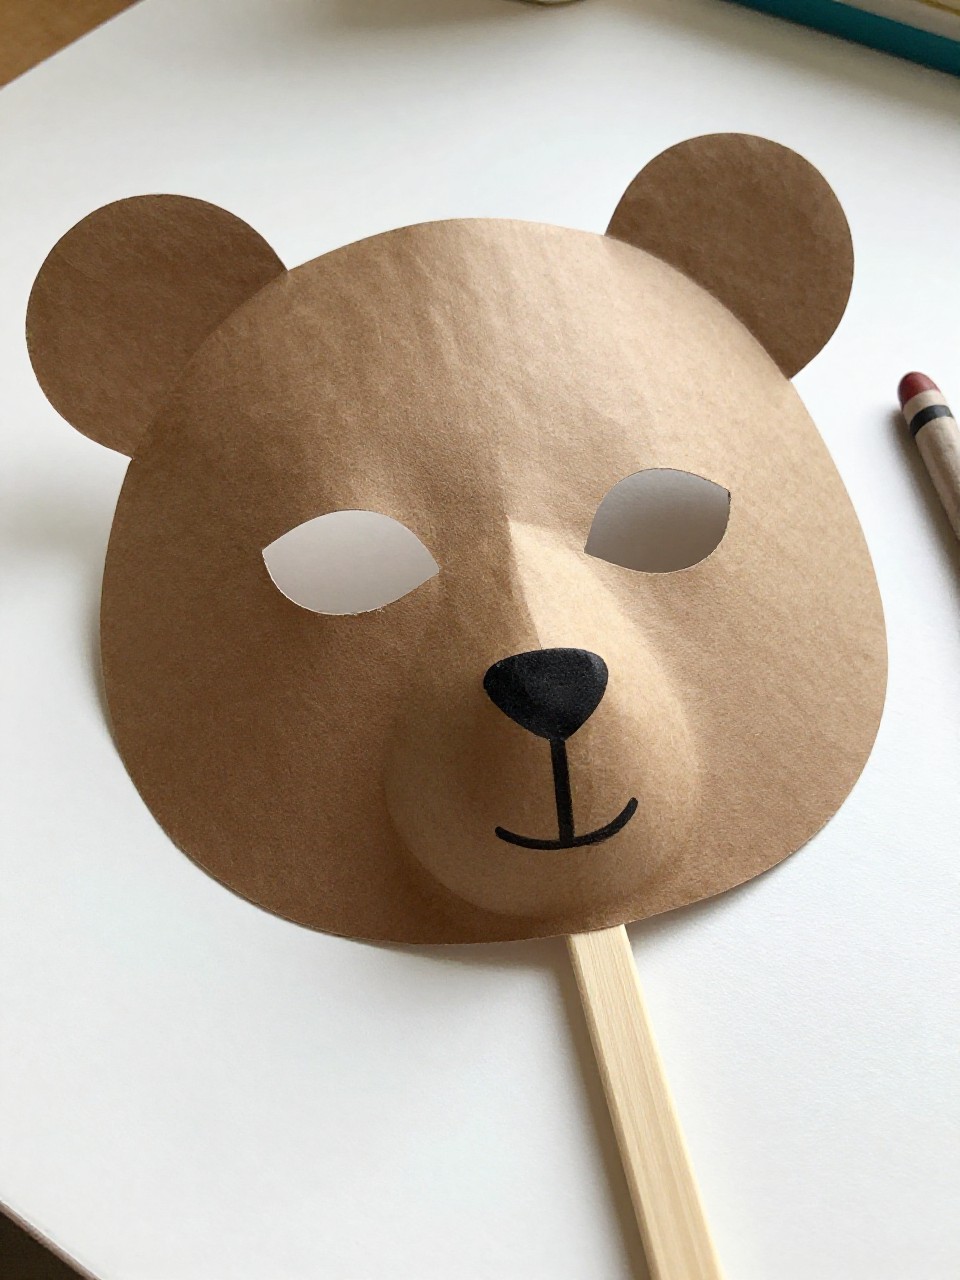
Turn a paper plate into a friendly honey-loving bear. The cut-out eyes and rounded ears make instant dress-up magic.
Materials Needed:
- Paper plate
- Brown paint or crayons
- Craft stick
How to make it:
- 1. Color or paint the plate brown and let it dry.
- 2. Cut two eye holes and glue small half-circles at the top for ears.
- 3. Draw a muzzle and smile; add a small black circle for the nose.
- 4. Tape a craft stick to the bottom as a handle.
3. Shape-Stacking Geometric Bear
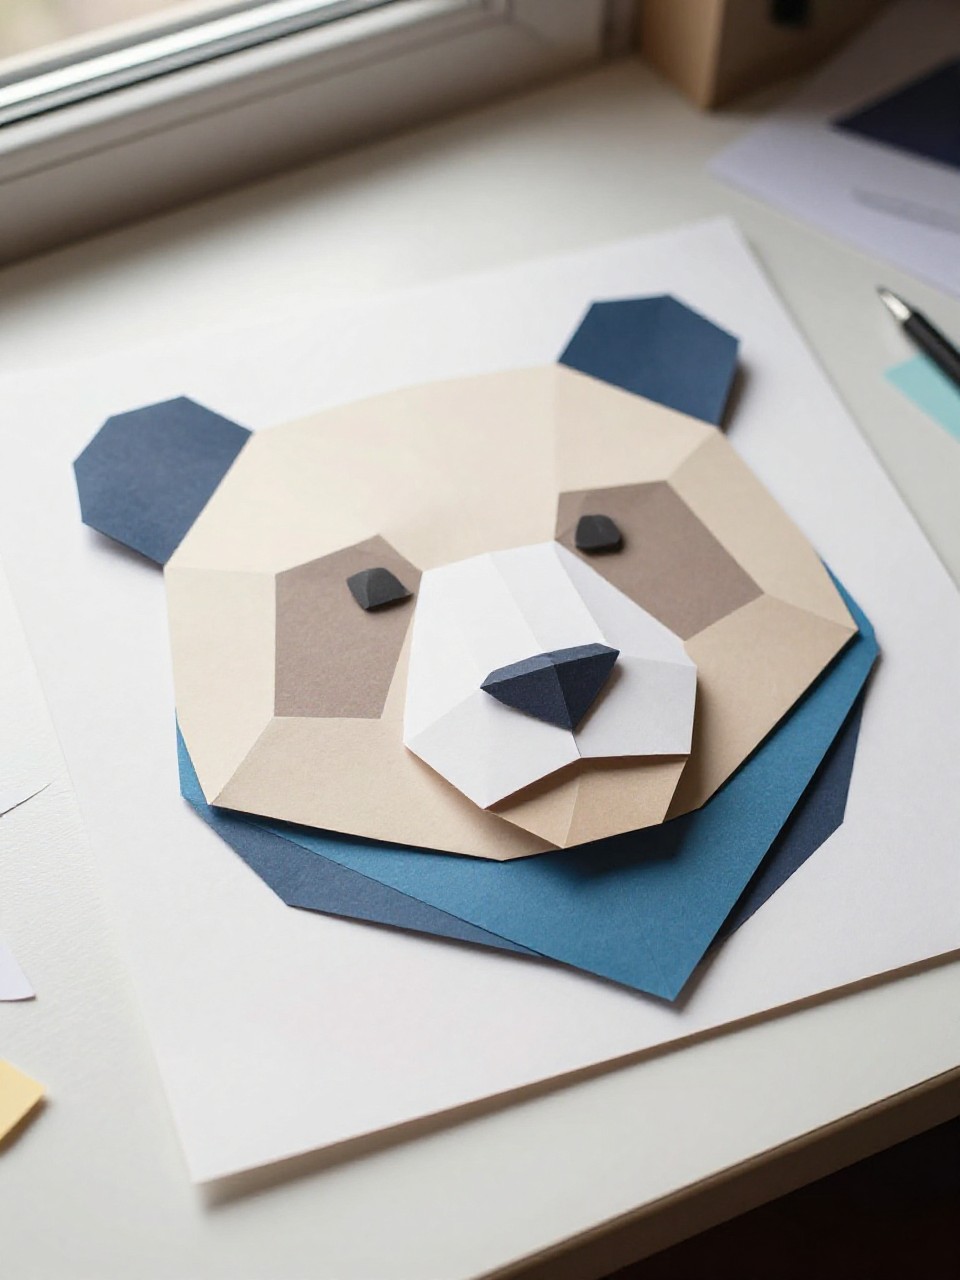
This modern bear uses simple shapes to build a cool, poster-worthy look. Kids learn shapes while making a stylish wall piece.
Materials Needed:
- Colored paper (browns, tan, black)
- Glue stick
- Safety scissors
How to make it:
- 1. Cut circles for head and ears, an oval for the muzzle, and a triangle for the nose.
- 2. Arrange shapes on a background sheet to form a bear face.
- 3. Glue pieces down in layers from largest to smallest.
- 4. Draw small details like whisker dots or cheeks.
4. Bubble Wrap Fur Bear
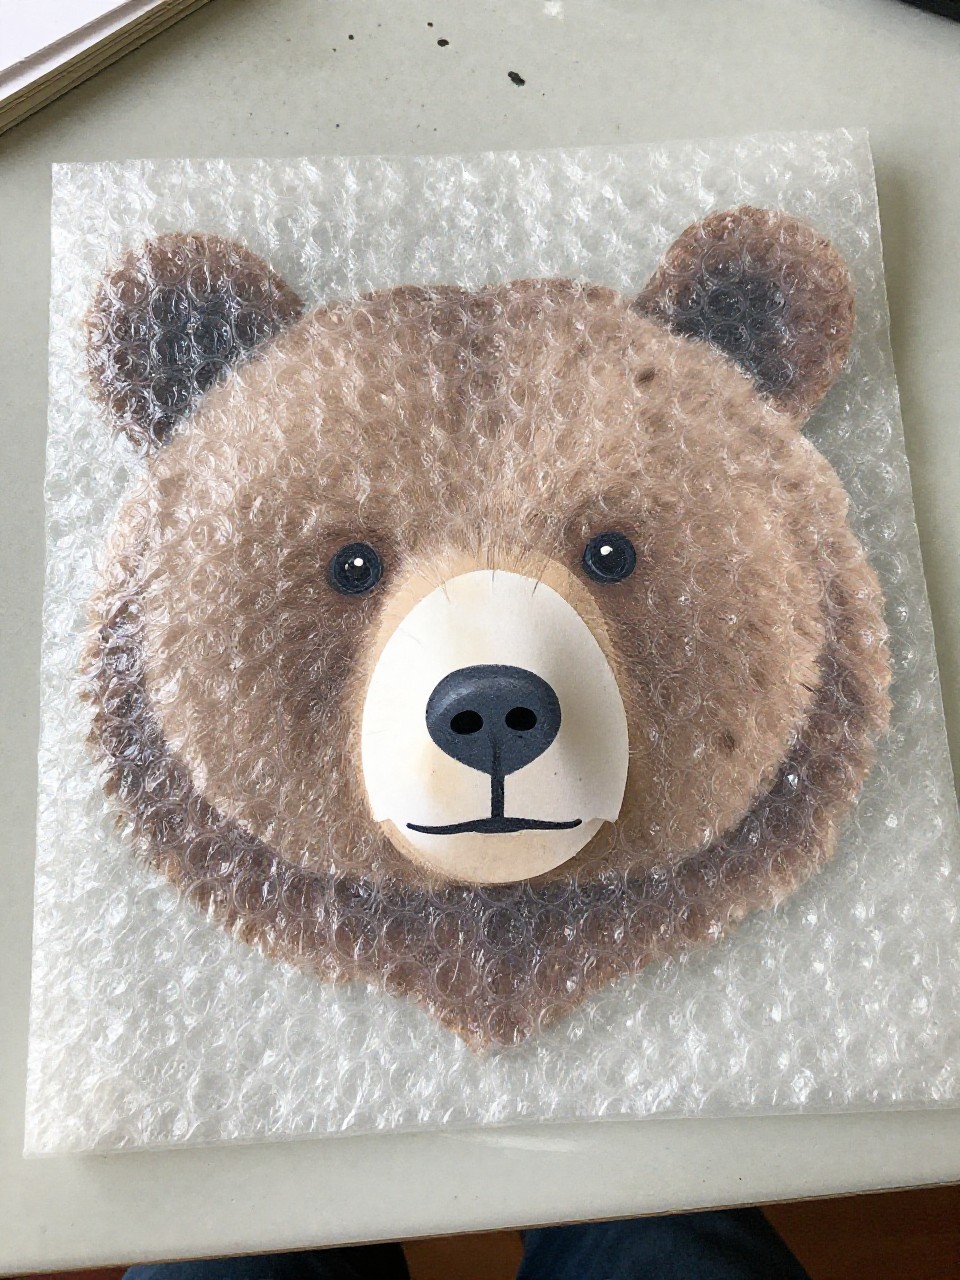
Stamp bubble wrap to create playful “fur” texture. The dotted pattern looks intricate but is quick and fun to make.
Materials Needed:
- Bubble wrap piece
- Brown paint
- White cardstock
How to make it:
- 1. Paint one side of the bubble wrap with brown paint.
- 2. Press the painted wrap onto cardstock to create a furry print.
- 3. Cut out a large circle for the head and two small circles for ears.
- 4. Glue on a paper muzzle, draw eyes and nose, and assemble the face.
5. Handprint Bear Cub
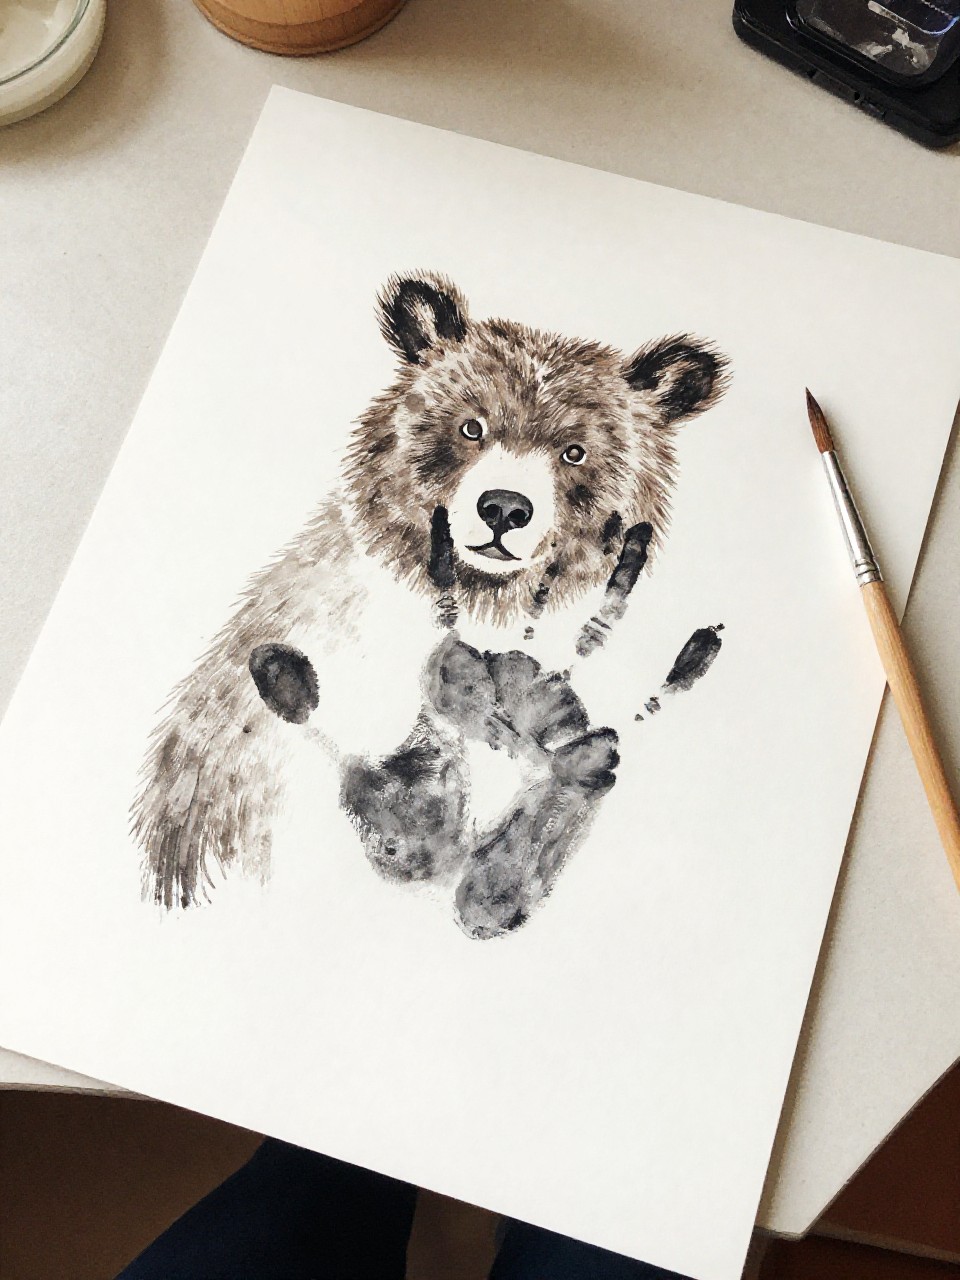
Tiny handprints become cuddly bear cub bodies. It’s sweet, keepsake-worthy, and mess-light with a paintbrush.
Materials Needed:
- Washable brown paint
- White paper
- Black marker
How to make it:
- 1. Brush brown paint on your child’s hand and press onto paper with fingers down (the fingers are the legs).
- 2. Add a smaller handprint for the head overlapping the “body.”
- 3. Paint or draw two small ear circles at the top.
- 4. Use a marker to add eyes, nose, and a smile.
6. Yarn-Wrapped Bear Ornament

Wrapping yarn around a simple shape gives cozy, cabin vibes. The texture hides uneven lines so it always looks charming.
Materials Needed:
- Cardboard bear face shape
- Brown yarn
- Glue stick
How to make it:
- 1. Cut a flat bear face silhouette from cardboard.
- 2. Tape the yarn end to the back and wrap yarn around to cover the shape.
- 3. Add small yarn loops for ears at the top.
- 4. Glue a paper muzzle and draw eyes and nose.
7. Sticker Mosaic Bear
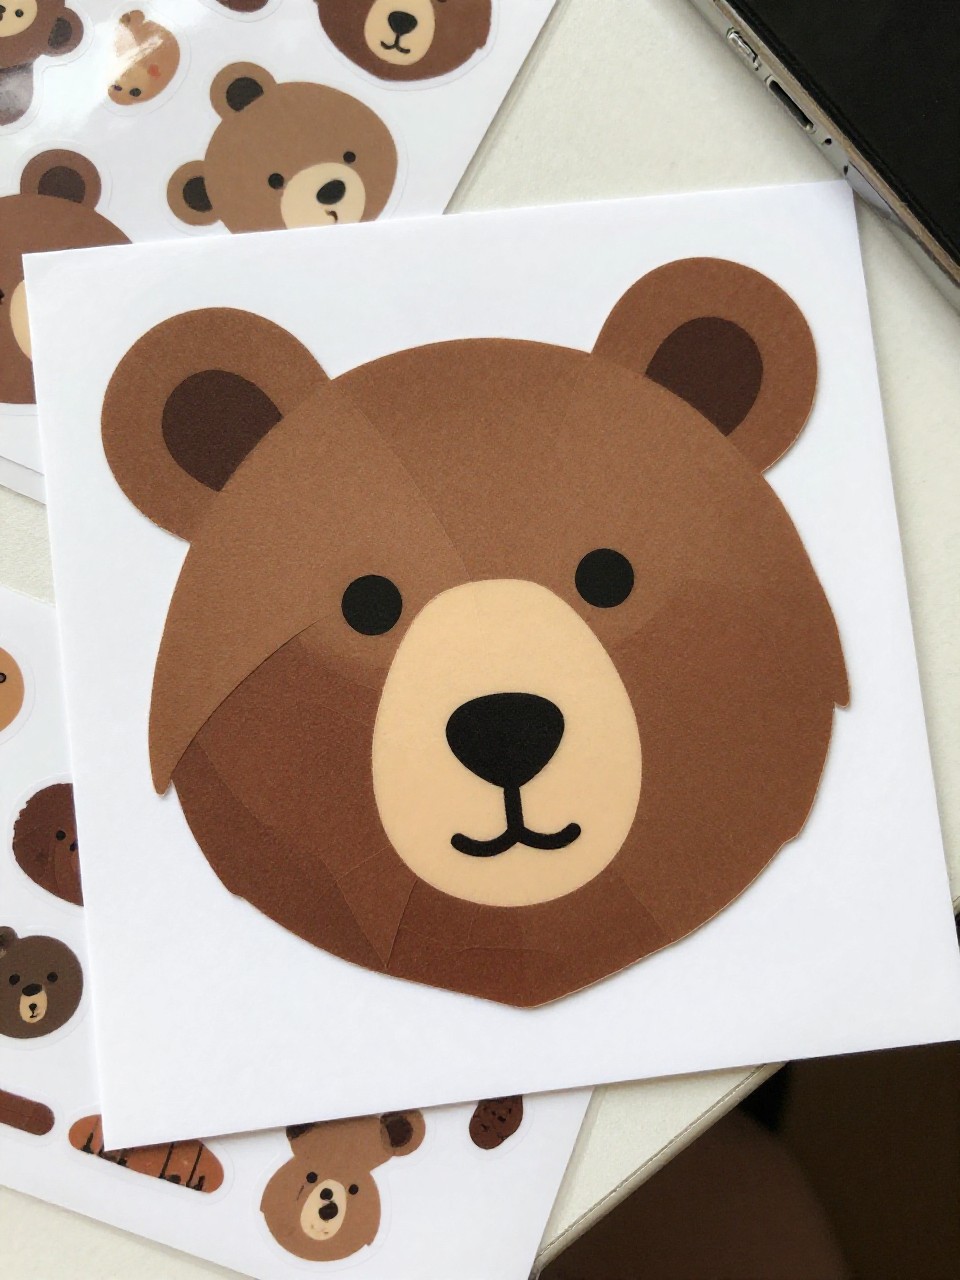
Kids build a bear using tiny square stickers—no scissors needed. The finished look is pixel-cute and tidy.
Materials Needed:
- Bear outline printable or drawn shape
- Small square stickers (browns, tans, black)
- White cardstock
How to make it:
- 1. Draw or print a simple bear face outline on cardstock.
- 2. Fill the face area with brown and tan stickers like a mosaic.
- 3. Use black stickers for eyes and nose.
- 4. Add a pop of color with pink cheek stickers.
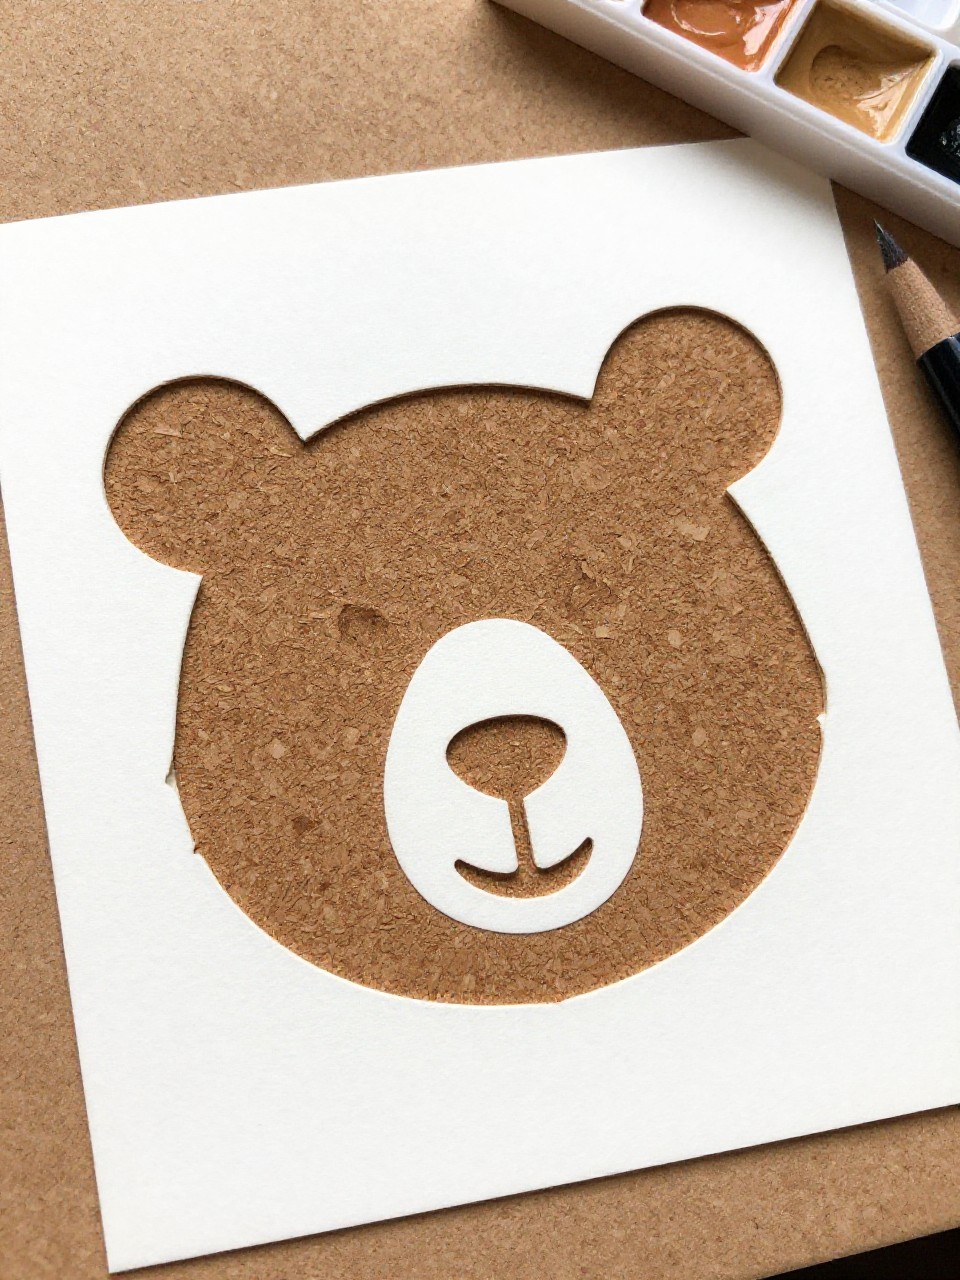
8. Nature Bits Bear Collage
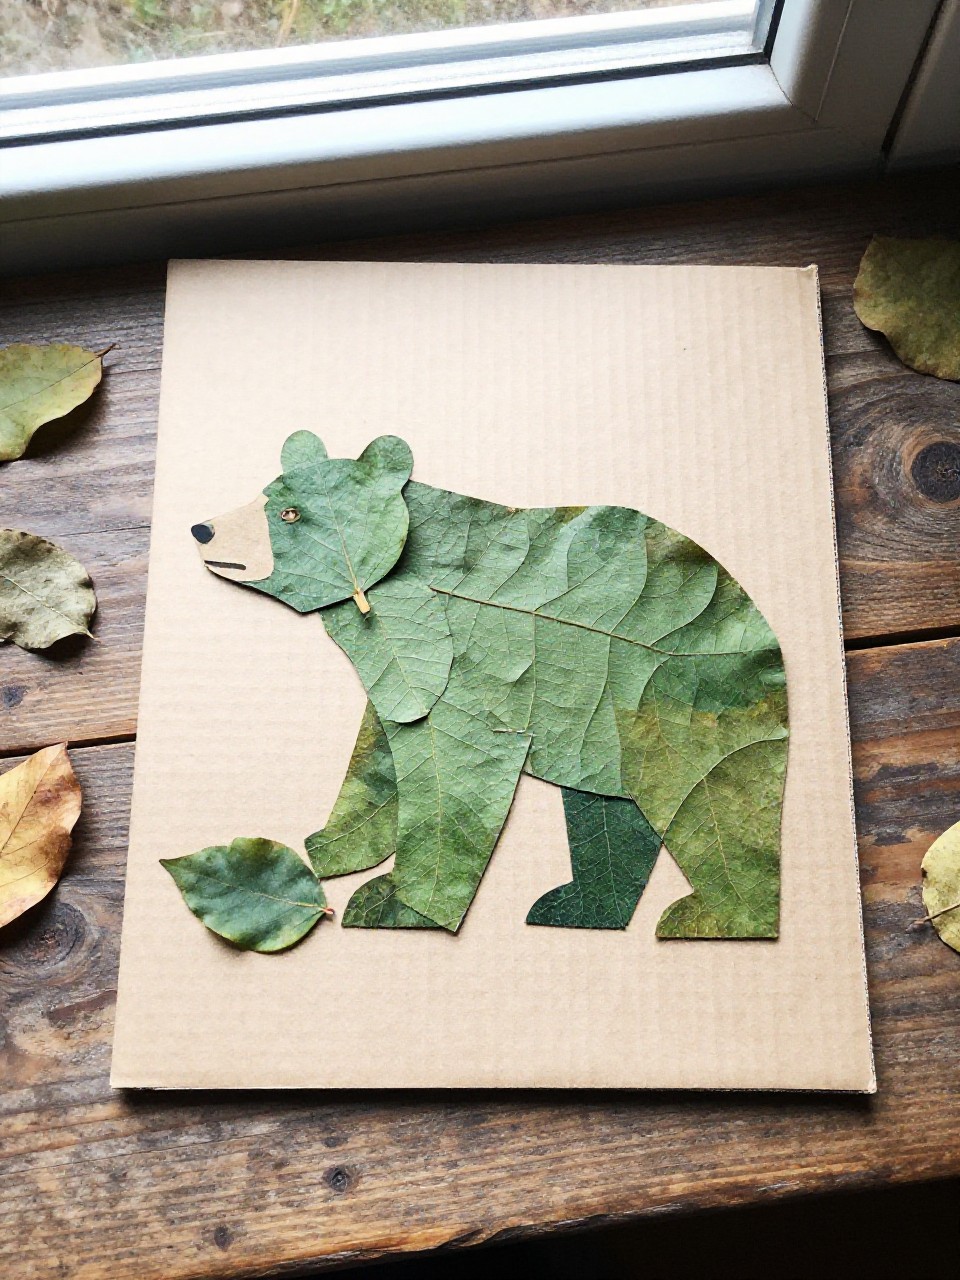
A walk outside becomes art with leaves and twigs. The mix of textures makes a woodland bear that looks gallery-ready.
Materials Needed:
- Dried leaves and small twigs
- Cardboard backing
- White glue
How to make it:
- 1. Draw a simple bear head outline on cardboard.
- 2. Glue leaves inside the outline to fill the head.
- 3. Add two leaf “ears” and a twig smile.
- 4. Glue a small dark leaf for the nose; dot eyes with marker.
9. No-Sew Felt Bear Bookmark
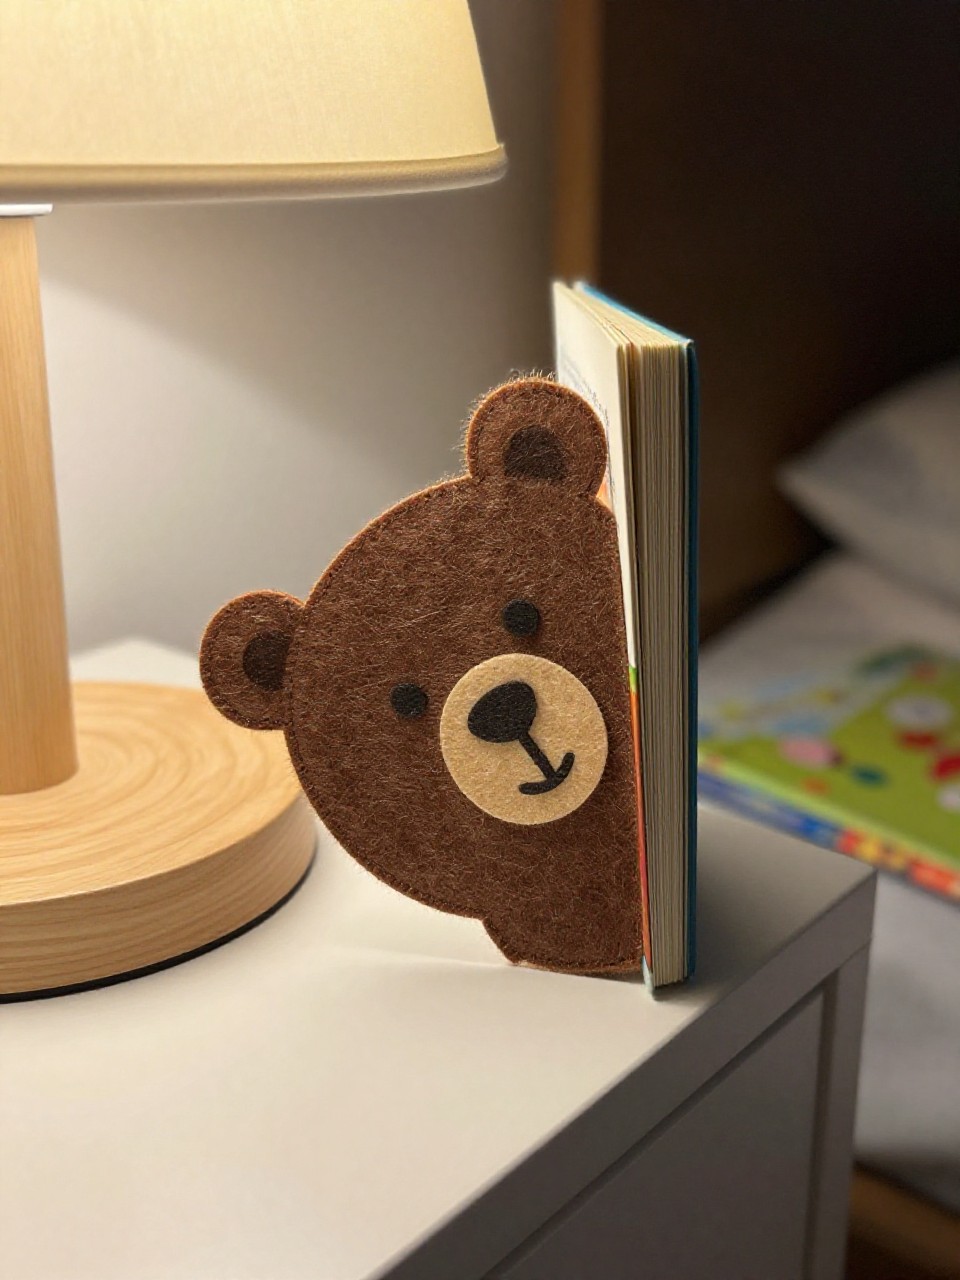
A soft felt bear peeks out from book pages. It’s flat, cute, and practical for bedtime stories.
Materials Needed:
- Brown felt
- Fabric glue
- Black felt or marker
How to make it:
- 1. Cut two matching bear head shapes from felt.
- 2. Glue edges together, leaving the bottom open to slip over a page.
- 3. Add tiny felt or drawn eyes, nose, and ears.
- 4. Press flat under a book for a few minutes to set.
10. Coffee Filter Watercolor Bear
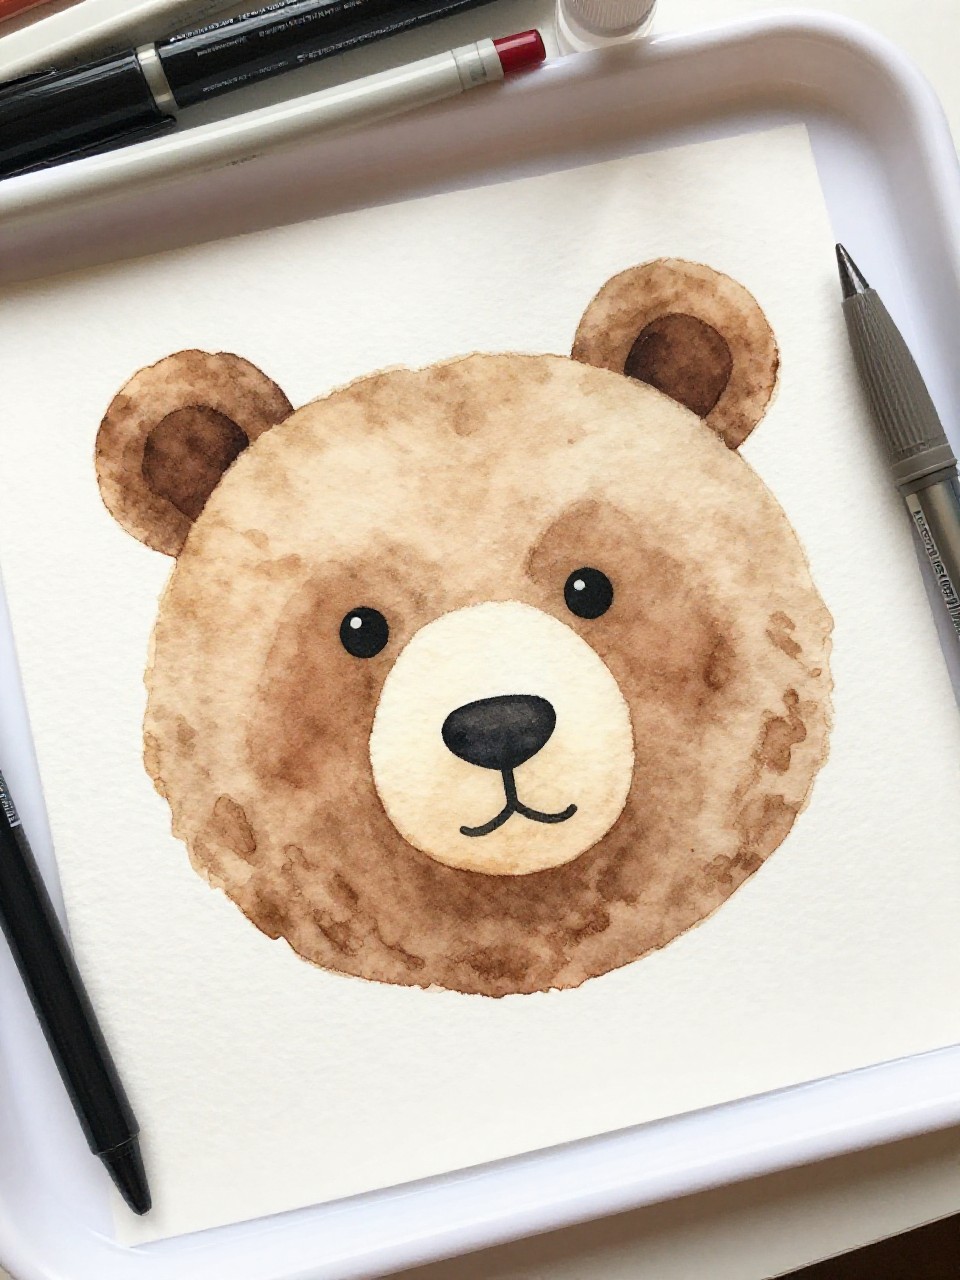
Blend watery colors on a coffee filter for a dreamy fur effect. When it dries, the soft edges look like real fluff.
Materials Needed:
- Coffee filter
- Washable markers
- Spray bottle with water
How to make it:
- 1. Flatten a coffee filter and draw patches with brown and tan markers.
- 2. Lightly mist with water to blend the colors; let dry.
- 3. Cut a circle for the head and small circles for ears.
- 4. Glue on paper muzzle and add drawn features.
11. Paper Bag Bear Puppet with Honey Pot
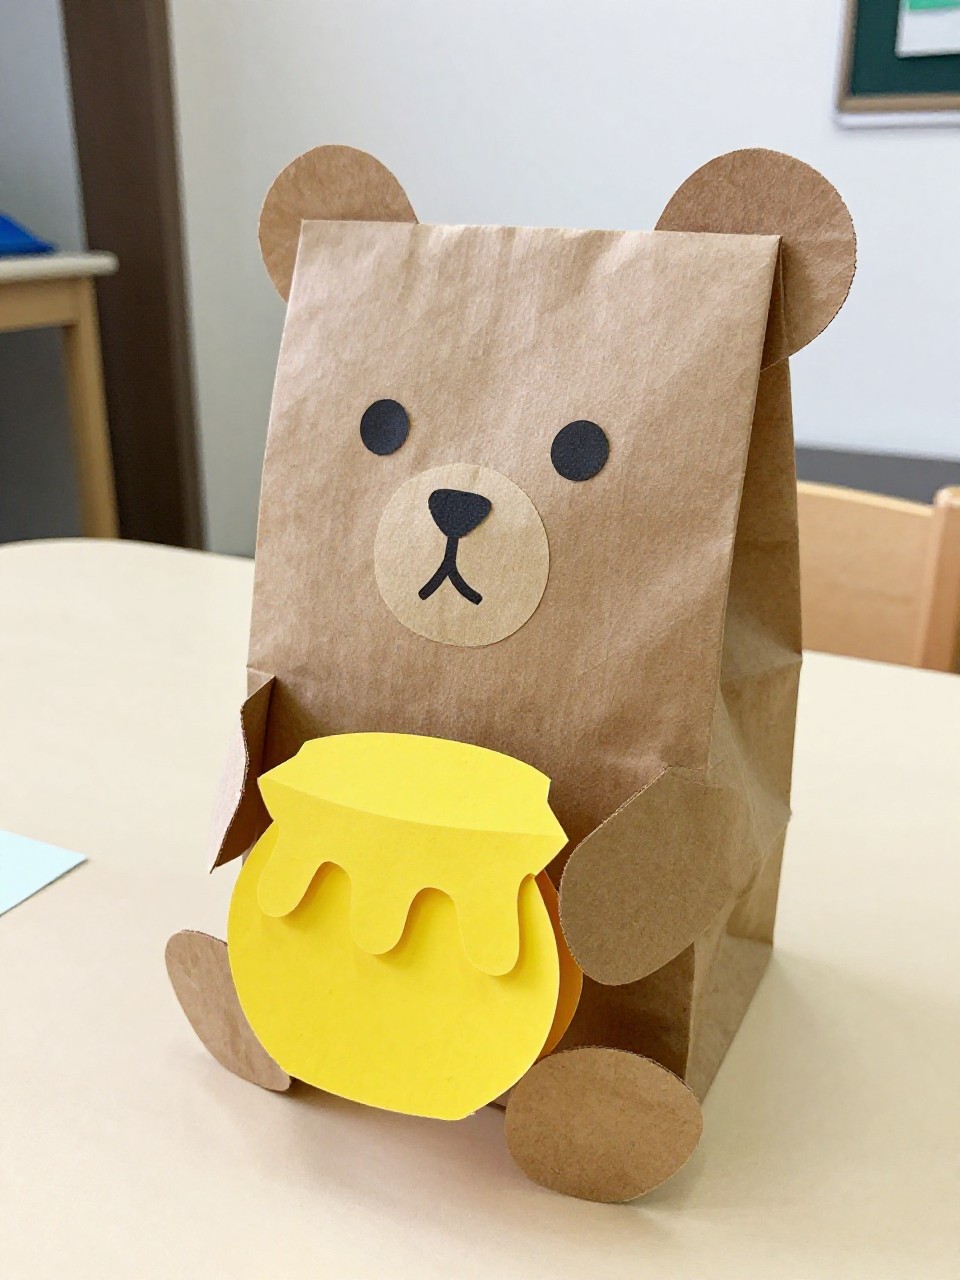
A classic puppet gets a twist with a tiny paper honey pot. Simple folds make it lively for story time.
Materials Needed:
- Brown paper lunch bag
- Colored paper scraps
- Glue stick
How to make it:
- 1. Turn the bag so the flap is the bear’s face.
- 2. Add paper ears, muzzle, eyes, and nose to the flap.
- 3. Cut a small yellow “honey pot” and glue to the body area.
- 4. Draw “HONEY” and add drips with a crayon.
12. Cork-Stamp Polka-Dot Bear
Cork stamping makes perfect, cozy dots for fur. The pattern looks designed but is easy for little hands.
Materials Needed:
- Wine cork or round sponge
- Brown paint
- White cardstock
How to make it:
- 1. Dip the cork into brown paint and stamp a cluster for the head circle.
- 2. Stamp two smaller clusters for ears.
- 3. Let dry, then add paper or marker features.
- 4. Add a soft blush with crayon circles.
13. Tissue Paper Sprinkle Bear
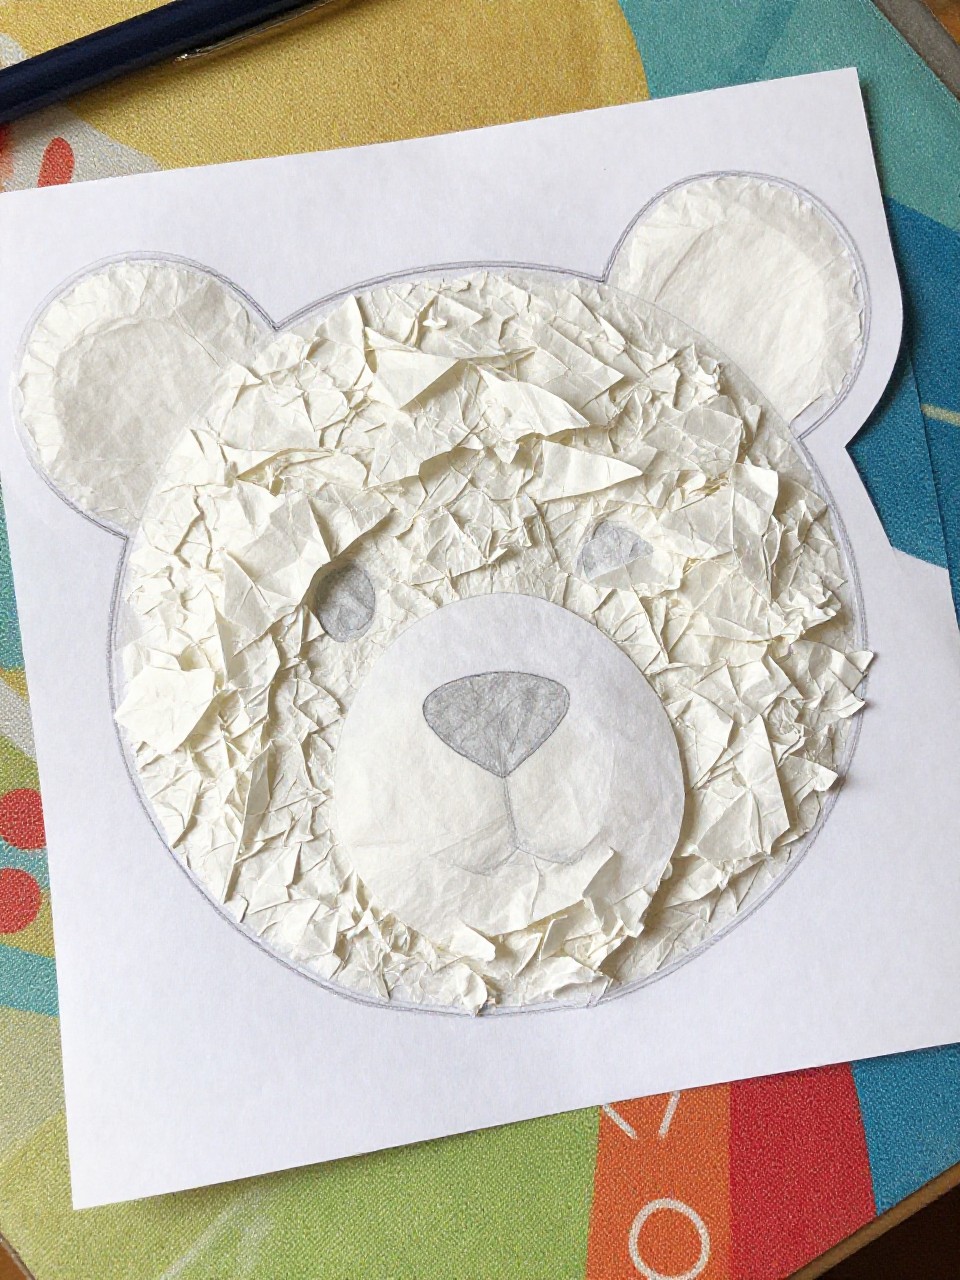
Crinkled tissue “sprinkles” create a playful, confetti fur. It’s satisfying to scrunch and stick, and it always looks full.
Materials Needed:
- Brown tissue paper
- Glue stick
- Bear outline page
How to make it:
- 1. Draw or print a bear face outline on paper.
- 2. Tear tissue into small pieces and scrunch into tiny balls.
- 3. Glue the tissue sprinkles inside the face area.
- 4. Add a paper muzzle and marker nose and eyes.
14. Button Nose Bear Canvas
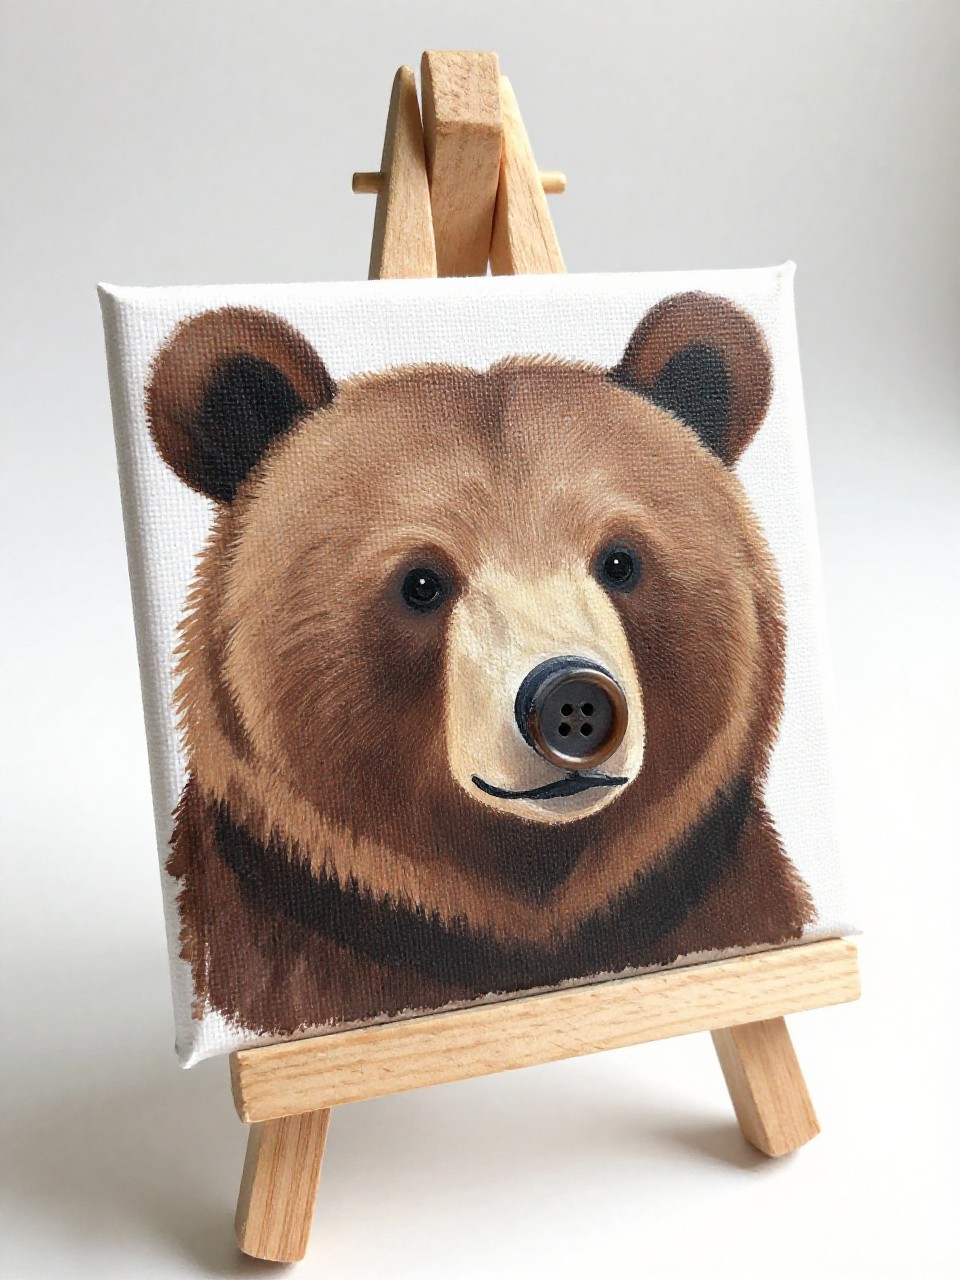
A cluster of buttons makes a shiny, standout nose. The simple canvas turns into cheerful wall art.
Materials Needed:
- Mini canvas or thick cardstock
- Assorted brown/black buttons
- White glue
How to make it:
- 1. Paint or color a simple bear face on the canvas.
- 2. Glue a group of small black buttons to form the nose.
- 3. Add two small buttons for eyes if desired.
- 4. Let dry flat before hanging.
15. Pipe Cleaner Cozy Bear Ring
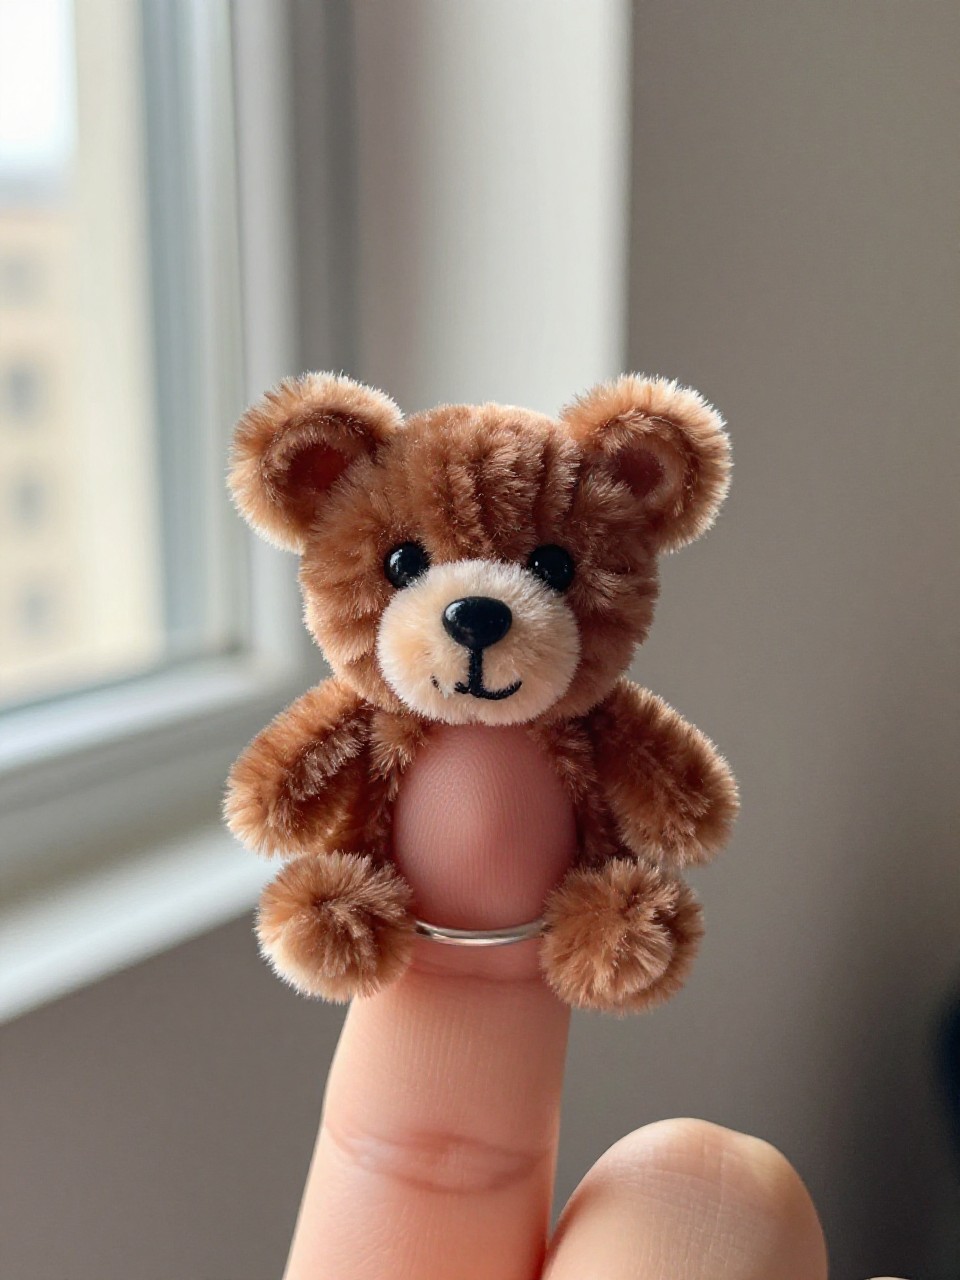
A tiny wearable bear made from pipe cleaners feels magical. It’s bendy, sparkly, and surprisingly sturdy.
Materials Needed:
- Brown pipe cleaners
- Small pom-pom (nose)
- Craft glue
How to make it:
- 1. Wrap a pipe cleaner around a finger to size the ring, twist ends to secure.
- 2. Coil another pipe cleaner into a small flat circle for the face and attach.
- 3. Bend tiny ear loops at the top.
- 4. Glue on a small pom-pom nose and draw eyes with marker.
16. Salt Dough Bear Tracks
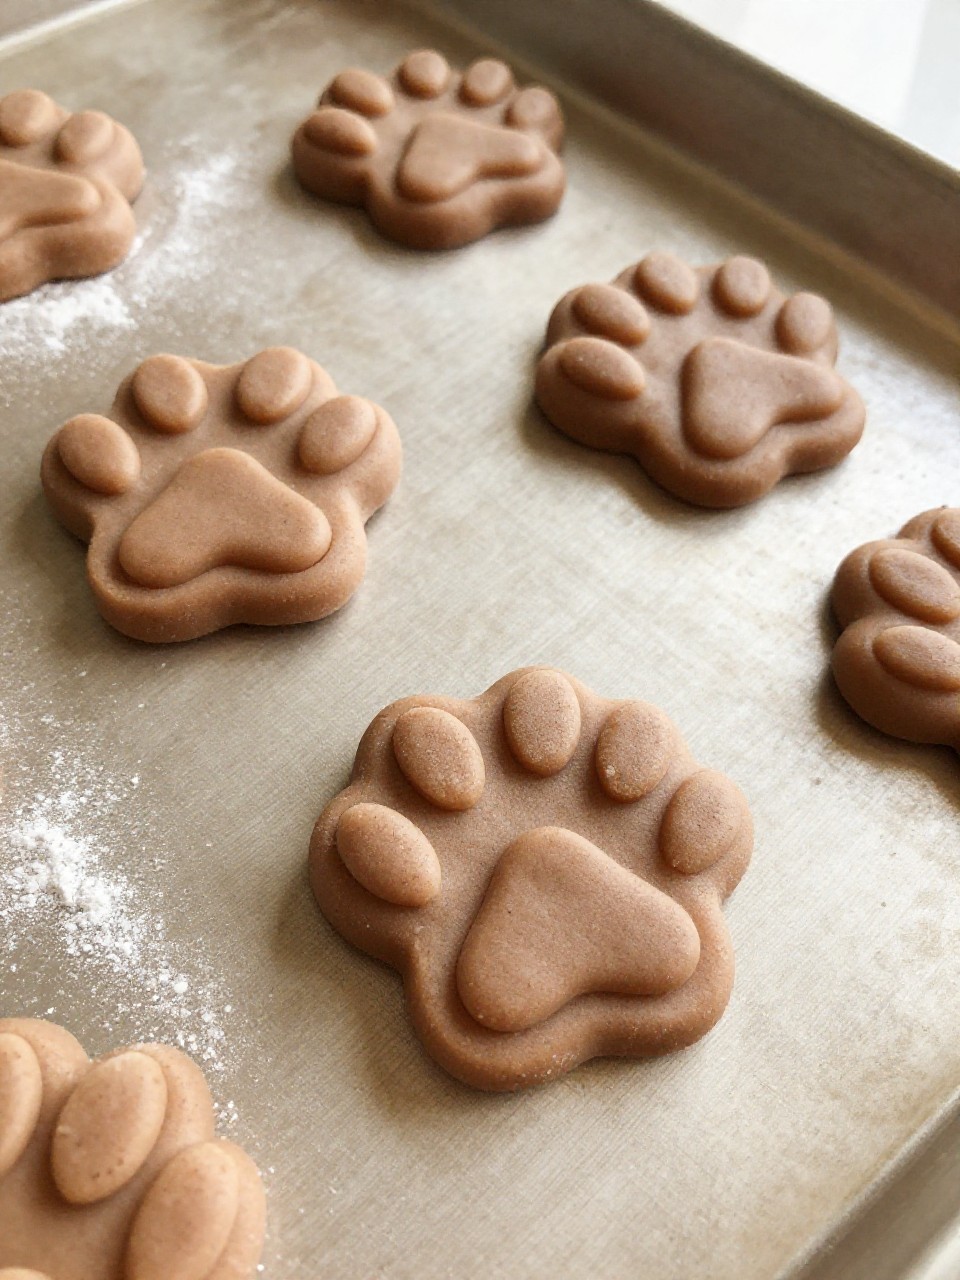
Make chunky bear paw prints that harden like little fossils. Kids love pressing and decorating the pads.
Materials Needed:
- Salt dough (flour, salt, water)
- Toothpick or straw
- Brown paint
How to make it:
- 1. Roll salt dough into thick discs.
- 2. Press finger tips to make toe pads and thumb, and a palm print for the pad.
- 3. Poke a hole at the top if you want to hang it.
- 4. Bake or air-dry, then paint brown and add details.
17. Cardboard Roll Peekaboo Bear
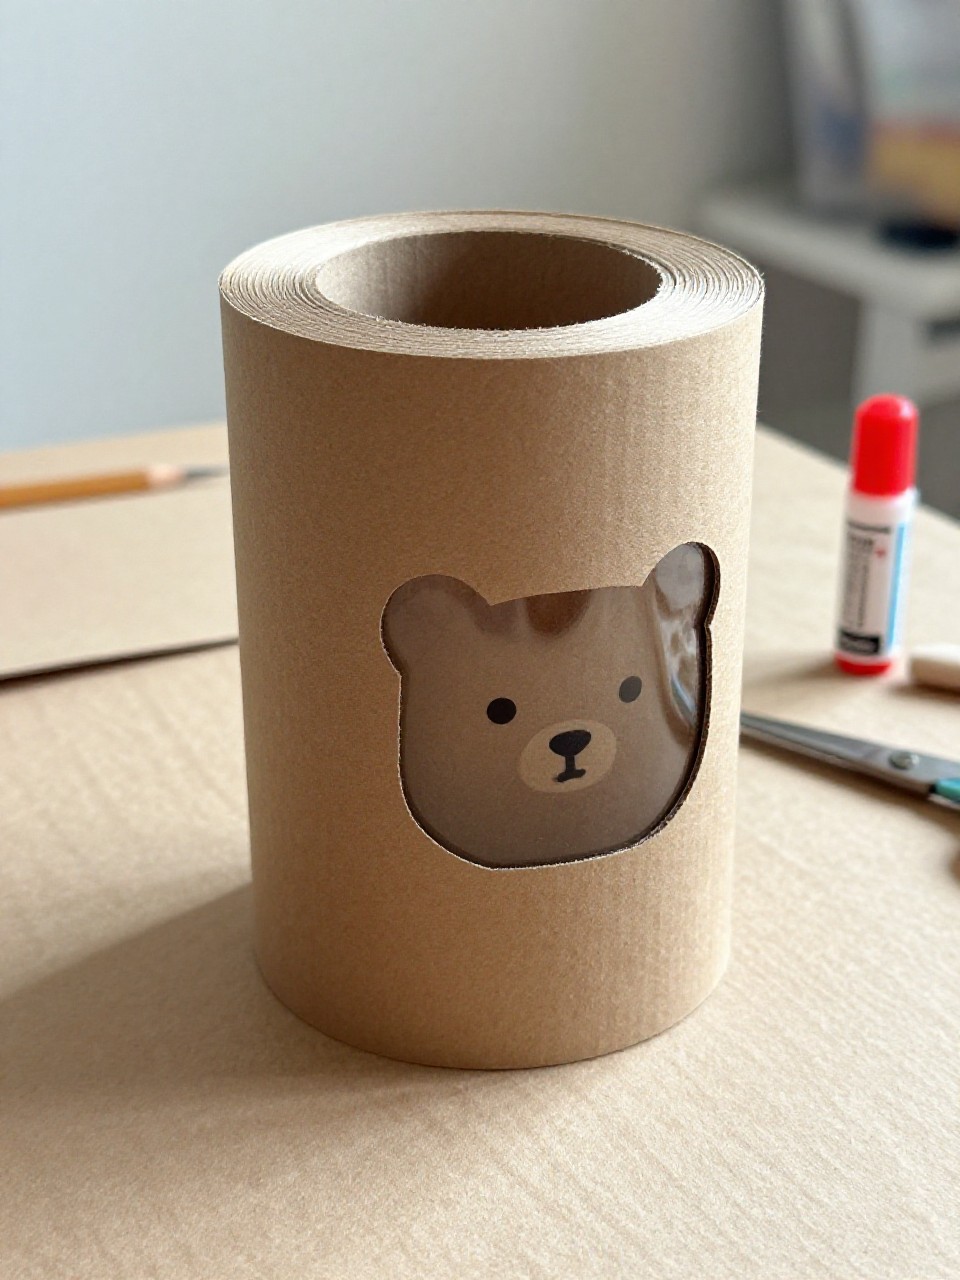
A toilet roll turns into a shy bear peeking from a log. The cut-out window adds a playful surprise.
Materials Needed:
- Cardboard tube
- Brown paper or paint
- Googly eyes
How to make it:
- 1. Wrap or paint the tube brown and let it dry.
- 2. Cut a small oval window on the front of the tube.
- 3. Inside, glue a small paper bear face with eyes and nose.
- 4. Add paper “bark” lines and two leaf ears peeking out.