
Table of Contents Show
Preschoolers love bright colors and simple shapes, but sometimes craft time turns into a mess of scraps and frustration. These fruit crafts solve that. They look impressive on the fridge, teach handy skills like gluing and pinching, and still stay easy for tiny hands.
Each project uses basic supplies you probably already have and finishes fast, so kids feel proud right away.
Pick a few, set out a tray, and watch little makers light up.
1. Pompom Grape Bunch Collage
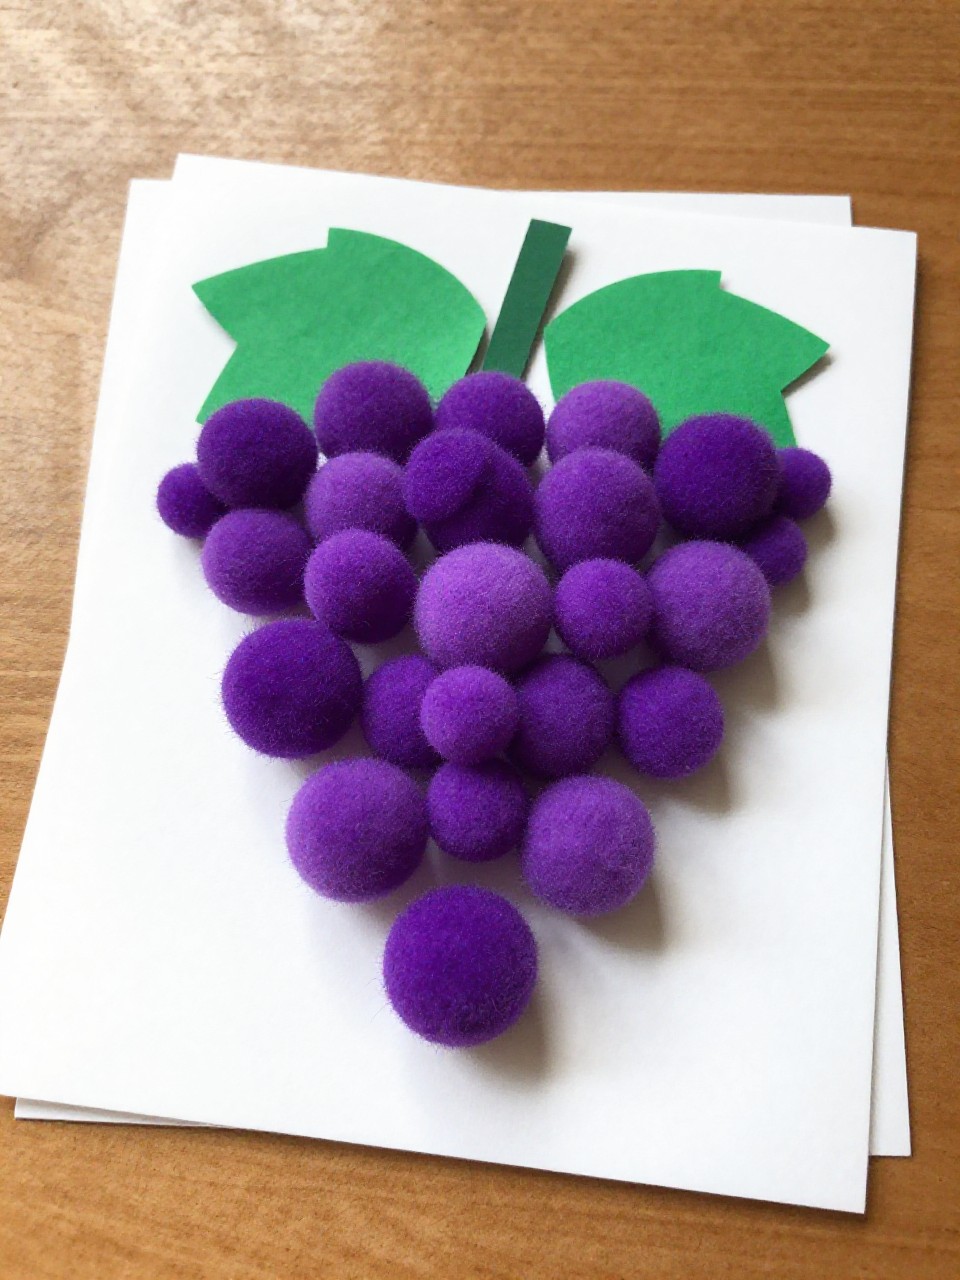
Tiny pompom “grapes” make a juicy, touchable bunch that kids can’t resist pressing. The finished piece is bright, bumpy, and frame-worthy without tricky steps.
Materials Needed:
For People Who Love to Make Things ✂️
- Purple pompoms
- Green construction paper
- Glue stick
How to make it:
- 1. Cut a simple grape leaf and stem from green paper.
- 2. Glue the stem and leaf on a sheet of paper.
- 3. Squeeze glue dots in a triangle cluster under the stem.
- 4. Press purple pompoms into the glue to form a bunch.
2. Bubble Wrap Printed Pineapple
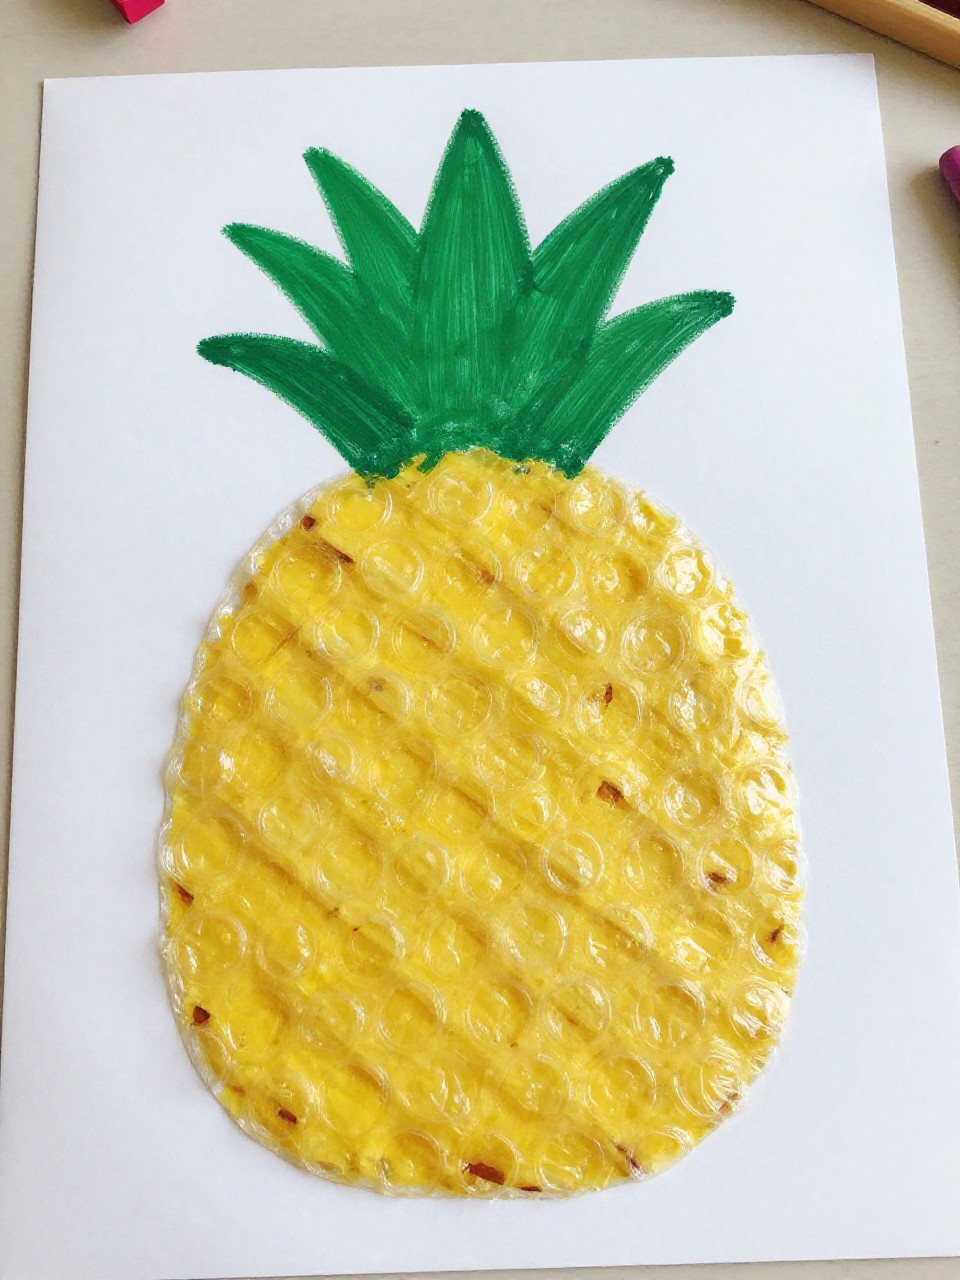
Bubble wrap makes perfect pineapple texture with one satisfying press. The layered yellow and green pops look artsy but take minutes.
Materials Needed:
- Bubble wrap scrap
- Yellow and green paint
- Paper
How to make it:
- 1. Paint a rectangle of bubble wrap with yellow paint.
- 2. Flip and press it onto paper to print the pineapple body.
- 3. Paint or glue a simple green crown of leaves on top.
- 4. Add small brown dots or lines if desired.
3. Tissue Paper Stained-Glass Watermelon
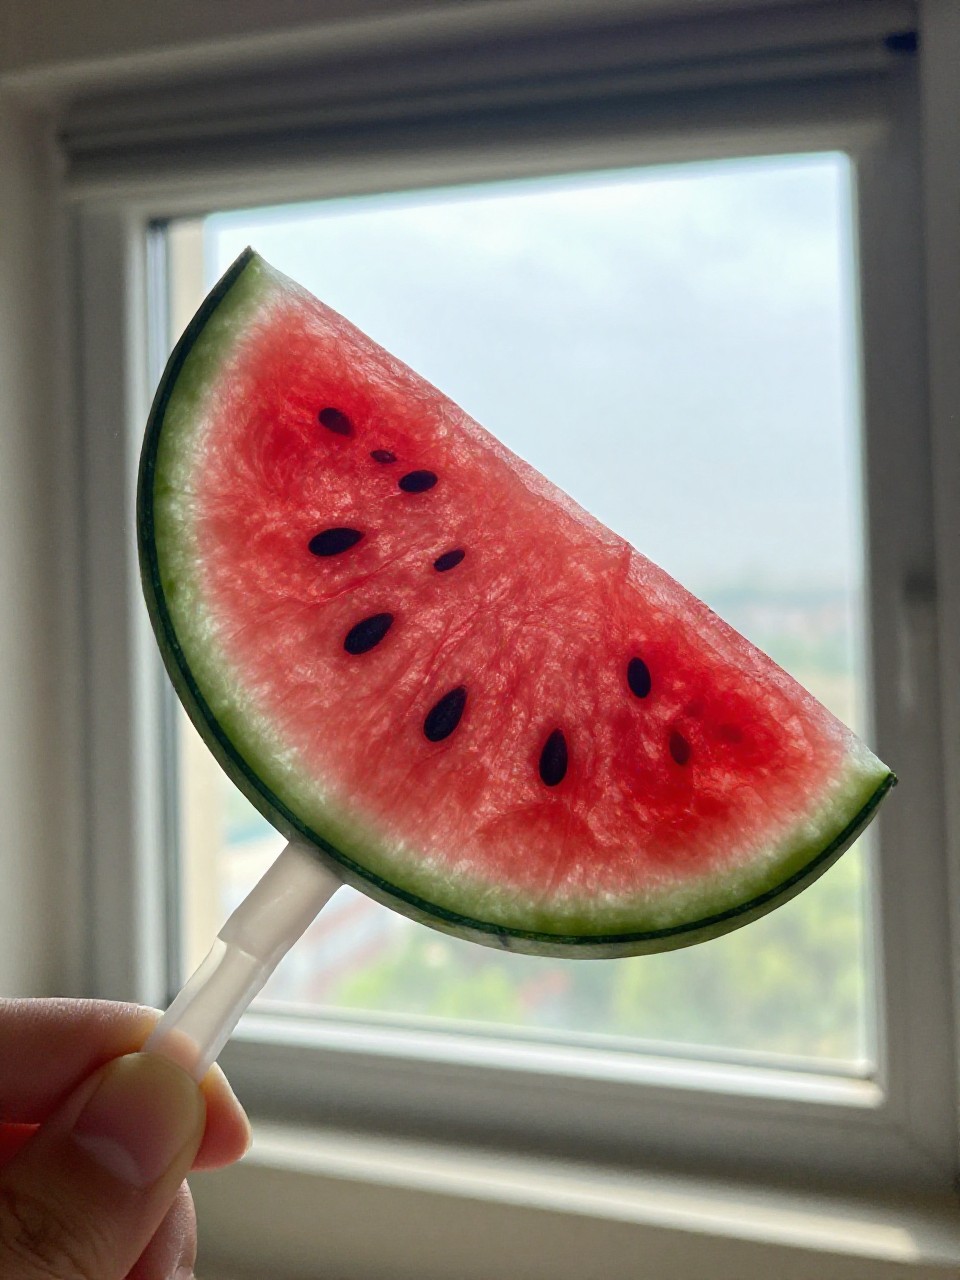
Sunlight shines through crinkly tissue to make a glowing slice. The black seed dots finish the look with almost no effort.
Materials Needed:
- Red, green, and white tissue paper
- Clear contact paper
- Black marker
How to make it:
- 1. Stick a sheet of contact paper sticky-side up on the table.
- 2. Layer green, white, then red tissue torn pieces into a half-circle.
- 3. Seal with another contact sheet and cut into a watermelon slice.
- 4. Draw or stick small black seeds on the red area.
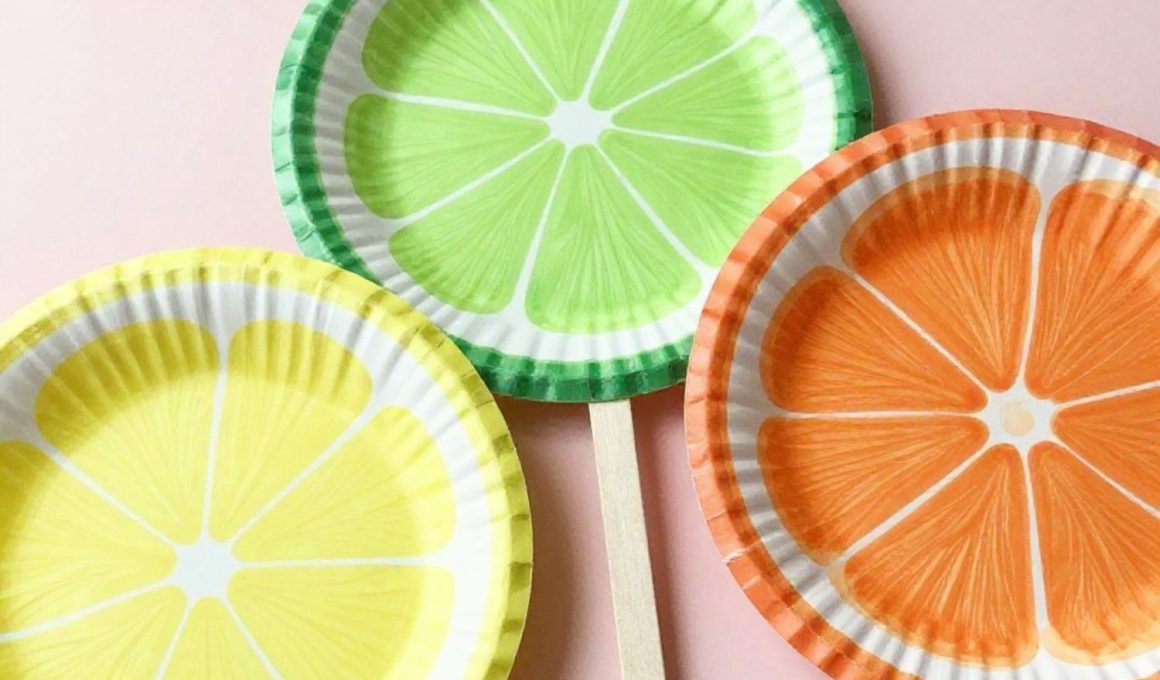
4. Paper Plate Fruity Fans
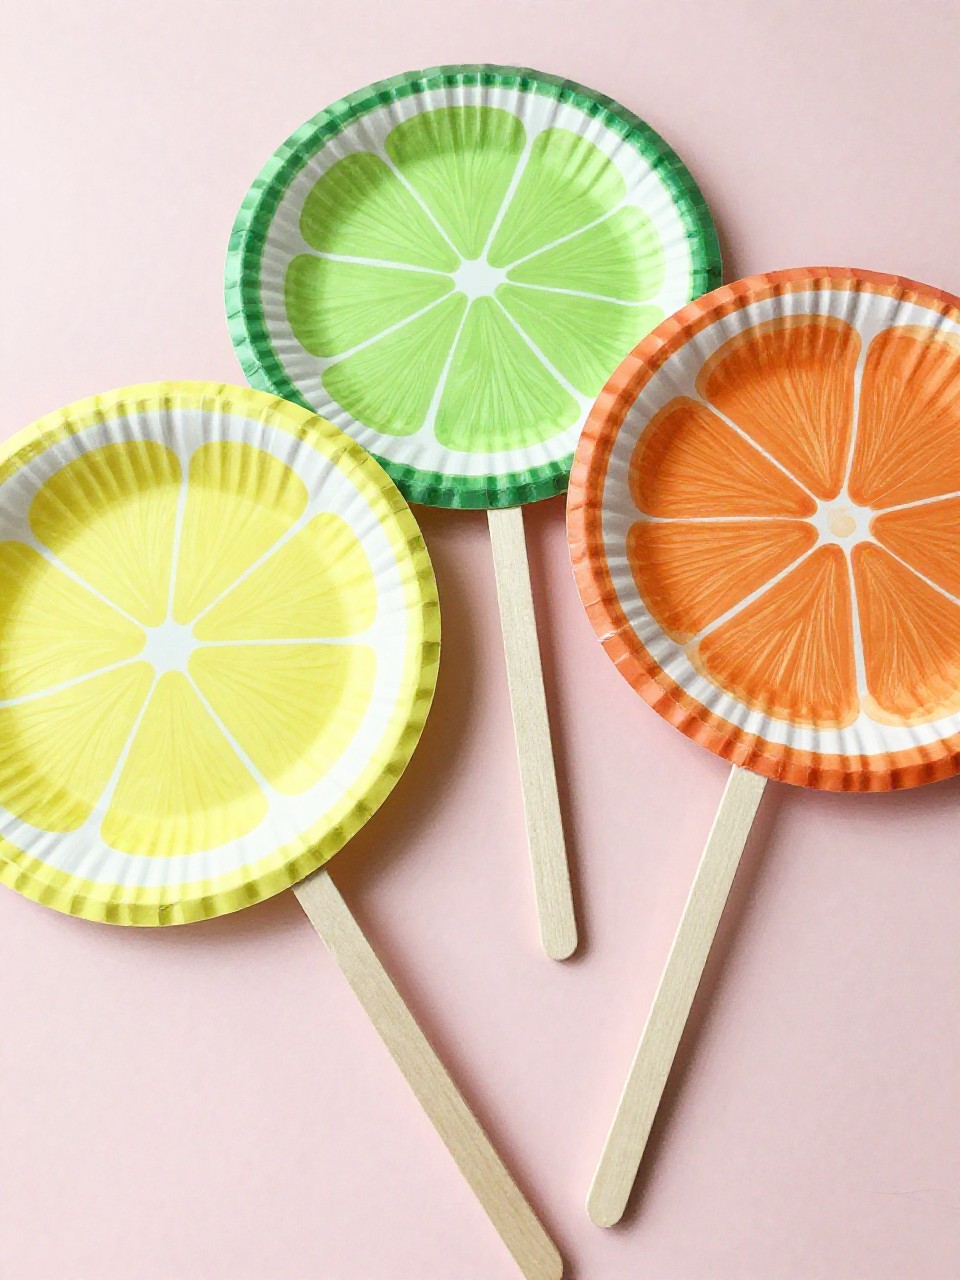
These handheld fans become bright fruit slices that actually work. Kids love choosing flavors and fanning themselves after.
Materials Needed:
- Paper plates
- Markers or paint
- Jumbo craft stick
How to make it:
- 1. Cut a paper plate in half to make a slice.
- 2. Color or paint it like lemon, lime, or orange with segments.
- 3. Glue a craft stick handle to the flat edge.
- 4. Add tiny white highlights or seeds for detail.
5. Sponge-Stamped Berry Patch
Cut sponges into berry shapes for easy stamping that fills a page fast. The textures look painterly without any fine motor stress.
Materials Needed:
- Kitchen sponges
- Washable paint
- Paper
How to make it:
- 1. Cut sponges into strawberry, blueberry, and raspberry shapes.
- 2. Dip sponges in red, blue, and pink paint.
- 3. Stamp clusters onto paper.
- 4. Add green leaf dabs with a fingertip or small brush.
6. Playdough Fruit Stand
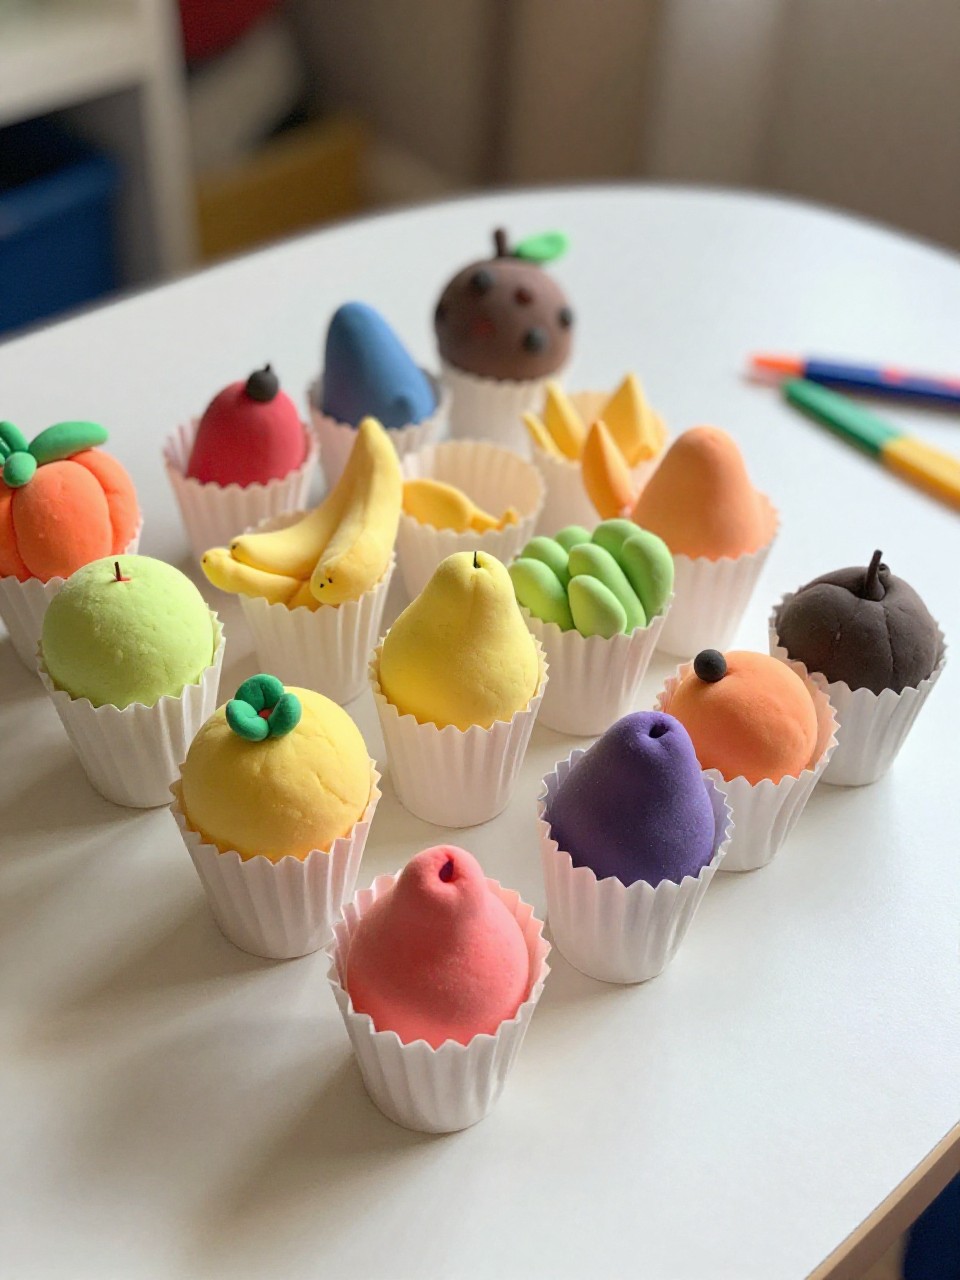
Squishy playdough becomes tiny fruits arranged in a pretend market. The simple rolls and pinches build hand strength.
Materials Needed:
- Assorted playdough colors
- Toothpicks (for leaf marks)
- Small paper cups
How to make it:
- 1. Roll small balls for apples, oranges, and grapes.
- 2. Pinch tiny leaves from green dough and press on top.
- 3. Use a toothpick to add lines for oranges or apple stems.
- 4. Display fruits in paper cups as a mini fruit stand.
7. Yarn-Wrapped Strawberries
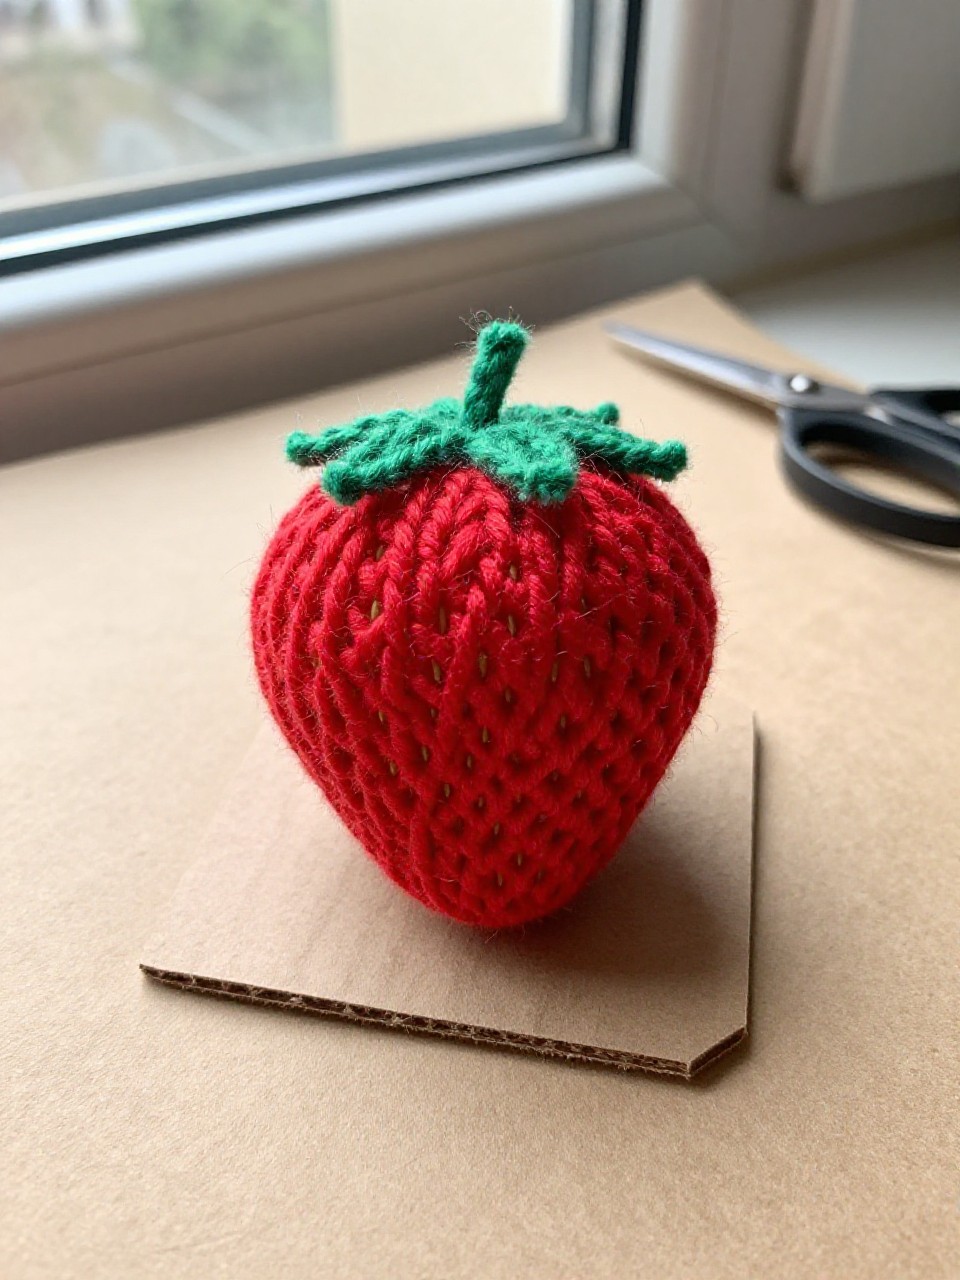
Wrapping yarn around a simple shape creates a plump, cozy strawberry. The crisscrossing strands feel rhythmic and calm.
Materials Needed:
- Red and green yarn
- Cardboard
- Tape
How to make it:
- 1. Cut a strawberry shape from cardboard and tape one end of red yarn to the back.
- 2. Wrap yarn around until the shape looks full.
- 3. Tape the end on the back to secure.
- 4. Add a wrapped green yarn cap on top.
8. Sticker Mosaic Citrus Slices
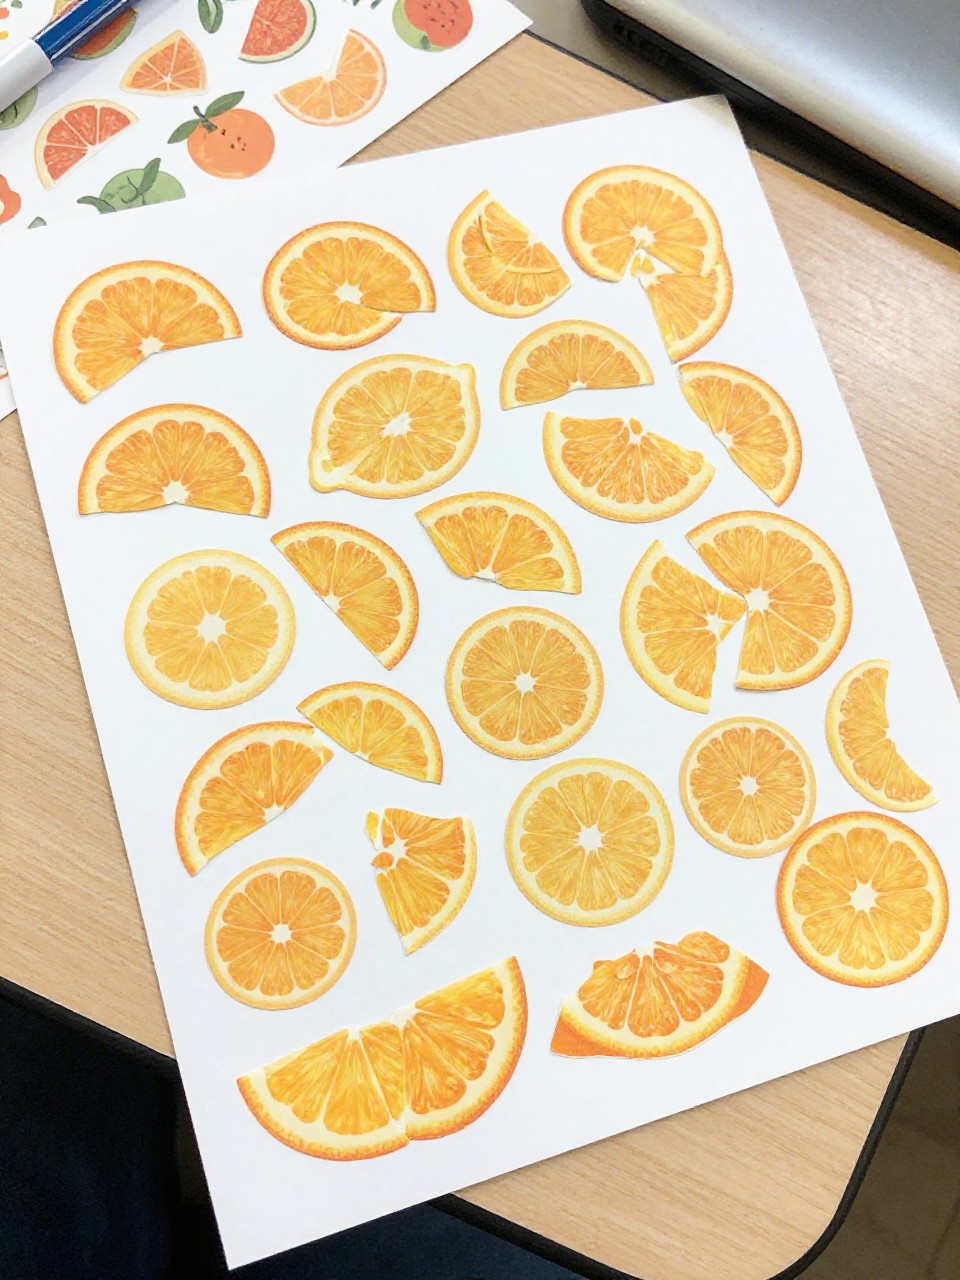
Round stickers become juicy citrus segments in minutes. Kids love the tidy, clicky feel of placing each dot.
Materials Needed:
- Round color-coding stickers (yellow, orange, green)
- Black marker
- Paper
How to make it:
- 1. Draw a large circle and divide into segments.
- 2. Fill segments with matching stickers for lemon, orange, or lime.
- 3. Outline the rind with more stickers or marker.
- 4. Add a few highlight dots for shine.
9. Cotton Pad Apple Prints
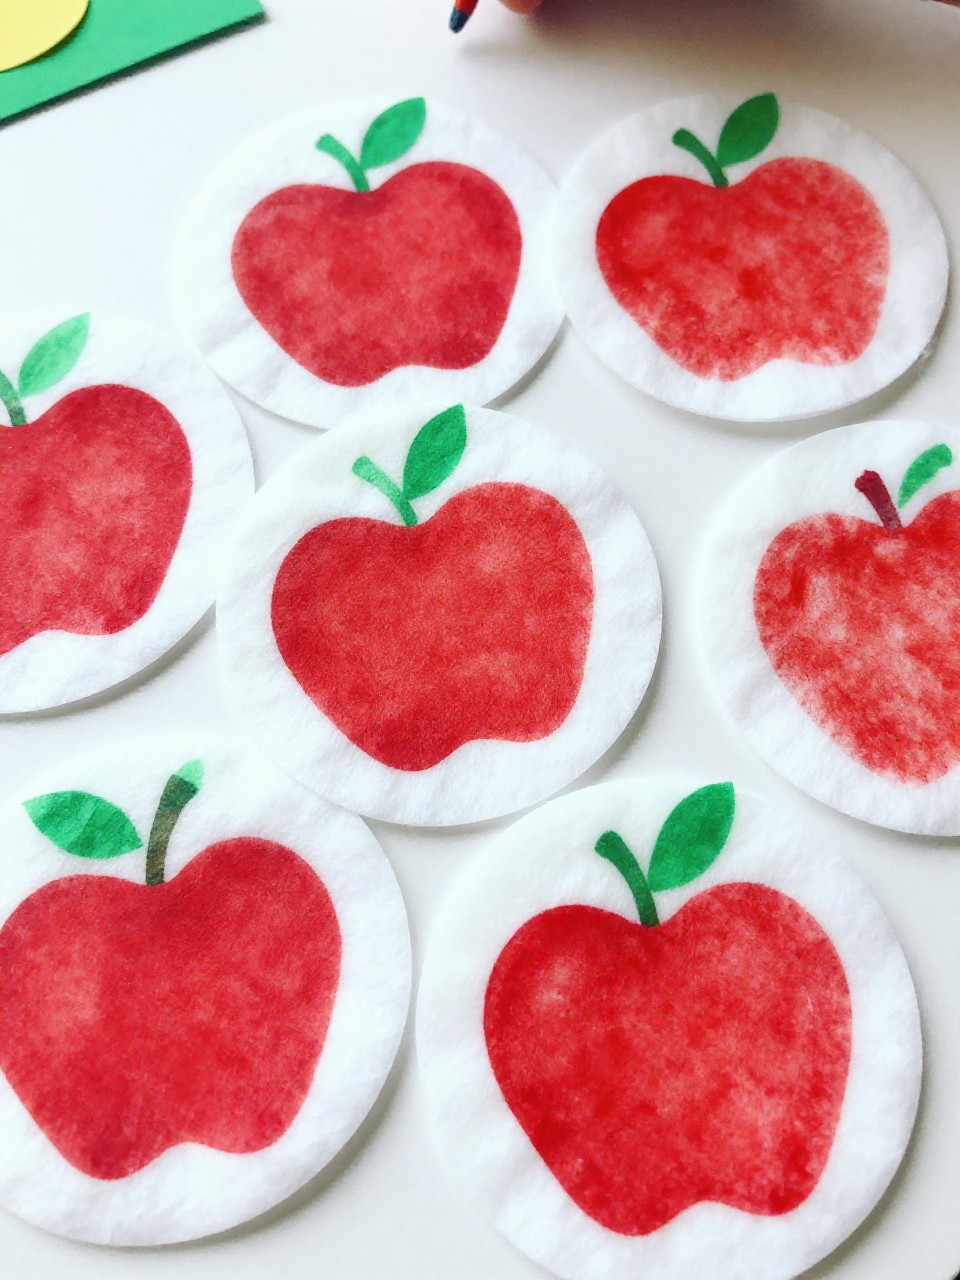
Flat cotton pads soak paint just right for soft, round apple prints. A tiny paper leaf finishes each apple with a sweet touch.
Materials Needed:
- Round cotton pads
- Red and green paint
- Green paper
How to make it:
- 1. Dip cotton pads lightly in red paint.
- 2. Press onto paper to make apple shapes.
- 3. Cut small green paper leaves and glue near the top.
- 4. Fingerprint a brown stem if desired.
10. Felt Banana Peel Peekaboo
A peel-back felt banana is silly and interactive. Little hands love “opening” it again and again.
Materials Needed:
- Yellow felt
- Velcro dots
- Glue
How to make it:
- 1. Cut a banana body and three peel flaps from yellow felt.
- 2. Glue the peel bases to the banana body so they can lift.
- 3. Stick small Velcro dots to hold the peels closed.
- 4. Add marker lines for texture if you like.
11. Q-tip Painted Kiwi Slices
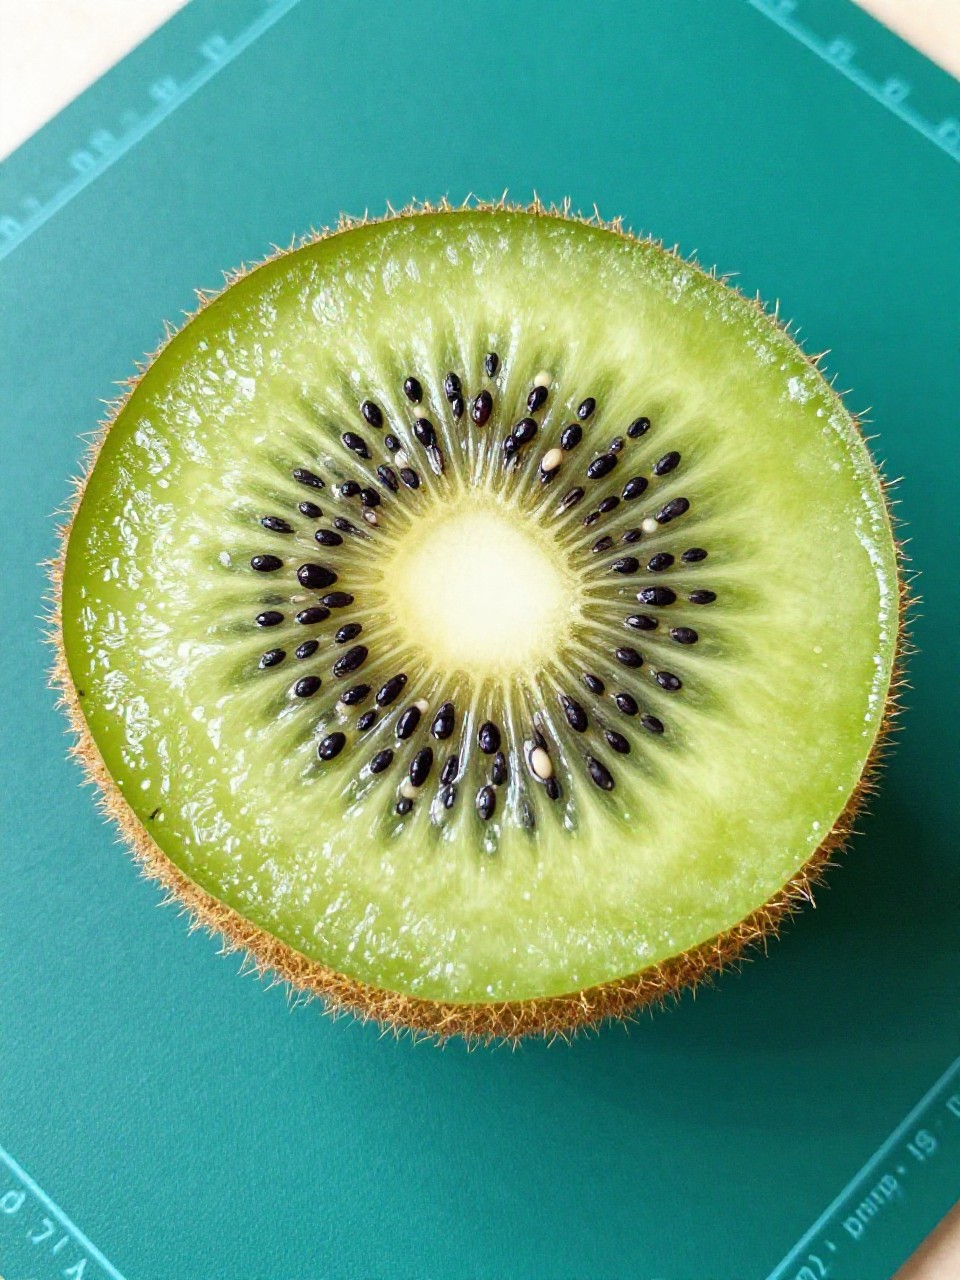
Dot painting keeps motions small and controlled, perfect for preschoolers. The kiwi’s ring of seeds looks fancy with no stress.
Materials Needed:
- Q-tips
- Brown, green, white, black paint
- Paper circles
How to make it:
- 1. Paint the outer ring brown and inner circle green using Q-tip dots.
- 2. Add a white center circle with dots.
- 3. Dot tiny black seeds around the white center.
- 4. Let dry and mount on contrasting paper.
12. Cupcake Liner Blueberry Bush
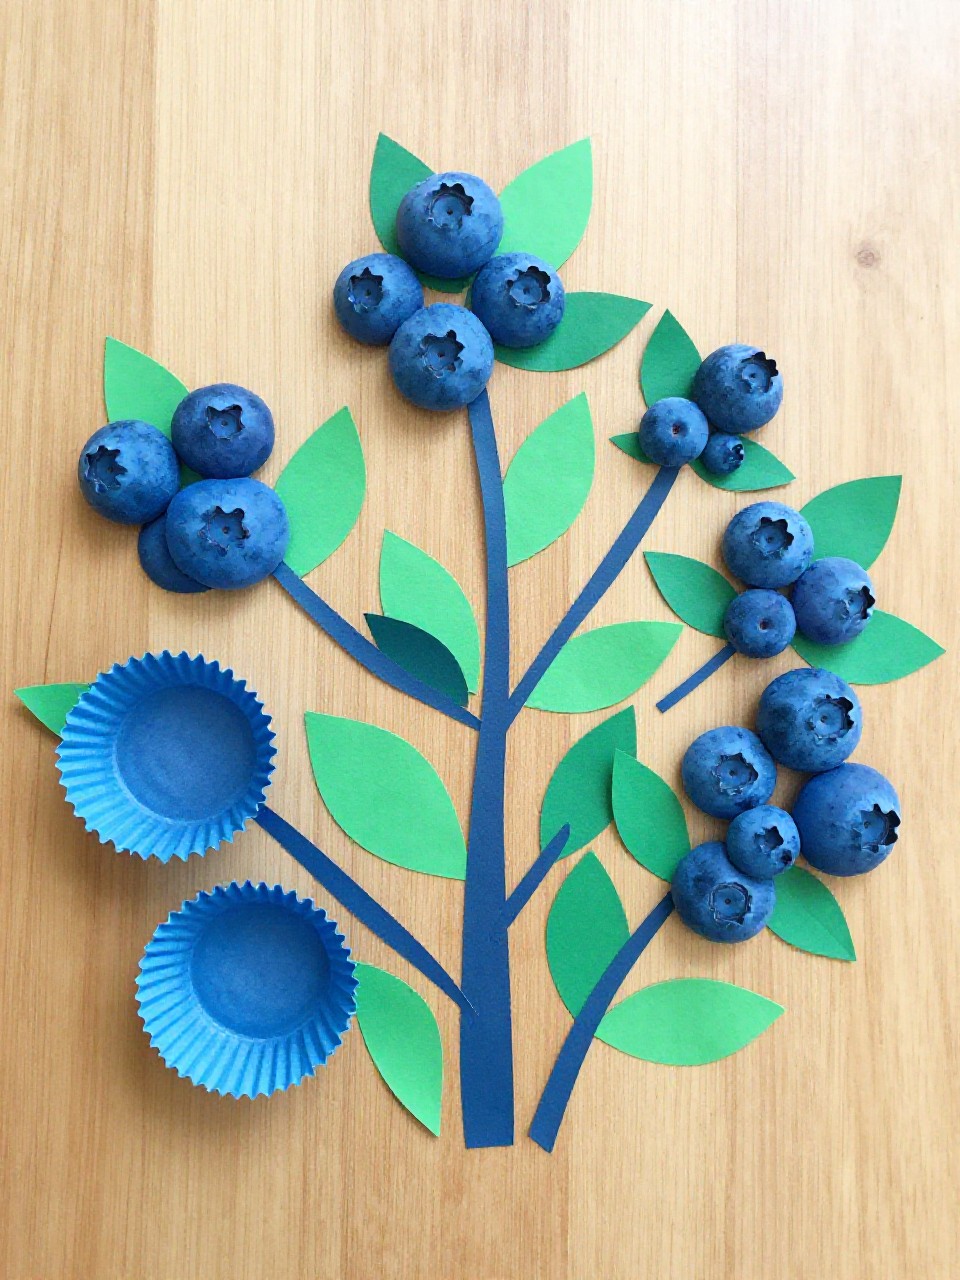
Ruffled cupcake liners turn into puffy blueberry clusters. The layered blues give instant depth without careful painting.
Materials Needed:
- Blue cupcake liners
- Green paper
- Glue stick
How to make it:
- 1. Flatten a few blue liners and glue as the base.
- 2. Crumple and glue more liners in the center for dimension.
- 3. Cut green paper leaves and branches.
- 4. Arrange leaves around the cluster and glue everything down.
13. Nature-Textured Orange Rubbings
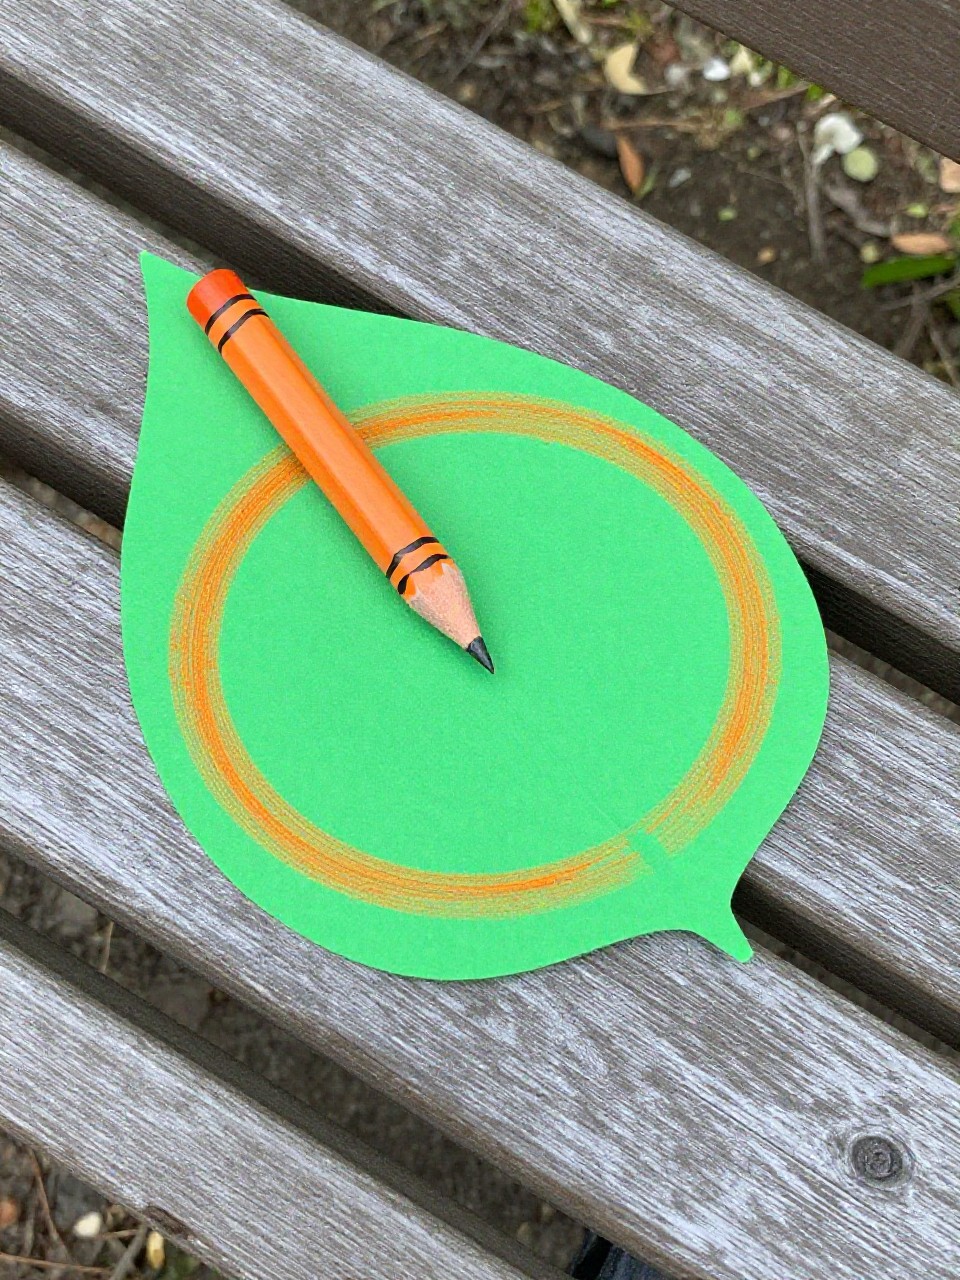
Leaf and bark textures peek through a round “orange” when kids rub with crayons. The reveal feels like magic every time.
Materials Needed:
- Leaves or textured surfaces
- Orange crayon
- Paper circle
How to make it:
- 1. Place the paper circle over a leaf or bark.
- 2. Rub gently with the side of an orange crayon.
- 3. Add a small green paper leaf at the top.
- 4. Outline lightly for a finished look.
14. Straw-Blown Paint Cherries
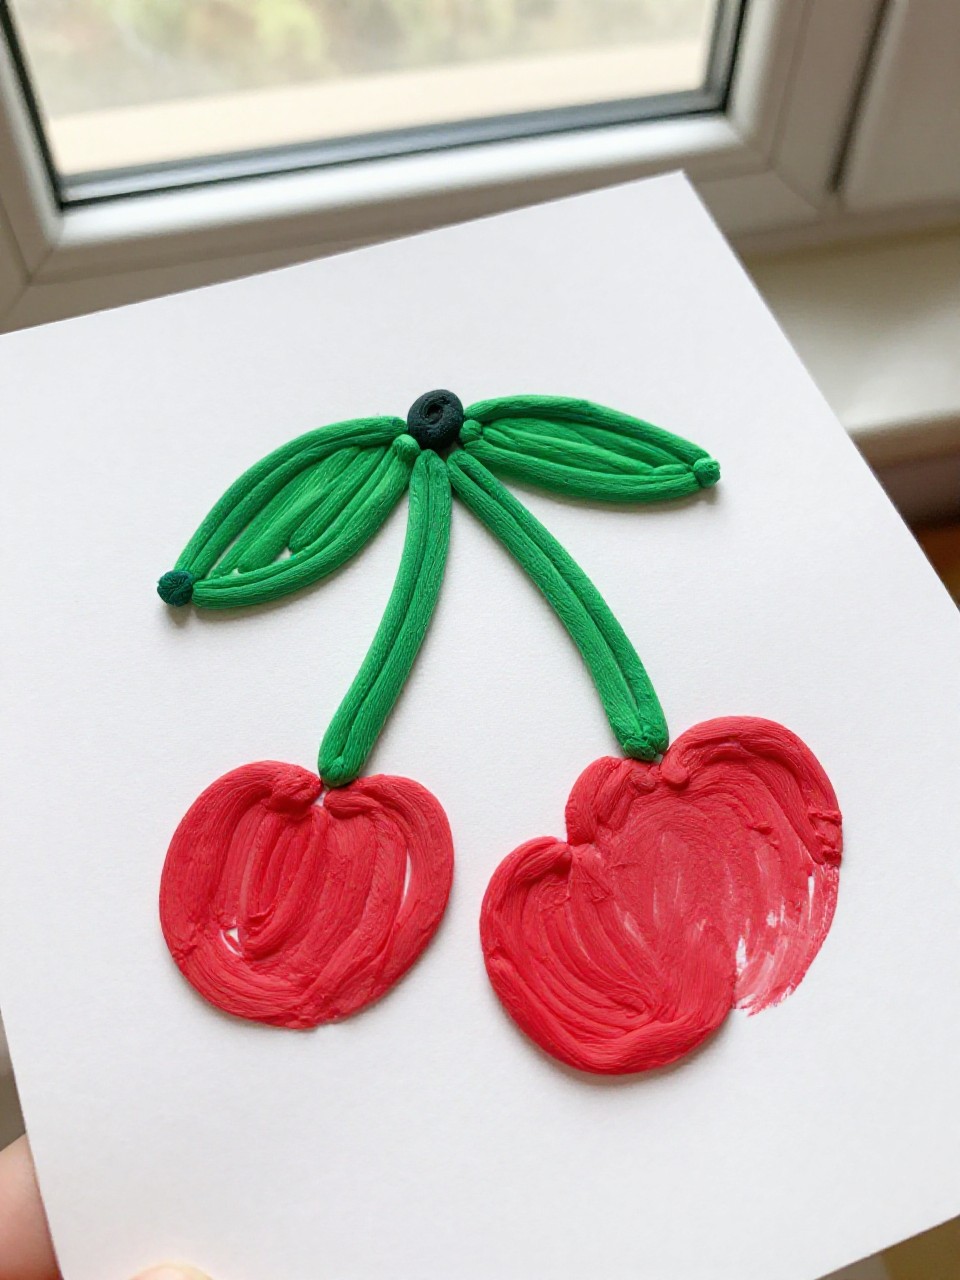
A quick puff through a straw pulls paint into sweet cherry stems. It’s playful process art that still reads like fruit.
Materials Needed:
- Red and green liquid paint
- Straws
- Paper
How to make it:
- 1. Fingerpaint two red dots close together for cherries.
- 2. Add a small puddle of green paint above them.
- 3. Use a straw to blow the green paint into two stems and a leaf.
- 4. Let dry flat to avoid drips.
15. Foam Shape Fruit Kabobs
Soft foam pieces stack into colorful fruit on a dull skewer for safe threading practice. The rainbow kabob looks good enough to eat.
Materials Needed:
- Craft foam sheets
- Plastic yarn needle or blunt skewer
- String or straw
How to make it:
- 1. Cut simple fruit shapes (cube pineapple, round berries, leaf slices) from foam.
- 2. Punch small holes in the center with a needle tip.
- 3. Thread pieces onto a straw or string to make a kabob.
- 4. Add a foam leaf at the top as a “garnish.”