


Table of Contents Show
A quilted patchwork stocking is the perfect cozy craft to bring warmth and charm to your holiday décor. This project combines the art of quilting with the festive spirit of Christmas, allowing you to use fabric scraps, old shirts, or favorite prints to create something meaningful and handmade.
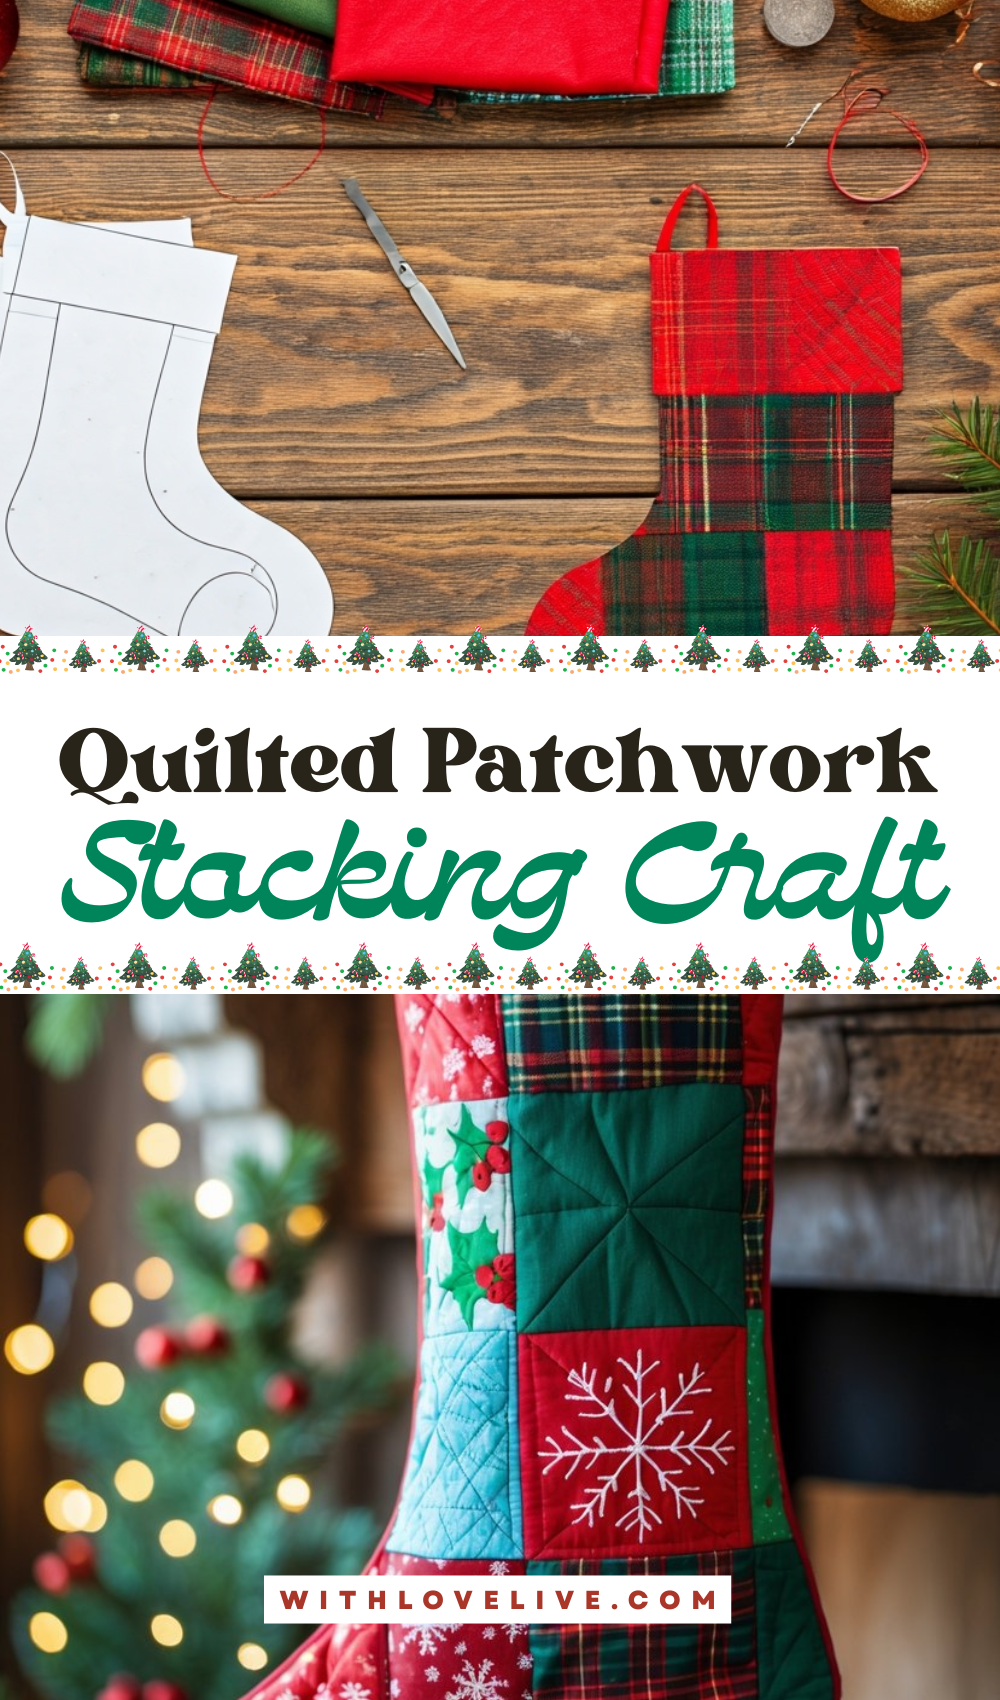
Every square tells a story — plaid, holly, snowflakes, and festive reds and greens come together in a nostalgic mix that feels straight out of a classic Christmas movie.
These stockings aren’t just decorations; they’re heirlooms in the making. Whether you fill them with gifts, treats, or hang them by the fireplace for show, they’ll add a personal, heartwarming touch to your home.
How to Make Quilted Patchwork Stocking
This craft does require some basic sewing, but even beginners can create beautiful results with a little patience and creativity.
For People Who Love to Make Things ✂️
Materials
- Assorted fabric scraps (reds, greens, plaids, and holiday prints)
- Quilting cotton or cotton blend fabrics
- Stocking template (paper or cardboard)
- Batting or quilt padding
- Backing fabric (for the inside lining)
- Sewing machine or hand-sewing needle
- Matching thread
- Pins or fabric clips
- Fabric scissors or rotary cutter
- Iron and ironing board
- Optional: embroidery thread for extra detailing
Shop the materials
The steps

Step 1: Gather and Prepare Your Fabrics
Select a mix of fabrics that fit your desired color scheme — think reds, greens, golds, and a touch of plaid or floral for contrast.
Press them flat with an iron to remove wrinkles, making them easier to cut and sew.
For extra personality, you can even include pieces from old flannel shirts or holiday tablecloths.
Step 2: Cut and Arrange Fabric Squares
Cut your fabrics into equal-sized squares, typically 4×4 inches. Arrange them on a flat surface in a pattern you like, alternating colors and prints for balance.
Play around until you find a layout that feels festive and cohesive — a mix of bold and soft tones tends to look best.
Step 3: Sew the Patchwork Together
Begin sewing your squares together in rows using a ¼-inch seam allowance. Press the seams flat after each row. Once all rows are complete, join them together to form one large patchwork panel.
This will become the front of your stocking. If desired, you can quilt simple diagonal or crosshatch lines across the panel for added texture.
Step 4: Add Batting and Backing
Cut a piece of batting and a backing fabric to match the size of your patchwork front. Layer them in this order: backing (right side down), batting, then patchwork front (right side up).
Pin them together and quilt through all layers using straight or decorative stitches to hold everything securely.
Step 5: Cut Out the Stocking Shape
Place your stocking template on top of the quilted panel and trace around it. Cut carefully through all layers. Repeat this step for the back of the stocking using a coordinating fabric.

Step 6: Sew the Front and Back Together
Place the front and back pieces right sides together. Pin around the edges and sew along the outline, leaving the top open.
Trim excess fabric at the seams and clip around the curved edges for a smoother shape. Turn the stocking right side out and press it flat.
Step 7: Add Lining and Hanging Loop
Cut and sew a simple fabric lining using the same stocking pattern if you want a neat finish inside. To add the hanging loop, cut a small strip of fabric, fold it lengthwise, and sew along the edge. Attach it securely to the inside corner of the stocking’s cuff.
Step 8: Finishing Touches
Fold down the cuff, add any decorative embroidery or trims, and give your finished stocking one last press. You can personalize it with a name, an embroidered snowflake, or even small buttons for extra charm.
Once complete, hang your beautiful quilted patchwork stocking by the fireplace or on a wall hook. It’s a handmade treasure that captures the warmth and nostalgia of the holiday season — a project worth repeating every Christmas.