Table of Contents Show
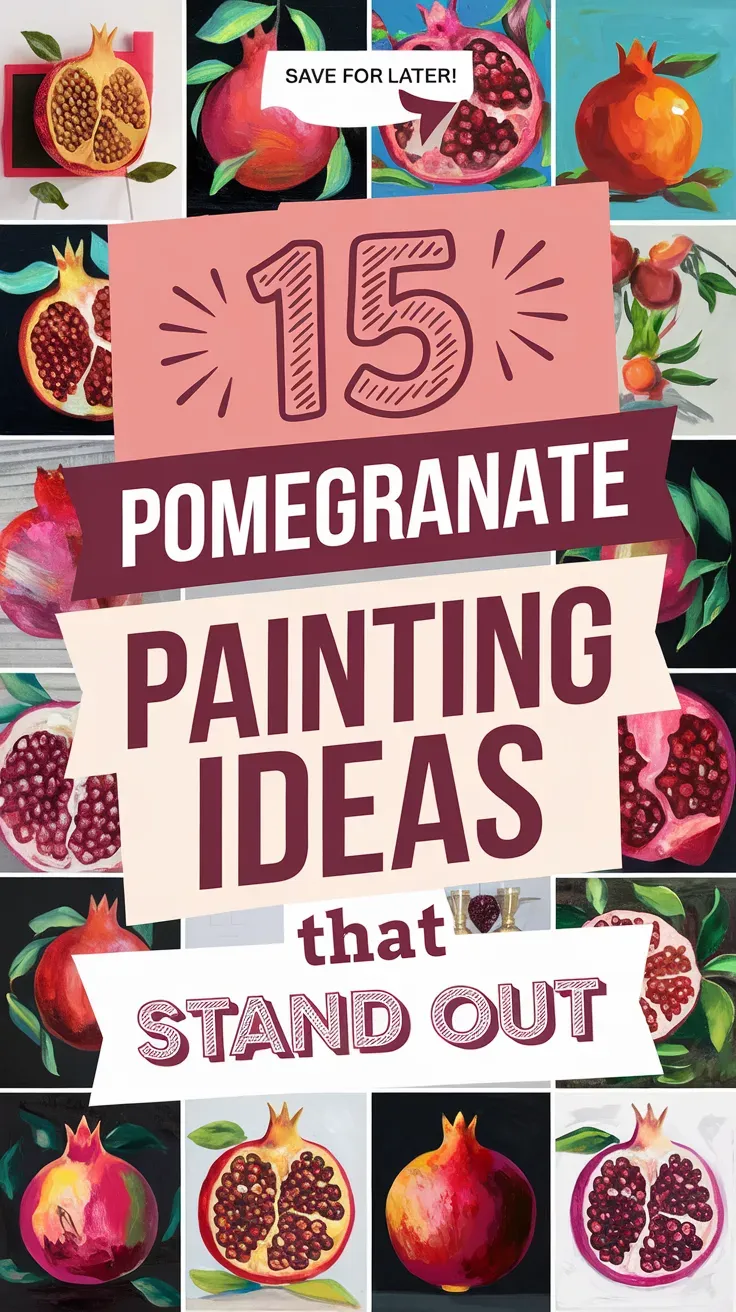
Painting pomegranates is one of those calm projects that looks fancy, even if you’re a beginner. Sometimes we want to paint, but we don’t know what to make or how to keep it simple without feeling boring. This list gives you 15 pomegranate painting ideas that are relaxing, doable, and pretty enough to display or gift.
Pick one surface you already have and try a design that fits your mood.
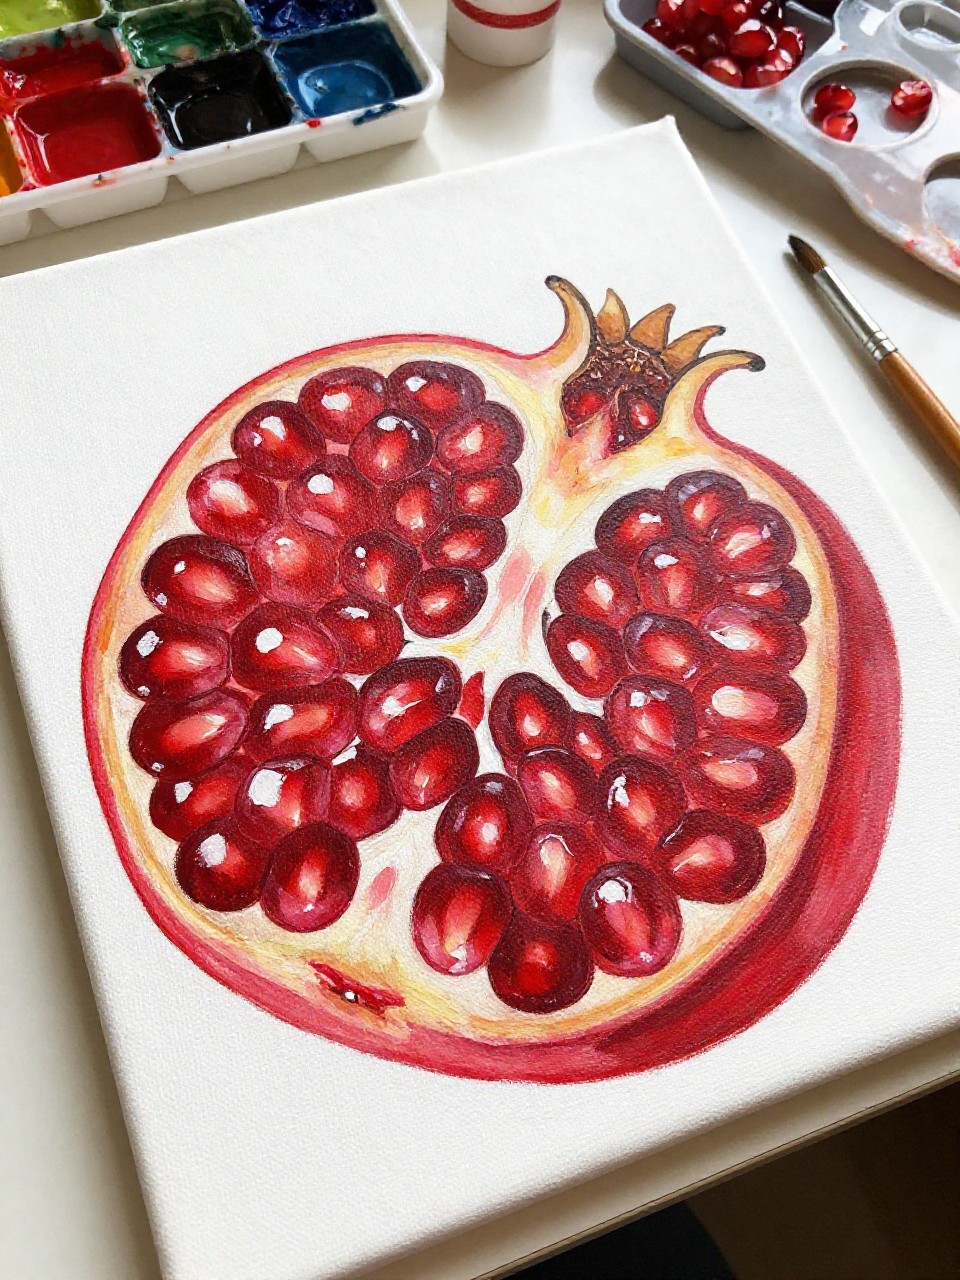
1. Juicy Pomegranate Still-Life Canvas
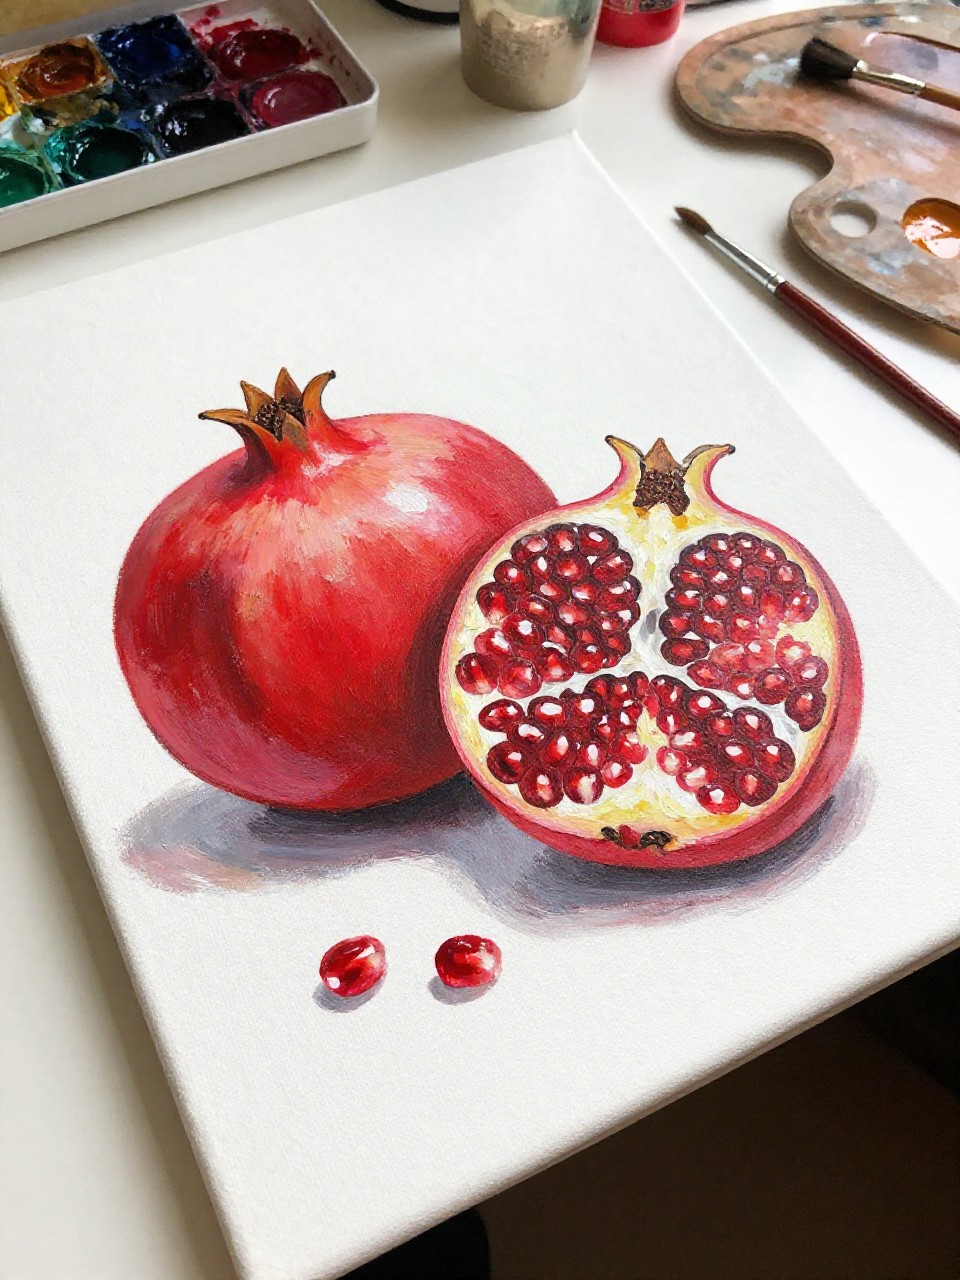
The finished canvas shows a whole pomegranate beside a cut one, with glossy seeds and soft shadows. It’s satisfying because you can keep the shapes simple and still get a bold, classic look for wall decor—great practice for beginners learning light and dark.
Materials Needed:
- Stretched canvas
- Acrylic paint
- Paintbrushes in multiple sizes
- Palette or paint tray
- Optional sealer or varnish
Steps to Make:
For People Who Love to Make Things ✂️
- Lightly sketch a circle for the whole fruit and a half-circle for the cut side.
- Block in the main reds for the skin and the pale cream for the inside.
- Add darker red shadows and a simple background color to make the fruit pop.
- Dot in seed shapes with varied reds, then add tiny white highlights for shine.
- Let dry completely, then seal and hang or prop on a shelf.
2. Minimal Pomegranate Line Art on Canvas
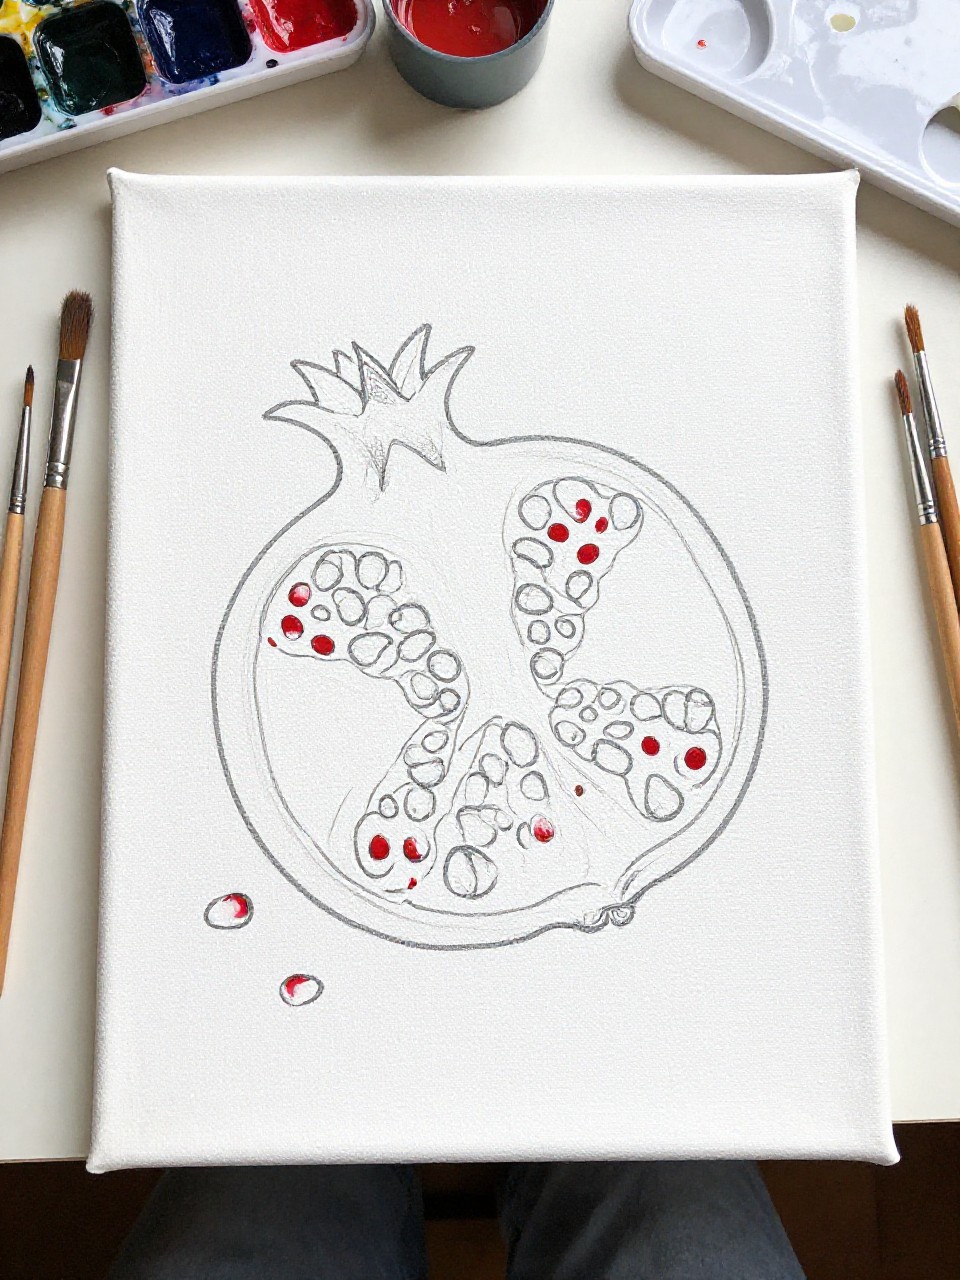
This canvas looks clean and modern, with a simple pomegranate outline and a few painted seeds as accents. It’s calming to make because you don’t have to paint a lot of detail, and it fits nicely in bedrooms, offices, or small gallery walls.
Materials Needed:
- Stretched canvas
- Acrylic paint
- Paintbrushes in multiple sizes
- Palette or paint tray
- Fine-tip paint marker (optional)
Steps to Make:
- Paint the canvas background a soft neutral color and let it dry.
- Sketch a pomegranate outline lightly in pencil, centered on the canvas.
- Trace the outline with thin black paint or a paint marker for steady lines.
- Add small clusters of red seeds with a tiny brush, leaving lots of open space.
- Let dry and display as minimalist wall art.
3. Sunset Pomegranate Silhouette Canvas
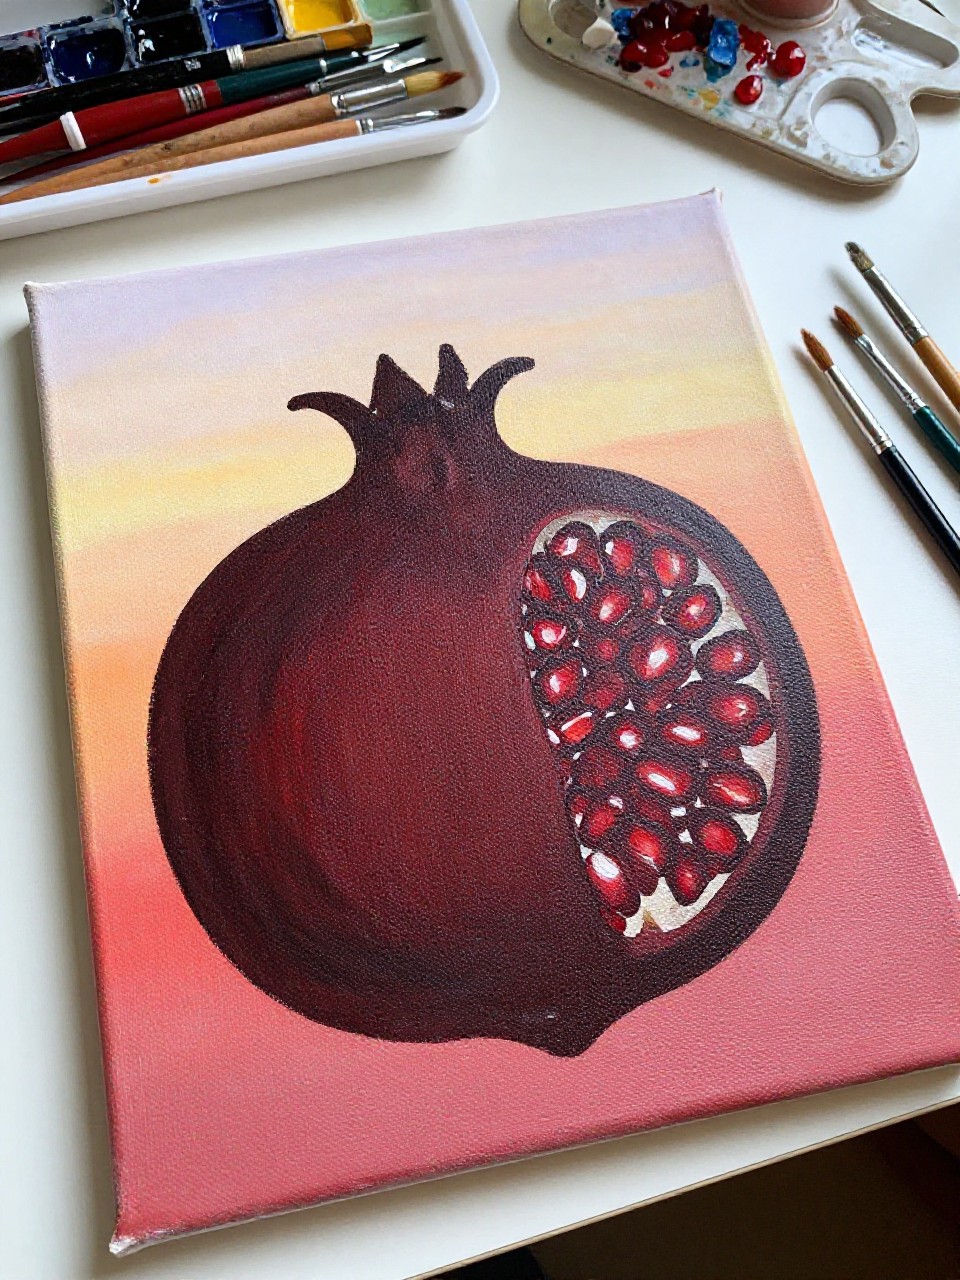
The finished piece shows a dark pomegranate silhouette against a warm sunset gradient, with a few seeds floating like sparkles. It’s perfect for beginners because the blending is forgiving, and the bold shape makes it look striking even with simple brushwork.
Materials Needed:
- Stretched canvas
- Acrylic paint
- Paintbrushes in multiple sizes
- Palette or paint tray
- Optional sealer or varnish
Steps to Make:
- Blend a sunset background from yellow to orange to pink across the canvas.
- Once dry, lightly draw a pomegranate shape in the center.
- Paint the silhouette in a deep maroon or near-black, keeping edges slightly organic.
- Add a few seed shapes in bright red with tiny highlights for contrast.
- Dry fully, then seal for a richer finish.
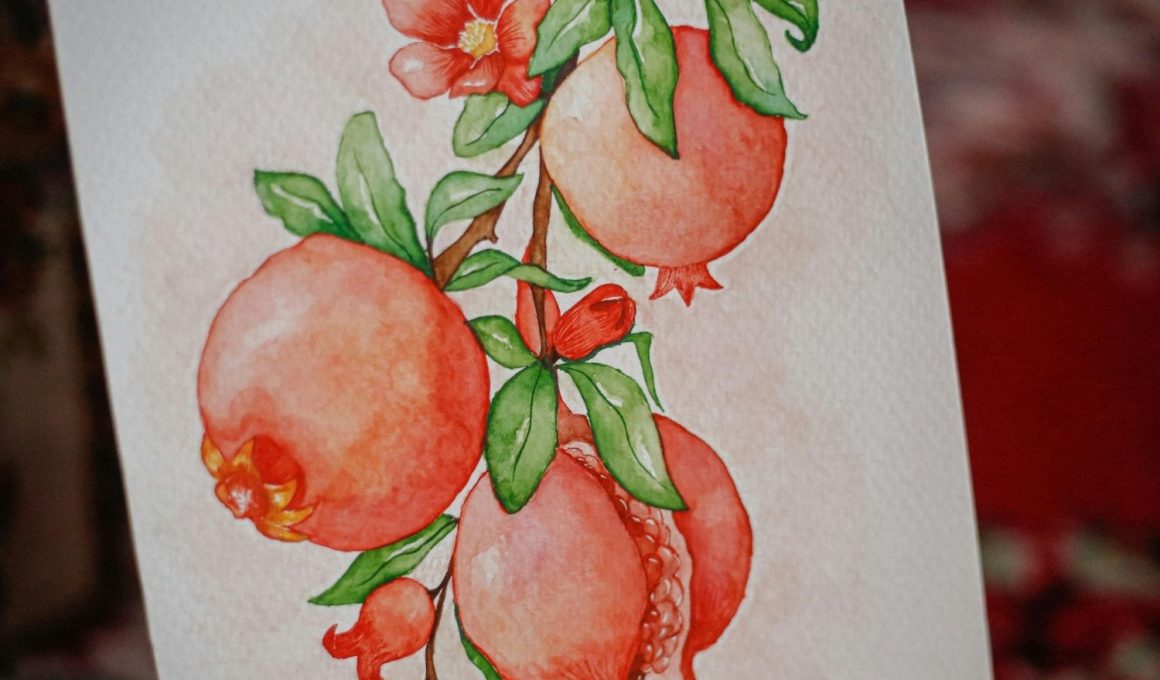
4. Pomegranate Blossom Branch Canvas Painting
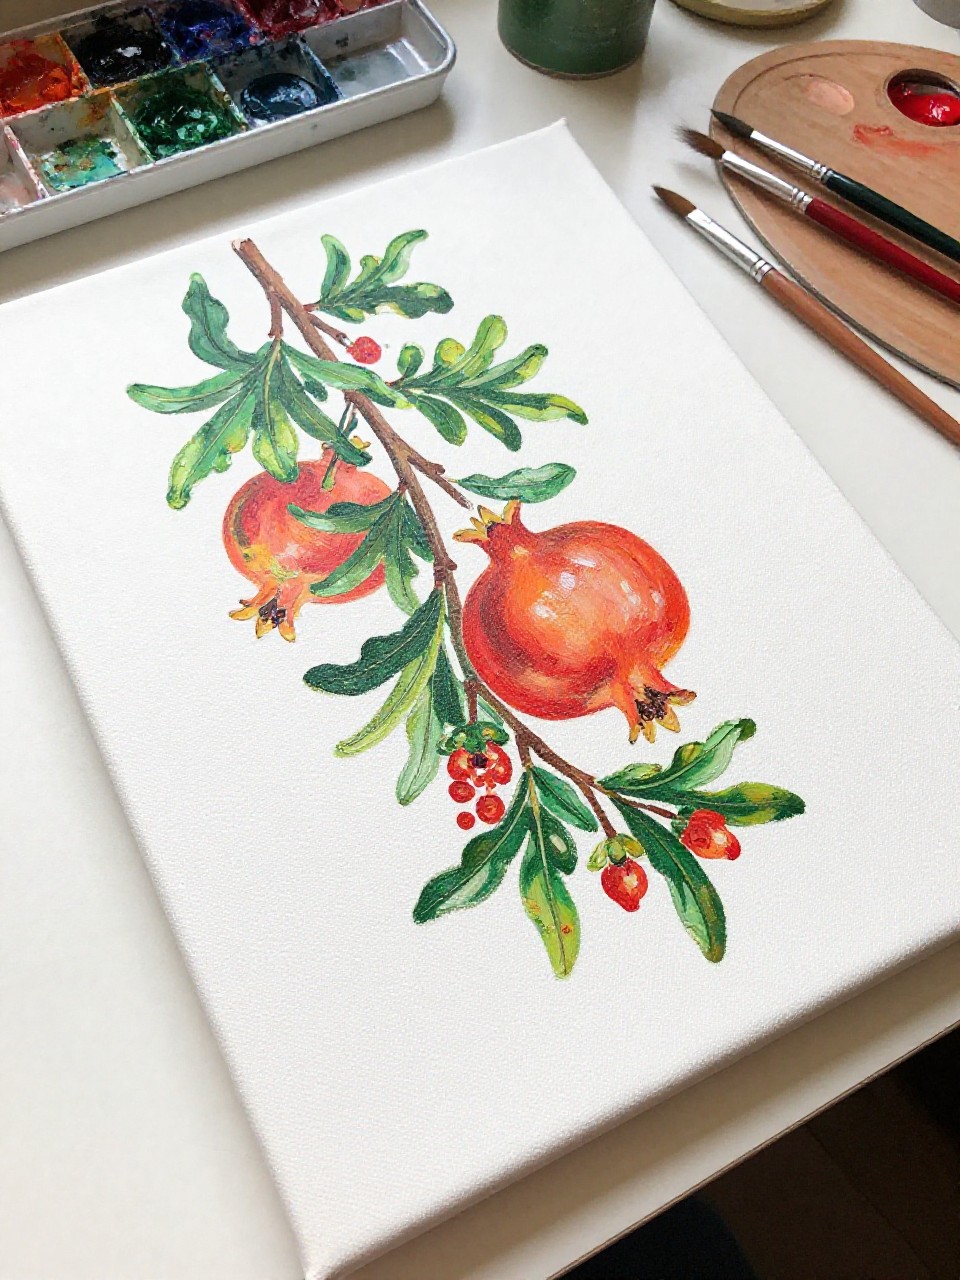
This canvas shows a pomegranate branch with leaves, blossoms, and one small fruit, painted with loose, lively strokes. It’s relaxing because you can paint leaf shapes quickly and let them look painterly, making it a great weekend project for beginners.
Materials Needed:
- Stretched canvas
- Acrylic paint
- Paintbrushes in multiple sizes
- Palette or paint tray
- Water jar and paper towel
Steps to Make:
- Paint a light sky or cream background and let it dry to the touch.
- Brush in a simple brown branch line that curves across the canvas.
- Add leaf shapes in two greens, letting strokes overlap for texture.
- Paint red-orange blossoms and a small pomegranate with darker shading at the base.
- Let dry and touch up highlights on leaves and petals before displaying.
5. Abstract Pomegranate Color Blocks Canvas
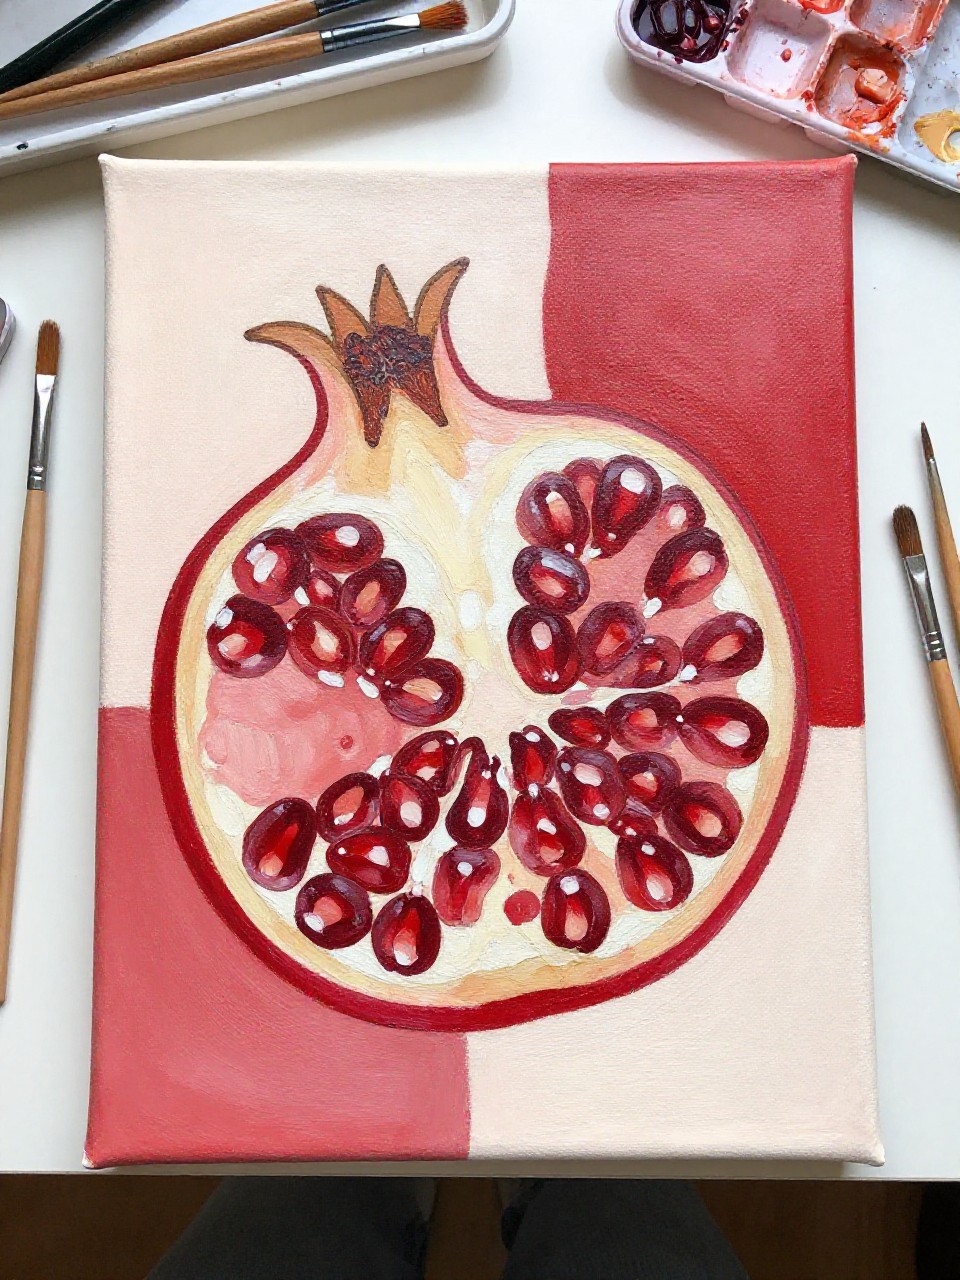
The finished canvas uses bold blocks of crimson, blush, cream, and deep burgundy to suggest a pomegranate without detailed realism. It’s satisfying if you like modern art because you can focus on color and shape, and it still reads as “pomegranate” from across a room.
Materials Needed:
- Stretched canvas
- Acrylic paint
- Paintbrushes in multiple sizes
- Palette or paint tray
- Painter’s tape (optional)
Steps to Make:
- Plan simple block shapes lightly in pencil, like wedges and seed clusters.
- Tape off a few straight edges if you want sharper color blocks.
- Paint large sections in warm reds and creams, letting some brush texture show.
- Add small oval seed marks in darker reds, clustering them in one area.
- Peel tape when dry and seal if you want a finished gallery look.
6. Seed Cluster Close-Up Canvas Study
This canvas looks like a zoomed-in view of pomegranate seeds, with overlapping ovals and shiny highlights. It’s great practice for brush control, and it feels almost meditative to repeat the seed shapes while building depth with layered reds.
Materials Needed:
- Stretched canvas
- Acrylic paint
- Paintbrushes in multiple sizes
- Palette or paint tray
- Optional sealer or varnish
Steps to Make:
- Paint a pale cream base layer to mimic the fruit’s inner pith.
- Sketch a loose cluster shape where the seeds will go, filling most of the canvas.
- Paint seed ovals in several reds, overlapping and changing size slightly.
- Add darker shadows between seeds, then tiny white highlights for the glossy look.
- Dry fully, seal, and display as a bold statement piece.
7. Hand-Painted Pomegranate Ceramic Mug
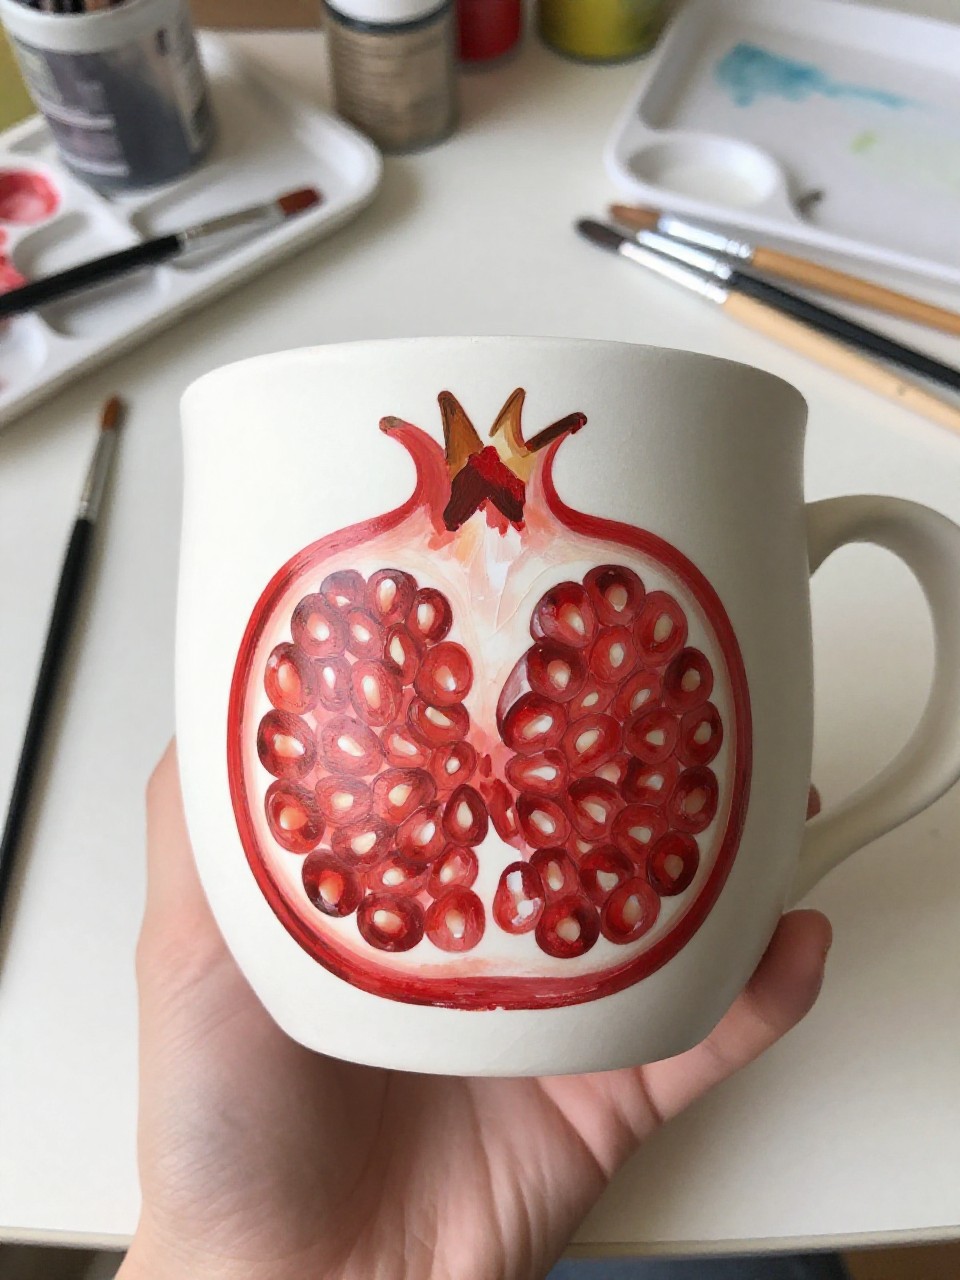
The mug features a pomegranate on one side and a small scattering of seeds that wrap naturally around the curve. It’s a cozy project for slow afternoons, and it makes a thoughtful handmade gift—especially if you keep the shapes simple and focus on rich reds.
Materials Needed:
- Plain ceramic mug
- Porcelain paint (food-safe)
- Paintbrushes in multiple sizes
- Palette or paint tray
- Optional sealer or varnish
Steps to Make:
- Wash and dry the mug, then wipe it with rubbing alcohol to remove oils.
- Lightly pencil the pomegranate shape, placing it where your hand won’t cover it.
- Paint the fruit in layers of red, adding darker shading near the crown and base.
- Dot seed shapes around the mug so the pattern follows the mug’s curve.
- Let dry, then bake or cure following your porcelain paint instructions.
8. Pomegranate Rim Border Ceramic Plate
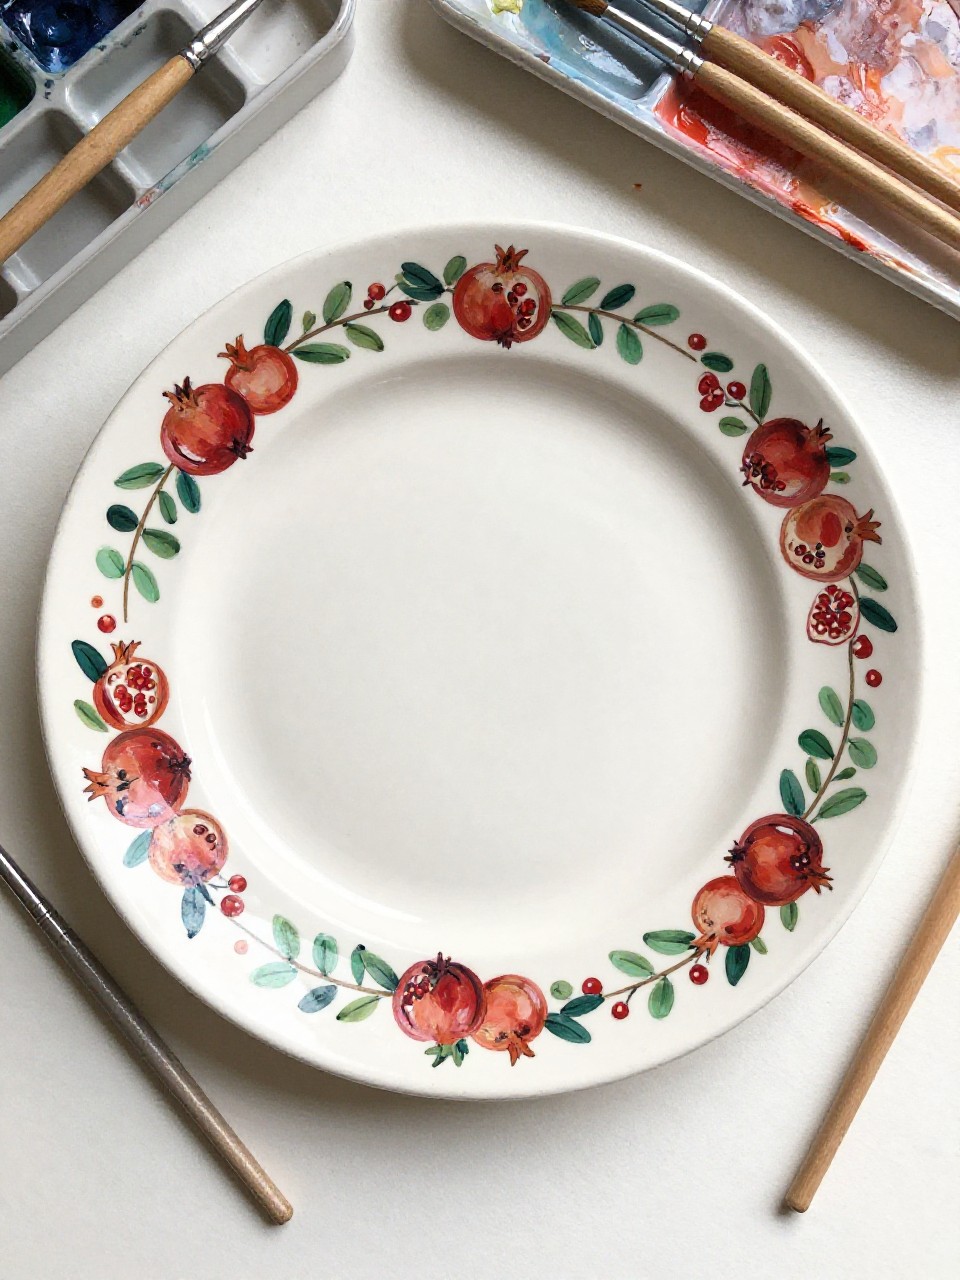
The plate has a painted border of tiny pomegranates and leaves circling the rim, leaving the center mostly clean. It’s beginner-friendly because you repeat the same small motifs, and the plate becomes pretty decor for a shelf, wall, or special table setting.
Materials Needed:
- Plain ceramic plate
- Porcelain paint (food-safe)
- Paintbrushes in multiple sizes
- Palette or paint tray
- Optional sealer or varnish
Steps to Make:
- Clean the plate well and let it dry completely.
- Mark a light guideline circle near the rim so your border stays even.
- Paint small pomegranate shapes spaced around the rim in warm reds.
- Fill gaps with simple green leaves and tiny seed dots for balance.
- Cure the paint as directed, then display or use for dry snacks if rated food-safe.
9. Seedburst Centerpiece Ceramic Bowl
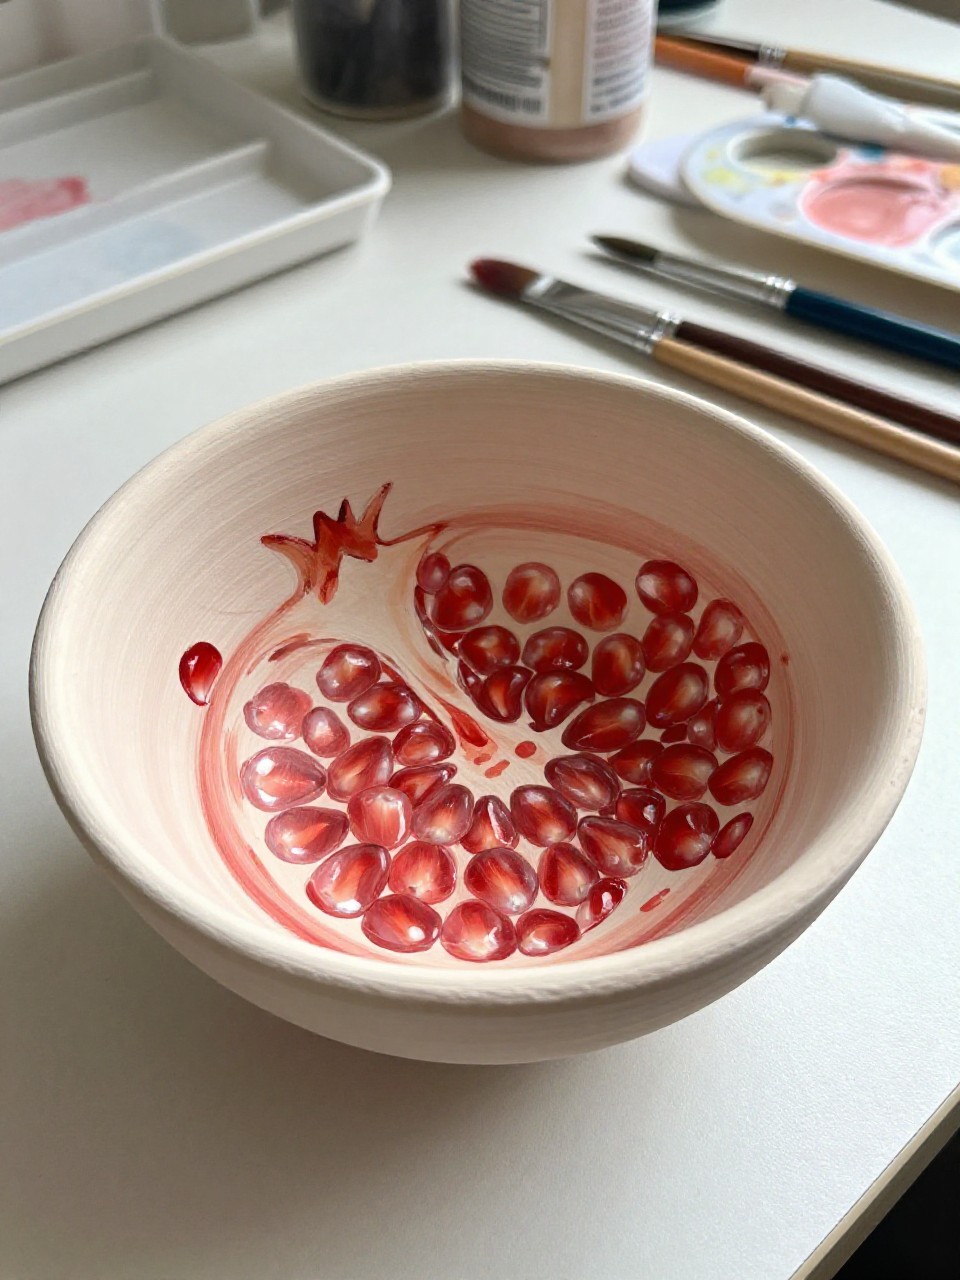
This bowl shows a “seedburst” design inside, with red seeds radiating from the center and fading outward. It feels satisfying because the bowl’s curve helps the design look dynamic, and it’s a great way to practice repeating shapes without needing perfect realism.
Materials Needed:
- Plain ceramic bowl
- Porcelain paint (food-safe)
- Paintbrushes in multiple sizes
- Palette or paint tray
- Optional sealer or varnish
Steps to Make:
- Wash the bowl and dry, focusing on the inside surface.
- Paint a light cream circle in the center as a base for the seedburst.
- Add seed ovals from the center outward, following the bowl’s curve.
- Deepen the middle with darker reds and add small highlights to a few seeds.
- Cure according to paint directions, then use as decor or a catchall if not food-safe.
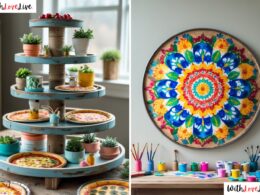
10. Pomegranate Tile Coaster Set
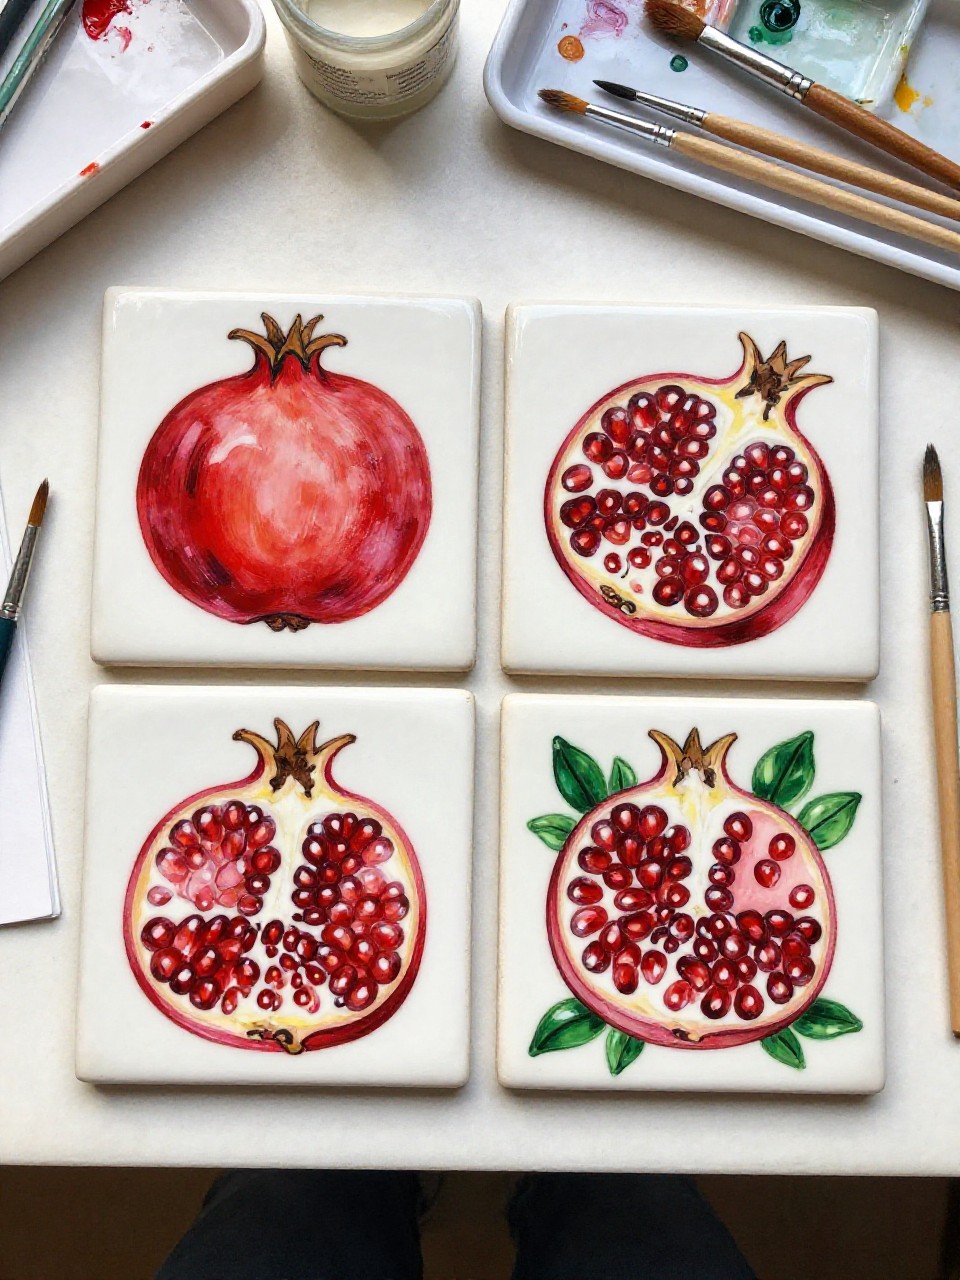
These ceramic tile coasters show mini pomegranate designs—whole fruit, cut fruit, seeds, and leaves—one idea per tile. It’s great for beginners because each tile is small, so you can experiment without pressure, and they make useful handmade gifts.
Materials Needed:
- Plain ceramic tiles (for coasters)
- Acrylic paint
- Paintbrushes in multiple sizes
- Palette or paint tray
- Clear waterproof sealer or varnish
Steps to Make:
- Wipe tiles clean and decide on four simple pomegranate-themed designs.
- Paint a base background color on each tile and let dry.
- Add your pomegranate motifs, keeping shapes bold and easy to recognize.
- Outline key edges and add a few highlights for contrast and texture.
- Seal well for water protection, then add felt pads underneath.
11. Pomegranate Pattern Terracotta Pot
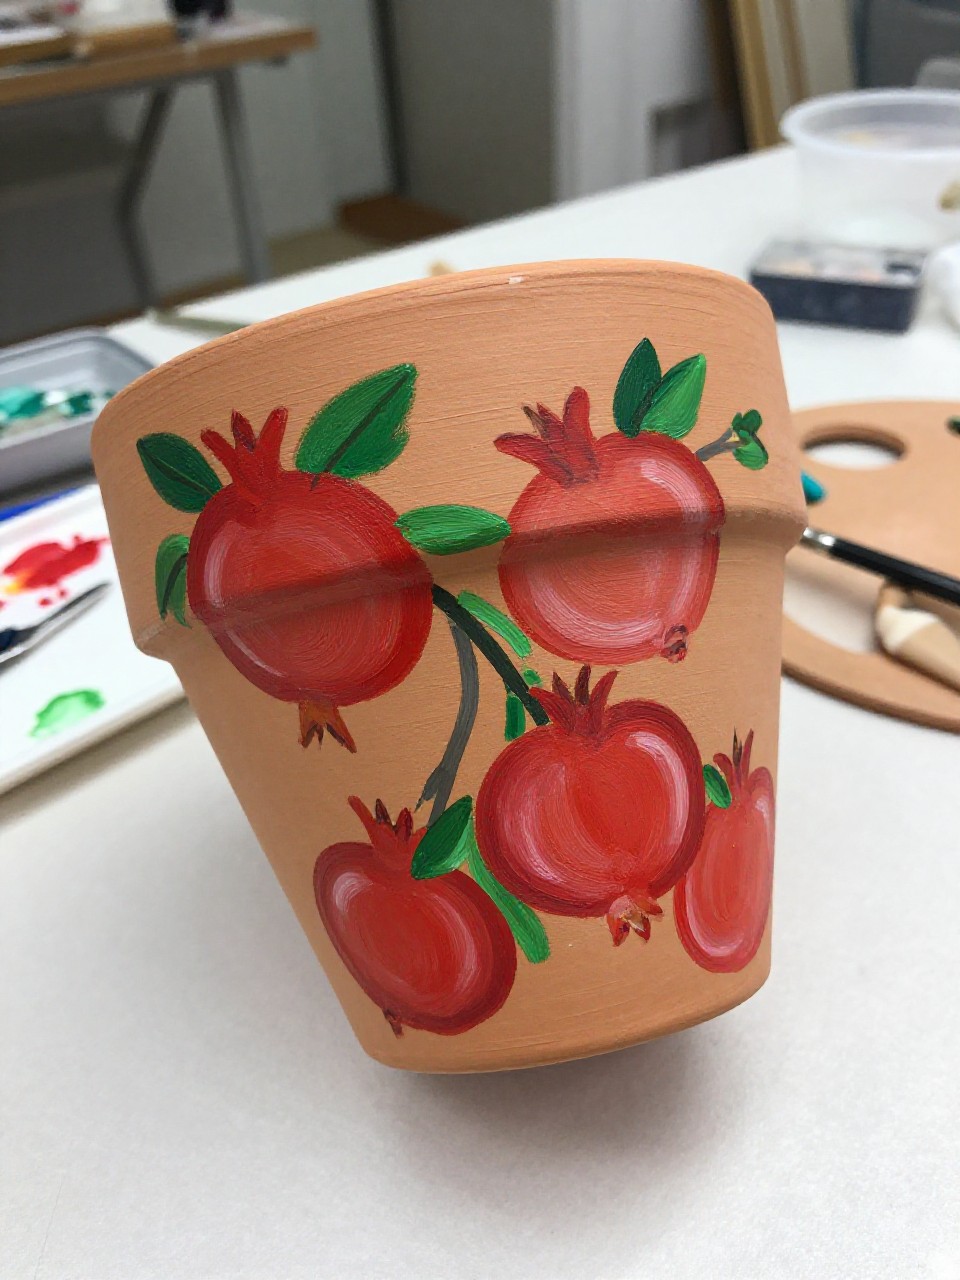
The terracotta pot is painted with repeating pomegranates and leaves that wrap around the rounded surface. It’s a relaxing project because the warm terracotta color looks good even if your shapes aren’t perfect, and it makes a cute planter for herbs or a windowsill plant.
Materials Needed:
- Terracotta pot
- Acrylic paint
- Paintbrushes in multiple sizes
- Palette or paint tray
- Clear outdoor sealer or varnish
Steps to Make:
- Brush off dust and paint a thin base coat if you want a lighter background.
- Lightly mark where each pomegranate will repeat around the pot’s curve.
- Paint simple fruit shapes in red, adjusting size as the pot narrows near the base.
- Add green leaves and a few seed dots between fruits to tie the pattern together.
- Let dry, then seal inside and out to help protect the paint.
12. Split Pomegranate Terracotta Planter Front Panel
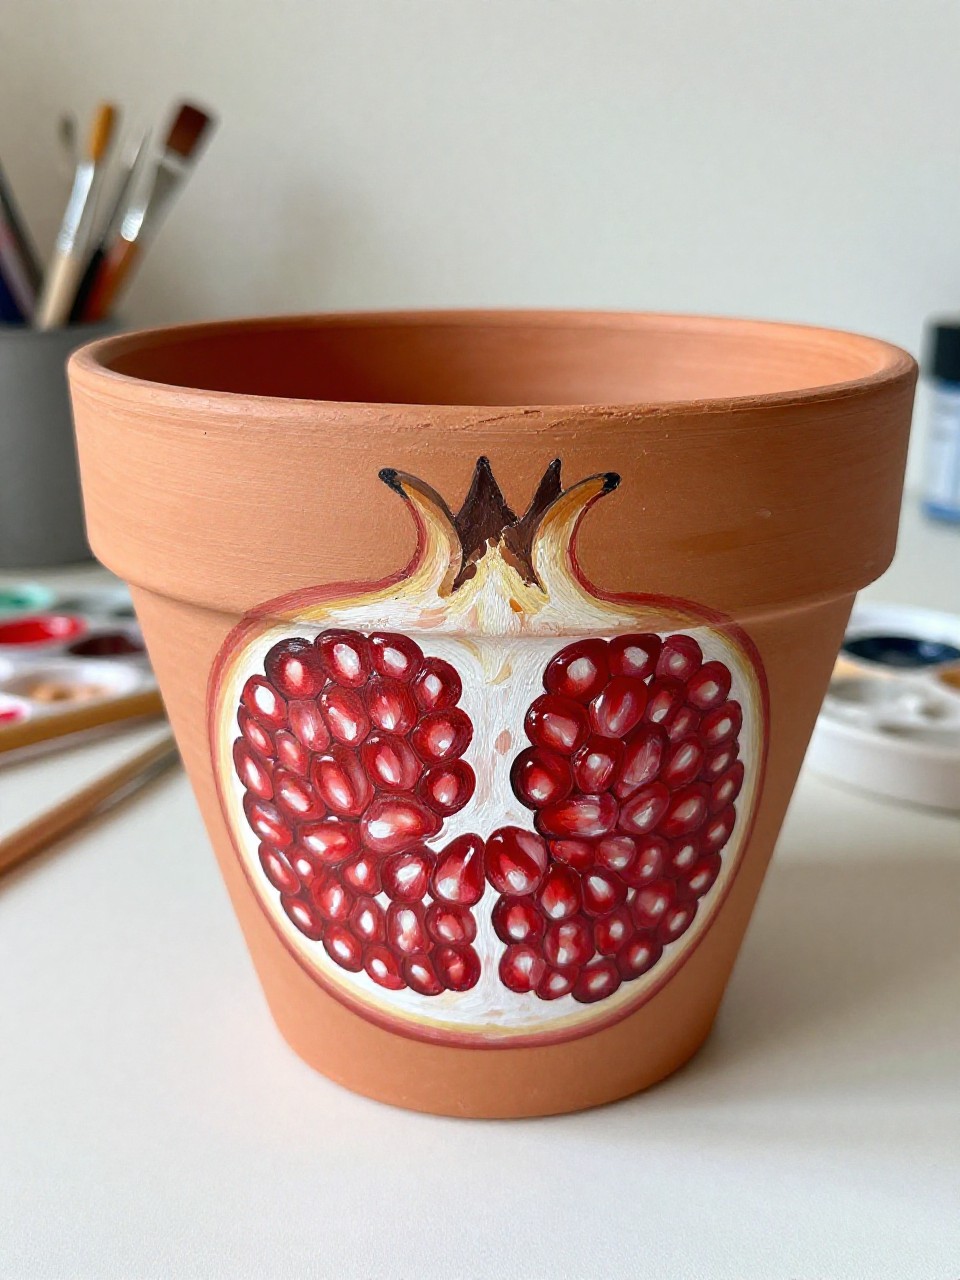
This planter shows one large split pomegranate on the front, with seeds spilling slightly to the side, sized to match the pot’s shape. It’s satisfying because you get a big focal design without painting the whole pot, and it looks charming on patios, balconies, or desks.
Materials Needed:
- Terracotta pot
- Acrylic paint
- Paintbrushes in multiple sizes
- Palette or paint tray
- Clear outdoor sealer or varnish
Steps to Make:
- Clean the pot and decide which side will face forward.
- Sketch a split pomegranate shape that fits the pot’s widest area.
- Paint the outer skin first, then the pale interior sections with soft shading.
- Add layered seed ovals with darker reds near the center and lighter edges.
- Dry fully, then seal and plant something simple like a pothos or basil.
13. Pomegranate Garland Wooden Serving Tray
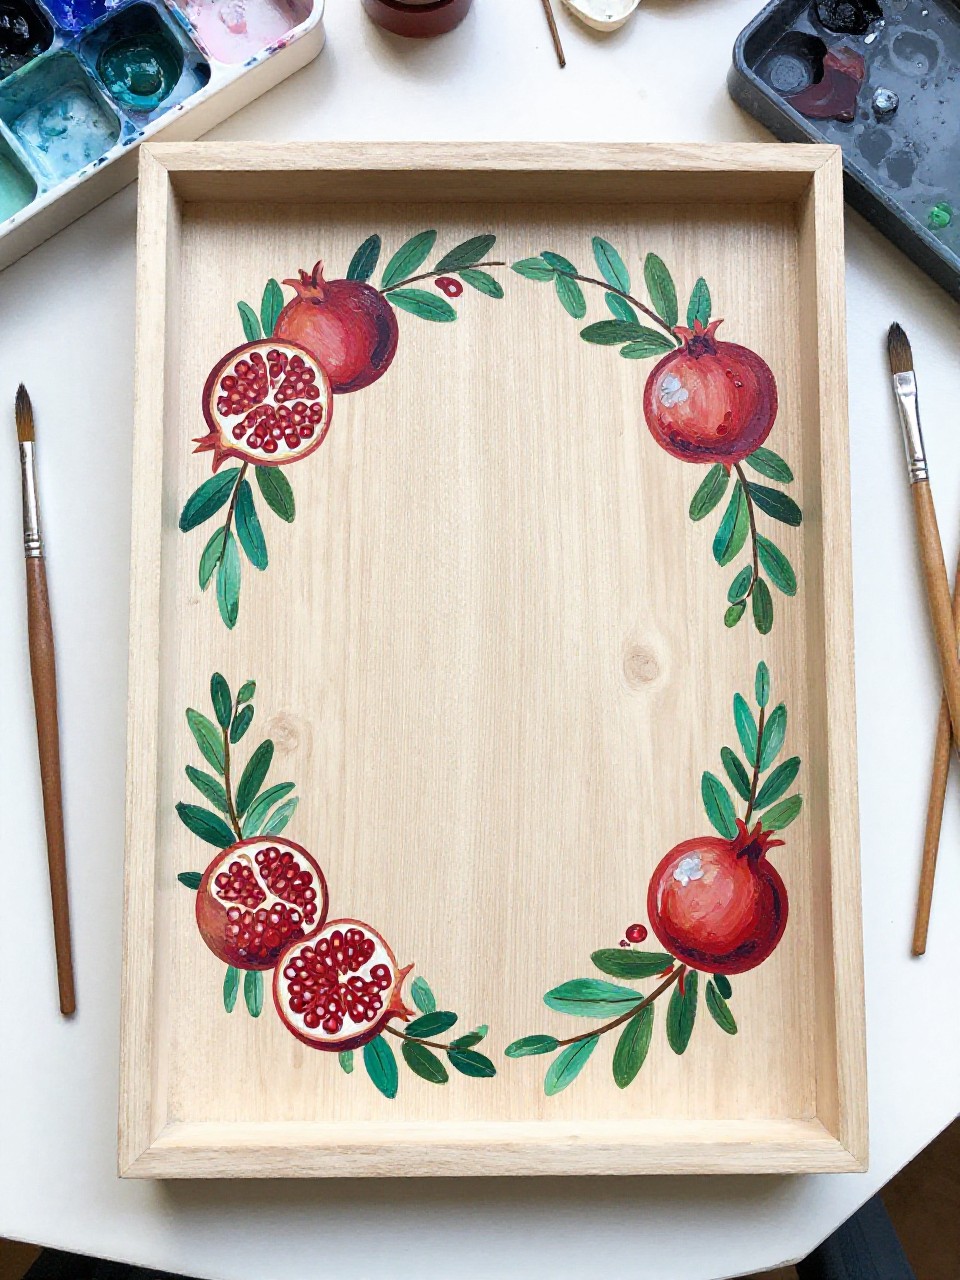
The tray features a hand-painted pomegranate garland around the edge, with small fruit and leaf clusters framing the center. It’s great for beginners because you can keep the middle plain, and the tray becomes useful home decor for candles, snacks, or coffee table styling.
Materials Needed:
- Unfinished wooden serving tray
- Acrylic paint
- Paintbrushes in multiple sizes
- Palette or paint tray
- Clear polyurethane or varnish
Steps to Make:
- Lightly sand the tray and wipe away dust for a smooth surface.
- Paint a thin base coat (white or warm beige) and let it dry.
- Sketch a loose border line, then paint pomegranates and leaves around the rim.
- Add tiny seed dots and darker shadows to give the fruit more depth.
- Seal with a clear topcoat once fully dry for durability.
14. Pomegranate Slice Glass Vase (Painted Exterior)
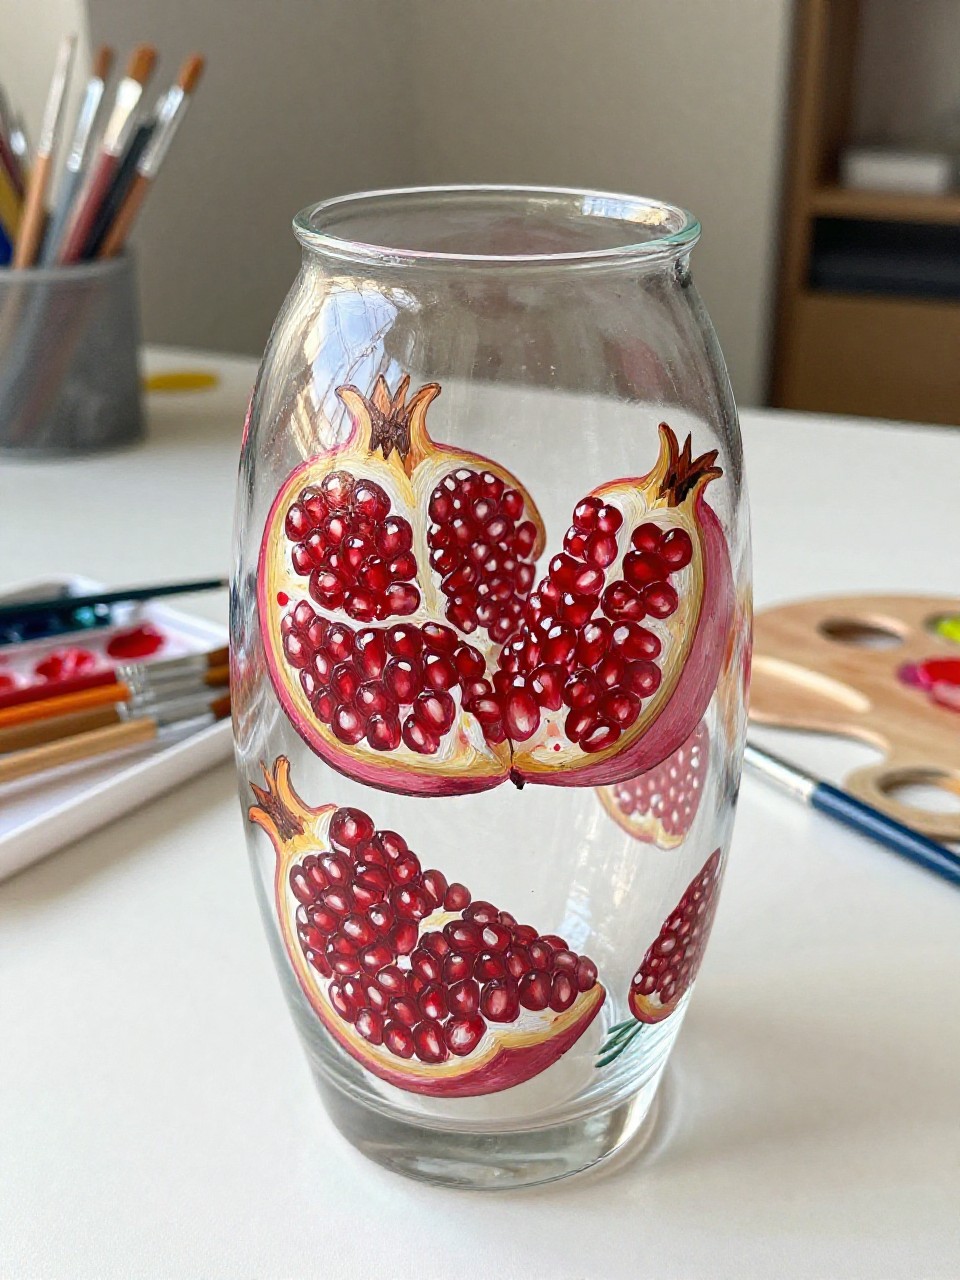
The glass vase shows pomegranate slices and seed clusters painted on the outside, spaced so the design wraps nicely around the cylinder. It’s a calming project for decorating your home, and it looks beautiful with simple flowers since the red fruit adds a pop of color.
Materials Needed:
- Clear glass vase
- Glass paint (multi-surface)
- Paintbrushes in multiple sizes
- Palette or paint tray
- Optional sealer or varnish
Steps to Make:
- Wash the vase and wipe with rubbing alcohol so paint sticks well.
- Plan slice shapes spaced around the vase, keeping them aligned with the curve.
- Paint the slice outlines and pale inner sections first, then build reds in layers.
- Dot in seeds with varied reds and add small highlights for a juicy look.
- Let cure fully, then use for decorative flowers (avoid washing until fully set).
15. Pomegranate Seed Scatter Sketchbook Page
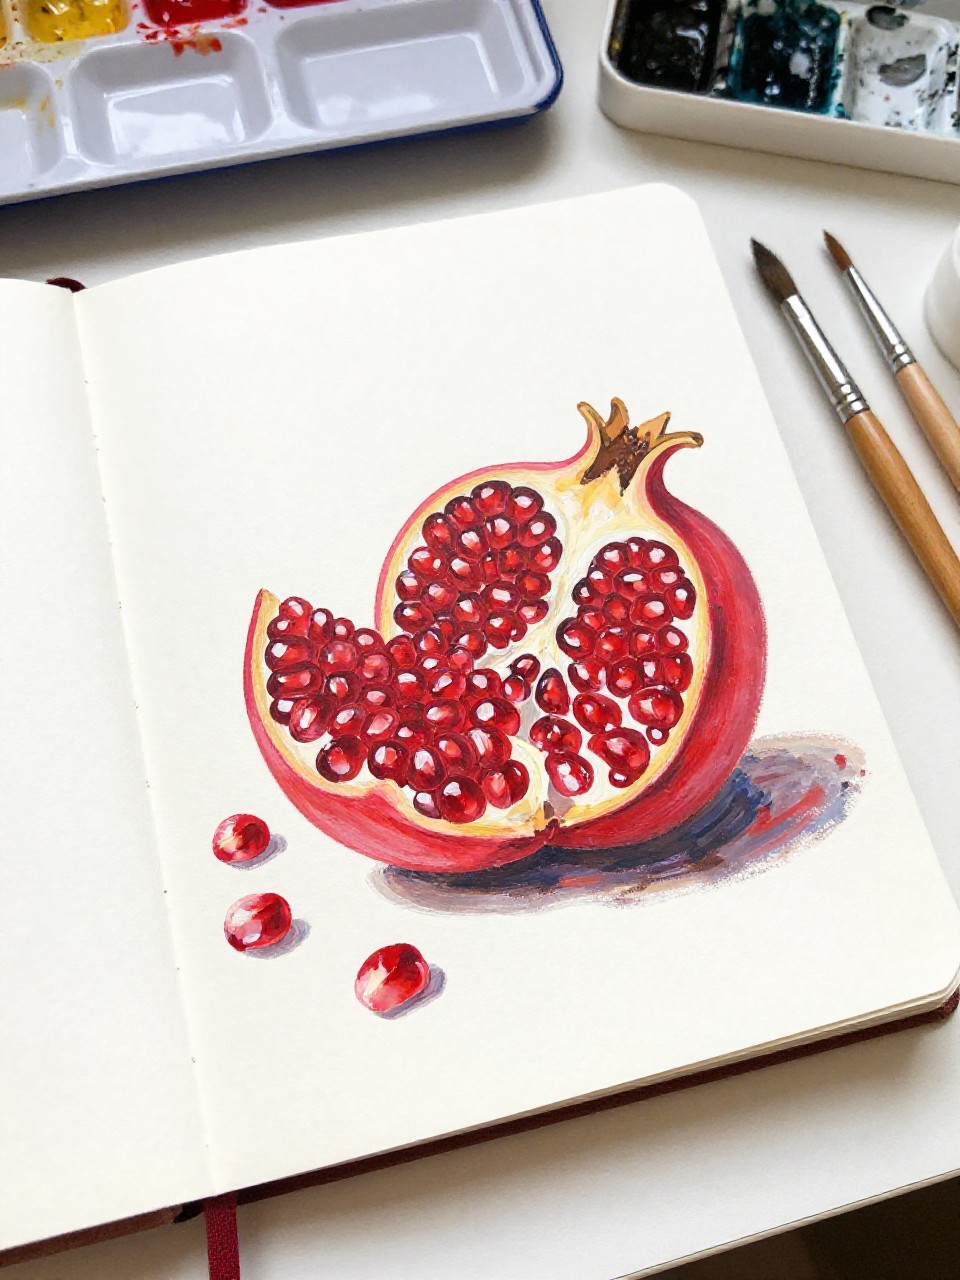
The sketchbook page shows a loose pomegranate drawing with seeds scattered across the paper, painted with layered reds and quick highlights. It’s perfect for beginners because it’s low-pressure and portable, and you can use it as a warm-up before painting on bigger surfaces.
Materials Needed:
- Mixed-media sketchbook or watercolor paper
- Gouache paint (or watercolor)
- Paintbrushes in multiple sizes
- Palette or paint tray
- Water jar and paper towel
Steps to Make:
- Lightly pencil a simple pomegranate outline and plan where seeds will scatter.
- Paint the fruit shape in red layers, leaving a few lighter areas for texture.
- Add seed ovals across the page, varying size and color so they feel natural.
- Drop in darker shadows under some seeds and add tiny bright highlights.
- Let dry flat, then date the page and keep it as a practice reference.