Table of Contents Show
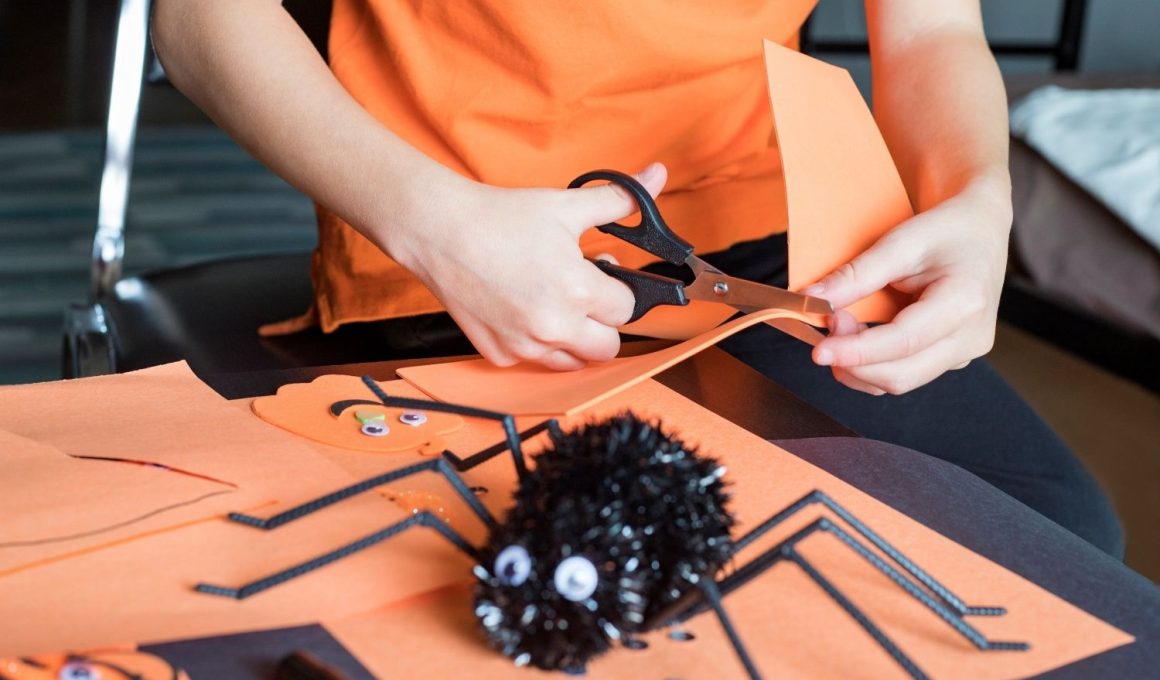
Some days, “Let’s make a spider!” turns into gluey chaos and tears—yours and theirs. You want crafts that look cute on the fridge, build little hand skills, and don’t take a full afternoon or a full paycheck.
These spider projects are high-impact, low-effort, and friendly for tiny hands.
Each one uses simple shapes, big movements, and forgiving materials, so kids feel proud—and you feel calm.
1. Pom-Pom Puffy Spider
Soft, squishy, and a little silly, this spider looks store-bought but is super simple. The big pom-pom body makes it adorable and easy to grab for little hands.
Materials Needed:
For People Who Love to Make Things ✂️
- Large black pom-pom
- Pipe cleaners
- Googly eyes
How to make it:
- Cut two pipe cleaners in half to make four pieces; twist pairs together to create sturdier legs (you’ll have 4 legs to bend into 8 “feet”).
- Bend each leg into an L-shape for knees and glue them around the pom-pom.
- Glue on googly eyes.
- Gently bend leg tips outward so it stands.
2. Cupcake Liner Pop-Up Spider
Ruffled edges give this spider a fancy collar look with zero effort. The pop-up center makes it 3D and fun to boop.
Materials Needed:
- Black cupcake liner
- Paper straw
- Googly eyes
How to make it:
- Press the cupcake liner flat, then gently pinch the center up so it “pops.”
- Glue a paper straw to the back as a handle.
- Add googly eyes to the popped center.
- Draw or glue on tiny paper legs around the ruffled edge.
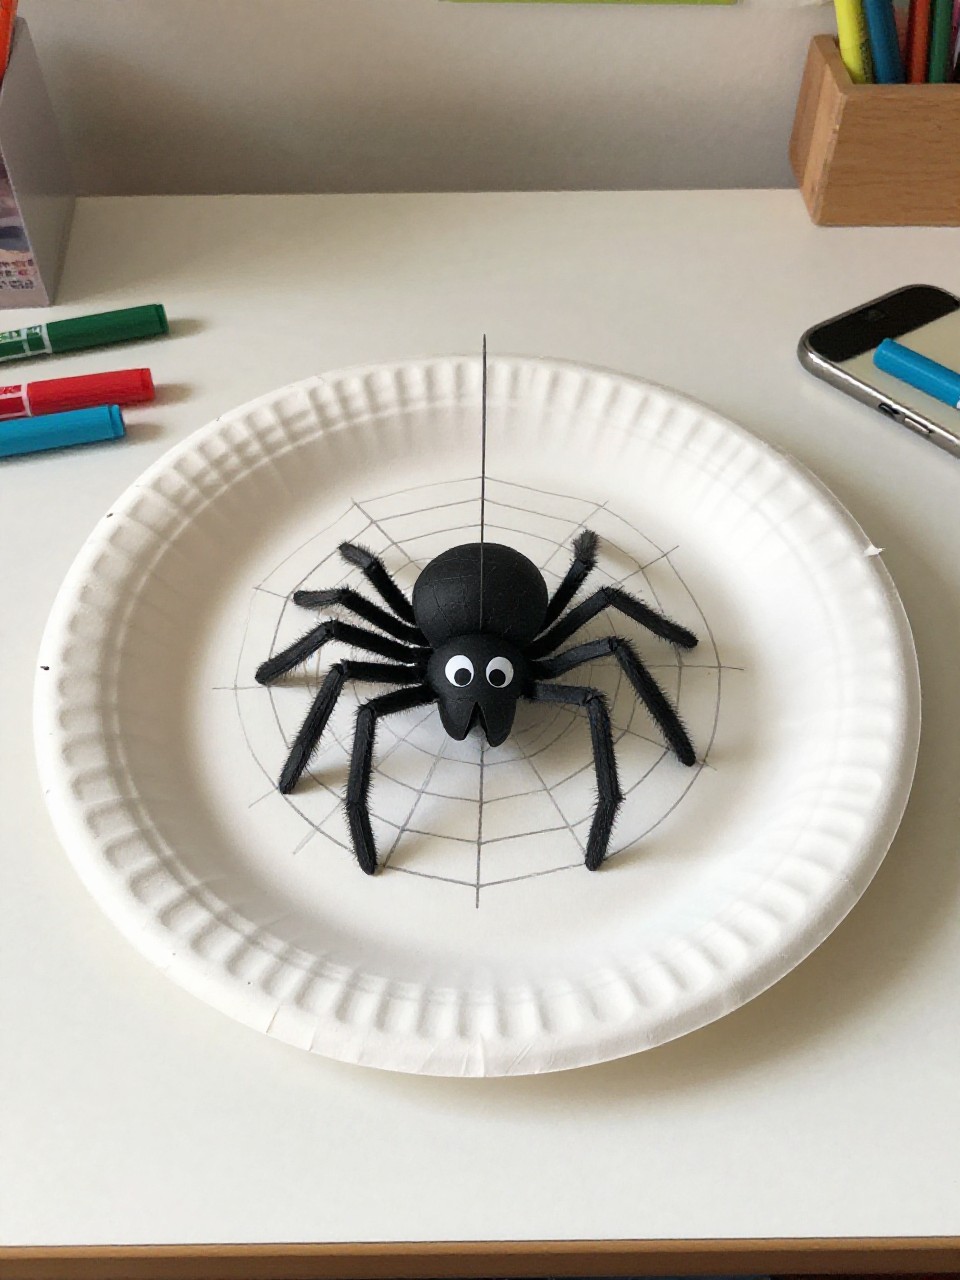
3. Handprint Web Spider Plate
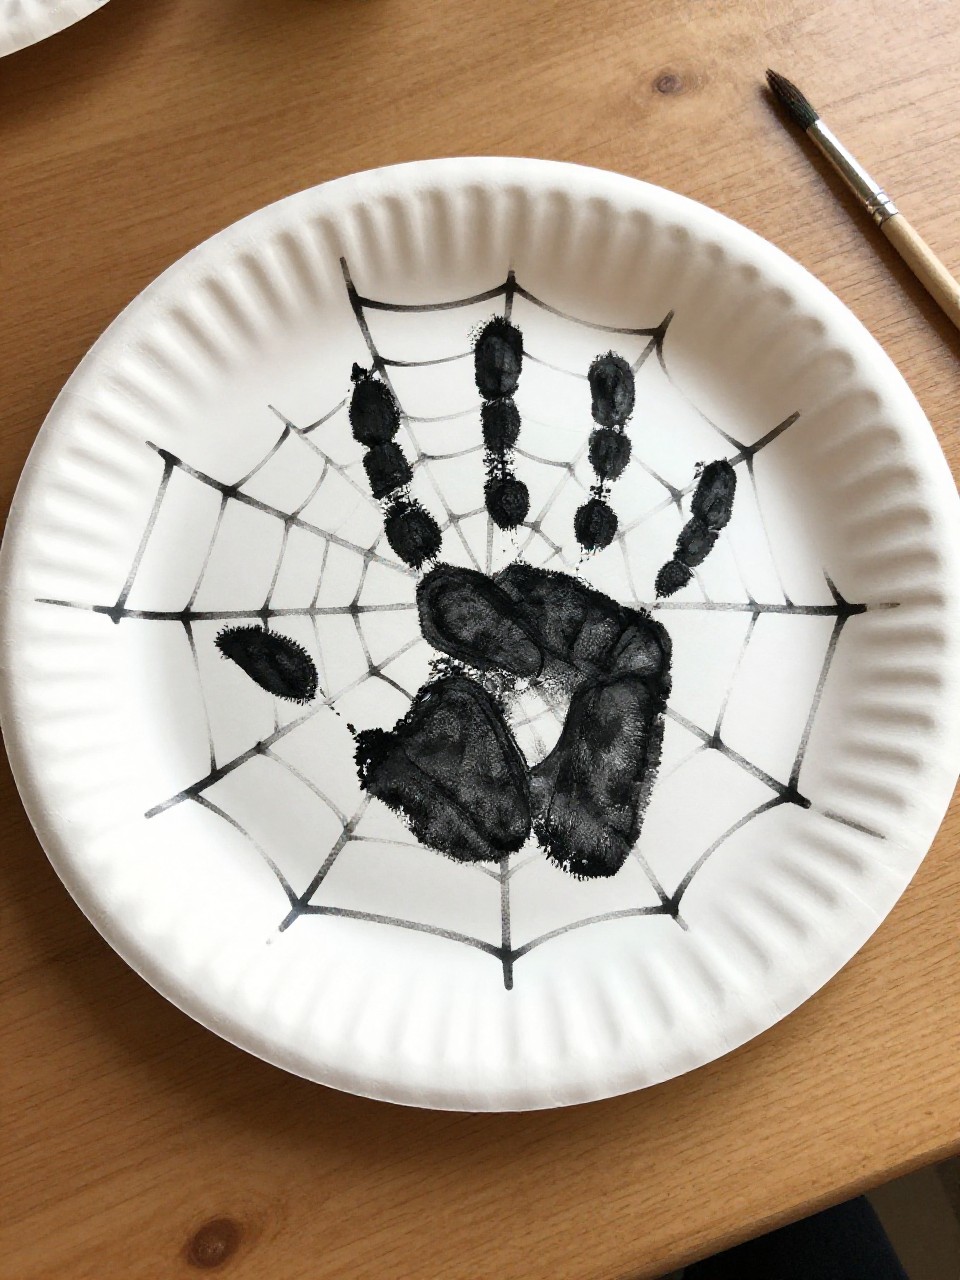
A keepsake craft that doubles as wall decor. The bold web lines make the friendly spider pop in the center.
Materials Needed:
- White paper plate
- Black washable paint
- Black marker
How to make it:
- Draw a big web on the plate using the black marker (start with a plus sign, then connect with curves).
- Paint your child’s palm black and press a handprint in the middle for the spider body.
- Use a fingertip to dab a small head.
- Add eyes with paint or marker once dry.
4. Clothespin Clip-On Spider
This spider clips to backpacks, curtains, or plants. The clothespin body makes it easy for little hands to open and close.
Materials Needed:
- Wooden clothespin
- Black pipe cleaners
- Googly eyes
How to make it:
- Wrap a pipe cleaner around the clothespin center, leaving equal lengths on both sides.
- Repeat until you have four pipe cleaners (eight legs total).
- Bend knees and feet so it stands or grips.
- Glue eyes to the clothespin “head” end.
5. Bubble Wrap Print Spider Scene
Perfect for toddlers who love stamping. The bubbly background adds texture behind a bold, friendly spider.
Materials Needed:
- Bubble wrap
- Black and white paint
- Construction paper
How to make it:
- Paint bubble wrap lightly with white paint, then press a sheet of colored paper on top to print a dotted background.
- Cut a black oval (adult) and let the child glue it on as the spider body.
- Add eight simple leg strips.
- Finger-dot two white eyes and a smile.
6. Wiggly Paper Ring Spider
A wearable spider ring that wiggles when kids move. It looks clever but uses only paper loops.
Materials Needed:
- Black construction paper
- Glue stick
- White gel pen
How to make it:
- Cut a thin strip and tape it into a loop to fit a child’s finger.
- Make a second, slightly larger loop and glue it on top for the body.
- Add eight tiny leg strips around the bottom loop.
- Draw eyes and a smile with the gel pen.
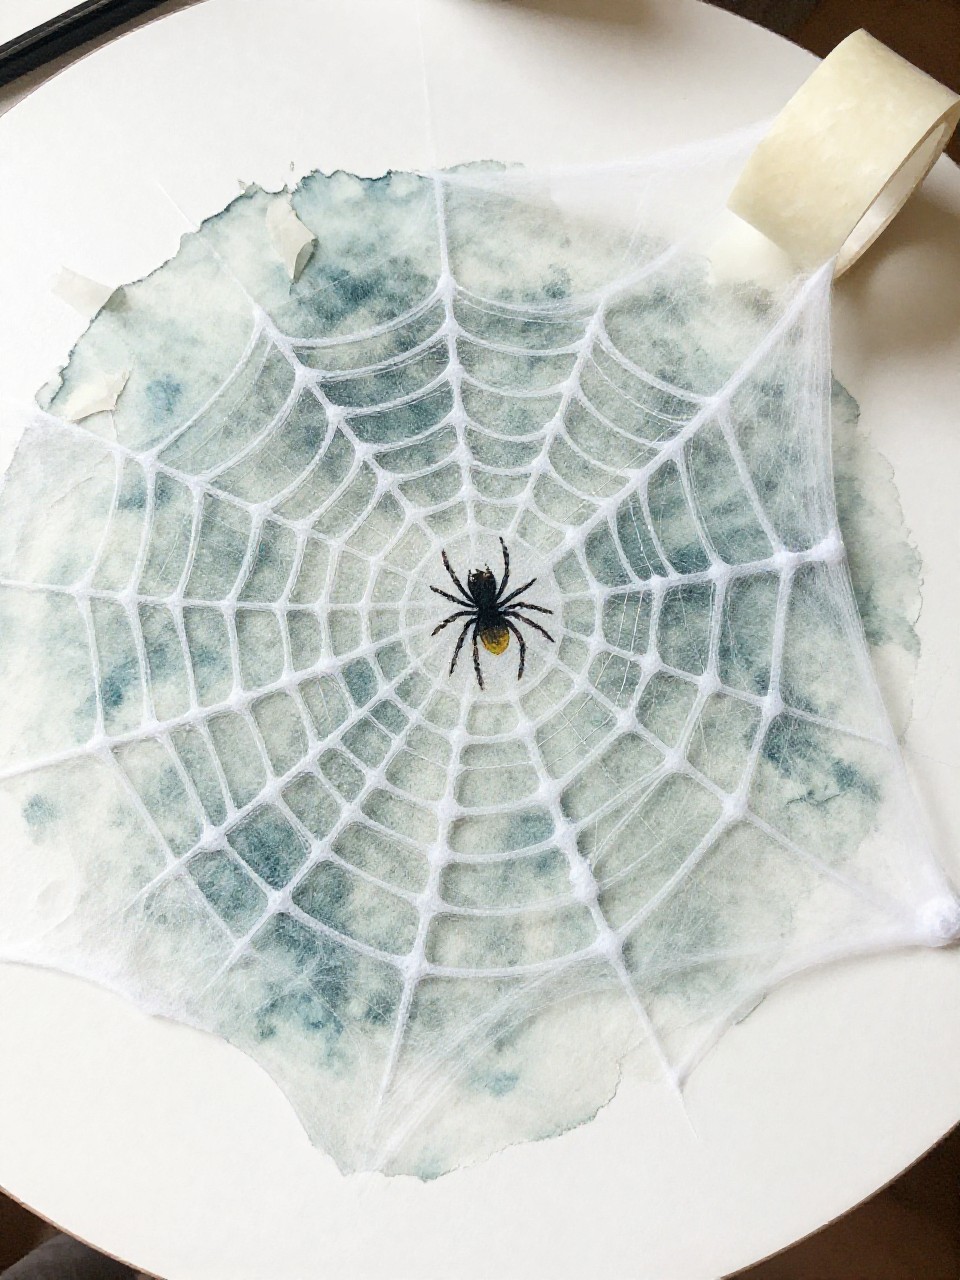
7. Sparkle Web Sun Catcher
Catch the light with a glittery web that looks magical on a window. Sticky contact paper makes setup fast and mess low.
Materials Needed:
- Clear contact paper
- Black yarn
- Glitter or sequins
How to make it:
- Stick a square of contact paper sticky-side up to the table (tape edges).
- Press yarn lines like a plus sign, then add curved yarn to make a web.
- Sprinkle glitter or sequins onto the sticky spaces.
- Seal with a second contact paper sheet and trim.
8. Fork-Print Fuzzy Spider
Use a fork to “comb” out fuzzy legs around a painted body. The texture looks fancy without any effort.
Materials Needed:
- Black paint
- Plastic fork
- Cardstock
How to make it:
- Paint a round blob for the spider body in the center of the page.
- Dip the fork in paint and drag outward from the body to create fuzzy leg lines.
- Repeat eight times around.
- Add white paint dots for eyes.
9. Button-Body Itsy Bitsy Spider
A simple stack of buttons makes a chunky, charming spider body. Great for fine motor practice.
Materials Needed:
- Large black button
- Pipe cleaners
- Mini googly eyes
How to make it:
- Thread a pipe cleaner through two button holes and twist to secure.
- Add three more pipe cleaners through or around the button to make eight legs total.
- Bend knees and feet.
- Glue mini eyes onto the button.
10. Paper Strip Curly-Leg Spider
Curled legs make this spider look like it’s dancing. The round paper loop body is quick and sturdy.
Materials Needed:
- Black construction paper
- Glue stick
- Googly eyes
How to make it:
- Roll a wide strip of paper into a ring and glue to form the body.
- Cut eight thin strips and curl them by dragging along scissors (adult demo).
- Glue curled legs under the ring.
- Add eyes up front.
11. Sticker Web Rescue
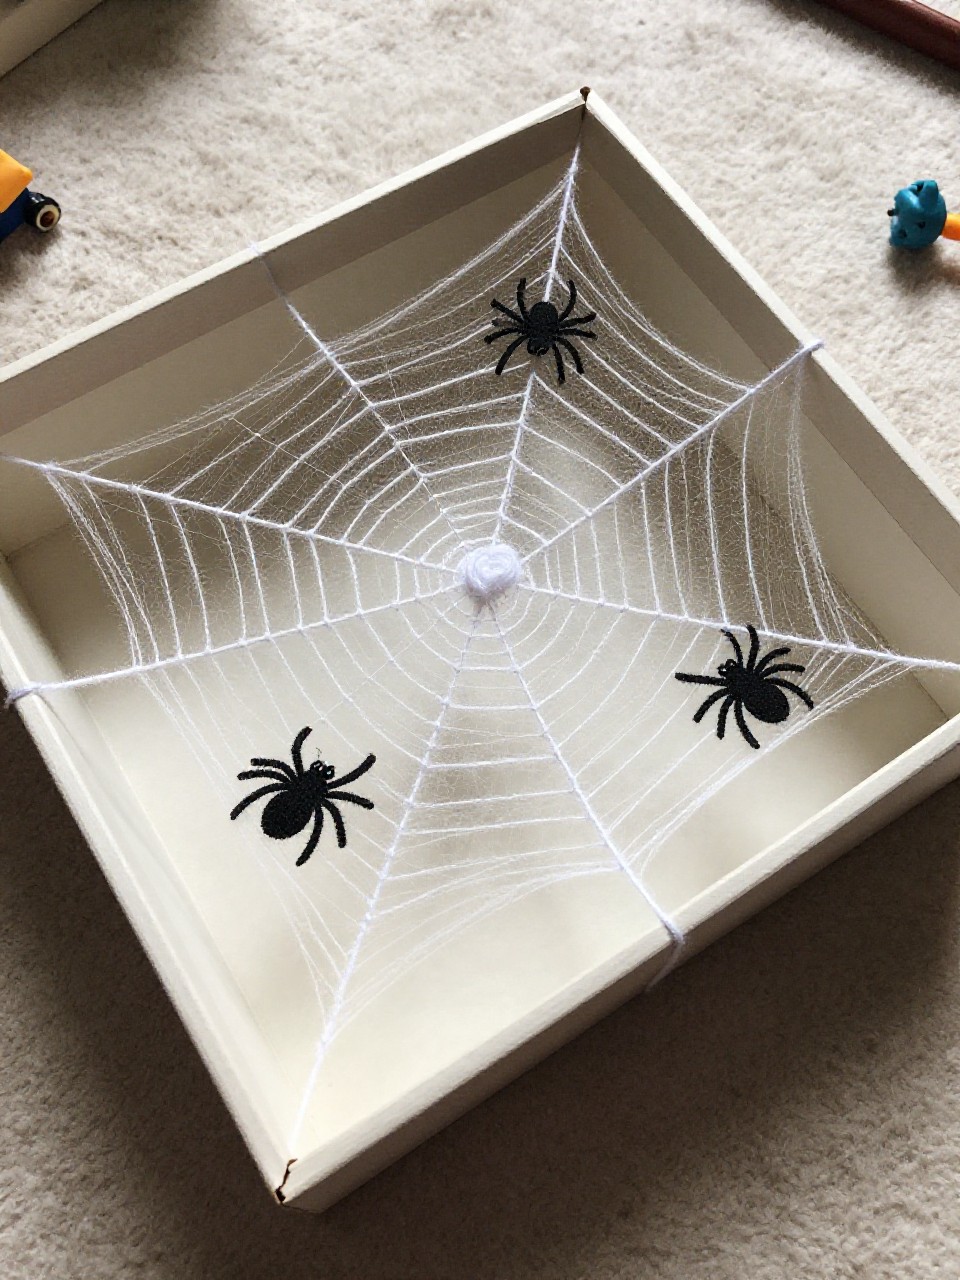
A fine-motor play craft where kids “rescue” toys from a yarn web. Looks like a mini spider habitat.
Materials Needed:
- Small cardboard box lid
- White yarn
- Spider sticker sheet
How to make it:
- Wrap yarn crisscross across the box lid and tape ends to make a web.
- Add spider stickers around the web.
- Tuck in small pom-poms or tiny toys to “rescue.”
- Let kids move pieces through the web openings.
12. No-Sew Sock Spider

A chubby, huggable spider made from a single sock. The squish factor is irresistible.
Materials Needed:
- Black or gray sock
- Rice or stuffing
- Rubber bands
How to make it:
- Fill the sock with rice or stuffing and tie off with a rubber band.
- Wrap another rubber band to separate a small “head.”
- Cut eight felt or paper legs and glue to the sides.
- Add eyes and a smile with felt or stickers.
13. Nature Stick Spider
Forest finds turn into a rustic spider perfect for autumn. Twigs make sturdy, sculptural legs.
Materials Needed:
- Small sticks
- Air-dry clay
- Googly eyes
How to make it:
- Roll a clay ball for the body.
- Press eight small stick pieces into the sides for legs.
- Add two tiny clay dots on top for eyes and press googly eyes in.
- Let dry overnight.
14. Paper Plate Peekaboo Spider Puppet
A sliding spider that peeks from behind a web. Kids love the surprise reveal.
Materials Needed:
- Paper plate
- Black marker
- Craft stick
How to make it:
- Draw a big web on the plate.
- Cut a small slit at the bottom center.
- Tape a small paper spider to a craft stick.
- Slide the stick through the slit so the spider pops up behind the web.
15. Bead-and-Pipe Cleaner Dangly Spider
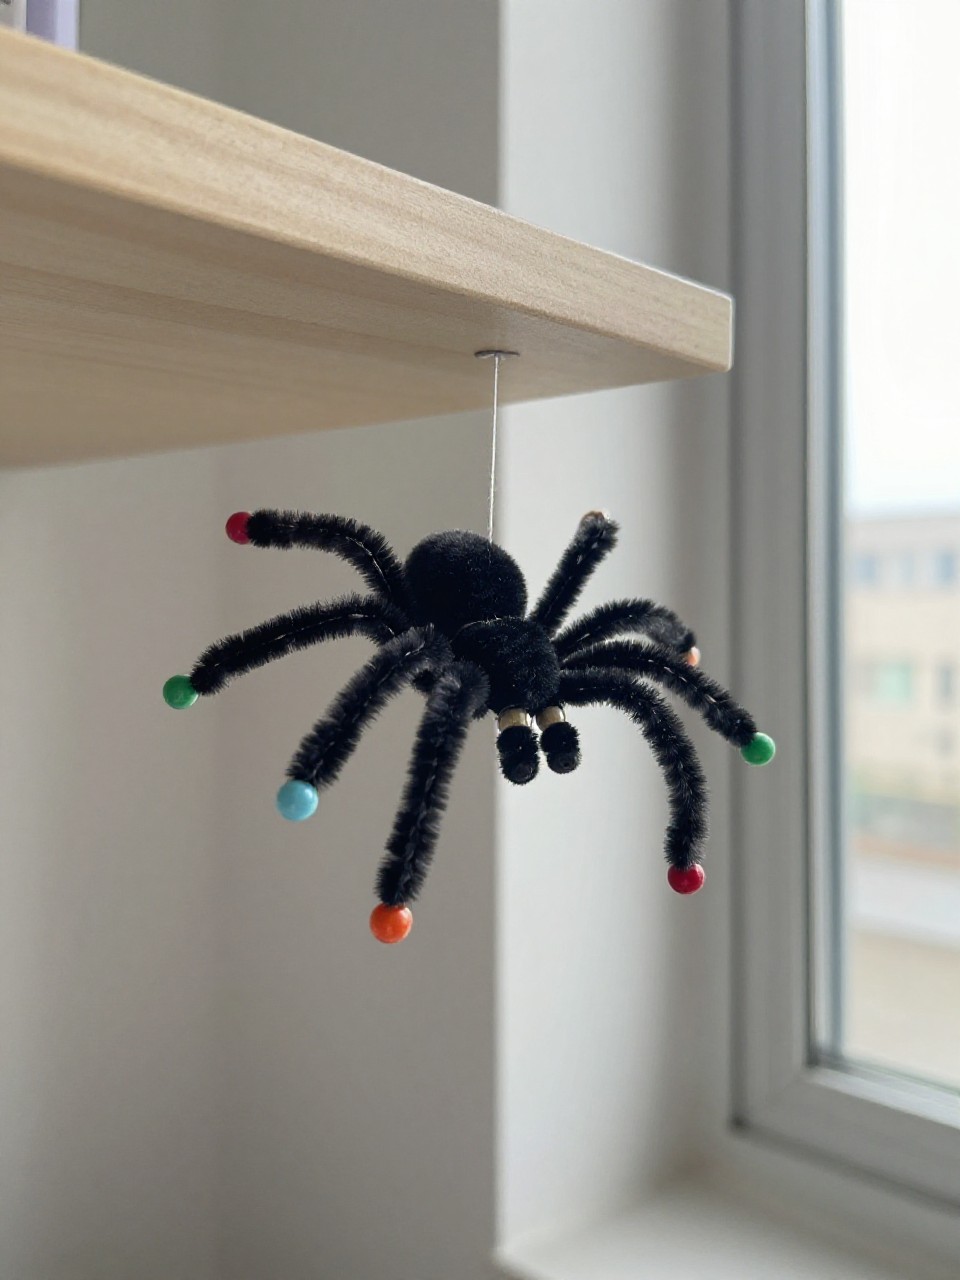
Dangling bead feet make soft clinks and cute movement. It’s colorful, friendly, and surprisingly sturdy.
Materials Needed:
- Black pipe cleaners
- Pony beads
- Large bead (for body)
How to make it:
- Thread a large bead onto the center of a pipe cleaner and twist to secure.
- Add three more pipe cleaners around the bead to make eight legs.
- Thread 1–2 pony beads onto each leg and bend the tips to lock them.
- Bend knees for posing.
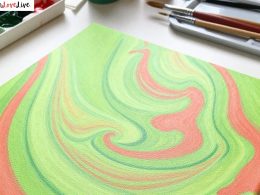
16. Tape-Resist Neon Web Art
Peel to reveal a crisp web under bright color swirls. This looks like gallery art but is preschool-easy.
Materials Needed:
- Painter’s tape
- Watercolor or tempera paint
- Thick paper
How to make it:
- Lay tape lines in a star shape and add short curved pieces between to form a web.
- Paint the whole page in bright colors.
- Let dry completely.
- Peel the tape to reveal the white web, then add a simple painted spider in a corner.