


Table of Contents Show
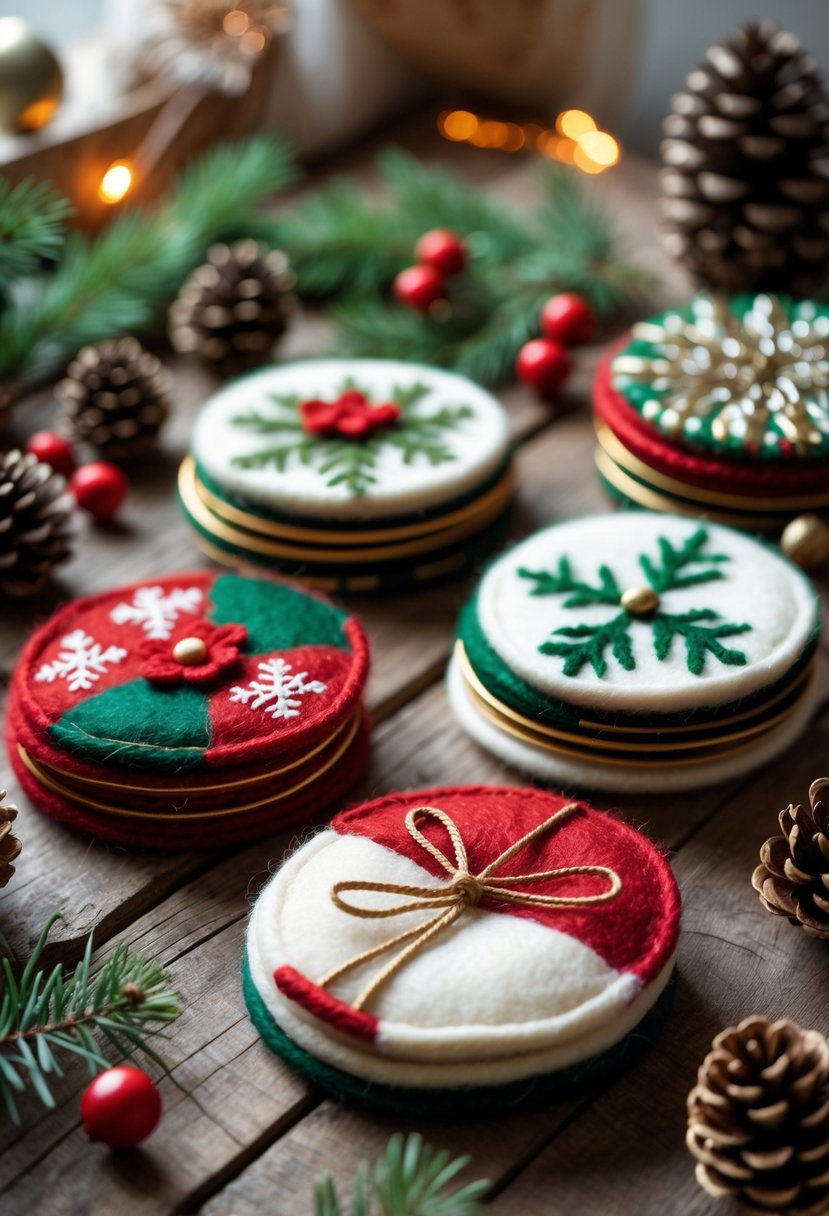
Felted wool coasters are a cozy and charming craft project that adds a handmade touch to your holiday décor. These soft, durable coasters protect your tables while bringing a warm, festive look to your home.

They’re simple to make and perfect for gifting — think of them as practical little ornaments for your coffee table.
Using wool felt sheets in classic Christmas colors like red, green, and white, you can layer, stitch, and decorate them with seasonal motifs such as snowflakes, holly, or bows.
How to Make Felted Wool Coasters
Each set looks like something straight out of a rustic holiday boutique, yet they’re easy enough for beginners to make.
For People Who Love to Make Things ✂️
Materials
- Wool felt sheets in red, green, white, and gold
- Round template (cup or lid) for tracing
- Scissors or rotary cutter
- Fabric glue or hot glue gun
- Embroidery thread and needle (optional for stitching)
- Ribbon, buttons, or felt cutouts (for decoration)
- Pencil or fabric chalk
- Optional: gold cord or twine for wrapping sets
Shop the materials


The steps

Step 1: Cut Your Base Circles
Use a round template like a mug or jar lid to trace circles onto your felt sheets. Each coaster needs two to three layers for sturdiness. Cut the circles carefully with scissors or a rotary cutter to keep the edges smooth and even.
Step 2: Choose Your Color Combinations
Mix and match red, green, and white circles to create layered looks. You can alternate colors—like a green base with a white top—or keep them uniform for a sleek set.
Step 3: Secure the Layers
Stack two or three felt circles together and glue or stitch around the edges. If you prefer a handmade look, use embroidery thread in a contrasting color and make a blanket or running stitch around the perimeter.
Step 4: Add Decorative Details
Now for the fun part—embellish your coasters! Glue on felt cutouts shaped like snowflakes, holly leaves, bows, or stars. You can also sew on small buttons or tie a gold cord into a bow for an elegant touch. Keep designs flat so drinks sit evenly on top.
Step 5: Finish the Edges (Optional)
For a polished edge, lightly run your finger along the rim with a small dab of glue to seal stray fibers. If you stitched your coasters, this step helps reinforce them and makes them more durable.
Step 6: Let Them Dry Completely
If you used glue, allow the coasters to dry for at least an hour before stacking or using them. You can press them flat under a book while drying to maintain their shape.
Step 7: Bundle and Gift
Tie four to six coasters together with twine or ribbon for a lovely handmade gift set. Add a tag that says “Handmade with Love” for an extra thoughtful touch.