Table of Contents Show
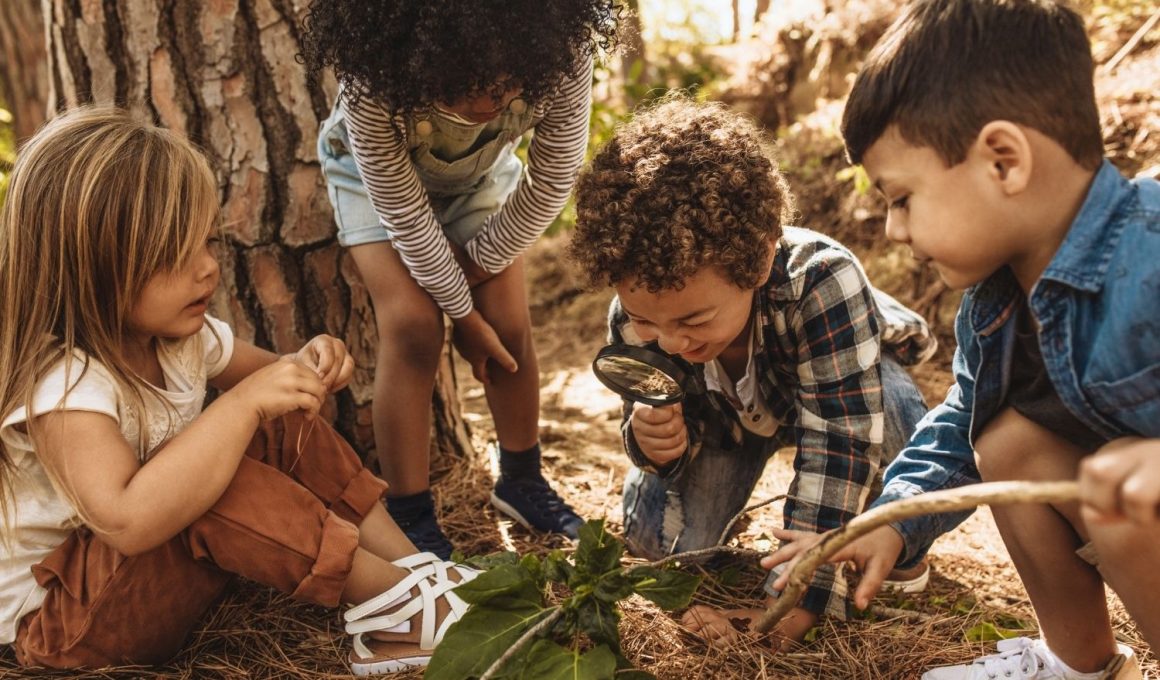
Keeping little hands busy can be tough, especially on rainy days or when you need a calm activity that still feels exciting. Nature crafts are a simple way to get toddlers exploring textures, colors, and shapes from the outdoors.

In this list, you’ll find easy, low-mess ideas that use common items like leaves, sticks, and rocks.
These projects spark curiosity, build fine motor skills, and make sweet keepsakes—let’s jump into the fun.
1. Leaf Crown Headband
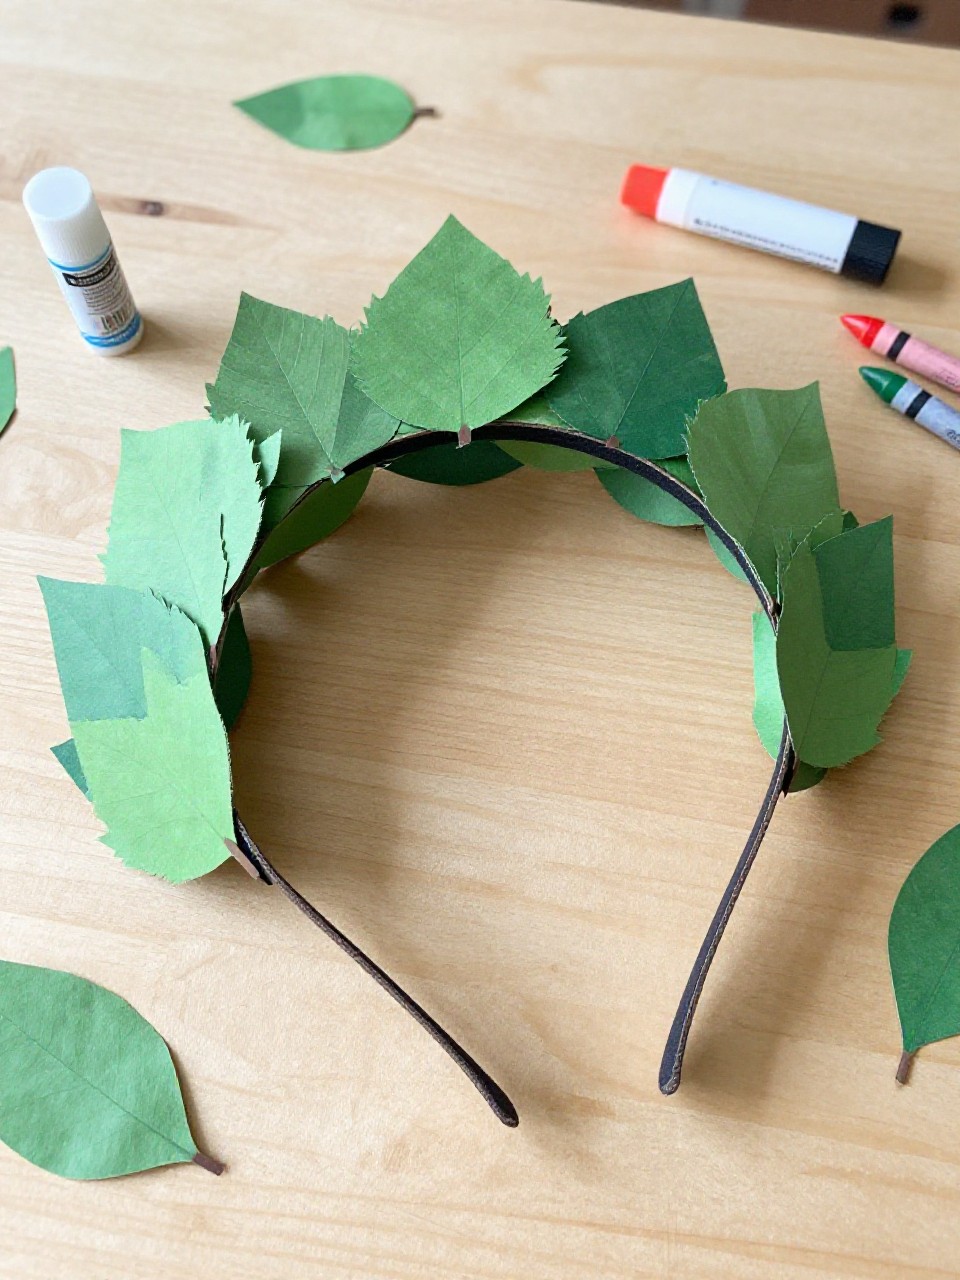
A simple paper band covered with colorful leaves makes a sweet forest crown toddlers can wear. Kids love choosing their favorite leaves and seeing their “royal” crown come to life, and it’s very beginner friendly.
Materials Needed:
For People Who Love to Make Things ✂️
- Construction paper strip (to fit around head)
- Assorted leaves (fresh or pressed)
- Glue stick or tape
- Crayons or markers
- Stapler or tape to close the band
How to make it:
- Measure and cut a paper strip to fit the child’s head.
- Glue leaves along the strip, overlapping for a full, leafy look.
- Add crayon or marker doodles like berries or swirls between leaves.
- Let glue set, staple or tape ends together, then wear and play.
2. Nature Treasure Sun Catcher
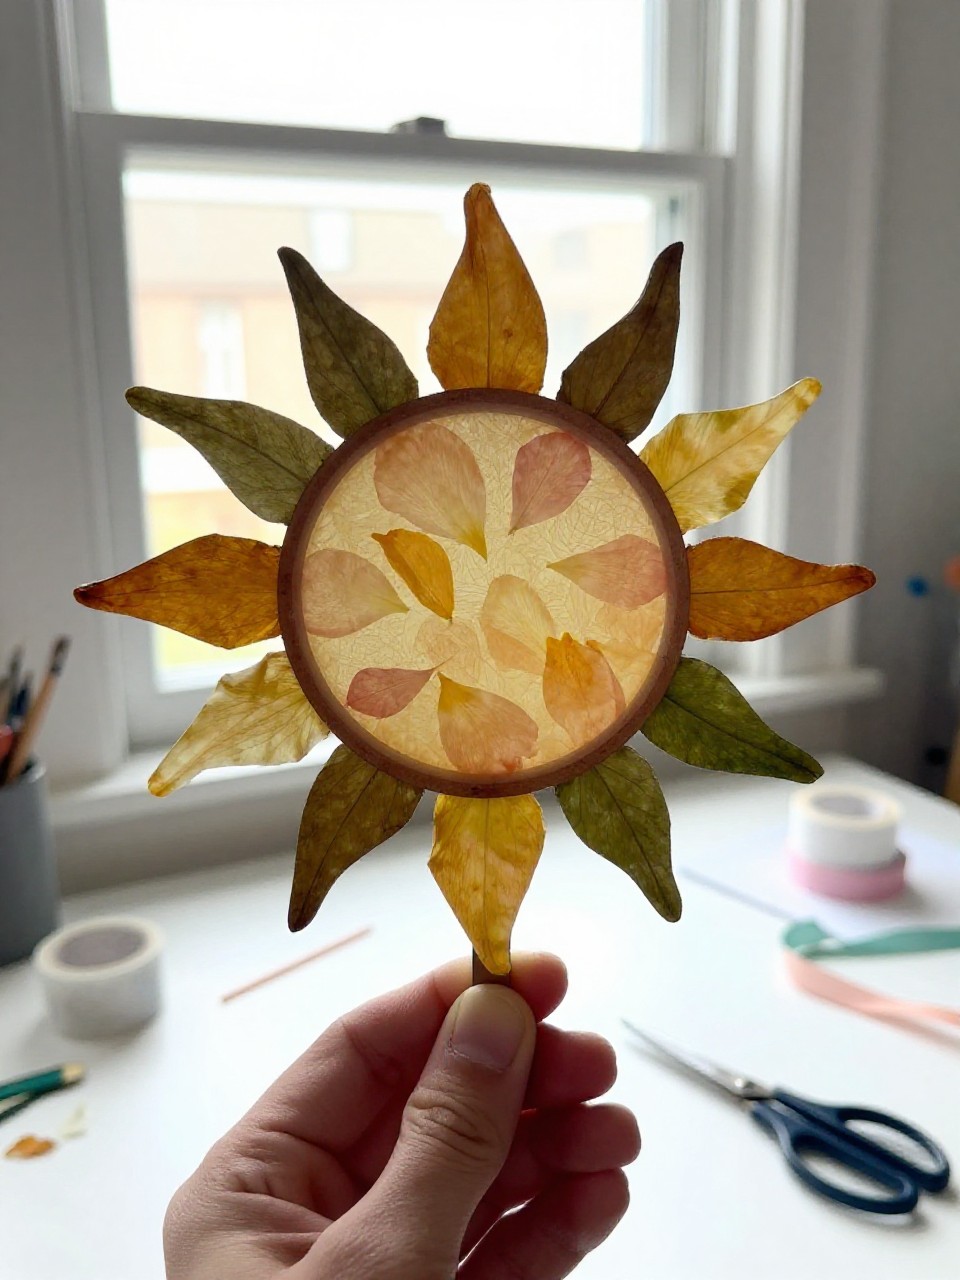
A clear circle filled with petals and tiny leaves becomes a bright sun catcher for a window. Kids enjoy sticking treasures in place and seeing the light shine through their choices.
Materials Needed:
- Clear contact paper (two squares)
- Flower petals, small leaves, grass bits
- Scissors
- Ribbon or yarn for hanging
- Paper plate ring (optional frame)
How to make it:
- Cut a circle from contact paper; peel backing and place sticky side up.
- Press petals and leaves onto the sticky surface in a pattern.
- Seal with a second contact paper circle; trim edges. Add paper plate ring if using.
- Punch a hole, tie ribbon, and hang in a sunny window.
3. Pebble Bug Friends
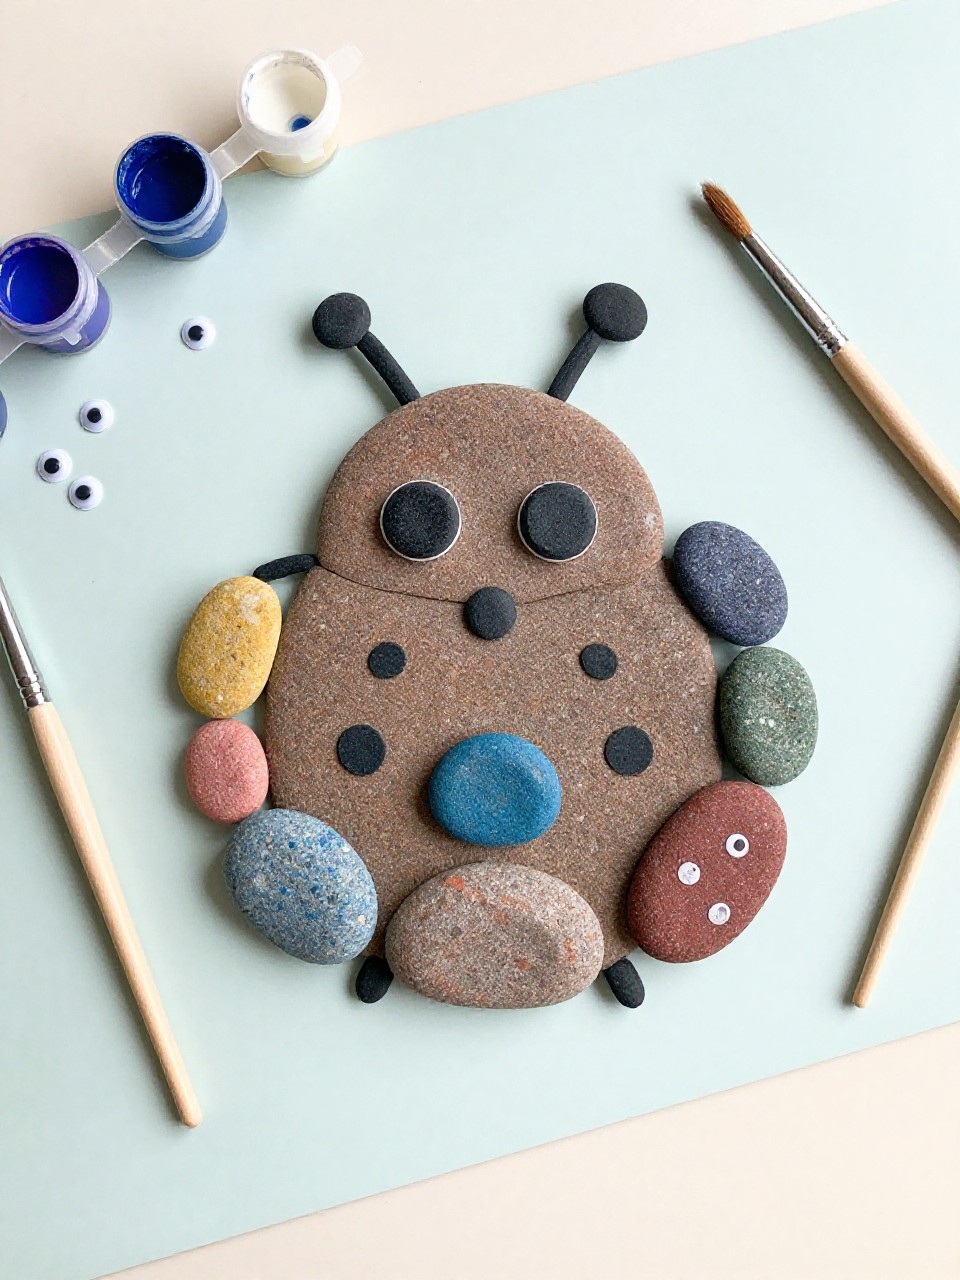
Smooth rocks turn into cute ladybugs, bees, or caterpillars with paint and googly eyes. Toddlers love choosing colors and turning a plain pebble into a little friend they can play with or display.
Materials Needed:
- Smooth pebbles or small rocks
- Child-safe acrylic paint
- Paintbrushes
- Googly eyes
- Non-toxic glue
How to make it:
- Wash and dry pebbles; cover your area.
- Paint base colors for bugs (red for ladybug, yellow for bee, green for caterpillar).
- Add spots, stripes, and glue on googly eyes.
- Let dry and line them up on a windowsill to admire.
4. Stick Sailboat Float
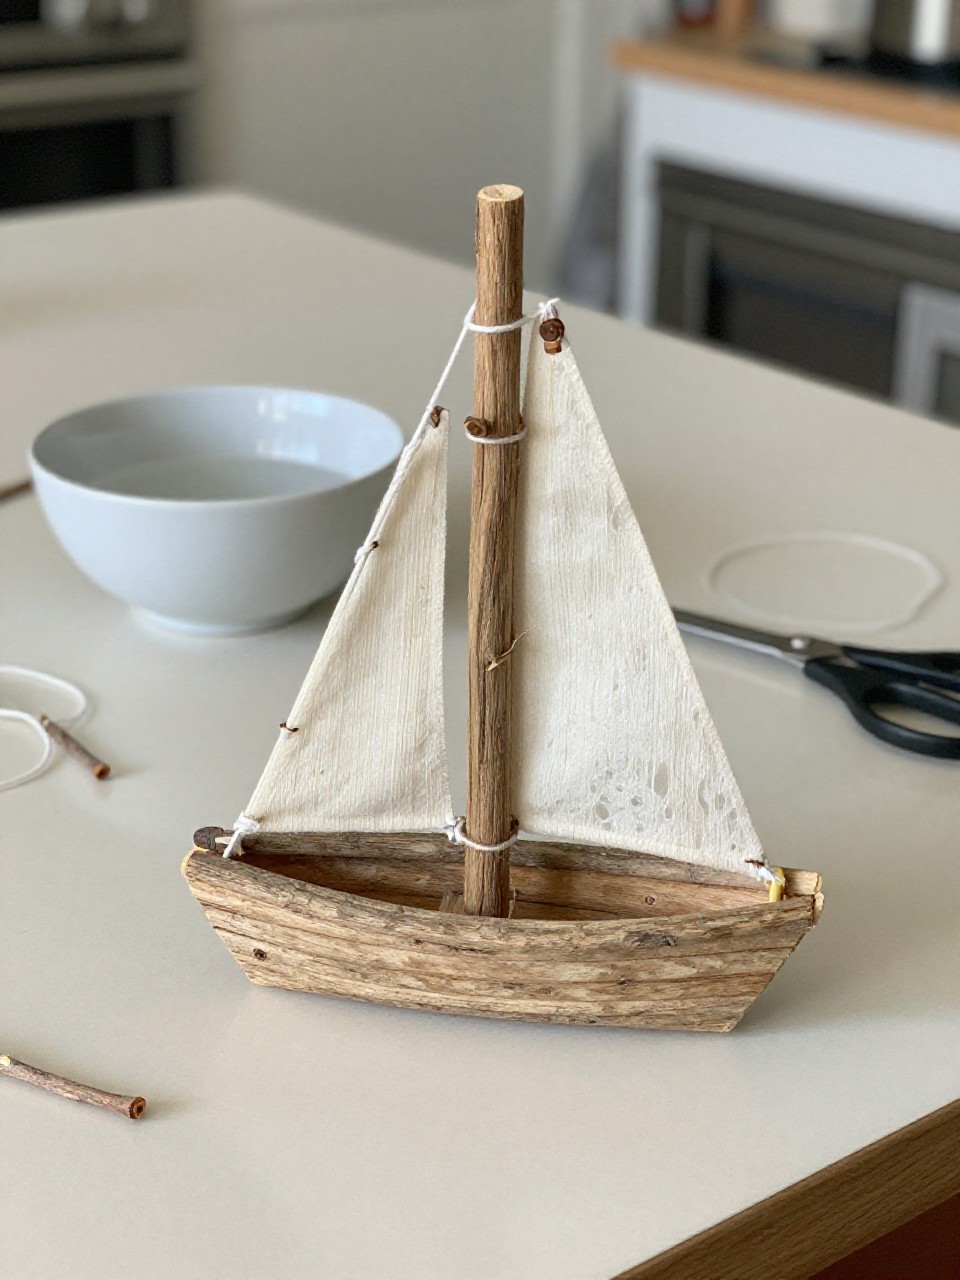
A tiny raft made of twigs and a leaf or paper sail becomes a fun bath or puddle boat. Kids enjoy the simple building and seeing their boat float like real explorers.
Materials Needed:
- Small twigs or craft sticks
- String or rubber bands
- Large leaf or triangle of paper for sail
- Short stick for mast
- Non-toxic glue (optional)
How to make it:
- Line up twigs and wrap with string or rubber bands at both ends to form a raft.
- Glue or tie a short stick upright in the middle as a mast.
- Poke a hole in a leaf or paper triangle and slide it onto the mast.
- Let glue dry if used, then test in a bowl of water or the sink.
5. Leaf Rubbing Postcards
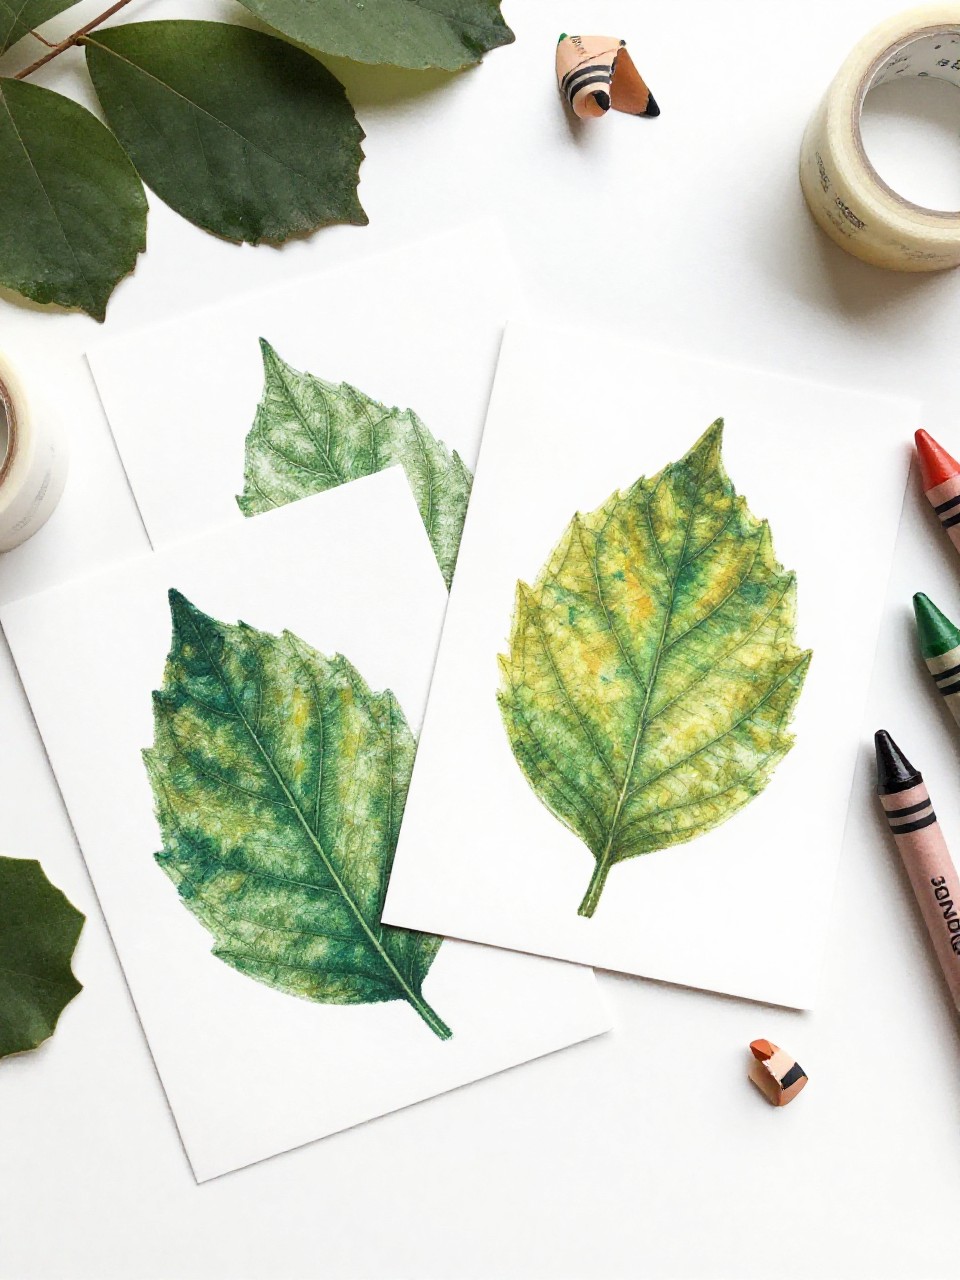
Colorful crayon rubbings capture leaf veins on small postcard-size papers. Kids enjoy the “magic” as patterns appear while they rub.
Materials Needed:
- Assorted leaves
- White cardstock cut into rectangles
- Crayons with wrappers peeled
- Tape (to hold leaves steady)
- Markers for messages (optional)
How to make it:
- Place a leaf vein-side up on the table and tape corners lightly.
- Lay cardstock on top and hold still.
- Rub a crayon sideways over the paper to reveal the leaf pattern.
- Add a short note or drawing, then share with family.
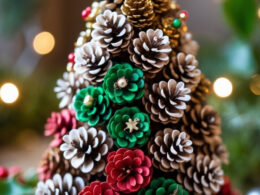
6. Pinecone Bird Feeders
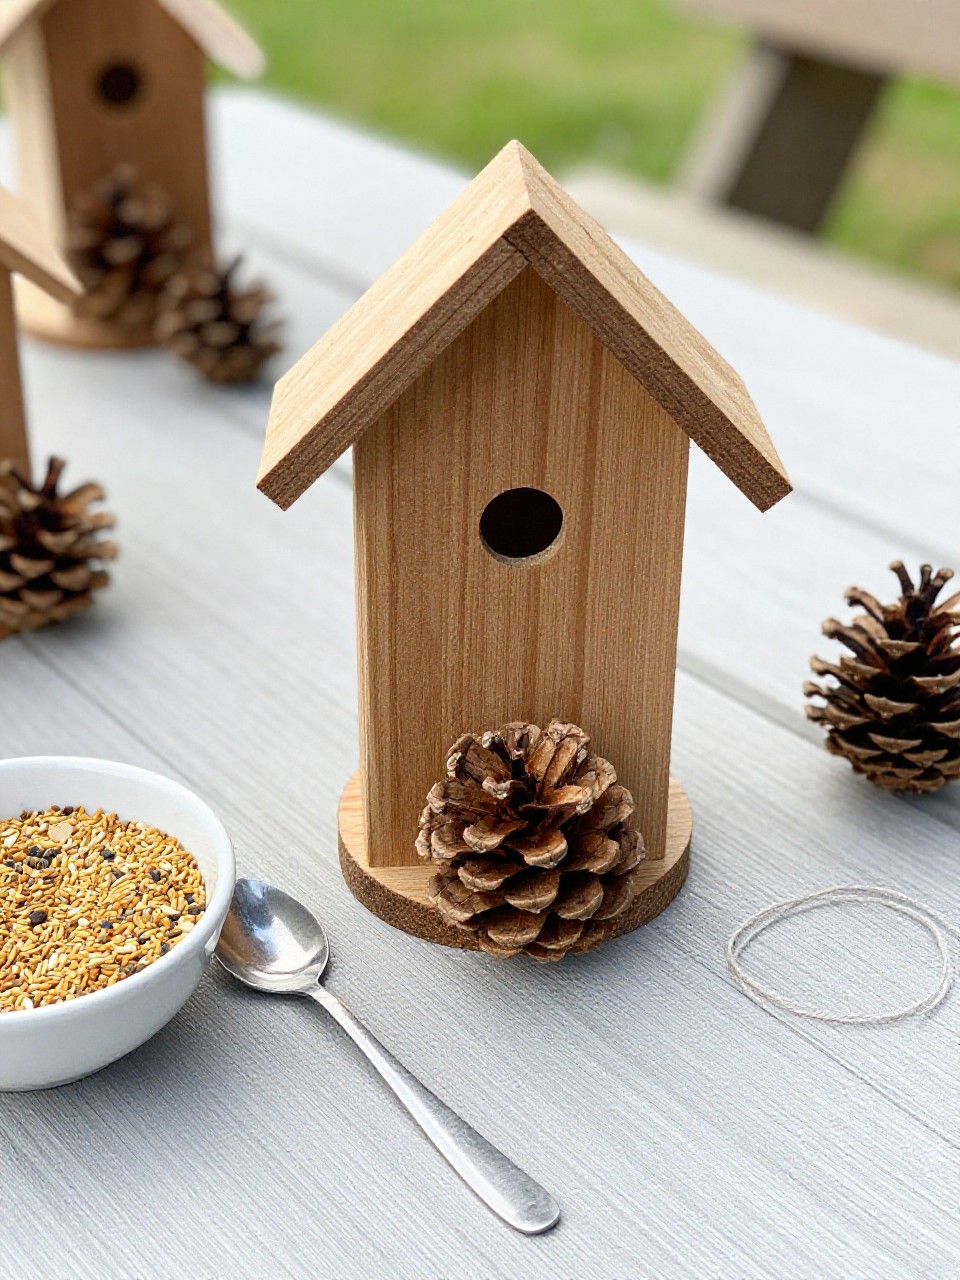
Pinecones spread with seed butter and rolled in birdseed become simple feeders to hang outside. Kids love the messy, squishy step and watching birds visit later.
Materials Needed:
- Pinecones
- Sunflower butter or peanut-free nut butter
- Birdseed
- String
- Spoon or craft stick
How to make it:
- Tie a string around the top of each pinecone for hanging.
- Spread seed butter into the gaps using a spoon or craft stick.
- Roll pinecones in birdseed until coated.
- Chill briefly to set, then hang on a tree branch and observe.
7. Nature Bracelet Walk
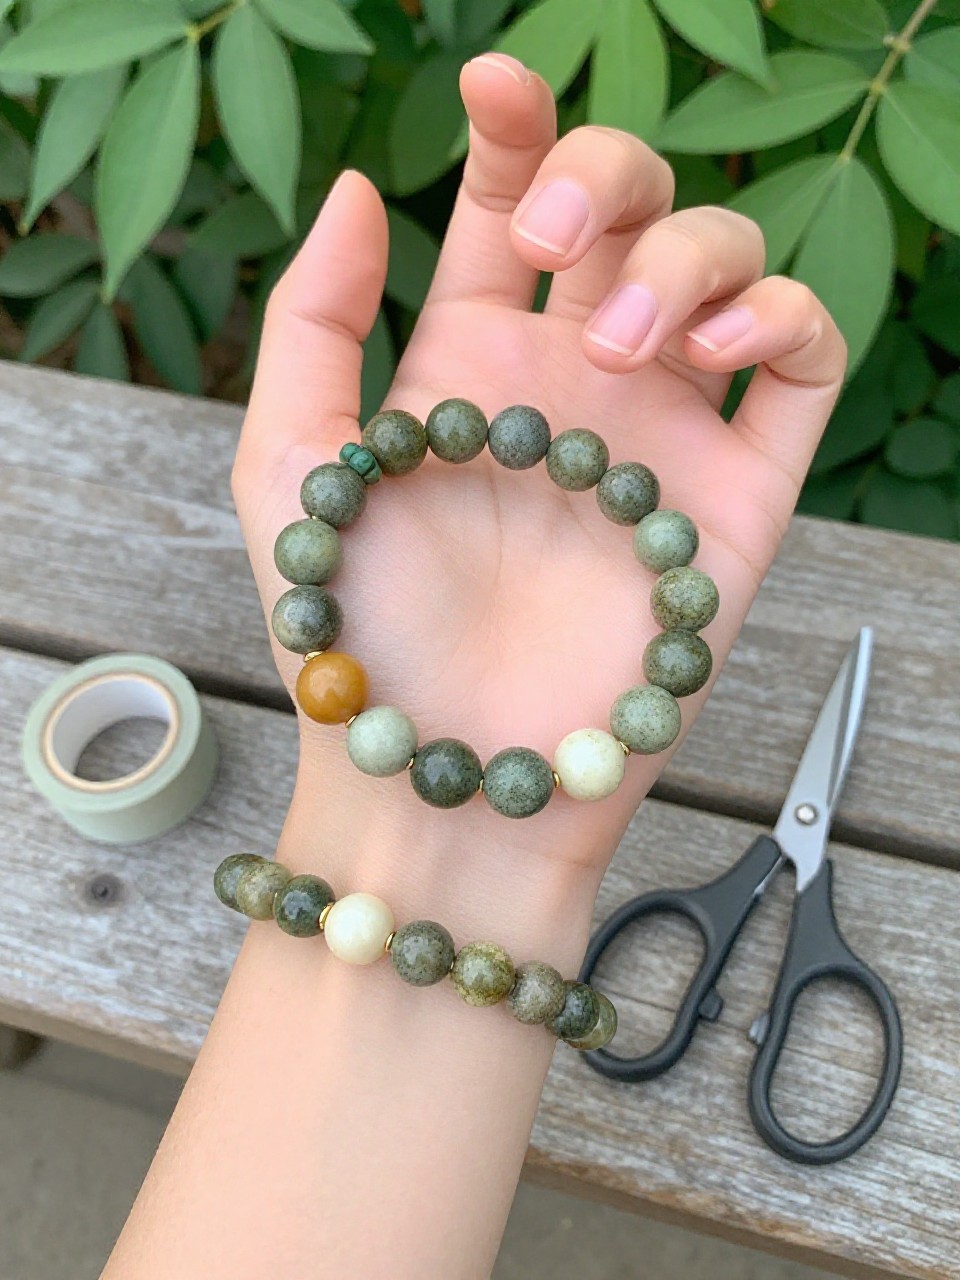
A sticky wristband collects tiny nature bits during a short walk to make a wearable collage. Kids enjoy choosing textures and showing off their bracelet.
Materials Needed:
- Wide masking tape or painter’s tape
- Small leaves, petals, grass, tiny feathers
- Scissors
How to make it:
- Wrap tape around the child’s wrist sticky side out.
- Take a short nature walk and press small finds onto the tape.
- Fill the bracelet with a mix of colors and textures.
- Trim ends if needed and wear for the day.
8. Bark Texture Crayon Art
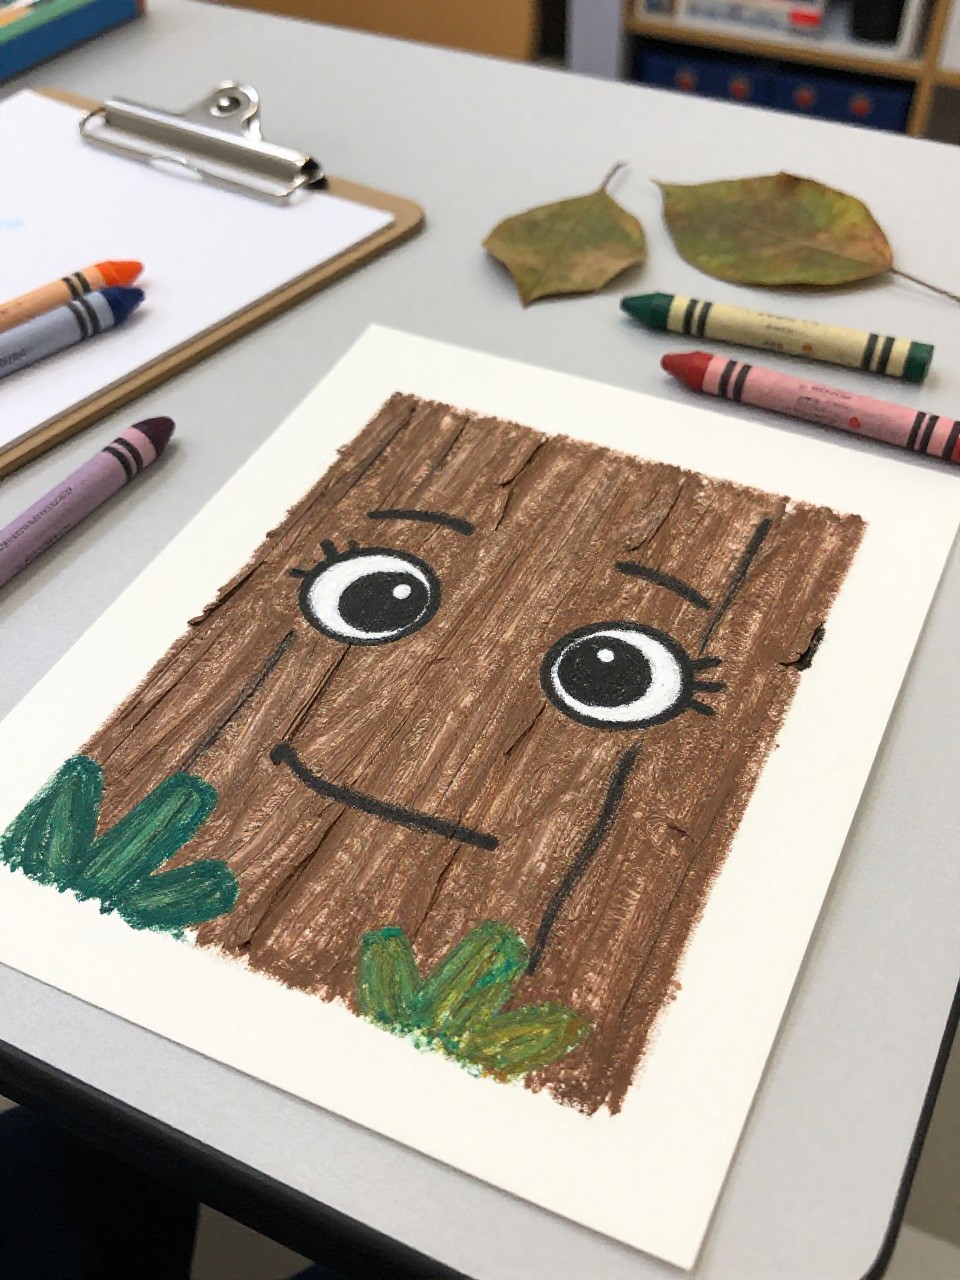
Paper pressed against tree bark and rubbed with crayons creates bold texture art. Kids enjoy hunting for different trees and comparing patterns.
Materials Needed:
- White paper
- Crayons
- Clipboard or book (to keep paper steady)
- Tape (optional)
How to make it:
- Hold or tape paper against a tree trunk using a clipboard or book for support.
- Rub crayons sideways over the paper to capture the bark texture.
- Layer colors to make the pattern pop.
- Bring home and display as a nature texture gallery.
9. Acorn Cap Shakers
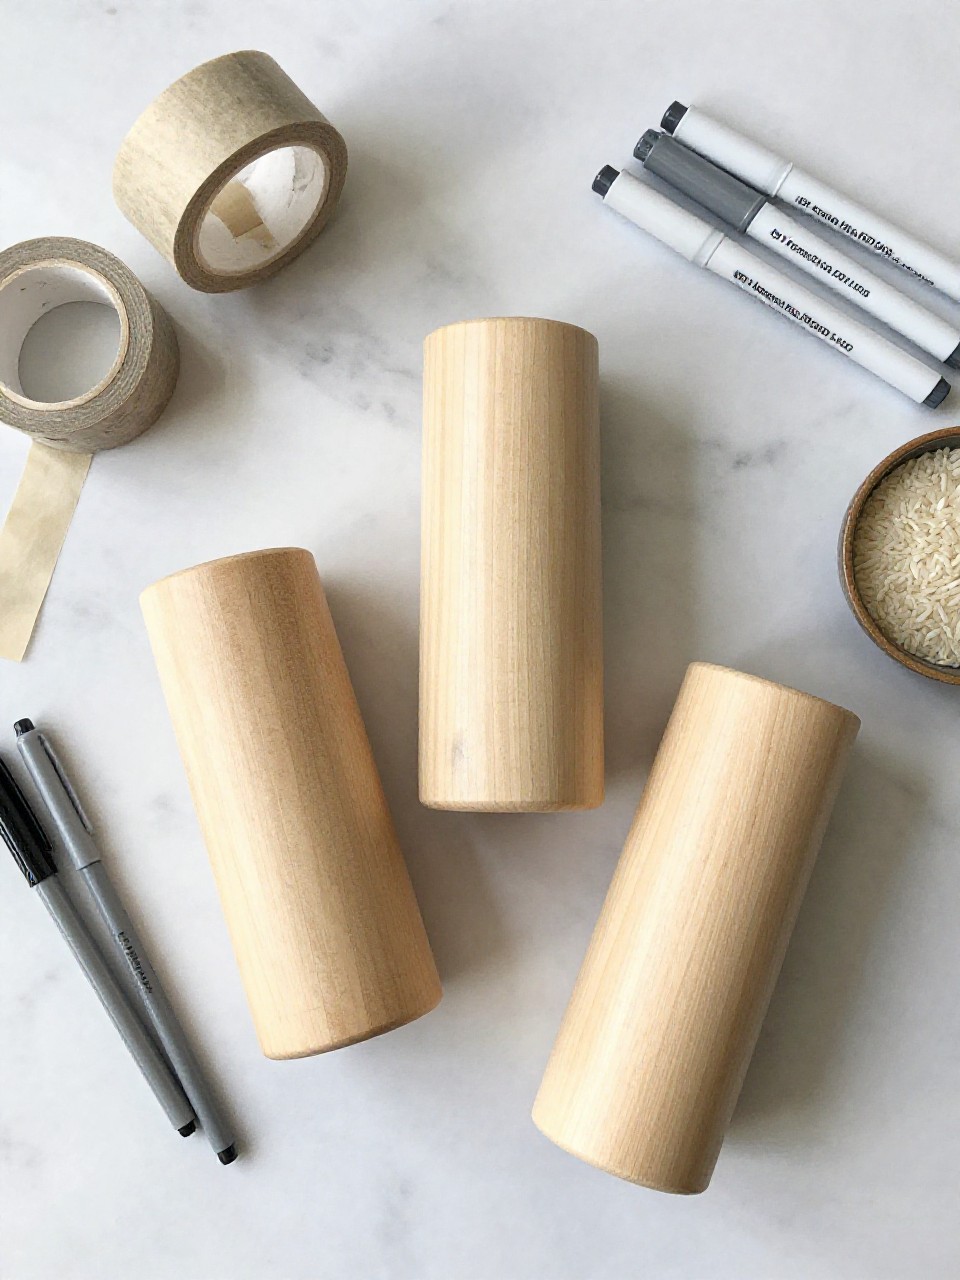
Tiny cups from acorn caps become mini shakers filled with rice and sealed with tape. Kids enjoy the sound play and decorating their little instruments.
Materials Needed:
- Clean acorn caps
- Dry rice or lentils
- Washi tape or duct tape circles
- Markers or paint pens
- Craft glue (optional)
How to make it:
- Fill each acorn cap with a pinch of rice.
- Cover the top with a piece of tape, pressing edges firmly.
- Decorate the tape with dots or faces using markers.
- Shake along to music or use in circle time.
10. Leafy Paper Plate Turtle
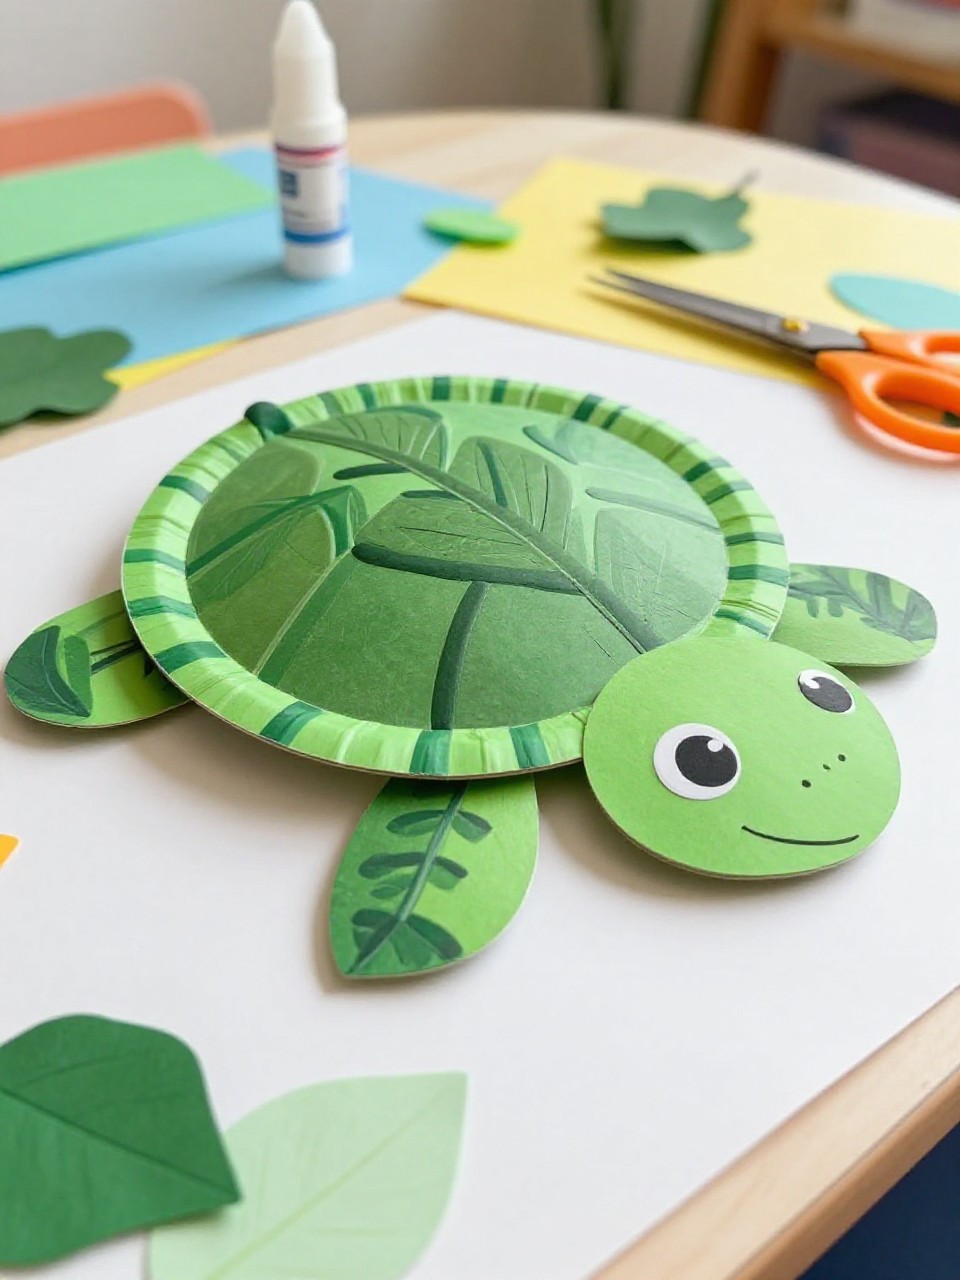
A paper plate shell glued with overlapping leaves turns into a gentle turtle. Kids love naming their turtle and seeing the leaf “scales” form a pattern.
Materials Needed:
- Small paper plate
- Leaves of different sizes
- Green construction paper
- Googly eyes
- Glue stick and scissors
How to make it:
- Cut head, legs, and tail from green paper; glue to the underside of the plate.
- Cover the plate top with leaves, overlapping like a shell.
- Add googly eyes and draw a smile.
- Let dry and display on a shelf.
11. Flower Petal Collage Card
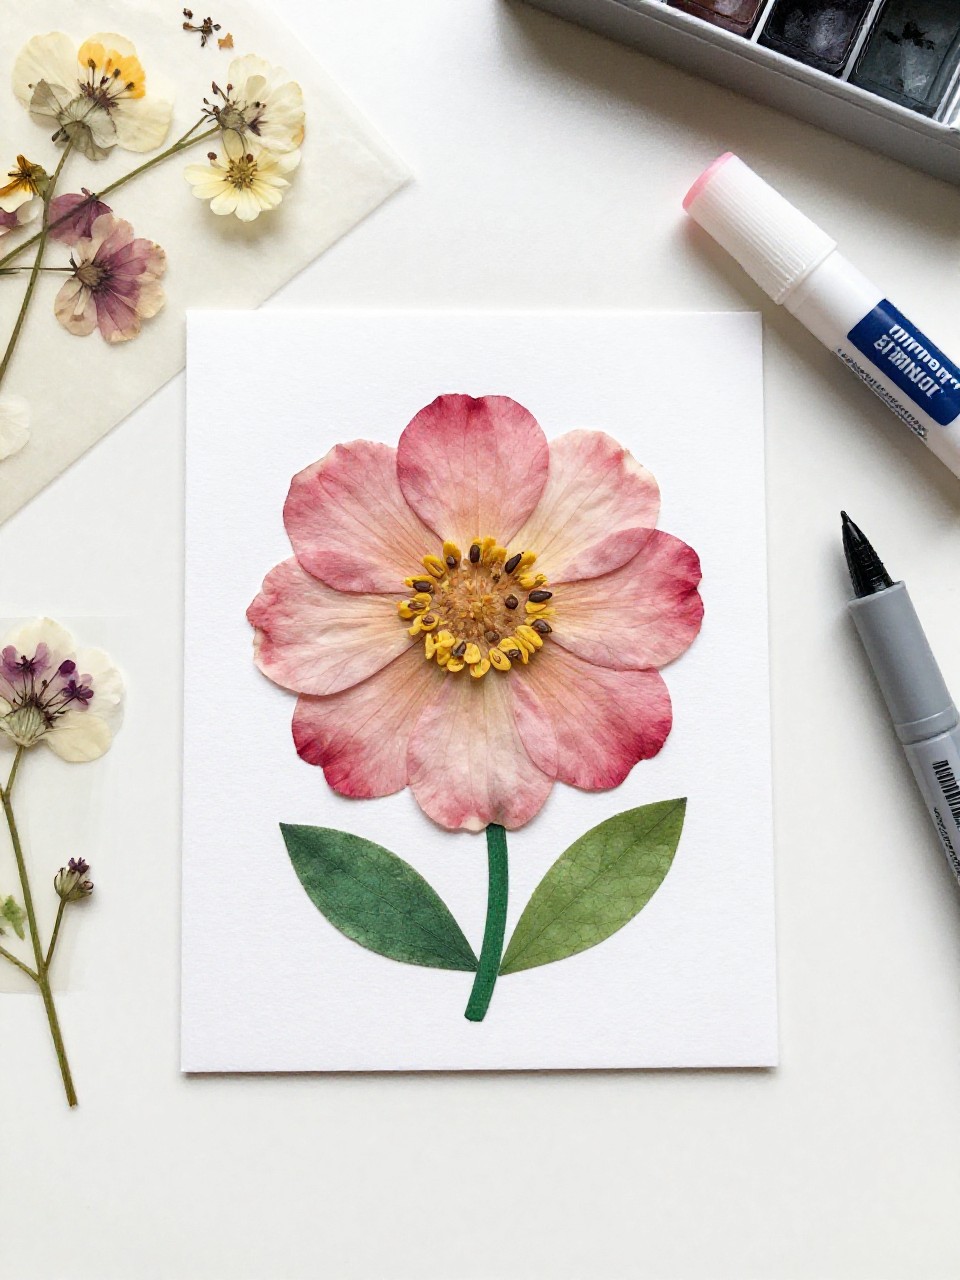
A folded card covered in pressed petals and tiny leaves becomes a sweet gift. Kids enjoy arranging colors like a puzzle and gifting it to someone special.
Materials Needed:
- Blank folded cardstock
- Pressed flower petals and small leaves
- Glue stick
- Markers (optional)
- Stickers (optional)
How to make it:
- Open the card and plan a simple design (heart, rainbow stripe, or border).
- Glue petals and leaves in place, pressing gently.
- Add a short message or doodles inside.
- Let dry under a book for a few minutes, then gift it.
12. Stick Frame Nature Portrait
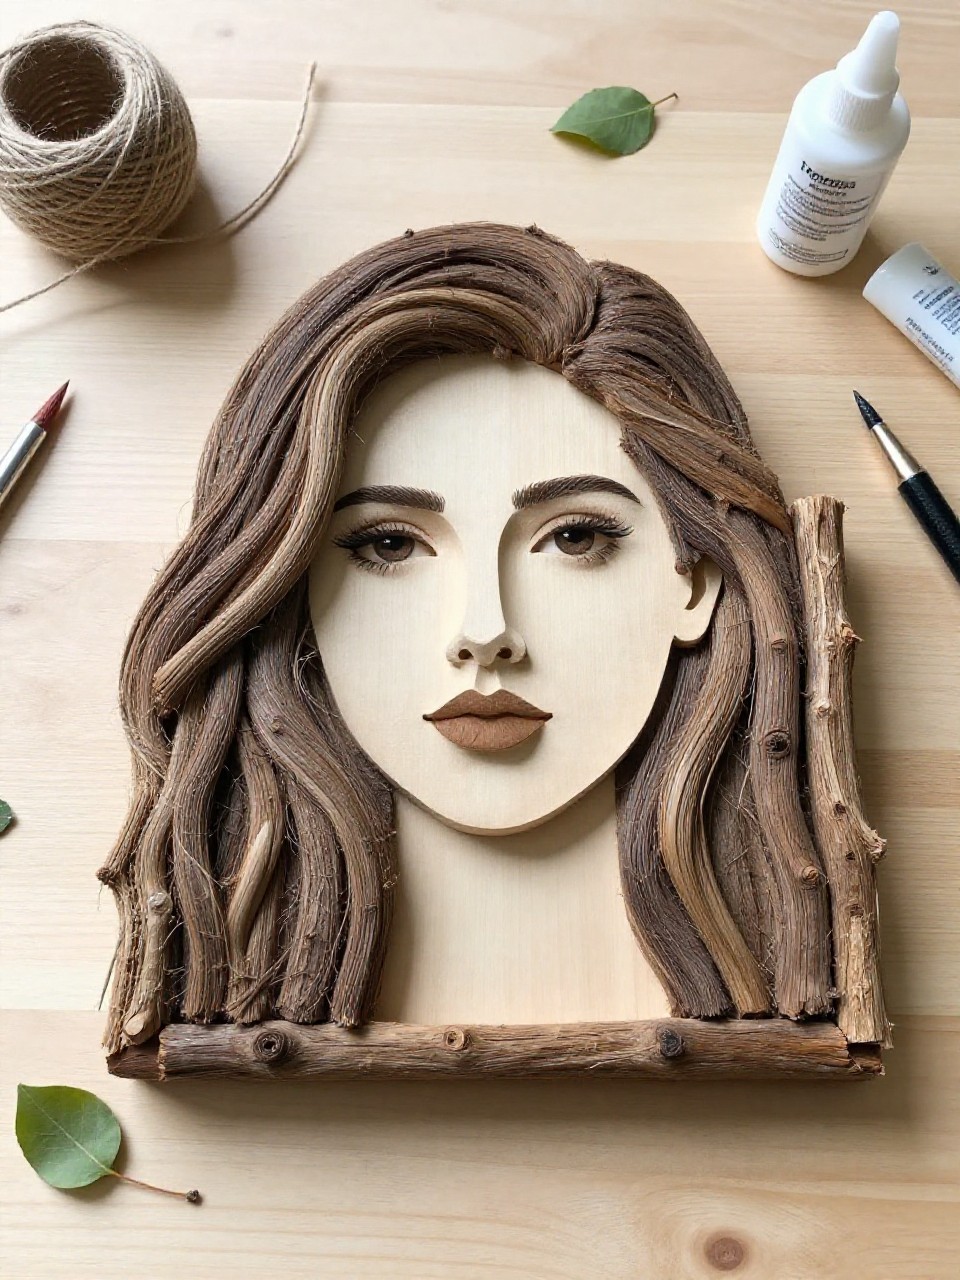
Four sticks tied into a square make a rustic frame for a leaf-and-flower portrait. Kids enjoy choosing what to frame and hanging their “art.”
Materials Needed:
- Four small sticks of similar length
- Yarn or twine
- Cardboard or cardstock backing
- Leaves, petals, grass
- Glue
How to make it:
- Tie sticks together at the corners to form a square frame.
- Cut cardboard to fit the back and glue it on.
- Arrange and glue leaves and petals to make a simple picture.
- Add a yarn loop on top and hang.
13. Mud Paint Stone Art
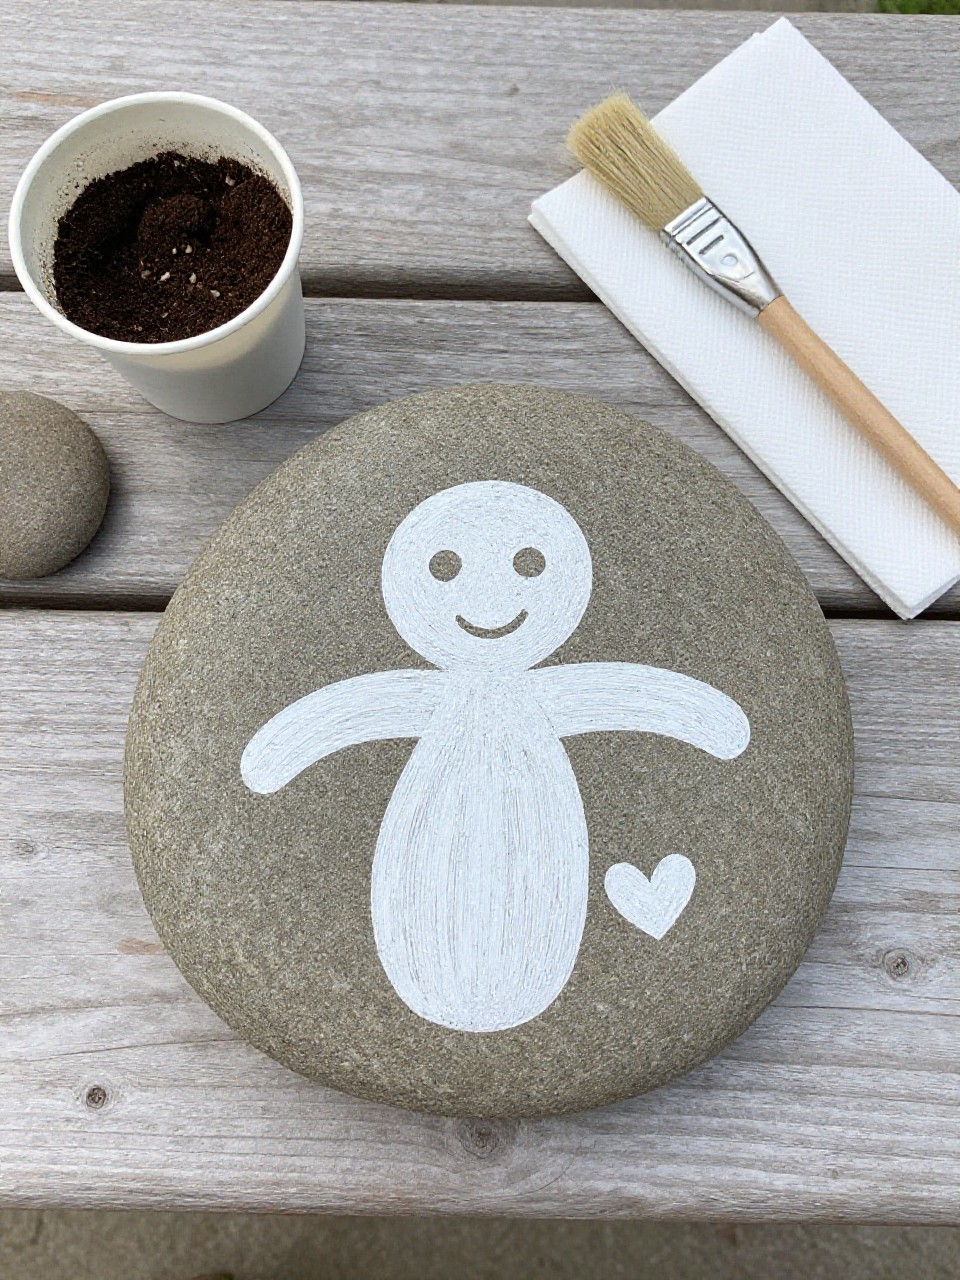
A muddy paint made with soil and water turns plain stones into earthy art pieces. Kids love mixing the “paint” and brushing patterns on rocks.
Materials Needed:
- Clean stones
- Small cup of soil
- Water
- Paintbrushes
- Paper towel
How to make it:
- Mix soil with a splash of water to make thick mud paint.
- Brush designs or handprints onto stones.
- Blot extra drips and add lines or dots for detail.
- Let dry in the sun and line them up outside.
14. Seed Sprout Cup Faces
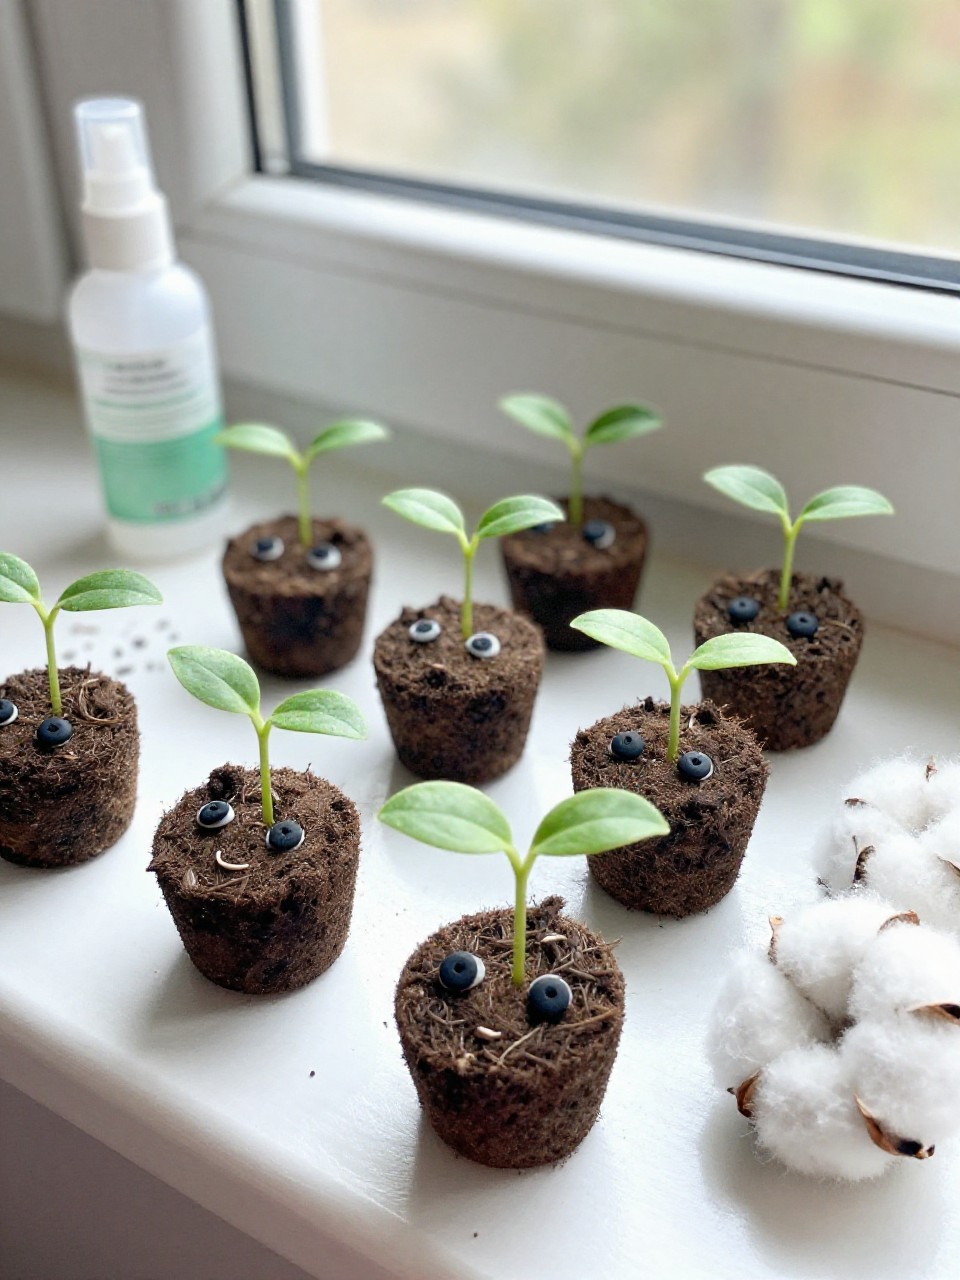
Clear cups with cotton and seeds grow funny “hair” you can watch each day. Kids enjoy drawing a face and seeing the sprouts appear like a haircut.
Materials Needed:
- Clear plastic cup
- Cotton balls
- Grass seed or fast-sprouting seeds
- Water spray bottle
- Marker for face
How to make it:
- Draw a simple face on the outside of the cup.
- Fill with cotton balls and sprinkle seeds on top.
- Mist with water until damp, not soggy.
- Place on a sunny windowsill and watch daily growth.
15. Nature Shape Sorting Tray
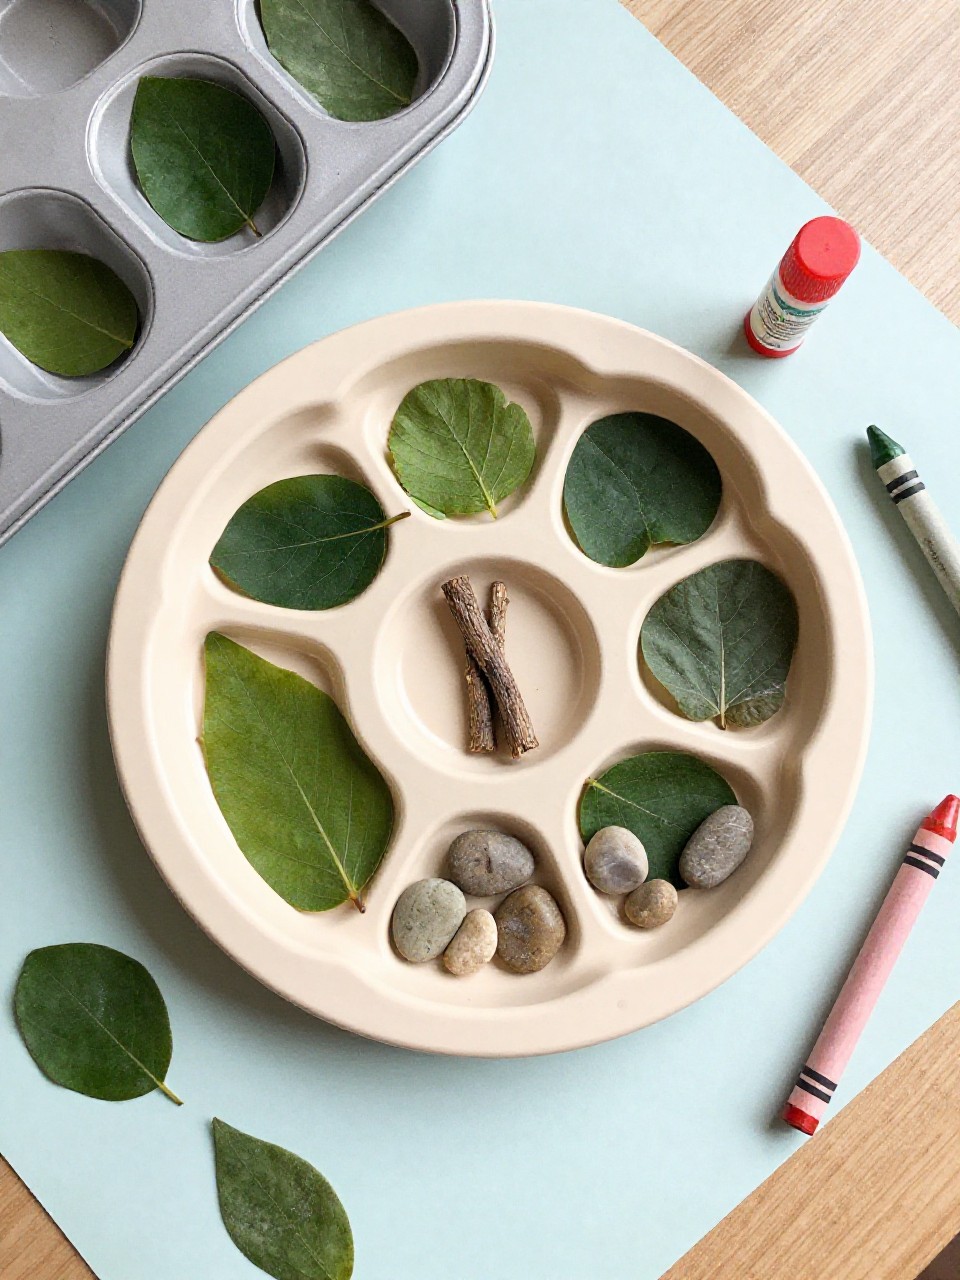
A divided tray holds leaves, sticks, stones, and petals to sort by shape and color, then glue into simple patterns. Kids enjoy the sensory sorting and making an easy design.
Materials Needed:
- Muffin tin or egg carton
- Assorted small nature items
- White cardstock
- Glue stick
- Crayons (optional)
How to make it:
- Place different nature items in each section of the tray.
- Let kids sort by size, color, or type.
- Glue sorted pieces onto cardstock to make lines, circles, or a smiley face.
- Add crayon labels or borders and display.