


Table of Contents Show
Parents know the feeling: you finally sit down to craft, and within 5 minutes your preschooler is “done,” the table is a mess, and the result looks nothing like the cute photo you saved. These zoo crafts are different. Each project looks impressive but stays simple and forgiving for small hands.
With easy shapes, clever shortcuts, and everyday supplies, your kid can make something they’re proud to show off—and you’ll have a calm, happy crafting session instead of chaos.
1. Peekaboo Paper Plate Lion
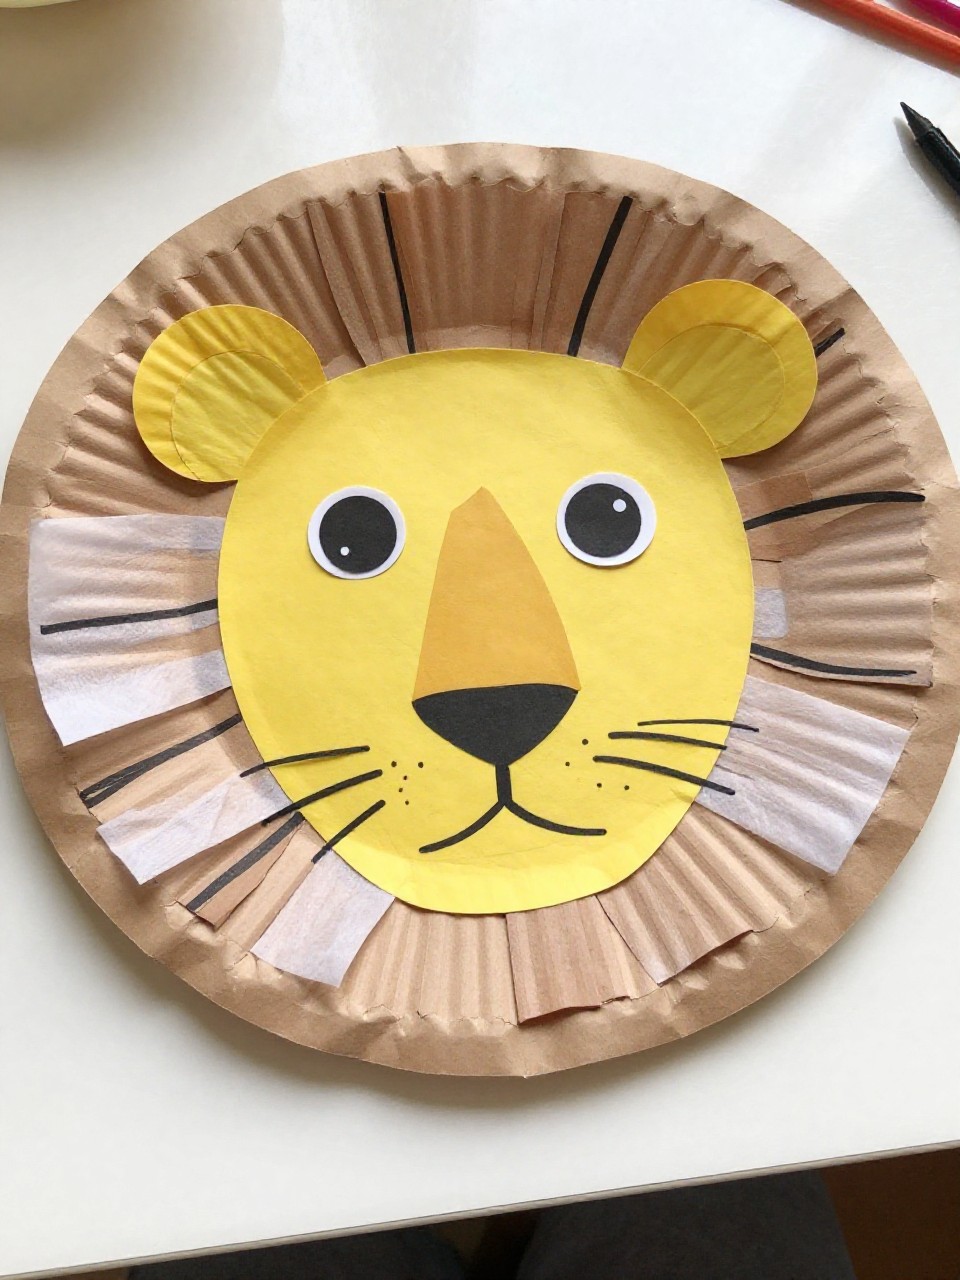
A sunny, fluffy mane that looks lush without fuss. Kids love the peekaboo face, and tearing paper is wonderfully sensory and stress-free.
Materials Needed:
- Paper plate
- Yellow and orange tissue paper
- Glue stick
How to make it:
For People Who Love to Make Things ✂️
- Cut or tear tissue into strips and squares.
- Glue pieces around the edge of the plate to form a full mane.
- Draw a lion face in the center with a marker.
- Optional: add triangle ears from paper and glue on top.
2. Bubble-Wrap Painted Giraffe
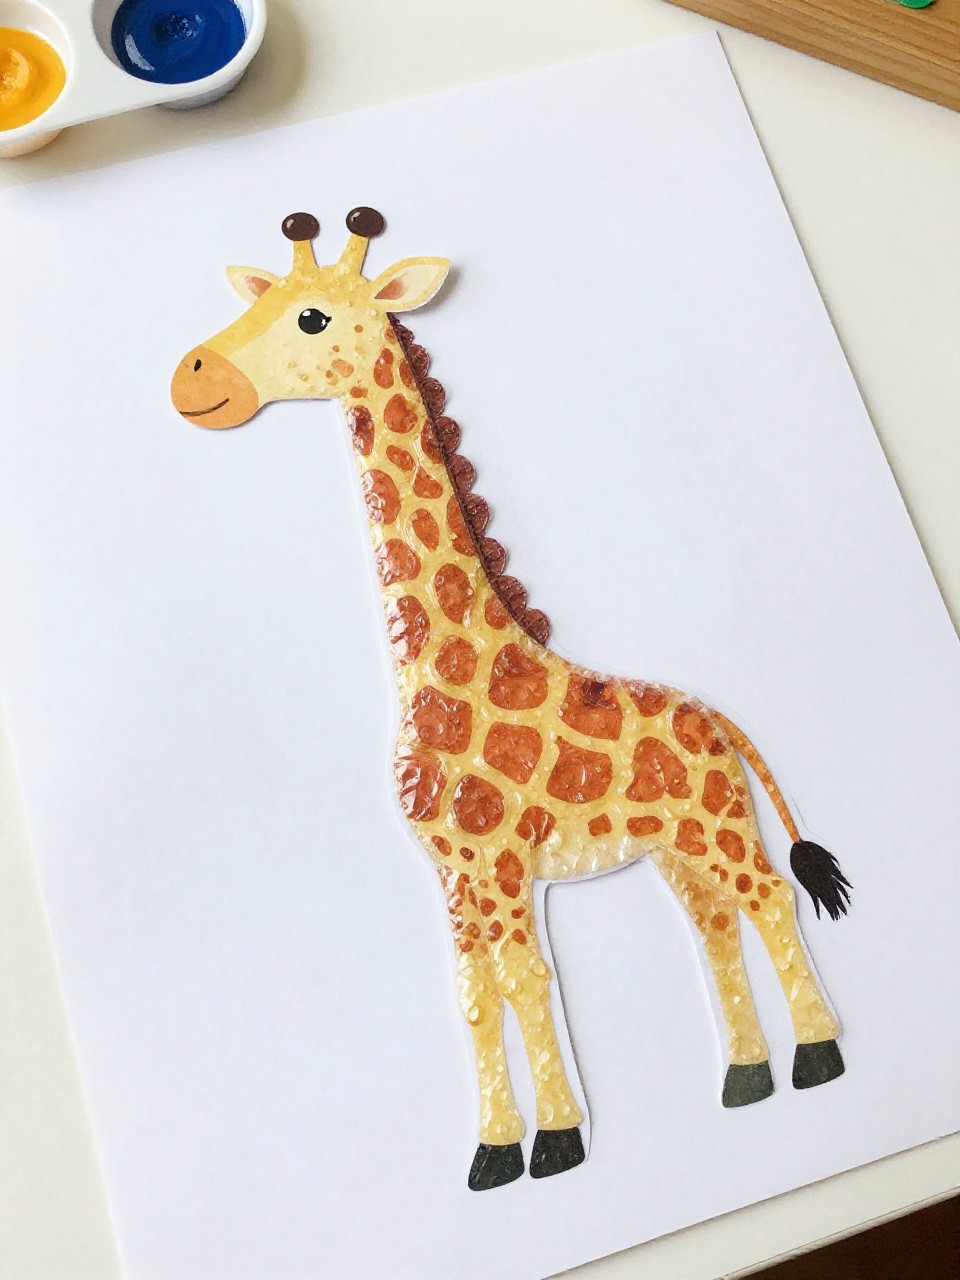
The bubble pattern makes perfect giraffe spots—no drawing skills needed. The print looks fancy, but kids just press and lift.
Materials Needed:
- Bubble wrap
- Yellow and brown paint
- White cardstock
How to make it:
- Paint yellow on cardstock as a base and let it get tacky.
- Dab brown paint over bubble wrap.
- Press bubble wrap onto the yellow, then lift to reveal spots.
- Cut out a simple giraffe shape and glue onto a background.
3. Soft Yarn Mane Zebra Mask
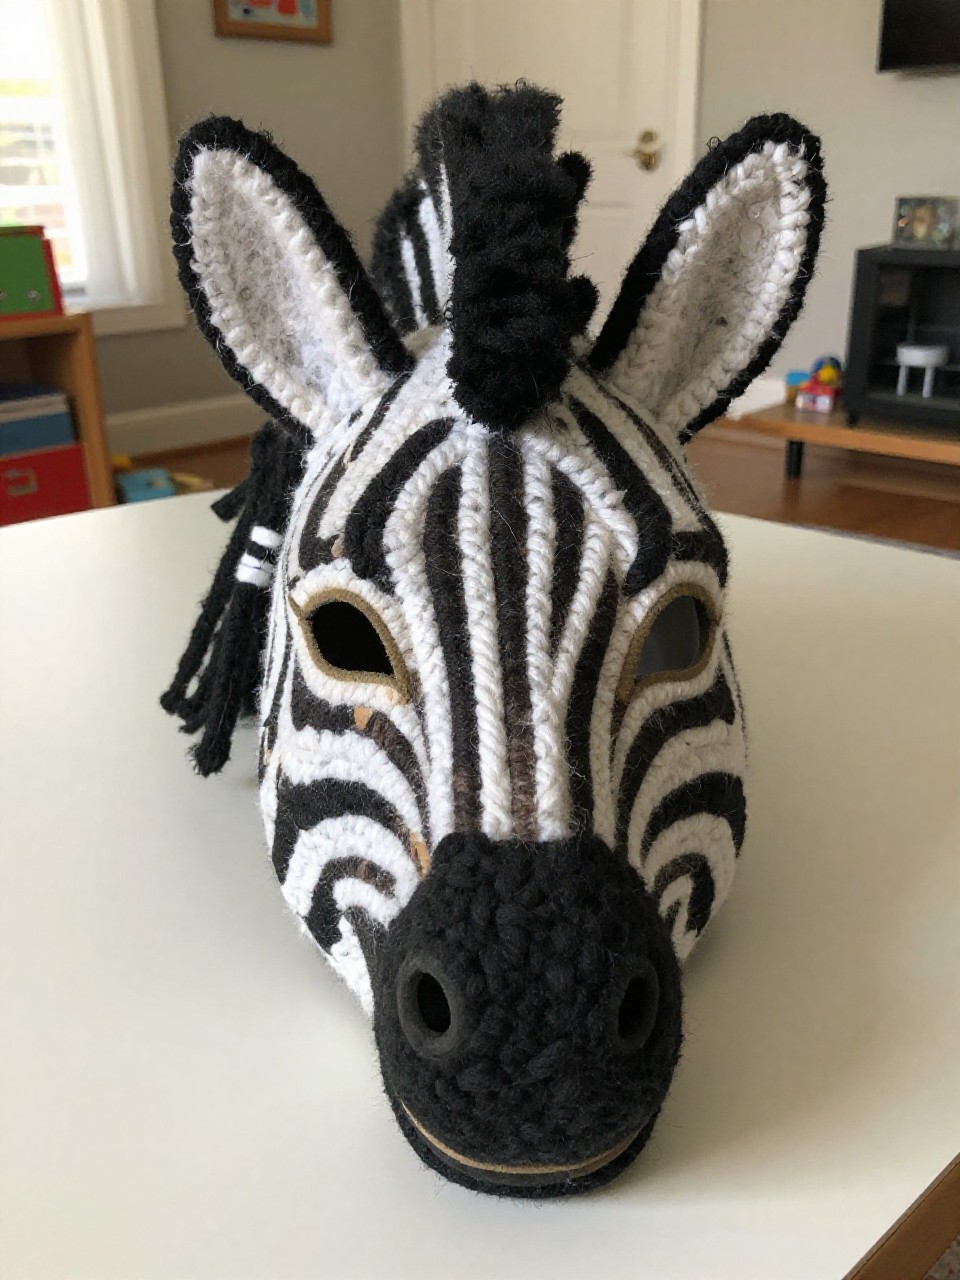
A bold black-and-white mask with a floppy yarn mane that makes kids giggle. It’s dramatic but built from simple stripes.
Materials Needed:
- White paper plate
- Black construction paper
- Yarn
How to make it:
- Cut eye holes in the plate.
- Glue black paper stripes across the plate.
- Punch holes along the top edge; thread and knot yarn for the mane.
- Tape a craft stick handle to the bottom.
4. Handprint Elephant Parade
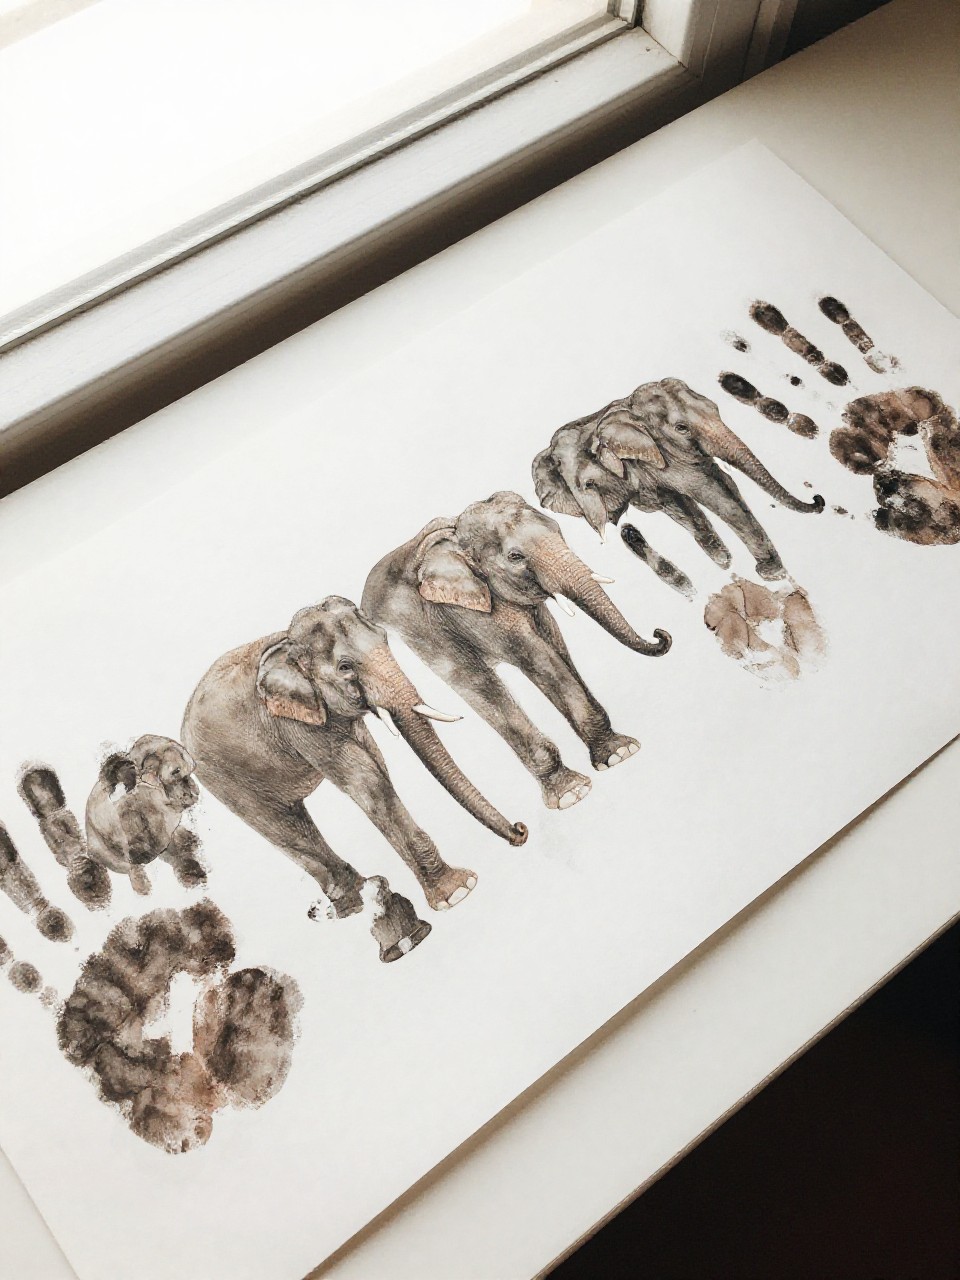
Little handprints turn into gentle elephants with one swipe of paint. Lined up, they look like a mini parade across the page.
Materials Needed:
- Gray or blue paint
- White paper
- Black marker
How to make it:
- Paint your child’s hand and press onto paper with fingers pointing down.
- Use marker to add ear, tail, eye, and a curved trunk line.
- Add small grass or hearts around them.
- Repeat in different sizes for a “family.”
5. Shape-Collage Crocodile
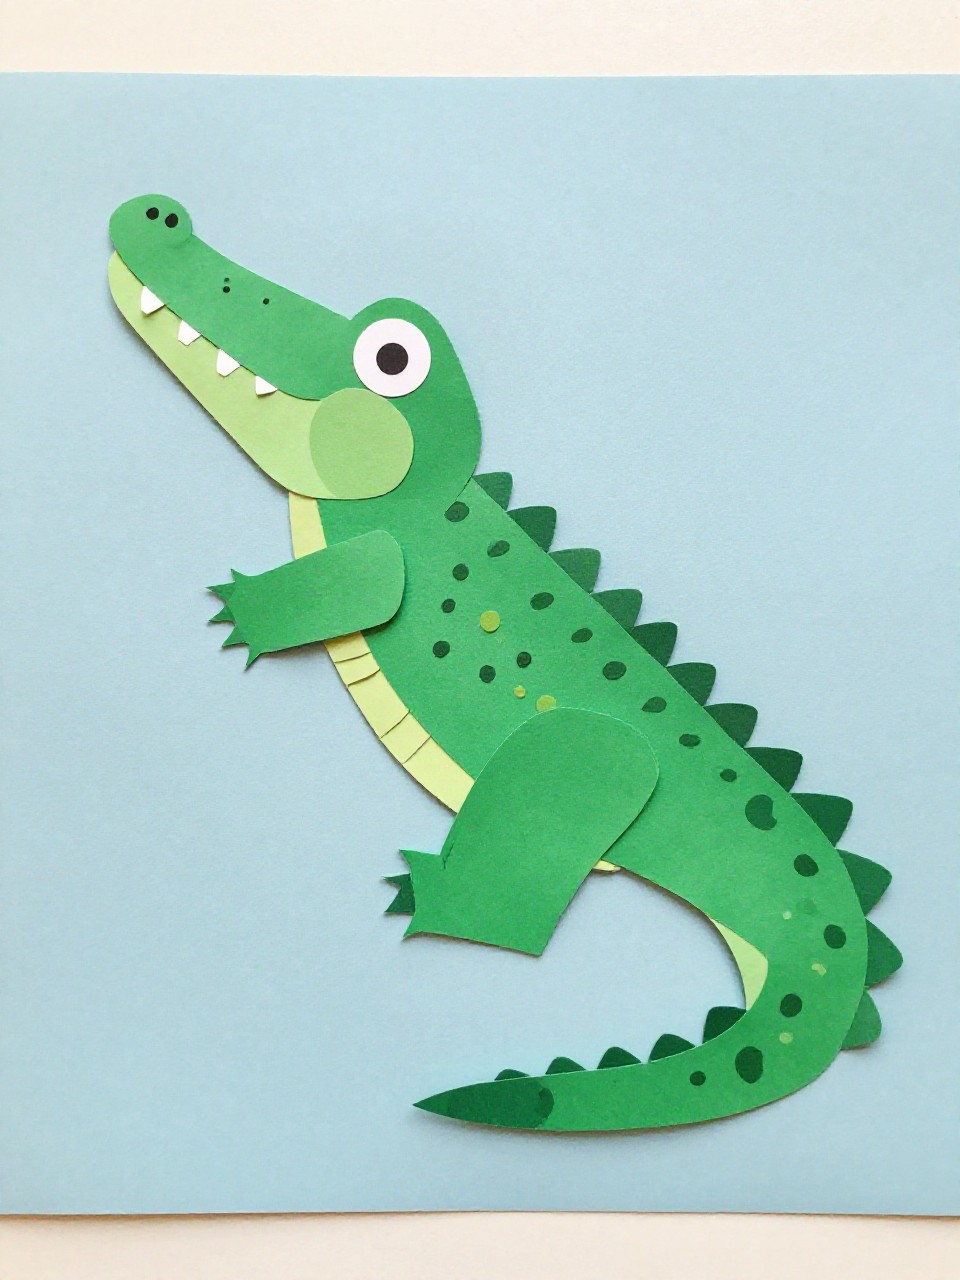
Snappy and geometric, this croc is built from easy rectangles and triangles. The layered mouth looks detailed with almost no cutting.
Materials Needed:
- Green paper
- White paper
- Glue stick
How to make it:
- Cut a long green rectangle for the body and smaller ones for legs and tail.
- Cut white triangles for teeth and circles for eyes.
- Glue pieces to form the crocodile, layering teeth inside the mouth.
- Draw scales or dots with a marker if you like.
6. Coffee Filter Peacock Fan
The colors blend like magic when water hits the markers. Fanned out, the “feathers” look fancy but are just a folded filter.
Materials Needed:
- Coffee filter
- Washable markers
- Clothespin
How to make it:
- Flatten the filter and color patterns and dots with markers.
- Lightly spritz with water to blend; let dry.
- Accordion fold the filter and clip the center with a clothespin.
- Draw eyes and a beak on the clothespin “head.”
7. Paper Chain Snake
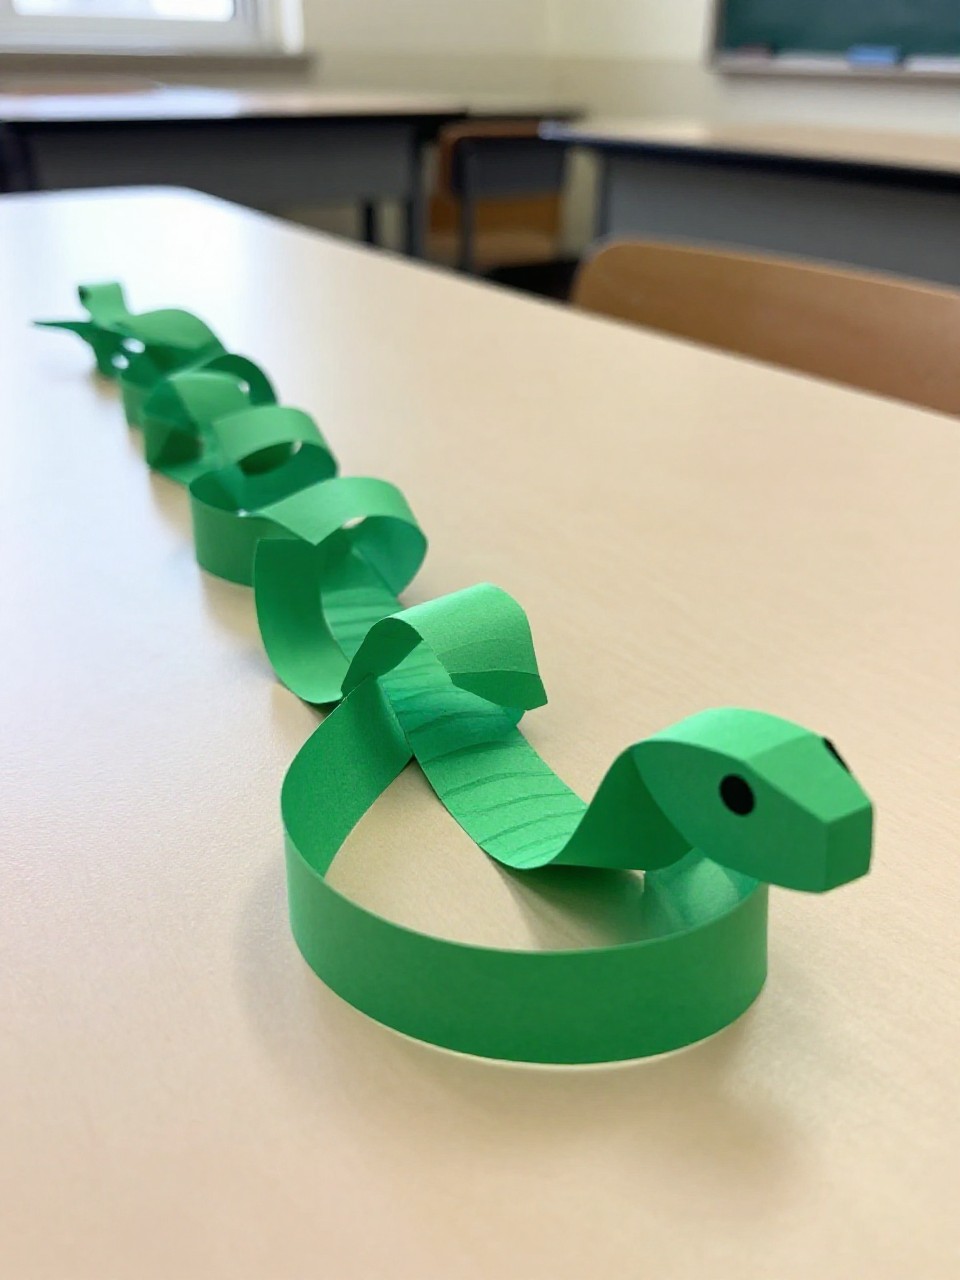
A long, wiggly friend kids can keep building. The repeating loops make a satisfying, impressive length fast.
Materials Needed:
- Green paper strips
- Glue stick or tape
- Googly eyes
How to make it:
- Make the first loop and glue ends.
- Thread the next strip through and glue to form a chain.
- Add a red paper tongue to the front.
- Stick on eyes and bend the chain into curves.
8. Tissue Paper Polar Bear Collage
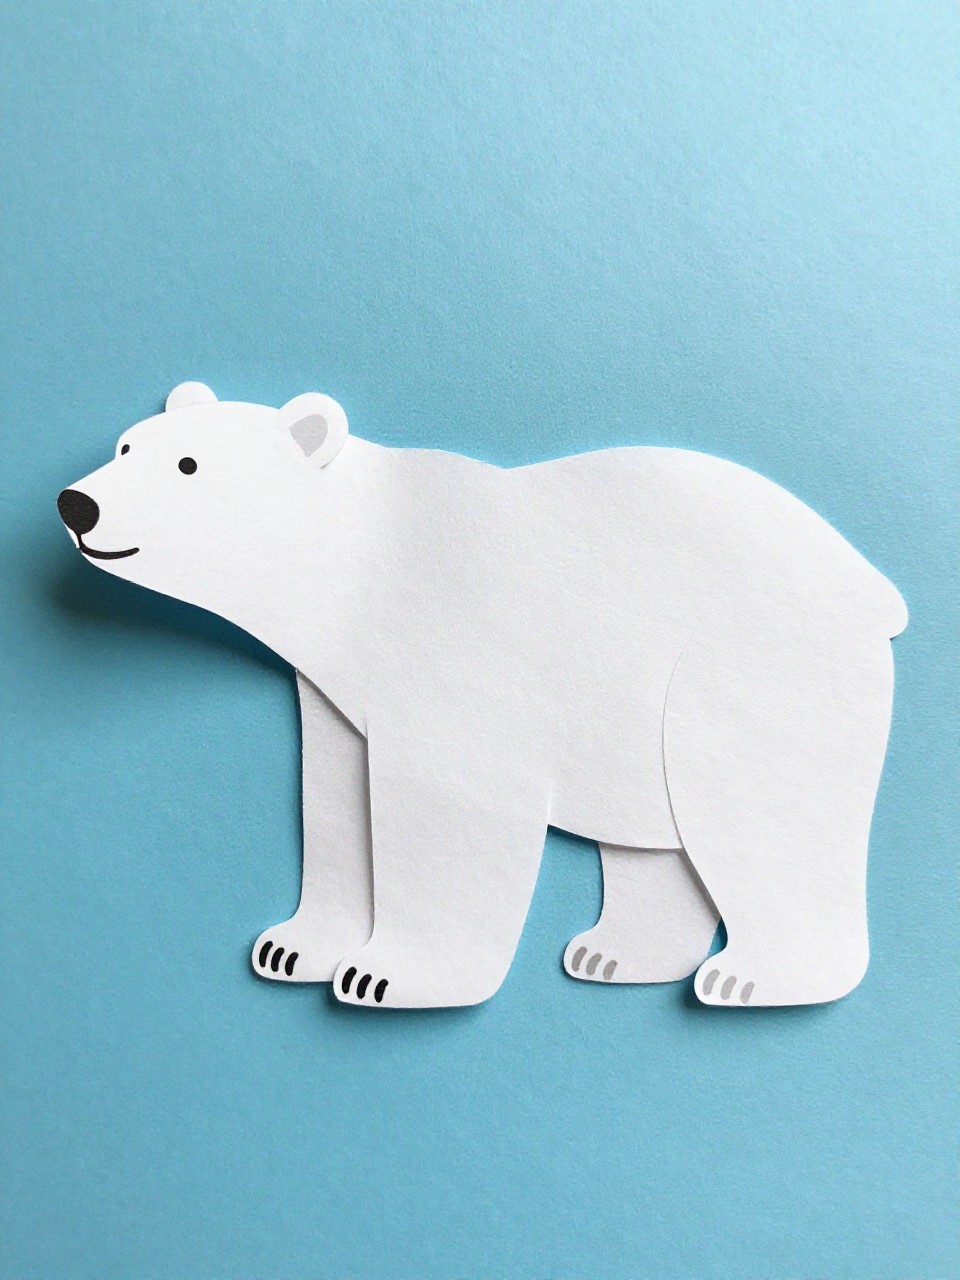
Fluffy and calm, this bear is all about gentle textures. The torn tissue layers hide any mistakes and look like soft fur.
Materials Needed:
- White tissue paper
- Blue cardstock
- Glue stick
How to make it:
- Tear white tissue into small pieces.
- Draw a simple bear outline on blue cardstock.
- Glue tissue pieces inside the outline, overlapping for texture.
- Add a black nose and eyes with paper or marker.
9. Sponge-Stamp Tiger Stripes
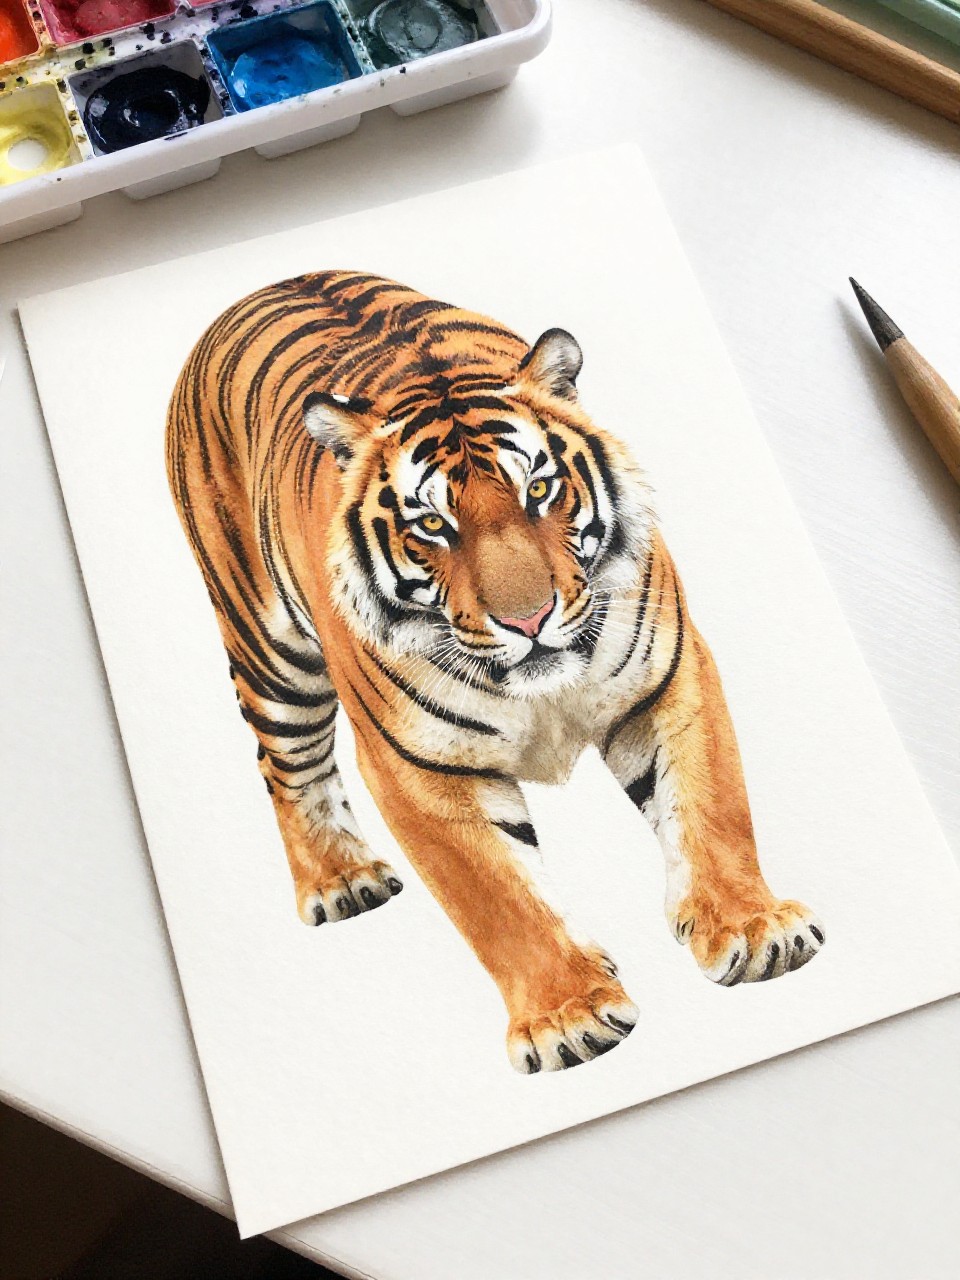
Chunky sponge prints make bold stripes without precision. Orange and black pop for a dramatic, gallery-ready tiger.
Materials Needed:
- Sponges
- Orange and black paint
- White cardstock
How to make it:
- Paint the paper orange or use orange cardstock.
- Cut a sponge into strips; dip in black paint.
- Stamp diagonal stripes across the page.
- Add a simple tiger face cutout and glue on top.
10. Cupcake Liner Jellyfish
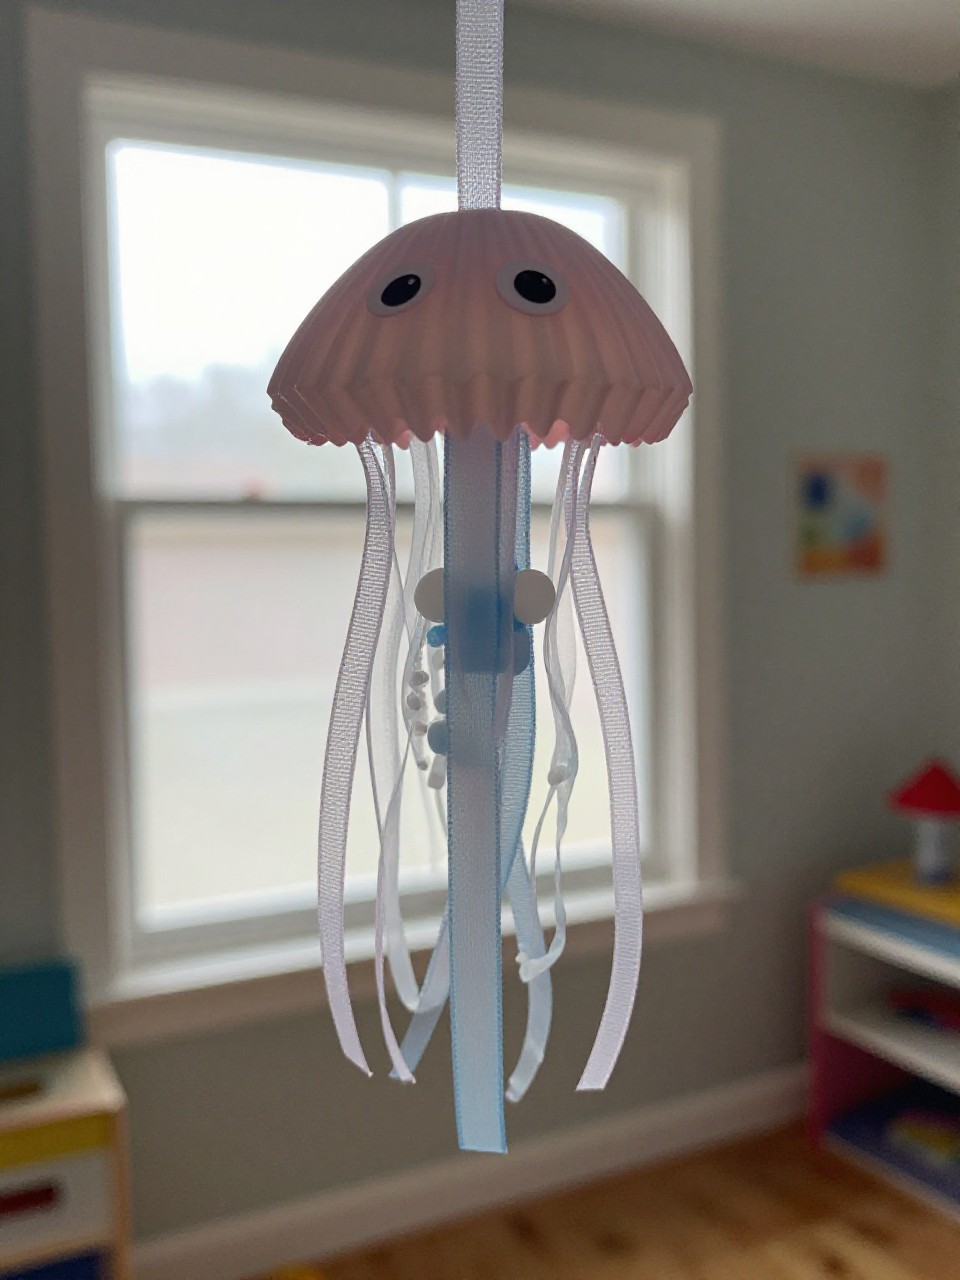
Frilly liners turn into floaty sea creatures with dancing tentacles. It looks delicate but takes minutes to make.
Materials Needed:
- Cupcake liners
- Ribbon or yarn
- Googly eyes
How to make it:
- Flatten a cupcake liner for the jellyfish bell.
- Glue eyes near the top.
- Tape or glue short ribbon/yarn lengths to the back as tentacles.
- Hang with string or stick on blue paper.
11. Fingerprint Panda Family
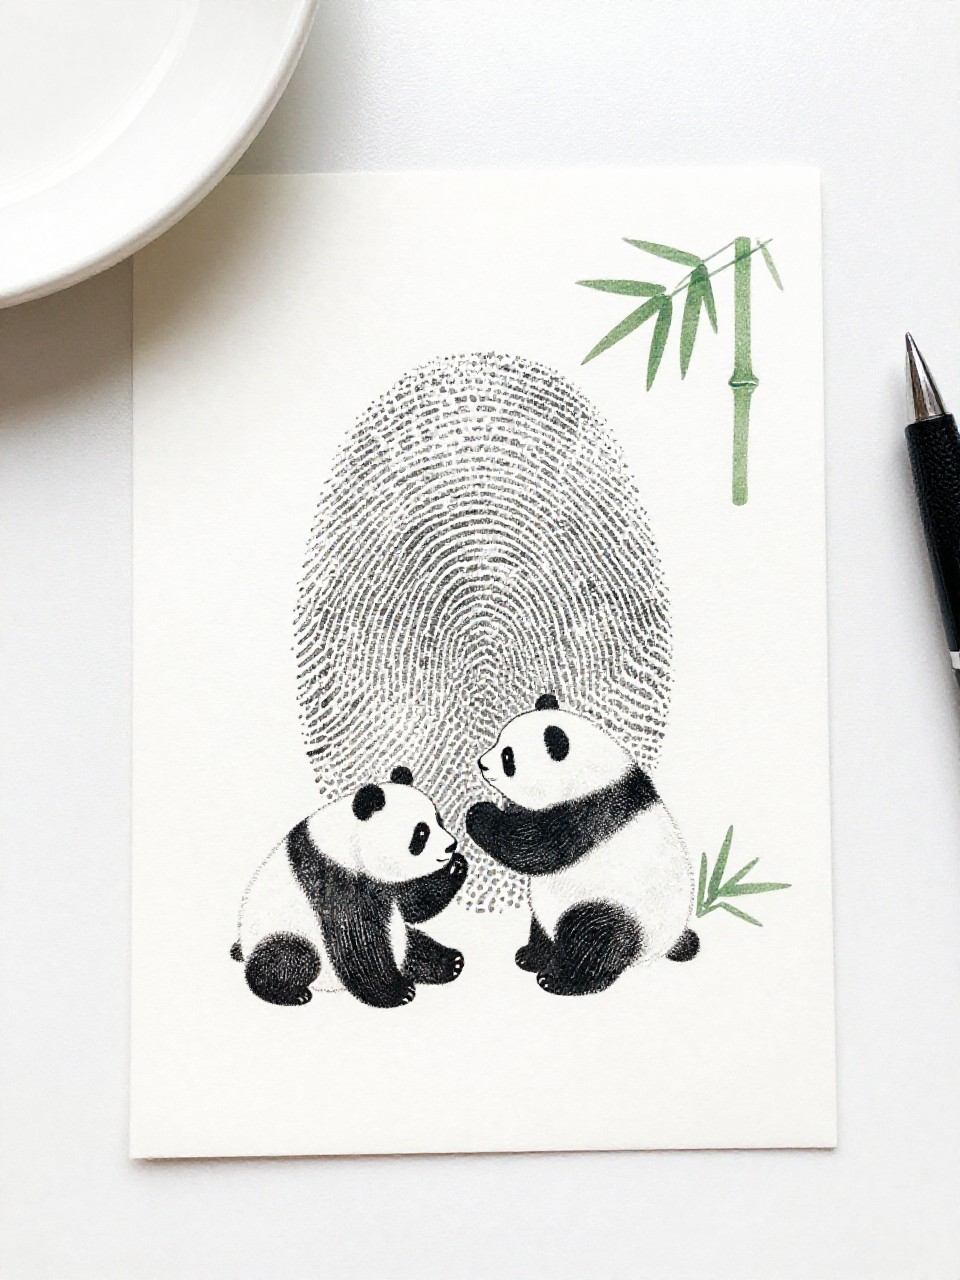
Tiny dots become chubby pandas in seconds. The simple black-and-white palette keeps it crisp and adorable.
Materials Needed:
- Washable black ink pad or paint
- White cardstock
- Black marker
How to make it:
- Press fingertip in black ink/paint and stamp circles for heads and bodies.
- Let dry a moment.
- Draw ears, eyes, and limbs around the prints.
- Add bamboo stalks with quick green lines if desired.
12. Clothespin Monkeys on a Vine

Clip-on monkeys that hang anywhere feel playful and interactive. The movable jaws of the clothespin look like smiling mouths.
Materials Needed:
- Wooden clothespins
- Brown paper
- Green yarn or ribbon
How to make it:
- Cut simple monkey faces from brown paper and glue to the clothespin front.
- Draw features with a marker; add ears.
- Stretch green yarn between two spots to make a “vine.”
- Clip monkeys onto the vine to hang.
13. Paper Bag Hippo Puppet
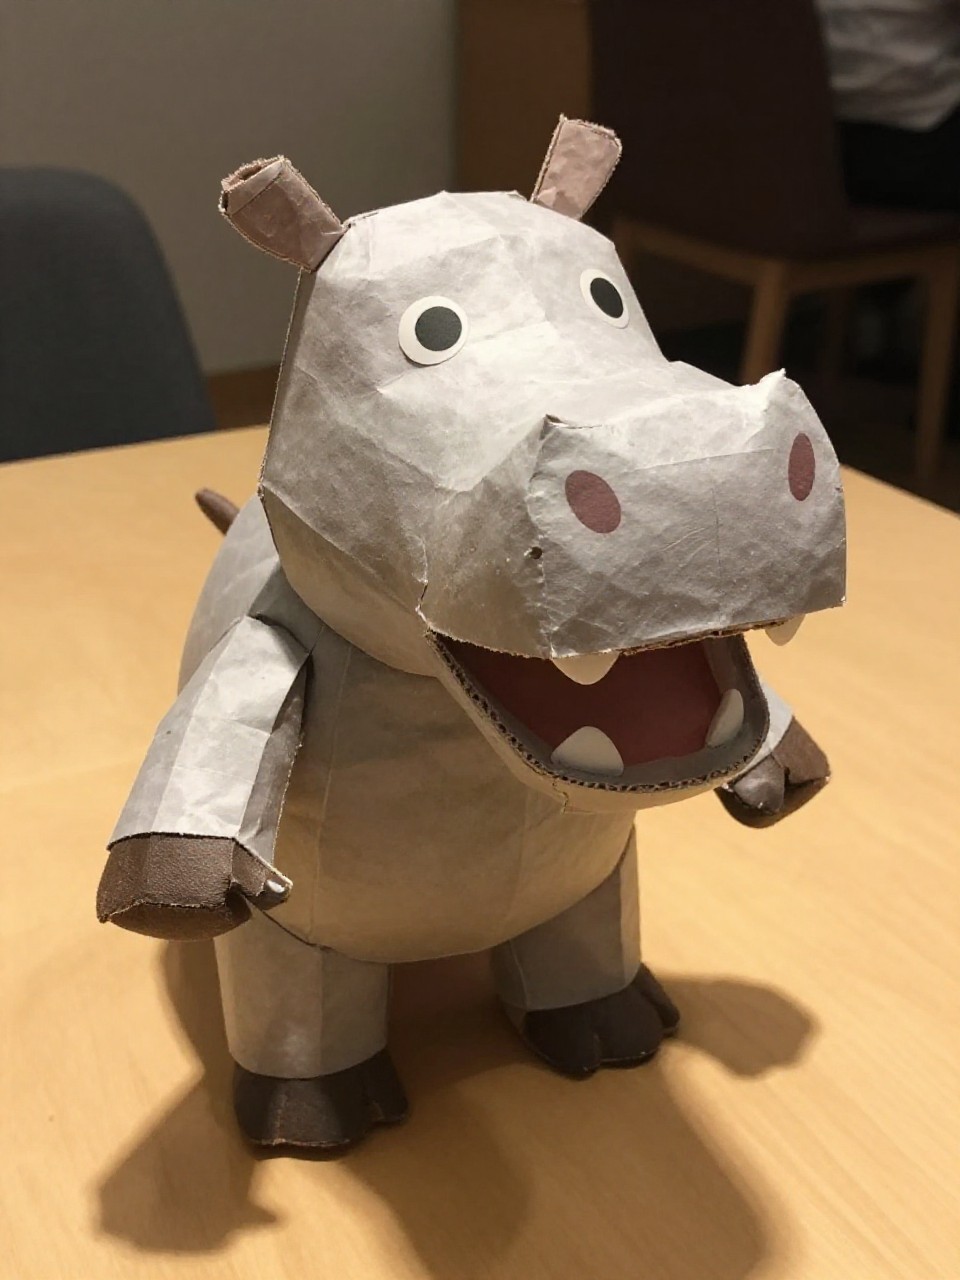
A big grin and pop-up mouth make this puppet a crowd favorite. The boxy shape keeps it easy for little hands to assemble.
Materials Needed:
- Paper lunch bag
- Gray paper
- Glue stick
How to make it:
- Cover the bag with gray paper panels.
- Add a wide rectangle for the mouth flap and glue on white square “teeth.”
- Glue circles for nostrils and eyes at the top.
- Slip hand inside and chomp-chomp!
14. Sandpaper Textured Tortoise
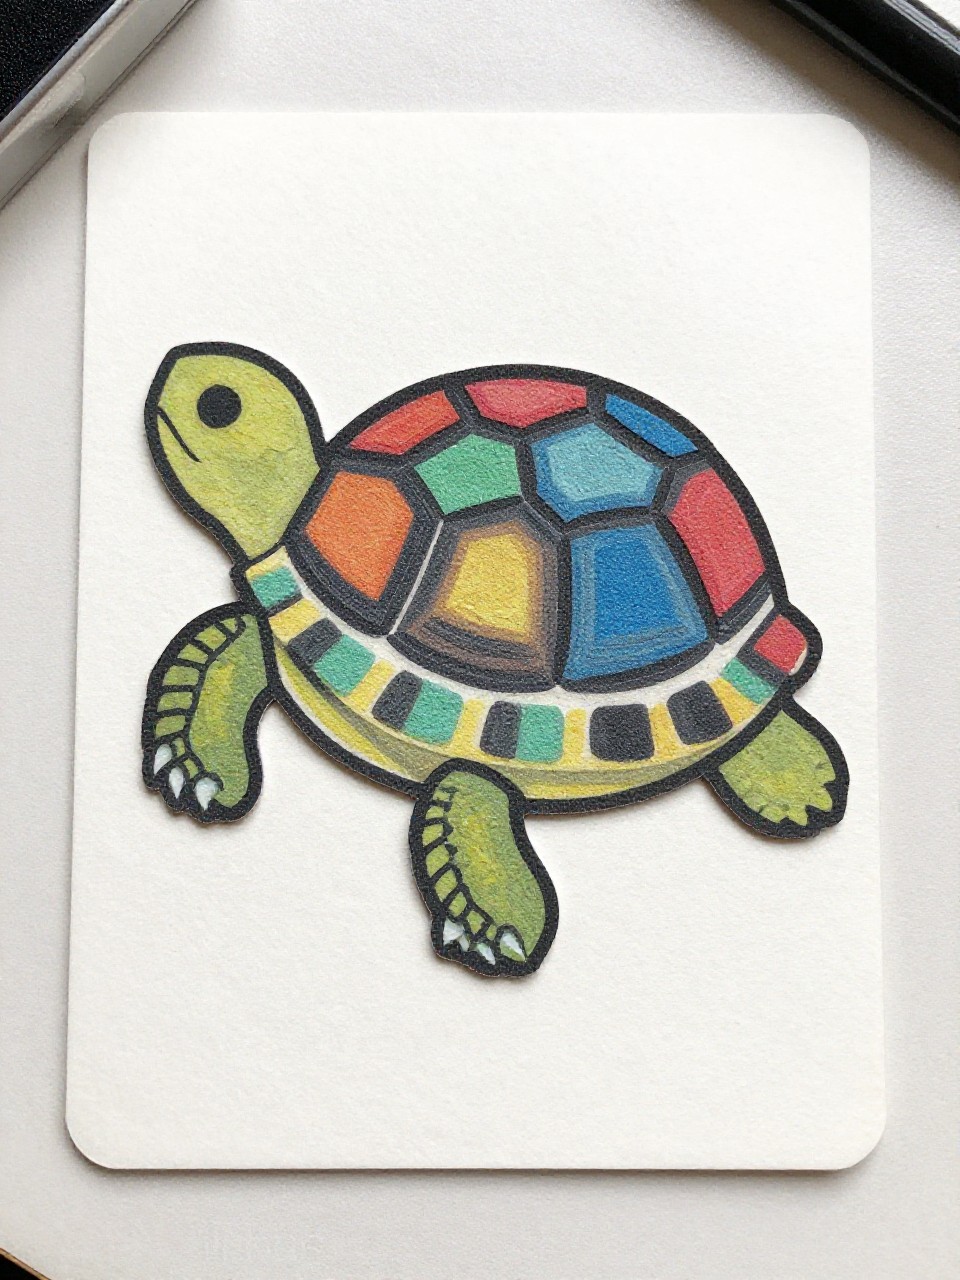
A bumpy shell that begs to be touched. The mix of rough sandpaper and bright shapes feels special and looks polished.
Materials Needed:
- Medium-grit sandpaper
- Colored paper scraps
- Glue
How to make it:
- Cut a big oval from sandpaper for the shell.
- Glue colorful paper hexagons onto the shell.
- Add a green paper head, legs, and tail.
- Draw a smile and eye; mount on background paper.
15. Foil-Embossed Rhino
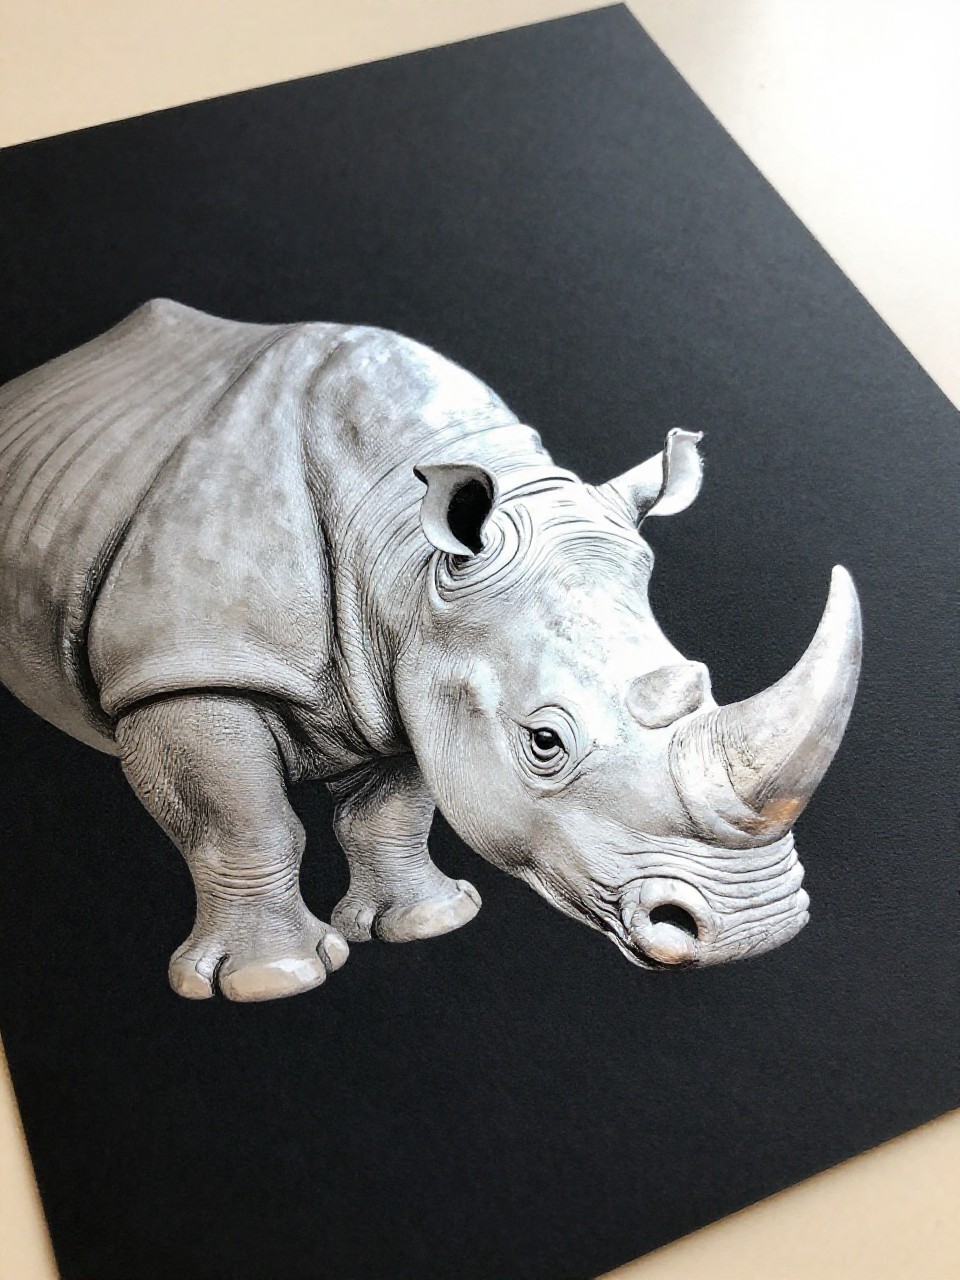
Shiny foil makes this rhino look like metal art, but it’s kid-easy. Pressing lines with a cotton swab creates bold “engraved” details.
Materials Needed:
- Heavy-duty aluminum foil
- Cardboard
- Cotton swab
How to make it:
- Glue foil over a small piece of cardboard; smooth gently.
- Draw a simple rhino outline with a dull pencil.
- Use a cotton swab to press lines for horn, ear, and skin folds.
- Add a black paper border to frame your shiny art.