Table of Contents Show
Summer wood crafts are perfect when you want something handmade that feels warm, useful, and a little more lasting than paper crafts. Wood pieces work well for porch decor, garden corners, outdoor parties, picnic tables, entryways, and simple seasonal styling around the home.
They can be rustic, colorful, coastal, farmhouse-inspired, or playful depending on the paint, shape, and finish you choose. These summer wood craft ideas are easy enough to try at home, but they still feel creative and worth keeping.
From painted fruit signs and driftwood sailboats to wooden flower stakes and mini crate planters, each project adds a sweet summer touch without feeling too basic.
1. Painted Wooden Watermelon Slice Sign
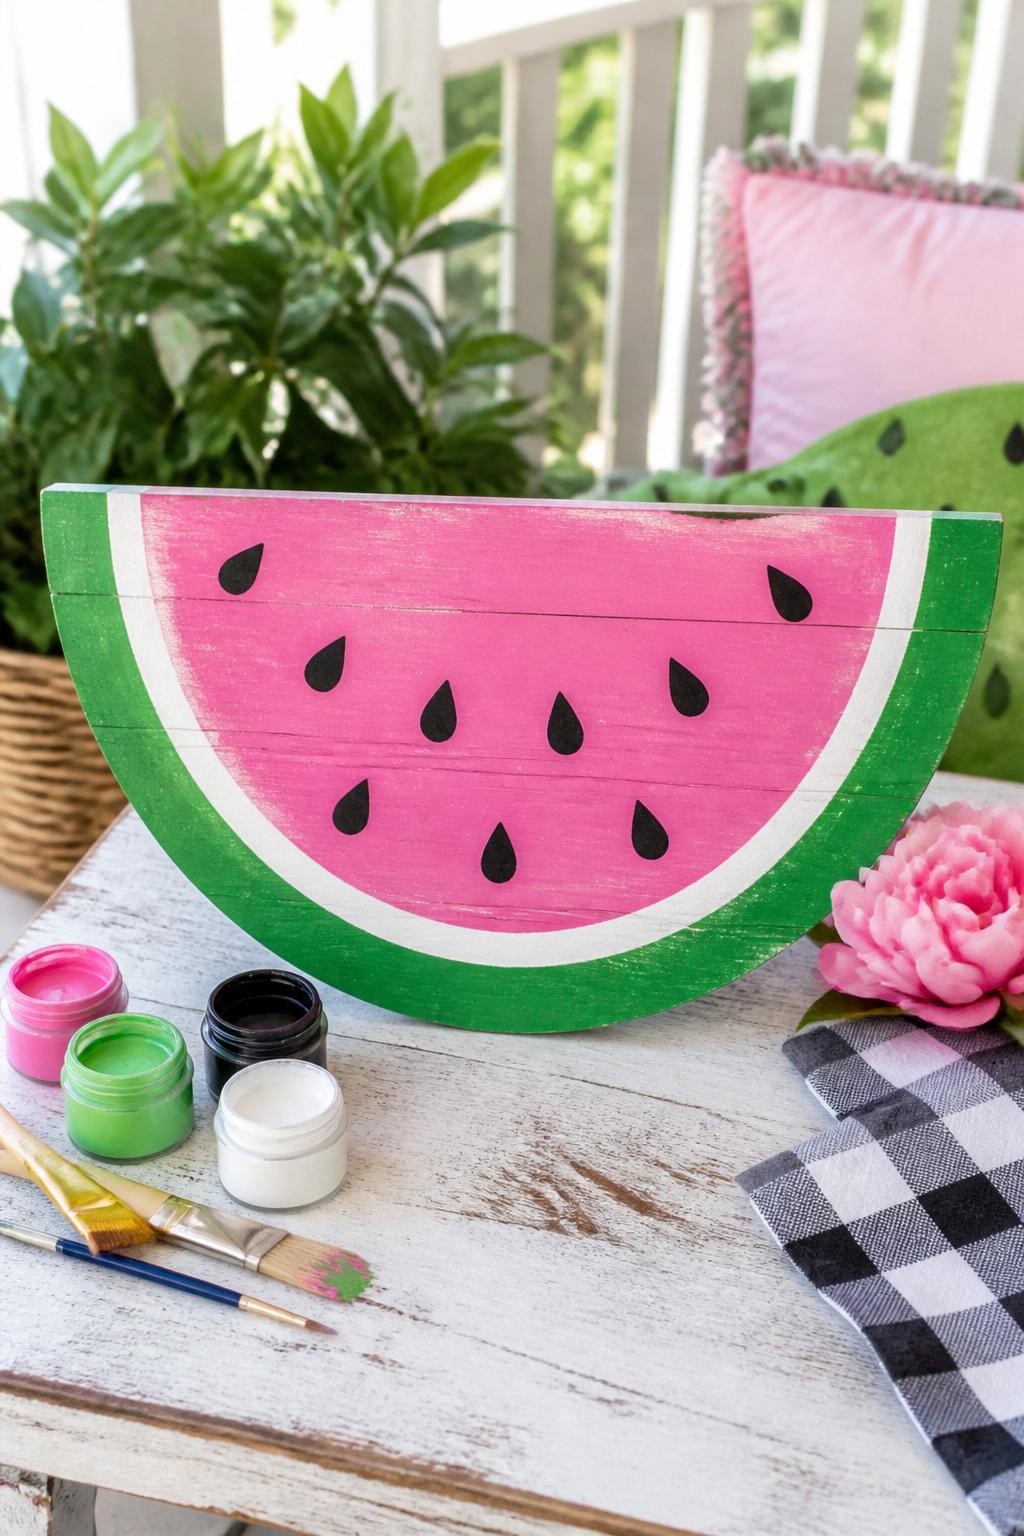
This watermelon sign is a simple but cheerful summer wood craft for porches, kitchen shelves, garden parties, or tiered trays. The shape is easy to paint, and the finished piece adds a fun fruit-inspired touch without needing many supplies.
Materials Needed:
For People Who Love to Make Things ✂️
- Half-circle wood slice or wood plaque
- Pink, green, white, and black acrylic paint
- Paintbrushes
- Pencil
- Clear sealer
- Sandpaper
- Optional twine for hanging
Steps To Make:
- Lightly sand the wood surface until smooth.
- Paint the center pink or red.
- Paint the curved edge green for the rind.
- Add a thin white line between the pink and green sections.
- Use black paint to add seed dots.
- Let the paint dry fully.
- Seal the sign if you plan to use it on a porch or covered outdoor area.
2. Driftwood Sailboat Decor
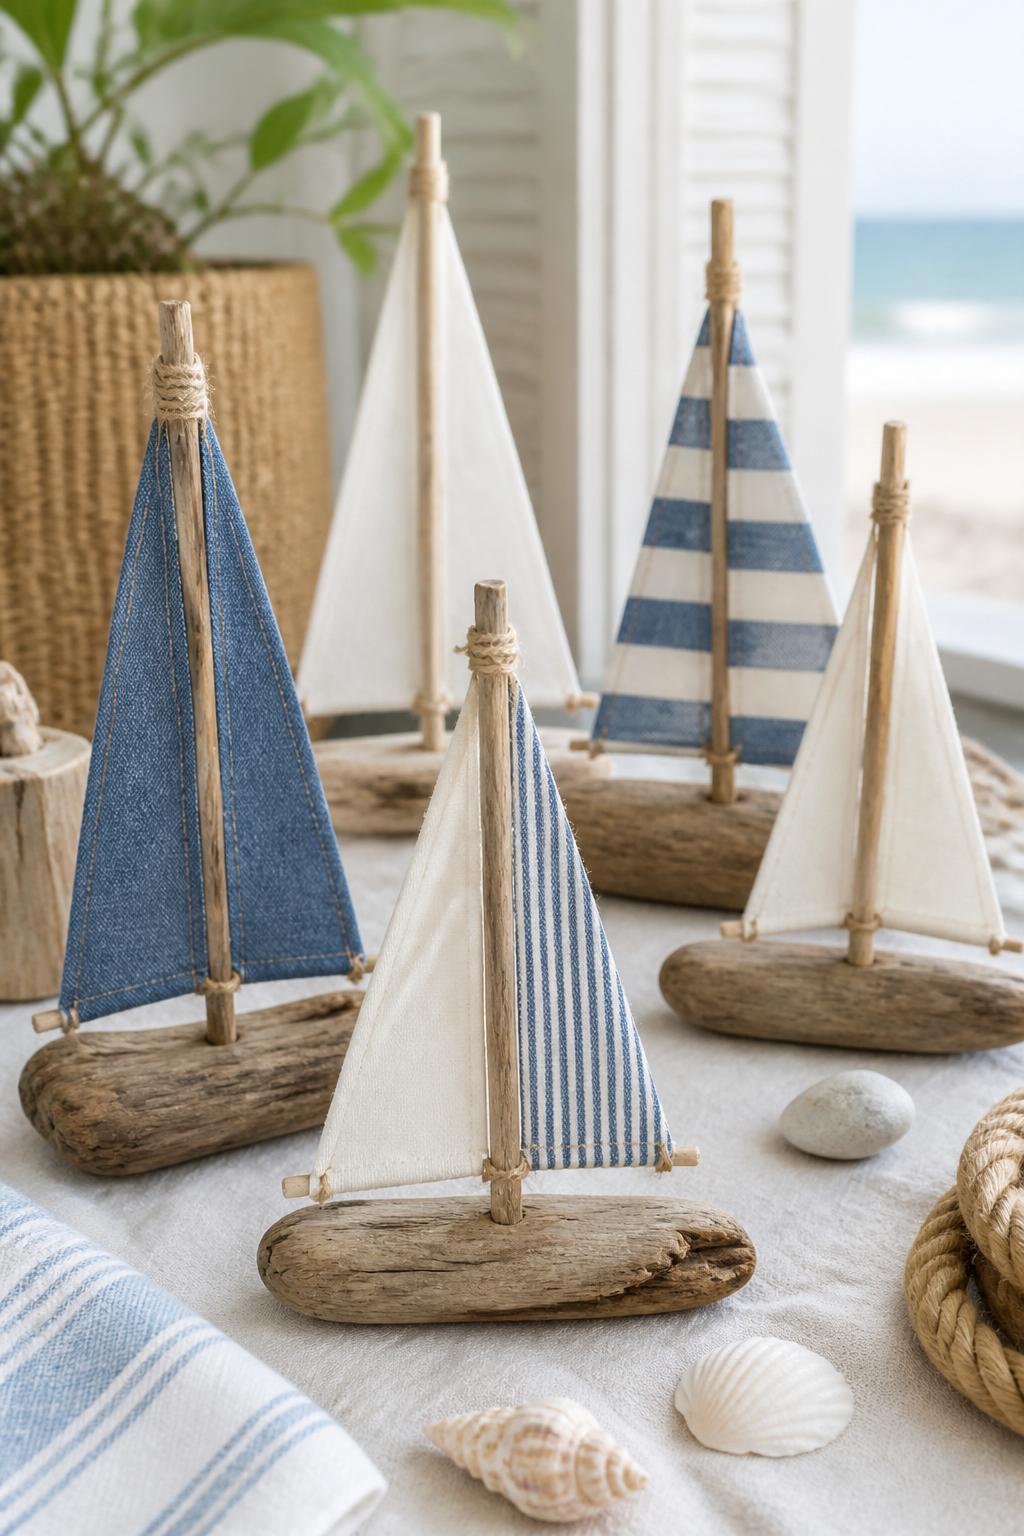
Driftwood sailboats feel coastal, charming, and easy to style for summer. They work beautifully on mantels, bathroom shelves, patio tables, or beach-themed party displays.
Materials Needed:
- Small driftwood pieces
- Thin wooden dowels
- Scrap fabric or canvas
- Hot glue gun, adult-used
- Twine
- Scissors
- Small shells, optional
Steps To Make:
- Choose a driftwood piece that can sit flat.
- Glue a wooden dowel upright in the center as the mast.
- Cut a triangle sail from fabric or canvas.
- Glue the sail to the dowel.
- Wrap a small piece of twine around the mast base.
- Add a tiny shell or bead if desired.
- Let everything dry before displaying.
3. Wooden Lemon Garland
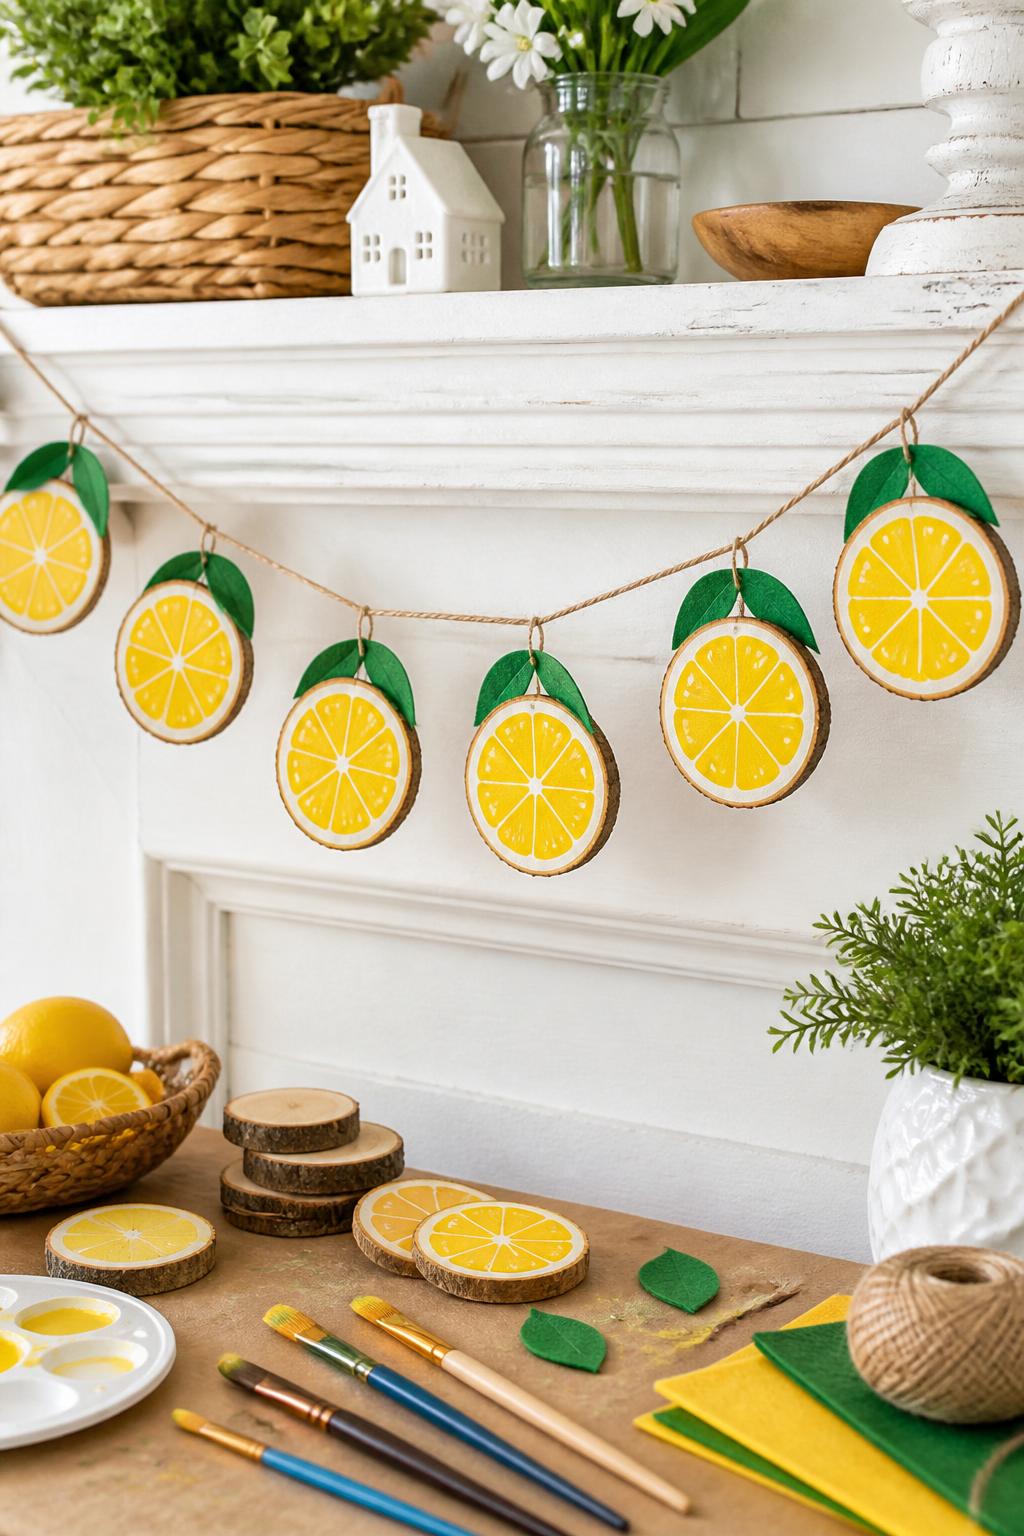
A wooden lemon garland is a bright way to dress up a mantel, kitchen window, party table, or shelf. It feels fresh for summer and can be reused year after year.
Materials Needed:
- Small round wood slices
- Yellow, white, and green acrylic paint
- Paintbrushes
- Twine
- Drill or strong glue
- Felt or cardstock leaves
- Clear sealer, optional
Steps To Make:
- Paint each wood slice yellow.
- Add white curved lines or small dots to suggest lemon texture.
- Paint or glue on small green leaves.
- Drill small holes at the top of each slice, or glue them to twine.
- Space the lemons evenly along the twine.
- Seal the painted pieces if desired.
- Hang the garland across a mantel, shelf, or party table.
4. Wooden Flower Garden Stakes
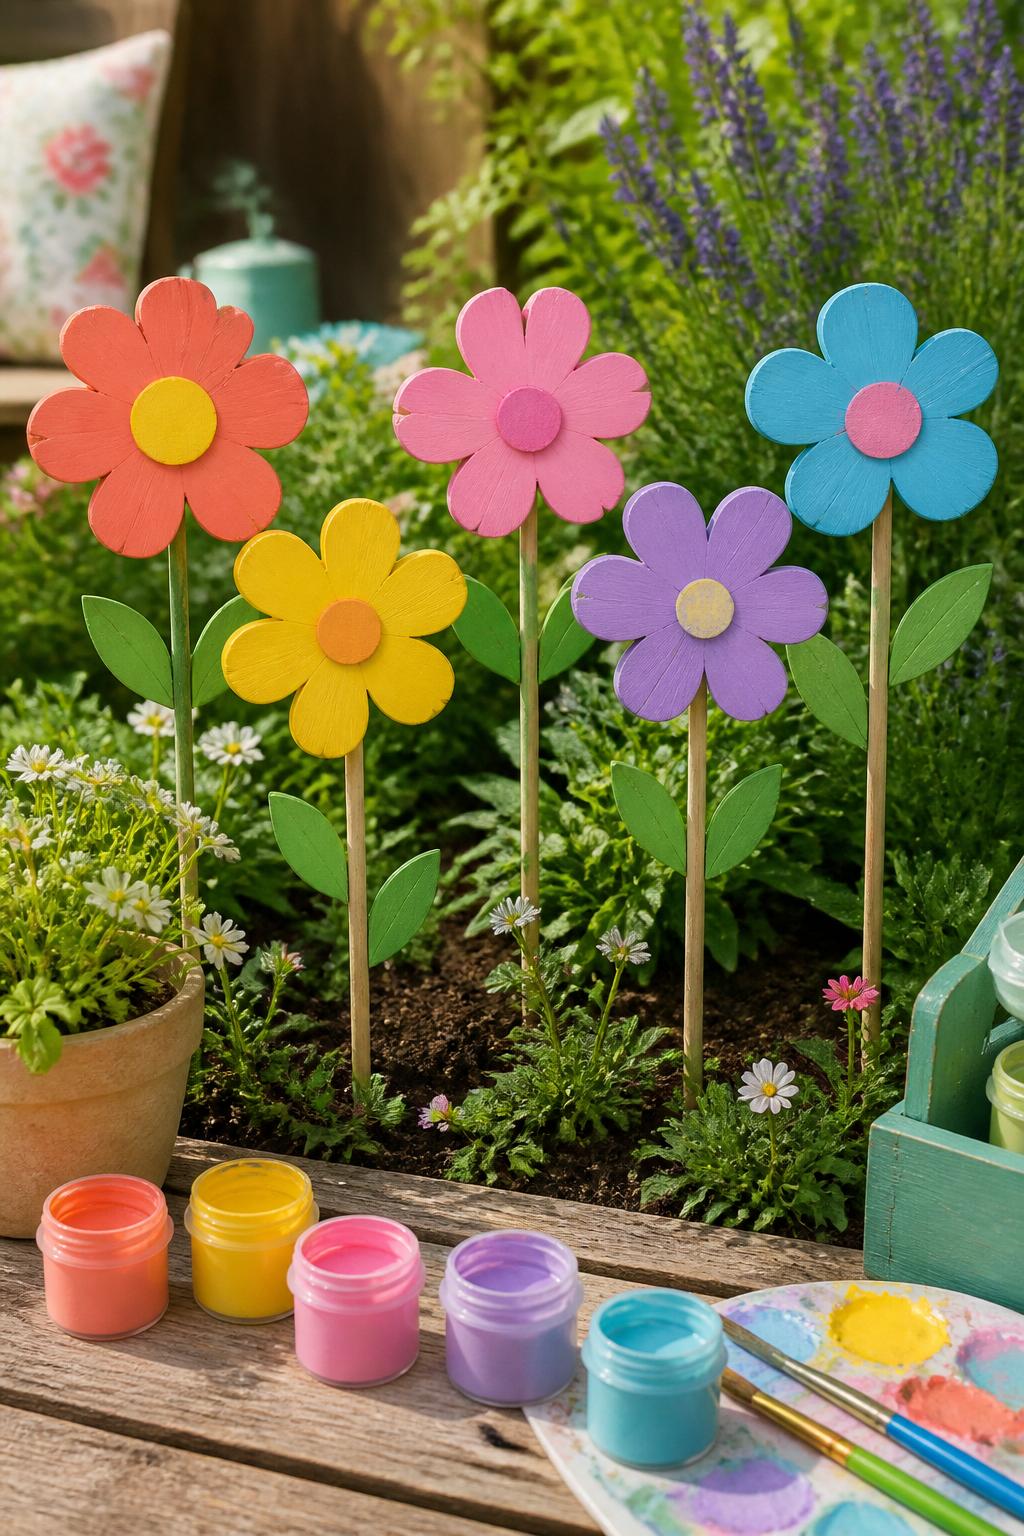
Wooden flower stakes add color to garden beds, planters, and porch pots. They are especially nice for spaces where flowers have not bloomed yet or where you want a playful handmade accent.
Materials Needed:
- Wooden flower cutouts
- Thin wooden stakes
- Acrylic paint
- Paintbrushes
- Wood glue or hot glue, adult-used
- Clear outdoor sealer
- Sandpaper
Steps To Make:
- Sand the wooden flower shapes if needed.
- Paint each flower in a bright summer color.
- Add center dots, petals, or simple patterns.
- Paint the wooden stakes green or leave them natural.
- Glue one flower to the top of each stake.
- Seal the flowers for outdoor use.
- Place them in planters, garden beds, or porch pots.
5. Mini Wooden Crate Herb Planter
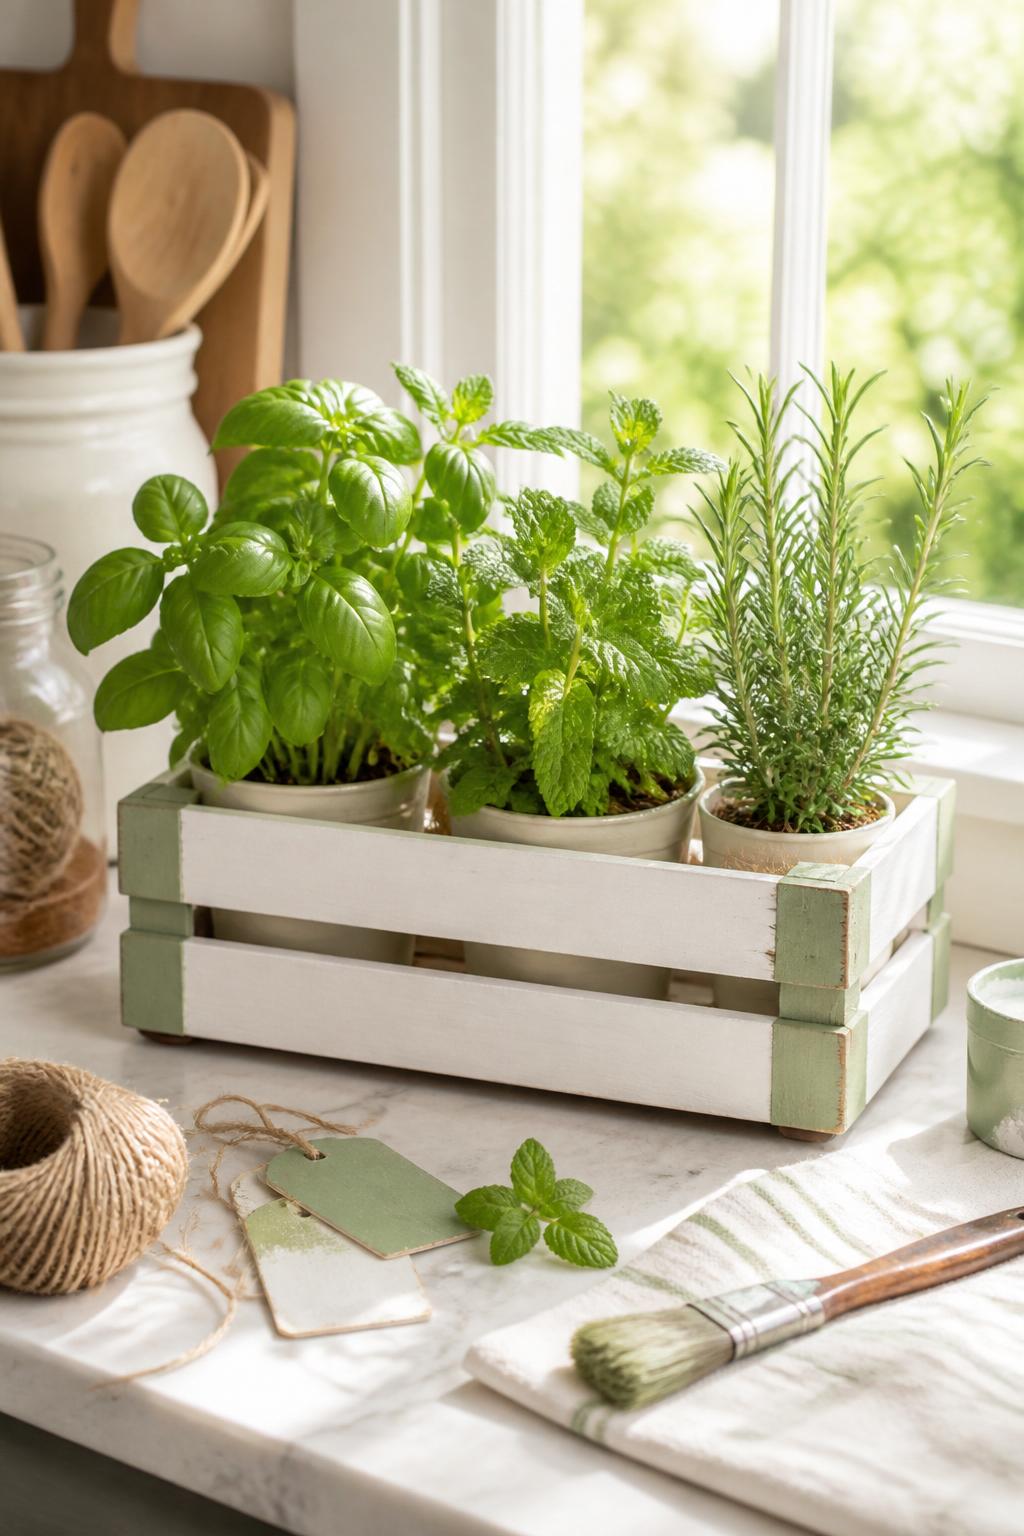
A mini wooden crate planter is useful, pretty, and perfect for summer herbs. It can sit on a windowsill, patio table, balcony shelf, or outdoor kitchen area.
Materials Needed:
- Small wooden crate
- Acrylic or chalk paint
- Paintbrush
- Small herb pots
- Plastic liner or tray
- Twine
- Clear sealer, optional
- Sandpaper
Steps To Make:
- Sand the crate lightly.
- Paint the crate in a color that fits your space.
- Let it dry fully.
- Add a clear sealer if it will sit outside.
- Place a plastic liner or small tray inside.
- Add small herb pots.
- Tie twine around the crate for a simple finished look.
6. Scrap Wood Beach Hut Houses
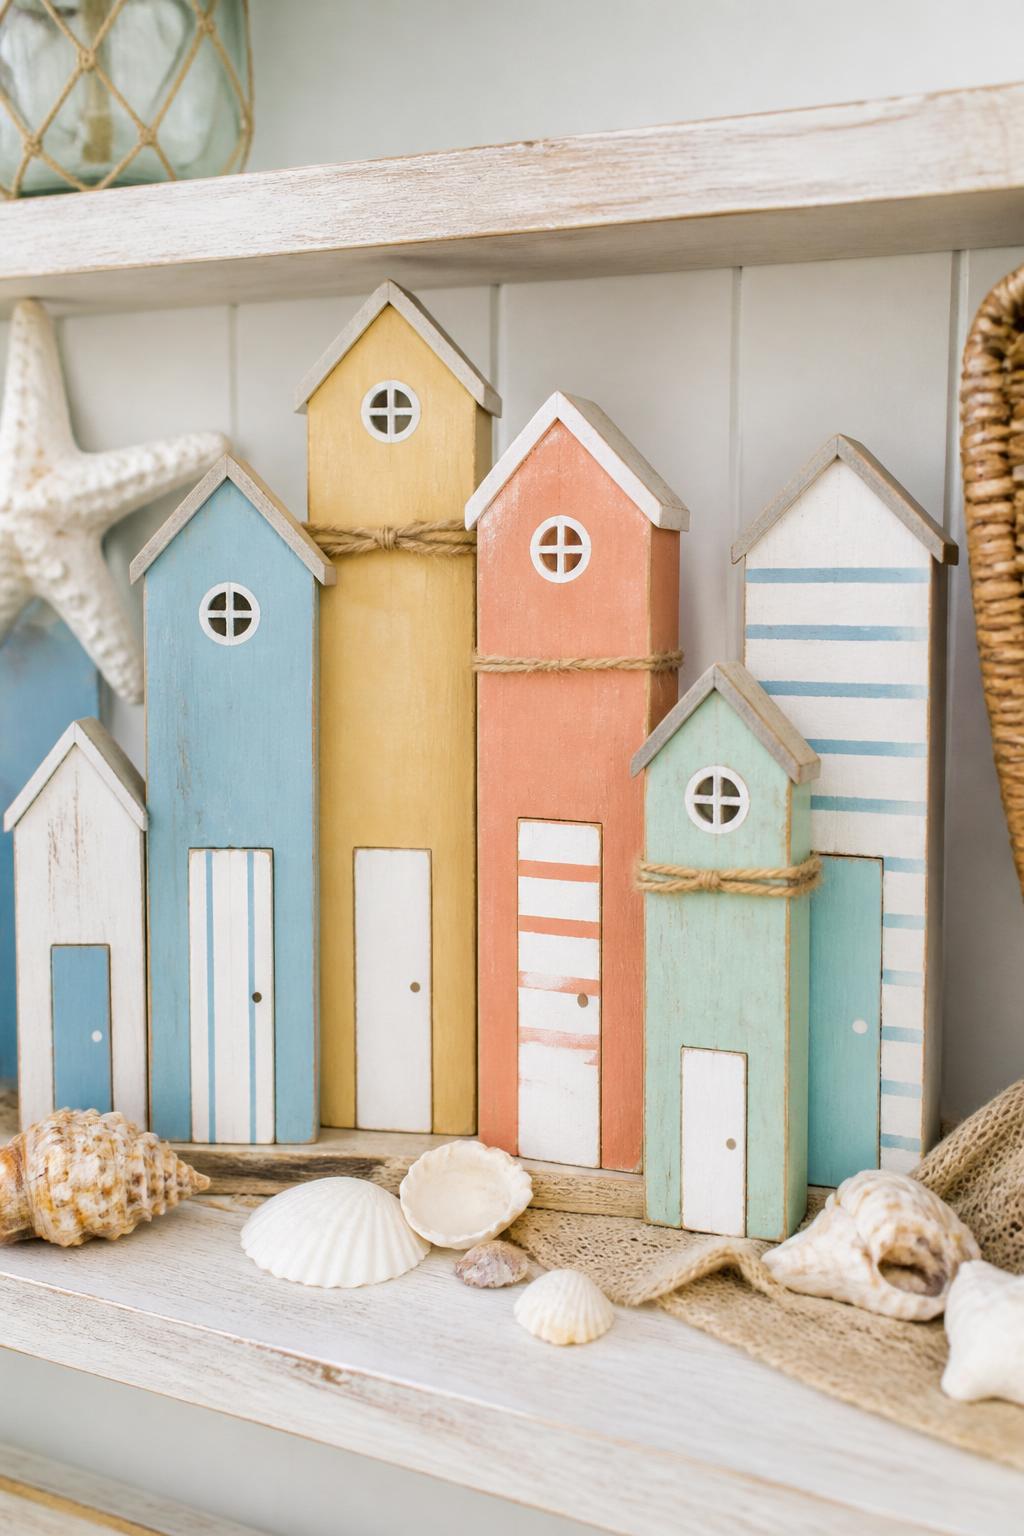
These little beach huts are a lovely way to use scrap wood. They look cute grouped together on a shelf, mantel, bathroom counter, or coastal party table.
Materials Needed:
- Small scrap wood blocks
- Sandpaper
- Acrylic paint
- Paintbrushes
- Pencil
- Twine
- Hot glue gun, adult-used
- Clear sealer, optional
Steps To Make:
- Sand the wood blocks until smooth.
- Paint each block a different soft summer color.
- Add roof lines, doors, windows, and stripes with a small brush.
- Wrap twine around one or two blocks for texture.
- Let the paint dry fully.
- Seal if desired.
- Group the beach huts together as shelf decor.
7. Wooden Bead Summer Wreath
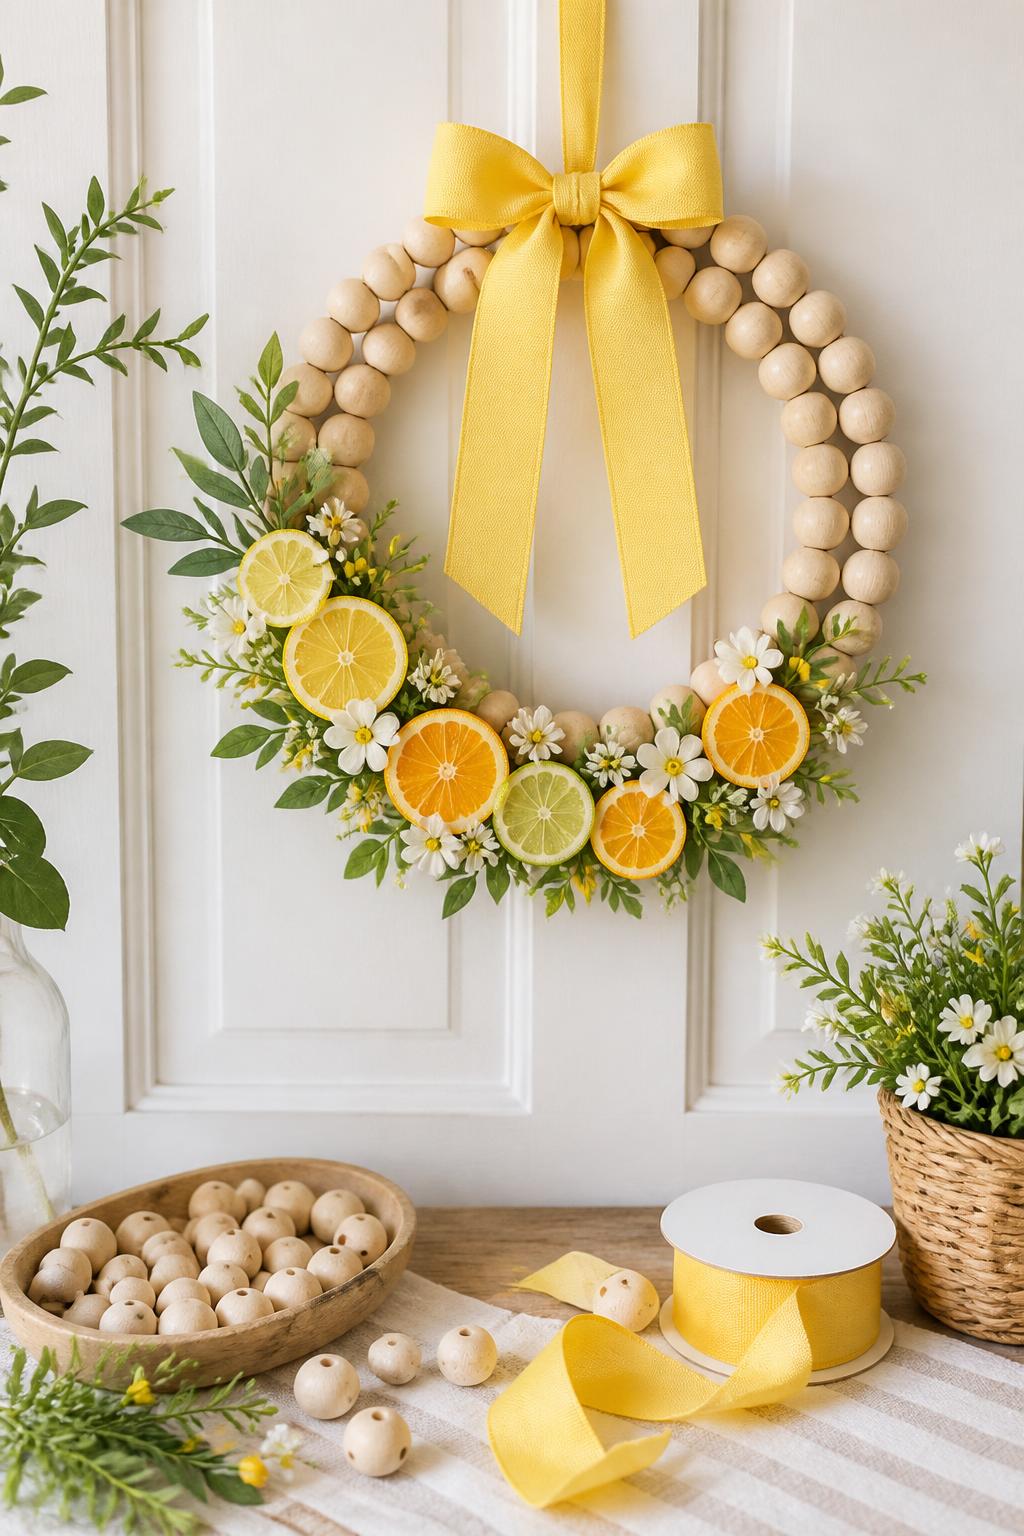
A wooden bead wreath feels simple, warm, and modern. With citrus, greenery, or flowers added, it becomes a sweet summer door piece without looking too heavy.
Materials Needed:
- Wooden beads
- Wire wreath form or thick floral wire
- Faux greenery
- Faux citrus slices or flowers
- Ribbon
- Hot glue gun, adult-used
- Wire cutters
Steps To Make:
- Thread wooden beads onto a wire wreath form.
- Close the wreath securely.
- Choose one side to decorate with greenery and flowers.
- Glue or wire the accents into place.
- Add faux citrus slices for a summer feel.
- Tie ribbon at the top or side.
- Hang it on a front door, wall, or porch hook.
8. Wooden Popsicle Wall Art
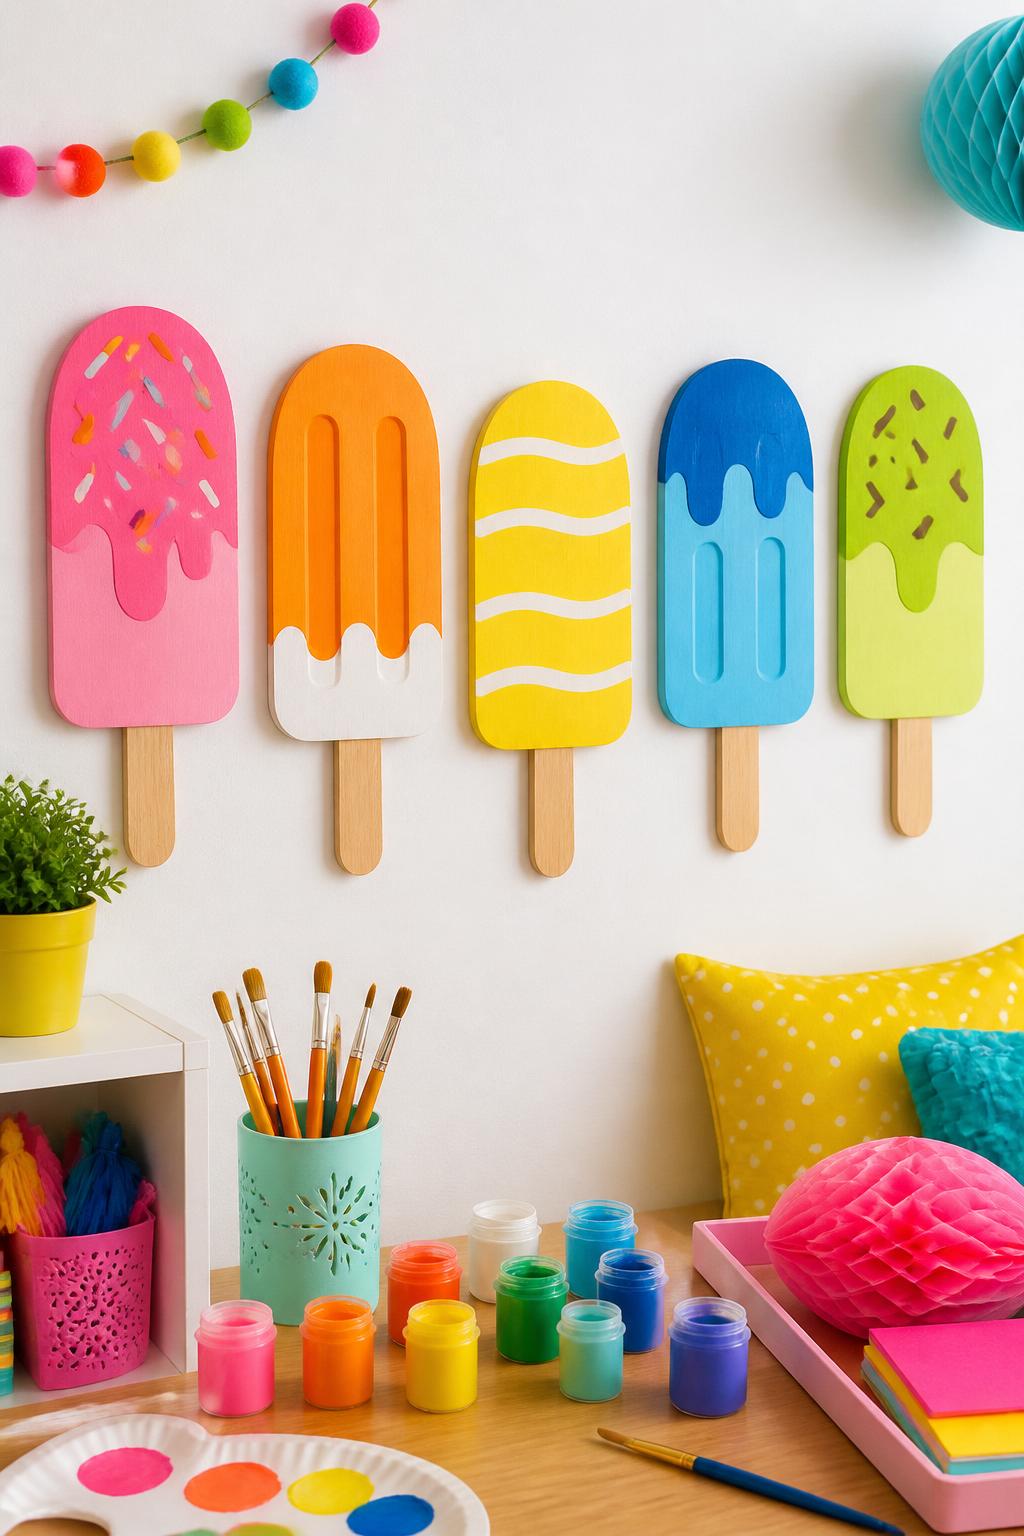
Wooden popsicle wall art is fun for summer kitchens, playrooms, pool party decor, or kids’ bedrooms. It gives that cute summer treat look while lasting longer than paper decorations.
Materials Needed:
- Popsicle-shaped wood cutouts or thin wood boards
- Wooden craft sticks
- Acrylic paint
- Paintbrushes
- Glue
- Clear sealer
- Picture hanging strips
Steps To Make:
- Paint each wood cutout in a bright popsicle color.
- Add stripes, drips, dots, or sprinkle details.
- Glue a wooden craft stick to the bottom back of each piece.
- Let everything dry fully.
- Seal the painted popsicles if desired.
- Add hanging strips to the back.
- Display them as a colorful summer wall set.
9. Rustic Wooden Picnic Caddy
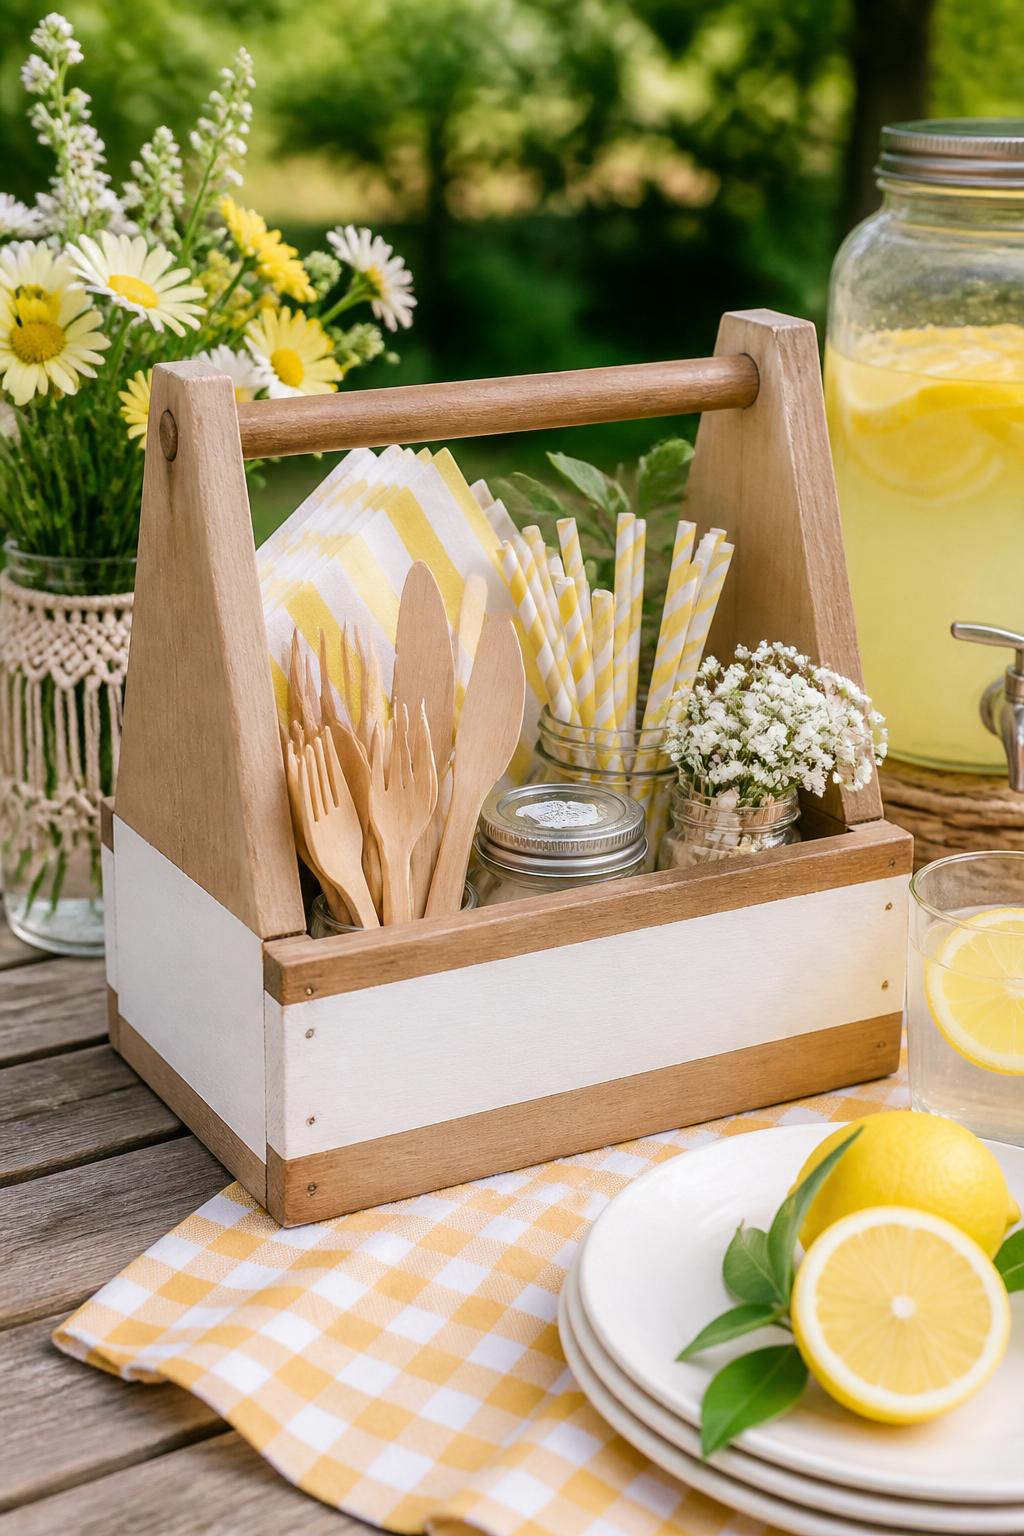
A picnic caddy is useful for summer meals, backyard dinners, and outdoor parties. It keeps napkins, utensils, straws, and condiments neat while adding a handmade touch to the table.
Materials Needed:
- Small wooden caddy or wood box with handle
- Paint or wood stain
- Paintbrush
- Sandpaper
- Clear sealer
- Optional stencil
- Napkins and utensils for styling
Steps To Make:
- Sand the wooden caddy lightly.
- Paint or stain it in your chosen finish.
- Let it dry fully.
- Distress the edges lightly with sandpaper if you want a rustic look.
- Add a stencil design if desired.
- Seal the caddy for longer use.
- Fill it with picnic supplies for summer gatherings.
10. Wood Slice Flower Coasters
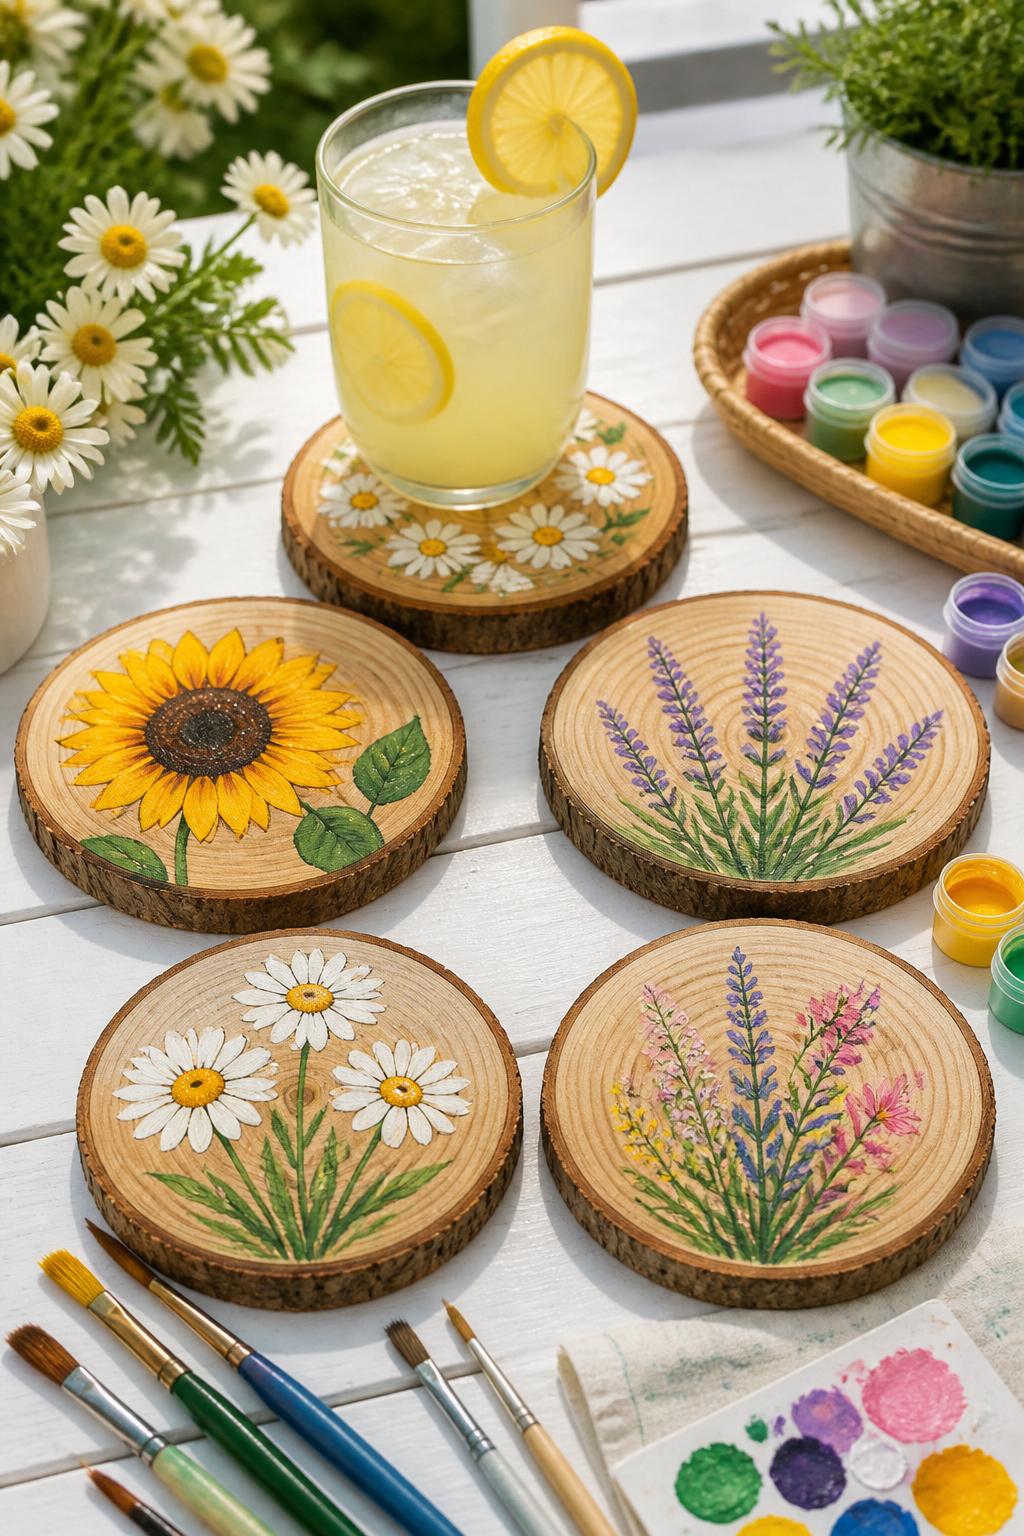
Wood slice coasters are small, useful, and easy to personalize. Flower designs make them feel perfect for summer patios, brunch tables, garden parties, or handmade gifts.
Materials Needed:
- Round wood slices
- Acrylic paint
- Small paintbrushes
- Clear waterproof sealer
- Felt pads
- Sandpaper
- Pencil
Steps To Make:
- Sand each wood slice smooth.
- Lightly sketch a flower design if needed.
- Paint simple daisies, sunflowers, lavender, or wildflowers.
- Let the paint dry.
- Add small dots, stems, or leaves for detail.
- Seal the coaster with waterproof sealer.
- Add felt pads to the bottom.
11. Wooden Sunburst Mirror Frame
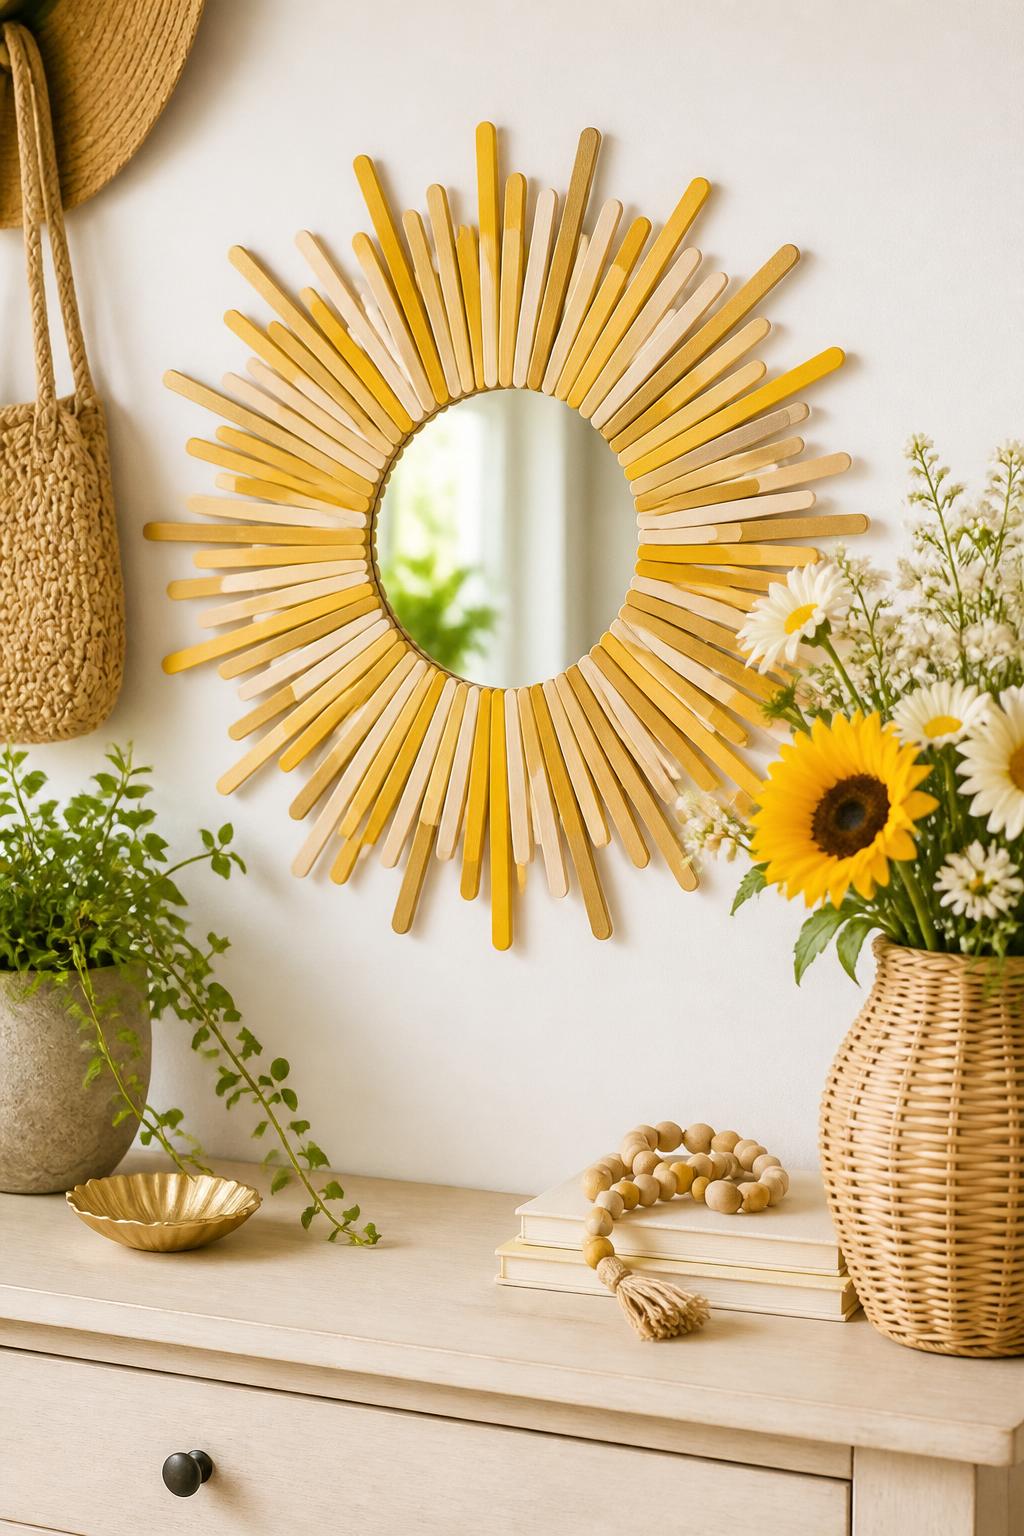
A wooden sunburst mirror brings a sunny summer feel into a hallway, bedroom, or living room. It looks more polished than it is, especially when you use simple craft sticks or thin wood strips.
Materials Needed:
- Small round mirror
- Wooden craft sticks or thin wood strips
- Hot glue gun, adult-used
- Gold, yellow, or natural-tone paint
- Cardboard backing
- Picture hanger
- Clear sealer, optional
Steps To Make:
- Cut a cardboard circle slightly larger than the mirror.
- Glue the mirror to the center.
- Arrange wooden sticks around it like sun rays.
- Glue each stick into place.
- Paint the wood in gold, yellow, or natural shades.
- Let everything dry fully.
- Add a hanger to the back before displaying.
12. Painted Wooden Garden Markers
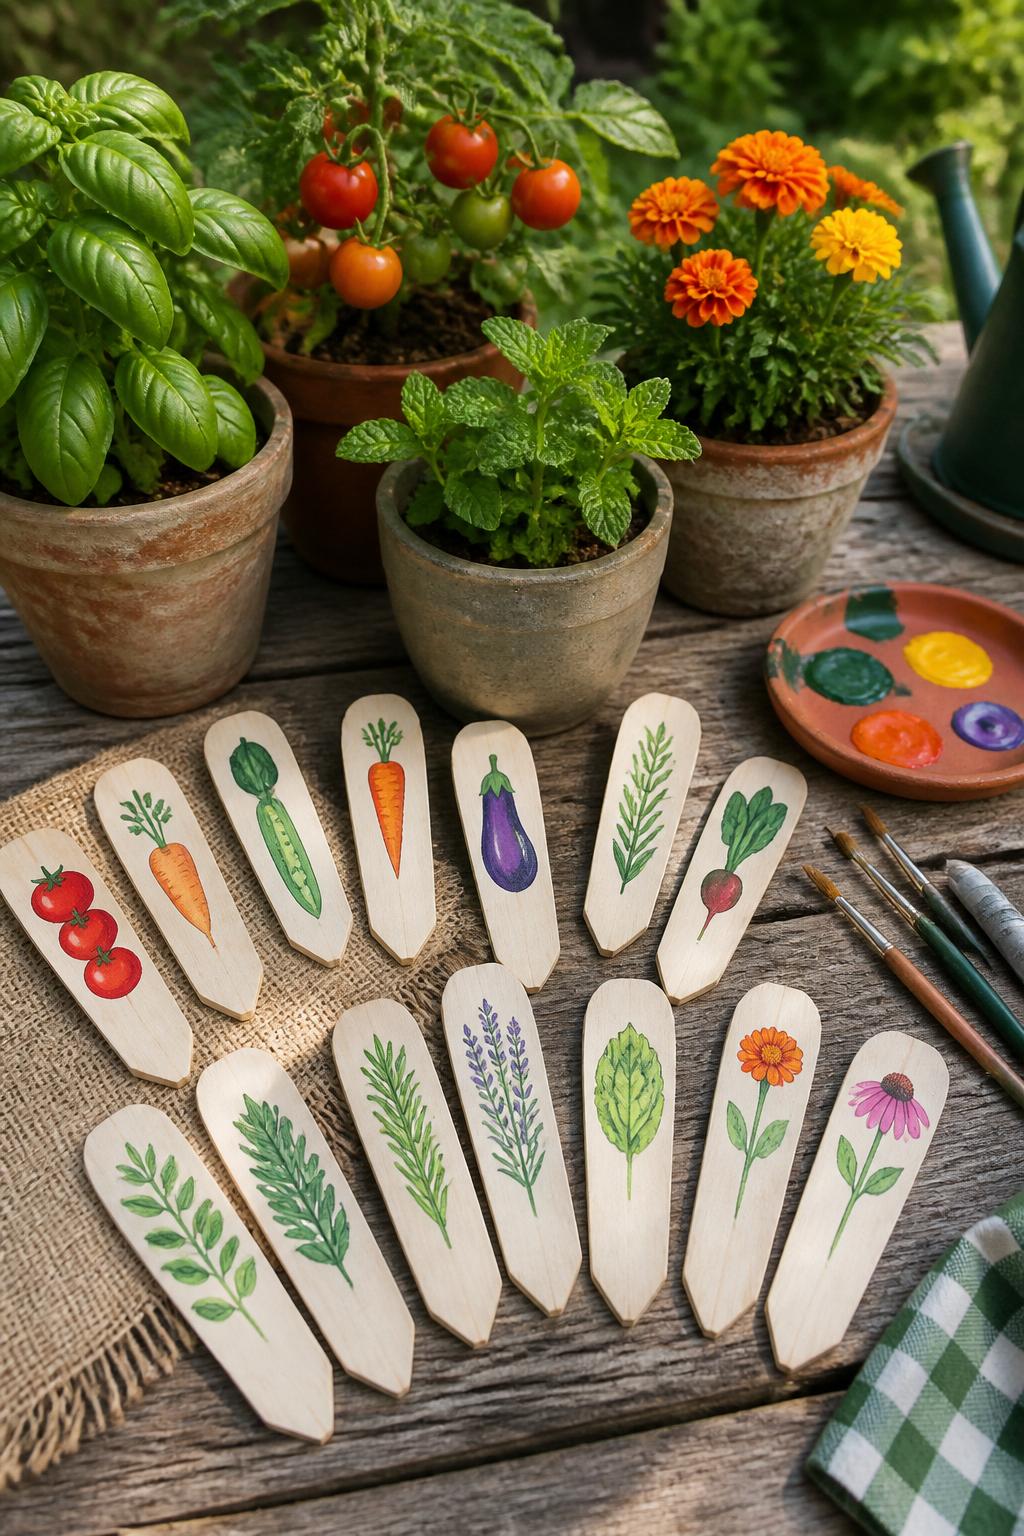
Wooden garden markers are practical and cute, especially for summer herbs, vegetables, and flower beds. Instead of plain labels, painted illustrations make the garden feel more personal and colorful.
Materials Needed:
- Wooden garden stakes or craft sticks
- Acrylic paint
- Paintbrushes
- Pencil
- Clear outdoor sealer
- Sandpaper
- Optional paint pens
Steps To Make:
- Sand the wooden markers lightly.
- Paint a base color or leave the wood natural.
- Add small illustrations of herbs, vegetables, or flowers.
- Use paint pens for tiny details if desired.
- Let the paint dry fully.
- Seal the markers for outdoor use.
- Place them in pots, raised beds, or garden rows.