


Table of Contents Show
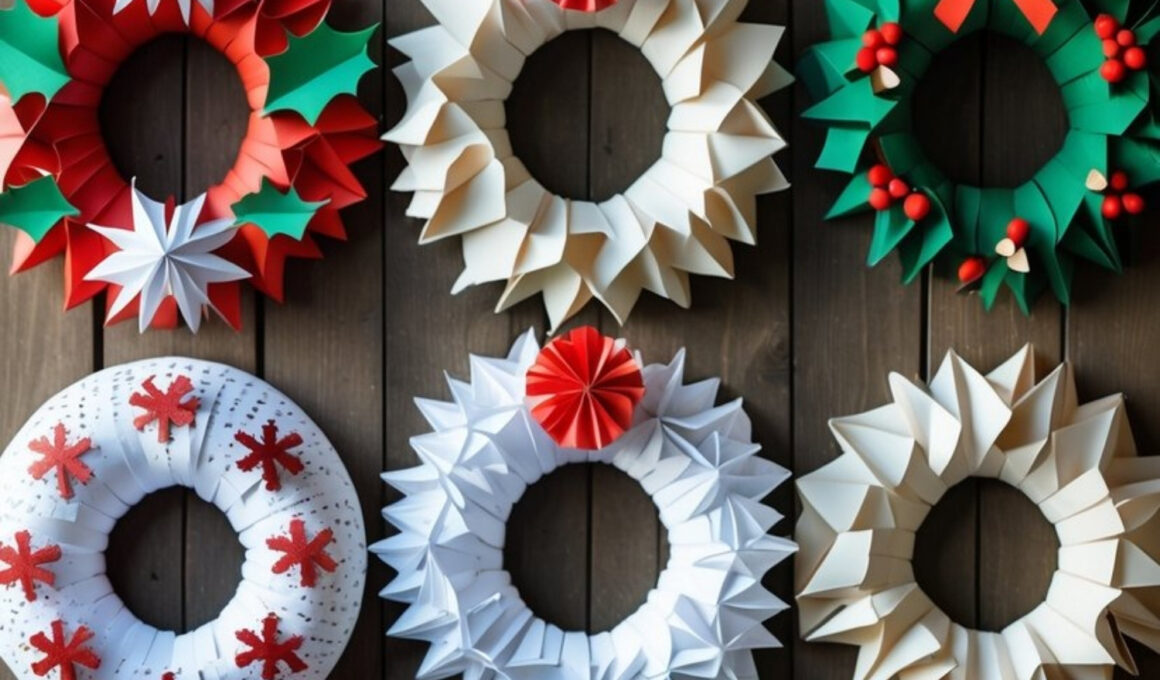
Paper wreaths are a stunning and creative way to decorate your home for the holidays. They look just as festive as traditional evergreen wreaths but are lightweight, affordable, and easy to customize.

With some colorful paper, glue, and a little patience, you can craft beautiful designs that range from simple and modern to intricate and textured. These wreaths are perfect for hanging on doors, walls, or even using as centerpieces.
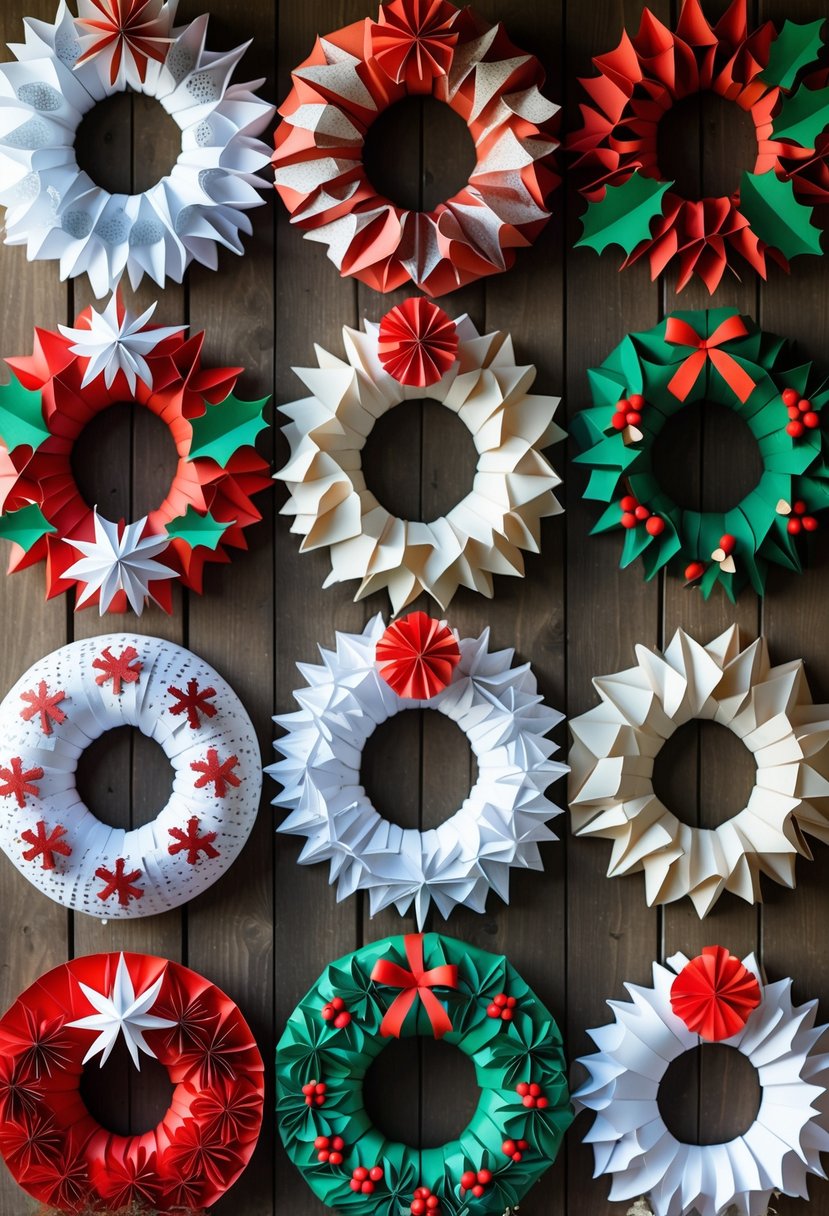
What makes paper wreaths so enjoyable is the endless variety — you can play with colors, folds, and embellishments to match any theme. Try classic Christmas tones like red, green, and white, or go for metallics and neutrals for a more elegant look.
How to Make Paper Wreaths Christmas Craft
Whether you’re crafting with family or making decor for a holiday event, these wreaths add a personal, handmade charm that brightens any space.
For People Who Love to Make Things ✂️
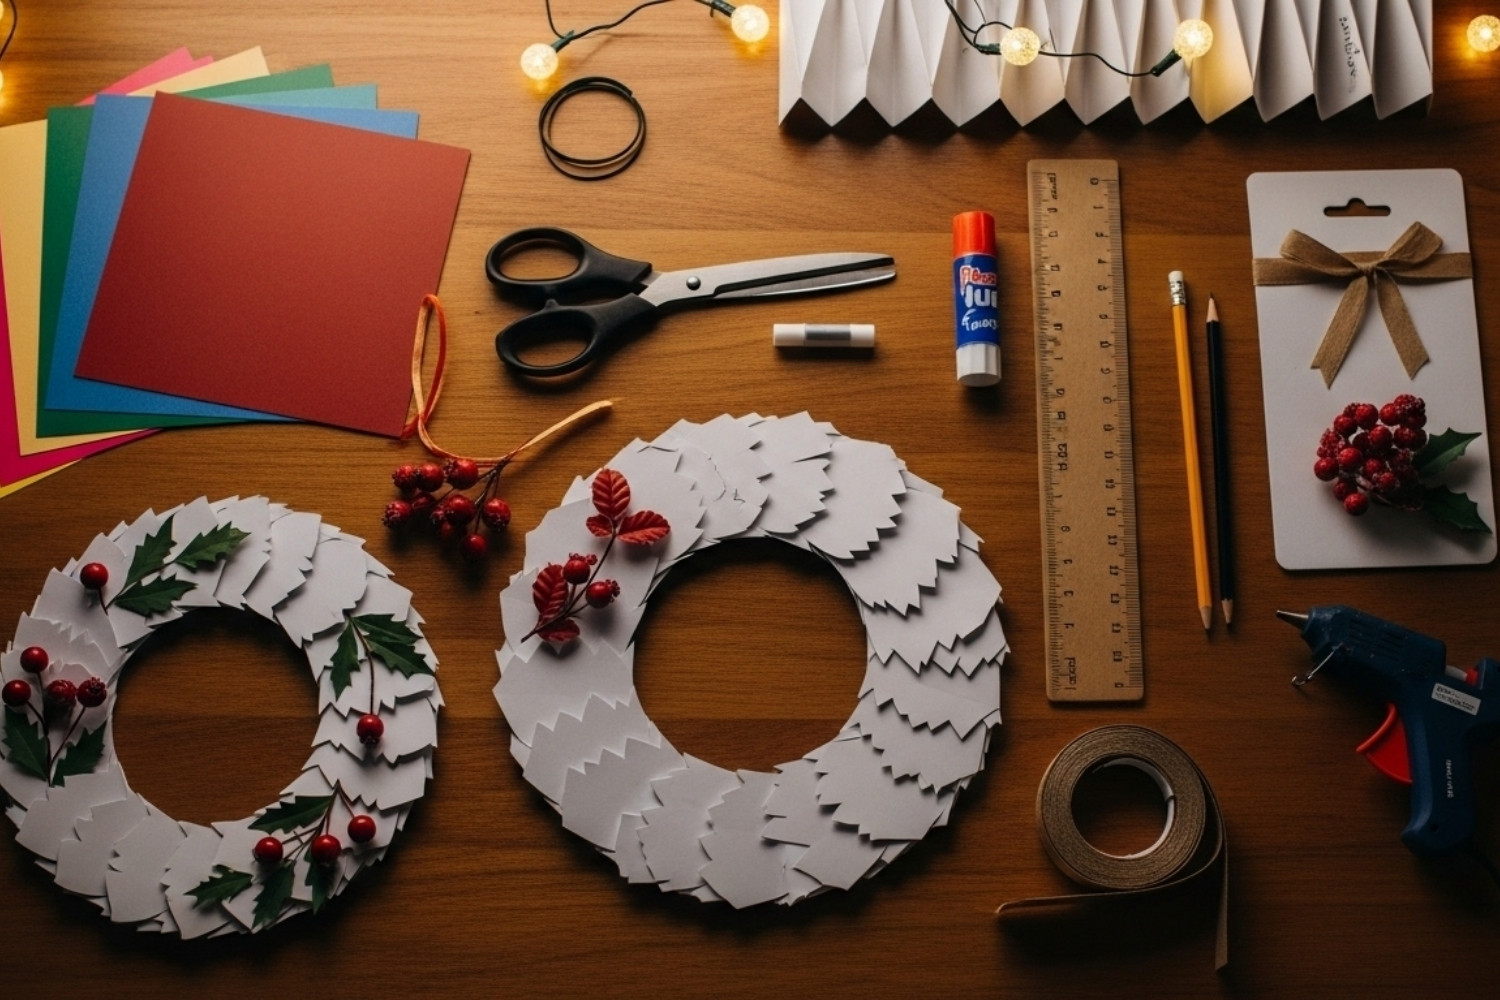
Materials
- Colored or patterned craft paper (red, green, white, gold, or beige)
- Scissors
- Glue stick or hot glue gun
- Cardboard or foam wreath base (optional for support)
- Ruler and pencil
- Ribbon, small bows, or faux berries (optional for decoration)
- Hole punch or stapler (for reinforcement if needed)
Shop the materials


The steps
Step 1: Prepare the Paper Pieces
Start by cutting your paper into strips or shapes, depending on the style of wreath you’d like. For a folded or layered look, use rectangles or squares about 3×5 inches each.
If you’re going for a petal or leaf design, draw and cut out multiple leaf shapes from green or patterned paper. Prepare plenty of pieces — the more you have, the fuller your wreath will look.
Step 2: Create the Base
Cut out a ring shape from sturdy cardboard or use a pre-made foam base. Make sure the inner and outer circles are even so the wreath looks symmetrical. You can paint the base a matching color if you’d like it to blend in better.
If you’re making a hanging wreath without a base, you can skip this step and build your layers directly into a circular form.
Step 3: Shape and Fold the Paper
Depending on your chosen design, fold each piece slightly to give it dimension. For petals or leaves, fold down the center to create a natural curve.
For geometric designs, fold the paper accordion-style or into cone shapes. These folds add volume and give the finished wreath a beautiful 3D look.
Step 4: Attach the Paper Layers
Begin gluing your paper pieces onto the base, starting from the outer edge and working inward. Overlap each layer slightly so the base doesn’t show through. Use alternating colors or patterns for depth and variety.
Continue until you’ve filled the entire circle. Once complete, check for any gaps and add smaller pieces to fill them in.
Step 5: Add Decorative Finishing Touches
Once your wreath is fully covered, you can glue on small details like bows, berries, or paper stars for a festive accent. A small loop of ribbon at the top will make it easy to hang.
If you’re making several, vary their colors and sizes to create a charming holiday wall display.
Let your wreath dry completely before hanging. These paper creations are lightweight, durable, and perfect for reusing year after year — a handmade holiday tradition that never goes out of style