


Table of Contents Show
Keeping kids busy can be tough, especially when you want something simple, fun, and a little educational. If you’re planning a classroom letter-of-the-week, need an easy rainy-day project, or just want to spark creativity, this list is for you.
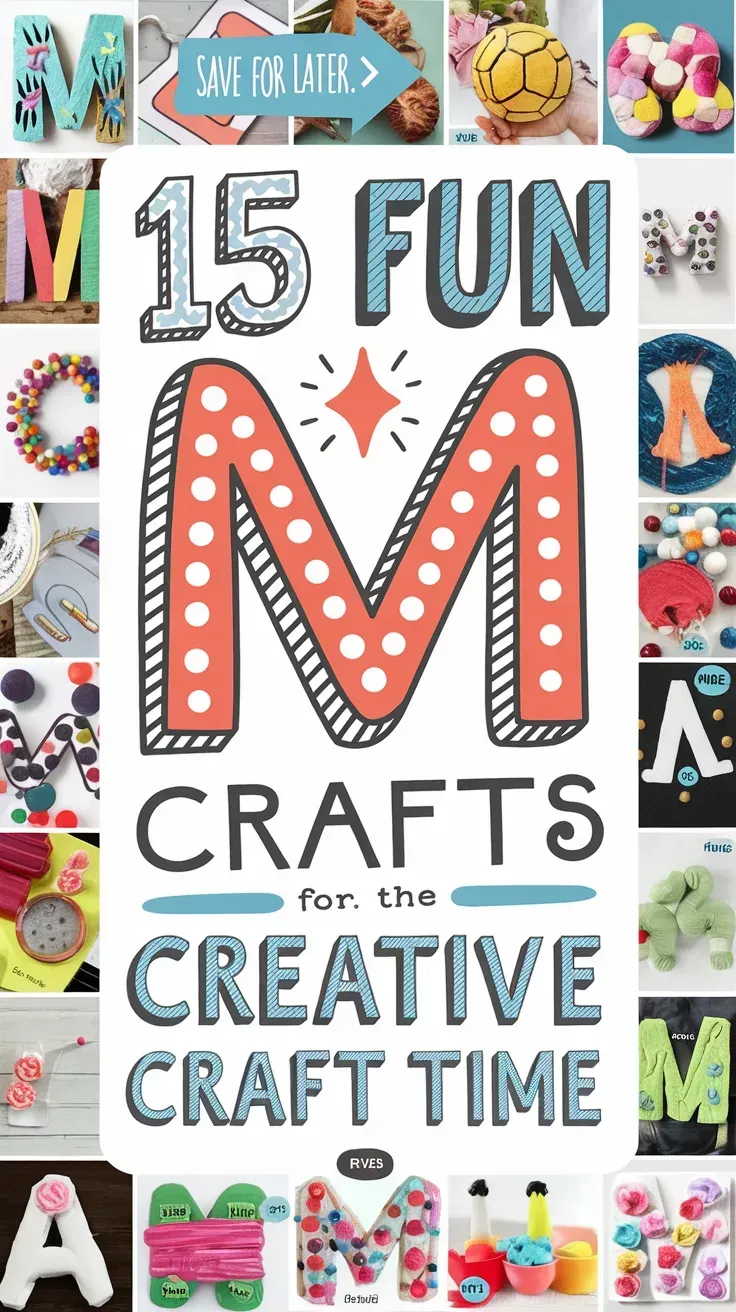
Here are 15 playful Letter M crafts that are hands-on and easy to set up.
You’ll find projects that help kids recognize the letter while making memorable art. Let’s jump into the “M” magic!
1. Paper Plate Letter M Moose
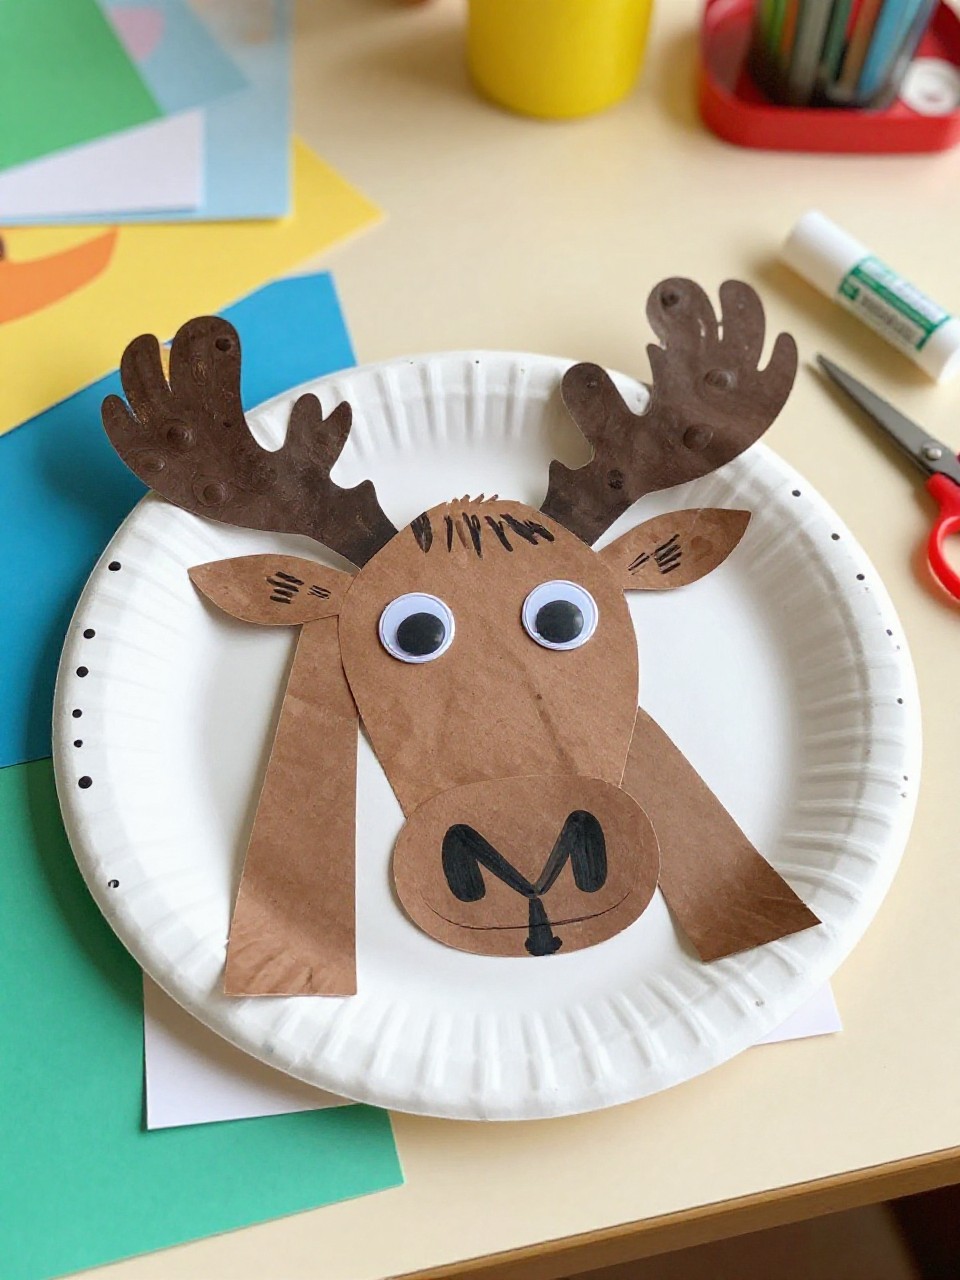
This craft turns a paper plate and a big cut-out M into a friendly moose face with antlers. Kids love choosing goofy eye spots and drawing a smile, and the simple shapes make it beginner-friendly.
Materials Needed:
For People Who Love to Make Things ✂️
- Paper plate
- Brown construction paper
- Googly eyes
- Glue stick
- Marker or crayon
How to make it:
- 1. Cut a large letter M from brown paper and glue it across the bottom of the plate as the moose’s snout.
- 2. Cut two handprint antlers from brown paper and glue them on top of the plate.
- 3. Add googly eyes above the M and draw nostrils and a smile on the M.
- 4. Let it dry, then hang on a wall or classroom display.
2. Handprint M Monster
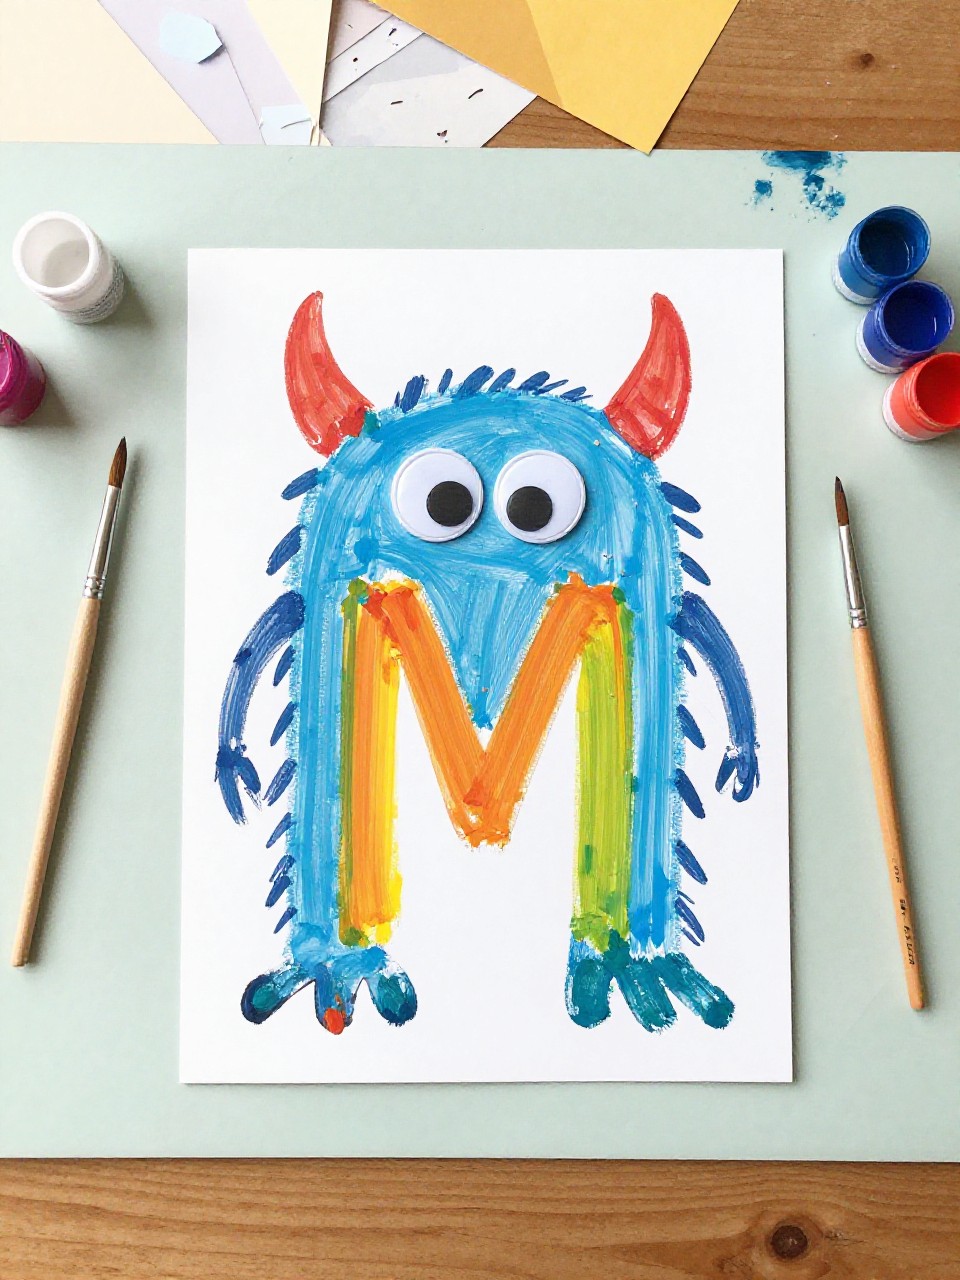
A bold letter M becomes a silly, friendly monster topped with bright handprint “hair.” Kids enjoy choosing colors, adding teeth, and sticking on as many eyes as they want.
Materials Needed:
- Bright construction paper
- Washable paint (for handprints)
- Googly eyes
- Glue stick
- White paper for teeth
How to make it:
- 1. Cut a big letter M from colored paper and glue it to a background sheet.
- 2. Paint hands and press two handprints on top of the M as wild hair or horns.
- 3. Add googly eyes, paper teeth, and spots or stripes with markers.
- 4. Let the paint dry flat, then display.
3. M is for Mouse Collage
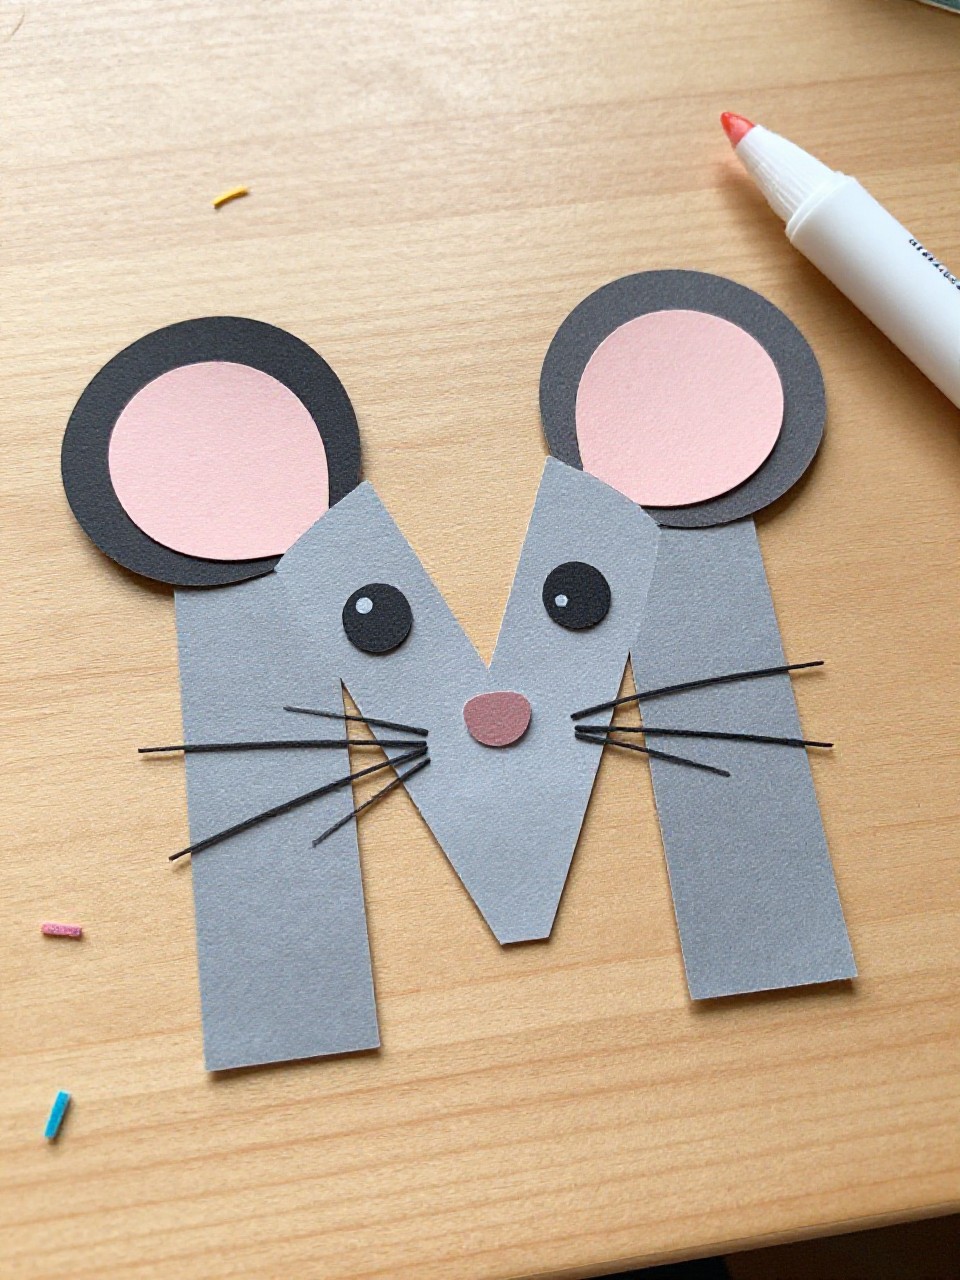
A chunky M shape becomes a cute mouse with a pink nose, whiskers, and big round ears. Kids like the simple collage steps and the chance to place ears and whiskers in funny ways.
Materials Needed:
- Gray and pink construction paper
- Black yarn or thin paper strips (for whiskers)
- Googly eyes
- Glue stick
- Crayon for details
How to make it:
- 1. Cut a large gray letter M and glue it to a white background.
- 2. Add two pink-and-gray layered circles as ears behind the top of the M.
- 3. Glue on eyes, a small pink nose, and yarn whiskers.
- 4. Draw a tail curling off the side and let it dry.
4. Marshmallow Mosaic M
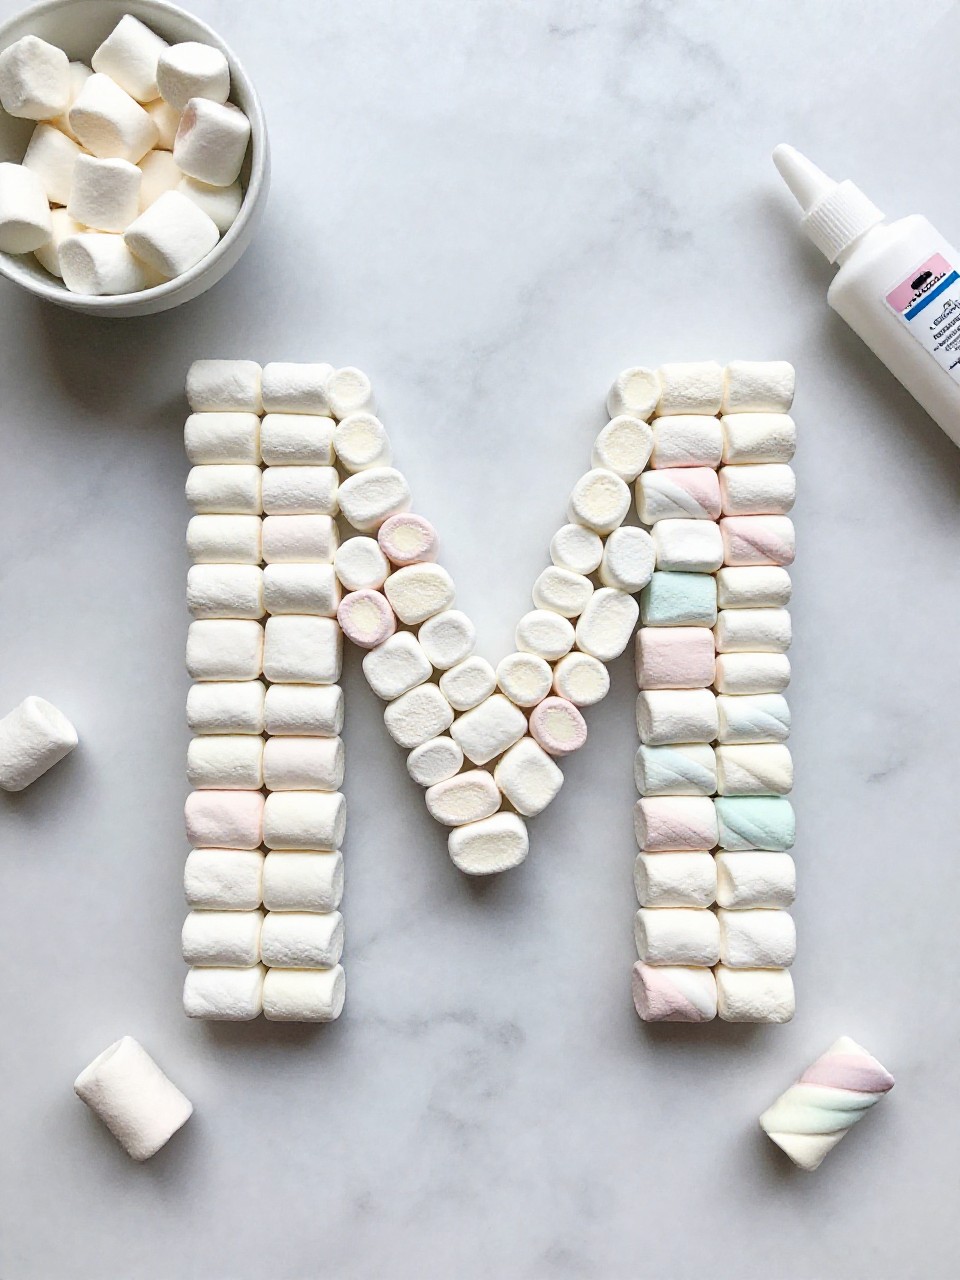
Mini marshmallows line a bold M to make a puffy, tactile mosaic. Kids enjoy the squishy texture and the satisfying rows, and you can color some marshmallows with food coloring for added fun.
Materials Needed:
- Cardstock with a large outlined M
- Mini marshmallows
- White glue
- Optional food coloring and zip bag
- Wax paper (for drying)
How to make it:
- 1. Outline or print a big M on cardstock.
- 2. If desired, tint marshmallows by shaking with a drop of food coloring in a bag; let dry on wax paper.
- 3. Add glue along the M and press marshmallows in rows.
- 4. Let it dry flat before displaying upright.
5. Masking Tape Resist M Painting
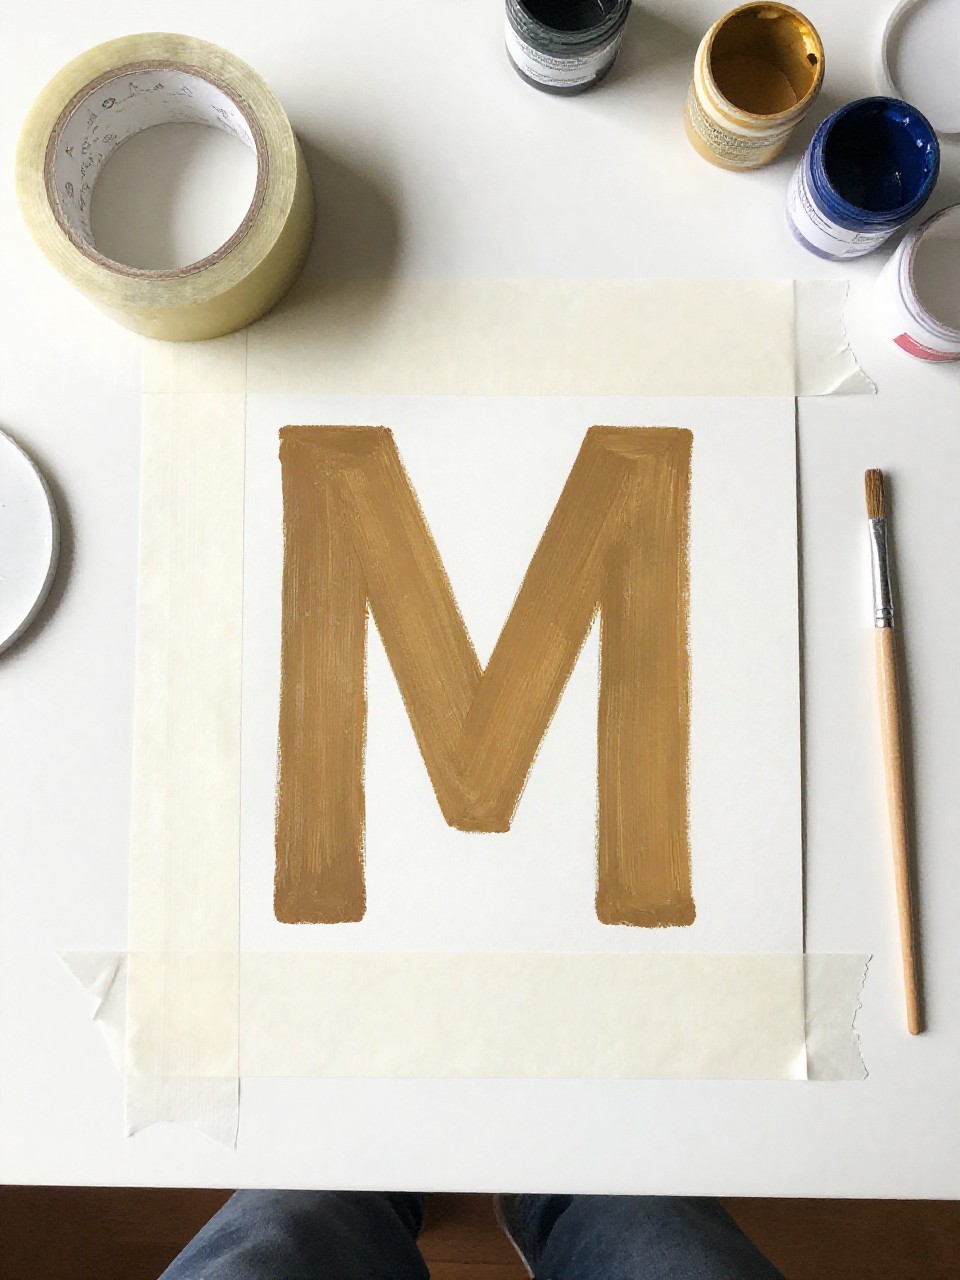
Tape a big M on paper, paint over it, then peel to reveal a crisp white M. Kids love the reveal moment and the freedom to blend colors, dots, or stripes.
Materials Needed:
- Thick paper or canvas board
- Masking tape or painter’s tape
- Washable tempera or watercolor
- Paintbrush or sponge
- Paper towel
How to make it:
- 1. Use masking tape to form a large letter M on the paper.
- 2. Paint the entire page in patterns or blended colors.
- 3. Let it dry slightly, then carefully peel the tape to uncover the M.
- 4. Press flat if needed and hang to show off the sharp letter lines.
6. Popsicle Stick M Magnet
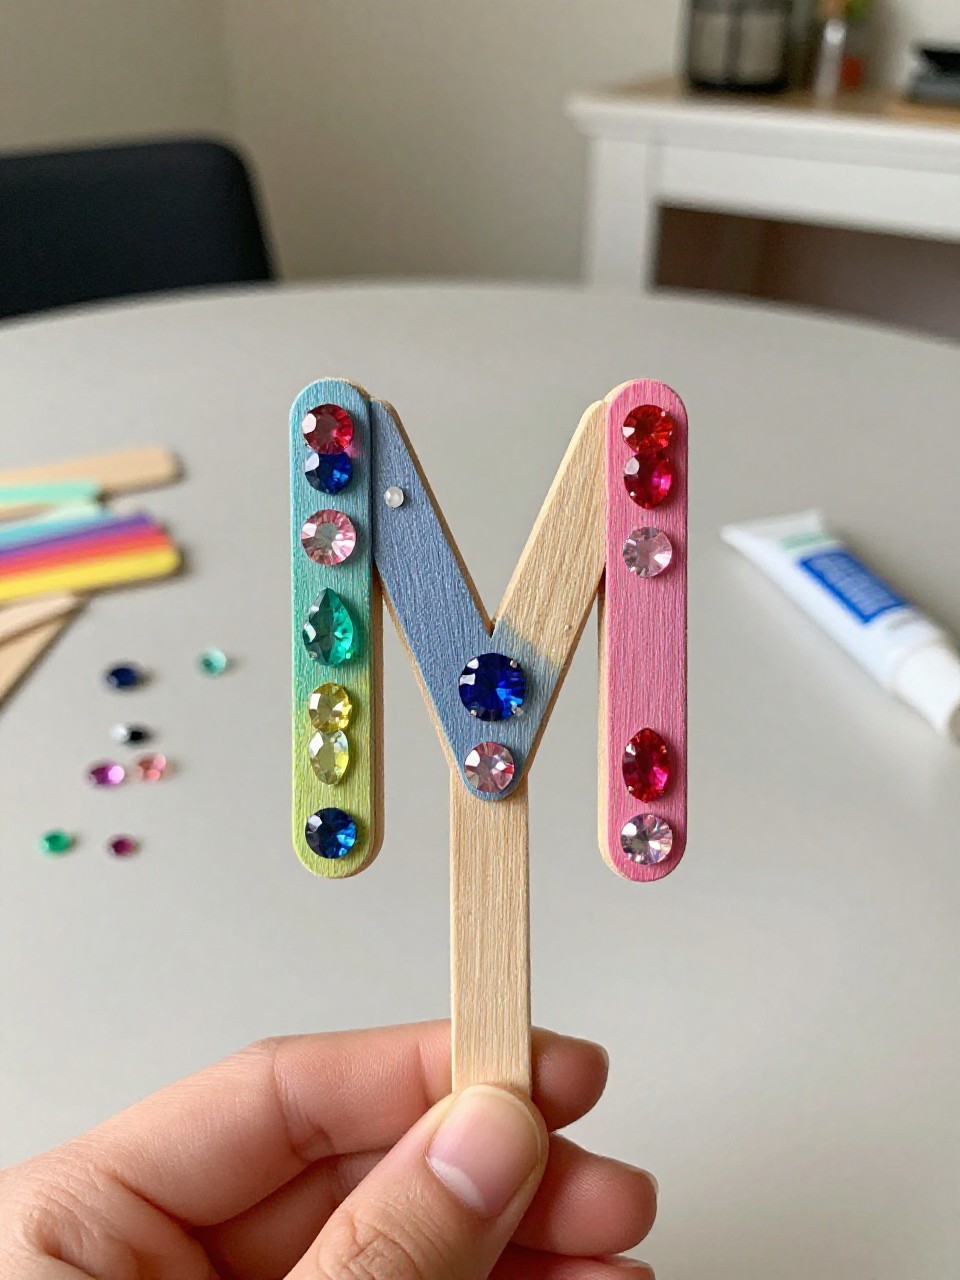
Four colorful craft sticks form a sturdy M that becomes a fridge magnet. Kids like choosing colors and decorating with dots, gems, or washi tape.
Materials Needed:
- 4 popsicle sticks
- Acrylic paint or markers
- White glue or hot glue (adult help)
- Small adhesive magnet strip
- Stickers or gems
How to make it:
- 1. Paint or color four sticks and let them dry.
- 2. Glue two sticks vertical and two angled to make an M shape.
- 3. Add stickers, gems, or patterns with markers.
- 4. Attach a magnet strip to the back and place on the fridge.
7. M is for Moon Foil Print
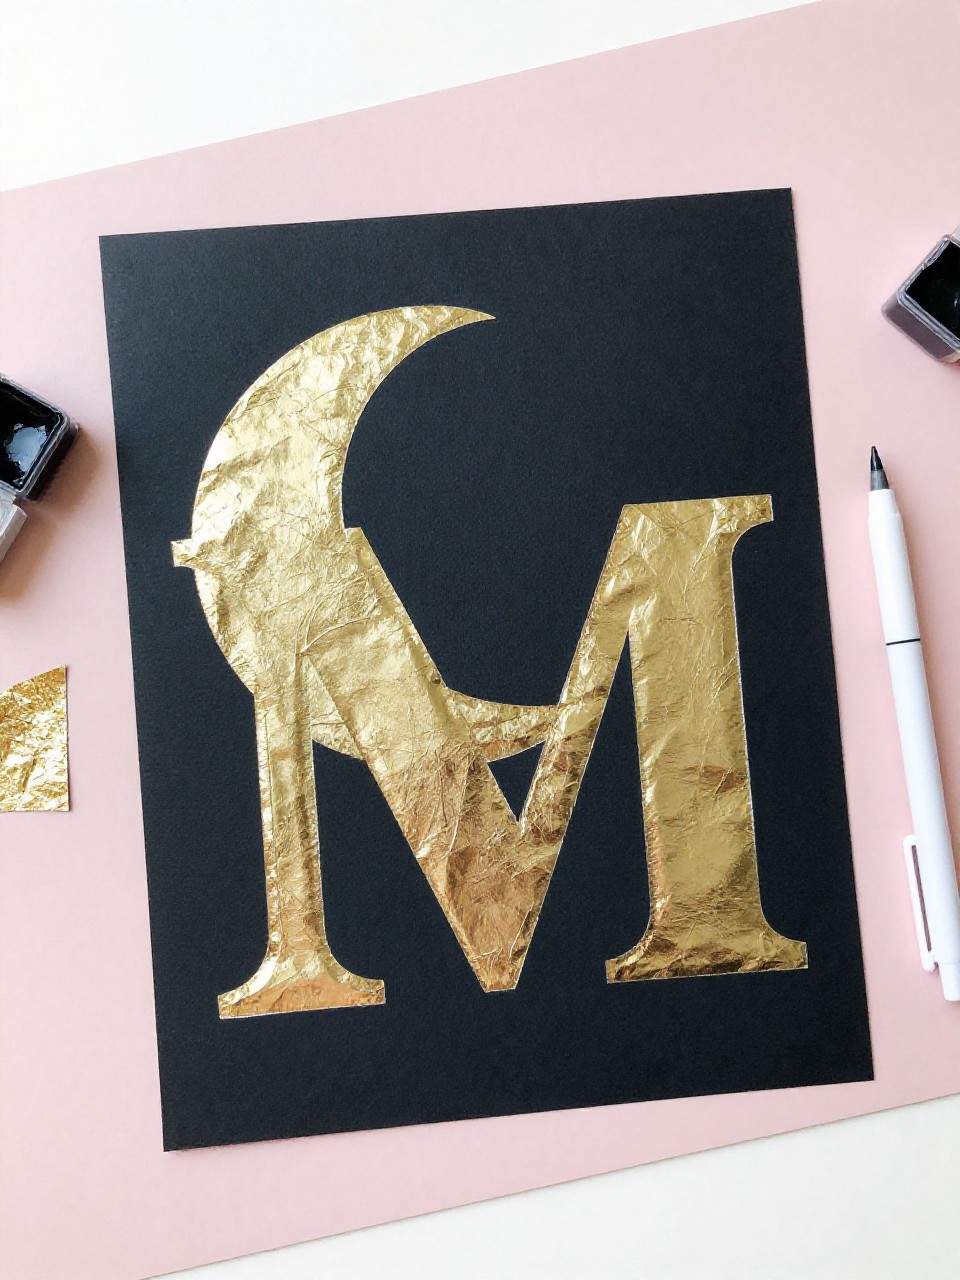
Crumpled foil makes a textured moon on a night-sky page with a bold M title. Kids enjoy stamping craters and sprinkling stars for a dreamy look.
Materials Needed:
- Dark blue or black paper
- Aluminum foil
- White or silver paint
- White crayon or gel pen
- Glue stick for title M
How to make it:
- 1. Cut a large letter M and glue it at the top labeled “M is for Moon.”
- 2. Crumple foil into a pad, dip in white/silver paint, and stamp a round moon shape.
- 3. Add tiny star dots with crayon or gel pen.
- 4. Let paint dry and display as space art.
8. Muffin Cup Flower M
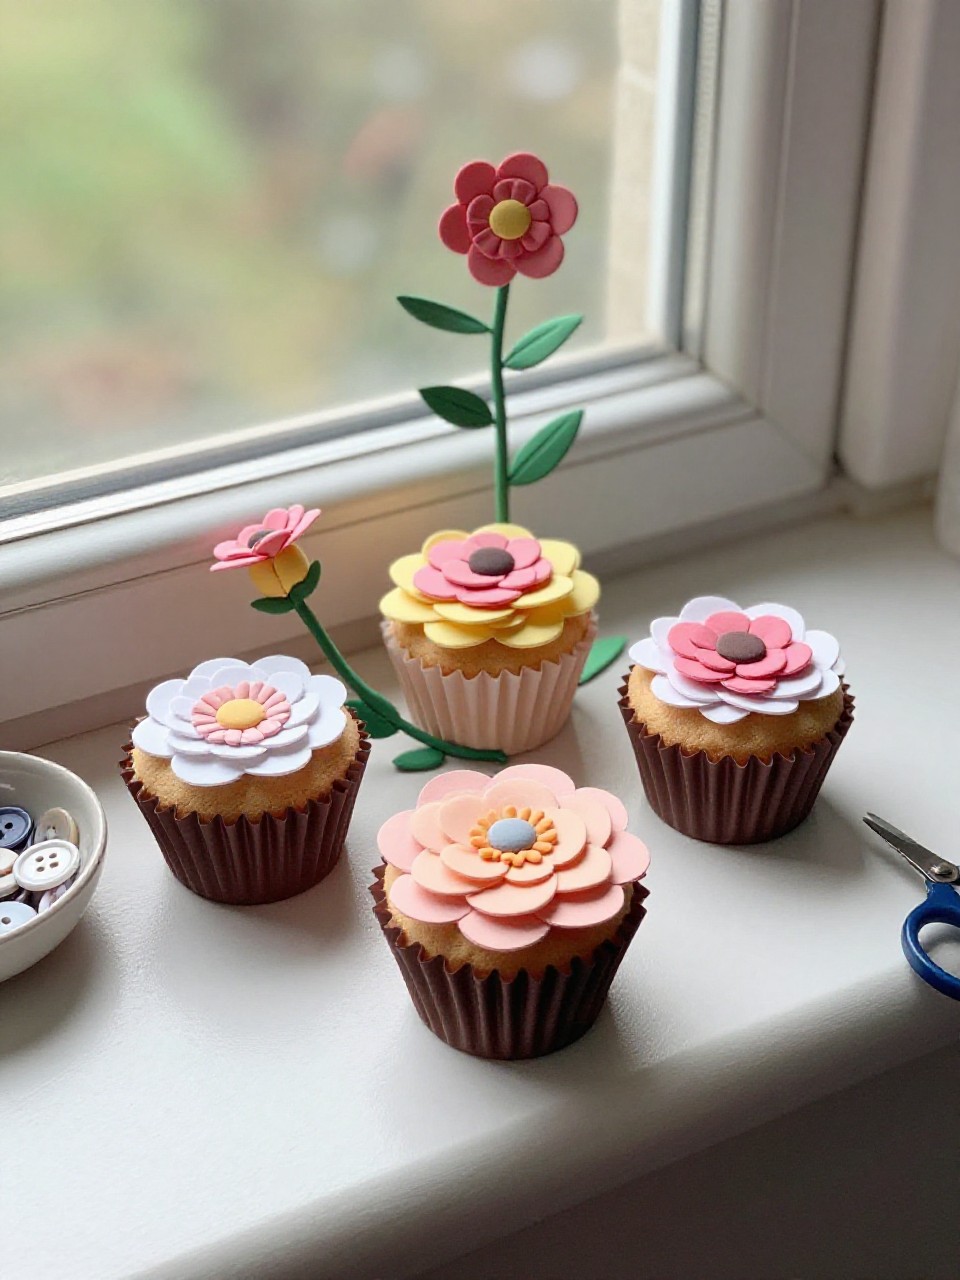
Flattened muffin cups become bright flowers climbing along a large M vine. Kids like arranging colors and layering cups for a 3D garden feel.
Materials Needed:
- Large paper with a traced M
- Colorful muffin/cupcake liners
- Green construction paper (stems/leaves)
- Glue stick
- Buttons or pom-poms (flower centers)
How to make it:
- 1. Draw or glue a large M on your background.
- 2. Flatten liners and glue them along the M as flower heads.
- 3. Add green leaves and stems that follow the M’s lines.
- 4. Glue buttons or pom-poms in centers and let dry.
9. Magazine Strip M Collage
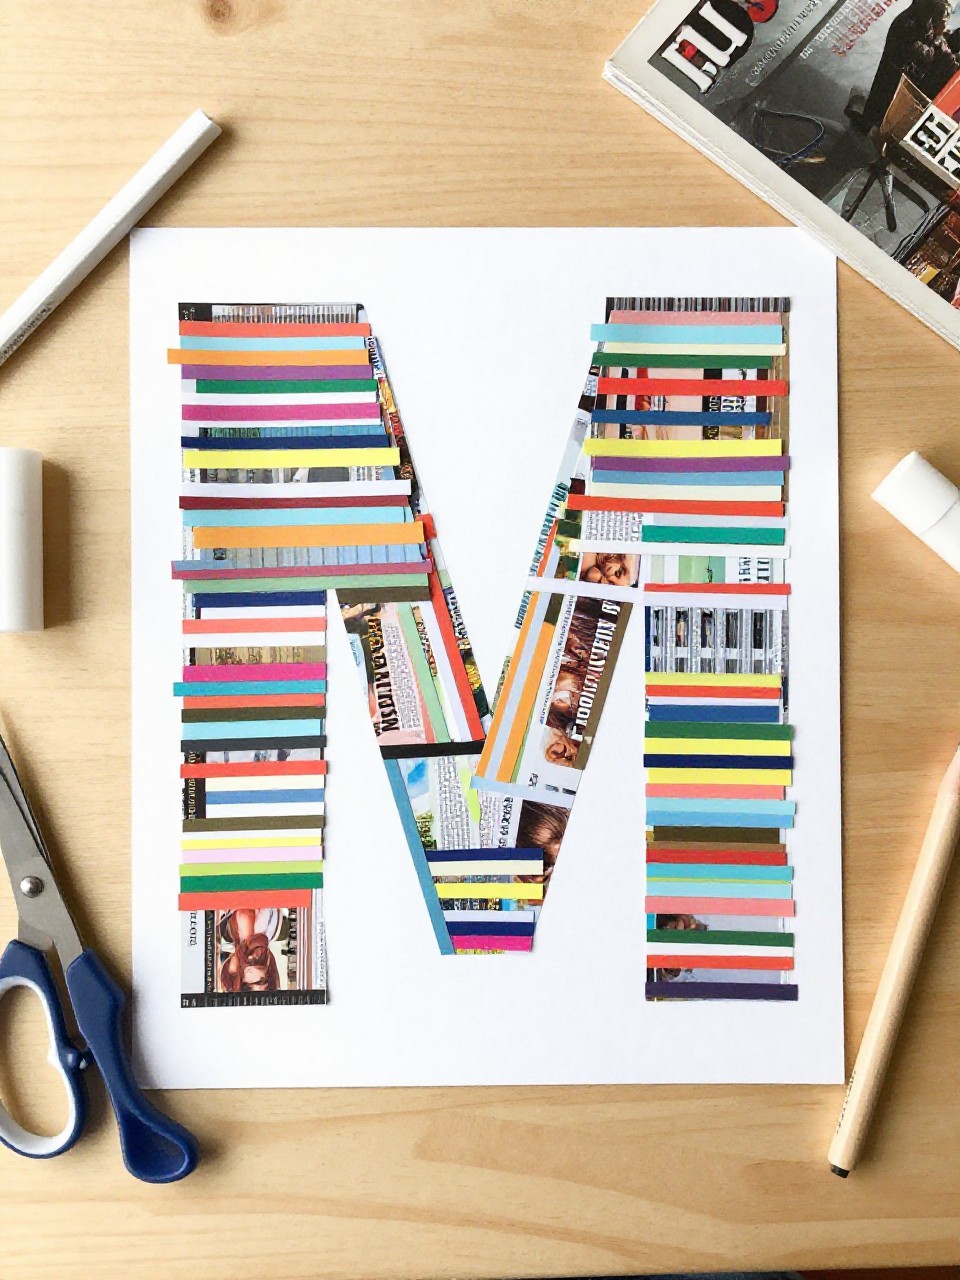
Cut colorful strips from old magazines and fill a big M for a bold, recycled look. Kids love hunting for colors, patterns, and letters to layer into a unique design.
Materials Needed:
- Cardstock with a large M drawn
- Old magazines
- Scissors
- Glue stick
- Ruler (optional for neat strips)
How to make it:
- 1. Draw a large block M and lightly outline it in pencil.
- 2. Cut magazine pages into strips and glue them side by side inside the M.
- 3. Trim excess around the M edges for a clean border.
- 4. Press flat under a book and then display.
10. M Shaped Monster Headband
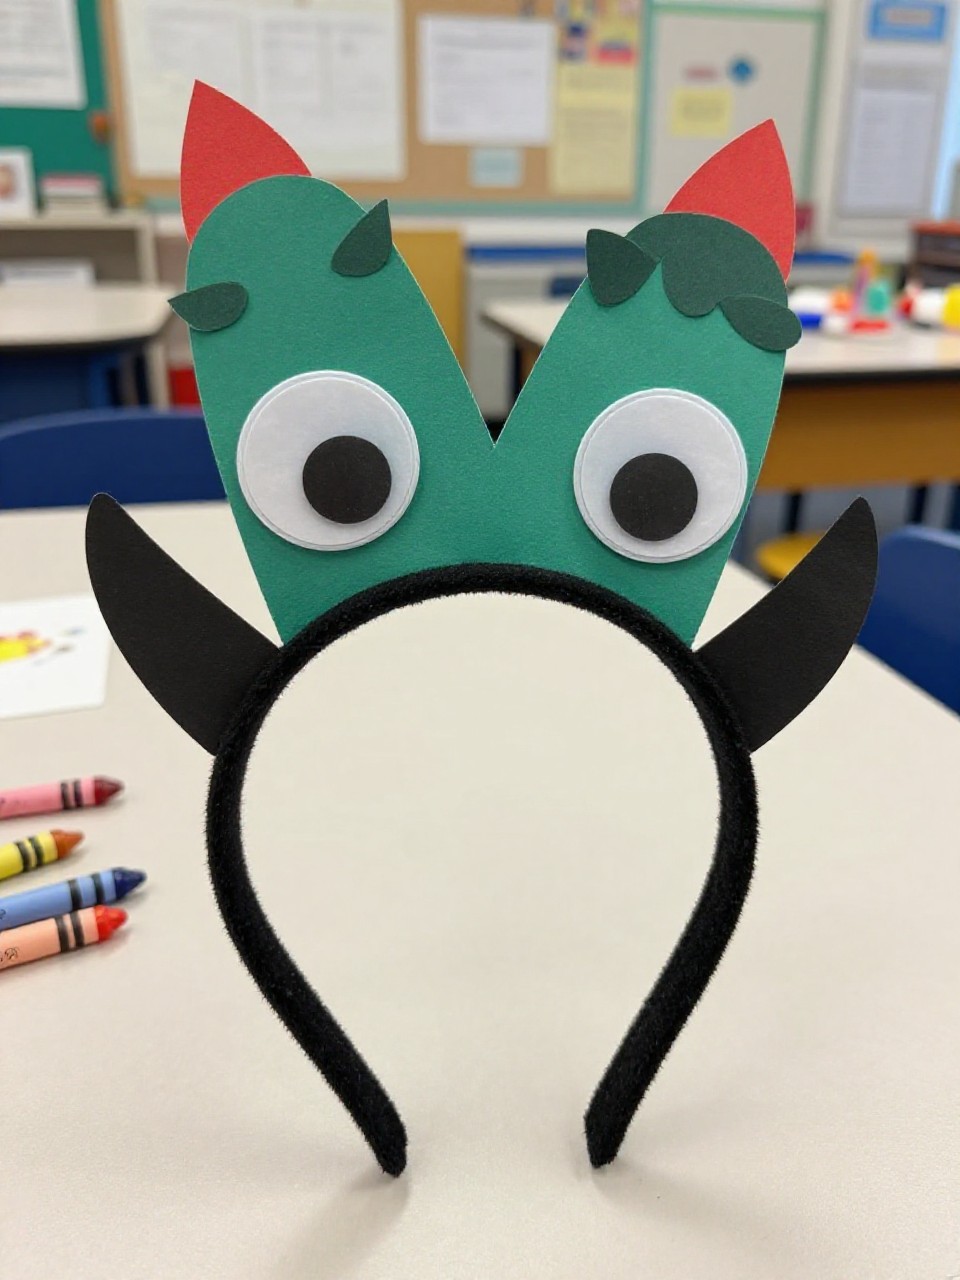
A simple paper headband features a standing M as silly monster horns. Kids enjoy wearing their creation and adding eyes, spikes, and glitter for personality.
Materials Needed:
- Construction paper
- Stapler or tape
- Googly eyes
- Markers and stickers
- Optional glitter glue
How to make it:
- 1. Cut a long paper strip to fit the head and staple/tape into a band.
- 2. Cut a sturdy letter M and attach it upright at the front center.
- 3. Decorate with eyes, teeth, spikes, and spots.
- 4. Let any glue dry, then wear and march like a monster.
11. Mask Craft: Paper M Masquerade
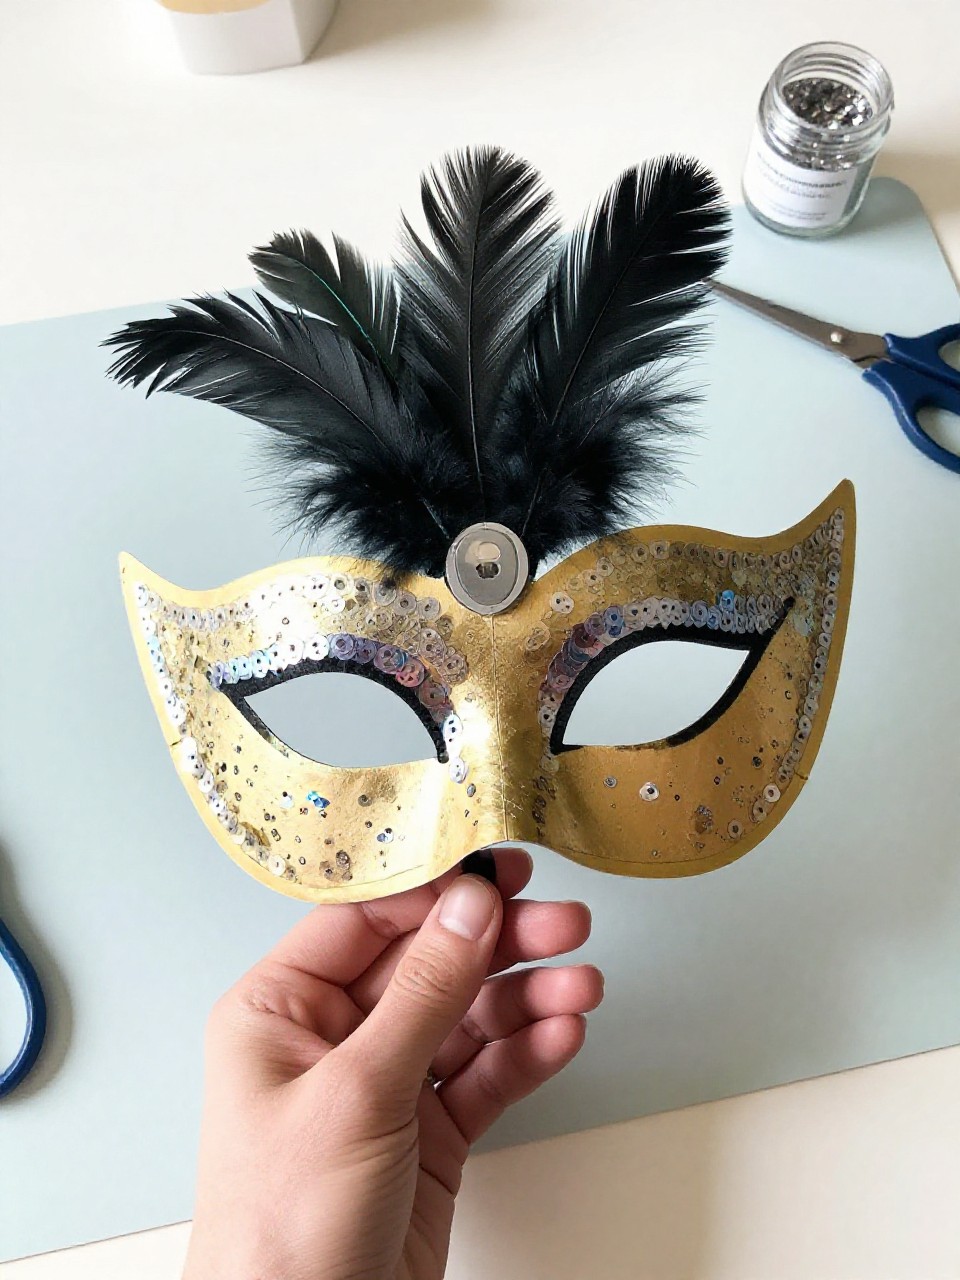
Make a simple masquerade mask that’s literally shaped like the letter M. Kids like peeking through the inner arches and decorating with sequins, feathers, or bold patterns.
Materials Needed:
- Cardstock in bright color
- Pencil and scissors
- Elastic cord or ribbon
- Markers, sequins, feathers
- Glue
How to make it:
- 1. Fold cardstock and draw a symmetrical M that will cover the eyes; cut it out.
- 2. Cut eye holes under the inner arches so you can see through.
- 3. Decorate with patterns, sequins, or feathers.
- 4. Punch side holes, tie elastic, and try on the M mask.
12. Marble Roll Painted M
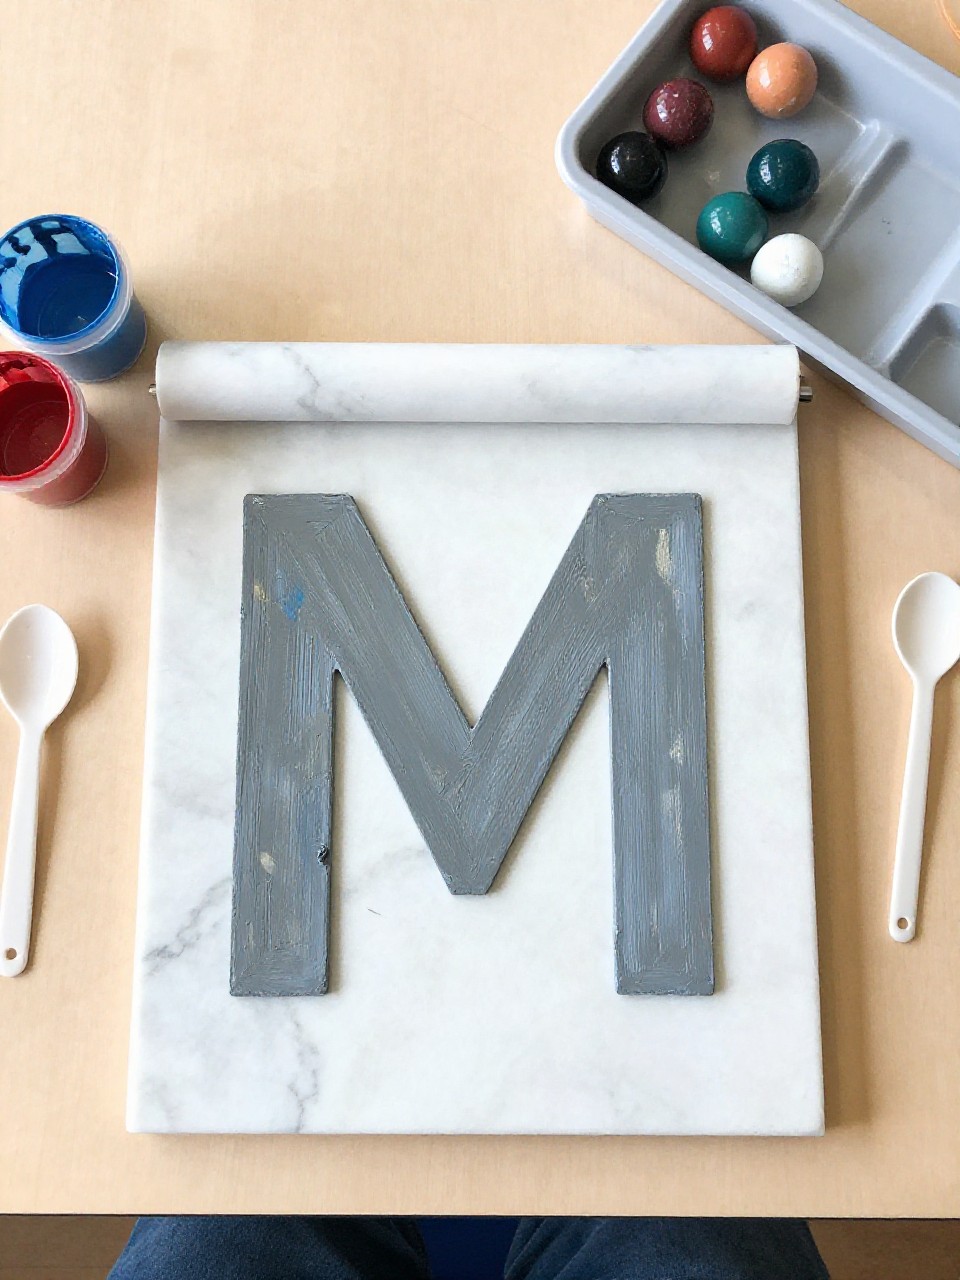
Roll marbles in paint across a tray to streak colors over a big M cutout. Kids love the motion and surprise patterns as the marbles zigzag around.
Materials Needed:
- Shallow tray or box lid
- White paper with a large M cutout or outline
- Washable paint in small cups
- Marbles
- Spoon or tongs
How to make it:
- 1. Place the paper with M inside the tray.
- 2. Dip marbles in paint and drop them in, then tilt the tray to roll.
- 3. Continue with different colors until the M is coated in streaks.
- 4. Let dry, then mount on colored paper.
13. M is for Mittens Garland
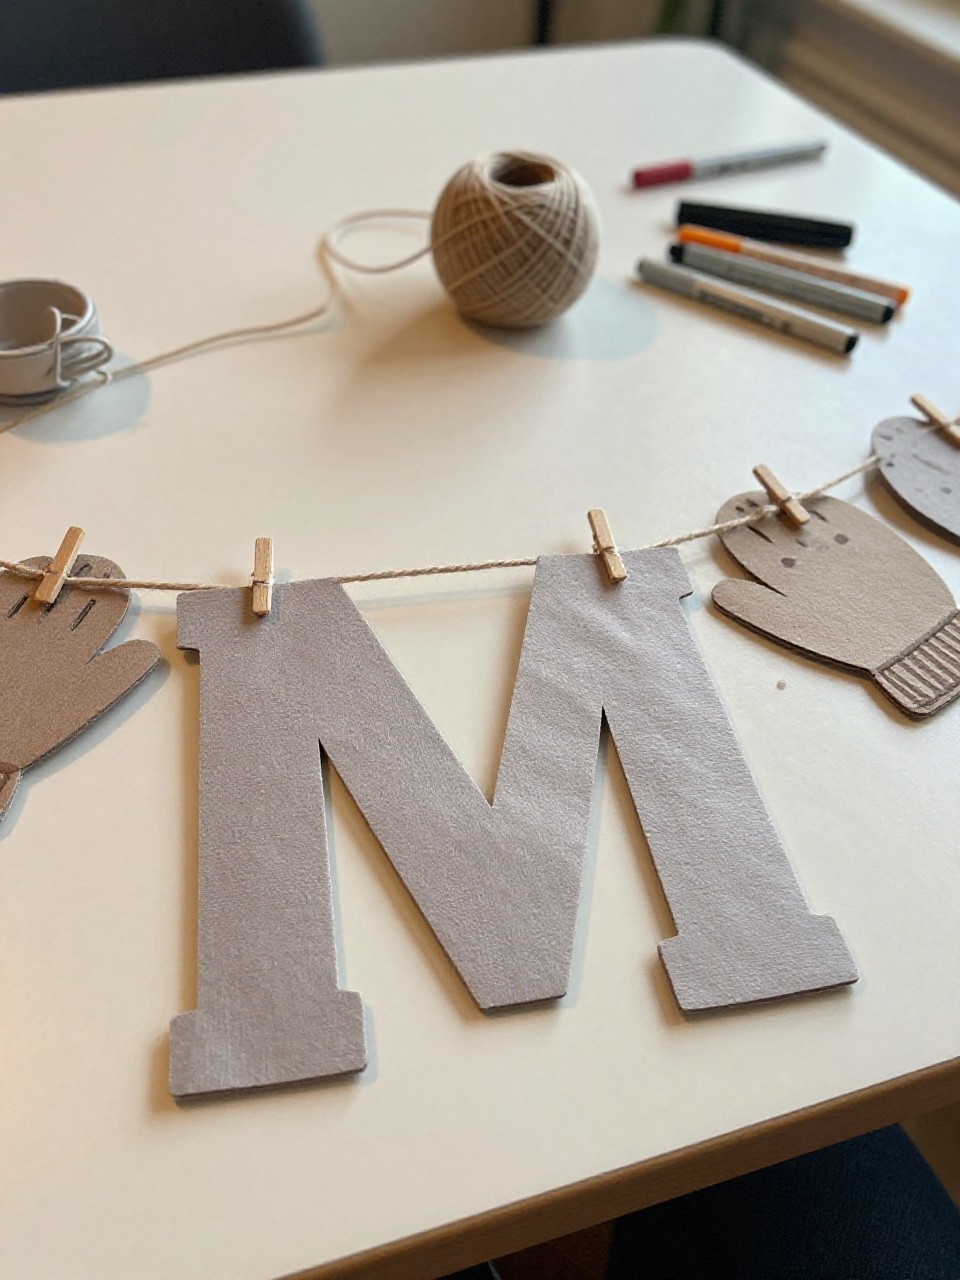
Create a winter garland where each mitten has a letter, spelling a big M at the center. Kids enjoy mixing patterns and hanging their cozy banner.
Materials Needed:
- Colored cardstock
- Yarn or twine
- Hole punch
- Markers, cotton balls (cuffs)
- Clothespins or tape
How to make it:
- 1. Cut mitten shapes and write a large M on the center pair.
- 2. Decorate with stripes, snowflakes, and glue-on cotton cuffs.
- 3. Punch holes or use clothespins to attach mittens to twine.
- 4. Hang across a doorway or bulletin board.
14. M Mountain Landscape Collage
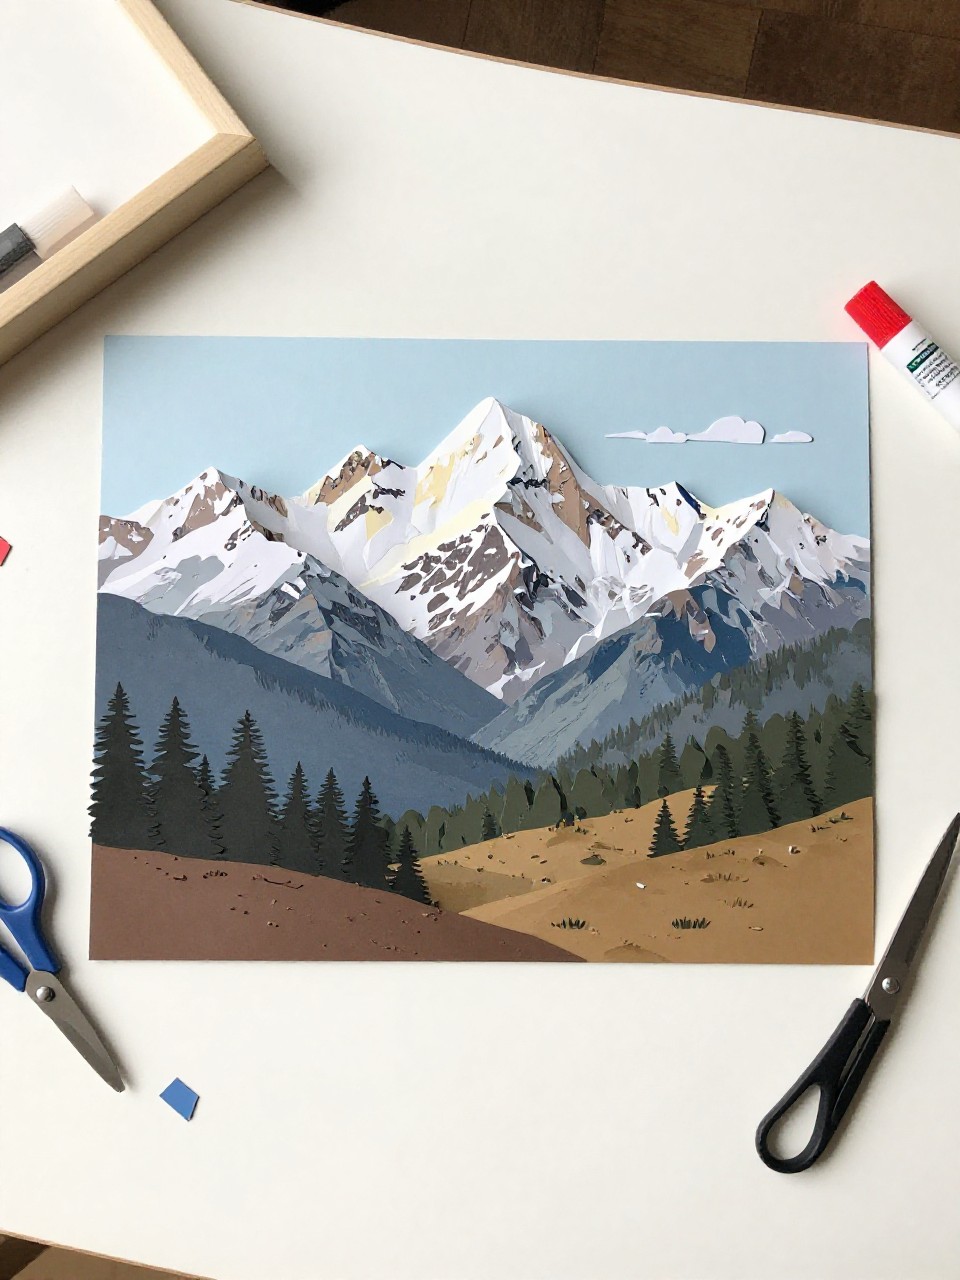
Build a layered paper scene with tall M-shaped mountains and snowy tips. Kids love choosing sky colors and gluing on tiny trees or a sun.
Materials Needed:
- Construction paper in blues, greens, grays
- Scissors
- Glue stick
- Cotton balls or white paper (snow caps)
- Crayons for details
How to make it:
- 1. Cut large M-shaped mountains from gray paper.
- 2. Glue them onto a blue sky background with a green ground strip.
- 3. Add snow caps, trees, and a sun with paper or crayons.
- 4. Press flat and display the dramatic M peaks.
15. Macaroni Letter M Sculpture
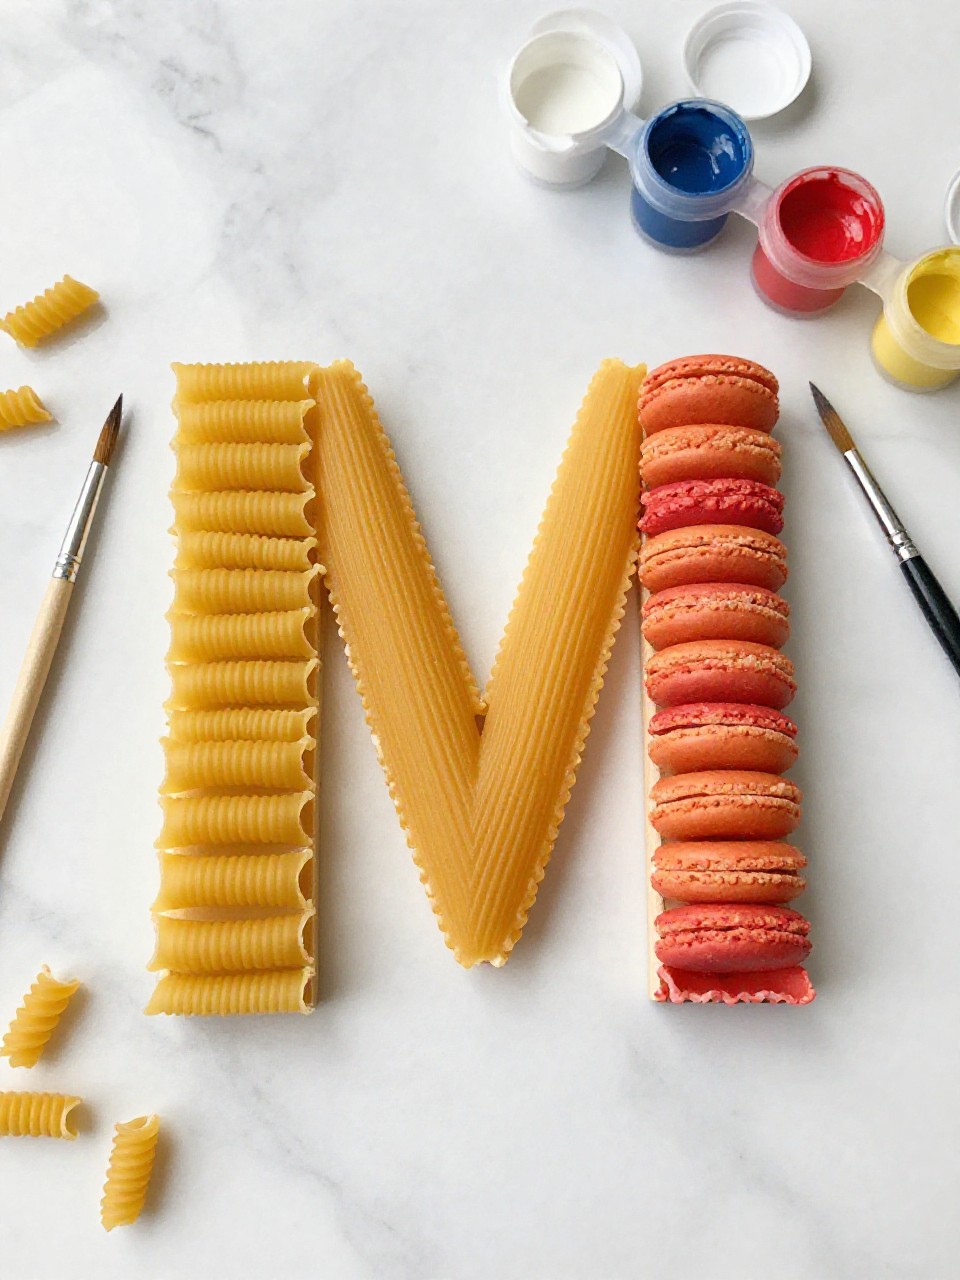
Use dry macaroni to build a chunky 3D letter M on cardboard, then paint it. Kids enjoy the tactile gluing and the big reveal when the paint unifies the noodles.
Materials Needed:
- Cardboard rectangle
- Pencil to sketch M
- Dry macaroni or mixed pasta
- White glue
- Acrylic paint and brush
How to make it:
- 1. Sketch a large M on cardboard.
- 2. Squeeze glue along the lines and press macaroni to form the M.
- 3. After it dries, paint the pasta and add patterns or a metallic finish.
- 4. Let dry fully and stand it up like a mini sign.