

Table of Contents Show
Keeping kids busy with something fun and simple can be tough, especially on rainy days or during quiet classroom time. If you’re teaching the alphabet or just need a creative filler, these easy Letter Y crafts make learning hands-on and cheerful.
Each idea turns the letter Y into a playful project kids can see and touch. Use this list to spark quick prep, low-mess activities that build letter recognition.
Let’s jump into 15 cute Letter Y crafts kids will love.
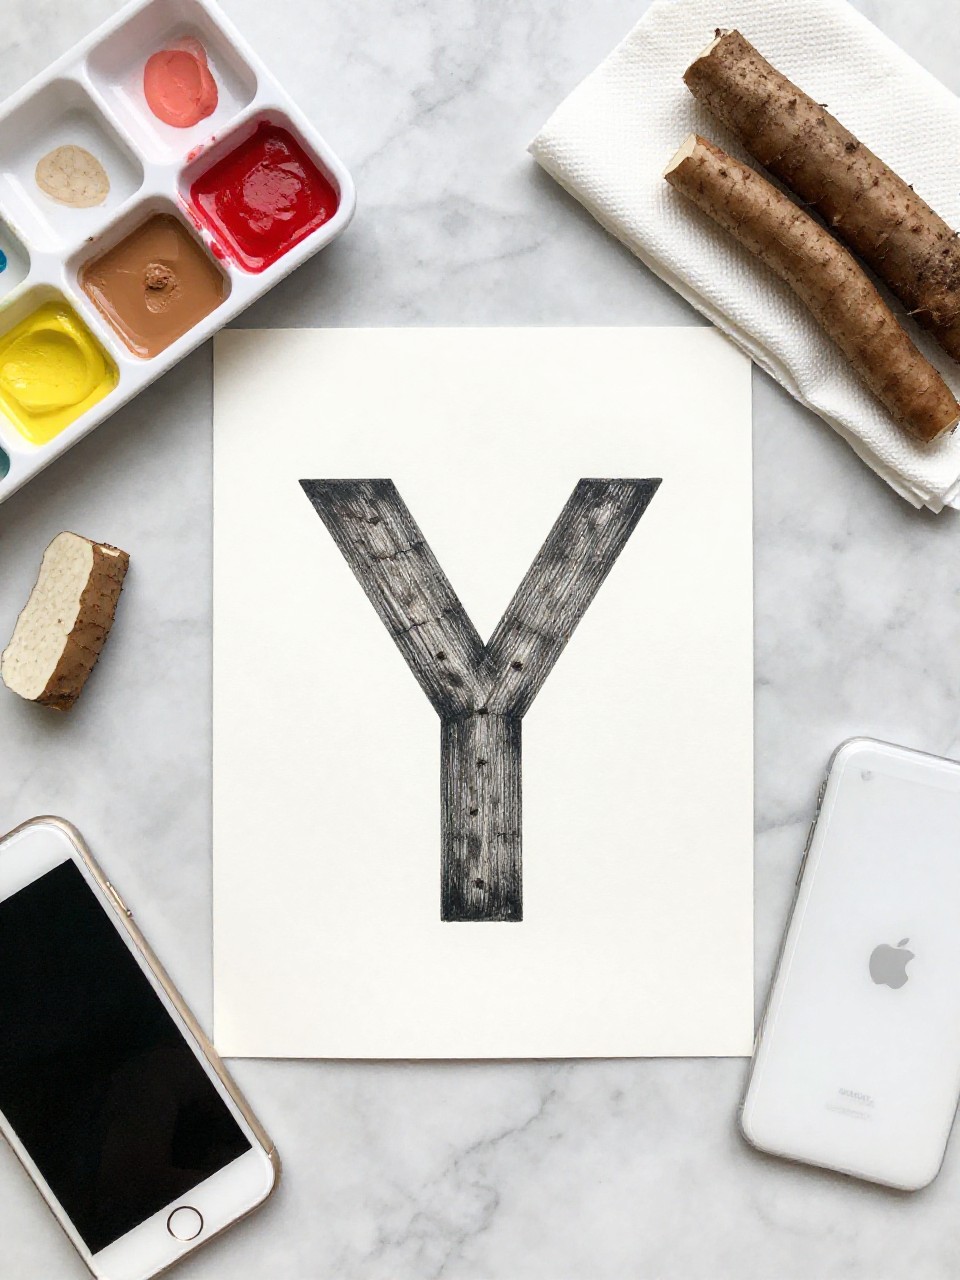
1. Yarn-Wrapped Letter Y
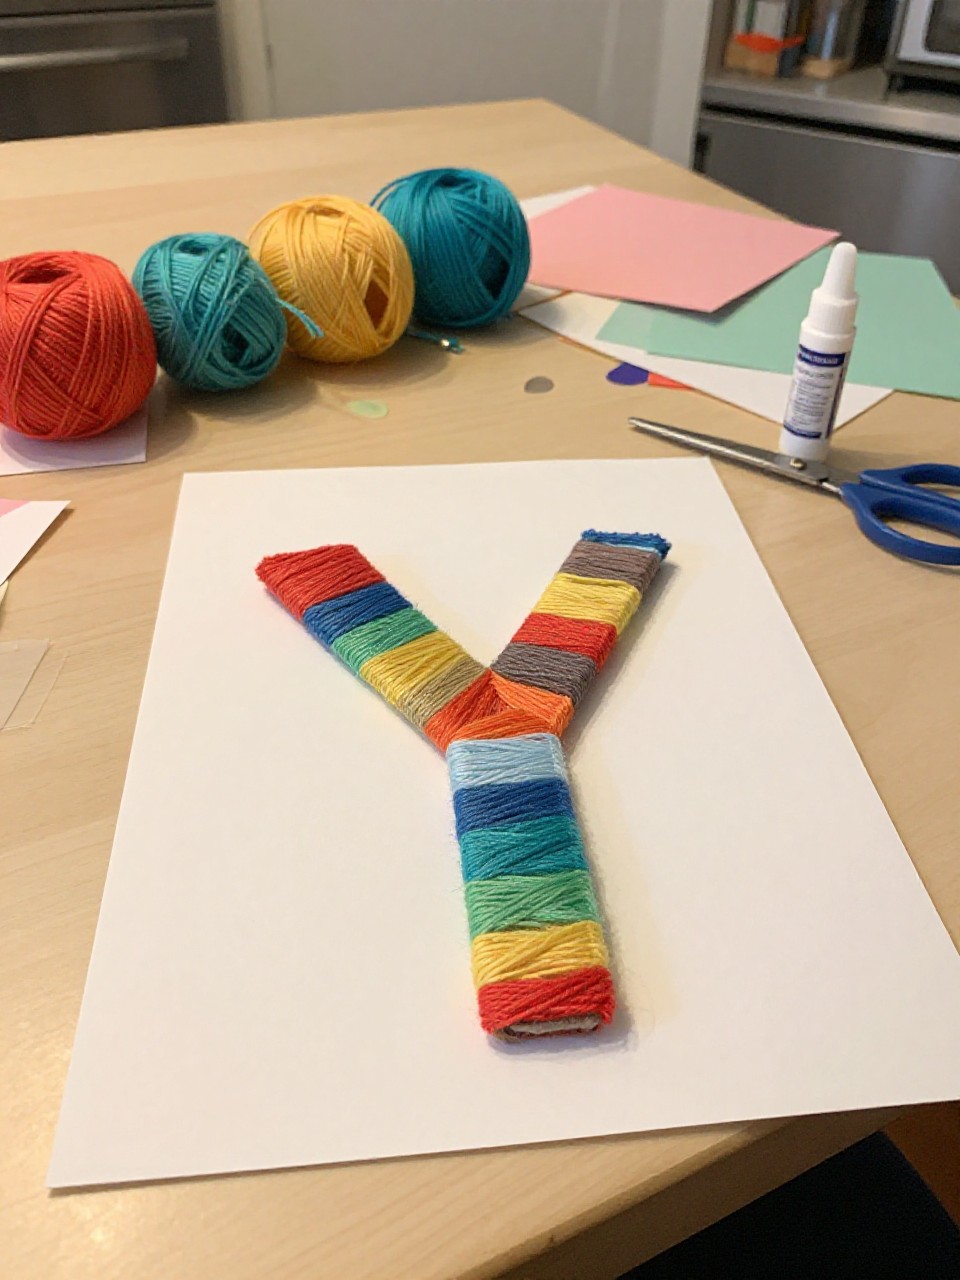
This craft makes a chunky, colorful Letter Y wrapped in soft yarn, like a cozy sweater for the alphabet. Kids love choosing colors and winding the yarn, which is soothing and builds fine motor skills.
Materials Needed:
For People Who Love to Make Things ✂️
- Cardboard cut into a large Y
- Yarn in 1–3 colors
- Tape or glue stick
- Child-safe scissors
- Optional: stickers or buttons
How to make it:
- 1. Draw and cut a big Y from cardboard; tape down the yarn end on the back.
- 2. Wrap yarn snugly around all arms of the Y, overlapping to cover cardboard.
- 3. Add stickers or buttons for fun textures and patterns.
- 4. Tuck or glue the last yarn end on the back; display on a shelf or bulletin board.
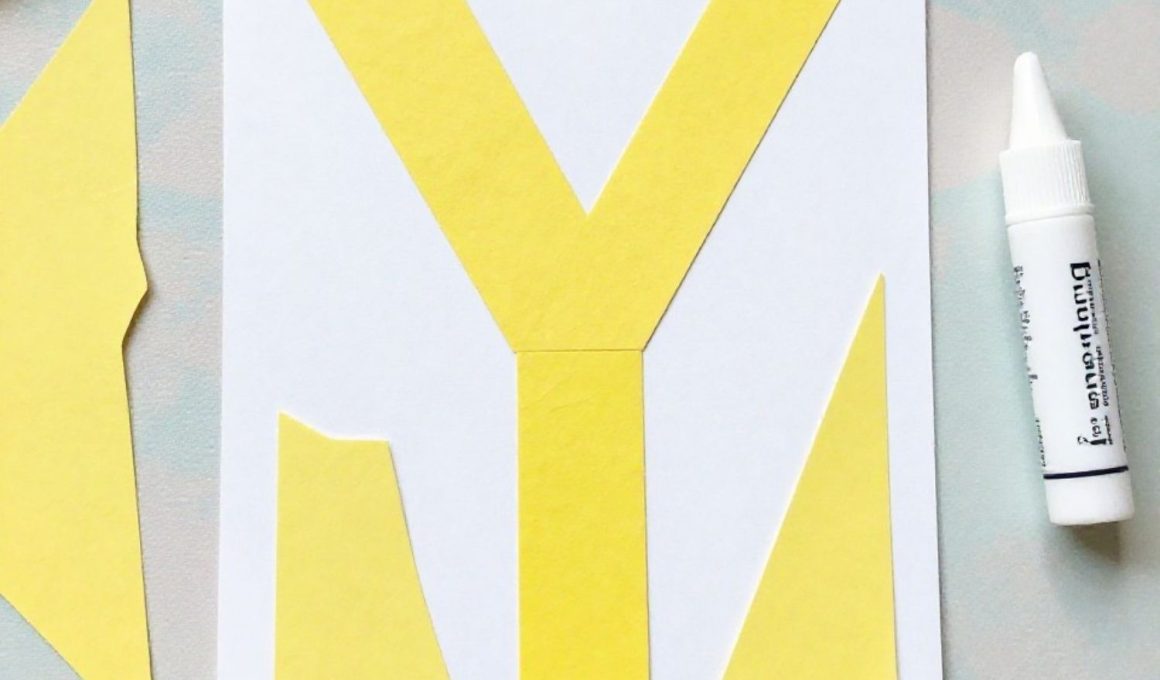
2. Yellow Y Collage
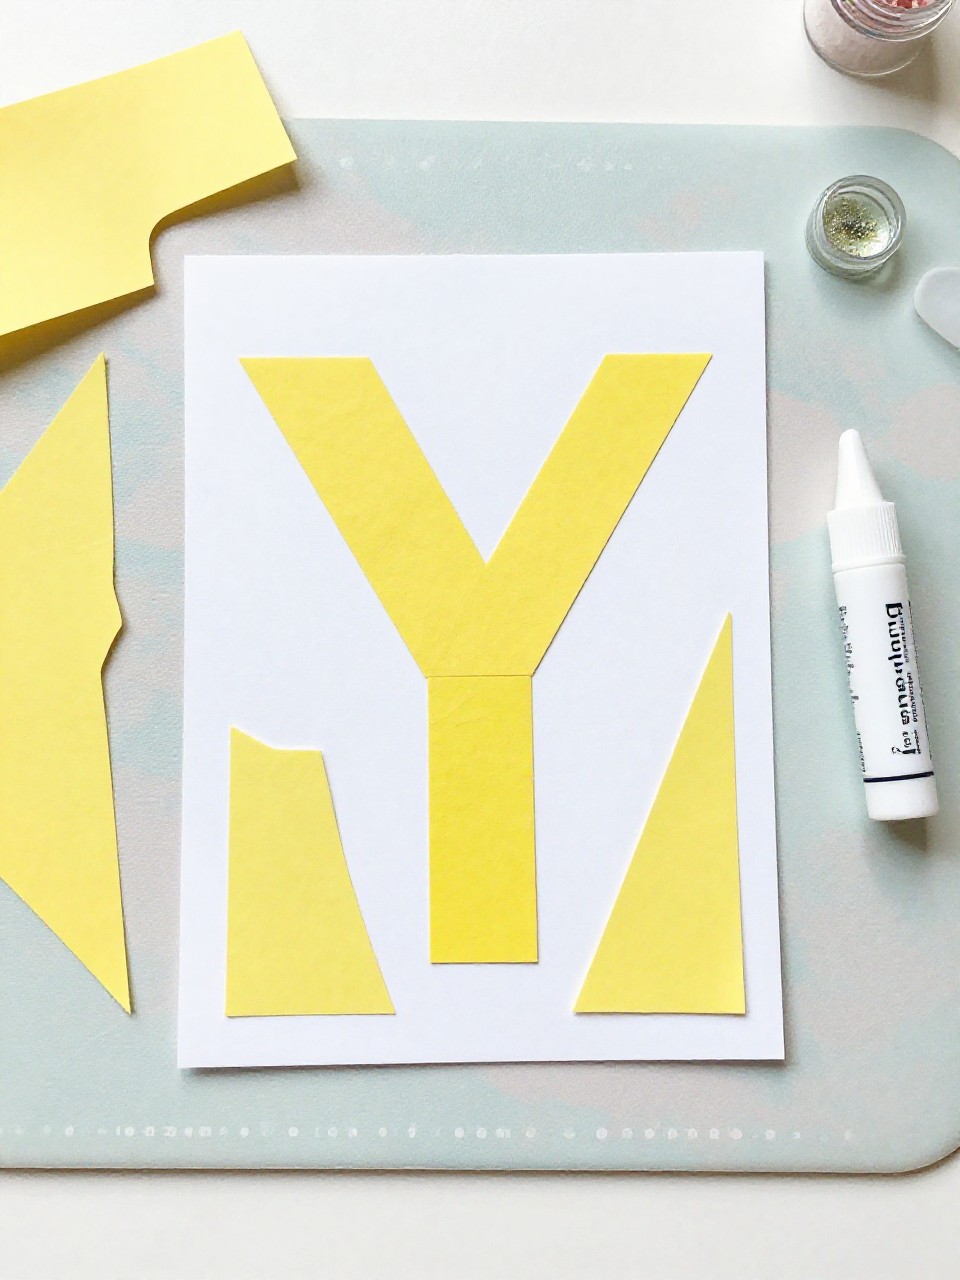
A bold Letter Y collage made only with yellow items—paper bits, pom-poms, and stickers—so the letter pops. Kids enjoy the treasure hunt for “all things yellow,” and it makes color and letter learning stick.
Materials Needed:
- White cardstock with a large Y outline
- Yellow paper scraps and tissue paper
- Yellow pom-poms or stickers
- Glue stick
- Optional: yellow glitter
How to make it:
- 1. Draw or print a big Y outline on cardstock.
- 2. Tear or cut yellow paper and glue pieces inside the Y.
- 3. Add pom-poms, stickers, and a sprinkle of glitter for texture.
- 4. Let dry and hang as a sunny letter display.
3. Yak Handprint Y

This project turns the letter Y into a friendly yak with handprint horns and a fuzzy face. Kids love the handprint part and the silly shaggy look.
Materials Needed:
- Construction paper (brown, tan, white)
- Black marker
- Glue stick
- Googly eyes
- Optional: small yarn bits for fur
How to make it:
- 1. Cut a large Y from brown paper and trace two handprints on tan paper; cut them out.
- 2. Glue handprints to the top arms of the Y as horns.
- 3. Add googly eyes and draw a nose and mouth; glue yarn bits as fur.
- 4. Let dry and add a name label: “Y is for Yak.”
4. Y-Shaped Slingshot (Y as a Pretend Toy)
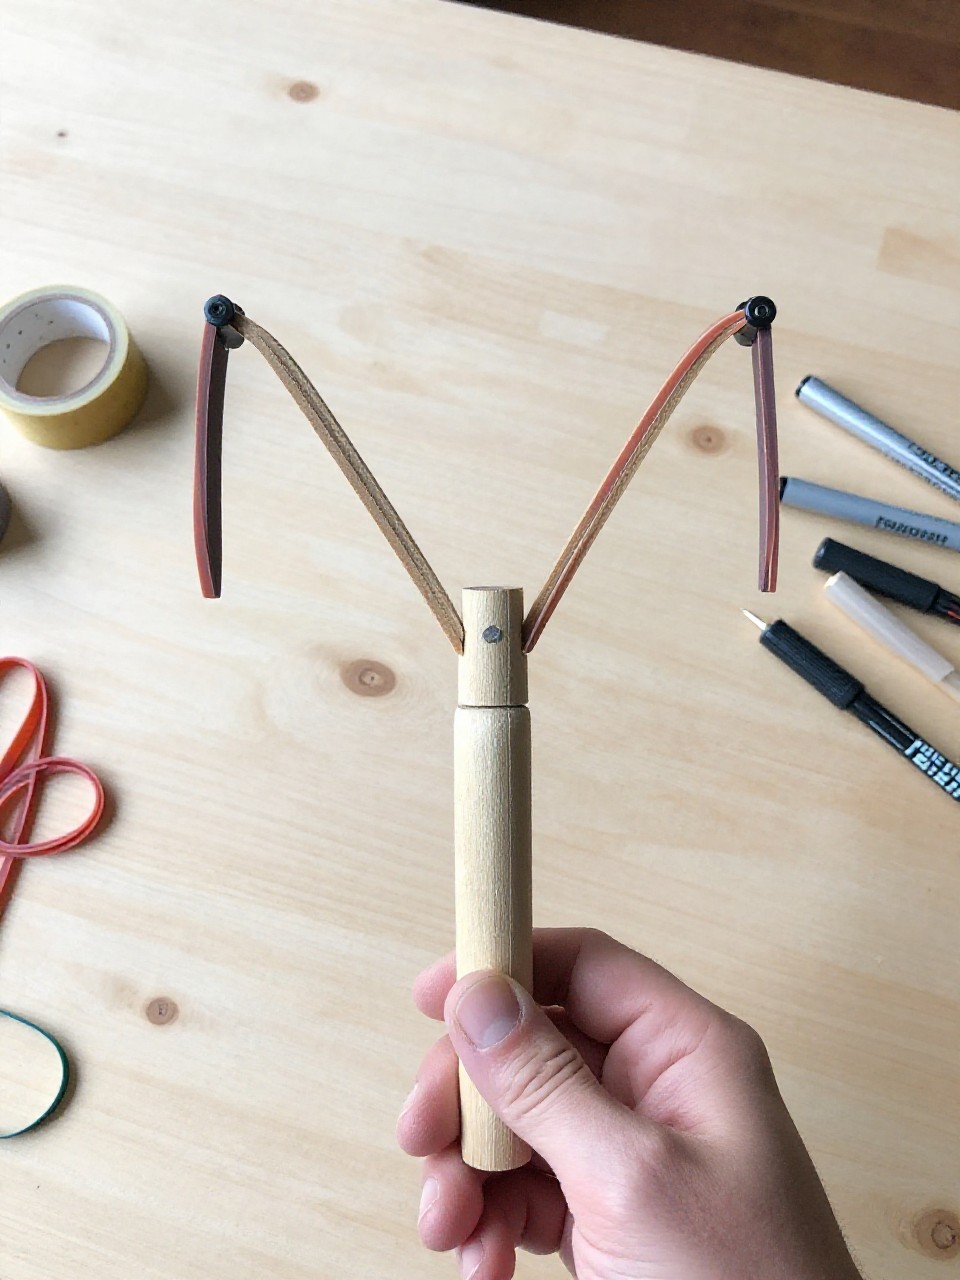
Create a playful, pretend Y-shaped “slingshot” from craft sticks and rubber bands—no launching, just imagination. Kids like how the Y becomes a prop for stories and letter play.
Materials Needed:
- 3 jumbo craft sticks
- Rubber bands
- Washi tape or markers
- Glue dots
- Optional: foam star stickers
How to make it:
- 1. Form a Y by crossing two sticks into a V and securing with rubber bands; attach the third as the stem.
- 2. Wrap joints with washi tape for color and stability.
- 3. Decorate the sticks with markers and foam stickers.
- 4. Use for pretend play while practicing the Y sound.
5. Y Is for Yo-Yo Paper Craft
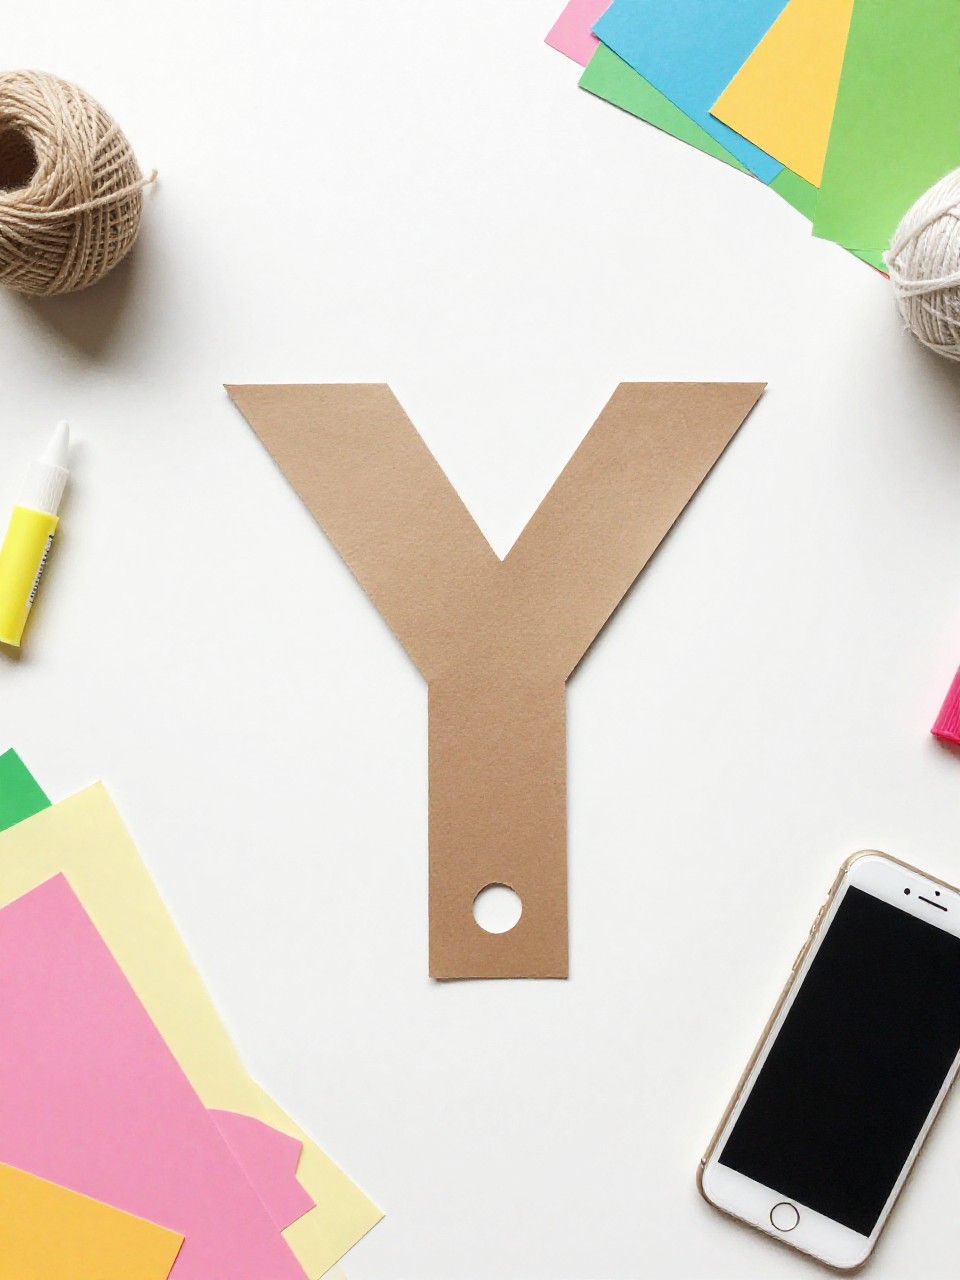
A big Y holds two round “yo-yo” circles connected by yarn, so it looks like a toy mid-swing. Kids enjoy threading and spinning the paper yo-yo while saying the Y sound.
Materials Needed:
- Cardstock Y base
- Two circles cut from colored paper
- Yarn or string
- Hole punch
- Glue stick
How to make it:
- 1. Cut a large Y from cardstock and two matching paper circles.
- 2. Punch a small hole near the edge of each circle; tie them to each end of a yarn piece.
- 3. Glue the yarn’s middle to the top of the Y so circles hang like a yo-yo.
- 4. Add doodles and let dry; gently spin the circles.
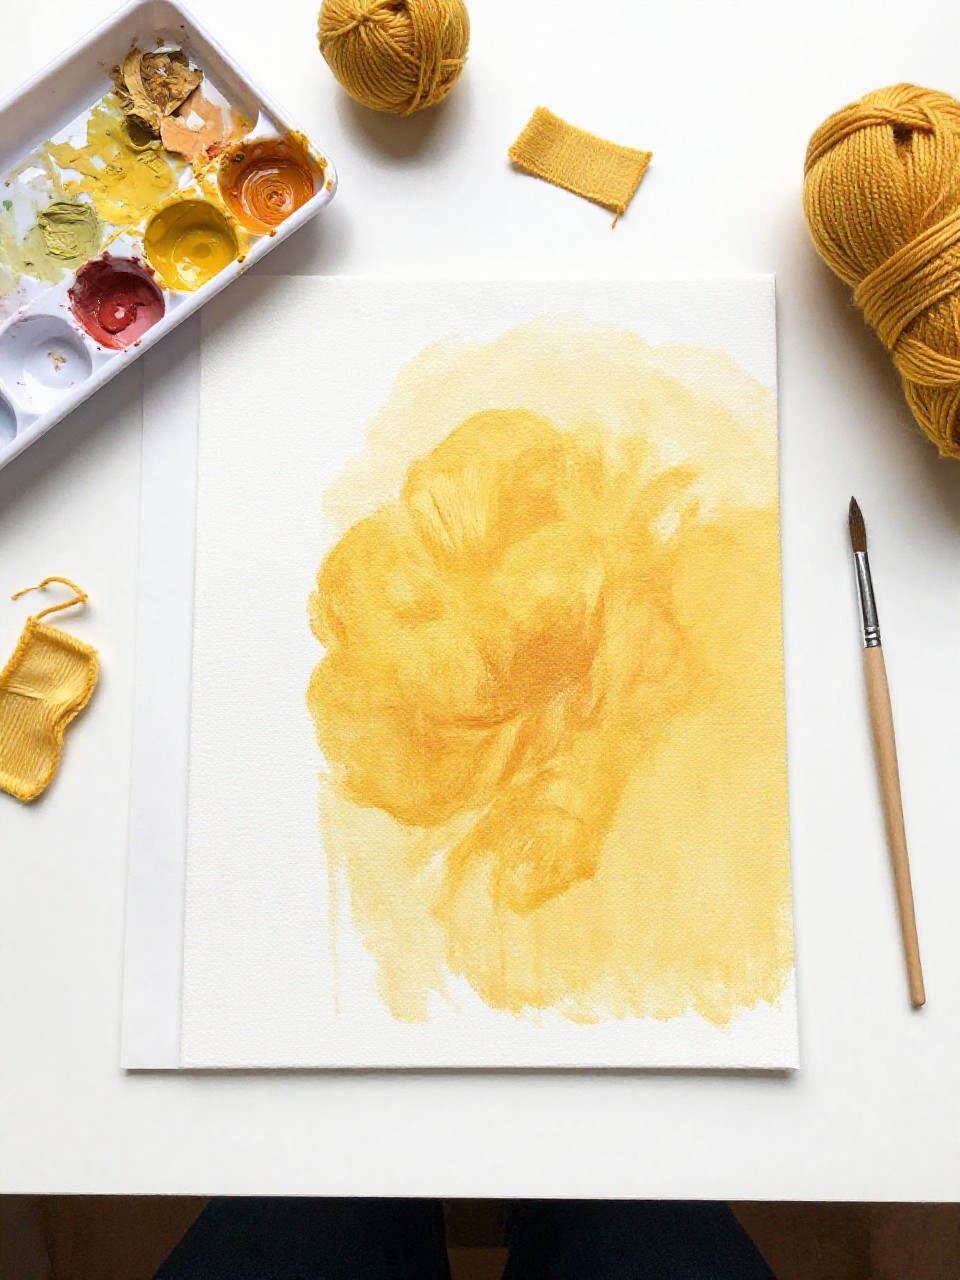
6. Yummy Fruit-Yogurt Painting

Paint the Letter Y using yogurt mixed with a few drops of food coloring for a “yummy” sensory painting. Kids love the creamy texture and safe, scented art experience.
Materials Needed:
- Plain yogurt in small cups
- Food coloring (a few drops)
- Thick paper with a large Y outline
- Cotton swabs or brushes
- Optional: sprinkles for texture (non-edible after crafting)
How to make it:
- 1. Mix yogurt with food coloring in small cups to make pastel paints.
- 2. Trace or print a big Y on thick paper.
- 3. Paint inside the Y using swabs; add light sprinkles for texture if not eating.
- 4. Let dry thoroughly; display as a “Y is for yogurt” artwork.
7. Yarn Octopus on a Letter Y Reef
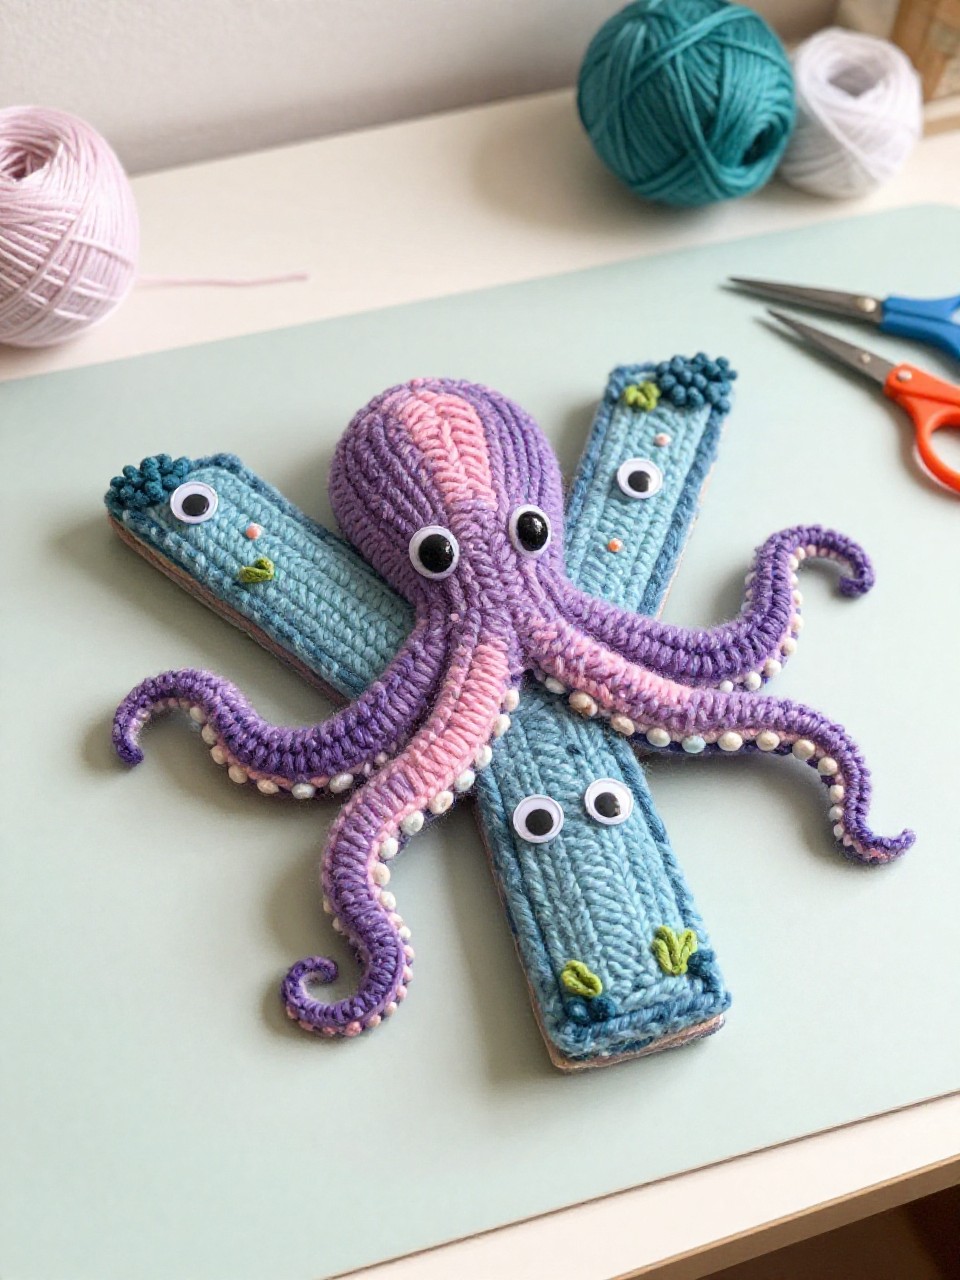
A letter Y becomes sea coral, with a mini yarn octopus hanging from one arm. Kids enjoy combing and tying yarn to make wiggly tentacles and turning the Y into an underwater scene.
Materials Needed:
- Cardstock Y (blue or teal)
- Yarn (two colors)
- Googly eyes
- Glue stick or tacky glue
- Crayons or markers
How to make it:
- 1. Cut a large Y from blue cardstock and draw coral textures with markers.
- 2. Wrap a small yarn bundle, tie the middle, and cut loops to make tentacles; glue on eyes.
- 3. Glue the yarn octopus to one arm of the Y.
- 4. Add bubbles and fish doodles; let dry before hanging.
8. Y Is for Yeti Puppet
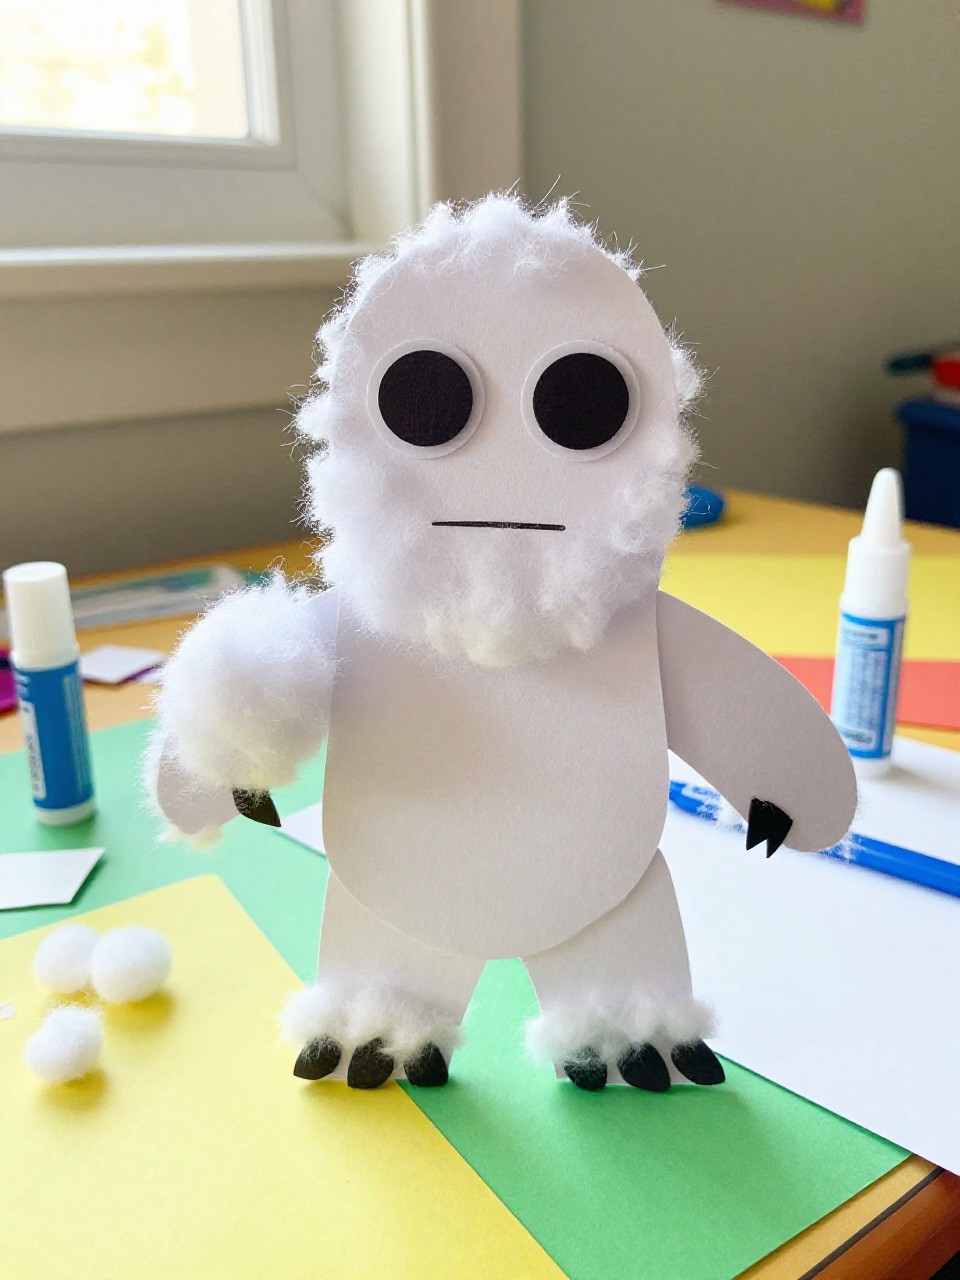
Make a fluffy yeti puppet with a big Y body and silly face, perfect for alphabet skits. Kids love the soft “fur” and goofy expressions.
Materials Needed:
- White paper bag or cardstock Y
- Cotton balls or white faux fur scraps
- Googly eyes
- Glue stick
- Blue marker
How to make it:
- 1. Use a paper bag or cut a large Y from cardstock as the puppet base.
- 2. Glue cotton balls or fur scraps all over to make it fluffy.
- 3. Add eyes, draw a mouth, and color icy details with blue.
- 4. Let dry and put on a quick Yeti show.
9. Y-Shaped Road With Toy Cars
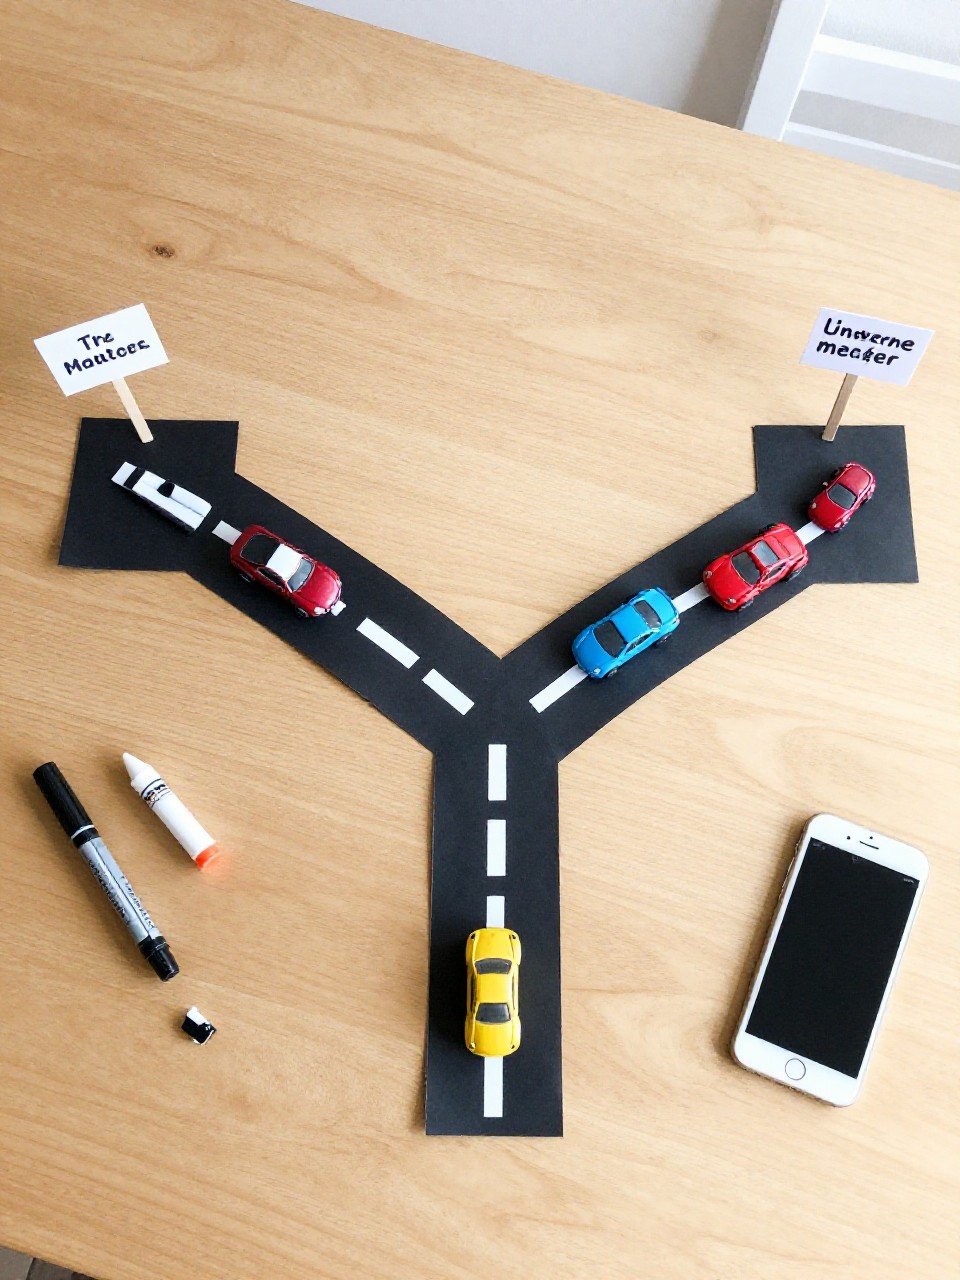
Turn the Letter Y into a road, complete with dashed lines and tiny signs, then drive mini cars along each branch. Kids enjoy pretend play and tracing the letter shape with vehicles.
Materials Needed:
- Black construction paper
- White paint pen or chalk marker
- Cardstock for mini road signs
- Glue stick
- Toy cars
How to make it:
- 1. Cut a big Y from black paper.
- 2. Draw dashed center lines and edge stripes with a white paint pen.
- 3. Make small triangle and circle road signs; glue near the branches.
- 4. Let ink dry; drive cars along the Y to practice letter formation.
10. Yak Mask From a Paper Plate (Y Is for Yak)
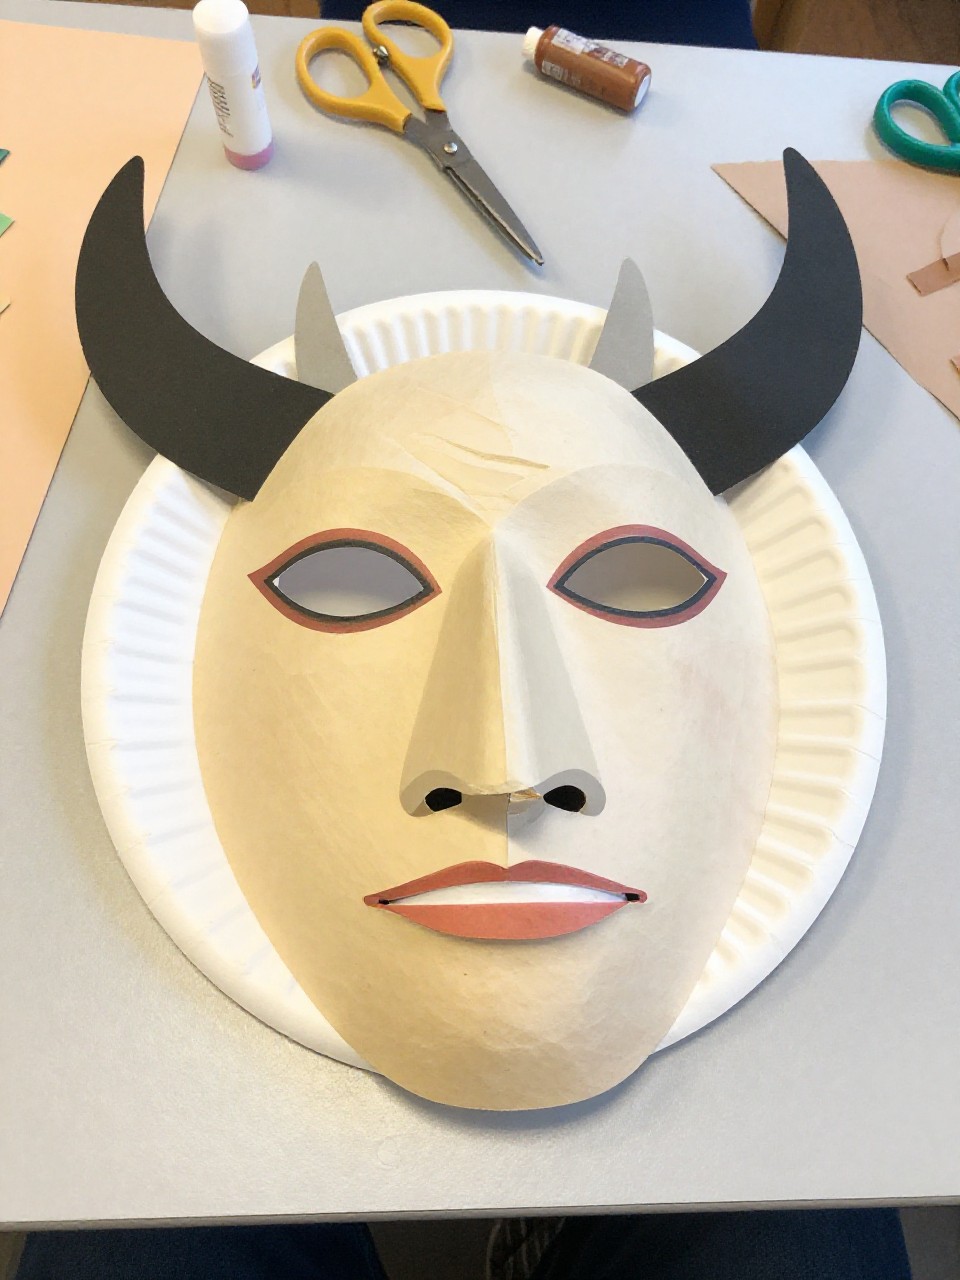
A paper plate becomes a yak mask with a bold Y-shaped nose bridge, shaggy hair, and curved horns. Kids love pretending to snort and stomp like a gentle yak.
Materials Needed:
- Paper plate
- Brown paint or crayons
- Construction paper (tan, white)
- Elastic string
- Glue stick and scissors
How to make it:
- 1. Cut eye holes in the plate and color it brown.
- 2. Cut and glue a Y-shaped strip down the center for the nose bridge.
- 3. Add paper horns and a shaggy fringe around the top.
- 4. Attach elastic; let dry and try it on.
11. Y Is for Yam Stamping
Stamp a big Y outline with cut yam pieces dipped in paint, leaving bumpy, textured prints. Kids enjoy the funny potato-like shapes and the surprise patterns.
Materials Needed:
- Yam or sweet potato
- Washable paint on a tray
- Thick paper with a large Y outline
- Knife (adult use)
- Paper towels
How to make it:
- 1. Adult cuts the yam into chunks or simple shapes.
- 2. Dip pieces in paint and stamp along and inside the Y outline.
- 3. Layer colors to fill the Y with texture.
- 4. Let dry; discuss “Y is for yam.”
12. Yogurt Cup Y Planter

Upcycle a clean yogurt cup into a mini planter glued onto a cardboard Y base. Kids love planting seeds and watching their “Y garden” grow.
Materials Needed:
- Clean yogurt cup
- Cardboard Y base
- Acrylic paint or markers
- Soil and fast-sprouting seeds (beans or grass)
- Glue or tape
How to make it:
- 1. Paint or color the cardboard Y and the yogurt cup; let dry.
- 2. Attach the cup to the bottom of the Y using glue or strong tape.
- 3. Fill with soil and plant seeds; water lightly.
- 4. Place by a window and watch sprouts; review “Y is for yogurt.”
13. Yellow Yarn Painting on a Y
Drag and press pieces of yellow yarn dipped in paint over a large Y for a string-texture print. Kids enjoy the messy, satisfying pulls that leave wavy designs.
Materials Needed:
- Cardstock with a large Y outline
- Yellow tempera or acrylic paint
- Yarn pieces (6–8 inches)
- Paint tray or paper plate
- Aprons or smocks
How to make it:
- 1. Pour yellow paint onto a tray and cut several yarn pieces.
- 2. Dip yarn, pull it across the Y outline, and press gently.
- 3. Repeat with fresh yarn for layered textures.
- 4. Let dry flat to avoid smears; display the sunny results.
14. Y Is for Yacht Shape Craft
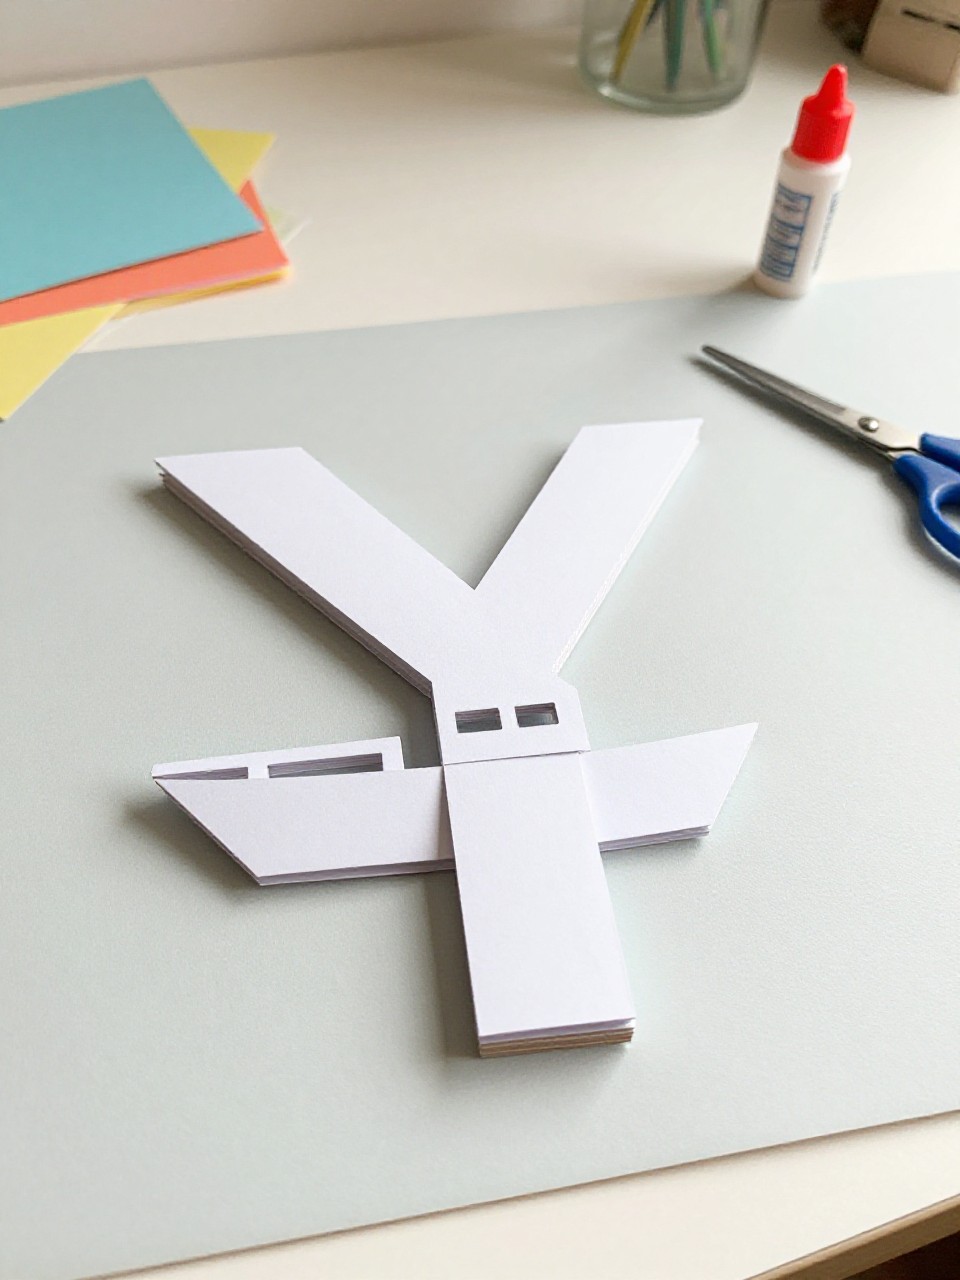
Build a small paper yacht sailing across a giant Y-shaped wave. Kids like arranging shapes and imagining sea adventures while practicing the letter.
Materials Needed:
- Blue cardstock Y
- Colored paper (red, white, yellow)
- Glue stick
- Black marker
- Optional: cotton for clouds
How to make it:
- 1. Cut a large Y from blue cardstock for the wave.
- 2. Cut simple shapes: triangle sail, rectangle mast, curved hull; glue onto one arm.
- 3. Draw tiny windows and water lines; add cotton clouds.
- 4. Let dry and create a mini ocean display.
15. Yoga Pose Y Figure
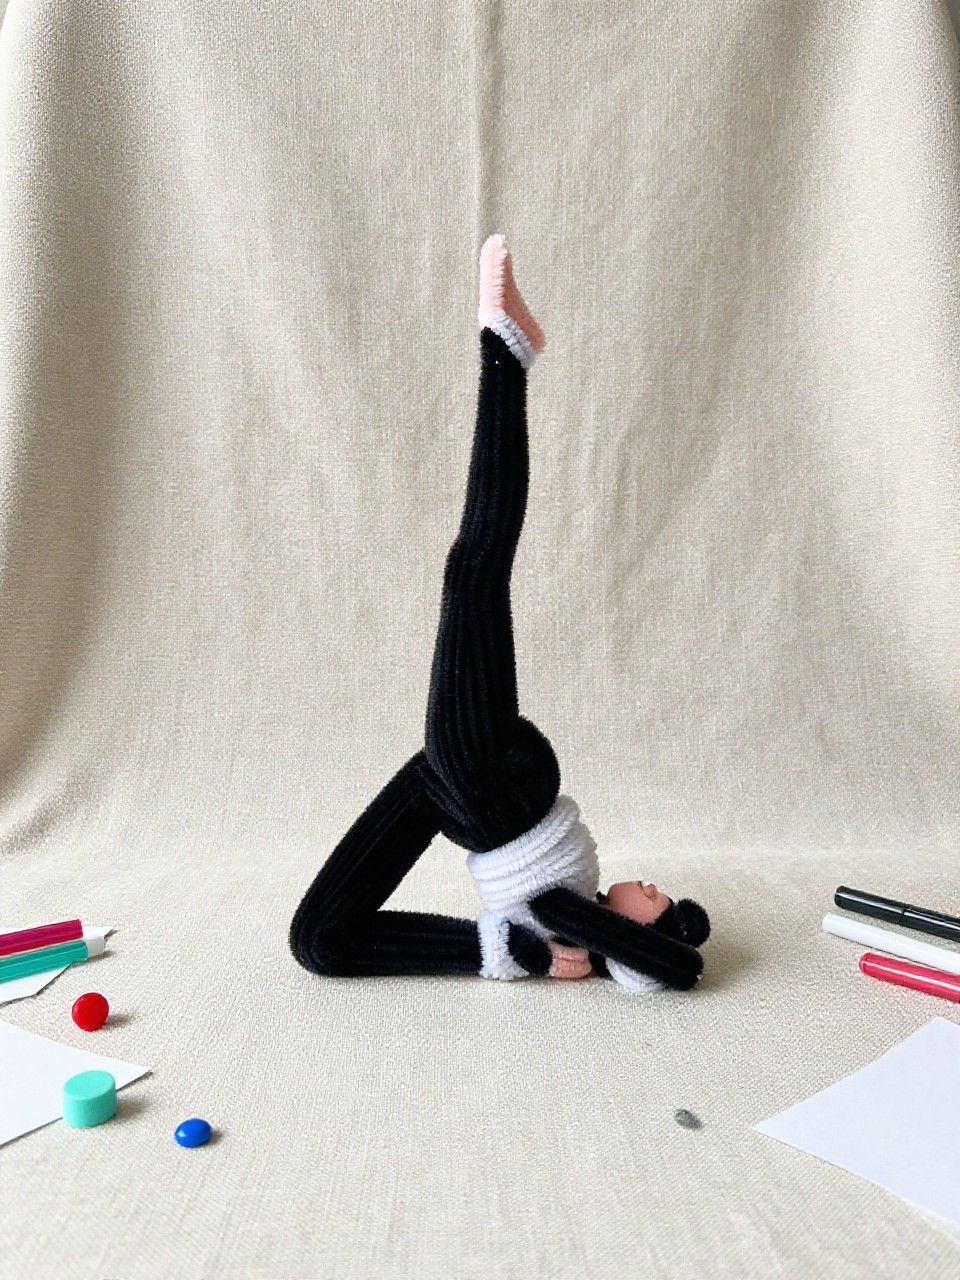
Form a stick-figure person doing a Y-shape yoga pose on top of a big letter Y “mat.” Kids enjoy posing like the craft and learning calm breathing.
Materials Needed:
- Cardstock Y (any color)
- Pipe cleaners (for stick figure)
- Small foam sheet or paper rectangle (yoga mat)
- Glue dots
- Marker for face
How to make it:
- 1. Cut a large Y and a small rectangle for a yoga mat; glue the mat near the base.
- 2. Bend a pipe cleaner person with arms raised to make a Y pose.
- 3. Glue the figure onto the mat; add a tiny smiley face.
- 4. Let set; practice making a Y with your body to match.