
Table of Contents Show
Want a relaxing painting project but not sure what to paint next? Ice cream is a perfect theme because it’s bright, happy, and made of simple shapes that beginners can handle. These ideas help you practice color blending, cute details, and playful patterns without feeling stressed.
Pick a surface you already have, grab a few paints, and let’s jump into the ideas.
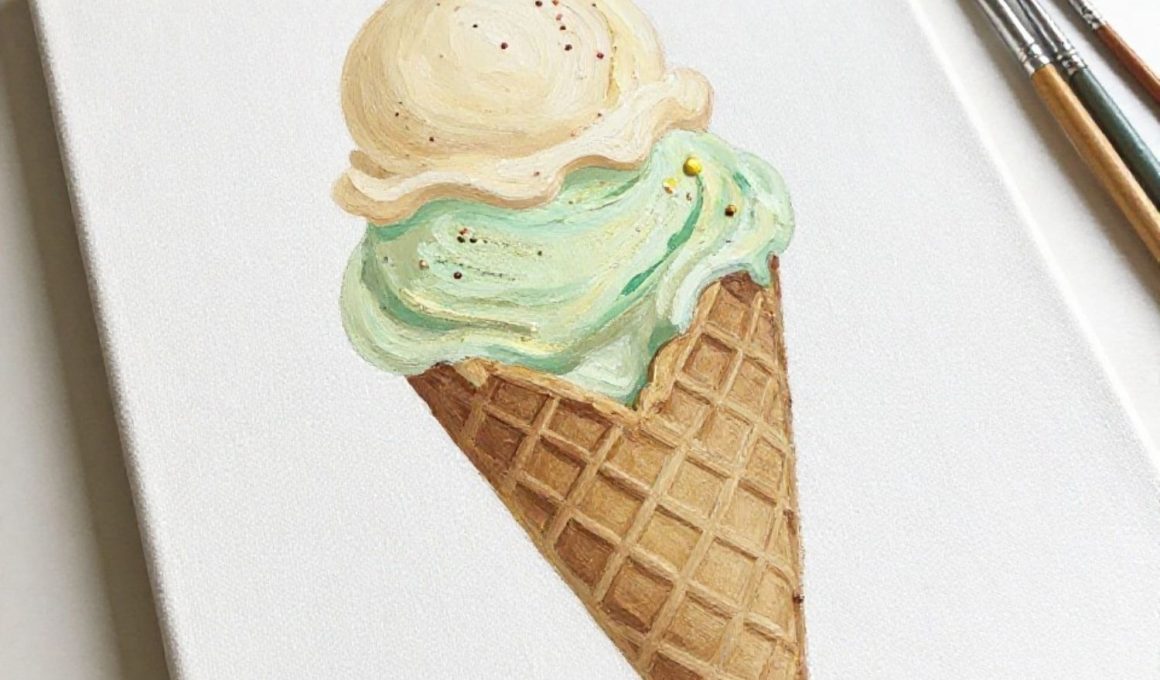
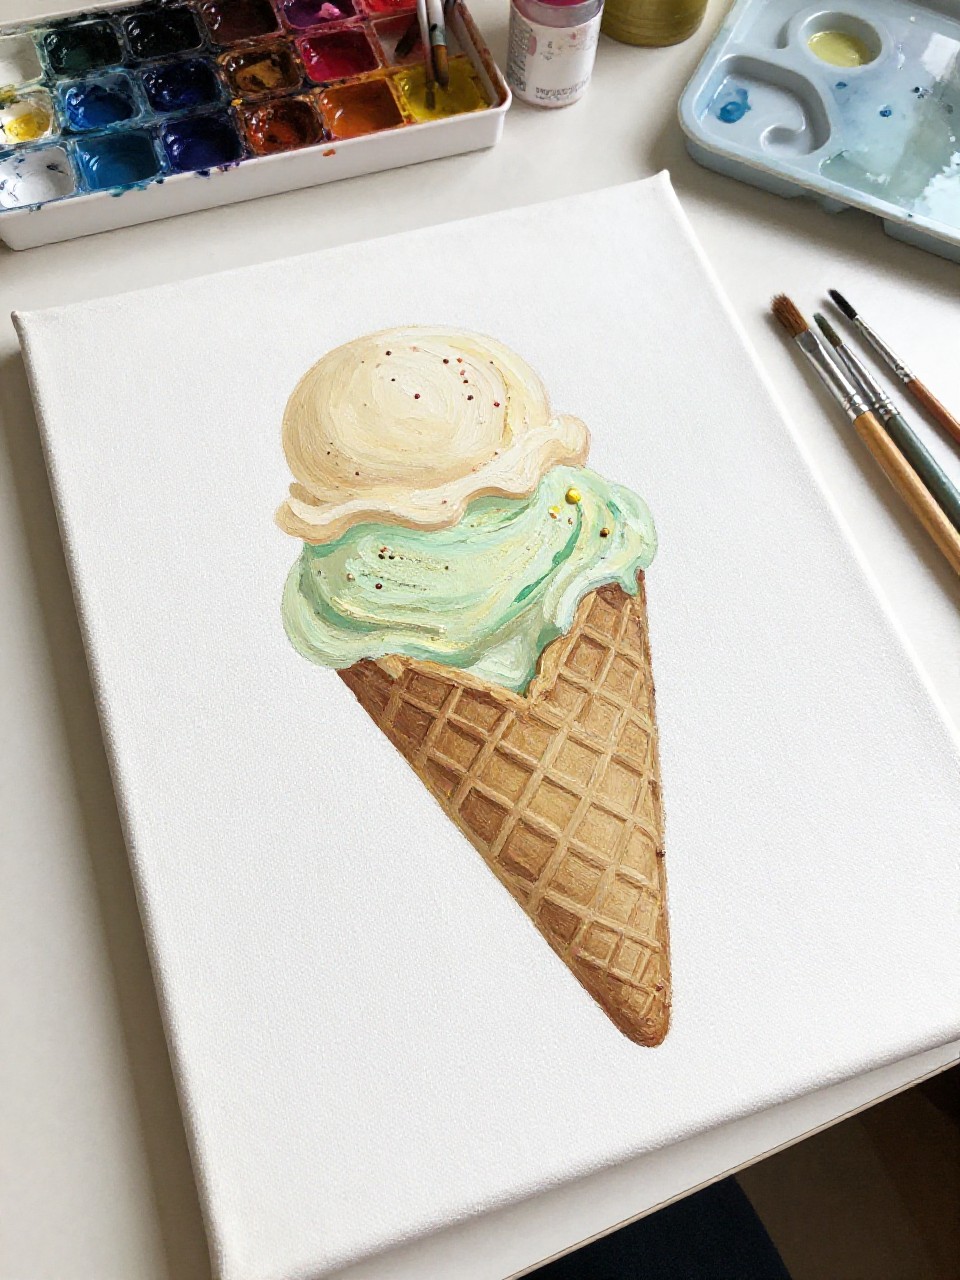
1. Dripping Ice Cream Cone Canvas Painting
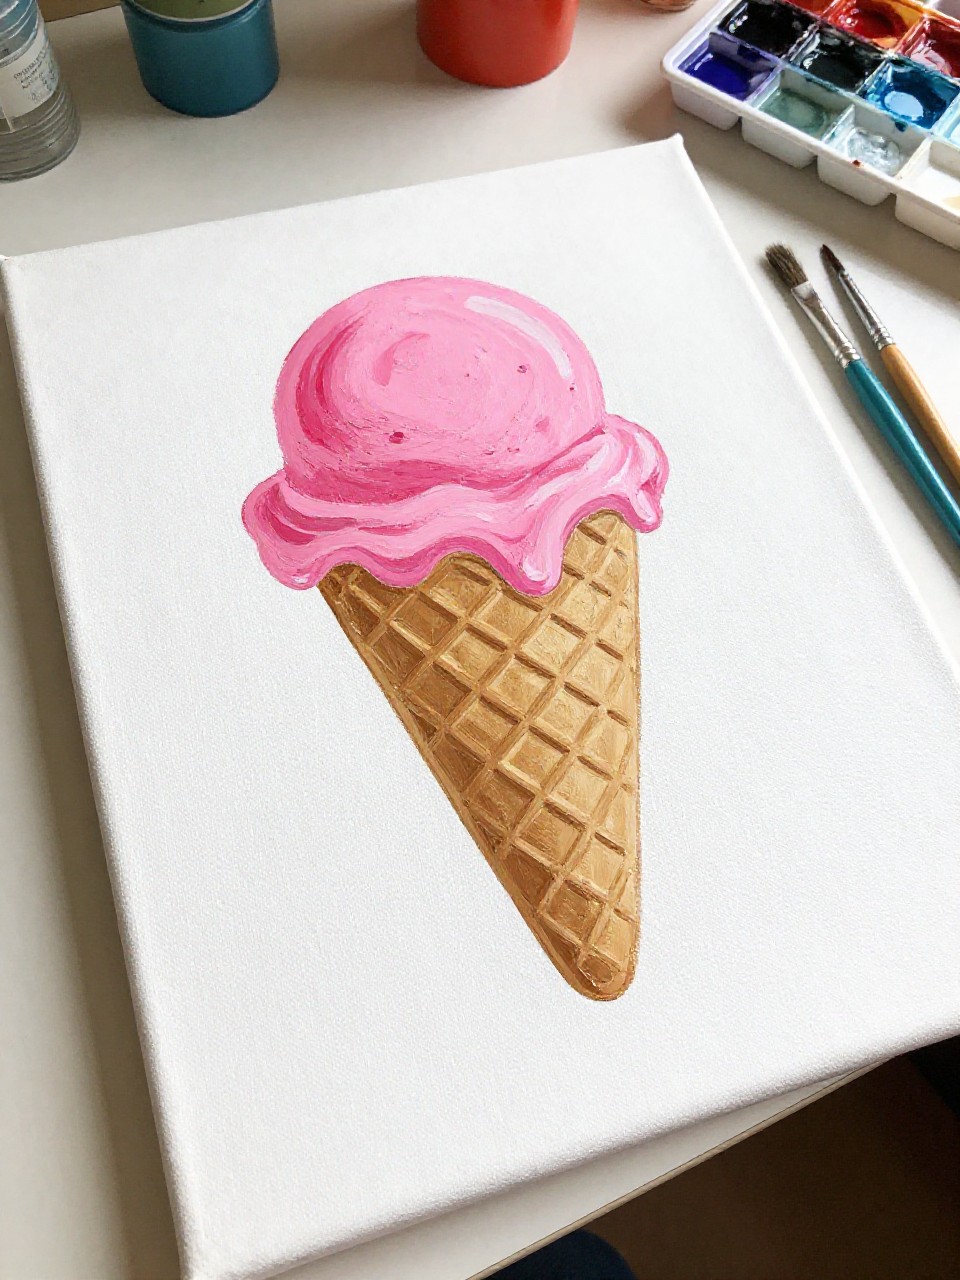
A bright waffle cone sits in the center with a big scoop on top and thick paint drips sliding down the sides. It’s satisfying because you can be loose with the drips and still make it look great, which is perfect for beginners who want a fun, relaxing win.
Materials Needed:
- Stretched canvas
- Acrylic paint
- Paintbrushes in multiple sizes
- Palette or paint tray
- Optional sealer or varnish
Steps to Make:
For People Who Love to Make Things ✂️
- Paint a simple background color and let it dry.
- Sketch a cone triangle and a large scoop circle above it.
- Block in the cone with warm browns and add crisscross waffle lines.
- Paint the scoop in a bright color, then add thick drips with a smaller brush.
- Let dry fully and seal for a glossy, “melty” look if you want.
2. Pastel Ice Cream Sundae Canvas Art
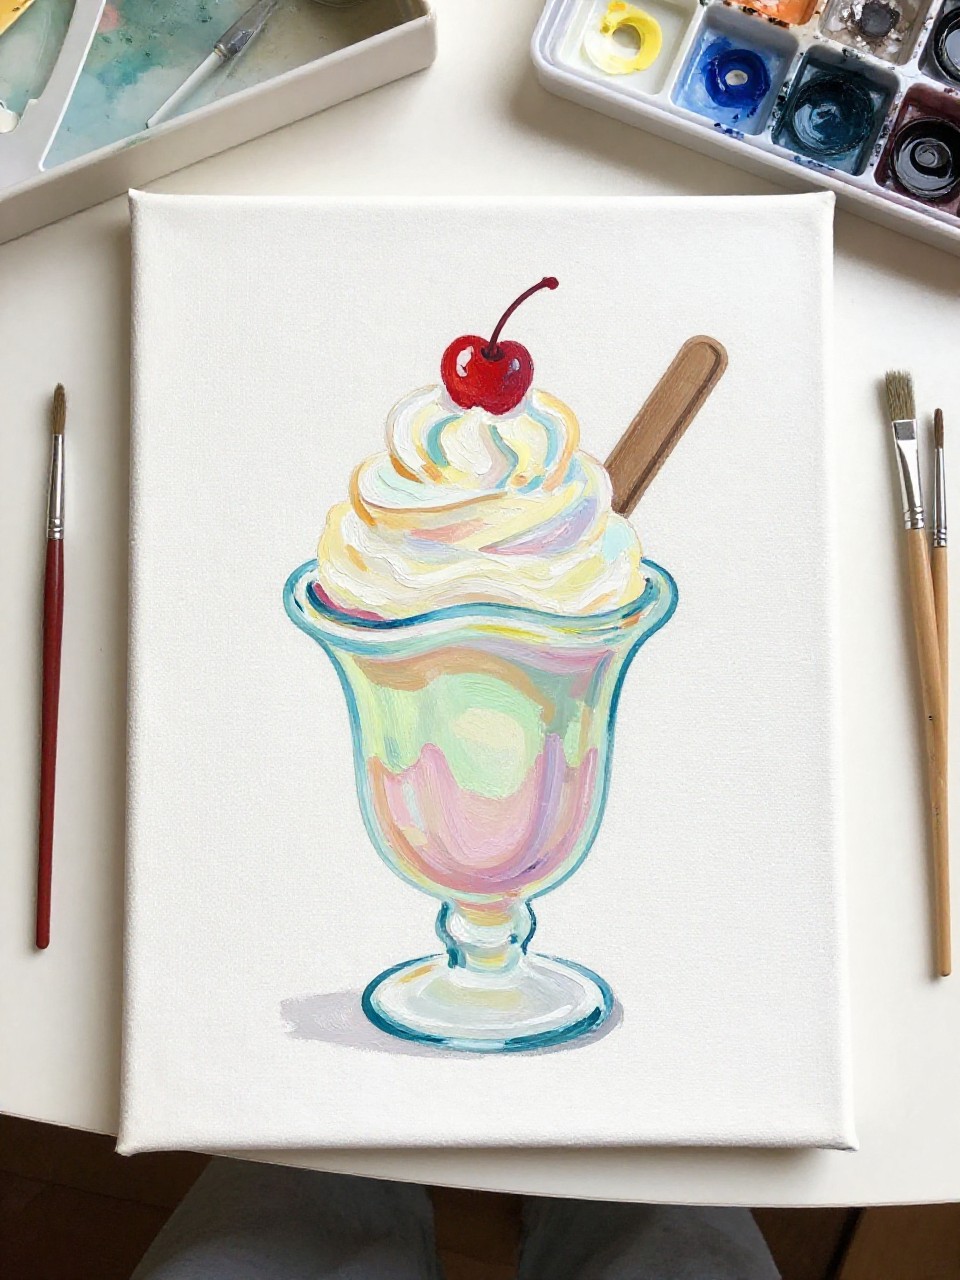
A glass sundae cup is painted with soft pastel scoops, whipped cream, and a cherry on top, all layered with gentle brush strokes. This one feels calming because you’re mostly painting rounded shapes and slow color blends, and it makes cheerful wall decor for a kitchen or craft corner.
Materials Needed:
- Stretched canvas
- Acrylic paint
- Paintbrushes in multiple sizes
- Palette or paint tray
- Optional sealer or varnish
Steps to Make:
- Paint a light background wash and dry it completely.
- Draw a simple sundae glass shape with a wide top and narrow base.
- Fill in the scoops with pastel colors, blending edges while the paint is wet.
- Add whipped cream swirls, a cherry, and small highlight lines on the glass.
- Touch up shadows under the cup and seal when fully dry.
3. Rainbow Popsicle Canvas Painting
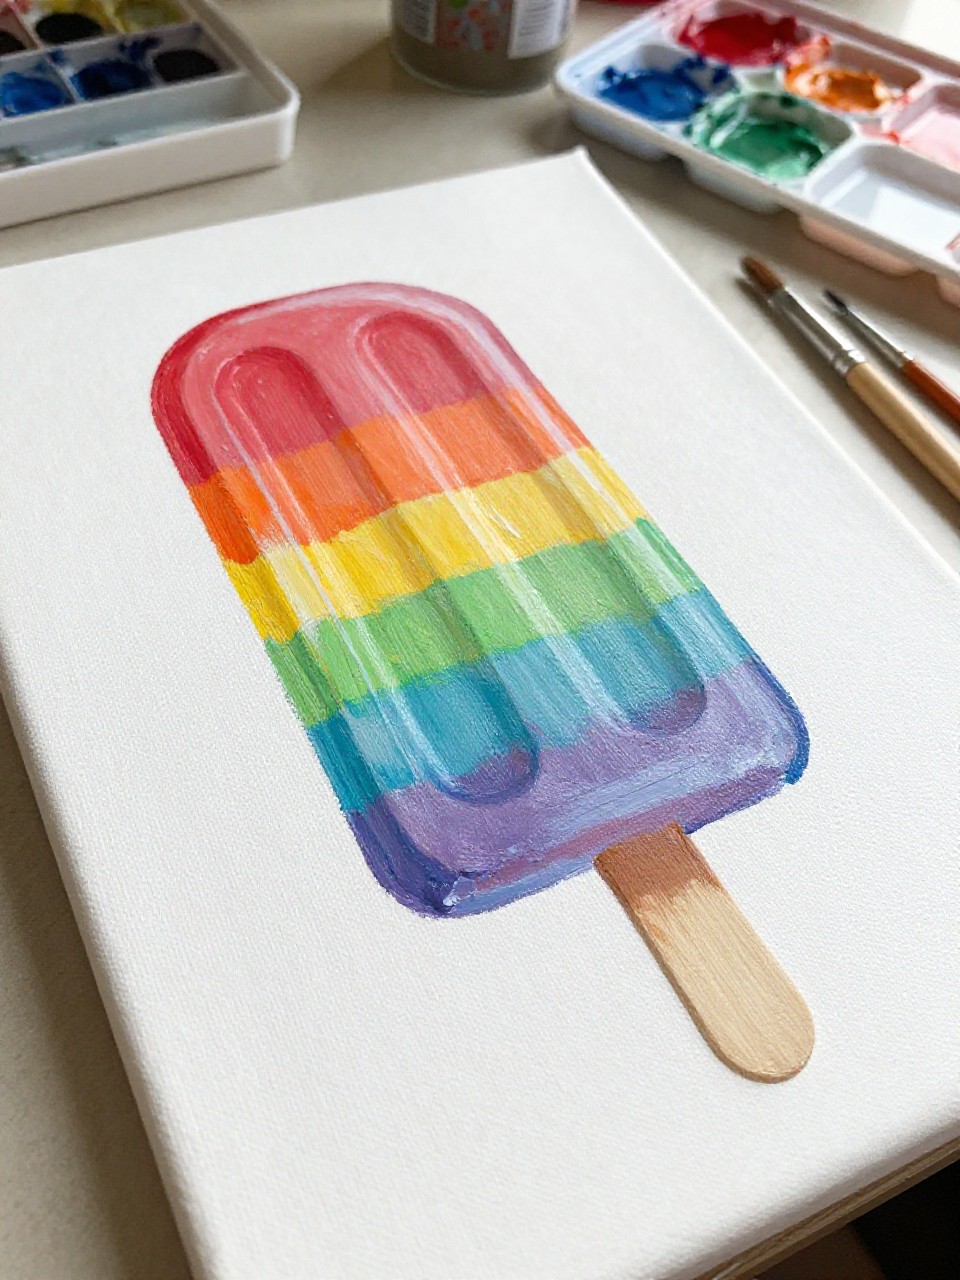
A tall popsicle fills the canvas with bold rainbow stripes and a wooden stick at the bottom, with brushy color transitions between each band. It’s great for beginners because straight stripes are easier than detailed drawing, and it teaches you how to keep edges clean while still looking hand-painted.
Materials Needed:
- Stretched canvas
- Acrylic paint
- Paintbrushes in multiple sizes
- Palette or paint tray
- Optional sealer or varnish
Steps to Make:
- Paint a simple solid background and let it dry.
- Lightly sketch a popsicle shape with rounded corners and a stick.
- Paint wide rainbow stripes, one color at a time, letting each band set slightly.
- Add a few blended strokes where colors meet, plus small shine marks near the edge.
- Finish by painting the stick and sealing after everything dries.
4. Neapolitan Ice Cream Slice Canvas
A cute “slice” of ice cream is painted like a layered block with strawberry, vanilla, and chocolate bands, plus a few drips and sprinkles. It’s a relaxing project because it’s mostly simple rectangles and soft shading, and it looks bright and modern on a small wall.
Materials Needed:
- Stretched canvas
- Acrylic paint
- Paintbrushes in multiple sizes
- Palette or paint tray
- Optional sealer or varnish
Steps to Make:
- Paint a pale background color and dry it.
- Sketch a rounded rectangle “slice” with a slight shadow underneath.
- Block in three horizontal layers: pink, cream, and brown.
- Add drips along the top edge and sprinkle dots with the tip of a small brush.
- Darken the bottom shadow slightly and seal once dry.
5. Ice Cream Truck Mini Canvas Painting
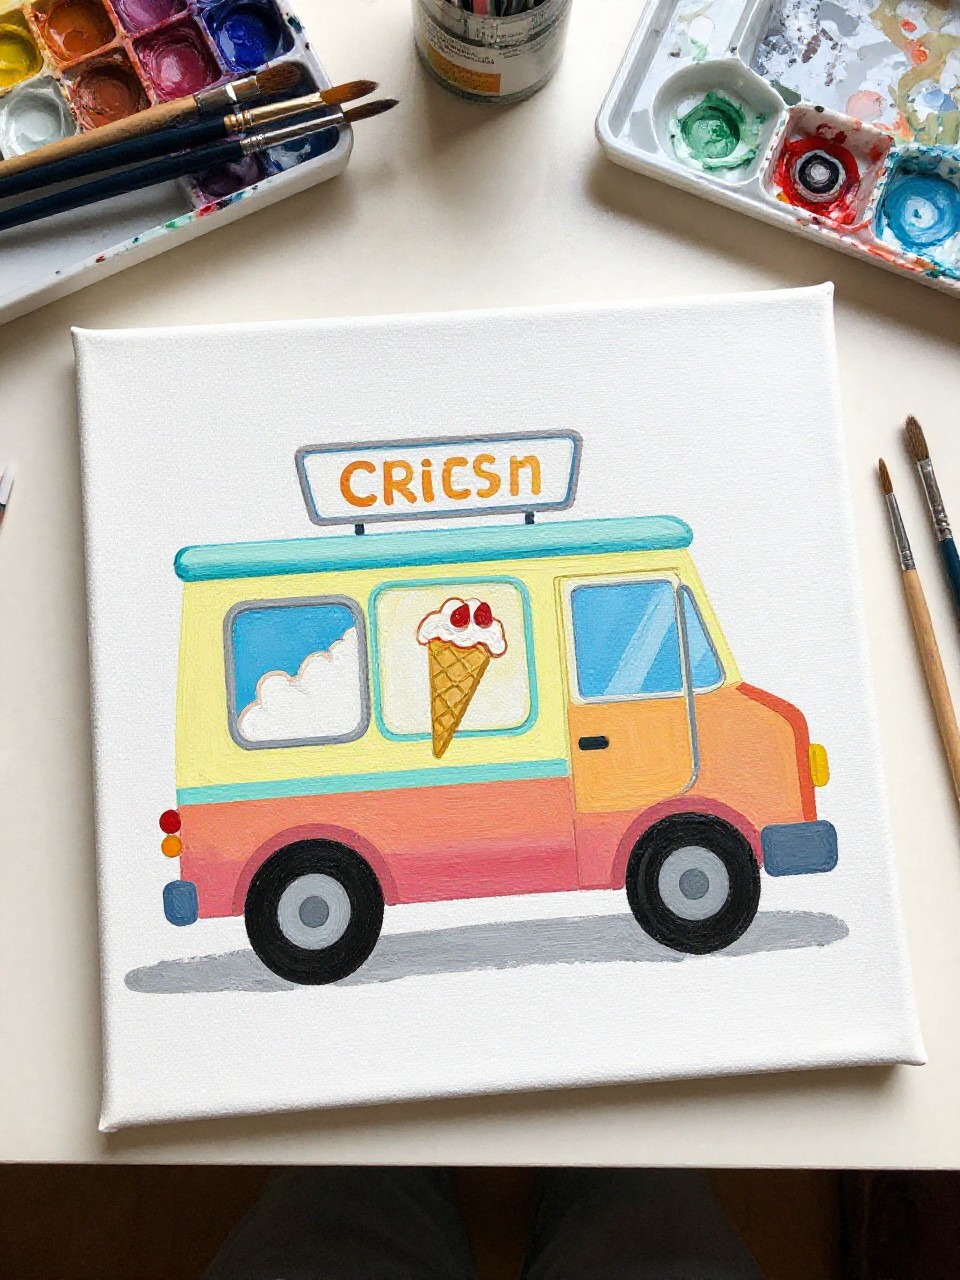
A small canvas shows a simple ice cream truck with a big cone sign on top and bright color blocks on the side. It’s satisfying because you can keep it cartoon-like without worrying about perfect perspective, and the bold colors make it feel playful even with beginner-level shapes.
Materials Needed:
- Stretched canvas
- Acrylic paint
- Paintbrushes in multiple sizes
- Palette or paint tray
- Optional sealer or varnish
Steps to Make:
- Paint a sky or simple two-tone background and dry it.
- Sketch a boxy truck shape with wheels and a serving window.
- Fill in the truck with bright blocks of color and a contrasting roof.
- Paint a cone sign and tiny details like menu squares and bumper lines.
- Add small white highlights, let dry, then seal.
6. Sprinkle Explosion Ice Cream Scoop Canvas
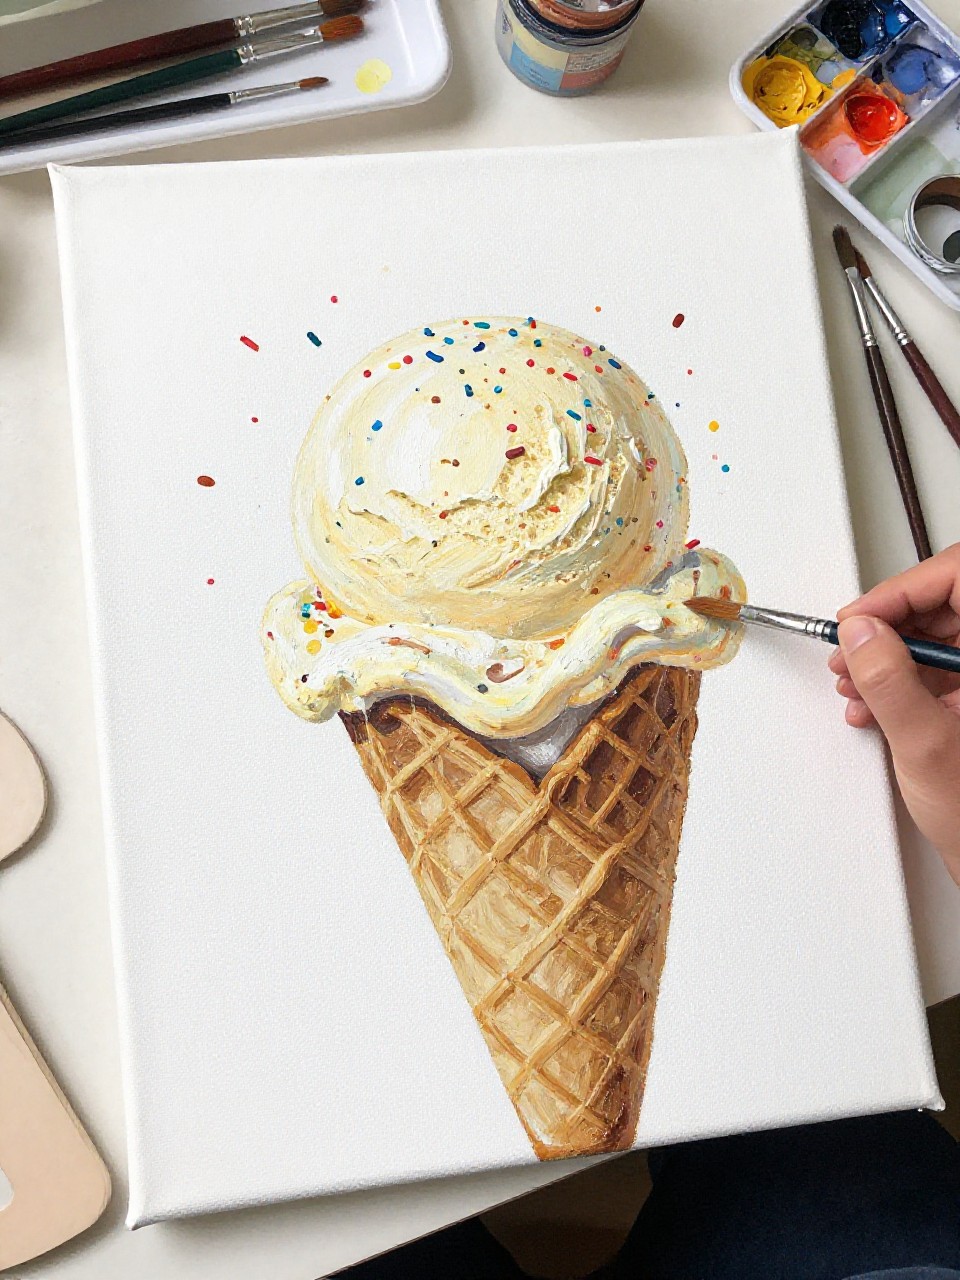
A giant single scoop sits in the center with lots of hand-painted sprinkles bursting outward like confetti. It’s great for stress relief because you can dot and flick sprinkles freely, and it’s a simple way to make something that looks bold, bright, and full of energy.
Materials Needed:
- Stretched canvas
- Acrylic paint
- Paintbrushes in multiple sizes
- Palette or paint tray
- Optional sealer or varnish
Steps to Make:
- Paint a bright background (like teal or pale yellow) and dry it.
- Sketch a big scoop shape with a curved shadow underneath.
- Paint the scoop in one main color, then add darker strokes for roundness.
- Dot and dash sprinkles around the scoop using a small brush and varied colors.
- Add a few thick paint highlights and seal after drying.
7. Melting Ice Cream Planet Canvas Painting
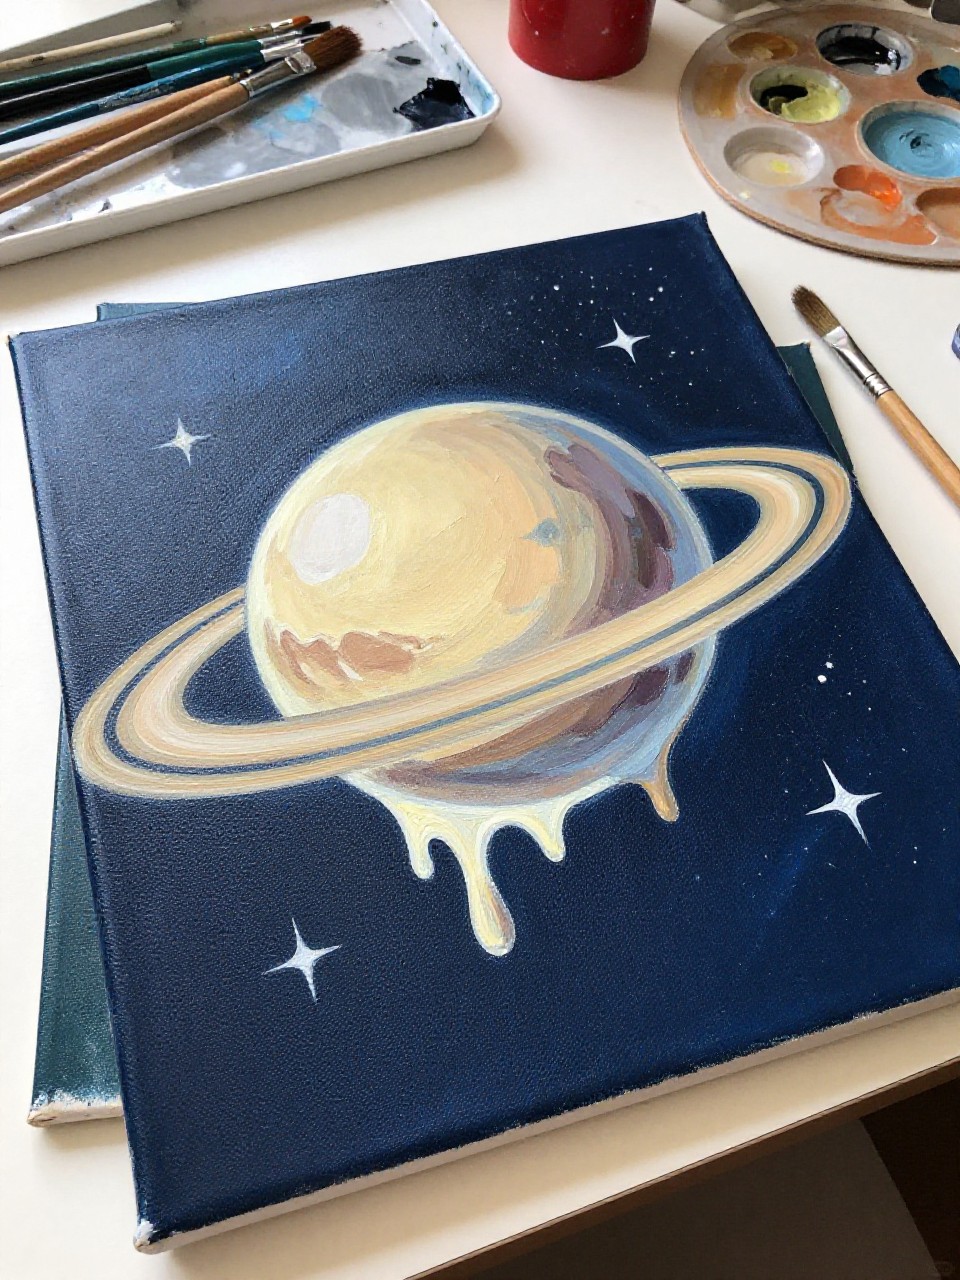
A round “planet” scoop is painted with a dripping edge and a thin ring around it like Saturn, using bright candy colors. This idea is fun because it mixes simple circles with playful drips, and it’s perfect if you want something cute and different without needing detailed drawing skills.
Materials Needed:
- Stretched canvas
- Acrylic paint
- Paintbrushes in multiple sizes
- Palette or paint tray
- Optional sealer or varnish
Steps to Make:
- Paint a dark or gradient space background and let it dry.
- Draw a circle for the ice cream planet and a tilted ring around it.
- Paint the planet scoop with a bright color and add drips along the bottom curve.
- Add lighter swirls and tiny star dots in the background for contrast.
- Touch up the ring edges and seal once fully dry.
8. Cherry-Topped Banana Split Canvas

A long banana split boat is painted with three scoops, chocolate drizzle, and bright cherries, with thick brush strokes that feel delicious and handmade. It’s a relaxing project because you can build it one topping at a time, and it looks like fun diner-style art for beginners.
Materials Needed:
- Stretched canvas
- Acrylic paint
- Paintbrushes in multiple sizes
- Palette or paint tray
- Optional sealer or varnish
Steps to Make:
- Paint a simple tabletop background and dry it.
- Sketch an oval banana split dish and place three scoop circles inside.
- Paint the bananas first, then the scoops in three different colors.
- Add drizzles, whipped cream, and cherries with a small brush for clean detail.
- Deepen shadows under the dish and seal after drying.
9. Ice Cream Cone Pattern Canvas (Repeating Motif)
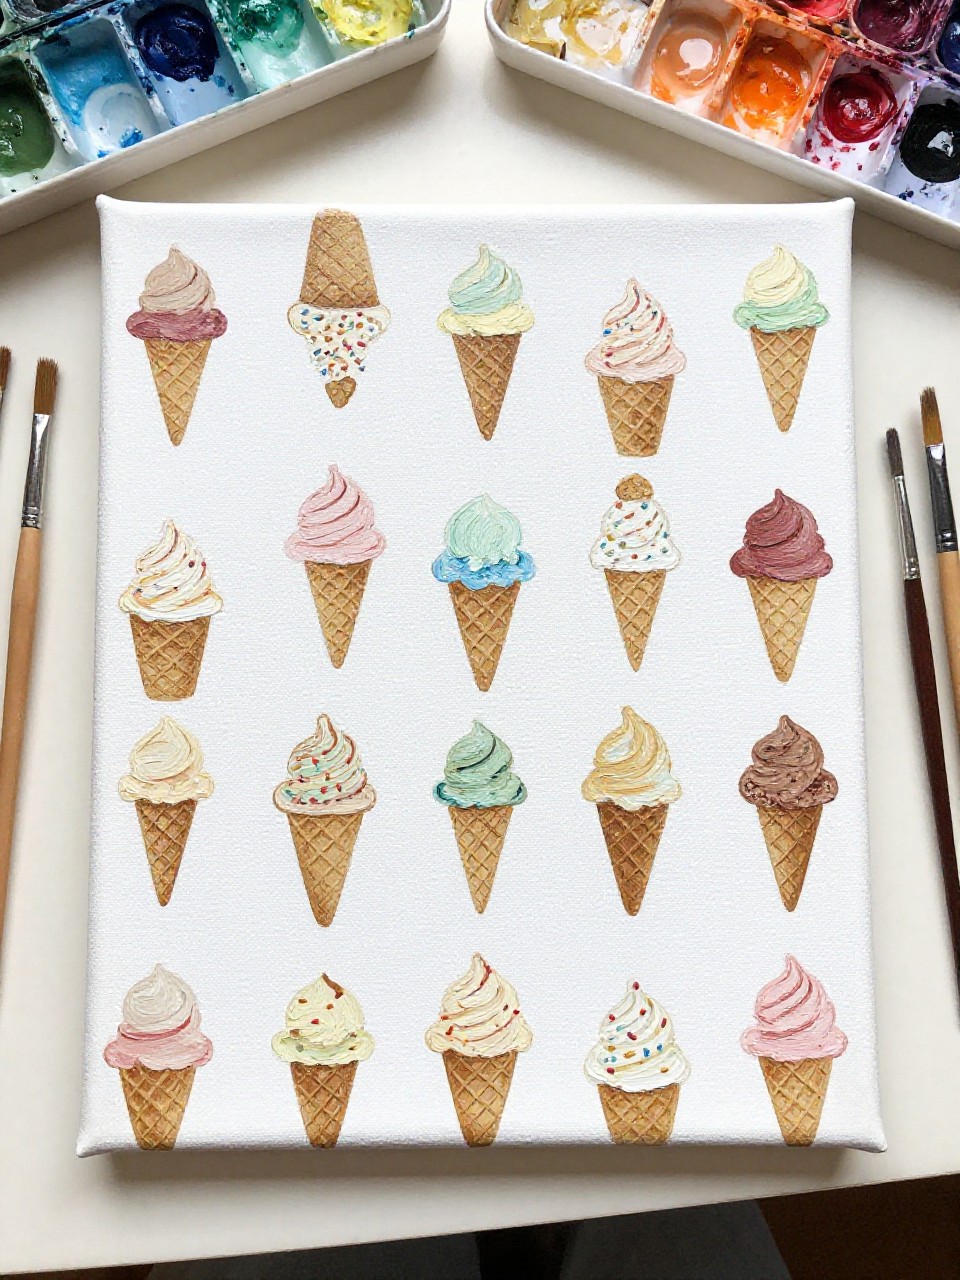
A canvas is covered with a repeating pattern of small cones, each with a different bright scoop color and tiny sprinkles. It’s satisfying because the simple repeat is calming and forgiving, and it’s a great practice piece for steady brush control without needing a complicated main scene.
Materials Needed:
- Stretched canvas
- Acrylic paint
- Paintbrushes in multiple sizes
- Palette or paint tray
- Optional sealer or varnish
Steps to Make:
- Paint a plain background color and let it dry.
- Lightly mark a grid so your cones are spaced evenly.
- Paint small cone triangles first, then add scoop semicircles on top.
- Add sprinkles and tiny highlights, changing colors as you repeat the motif.
- Erase any visible pencil marks and seal when dry.
10. Soft-Serve Swirl Canvas Painting
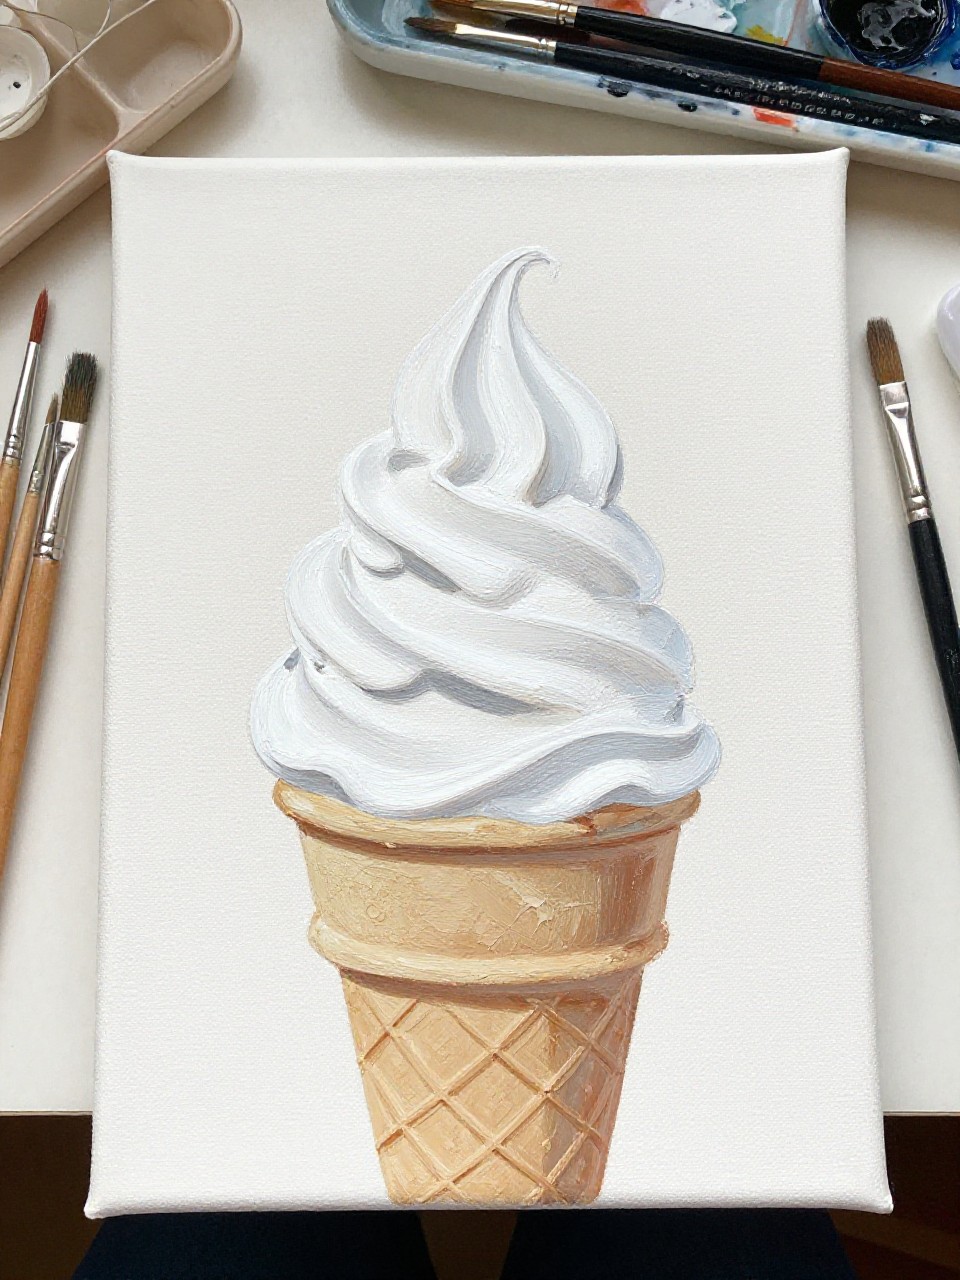
A tall soft-serve swirl is painted with smooth, looping strokes and a gentle shadow, making it look fluffy and bright. It’s great for beginners because you can follow the swirl shape slowly, and it teaches you easy highlighting that makes the ice cream look rounded and real.
Materials Needed:
- Stretched canvas
- Acrylic paint
- Paintbrushes in multiple sizes
- Palette or paint tray
- Optional sealer or varnish
Steps to Make:
- Paint a light background and dry it completely.
- Sketch a soft-serve cone base and a stacked swirl shape on top.
- Paint the swirl using curved strokes, leaving lighter streaks for highlights.
- Add a thin outline and a few extra highlight lines to show shine and texture.
- Let it dry, then seal if you want a clean finished look.
11. Watercolor-Style Ice Cream Drip Canvas
A loose, watercolor-style scoop is painted with thin acrylic washes, with brighter drips layered on top so it still looks hand-painted and textured. It’s calming because you don’t need hard edges, and beginners can enjoy watching the colors blend while still keeping the ice cream shape clear.
Materials Needed:
- Stretched canvas
- Acrylic paint (thinned with water for washes)
- Paintbrushes in multiple sizes
- Palette or paint tray
- Optional sealer or varnish
Steps to Make:
- Mix thinned paint and brush a soft wash background; let it dry.
- Sketch a scoop shape lightly so you don’t lose the ice cream silhouette.
- Lay down thin, patchy color washes inside the scoop, letting brush marks show.
- Add stronger drips and a few crisp highlights once the wash layer is dry.
- Finish with a light shadow and seal carefully after drying.
12. Midnight Ice Cream Neon Outline Canvas

A dark background holds a bright neon-style outline of an ice cream cone, with hand-painted glow lines that look slightly imperfect and real. It’s satisfying because the design is simple but high contrast, and beginners can focus on steady line work without needing complex shading.
Materials Needed:
- Stretched canvas
- Acrylic paint (including bright neon colors)
- Paintbrushes in multiple sizes
- Palette or paint tray
- Optional sealer or varnish
Steps to Make:
- Paint the canvas a deep navy or black and dry it fully.
- Lightly sketch an ice cream cone outline in the center.
- Paint the outline with a bright neon color using a small brush.
- Add a softer “glow” line around it by dry-brushing a lighter neon haze.
- Clean up edges, let dry, and seal for extra pop.
13. Fruit Sorbet Trio Canvas Painting
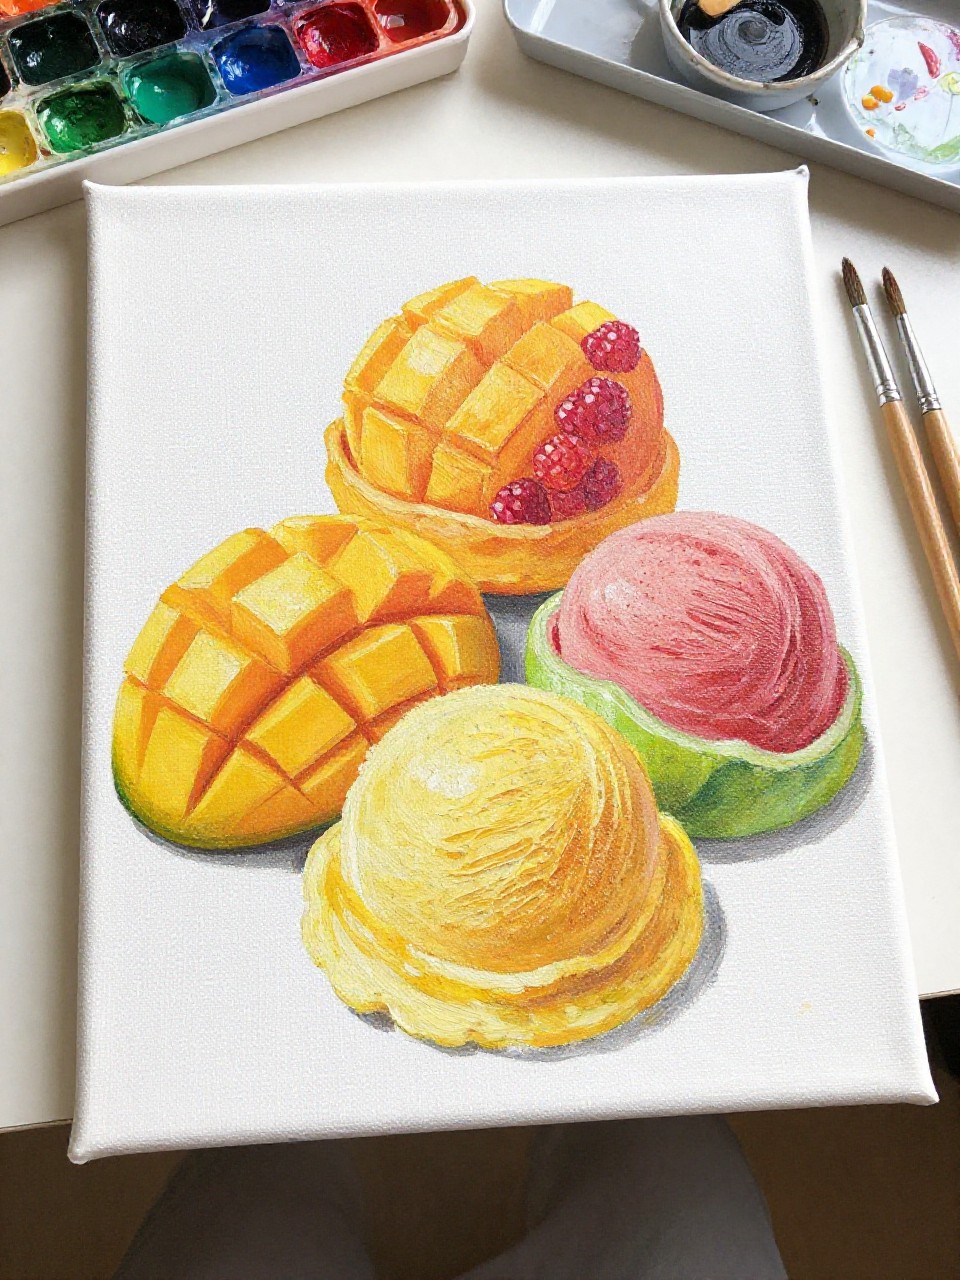
Three small sorbet scoops sit side by side, painted in fruity colors like mango, raspberry, and lime with tiny seed-like speckles. This idea feels peaceful because you repeat the same scoop shape three times, and it teaches easy texture with small dots and layered color.
Materials Needed:
- Stretched canvas
- Acrylic paint
- Paintbrushes in multiple sizes
- Palette or paint tray
- Optional sealer or varnish
Steps to Make:
- Paint a simple light background and dry it.
- Draw three scoop circles in a row with small shadows beneath each.
- Paint each scoop a different fruit color, adding darker strokes near the bottom.
- Add tiny speckles and a few bright highlights to make the scoops look icy.
- Let dry and seal for a clean, finished canvas.
14. Ice Cream Float Glass Canvas Painting
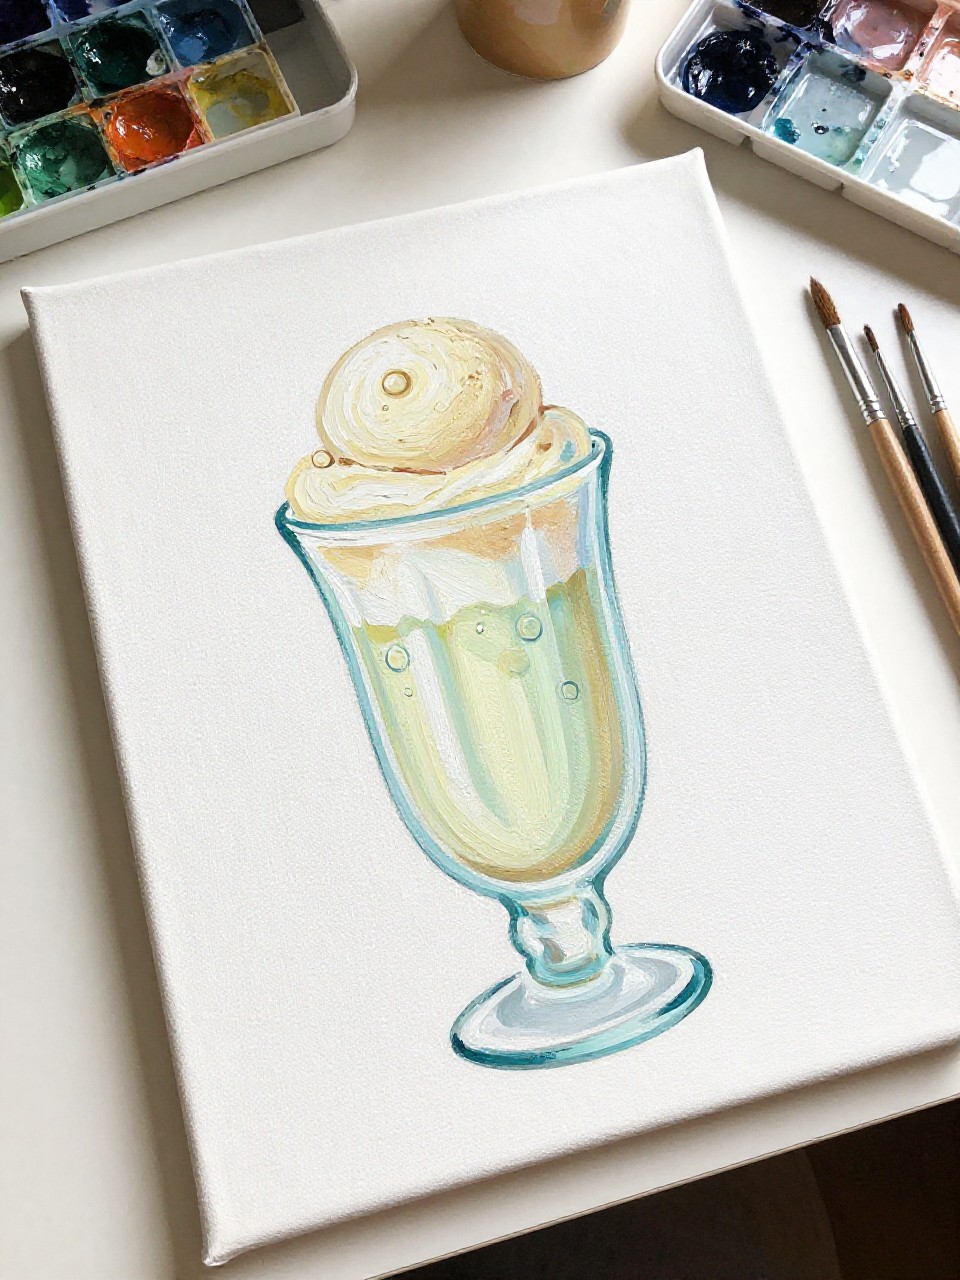
A tall soda float is painted with a fizzy drink base, a scoop floating on top, and tiny bubble dots rising up the glass. It’s great for beginners because the glass can be simple and sketchy, and the bubbles are just easy dots that make the whole painting feel lively.
Materials Needed:
- Stretched canvas
- Acrylic paint
- Paintbrushes in multiple sizes
- Palette or paint tray
- Optional sealer or varnish
Steps to Make:
- Paint a soft background gradient and let it dry.
- Sketch a tall glass shape and a scoop resting at the top.
- Paint the drink area with warm tones, leaving lighter streaks for glass shine.
- Add bubble dots and a straw, then highlight the scoop with lighter paint.
- Deepen the table shadow and seal after drying.
15. Cute Kawaii Ice Cream Face Canvas
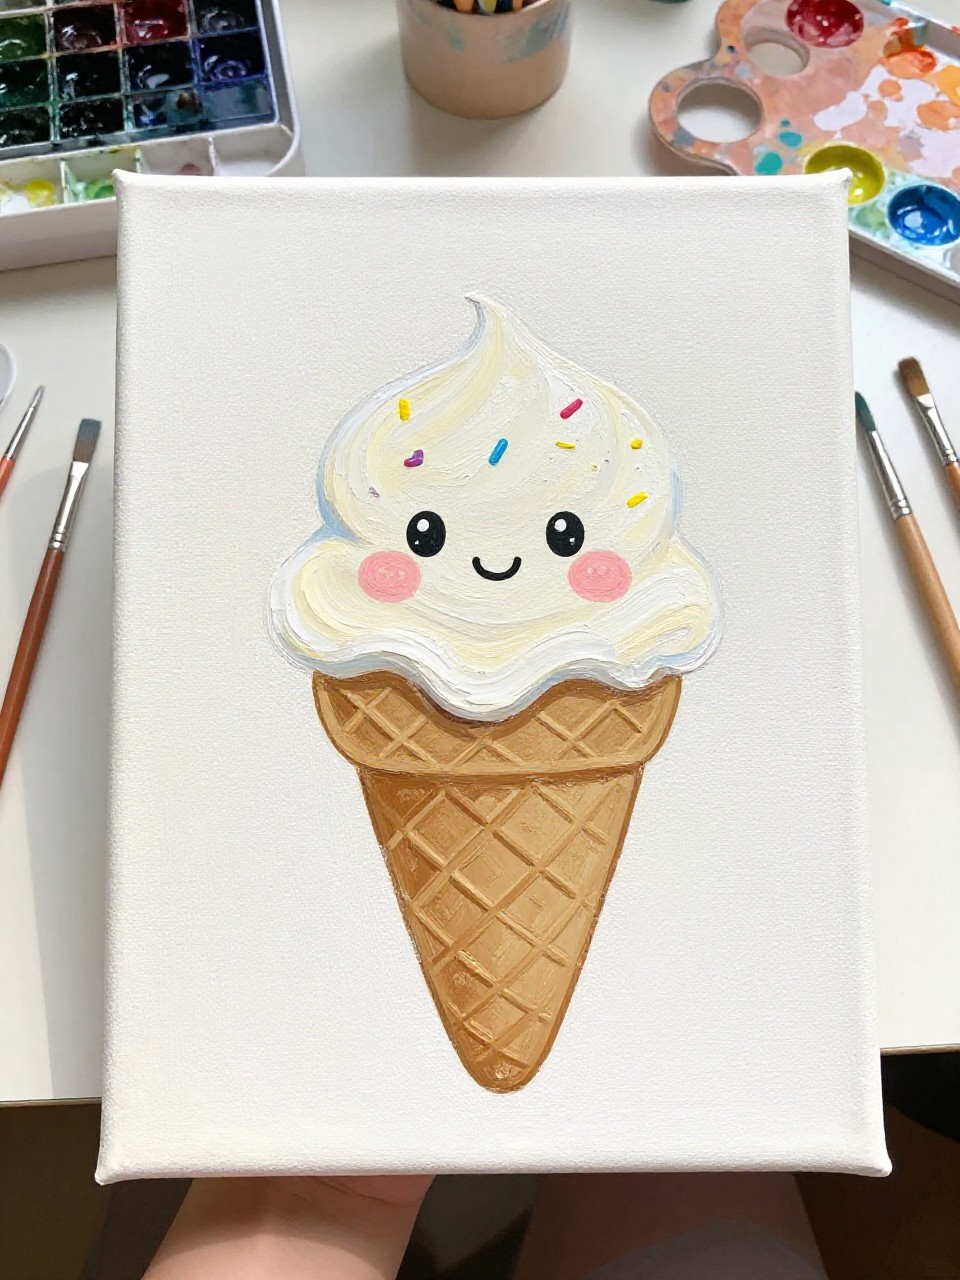
A bright scoop and cone are painted with a tiny smiling face, rosy cheeks, and sprinkle details, all with clearly visible brush strokes. It’s a cheerful beginner project because the shapes are simple, and adding the face makes it feel personal, sweet, and easy to display in a bedroom or studio.
Materials Needed:
- Stretched canvas
- Acrylic paint
- Paintbrushes in multiple sizes
- Palette or paint tray
- Optional sealer or varnish
Steps to Make:
- Paint a plain background color and let it dry.
- Sketch a cone and scoop with enough space for a small face.
- Paint the cone and scoop in bright, solid colors with slightly uneven hand texture.
- Add eyes, smile, blush dots, and sprinkles using a tiny detail brush.
- Let everything dry, then seal lightly to protect the details.
16. Ice Cream Night Sky Canvas (Scoops as Clouds)
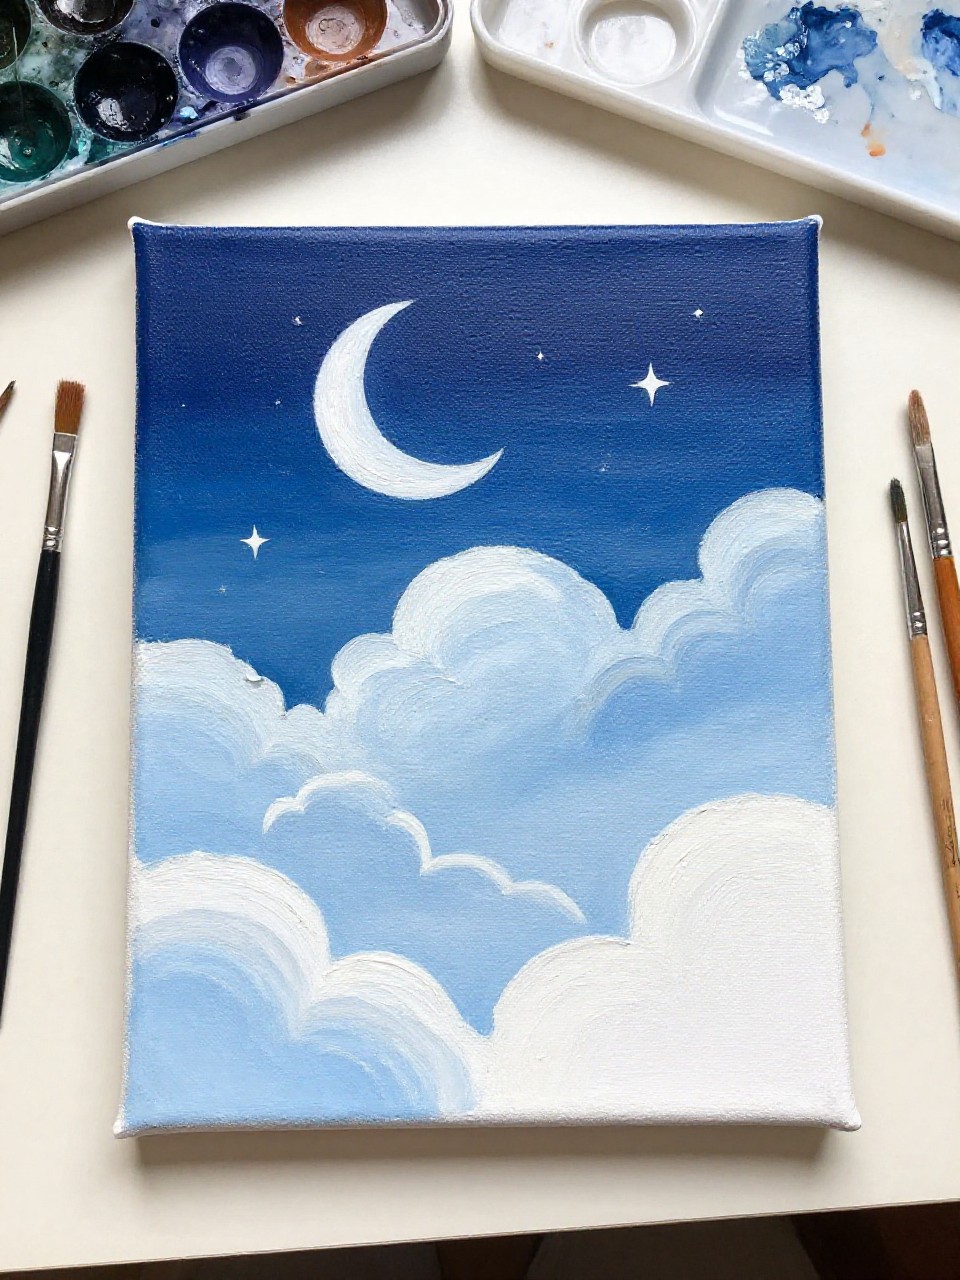
A dreamy sky scene shows fluffy “clouds” shaped like ice cream scoops, with a crescent moon and tiny stars floating around them. It’s relaxing because you can blend soft colors slowly, and the scoop-cloud idea keeps it playful while still looking like real wall art.
Materials Needed:
- Stretched canvas
- Acrylic paint
- Paintbrushes in multiple sizes
- Palette or paint tray
- Optional sealer or varnish
Steps to Make:
- Blend a sunset-to-night gradient background and let it dry.
- Lightly sketch scoop-shaped clouds along the lower half of the canvas.
- Paint the scoops with soft pastel shades, layering darker edges for depth.
- Add star dots, a moon, and gentle highlights on the scoop-cloud tops.
- Finish with tiny sparkles, dry fully, and seal to protect the blend.