

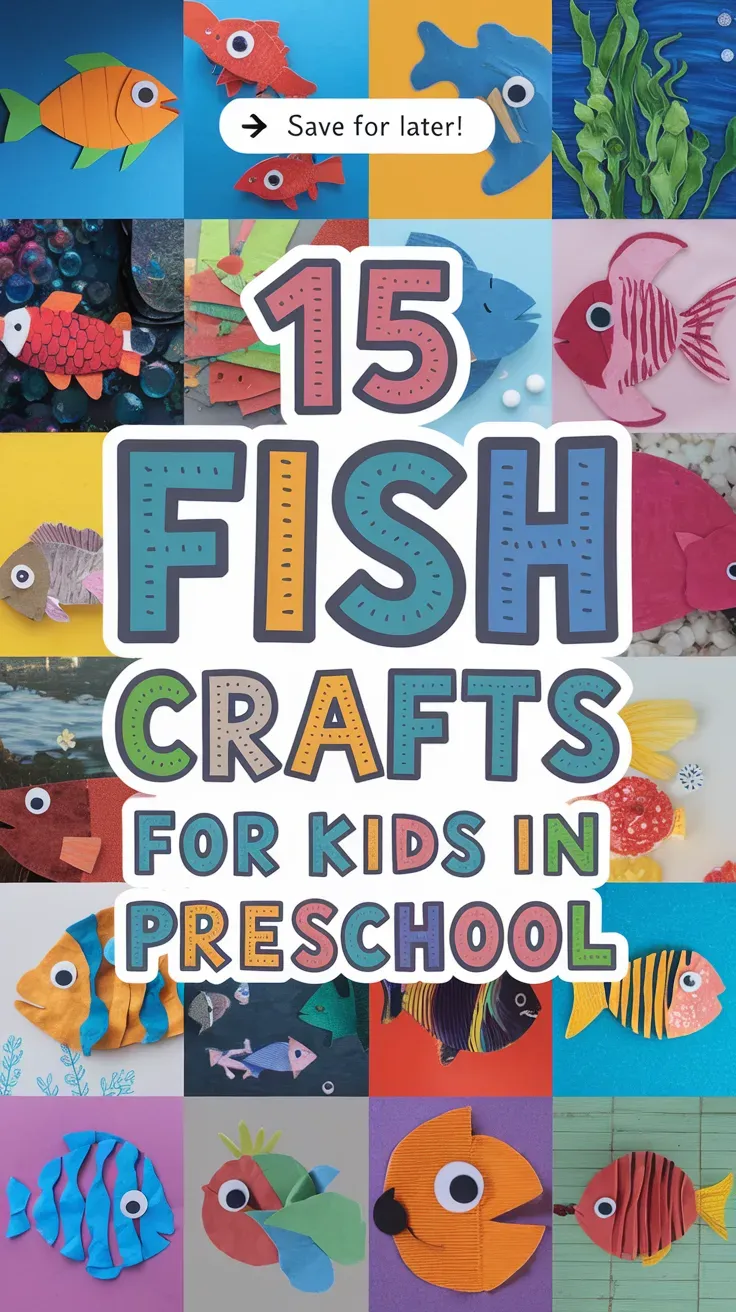
Table of Contents Show
Kids love ocean animals, and fish are extra fun because of their colors, patterns, and wiggly shapes. If you’ve ever needed a quick, low-mess activity for a rainy afternoon or a classroom center, these fish projects will save the day.
They look “wow” on the wall but are simple enough for little hands. Each idea here uses easy-to-find materials, focuses on big shapes and textures, and includes steps kids can actually do.
Pick one or try a few—these beginner-friendly fish crafts feel creative, calm, and totally doable.
1. Rainbow Bubble-Wrap Print Fish
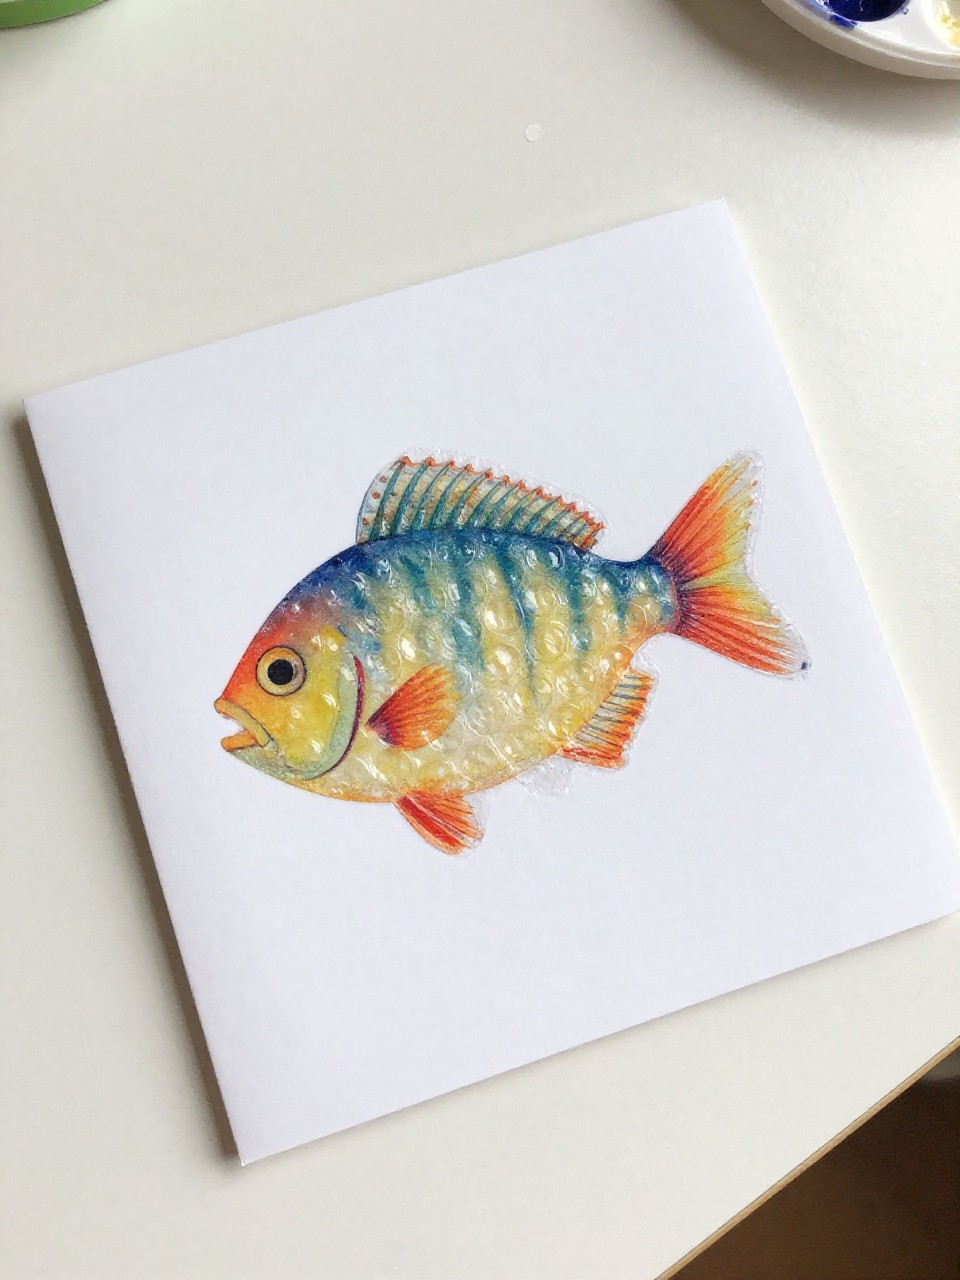
Kids press painted bubble wrap to make shiny fish scales in one satisfying stamp. The texture makes every fish look magical, and the reveal moment is pure delight.
Materials Needed:
For People Who Love to Make Things ✂️
- Bubble wrap
- Tempera paint + paintbrush
- Cardstock or construction paper
How to make it:
- 1. Cut a simple fish shape from cardstock.
- 2. Paint bubble wrap with 2–3 bright colors.
- 3. Flip the fish onto the painted wrap and press gently.
- 4. Lift, let dry, then draw an eye and mouth.
2. Cupcake Liner Fan-Fin Fish

Flattened cupcake liners become fluffy fins and tails with cute ruffles. The circular ridges add instant texture without any tricky cutting.
Materials Needed:
- Cupcake liners (assorted colors)
- Glue stick
- Googly eyes or marker
How to make it:
- 1. Glue one liner flat as the fish body on paper.
- 2. Fold another liner in half for the tail and glue to the side.
- 3. Tear small bits of liner for top/bottom fins and glue.
- 4. Add an eye and a smile.
3. Paper Plate Peekaboo Porthole Fish
A paper plate window frames a swimming fish like a mini submarine view. The ring shape makes the scene feel special and finished.
Materials Needed:
- Paper plate
- Blue tissue paper
- Construction paper scraps
How to make it:
- 1. Cut a large circle hole from the center of a paper plate to make a ring.
- 2. Glue blue tissue on a backing paper for “water.”
- 3. Cut a simple fish shape from scraps and glue under the tissue.
- 4. Glue the plate ring on top to frame the scene.
4. Sticker-Scale Shoal

Use dot stickers to build shiny, patterned scales that preschoolers can place all by themselves. The repeated dots make the fish look polished and graphic.
Materials Needed:
- Large dot stickers
- Construction paper
- Crayon or marker
How to make it:
- 1. Draw a big fish outline on paper.
- 2. Let kids fill the body with dot stickers in rows or rainbow order.
- 3. Add a fin and tail with more stickers or marker lines.
- 4. Draw an eye and bubbles.
5. Foil Shine Fish Collage
Aluminum foil turns into gleaming scales with simple snips and crinkles. The metallic look feels fancy while staying super easy.
Materials Needed:
- Aluminum foil
- Glue stick
- Construction paper base
How to make it:
- 1. Draw and cut a large fish shape from paper.
- 2. Tear or cut small foil pieces and crinkle lightly.
- 3. Glue foil bits as scales across the body.
- 4. Add a paper eye and fins.
6. Shape Stamp Fish with Pool Noodles
Pool noodle slices make perfect circle stamps for bubbly backgrounds and dotty scales. It’s chunky, easy to grip, and super satisfying.
Materials Needed:
- Pool noodle slice (or sponge)
- Washable paint
- Cardstock
How to make it:
- 1. Cut a bold fish silhouette from cardstock and glue to a background.
- 2. Dip the noodle slice in paint.
- 3. Stamp dots on the fish body and around as bubbles.
- 4. Add a drawn eye and smile.
7. Tissue Paper Mosaic Koi
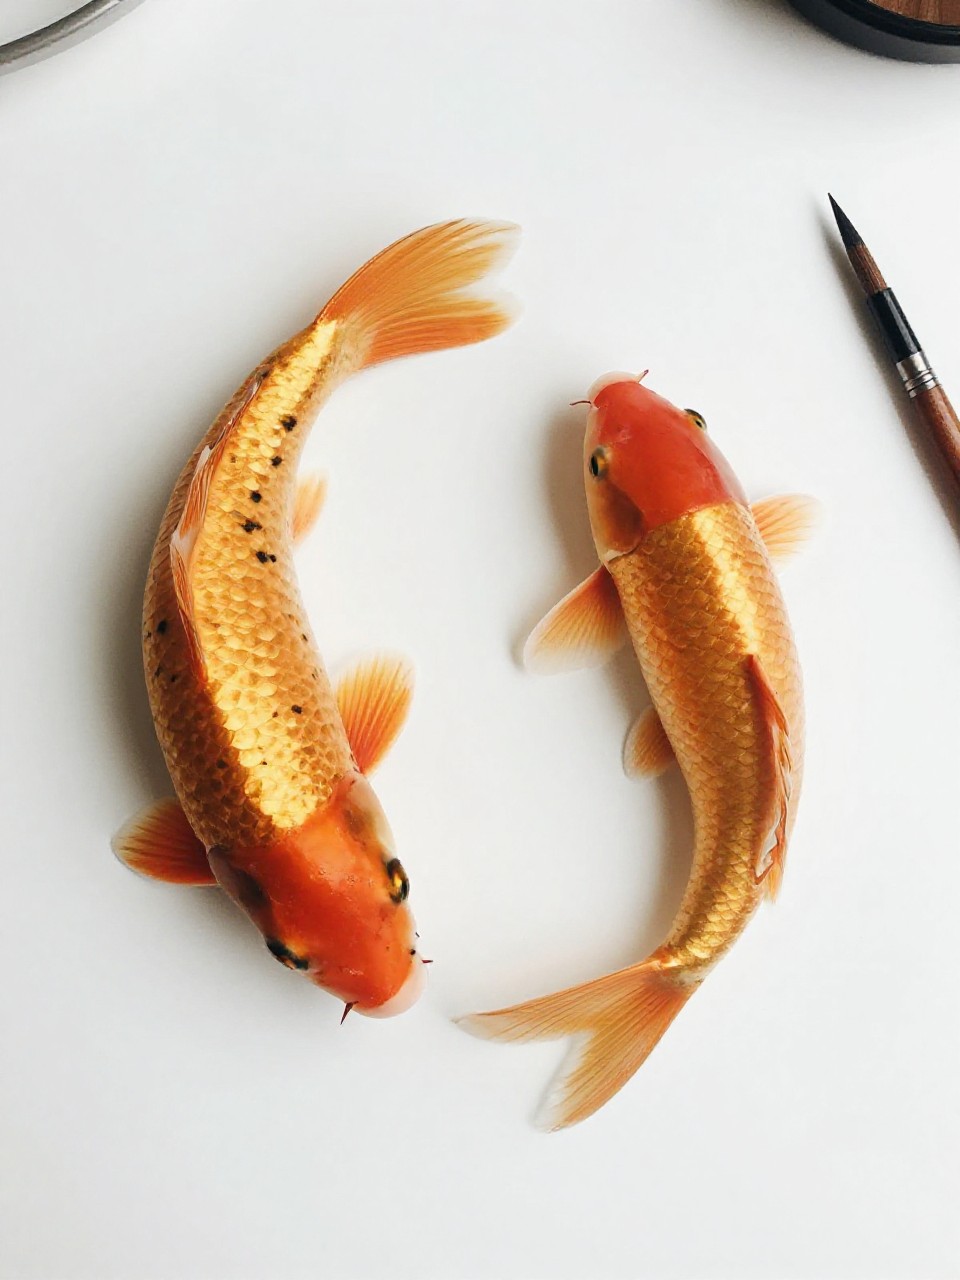
Soft tissue squares make gentle, watercolor-like patches on a koi-shaped body. The layers blend into a serene, pond-like effect.
Materials Needed:
- White cardstock
- Tissue paper squares (orange, red, yellow)
- Glue + water mix
How to make it:
- 1. Cut a simple koi fish shape from white cardstock.
- 2. Brush a thin glue-water layer on the body.
- 3. Lay tissue squares, overlapping slightly.
- 4. Seal with another light brush of glue-water and let dry.
8. Handprint Coral Reef Fish
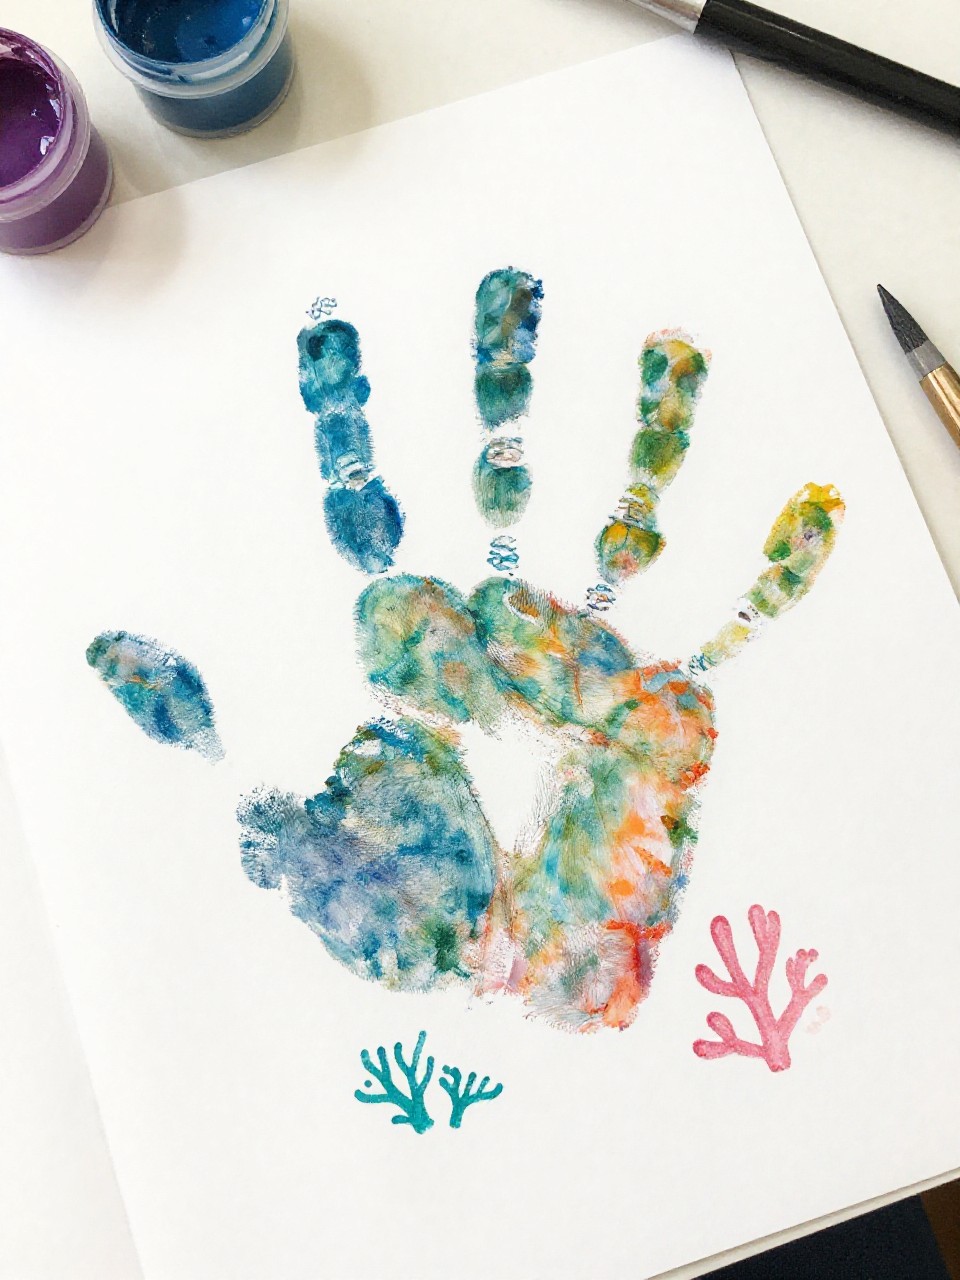
Turn a child’s handprint into a flashy tropical fish with painted stripes. The hand shape becomes fins, making it personal and adorable.
Materials Needed:
- Washable paint
- White paper
- Marker
How to make it:
- 1. Paint the child’s palm and press onto paper to make a handprint.
- 2. Let dry, then outline as a fish, using fingers as fins.
- 3. Add stripes, dots, and an eye with paint or marker.
- 4. Draw simple coral and bubbles around it.
9. Pasta Scale Fish Mobile
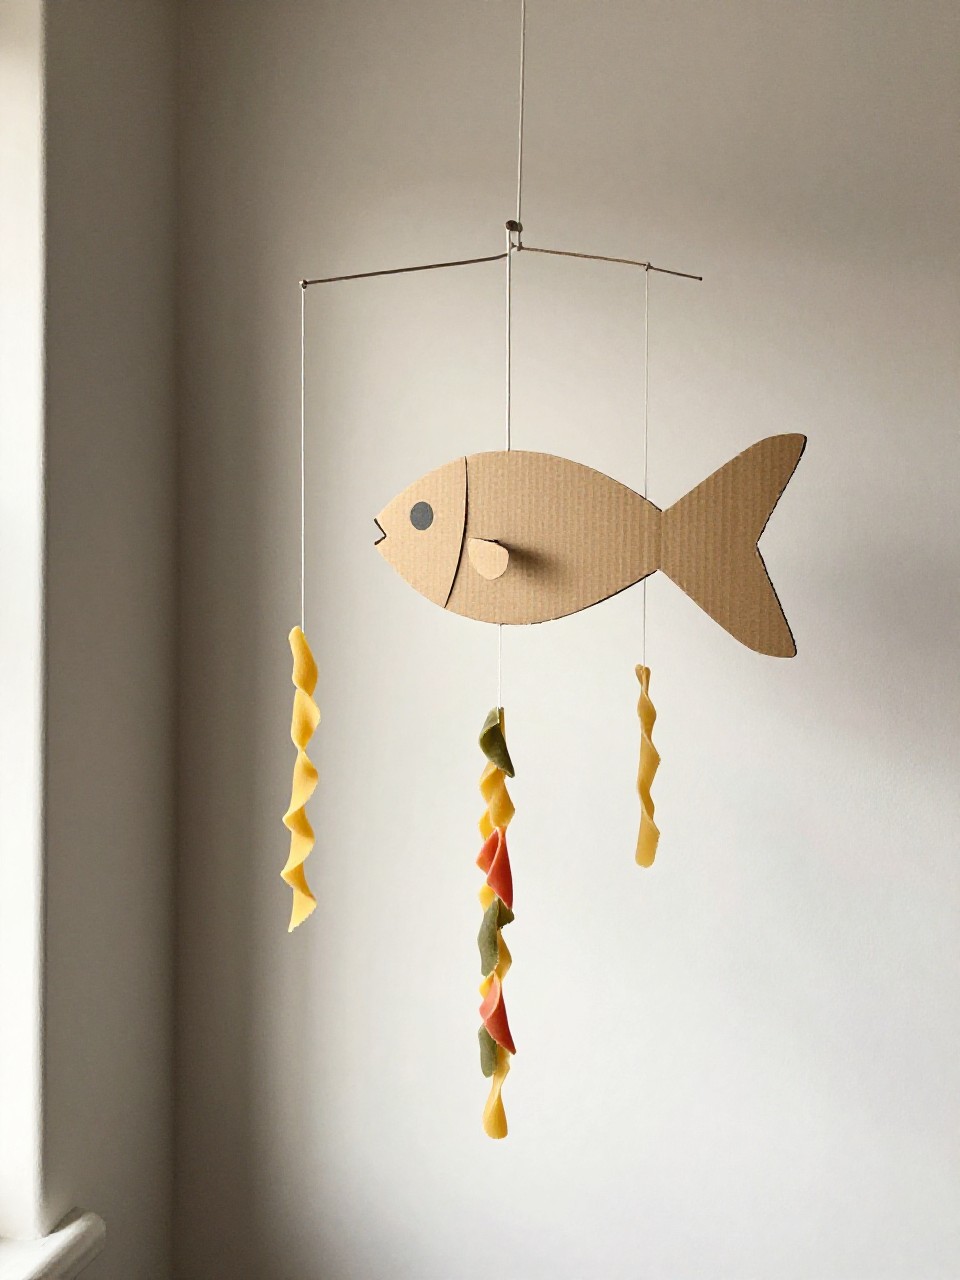
Dye pasta the easy way and string it for a breezy fish mobile. The hanging shapes sway like they’re swimming.
Materials Needed:
- Dry pasta (bow ties and small shells)
- Food coloring + zip bags
- Yarn or string
How to make it:
- 1. Dye pasta in zip bags with a few drops of coloring and a splash of vinegar; dry on paper towels.
- 2. Cut a big fish body from cardboard.
- 3. Punch small holes along the belly and tie short strings.
- 4. Thread colored pasta onto each string and knot.
10. Sponge Dab Ombre Fish
Using one sponge, kids dab light-to-dark paint to make smooth ombre scales. The texture looks artsy without any fine motor stress.
Materials Needed:
- Kitchen sponge
- Two or three paint shades
- Thick paper
How to make it:
- 1. Draw a big fish on thick paper.
- 2. Dip one edge of the sponge in the lightest color and dab the head area.
- 3. Add medium, then darkest color toward the tail, overlapping slightly.
- 4. Draw an eye and outline with marker.
11. Water-Bottle Cap Bubble Fish
Bottle caps become bold bubble stamps and googly-like eyes. The circles make the scene pop with minimal effort.
Materials Needed:
- Clean plastic bottle caps
- Washable paint
- Construction paper
How to make it:
- 1. Cut a fish body from paper and glue to a blue background.
- 2. Dip the cap rim in white or light paint and stamp bubbles.
- 3. Glue one cap as a big 3D eye or draw one inside the rim print.
- 4. Add fin lines with marker.
12. Craft Stick Weaving Fish
A simple yarn weave fills the fish belly with colorful stripes. The over-under motion is calming and great for little hands.
Materials Needed:
- Jumbo craft sticks
- Yarn
- Tape
How to make it:
- 1. Glue or tape two craft sticks in an X for the fish frame.
- 2. Tie yarn at one end and string it back and forth to make a belly.
- 3. Push strands together for snug stripes and tie off.
- 4. Add a paper tail and eye.
13. Salt-Paint Sparkle Fish
Salt turns wet paint into sparkly, crystal scales with a cool science twist. The texture is dramatic and dries into a raised design.
Materials Needed:
- White glue
- Table salt
- Liquid watercolors or diluted food coloring
How to make it:
- 1. Draw a fish outline with glue on watercolor paper.
- 2. Sprinkle salt over the glue lines and shake off extra.
- 3. Touch a wet brush of color to the salted lines and watch it spread.
- 4. Let it dry flat without touching.
14. Paper Strip Accordion Fish
Accordion-folded paper strips create bouncy, 3D fins and tails. The pop-out look makes the fish feel alive.
Materials Needed:
- Construction paper
- Scissors
- Glue stick
How to make it:
- 1. Cut a big fish body from paper.
- 2. Make 3–4 thin paper strips and accordion-fold them.
- 3. Glue the folded strips as top fin, bottom fin, and tail.
- 4. Add an eye and simple patterns.
15. Nature Print Leaf-Fin Fish
Leaves become elegant, textured fins with simple prints. The natural veins look like real fin rays without any detail work.
Materials Needed:
- Small leaves
- Washable paint
- Cardstock
How to make it:
- 1. Paint the underside of a leaf lightly.
- 2. Press it onto paper to make a fin print.
- 3. Add a simple oval fish body next to the fin with paint or paper.
- 4. Print another leaf for the tail and draw an eye.