Table of Contents Show
Paper miniature houses are one of the most charming holiday crafts you can make. They bring a cozy, storybook feel to your Christmas decor and look stunning when arranged together as a glowing winter village. With just cardstock, scissors, glue, and a bit of creativity, you can craft your own little town — complete with snowy rooftops, wreaths, and glowing windows.
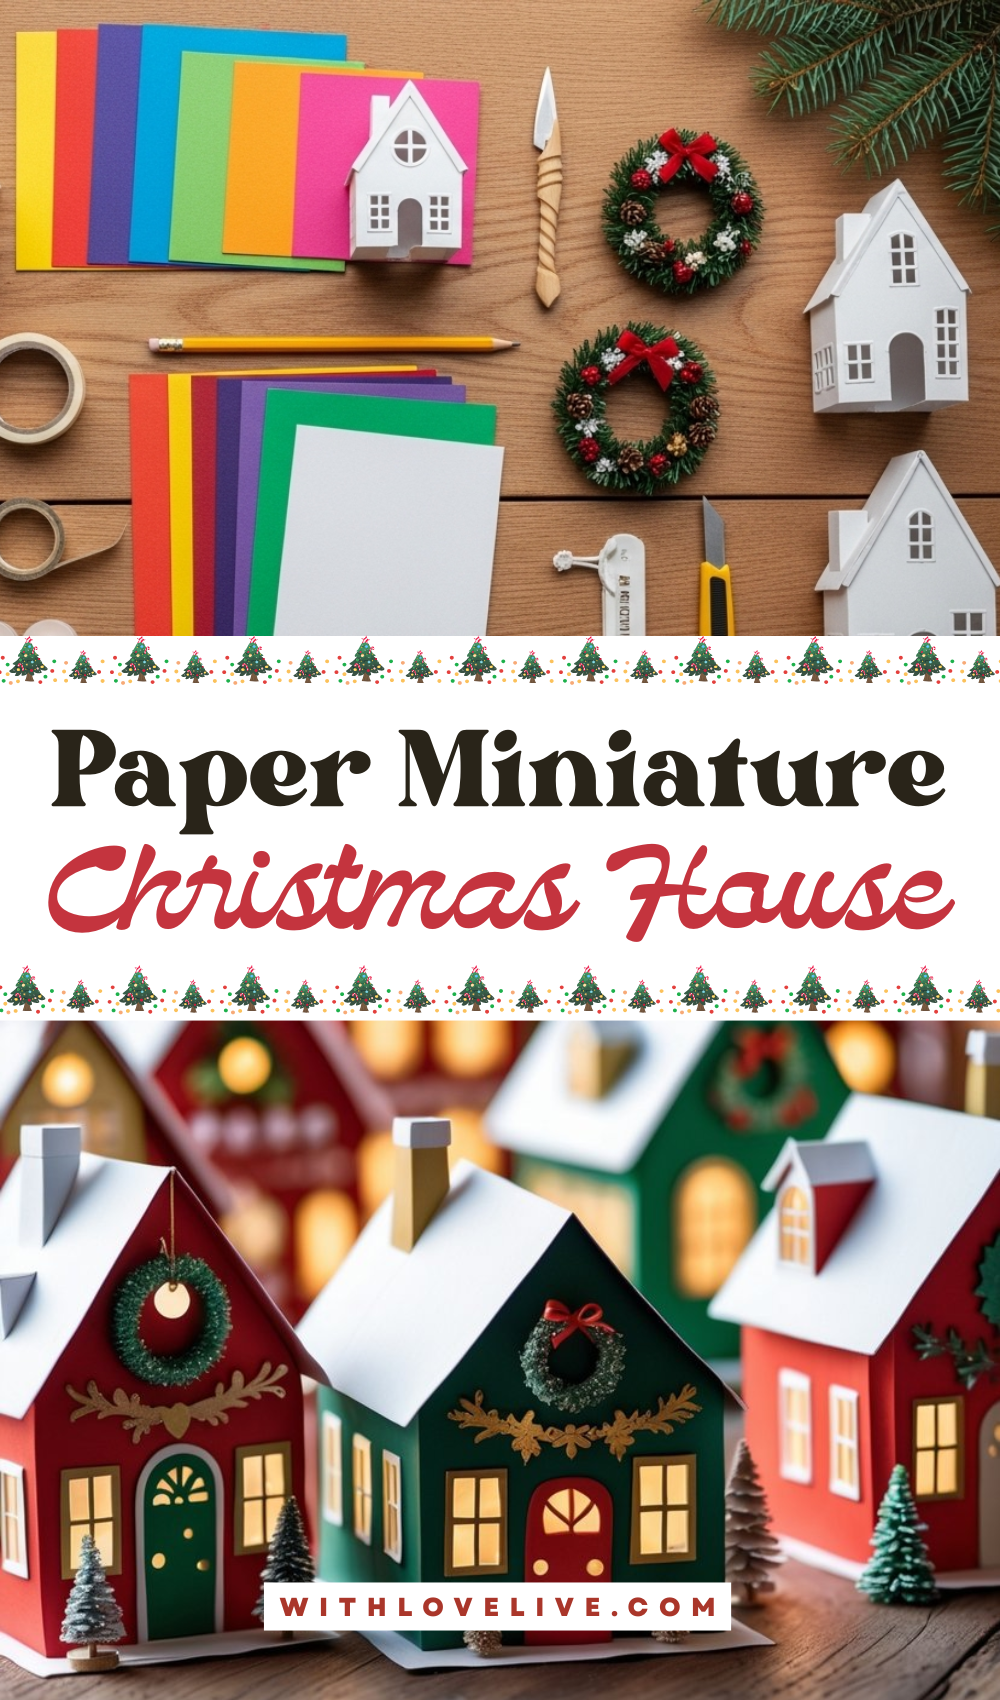
You can customize them with colors and details that fit your style — classic red and green for traditional Christmas charm, white and gold for elegance, or pastel shades for a softer look.
Add battery-operated tea lights inside, and they’ll glow beautifully through the windows, filling your space with a warm, festive glow.
How to Make Paper Miniature Houses
These tiny houses are perfect for tabletops, mantels, or window displays, and they make wonderful handmade gifts, too.
For People Who Love to Make Things ✂️
Materials
- Colored cardstock or thick craft paper (in red, green, white, and gold tones)
- Craft knife or scissors
- Ruler and pencil
- Craft glue or double-sided tape
- Battery-operated tea lights (for illumination)
- Small decorative accents like wreath stickers, mini trees, or ribbon bows
- Cutting mat (optional, for precision)
Shop the materials


The steps

Step 1: Draw or Trace the House Template
Start by sketching a simple house shape on cardstock — include walls, a pitched roof, and tabs along the edges for gluing. You can find printable templates online or draw your own.
Use a ruler to ensure straight edges, and keep the design symmetrical for easy assembly. If making several houses, vary their shapes slightly for a more natural village look.
Step 2: Cut and Score the Pieces
Use scissors or a craft knife to carefully cut out each section of your house, including window openings if you want light to shine through.
Score the fold lines gently using the back of your knife or a scoring tool — this helps the paper fold neatly without cracking. Fold along all the lines to prepare for assembly.
Step 3: Assemble the House
Apply a thin line of glue or double-sided tape along the tabs and press the walls together to form the house shape. Hold for a few seconds to let the glue set.
Then, attach the roof piece on top, ensuring it’s centered and even. If you’re making multiple houses, try alternating roof colors for visual interest.
Step 4: Add Decorative Details
Once the structure is secure, it’s time to decorate. Glue on small wreaths, paper garlands, or cut-out windows trimmed with gold paper.
You can dust a bit of white paint or glitter on the roof edges to create a snowy effect. Add mini bottle-brush trees, ribbons, or other small accents around your houses to make the scene come alive.
Step 5: Light It Up and Display
Place a small battery-operated tea light inside each house before setting them on display. Arrange them together on a wooden tray or faux snow base to create your own cozy Christmas village.
When the lights are on, they’ll cast a soft, magical glow that makes your handmade houses feel like a tiny, peaceful town on a snowy night.