Table of Contents Show
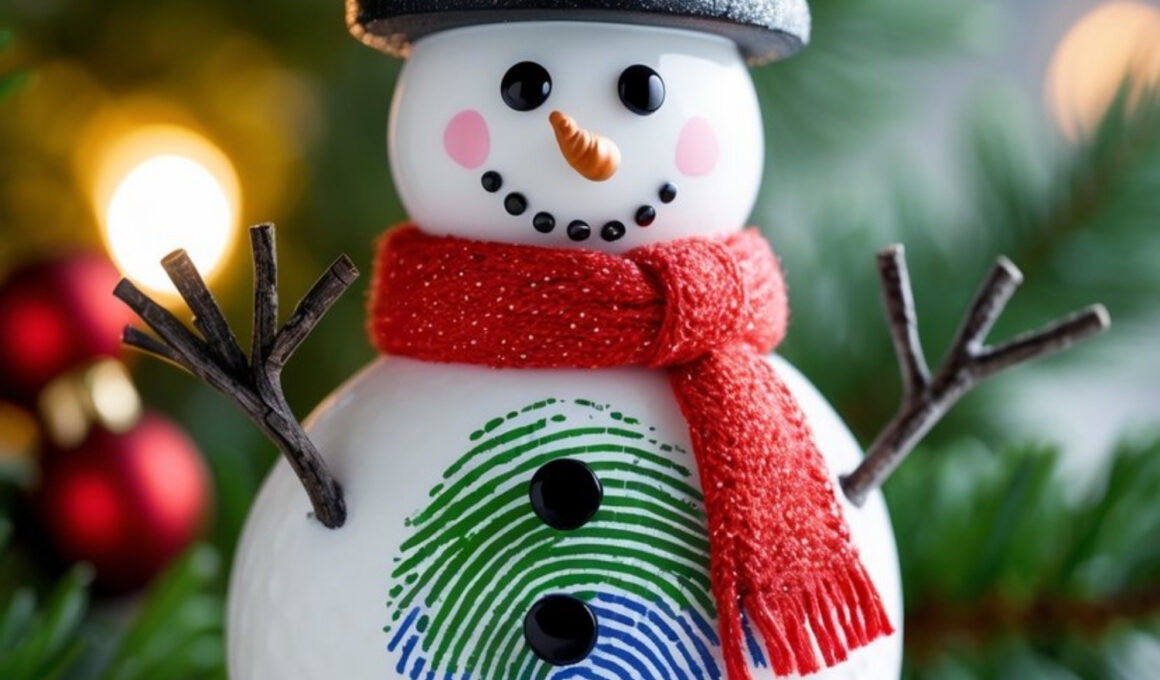
A fingerprint snowman ornament is a heartwarming, personal keepsake that captures the magic of the holidays in the simplest way.

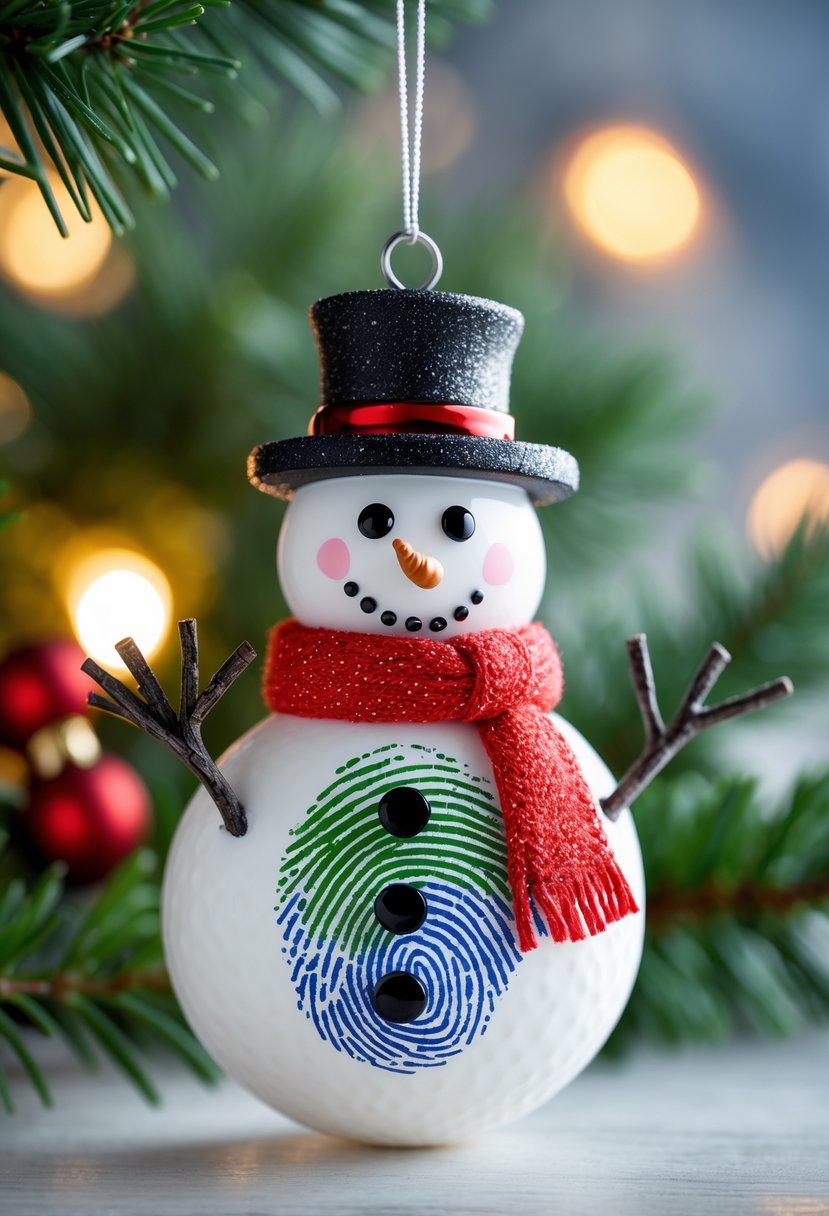
Each snowman is made from your fingerprints pressed onto a smooth ornament, turning something ordinary into a cherished memory.
Whether you hang it on your own tree or gift it to grandparents, it’s a sentimental craft that’s easy to make, fun for kids, and guaranteed to bring smiles for years to come.
How to Make a Fingerprint Snowman Ornament
Perfect for families, classrooms, or handmade gift exchanges, this ornament combines creativity with a personal touch—literally.
For People Who Love to Make Things ✂️
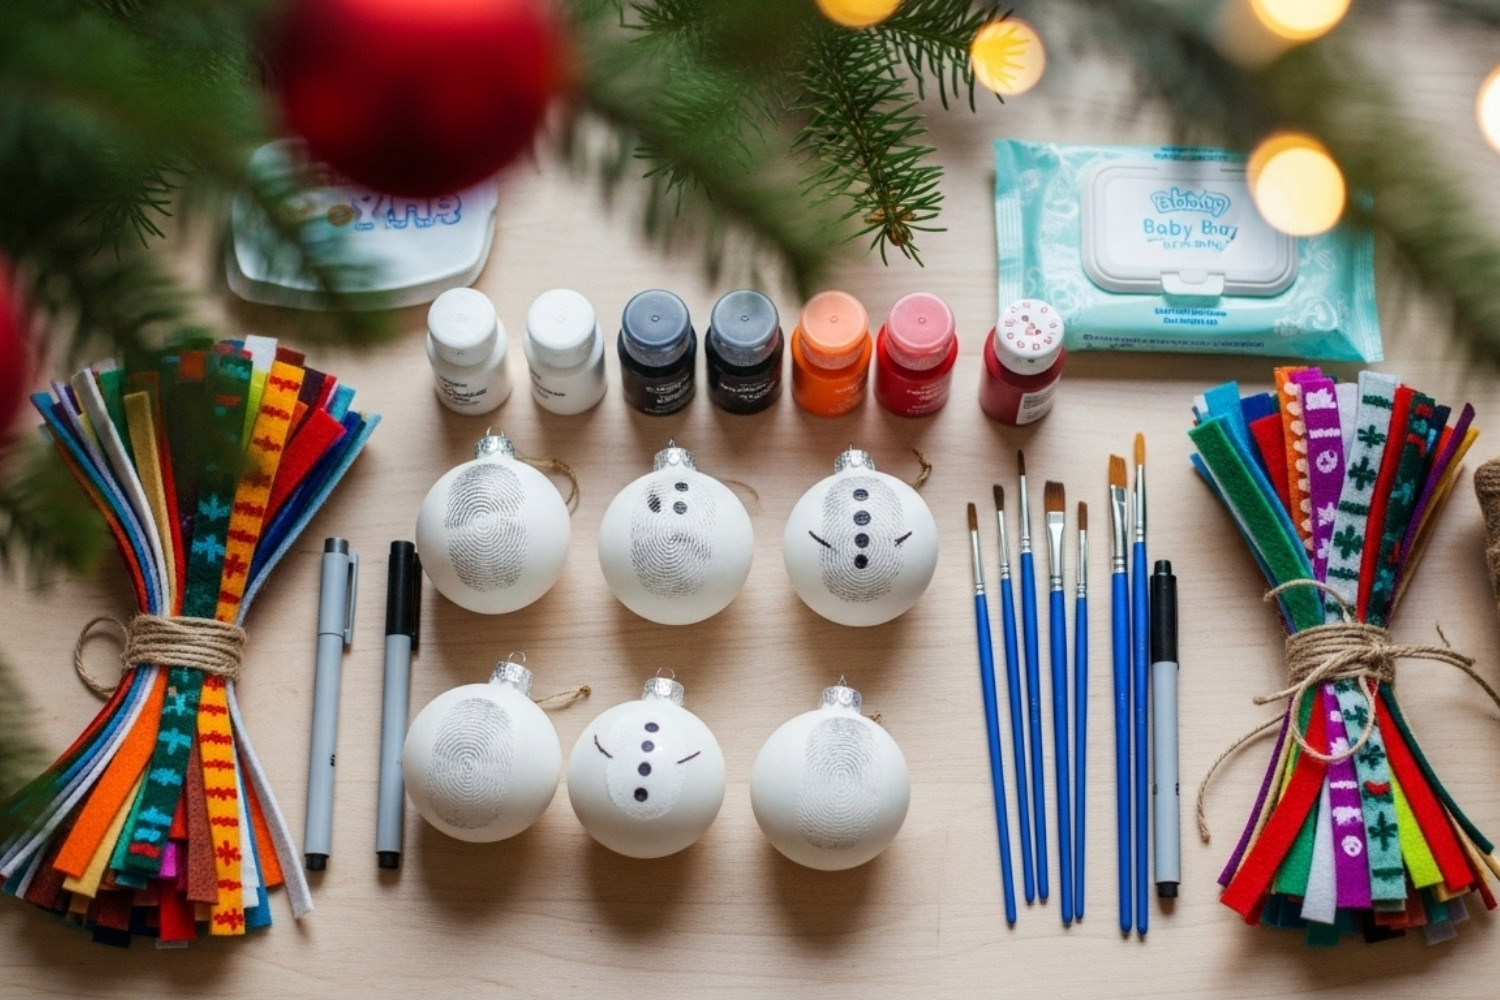
Materials
- White ornament (ceramic, plastic, or glass)
- Acrylic paint (white, black, orange, and assorted colors for scarves or hats)
- Fine-tipped paintbrushes or cotton swabs
- Black and orange permanent markers (optional)
- Baby wipes or damp cloth for cleanup
- Twine or ribbon for hanging
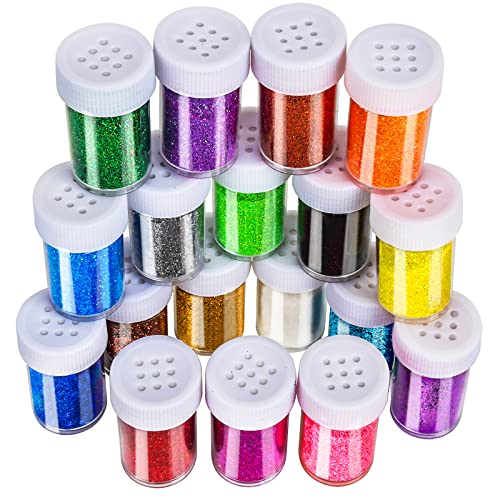
- Optional: glitter, small scarf fabric, or mini top hat embellishment
Shop the materials


The steps
Step 1: Prepare the Ornament
Wipe your ornament clean with a dry cloth to remove any dust or oils. A smooth, clean surface ensures that the paint sticks evenly.
If you’re using glass ornaments, consider placing them on a soft towel or egg carton to prevent them from rolling while you work.
Step 2: Create the Fingerprint Snowman
Dip your fingertip lightly into white paint and press it gently onto the ornament’s surface. For each snowman, you’ll need two or three fingerprints stacked vertically—one for the head and one or two for the body.
Let each print dry completely before moving to the next to avoid smudging. Kids will love seeing their tiny fingerprints come to life as snowmen!
Step 3: Add the Snowman’s Face and Buttons
Once the white paint is fully dry, use a fine-tipped brush or black marker to add small dots for eyes, a mouth, and buttons down the front. A tiny dab of orange paint (or marker) works perfectly for the carrot nose.
Don’t worry about making them identical—each snowman’s expression adds character and charm.
Step 4: Paint the Accessories
Get creative with colorful scarves, hats, or earmuffs. Use a small brush to add details like stripes or polka dots. You can also glue on a thin strip of felt or yarn to make a real scarf for a more textured, three-dimensional effect.
Step 5: Personalize Your Ornament
Write your name and the year on the back using a permanent marker. This turns your creation into a keepsake that you’ll enjoy rediscovering every Christmas.
If you’re making these with kids, label each snowman with their name so everyone can spot their own fingerprint character.
Step 6: Optional Touches for Sparkle
For a bit of shimmer, apply a thin layer of glitter glue or dab the edges with silver paint for a frosty effect. A touch of glitter snow on the ground area of your snowman scene makes it extra festive under Christmas lights.
Step 7: Hang and Display
Once everything is dry, thread a piece of ribbon or twine through the ornament’s top. Tie a knot or bow and hang it on your Christmas tree.
These ornaments also make meaningful handmade gifts—wrap them in tissue paper with a tag that says, “Made with love and fingerprints.