


Table of Contents Show
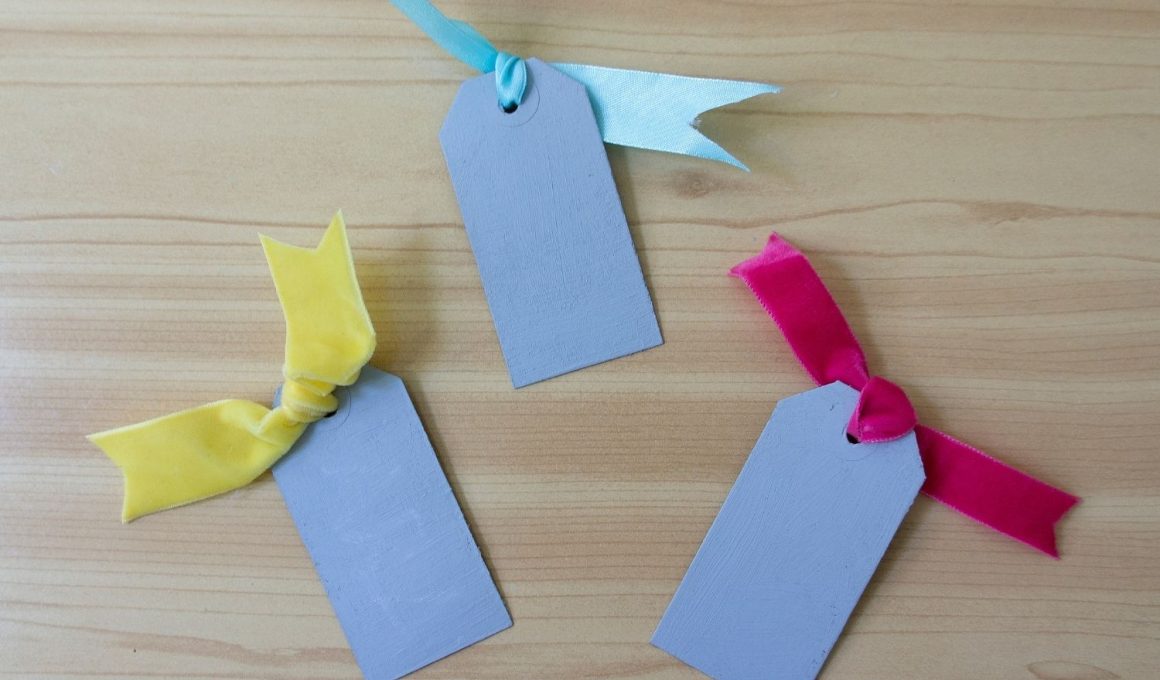
Keeping kids busy, planning a class craft, or just wanting your presents to look a little extra special? Paper gift tags are small, quick projects that make any gift feel thoughtful. This list gives you fun, simple ideas that use easy supplies and work for rainy days or last-minute wrapping.

Each tag has a clear look and simple steps so you can jump right in and enjoy the making. Let’s get to the gift tag ideas!
1. Confetti Sprinkle Paper Tag

This tag looks like a tiny party, with bright paper “sprinkles” scattered over a simple cardstock base. Kids love choosing colors and sprinkling pieces to make each tag one-of-a-kind and cheerful.
Materials Needed:
- White or kraft cardstock cut into tag shapes
- Colorful paper scraps
- Glue stick
- Hole punch
- Twine or ribbon
How to make it:
For People Who Love to Make Things ✂️
- Cut your cardstock into small rectangles with clipped top corners; punch a hole at the top.
- Snip colorful paper scraps into tiny rectangles and dots.
- Glue the sprinkles all over the tag face, leaving space for a name.
- Let dry, write a message, and tie on with twine.
2. Watercolor Wash Name Tag
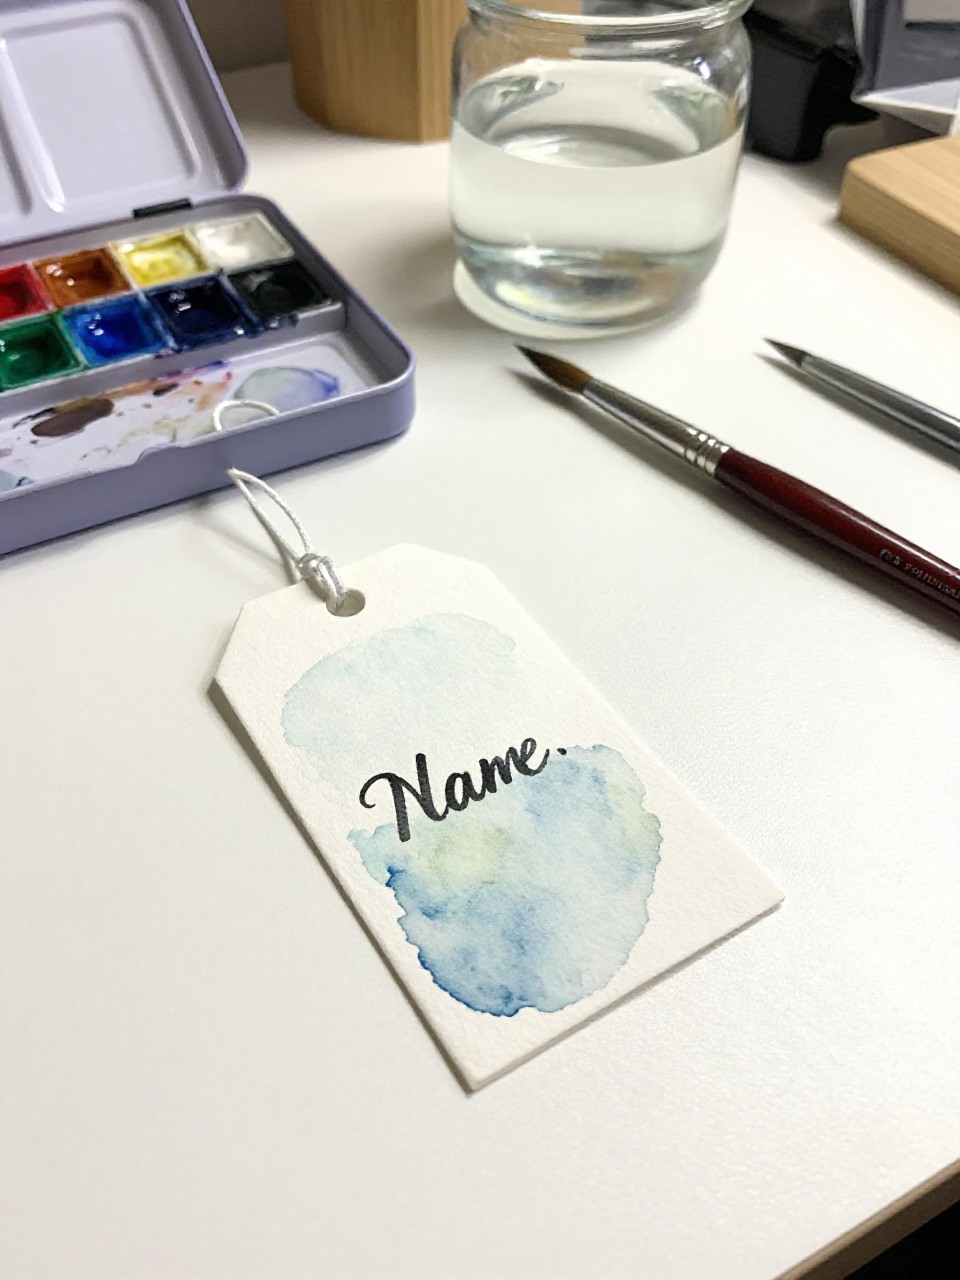
This tag has a soft, blended watercolor background with a crisp name written on top. It’s relaxing to paint and watch the colors merge, and it looks fancy without much work.
Materials Needed:
- Watercolor paper or thick cardstock
- Watercolor paints and brush
- Black fine-tip marker
- Hole punch
- Ribbon
How to make it:
- Cut the watercolor paper into tag shapes and punch a hole.
- Lightly paint a wash of two or three colors across the tag.
- Let dry, then write the recipient’s name in neat letters.
- Tie on a ribbon to finish.
3. Layered Snowflake Paper Tag
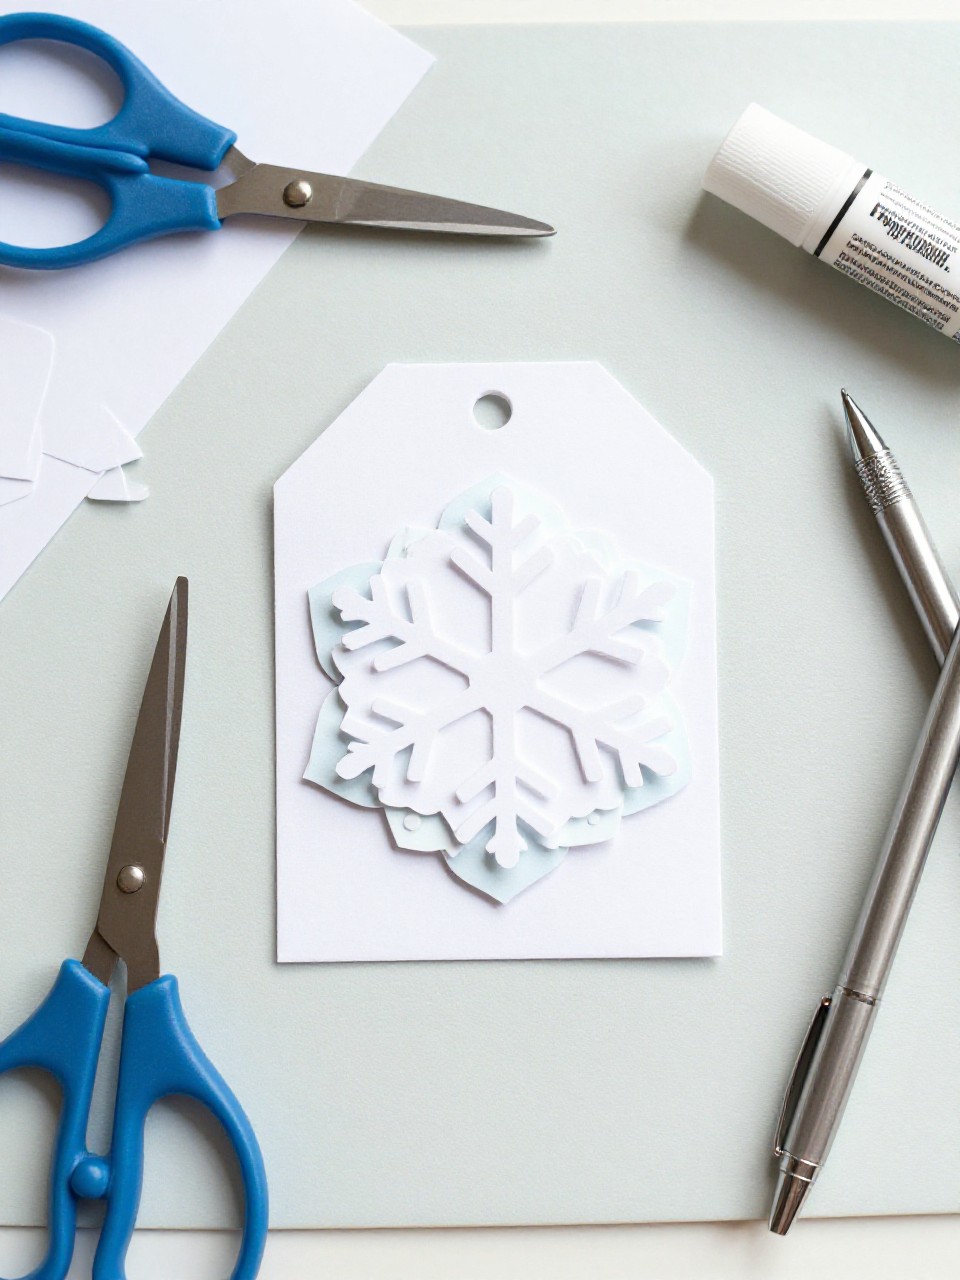
This wintery tag shows a layered paper snowflake on a cool-toned base. Kids enjoy folding and snipping tiny snowflakes, and the layered look feels magical but stays simple.
Materials Needed:
- Light blue cardstock tag base
- White paper
- Glue stick
- Hole punch
- Silver gel pen (optional)
How to make it:
- Prepare a blue cardstock tag and punch a hole.
- Fold white paper into a small square and cut a simple snowflake.
- Glue the snowflake to the center and add silver dots or a border.
- Dry, then thread string or ribbon.
4. Botanical Leaf Silhouette Tag
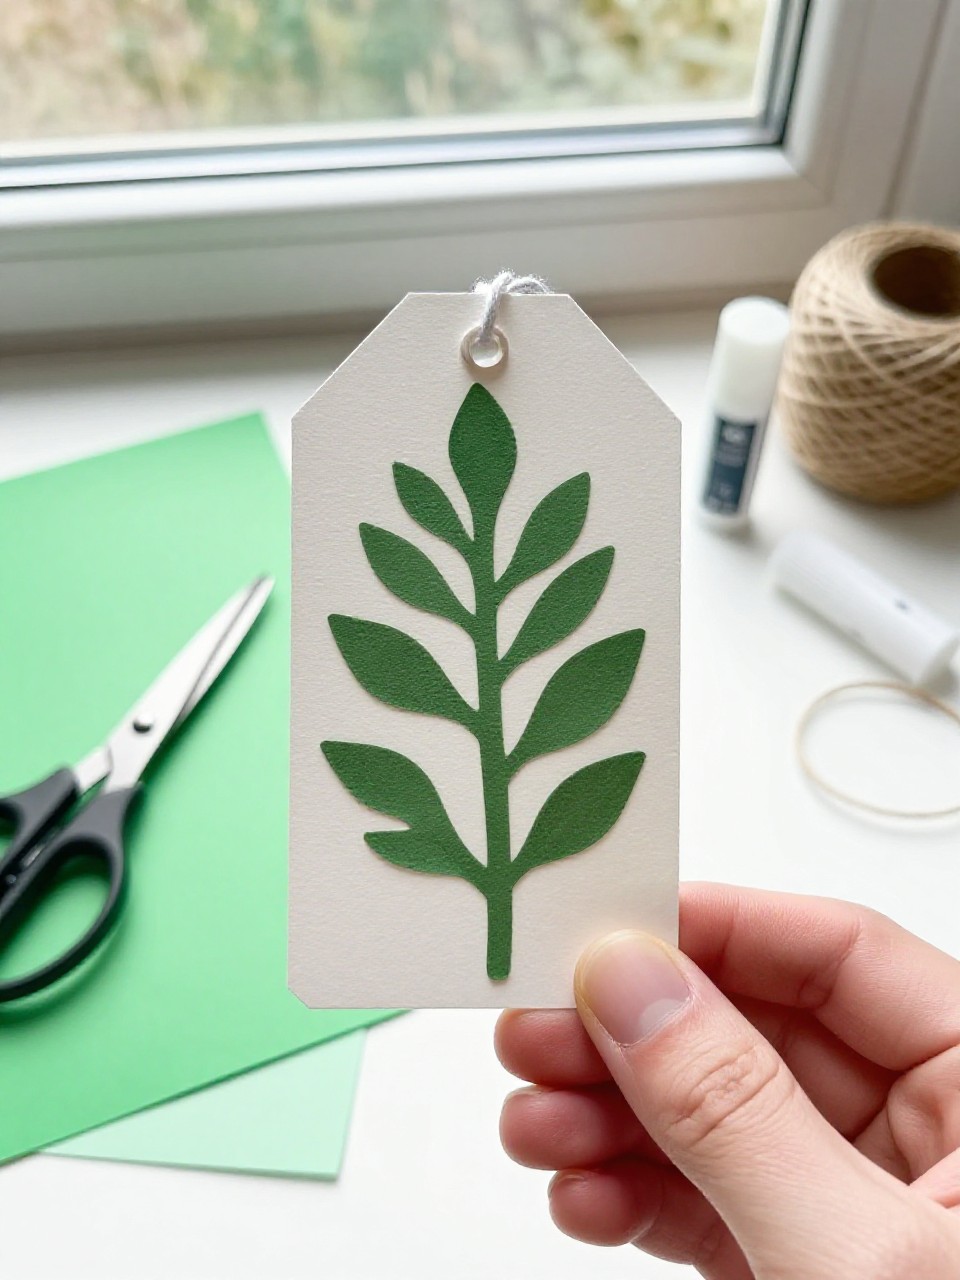
This tag features a crisp leaf shape cut from colored paper placed over a contrasting background. It’s satisfying to trace and cut the clean silhouette, and the result looks calm and natural.
Materials Needed:
- Kraft cardstock tag base
- Green paper for leaf shape
- Pencil and scissors
- Glue stick
- Twine
How to make it:
- Cut a kraft tag and punch a hole.
- Draw a simple leaf shape on green paper and cut it out.
- Glue the leaf centered on the tag; add a small vein line with pencil if desired.
- Let set and add twine to attach.
5. Scrapbook Stripe Gift Tag
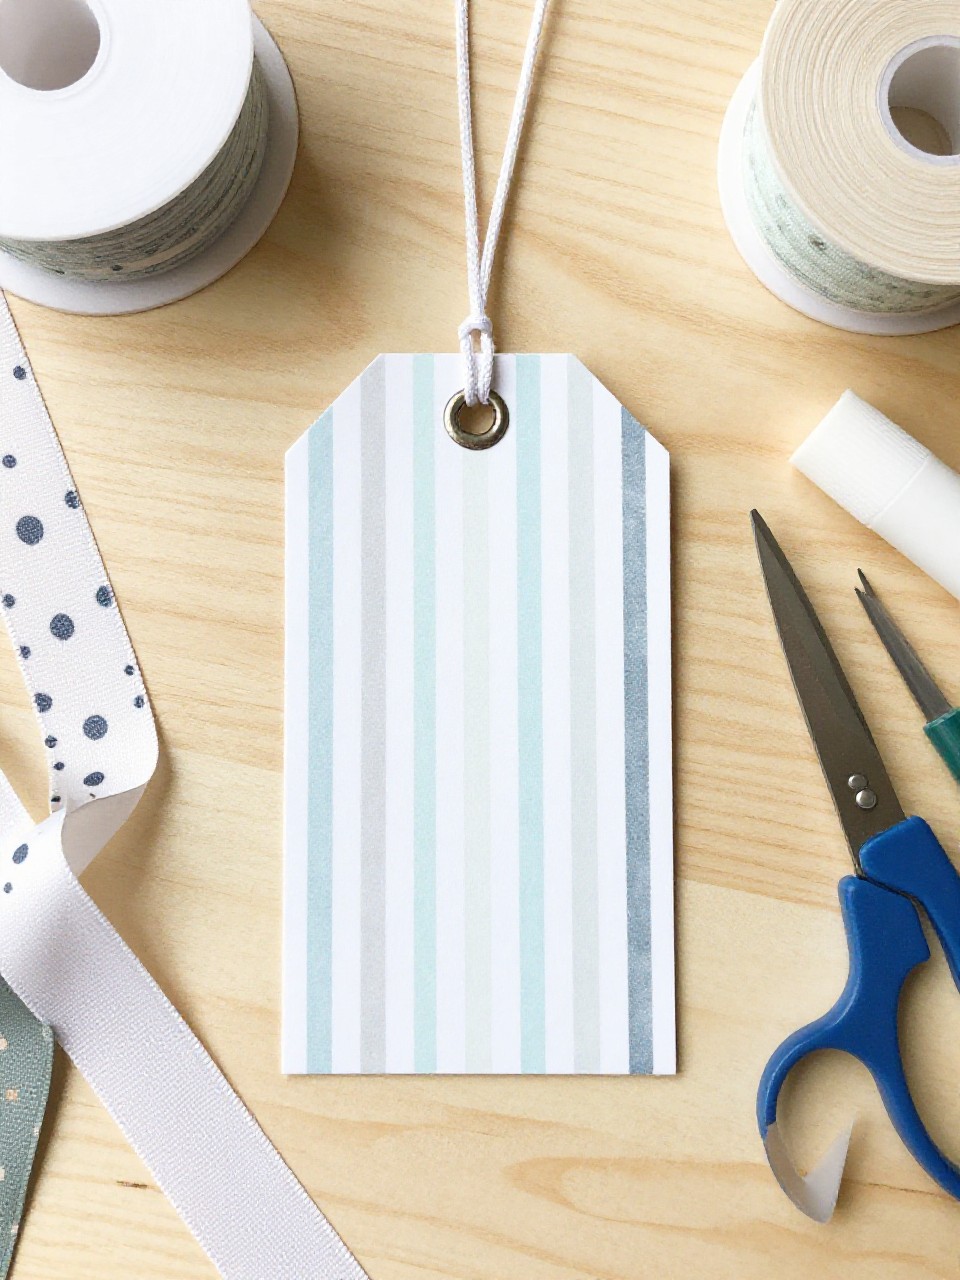
This tag uses narrow strips of patterned paper lined up like a mini quilt. Kids enjoy picking patterns and arranging stripes to create bold or soft styles.
Materials Needed:
- Plain cardstock tag base
- Assorted patterned paper scraps
- Glue stick
- Hole punch
- Ribbon
How to make it:
- Cut a tag from cardstock and punch a hole.
- Trim patterned paper into thin strips and plan the order.
- Glue the strips across the tag, then trim edges flush.
- Add ribbon through the hole and let dry.
6. Stamped Polka-Dot Tag
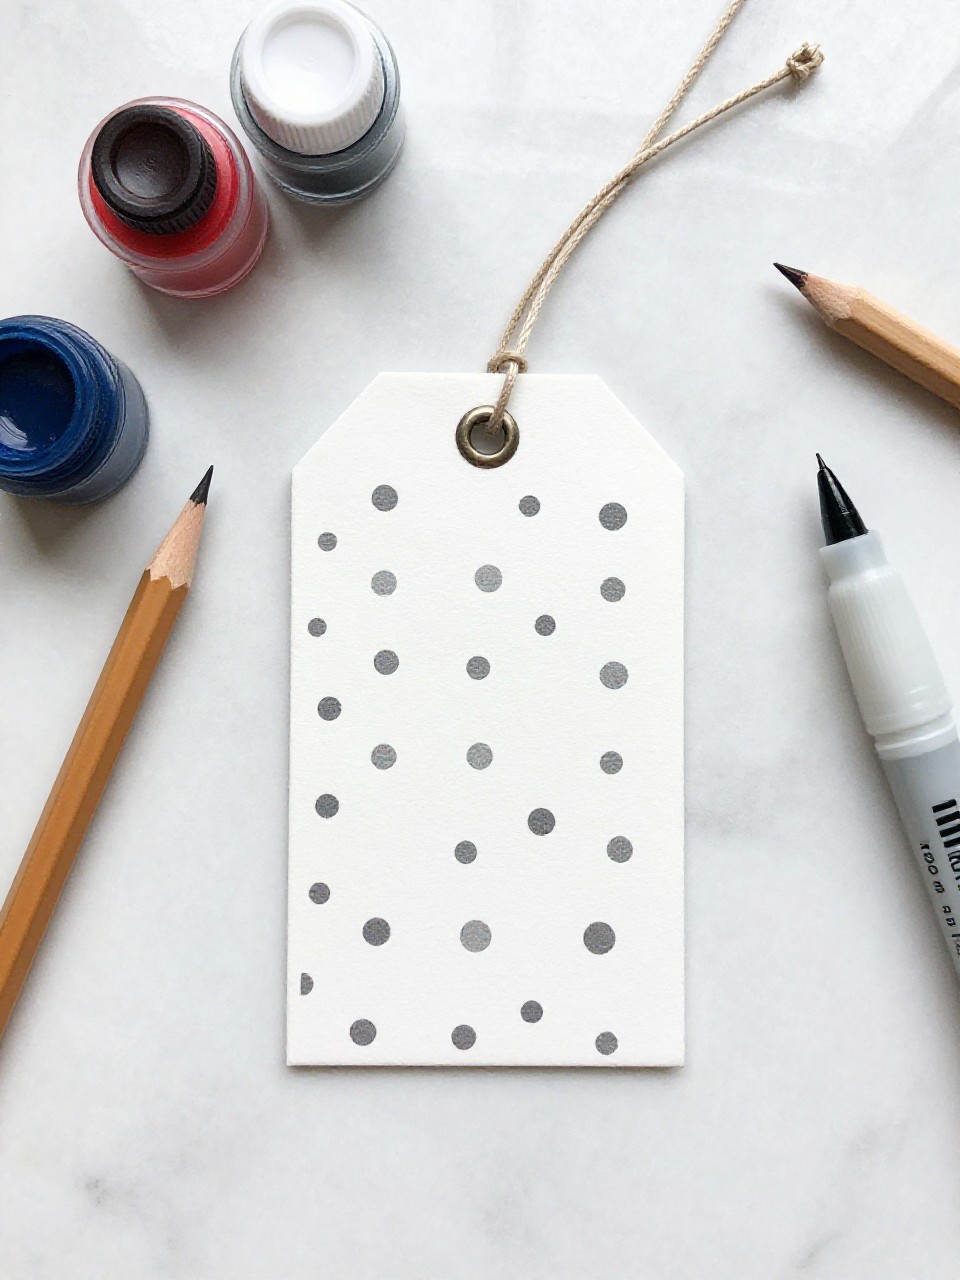
This tag is covered in playful dots stamped with a pencil eraser or foam dauber. The repeat pattern is quick and soothing, and kids love choosing a fun color set.
Materials Needed:
- White or colored cardstock tag base
- Washable stamp ink pads or acrylic paint
- Pencil with clean eraser
- Hole punch
- String
How to make it:
- Prepare your tag and punch the hole.
- Dip the eraser into ink or paint and stamp dots all over.
- Add a name in the blank area with marker.
- Let dry, then tie on string.
7. Paper Bow Tag Topper
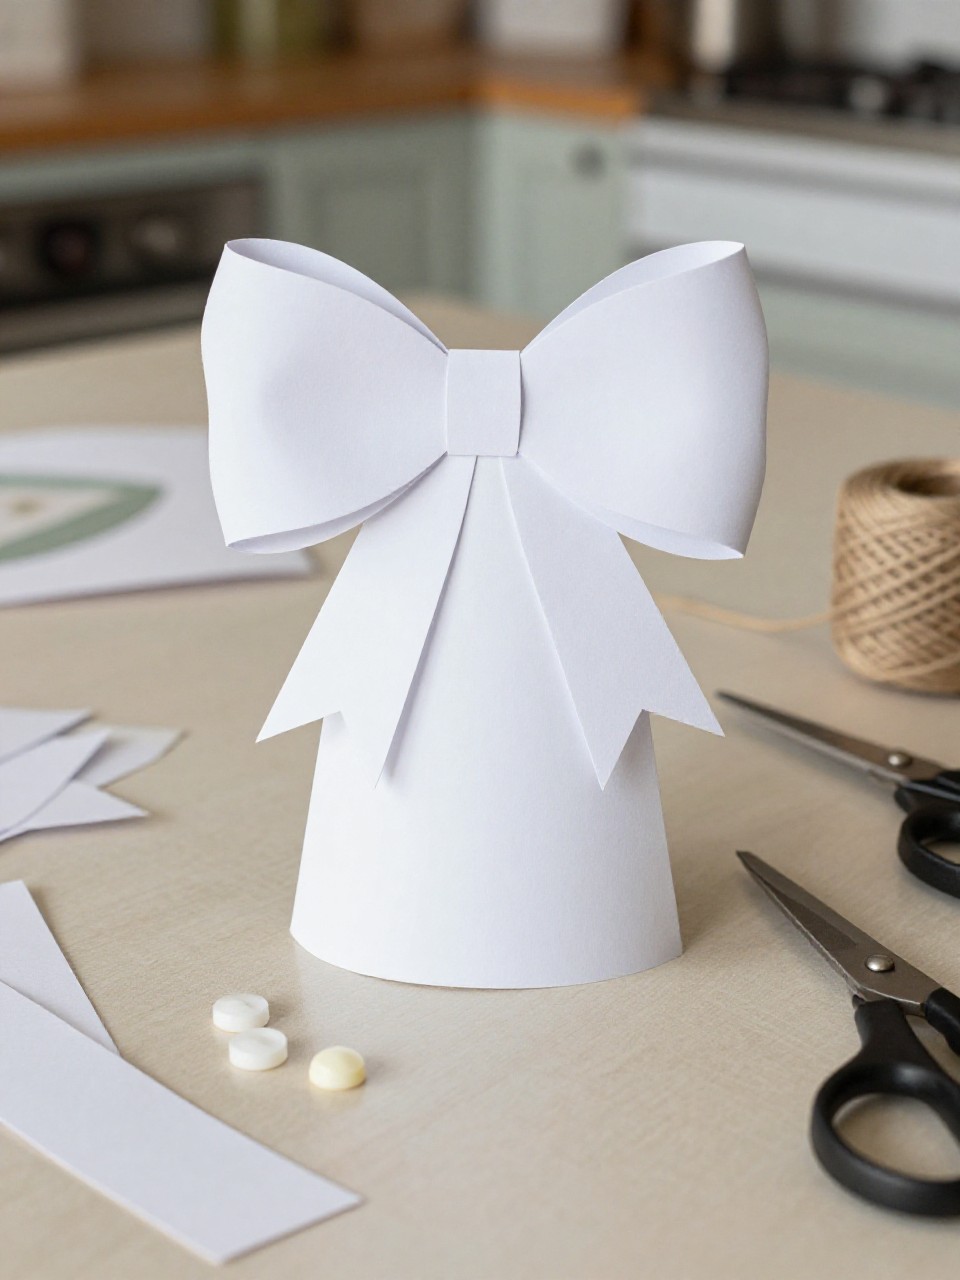
This tag has a tiny paper bow mounted at the top over a simple base, making the gift feel extra dressed up. Making the bow loops feels like building a tiny present, which kids find charming.
Materials Needed:
- Solid-color cardstock tag base
- Coordinating colored paper for bow
- Glue dots or glue stick
- Hole punch
- Ribbon or baker’s twine
How to make it:
- Cut a tag and punch the hole.
- Cut two thin paper strips; loop each into a teardrop and glue ends.
- Glue loops together with a small rectangle center to form a bow, then attach to the tag top.
- Let set and add twine through the hole.
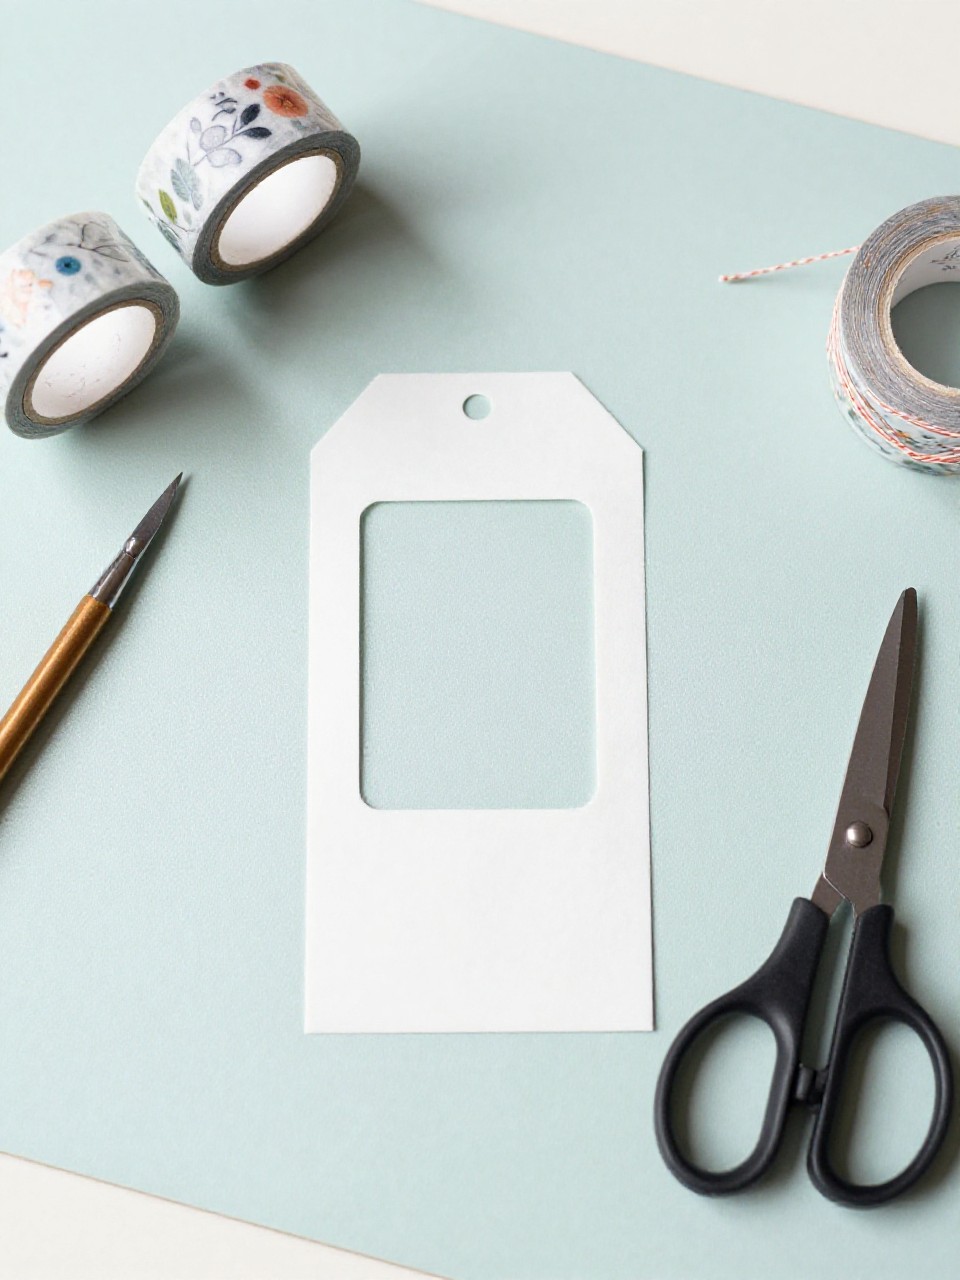
8. Monogram Cutout Tag

This tag shows a bold letter cut out from a top layer so the color beneath peeks through. It’s exciting to reveal the letter window and makes gifts easy to sort.
Materials Needed:
- Two contrasting cardstock colors
- Craft knife or small scissors
- Pencil
- Glue stick
- Hole punch
How to make it:
- Cut a tag from the top color and lightly draw a large initial.
- Carefully cut out the letter to make a window.
- Glue the tag onto the second color, then trim edges flush and punch the hole.
- Add ribbon and a tiny note on the back.
9. Glitter Star Night-Sky Tag
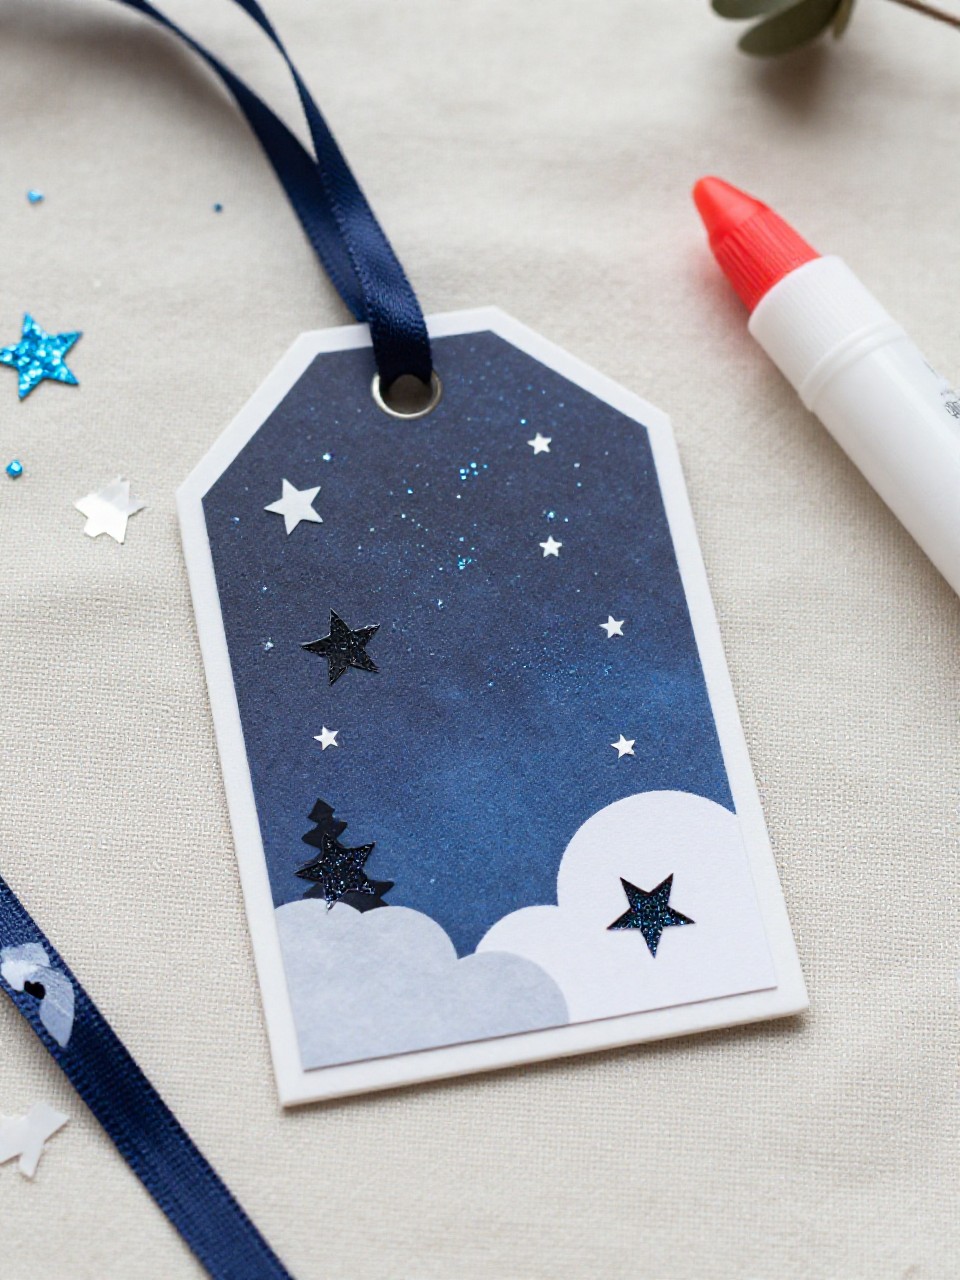
This tag has a deep-colored base with glittering paper stars arranged like a tiny sky. Kids enjoy placing the stars and adding a sparkly swoop for a magical look.
Materials Needed:
- Navy or black cardstock tag base
- Gold or silver glitter paper
- Star punch or scissors
- Glue stick
- Hole punch and ribbon
How to make it:
- Make the tag and punch a hole.
- Punch or cut small stars from glitter paper.
- Glue stars in a cluster or curve; add a handwritten “to/from.”
- Tie on ribbon and let set.
10. Washi Tape Window Tag
This tag features a cut-out shape backed with colorful washi tape stripes. Peeling and sticking tape is easy and lets kids design bright patterns fast.
Materials Needed:
- White cardstock tag base
- Craft knife or scissors
- Washi tape in 3–5 patterns
- Cutting mat
- Hole punch
How to make it:
- Cut a tag and punch a hole; cut a simple shape window (heart, tree, or circle).
- On the back side, apply washi tape stripes to cover the window area.
- Trim excess tape and outline the shape with pen if desired.
- Add string and label.
11. Paper Lace Doily Tag
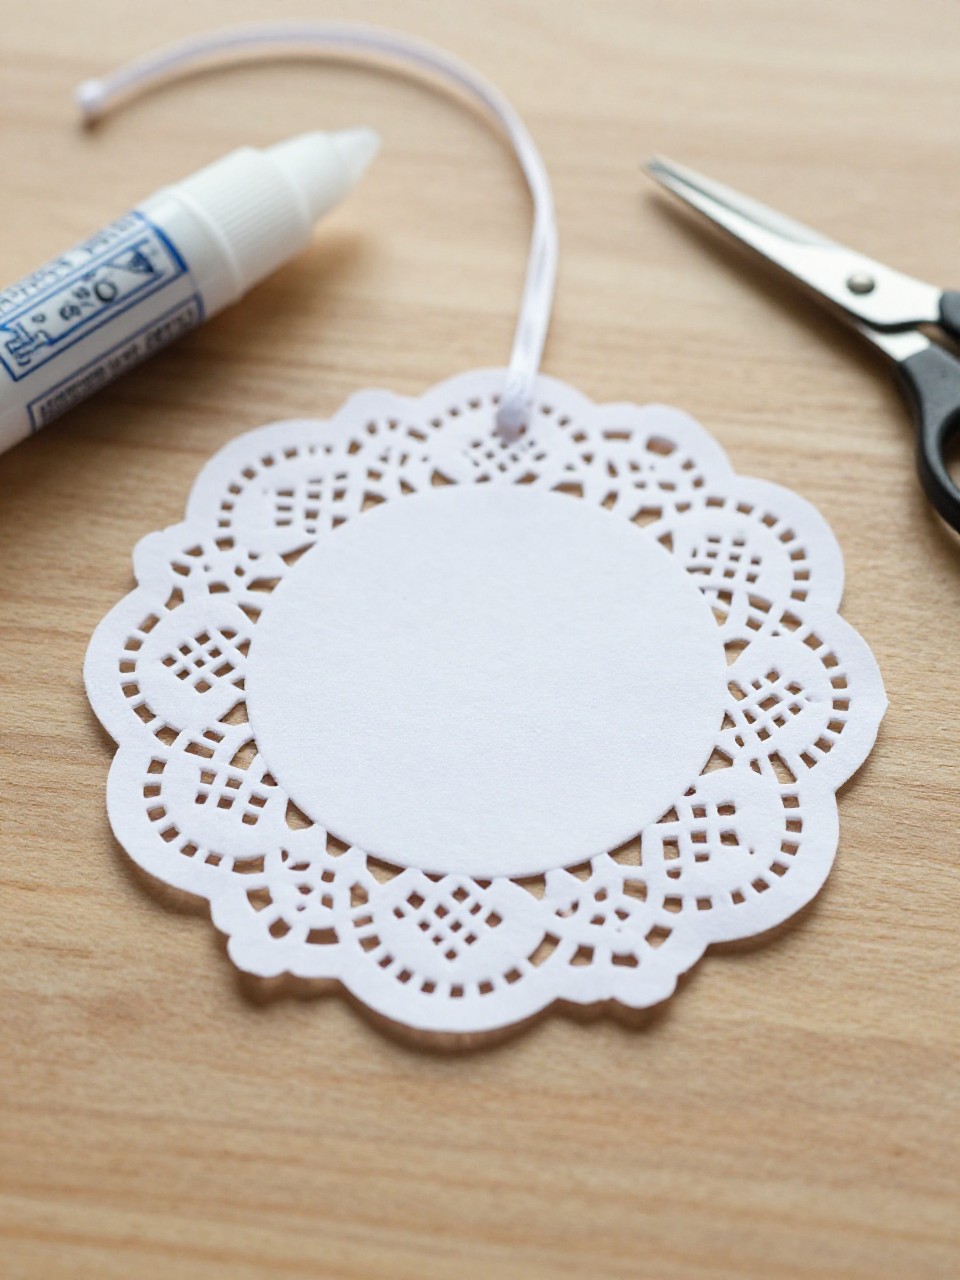
This tag pairs a kraft base with a small piece of paper doily for a delicate, vintage look. It feels special and dressy, yet it’s simple enough for beginners.
Materials Needed:
- Kraft cardstock tag base
- Small paper doily
- Glue stick
- Hole punch
- Thin ribbon
How to make it:
- Prepare the kraft tag and punch a hole.
- Cut a doily quarter and glue it over one corner of the tag.
- Add a tiny bow or a stamped word like “joy.”
- Thread ribbon and let dry.
12. Mini Collage Gift Tag
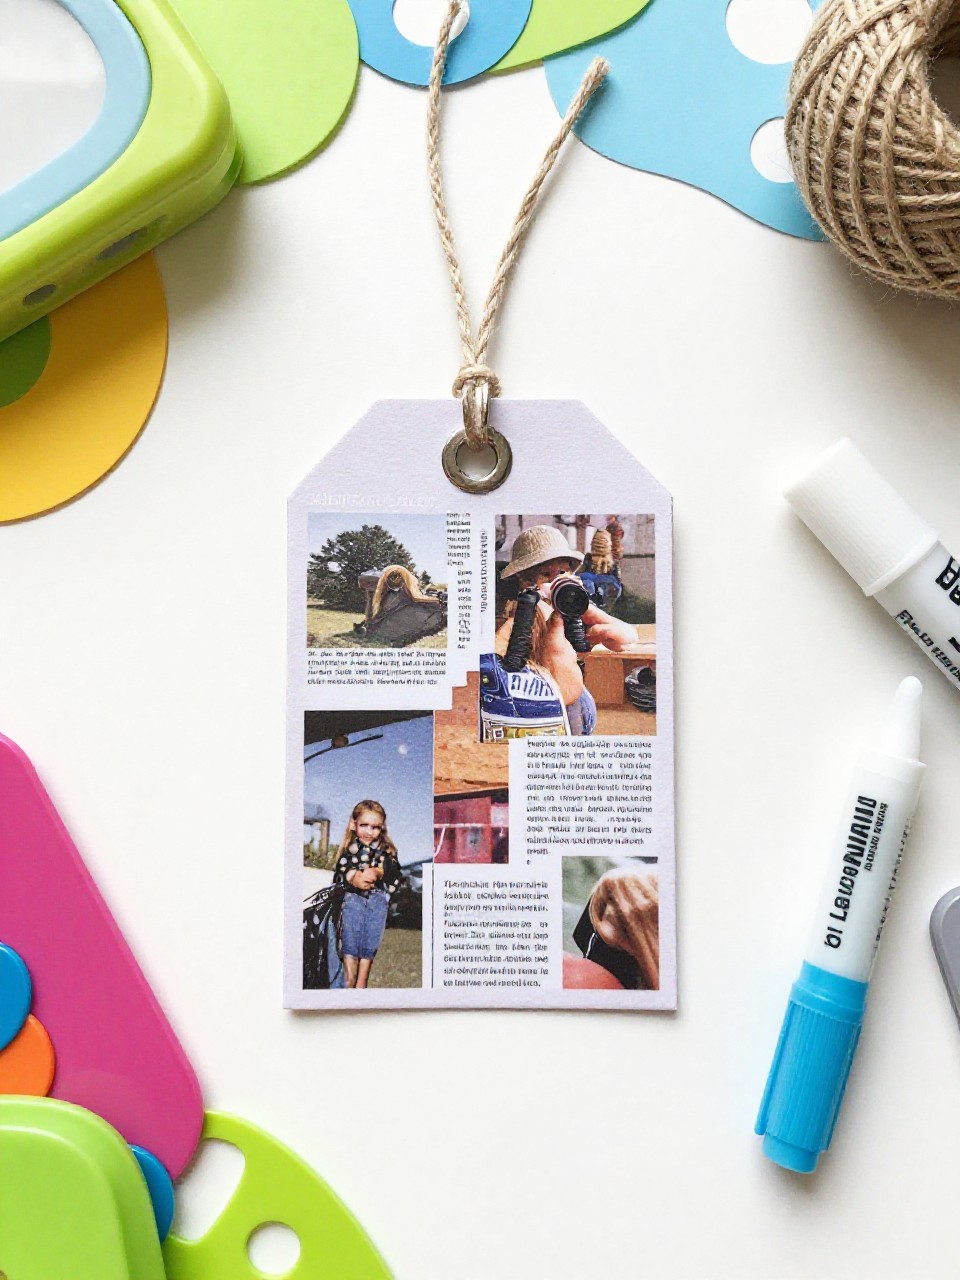
This tag is a little art piece made from layered scraps, tickets, and tiny cutouts. Kids enjoy hunting for small bits and building a collage that tells a story.
Materials Needed:
- Cardstock tag base
- Assorted paper scraps (magazine bits, envelopes, tickets)
- Glue stick
- Marker for message
- Hole punch and twine
How to make it:
- Cut a tag and punch the hole.
- Arrange 3–5 small pieces in layers; glue them down.
- Add a short word or name with marker.
- Tie twine and press flat to dry.
13. Hand-Drawn Doodle Tag
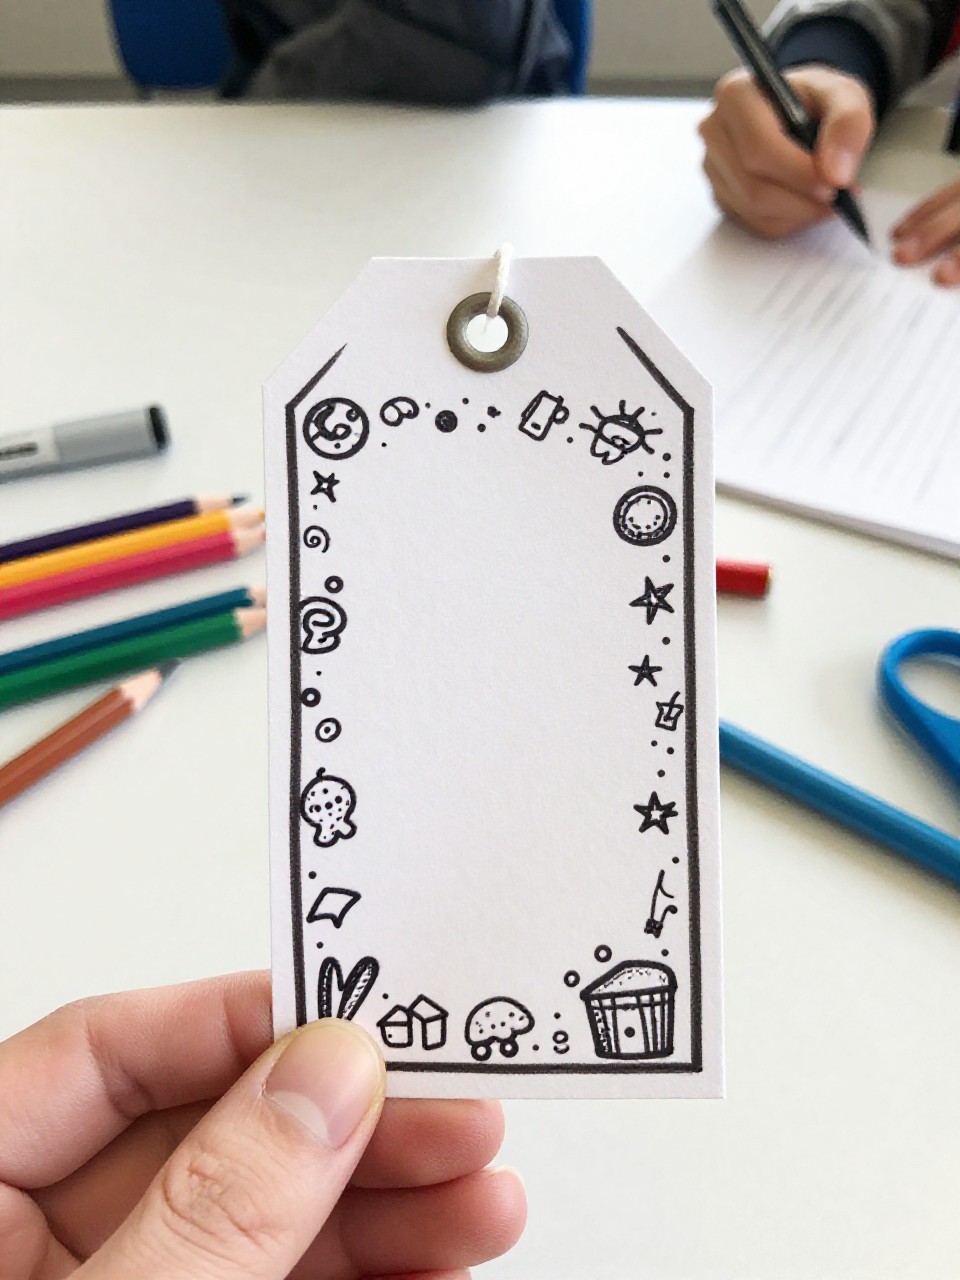
This tag shows cute doodles like balloons, cupcakes, or tiny plants around the edges. It’s fun because there’s no wrong way—kids can sketch freely and add color.
Materials Needed:
- White cardstock tag base
- Black pen or fineliner
- Colored pencils or markers
- Hole punch
- Ribbon
How to make it:
- Make your tag and punch a hole.
- Draw small doodles around the border, leaving the center clear.
- Add color with pencils or markers; outline again if needed.
- Write the name and finish with ribbon.
14. Layered Tree Forest Tag
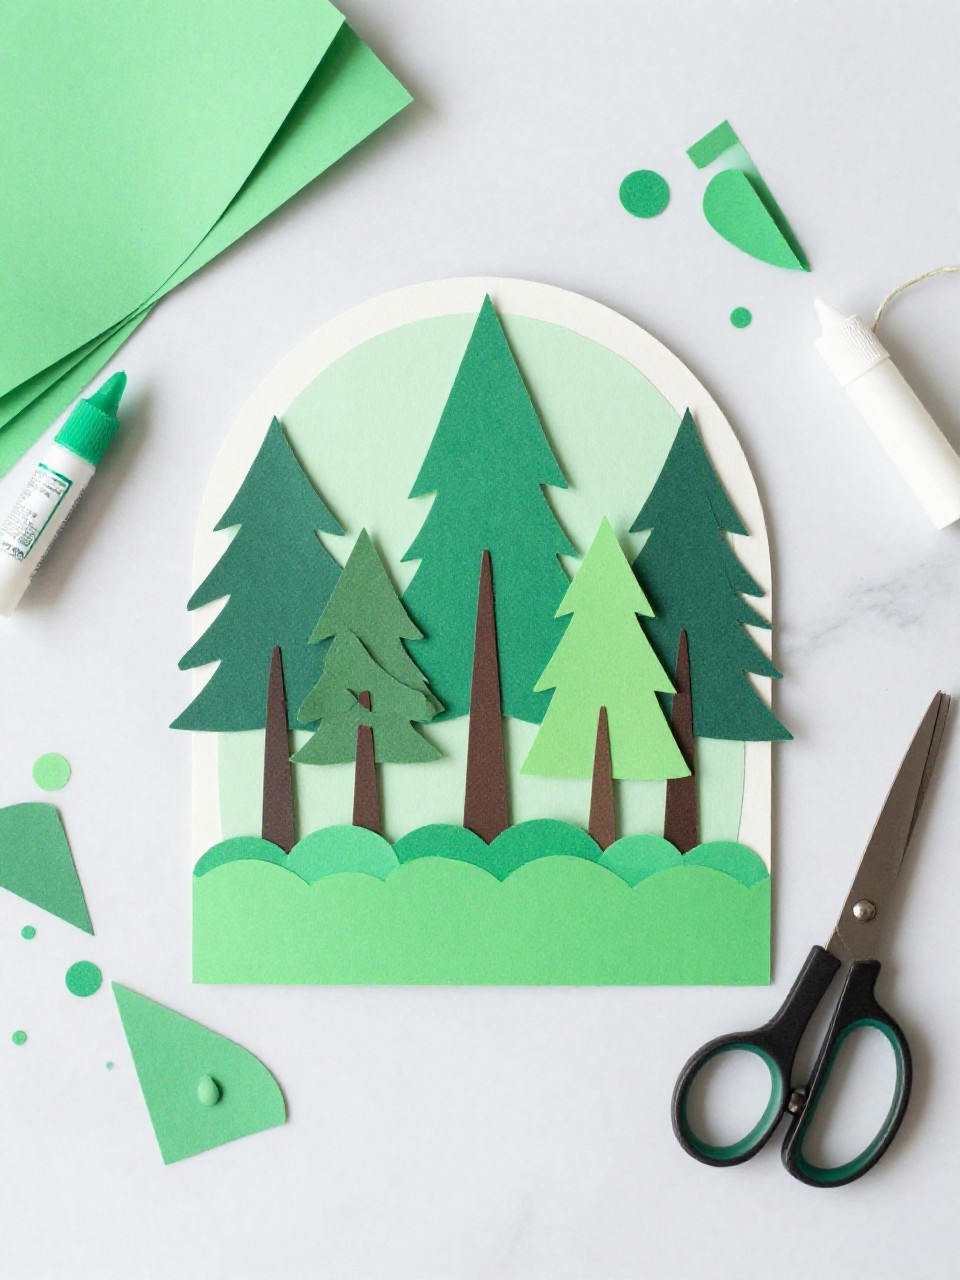
This tag features two or three paper trees stacked in front of each other for a simple forest scene. Kids like choosing shades of green and seeing the depth appear with easy layers.
Materials Needed:
- Kraft or white cardstock tag base
- Green paper in two shades
- Scissors
- Glue stick or foam dots
- Hole punch and string
How to make it:
- Cut the tag and punch a hole.
- Cut simple triangle tree shapes from green papers.
- Glue one tree flat and add another with foam dots for dimension; draw a tiny star or trunk.
- Let dry, write a message, and tie on string.