Table of Contents Show
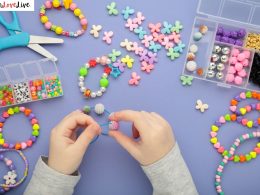
Keeping kids busy can be tough, especially on rainy days or during quiet reading time. If you’re looking for simple, cheerful projects that won’t take all afternoon, these cute DIY bookmarks are perfect. They use easy supplies you likely have at home and make reading feel special.
Below you’ll find 13 fun ideas with clear steps, so you can jump right in and craft your way to colorful page savers.
1. Rainbow Paint Chip Bookmark

This bookmark looks like a tall rainbow strip with soft color blocks, rounded corners, and a little tassel on top. Kids love choosing colors and punching the tassel hole—it feels quick to make and brightens any book page.
Materials Needed:
- Paint chips or colorful cardstock strips
- Hole punch
- Yarn or ribbon for tassel
- Scissors
- Clear tape or glue stick
How to make it:
For People Who Love to Make Things ✂️
- Cut a paint chip or cardstock into a 2 x 6 inch strip and round the corners.
- Punch a hole at the top center and thread a short piece of yarn or ribbon.
- Add simple doodles or labels on each color block with a marker.
- Secure tassel knot with a tiny tape piece, then let any glue dry before using.
2. Animal Ear Corner Bookmark

This corner bookmark hugs the page with cute folded ears peeking out—think bears, cats, or foxes with simple faces. Kids enjoy choosing the animal and drawing tiny expressions, and the easy folds make it beginner friendly.
Materials Needed:
- Square paper (origami or cut from colored paper)
- Glue stick
- Markers
- Small scraps for ears and nose
- Scissors
How to make it:
- Fold a square paper into a corner bookmark triangle pocket.
- Tuck and glue the flaps to form the pocket base.
- Cut and glue on ears and a nose; draw eyes, whiskers, or spots.
- Let glue set, then slide onto a book page corner.
3. Pressed Flower Laminate Bookmark
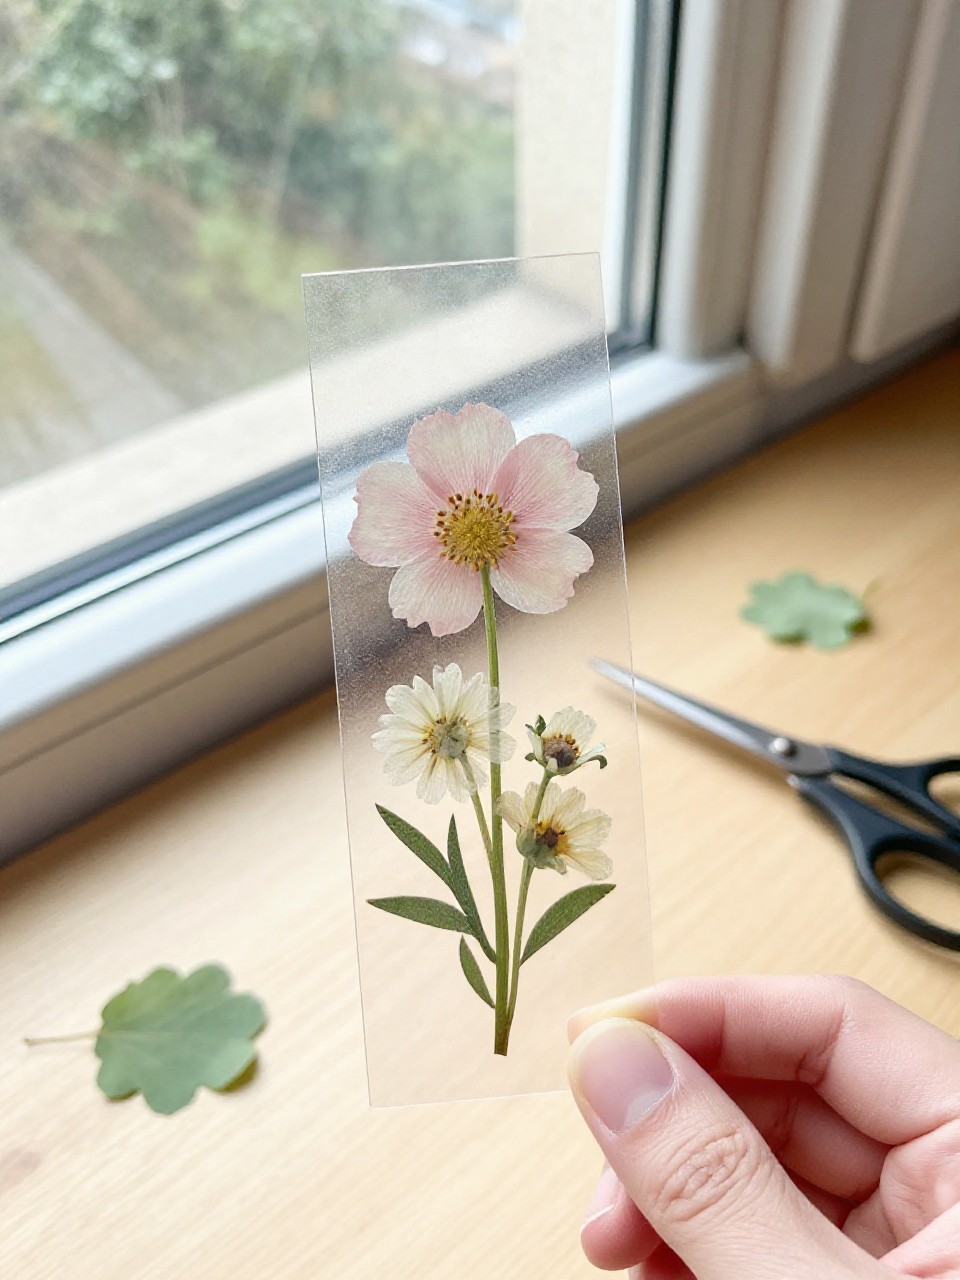
This bookmark is clear and delicate with pressed flowers floating inside a thin laminate sleeve. Kids love arranging petals in patterns and seeing them preserved like tiny nature art.
Materials Needed:
- Small pressed flowers or leaves
- Self-adhesive laminating sheets or clear packing tape
- Thin cardstock strip (optional backing)
- Hole punch
- Ribbon
How to make it:
- Cut two equal rectangles from laminating sheets or tape.
- Arrange pressed flowers on one sheet; gently seal with the second.
- Trim edges and add a cardstock backing if you want more stiffness.
- Punch a hole and tie on a ribbon tassel.
4. Popsicle Stick Animal Bookmark
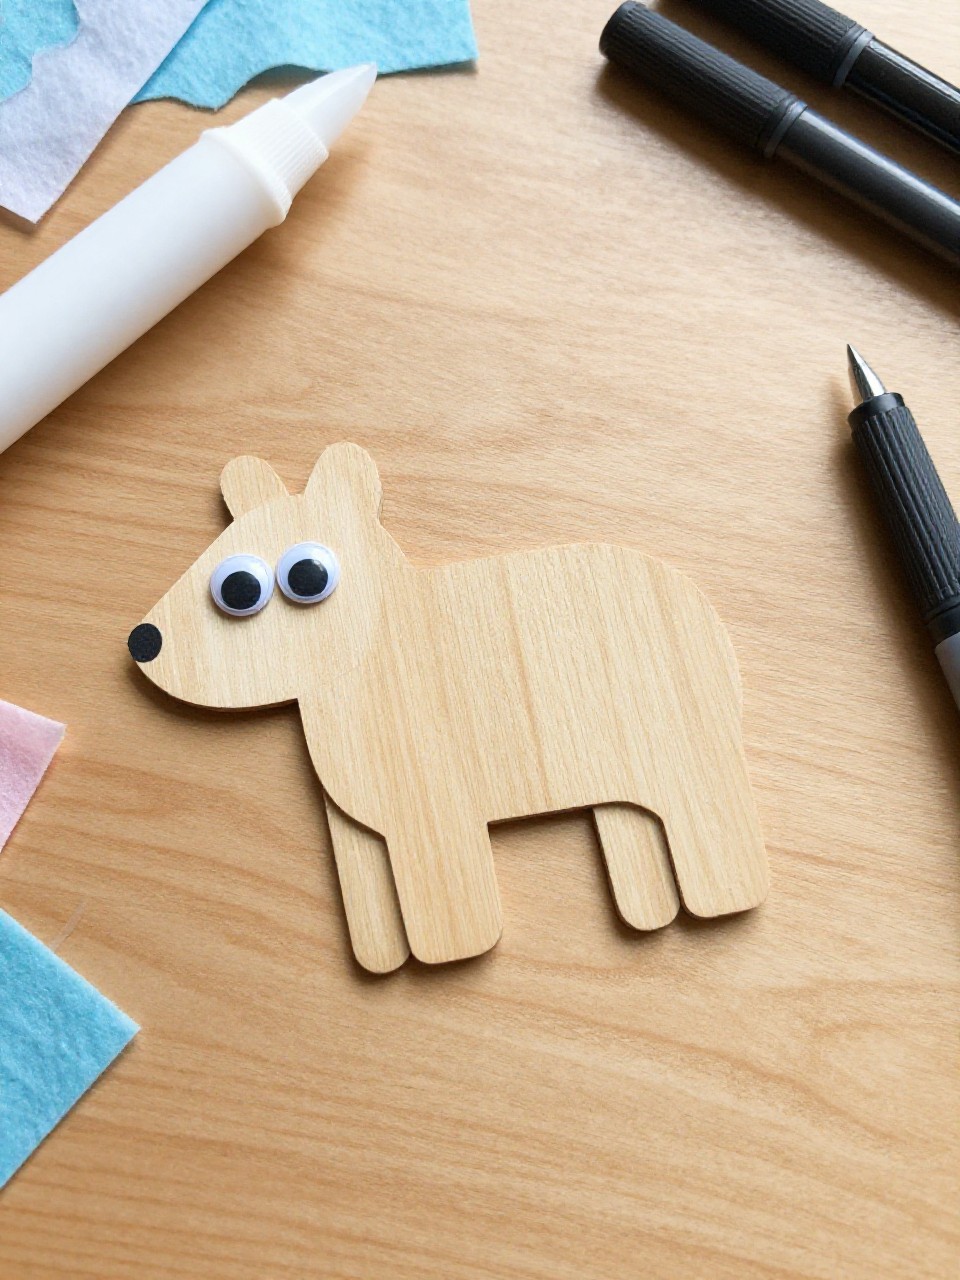
A long craft stick turns into a friendly animal with a drawn face and felt or paper ears on top. Kids like the silly expressions and the smooth stick that slides easily between pages.
Materials Needed:
- Jumbo popsicle sticks
- Acrylic paint or markers
- Felt or colored paper for ears/accents
- Glue
- Googly eyes (optional)
How to make it:
- Paint or color the stick and let it dry.
- Glue on ears, a nose, and any small accents.
- Add eyes and draw a happy mouth and whiskers or stripes.
- Allow glue to dry fully before placing in a book.
5. Watercolor Wash Bookmark with Quote
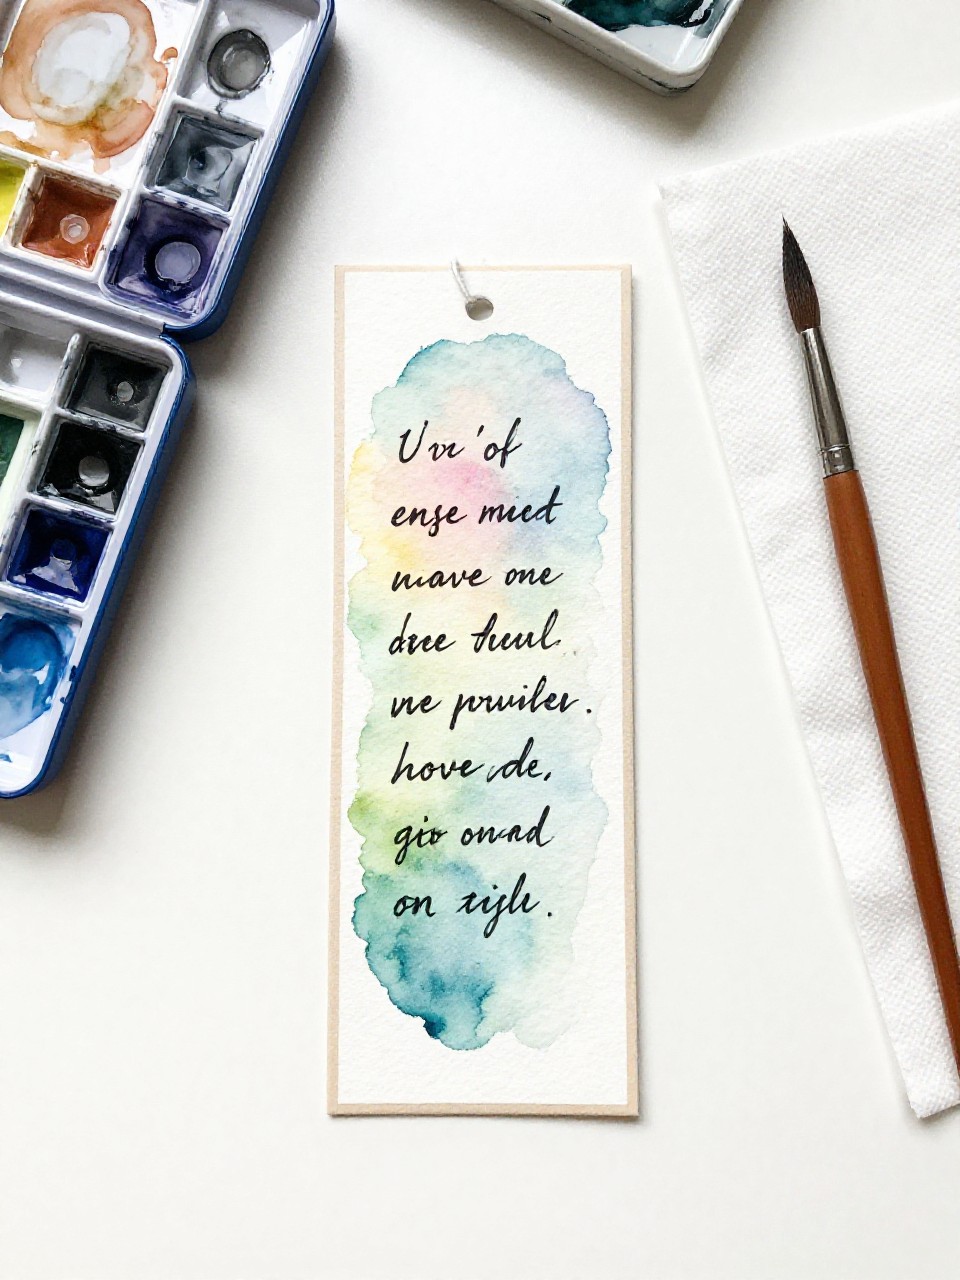
This bookmark has soft watercolor blends and a short hand-lettered quote on top. Kids enjoy watching colors blend and feel proud writing a favorite word or phrase.
Materials Needed:
- Watercolor paper cut into strips
- Watercolors and brush
- Water jar and paper towel
- Black fine-tip marker
- Hole punch and twine (optional)
How to make it:
- Paint light watercolor washes across the strip; let colors overlap.
- Blot edges with paper towel for texture and let dry.
- Letter a short quote or name with a fine marker.
- Punch a top hole and tie twine if desired.
6. Monster Mouth Magnetic Bookmark

This small folded bookmark looks like a silly monster head that snaps around the page with magnets. Kids love the chompy “bite,” funny teeth, and googly eyes.
Materials Needed:
- Colored cardstock
- Small self-adhesive magnets (2 per bookmark)
- White paper for teeth
- Googly eyes or marker
- Glue stick and scissors
How to make it:
- Cut a rectangle and fold it in half to form a top flap.
- Stick one magnet inside each end so they meet when closed.
- Add paper teeth along the inner edge and glue on eyes.
- Let glue set, then clip the monster over a page.
7. Felt Sprout Leaf Bookmark

This bookmark looks like two soft felt leaves that peek out of the book top like a little plant. Kids enjoy the cozy texture and easy stitching or gluing.
Materials Needed:
- Green felt
- Embroidery thread or fabric glue
- Needle (if stitching)
- Paper clip or thin ribbon
- Scissors
How to make it:
- Cut two matching leaf shapes and a small felt strip for the base.
- Sandwich a paper clip or ribbon end between leaves.
- Stitch around edges or glue securely.
- Let dry if glued; slide it into a favorite book.
8. Origami Cat Face Bookmark
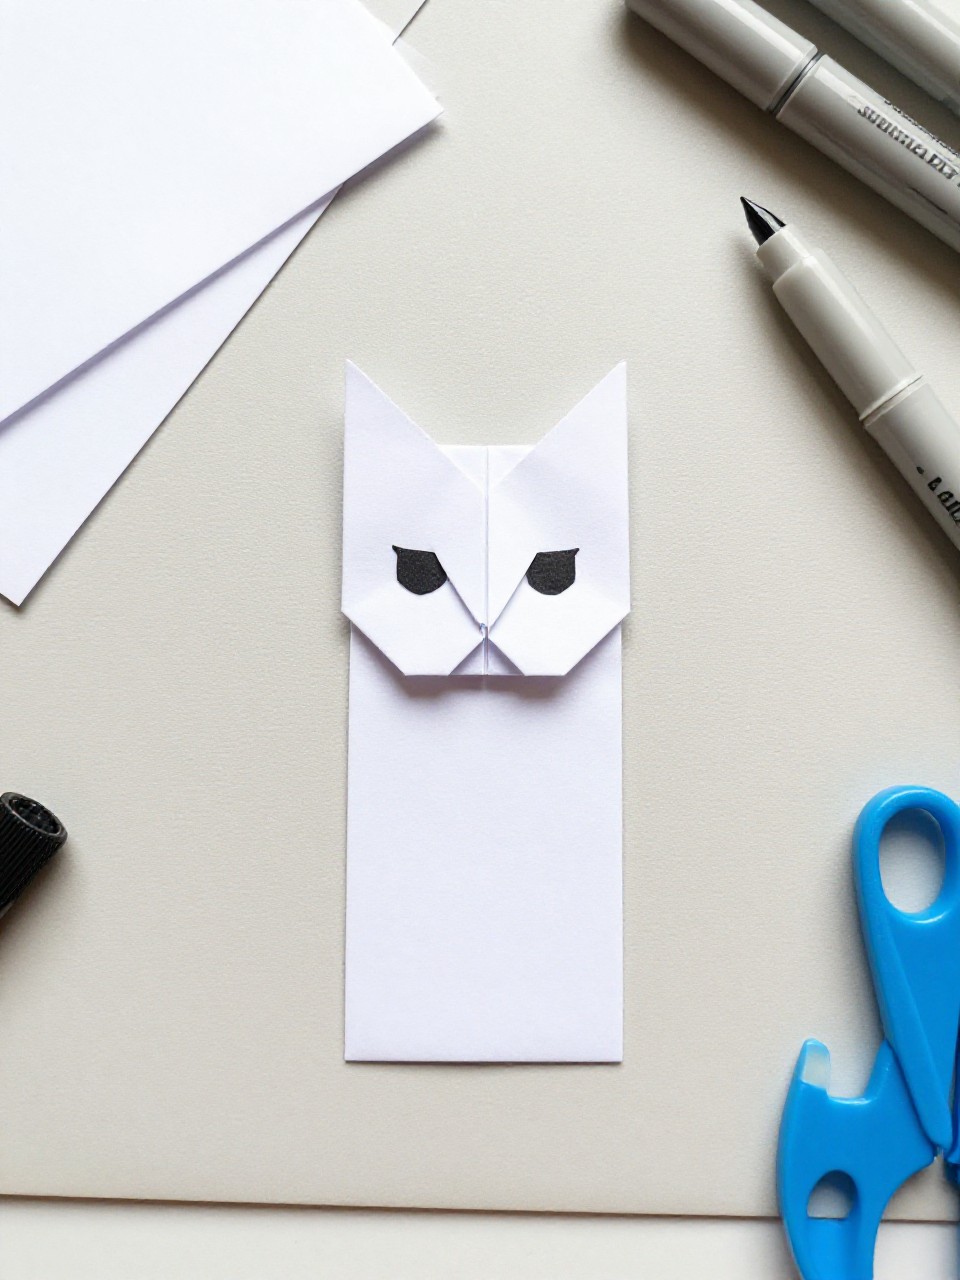
This bookmark is a flat origami cat head with pointy ears and drawn whiskers that rests at the top of a page. Kids like the simple folds and customizing stripes, spots, or bow ties.
Materials Needed:
- Square origami paper
- Markers
- Small scrap for bow or collar (optional)
- Glue stick (optional)
How to make it:
- Fold the square into a triangle, then shape ears with simple corner folds.
- Tuck the bottom flap to make a flat base.
- Draw eyes, nose, and whiskers; add a paper bow if you like.
- Let any glue dry, then place it at the top edge of a page.
9. Ribbon + Button Page Saver

This bookmark is a thin ribbon that wraps around the book, with a cute button at one end and a loop at the other. Kids enjoy picking ribbon colors and buttons, and it feels fancy but easy.
Materials Needed:
- 12–14 inch ribbon
- Large button
- Needle and thread or hot glue (adult help)
- Small elastic loop or thin hair tie
- Fray check or clear nail polish
How to make it:
- Seal ribbon ends with fray check or polish.
- Sew or glue the elastic loop to one ribbon end.
- Sew or glue the button to the other end.
- Wrap around a book and fasten the loop over the button.
10. Doodle Strip Bookmark with Washi Borders

This bookmark is a simple cardstock strip framed with washi tape and filled with tiny doodles like stars, hearts, and clouds. Kids love the freedom to draw and the quick pop of color from patterned tape.
Materials Needed:
- White or pastel cardstock strips
- Washi tape
- Black pen or marker
- Hole punch (optional)
- String or yarn (optional)
How to make it:
- Border the strip with washi tape along the long edges.
- Fill the center with small doodles or patterns.
- Add a hole and tie on a short string if you like.
- Smooth tape edges and start reading with your new bookmark.
11. Tassel-Topped Paint Splatter Bookmark

This bookmark features bright paint splatters on a white base with a bold yarn tassel on top. Kids enjoy flicking paint and seeing each one turn out unique.
Materials Needed:
- Thick cardstock cut into strips
- Acrylic paint or tempera
- Old toothbrush or stiff brush
- Hole punch
- Yarn for tassel
How to make it:
- Lay strips on scrap paper and dip the brush in watered-down paint.
- Flick paint across the strips to make splatters; let dry.
- Punch a hole and tie on a chunky yarn tassel.
- Trim edges if needed and let any damp paint fully dry.
12. Photo Strip Family Bookmark
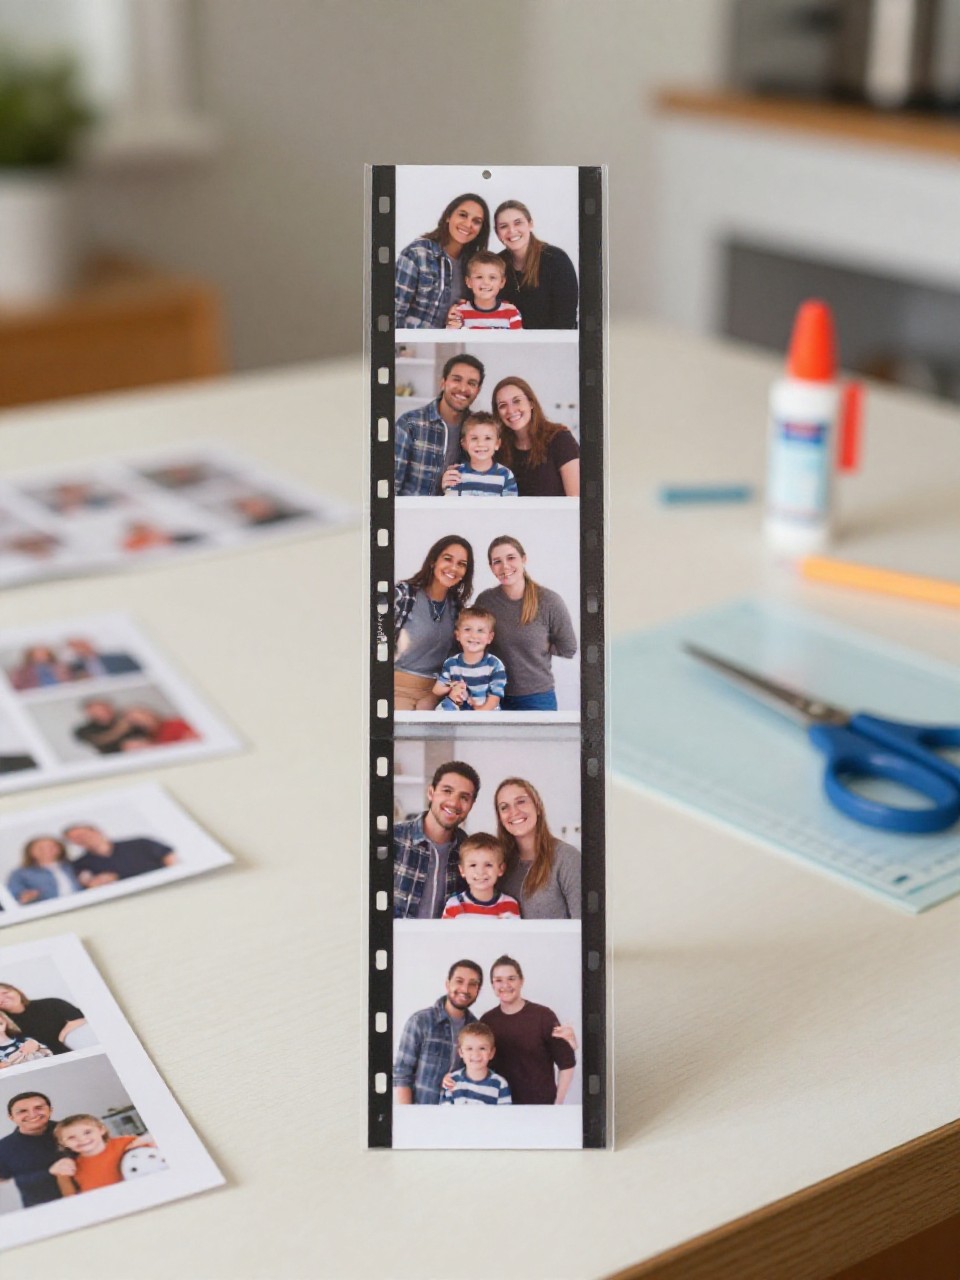
This bookmark looks like a mini photo booth strip with two to four family pictures in a row, laminated for strength. Kids love seeing familiar faces each time they read.
Materials Needed:
- Printed small photos
- Cardstock backing
- Glue stick
- Self-adhesive laminating sheet or clear packing tape
- Hole punch and ribbon (optional)
How to make it:
- Cut photos to equal sizes and glue onto a cardstock strip.
- Seal with laminating sheet or clear tape front and back.
- Trim edges and round the corners.
- Add a ribbon if you like and let it rest flat before using.
13. Scrap Fabric Bookmark with Simple Stitch

This bookmark is a narrow, soft fabric strip with visible running stitches around the edge and a tiny tag at the top. Kids enjoy picking fabric patterns and practicing easy stitches or using fabric glue.
Materials Needed:
- Scrap cotton fabric
- Thin felt or cardstock for inner support
- Needle and thread or fabric glue
- Ribbon or twill tape for a top tab
- Scissors
How to make it:
- Cut two matching fabric rectangles and a slightly smaller felt/card insert.
- Layer fabric right sides out with insert inside; add a ribbon tab at the top.
- Stitch around edges with a running stitch or glue edges and press.
- Trim threads, let dry if glued, and slide into a favorite book.