


Table of Contents Show
Keeping kids busy with something simple and fun can be hard, especially on rainy days or during quiet classroom time. If you’re hunting for easy, hands-on projects, this list will help. These 15 crafts focus on the letter Q, so kids see, say, and create the sound and shape while they play.
You’ll find quick, beginner-friendly ideas with common supplies.
Let’s jump into creative letter Q crafts for curious kids.
1. Q Is for Quail Paper Plate
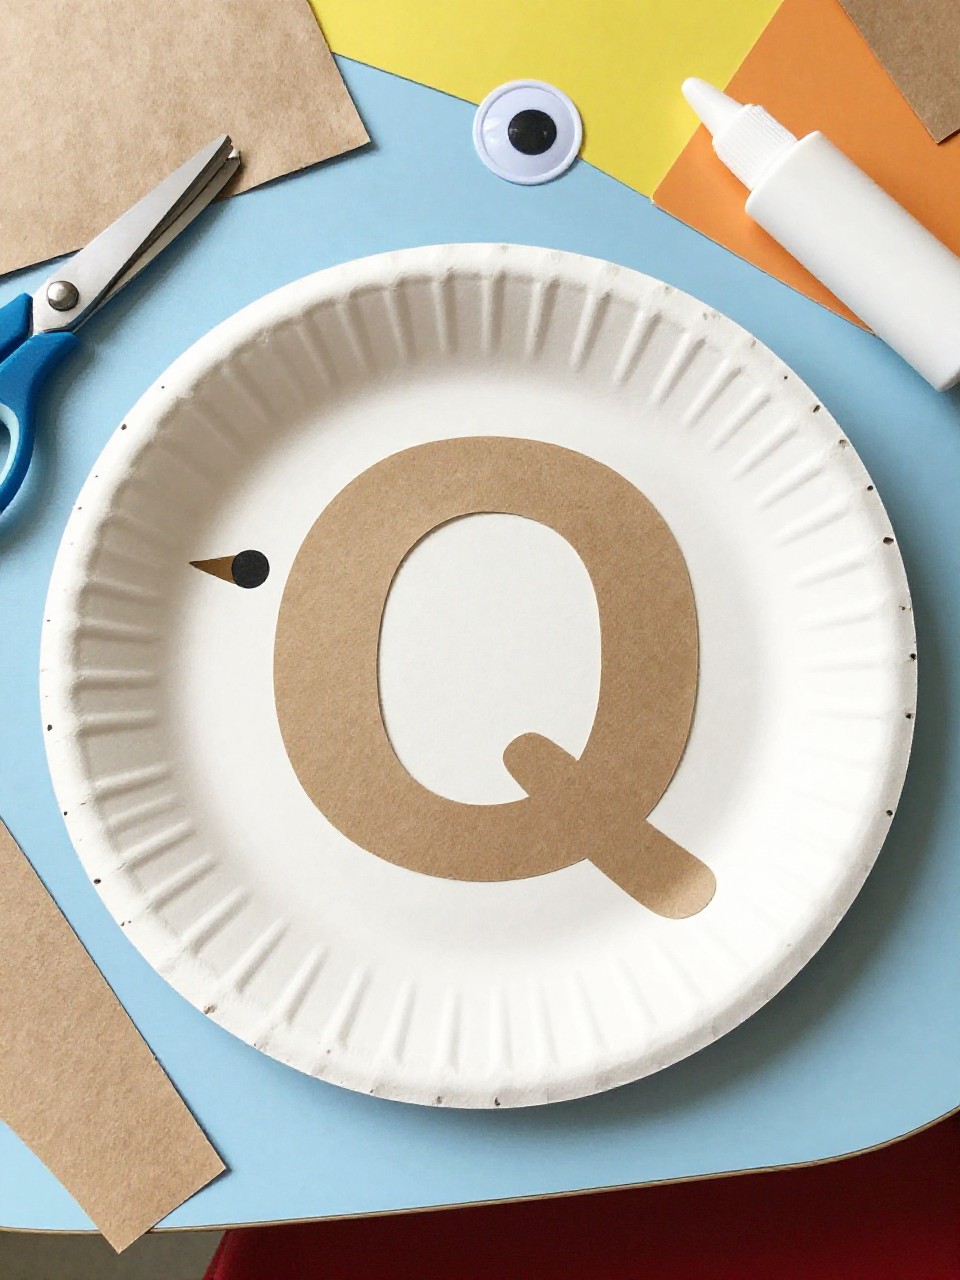
This cute quail uses a paper plate as the round body, with a letter Q tail and a little topknot feather. Kids love how fast it comes together and how the Q shape turns into a real bird.
Materials Needed:
For People Who Love to Make Things ✂️
- Small paper plate
- Brown and tan paint or crayons
- Construction paper (black, white, orange)
- Glue stick and scissors
- Googly eye (optional)
How to make it:
- 1. Color the plate in browns and tans for the quail body.
- 2. Cut a large Q from brown paper and glue it behind the plate as the tail.
- 3. Add a beak, eye, wing, and a small black topknot curl.
- 4. Let dry and display the quail with the Q tail showing.
2. Queen Q Crown Headband
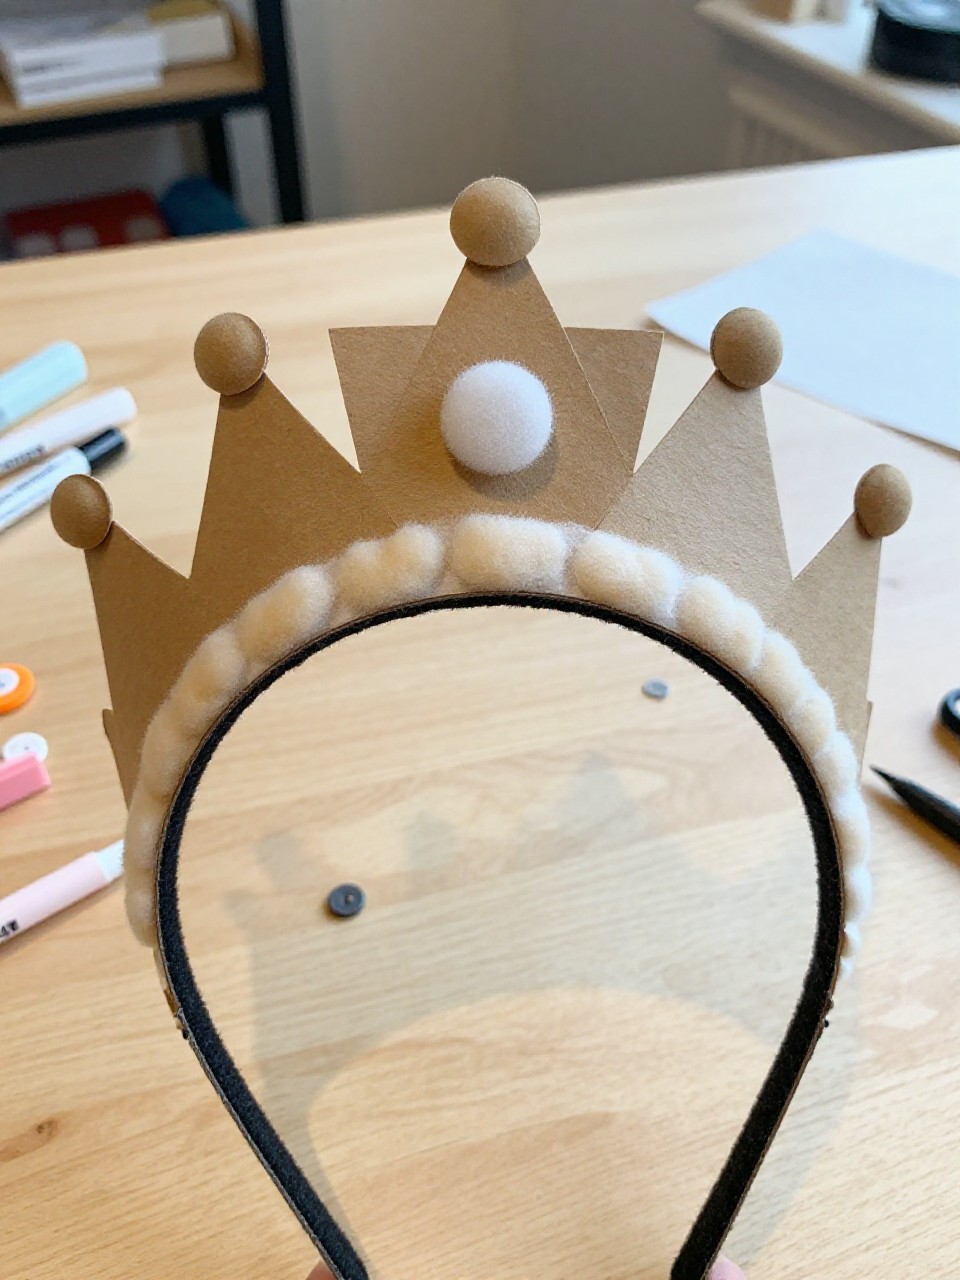
A shiny headband spells out a big letter Q as a royal crown with gems and stars. Kids enjoy wearing their crown and practicing the Q sound while pretending to be a queen or king.
Materials Needed:
- Gold or yellow construction paper
- Foam stickers or craft gems
- Stapler or tape
- Marker
- Scissors
How to make it:
- 1. Cut a long paper strip to fit around the head and a large Q shape with small crown points.
- 2. Attach the Q to the front of the band.
- 3. Decorate with gems, stars, and the word “Queen” or “Q.”
- 4. Staple or tape the band to fit and wear it proudly.
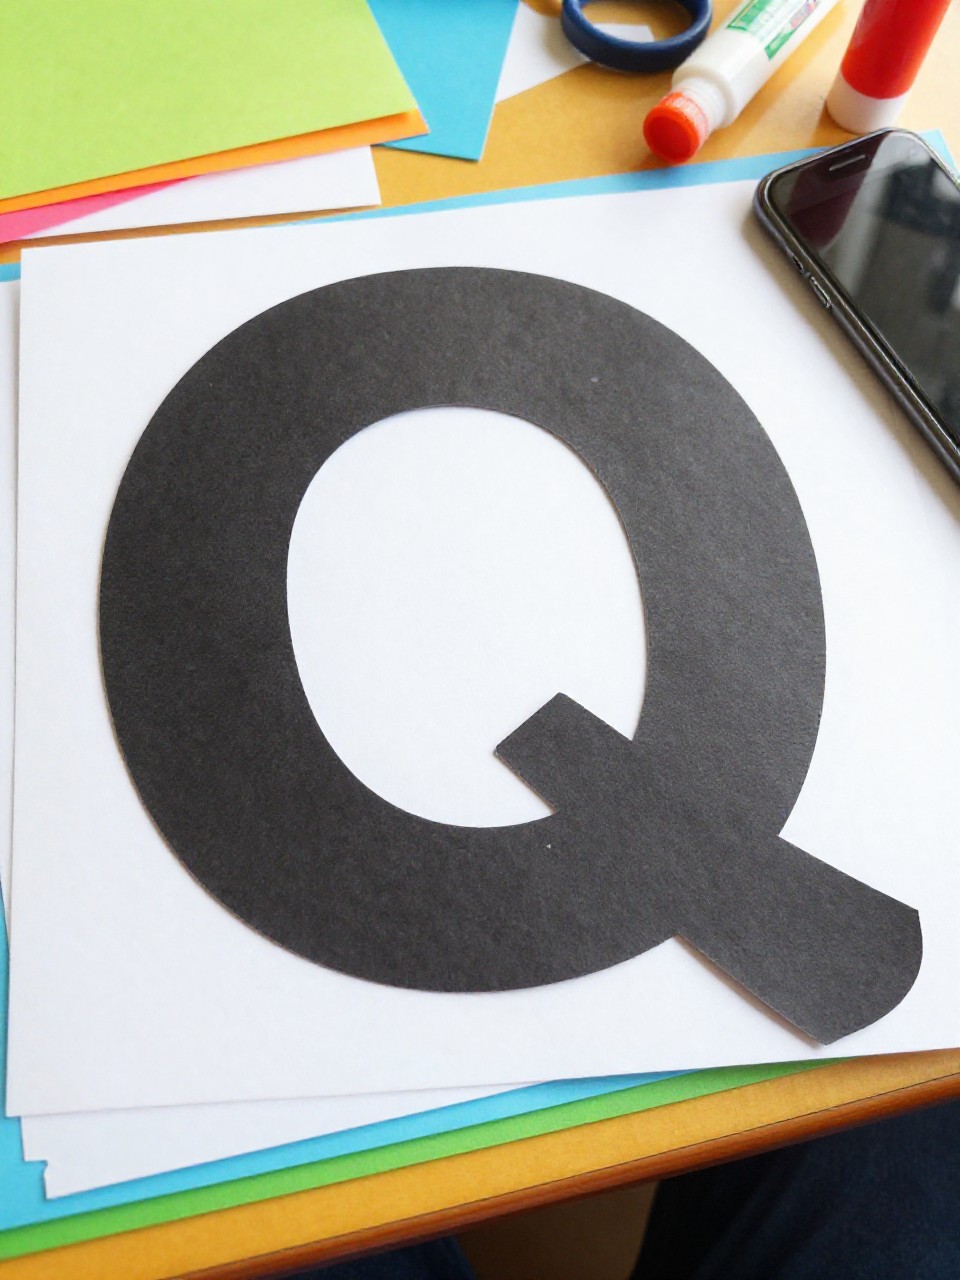
3. Quilted Q Collage
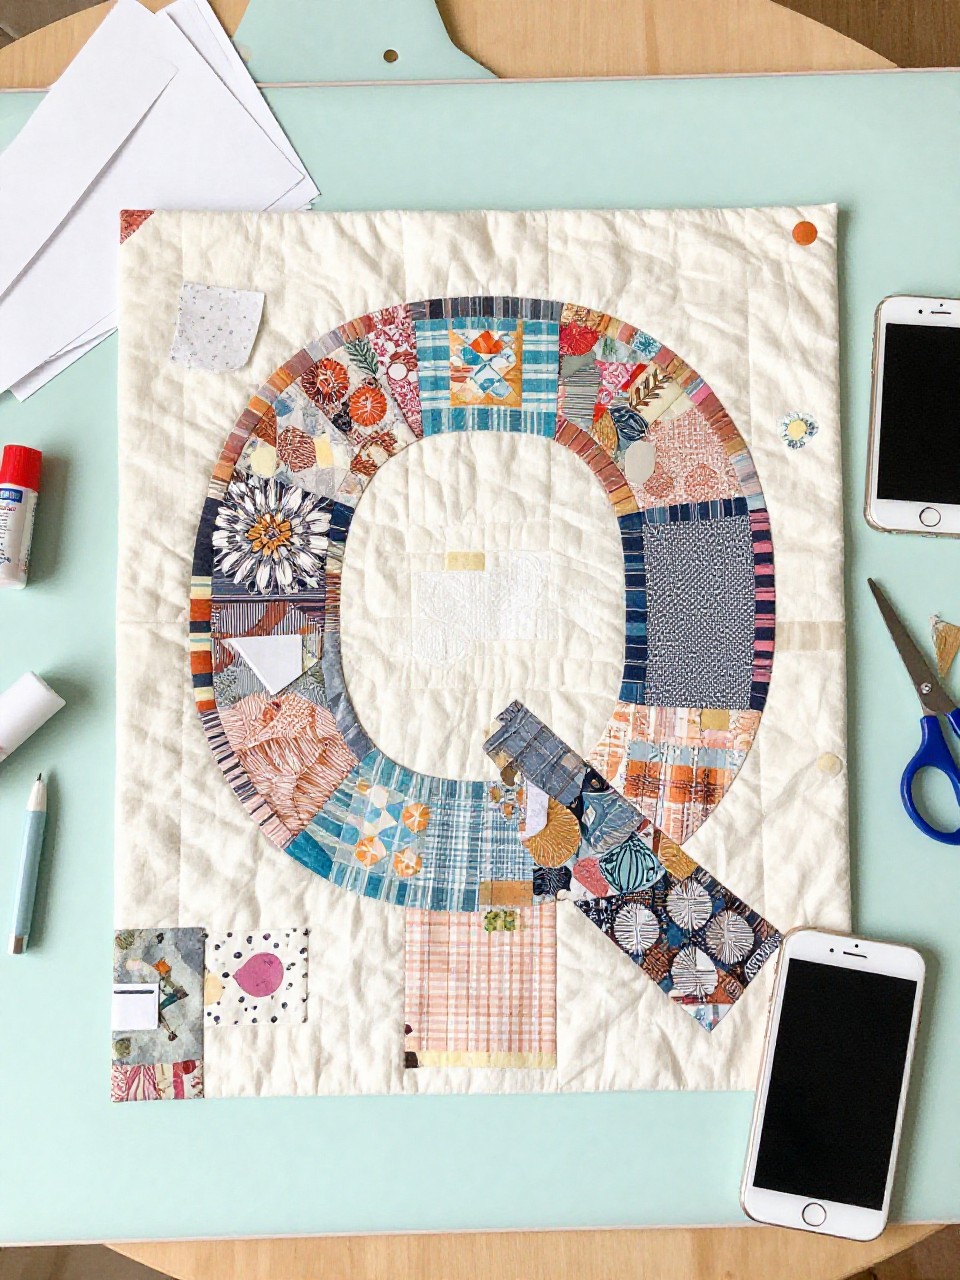
This craft makes a big Q filled with “quilt squares” cut from colorful paper, fabric scraps, or wrapping paper. Kids love choosing patterns and building a bright patchwork that feels cozy and artistic.
Materials Needed:
- White cardstock with a large Q outline
- Colorful paper or fabric scraps
- Glue stick
- Ruler (optional)
- Child-safe scissors
How to make it:
- 1. Draw or print a large Q on cardstock.
- 2. Cut small squares or rectangles from colorful scraps.
- 3. Glue the pieces inside the Q like a quilt, leaving thin gaps or overlapping.
- 4. Let dry and hang as a textured letter poster.
4. Q-Tip Painted Q Dots
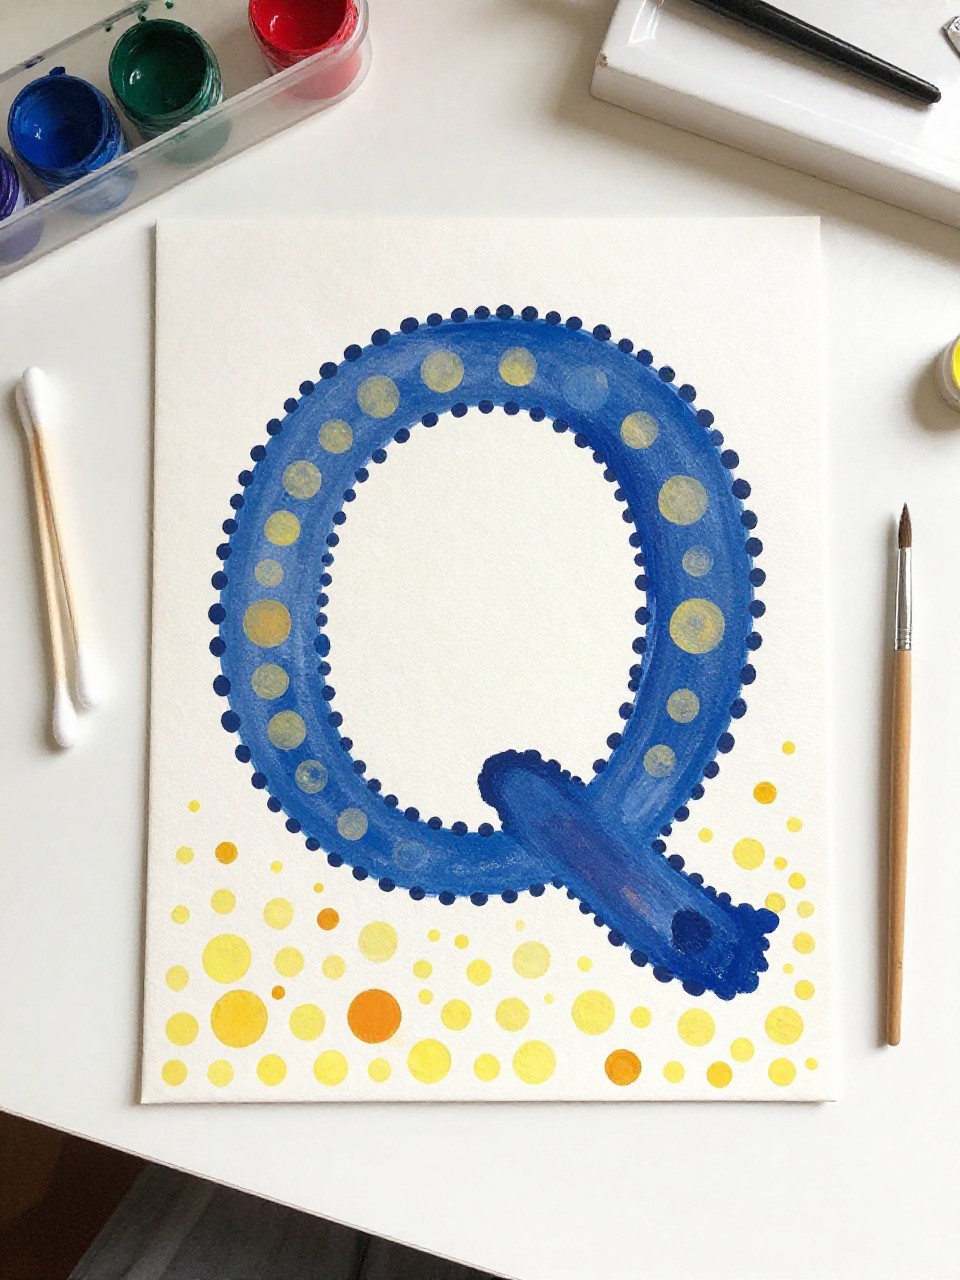
A bold letter Q gets filled with dotted paint using cotton swabs for a neat pointillism effect. Kids enjoy the tapping motion and watching patterns appear as they practice fine motor control.
Materials Needed:
- Printable or hand-drawn large Q on paper
- Washable paints in 2–3 colors
- Cotton swabs (Q-tips)
- Paper plate palette
- Apron or smock
How to make it:
- 1. Pour small paint puddles onto a plate.
- 2. Dip cotton swabs into paint and dot along the Q outline and inside.
- 3. Create patterns like stripes or rainbows with different colors.
- 4. Let dry and display the dotted Q art.
5. Quiet Time Q Door Hanger
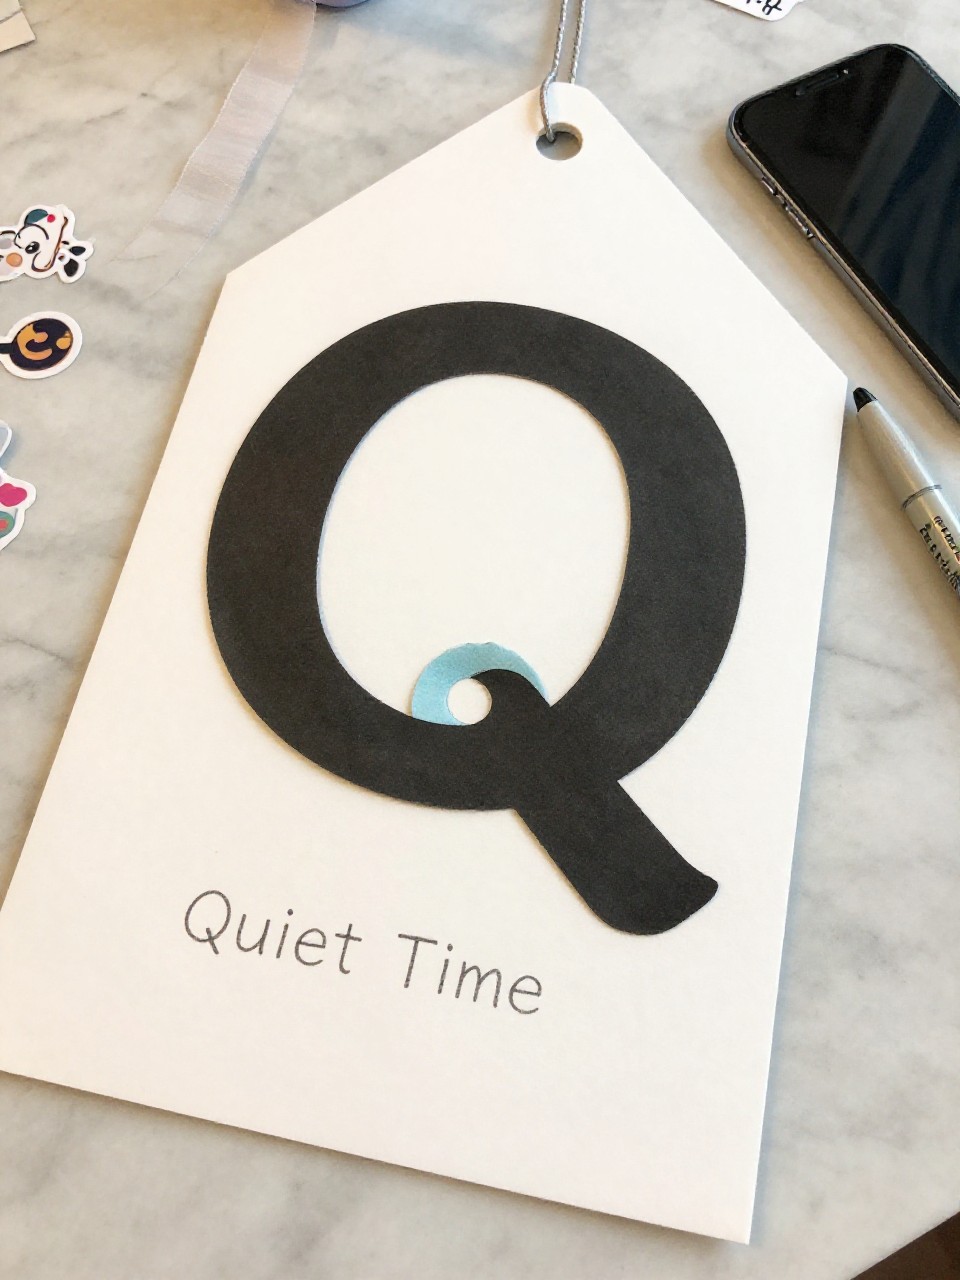
This door hanger features a big letter Q and simple icons like a sleeping moon to mean “quiet, please.” Kids enjoy making a helpful sign they can actually use during reading or nap time.
Materials Needed:
- Cardstock or thin cardboard
- Markers or crayons
- Ribbon or yarn
- Hole punch
- Stickers (optional)
How to make it:
- 1. Cut a rectangle and a top hole for the doorknob, or use a door-hanger template.
- 2. Draw a large Q in the center and write “Quiet, please.”
- 3. Add calm images like stars or a moon; color and add stickers.
- 4. Punch a hole, tie ribbon, and hang on the door.
6. Q Shaped Quokka Puppet
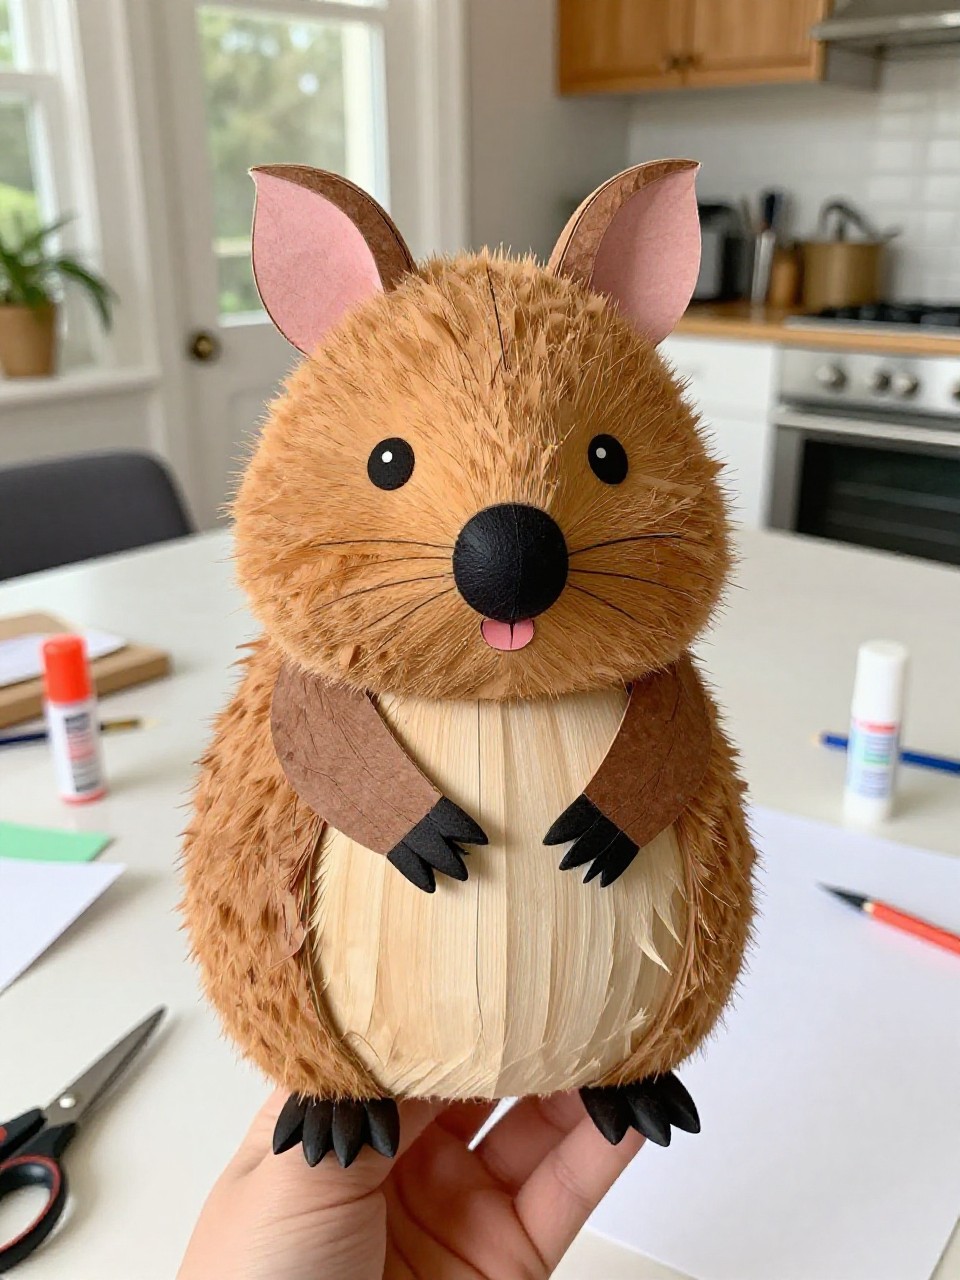
A friendly quokka face sits on a Q-shaped body to make a simple paper puppet. Kids love the happy smile and small paws they can wiggle while telling Q animal stories.
Materials Needed:
- Brown and tan construction paper
- Black marker
- Glue stick
- Craft stick
- Googly eyes (optional)
How to make it:
- 1. Cut a large Q from brown paper and a round tan face.
- 2. Glue the face over the top curve of the Q and add small ear and paw shapes.
- 3. Draw a smile, nose, and whiskers; add eyes.
- 4. Glue a craft stick to the back to hold and play.
7. Q Boat with Q Sail (Quick Sailboat)
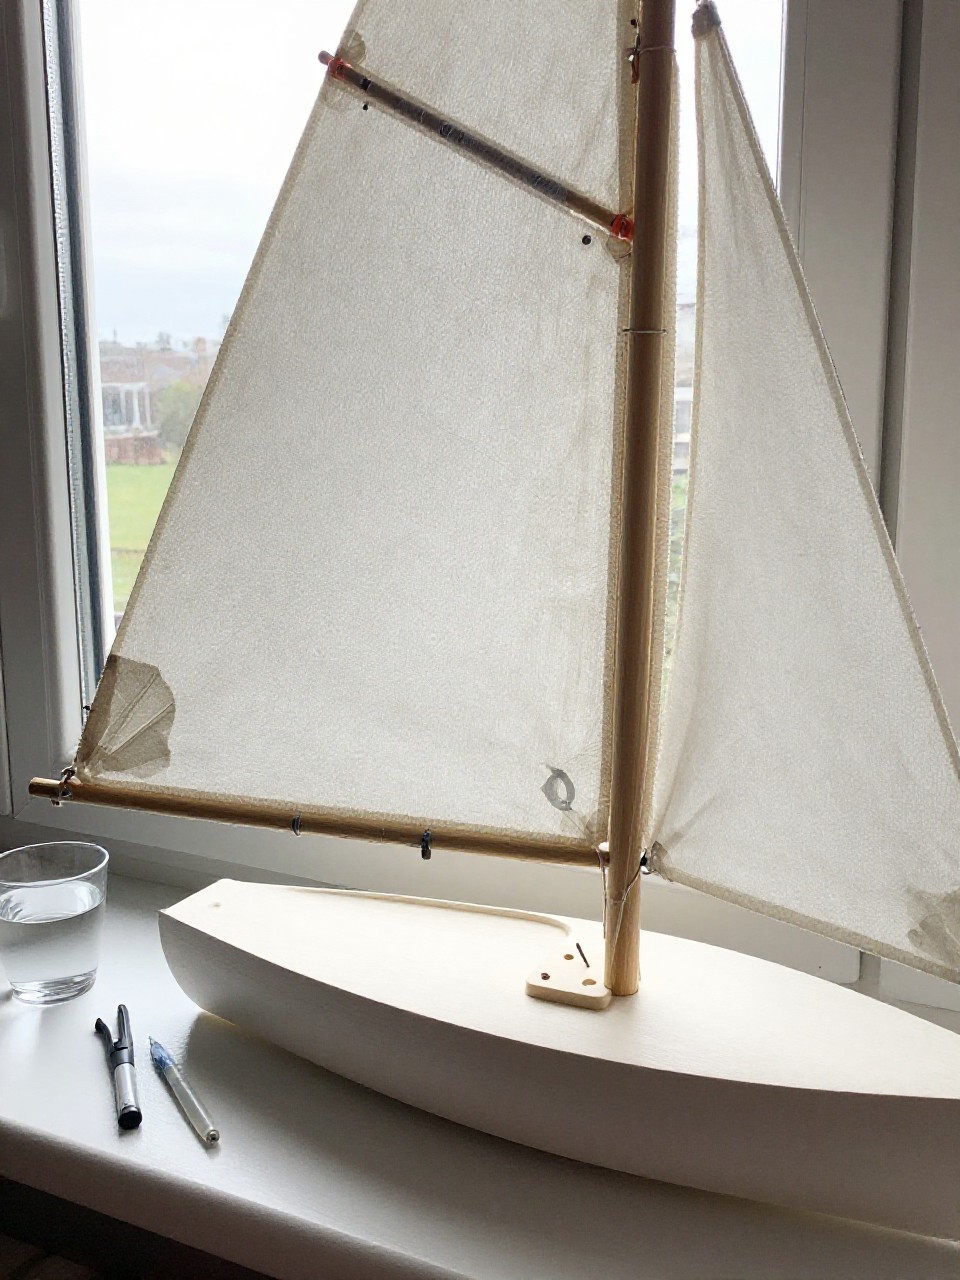
A tiny paper boat carries a triangle sail printed with a bold letter Q. Kids enjoy launching it in a sink or tub and shouting “Q for quick!” as it floats.
Materials Needed:
- Scrap cardstock or foam sheet (for boat base)
- Paper triangle sail
- Straw or toothpick mast
- Tape or glue
- Marker
How to make it:
- 1. Cut a small rectangle of foam or fold cardstock into a boat shape.
- 2. Tape the straw or toothpick upright as the mast.
- 3. Write a big Q on the sail and attach it to the mast.
- 4. Float in shallow water (or pretend-sail on a tray) and dry afterward.
8. Q-Shaped Necklace (Quirky Bead String)
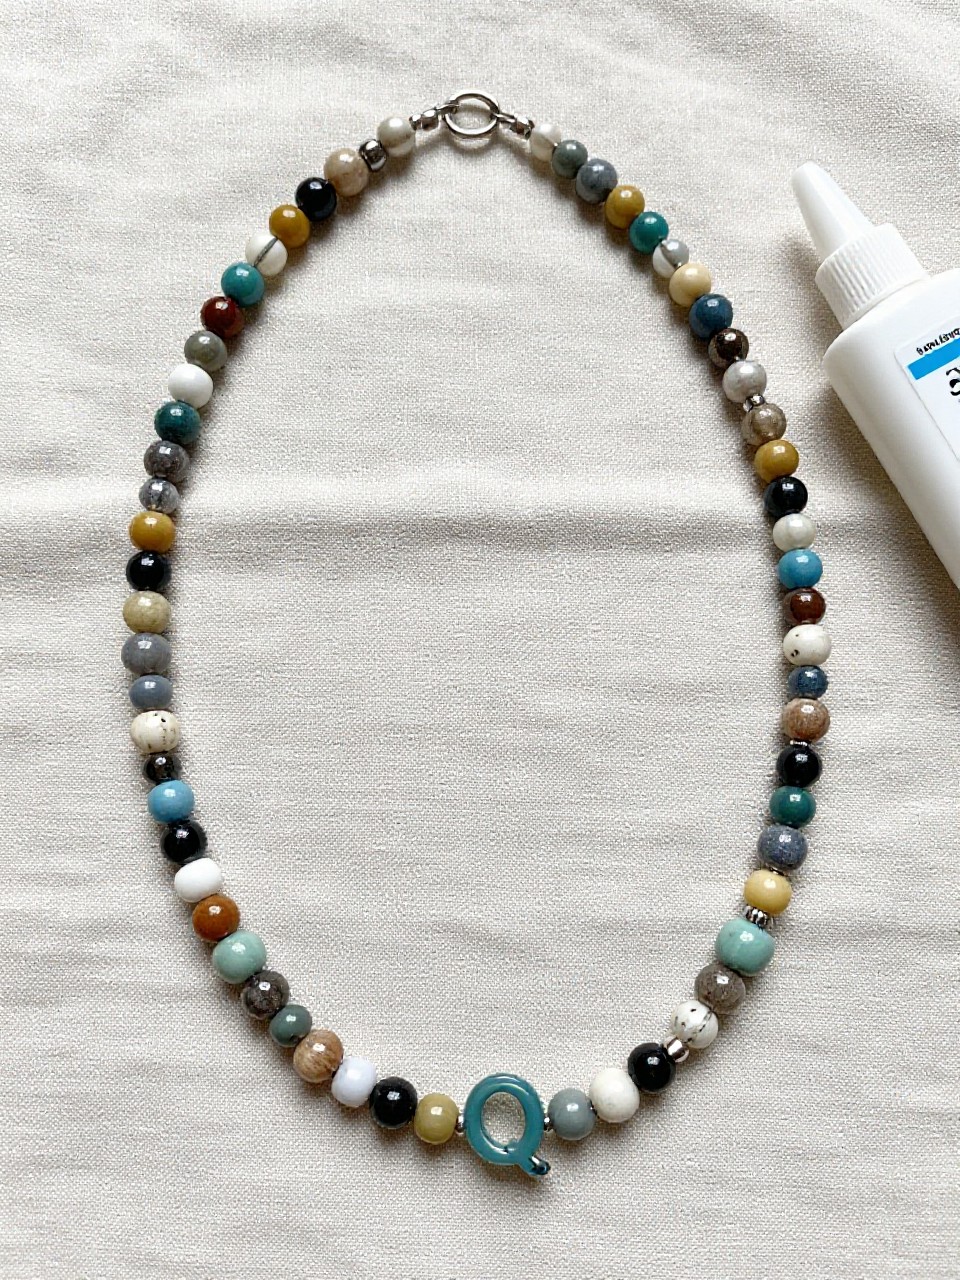
A chunky cardboard Q becomes a pendant on a bead string, decorated with dots and glitter. Kids enjoy wearing their letter and practicing the sound every time they show it off.
Materials Needed:
- Cardboard or foam sheet
- Hole punch
- Markers or paint
- Yarn or cord
- Beads or pasta (optional)
How to make it:
- 1. Cut a sturdy Q about palm size; punch a hole at the top.
- 2. Decorate with color, dots, and glitter if you like.
- 3. String the Q on yarn and add beads or pasta for extra flair.
- 4. Tie to fit and wear the Q necklace.
9. Q for Question Mark Buddy
This character pairs a big letter Q with a friendly question mark as its tail, making a curious little buddy. Kids enjoy the silly face and talking about asking good questions.
Materials Needed:
- Bright construction paper
- Black marker
- Googly eyes
- Glue stick
- Scissors
How to make it:
- 1. Cut a large Q and a separate question mark from bright paper.
- 2. Glue the question mark behind the Q like a tail.
- 3. Add eyes, a smile, and small feet or arms.
- 4. Let dry and stick it on a wall or folder.
10. Q-Shaped Foam Stamps
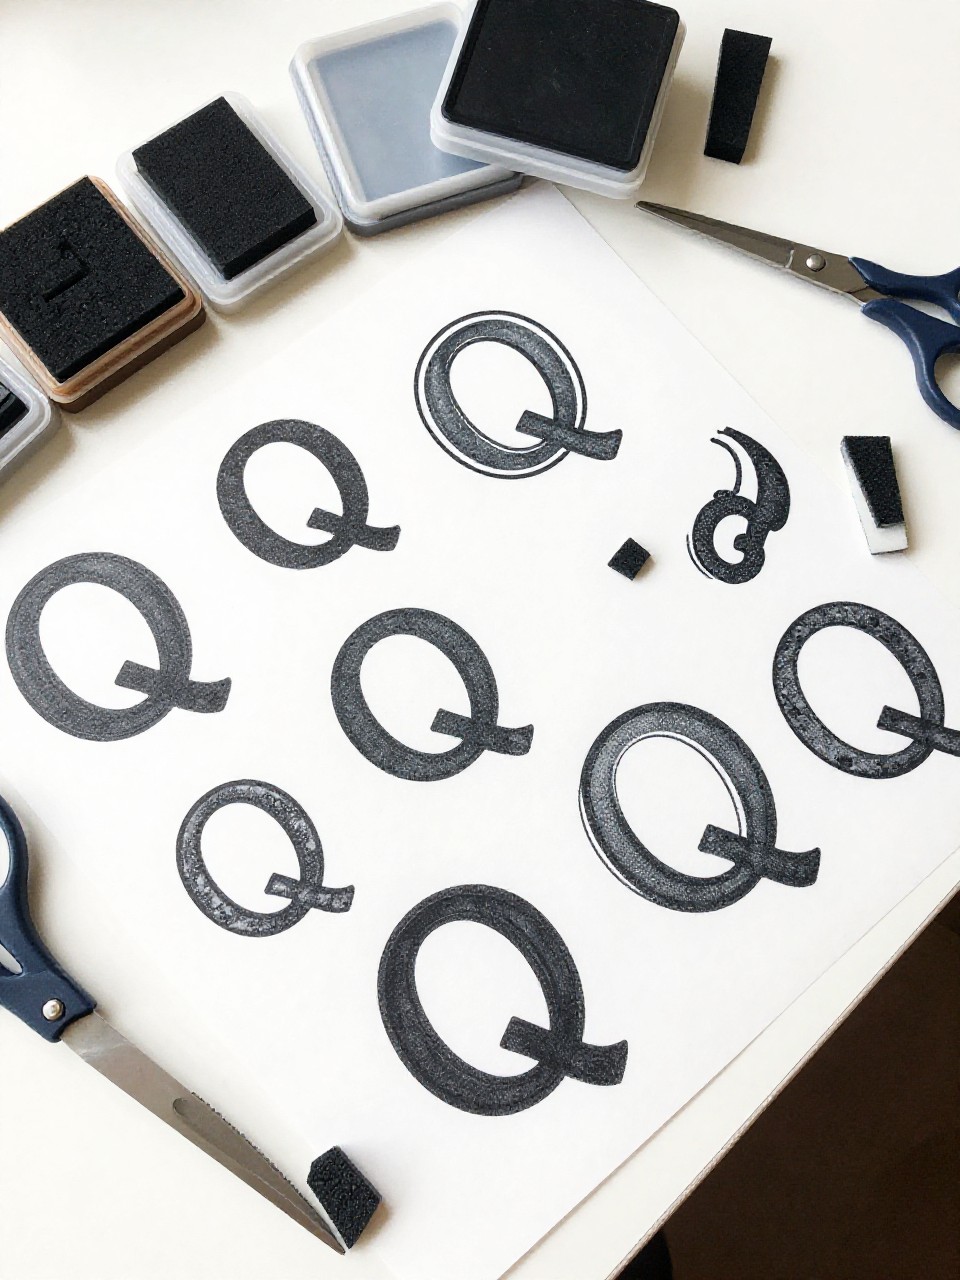
Kids cut simple Q shapes from foam to make reusable stamps for posters, bags, or cards. Stamping feels satisfying, and the repeated Q pattern helps with letter recognition.
Materials Needed:
- Adhesive craft foam
- Bottle caps or small wood blocks
- Washable stamp pads or paint
- Paper for printing
- Scissors
How to make it:
- 1. Cut Q shapes from foam; peel and stick onto caps or blocks.
- 2. Press the stamp into ink or thin paint.
- 3. Stamp Q patterns in rows or rainbows.
- 4. Let prints dry and save the stamp for next time.
11. Q Cactus (Queen of the Night)
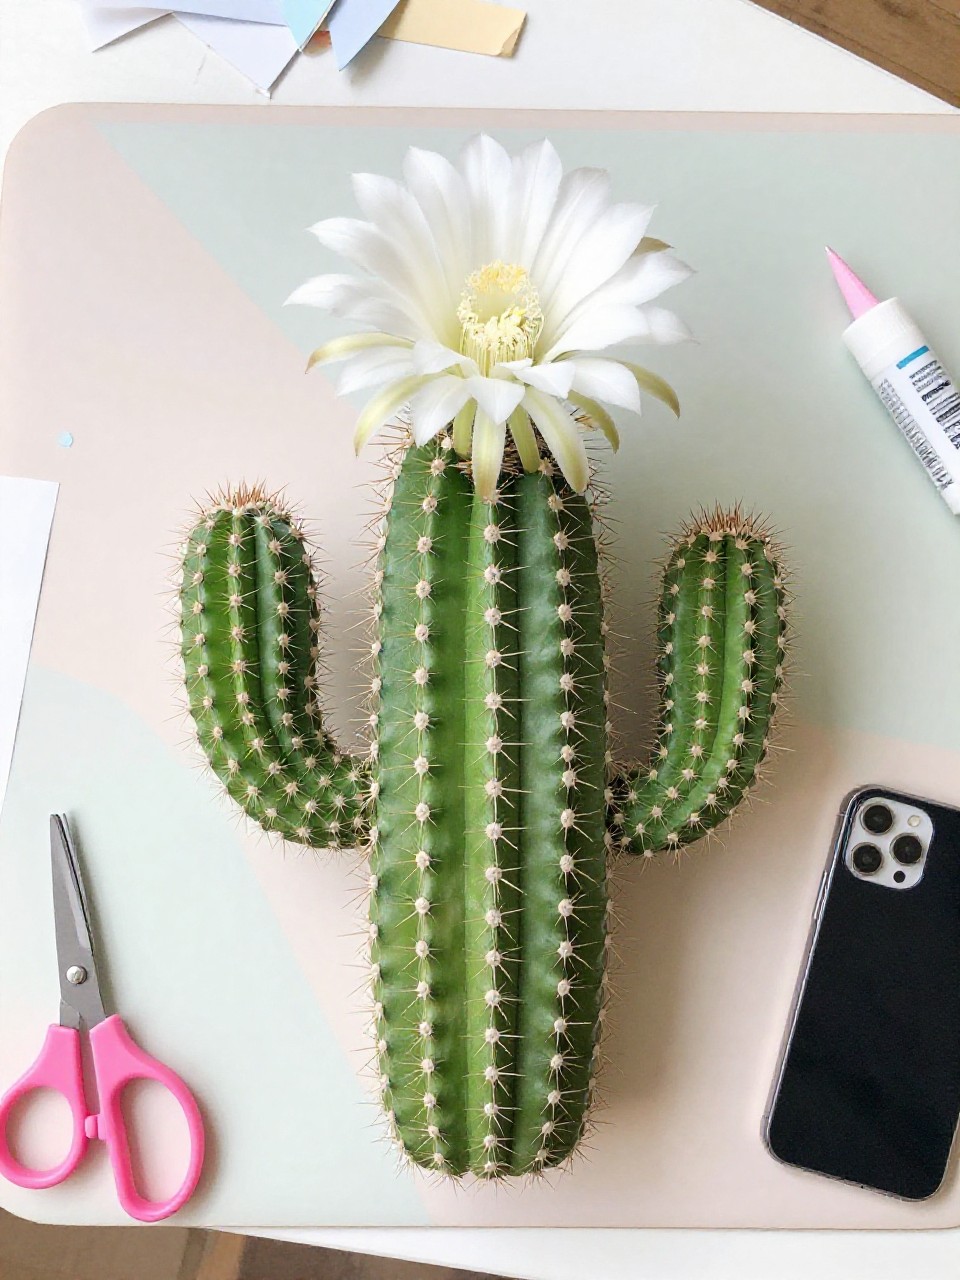
This craft shows the “Queen of the Night” cactus flower blooming on a Q-shaped cactus body. Kids enjoy learning a fun plant fact while making spiky textures with paper strips.
Materials Needed:
- Green and white construction paper
- Yellow marker or paper for center
- Glue stick
- Scissors
- Black paper background (optional)
How to make it:
- 1. Cut a big green Q for the cactus body.
- 2. Snip thin green strips and glue as “spines” around the Q.
- 3. Make a white flower with a yellow center and attach near the top curve.
- 4. Mount on black paper for contrast and display.
12. Q Mask with Quirky Shapes
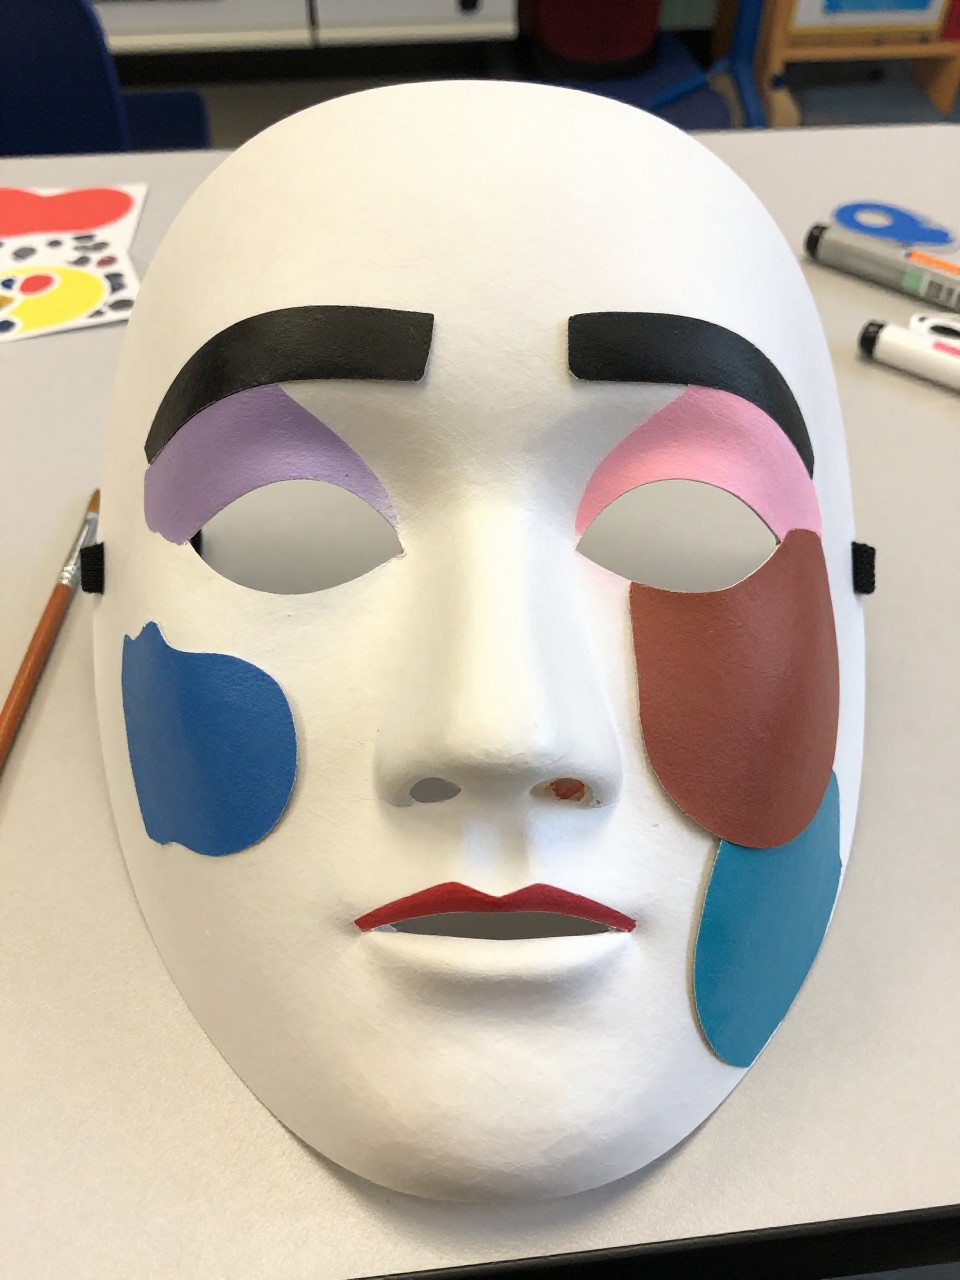
A playful face mask in the shape of a large Q lets kids peek through the center hole and decorate with wild, quirky shapes. Children enjoy pretending and mixing colors and textures.
Materials Needed:
- Cereal box cardboard
- Paint or markers
- Elastic cord or craft stick
- Foam shapes or stickers
- Scissors and hole punch
How to make it:
- 1. Cut a large Q from cardboard and open the center as the eye/peek hole.
- 2. Paint or color the Q and add foam shapes and stickers.
- 3. Punch holes for elastic or glue on a craft stick handle.
- 4. Let dry and use for silly play.
13. Q-Shaped Paper Chain Garland
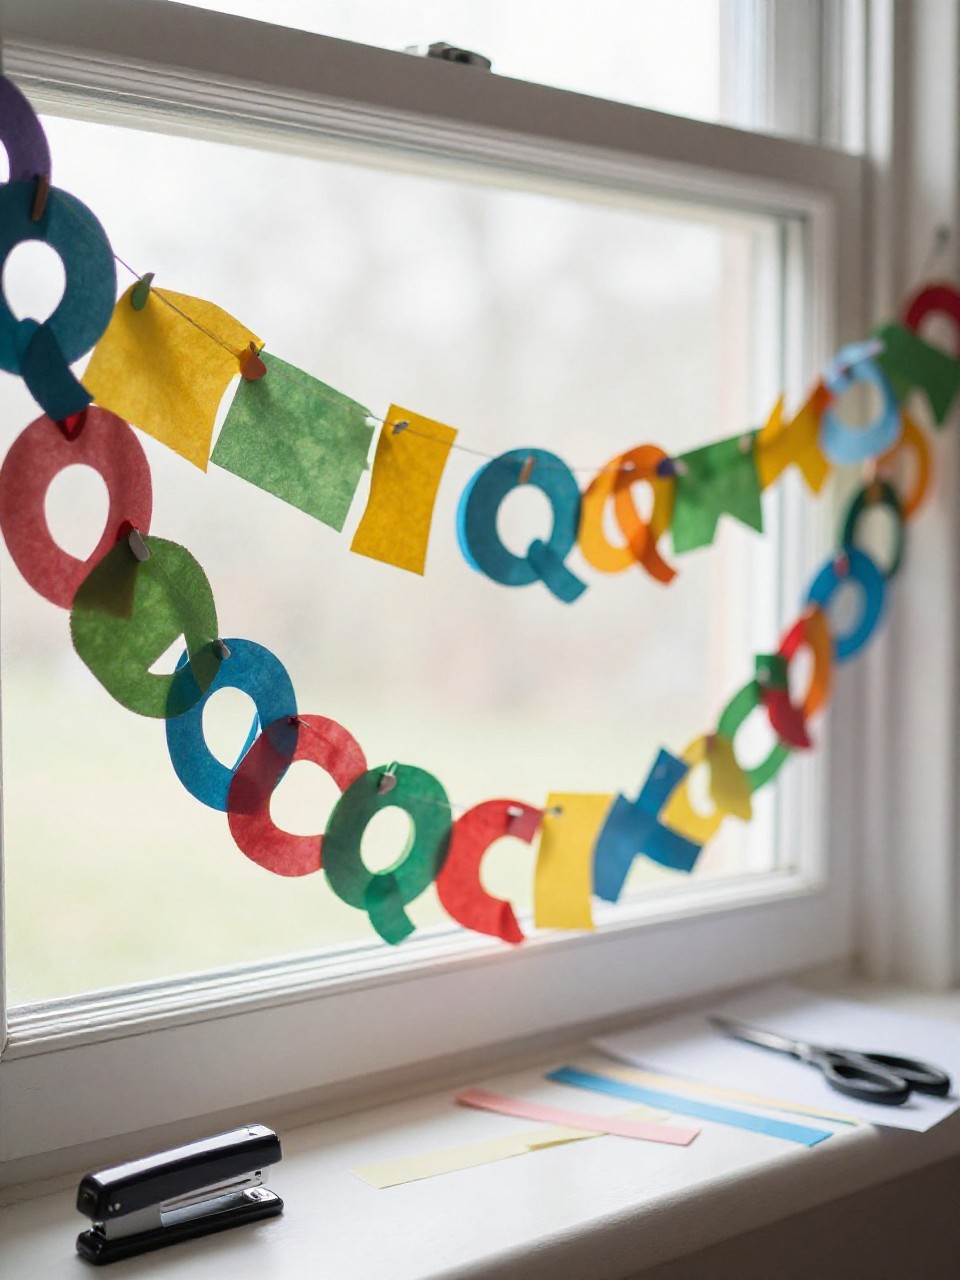
This garland links small paper Qs together for a festive banner over a door or board. Kids enjoy repeating the shape and seeing a long, colorful chain grow fast.
Materials Needed:
- Construction paper in bright colors
- Stapler or tape
- Marker
- Scissors
- String (optional)
How to make it:
- 1. Cut strips and loop each into a circle with a small tail to form a Q.
- 2. Staple or tape each Q closed, linking the next one through.
- 3. Add little marker lines to show the Q tails clearly.
- 4. Hang the Q garland across a wall or shelf.
14. Q Underwater Queen (Queen Angelfish)
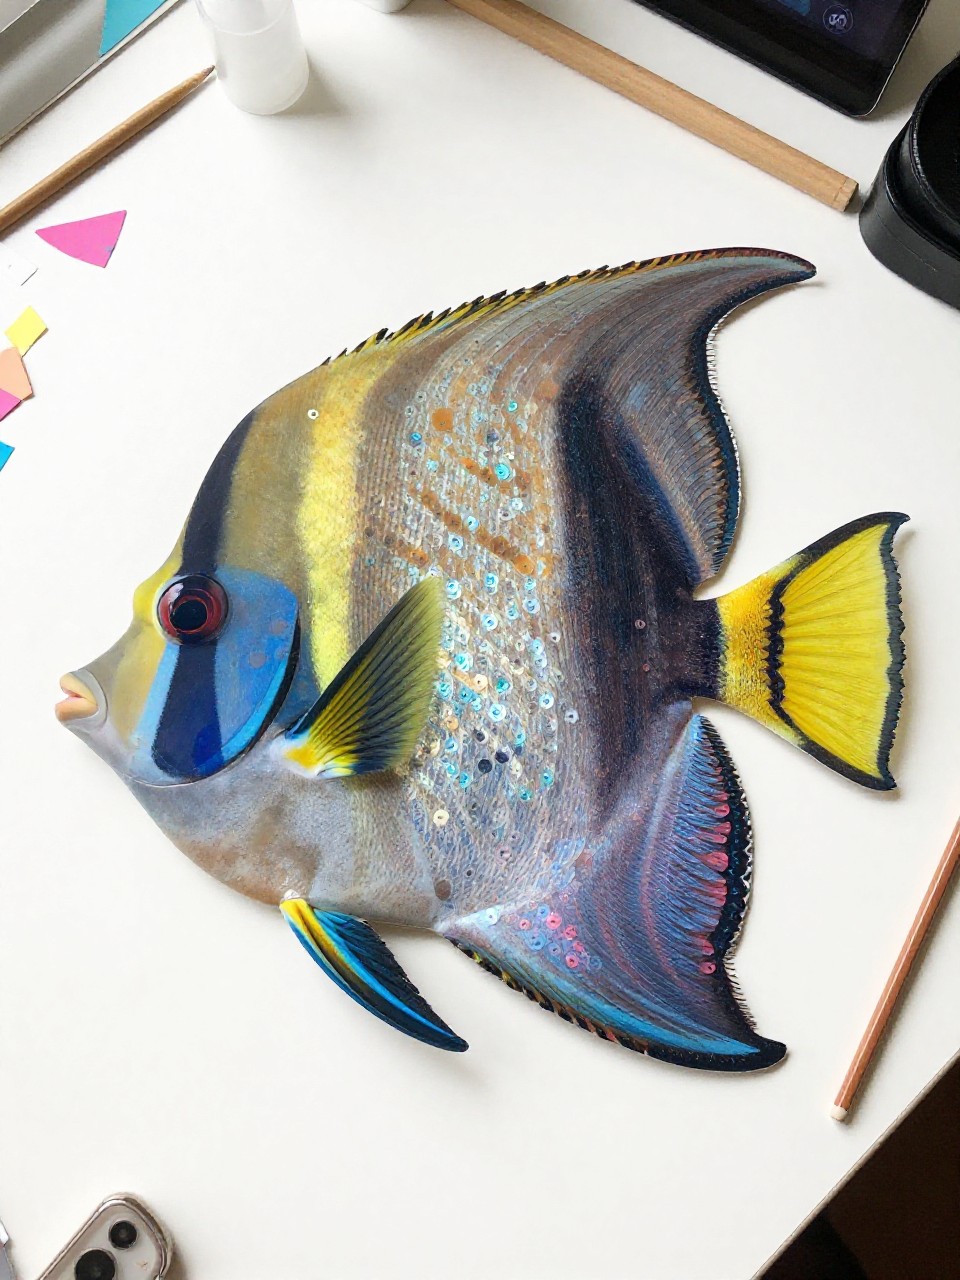
A bright queen angelfish with fins shaped like the letter Q swims on a blue paper background. Kids enjoy blending colors and spotting the Q curves in the tail and body.
Materials Needed:
- Blue cardstock background
- Colored paper (yellows, blues, purples)
- Glue stick
- Black marker
- Sequins or glitter (optional)
How to make it:
- 1. Cut a fish body and tail that together form a Q silhouette.
- 2. Glue onto the blue background and add fin shapes.
- 3. Draw stripes and details; add sequins as bubbles.
- 4. Let dry and display the royal reef fish.
15. Q-Shaped Seed Mosaic (Quinoa Letters)
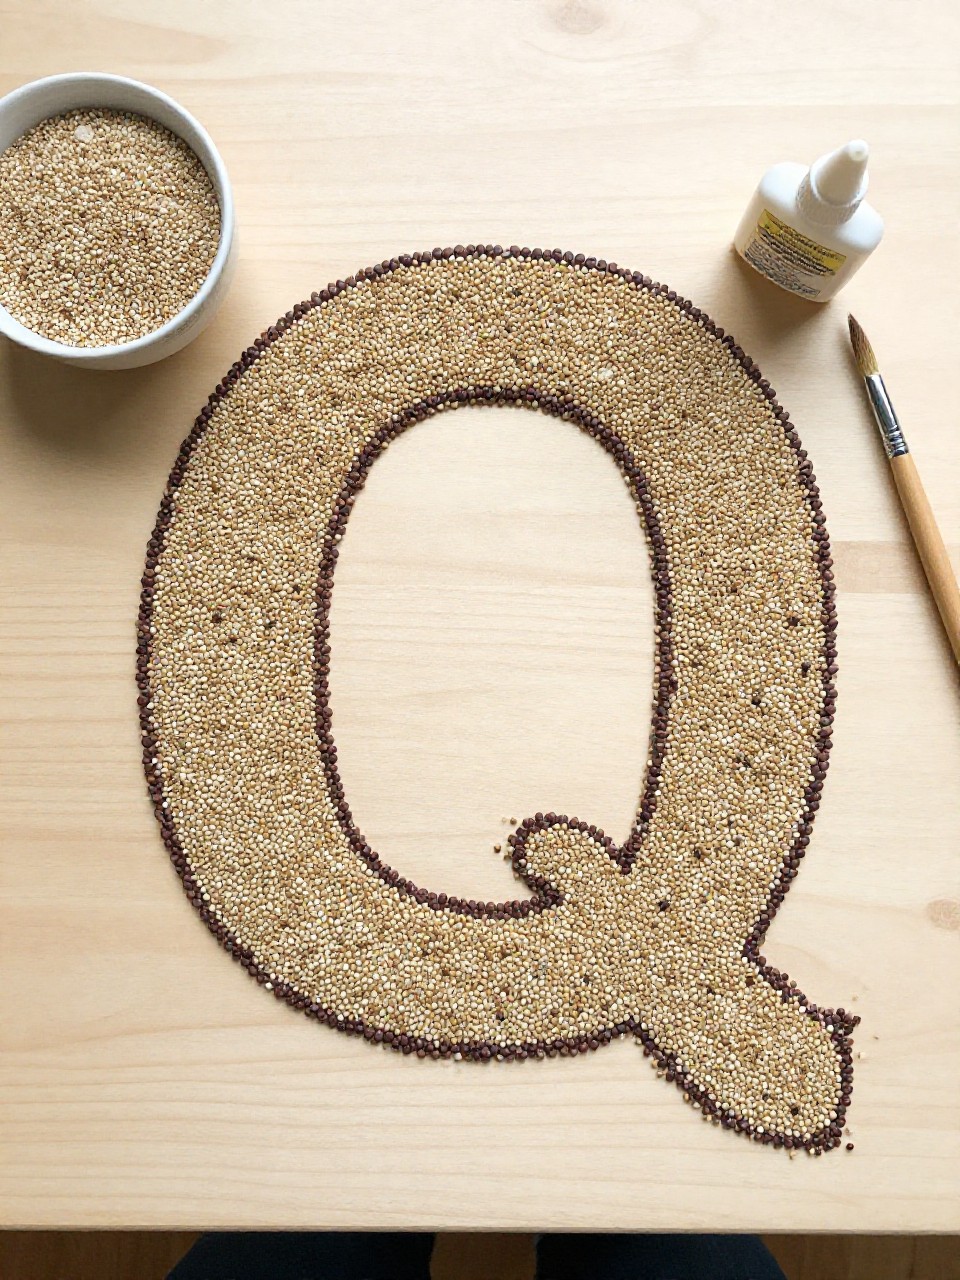
A tactile letter Q is made with glue and quinoa seeds for a bumpy, natural look. Kids enjoy the sensory feel and seeing tiny grains outline the shape.
Materials Needed:
- Cardstock with large Q outline
- White glue
- Dry quinoa (or small seeds)
- Tray for catching spills
- Marker (optional for labeling)
How to make it:
- 1. Place paper on a tray and trace the Q thickly with glue.
- 2. Sprinkle quinoa over the glue until covered.
- 3. Gently shake off extra seeds to reveal the Q.
- 4. Let dry flat and label “Q is for quinoa.”


