


Table of Contents Show
Keeping kids busy or planning a calm classroom activity can be hard, especially when you want something low-mess and affordable. Paper stationery crafts are perfect: they use things you already have and turn simple sheets into cute, useful items.
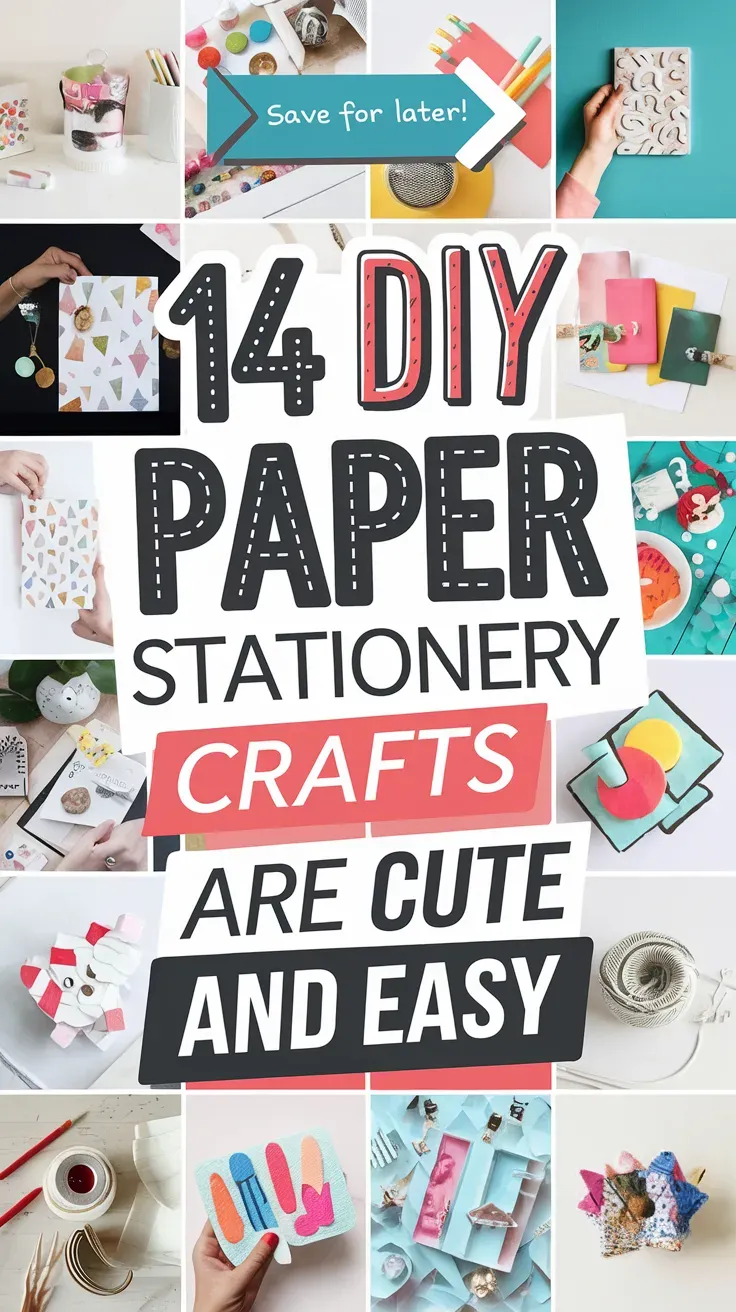
In this list, you’ll find fun, easy projects that make notes, letters, and organizing more exciting.
Let’s jump into simple ideas that bring color to desks, backpacks, and rainy afternoons.
1. Folded Heart Note Cards

These are small folded cards shaped like hearts that open to reveal a sweet message inside. Kids love how a flat paper becomes a secret note, and the heart shape feels special but is easy to make.
Materials Needed:
For People Who Love to Make Things ✂️
- Colored printer paper or cardstock
- Pencil
- Scissors
- Glue stick
- Markers or stickers
How to make it:
- Fold paper in half and draw half a heart along the fold; cut to get a full heart card.
- Keep the fold at the top so it opens like a tiny notebook.
- Decorate the front with markers and stickers; add a message inside.
- Let any glue dry, then tuck into an envelope or give by hand.
2. Washi Tape Mini Notebooks

These pocket-size notebooks have patterned washi tape on the spine and bright paper pages. Kids enjoy making their own “store-bought” style notebook and picking the tape patterns; it feels like designing real stationery.
Materials Needed:
- Plain printer paper (cut into quarters)
- A small cardstock cover
- Washi tape
- Stapler or needle and thread (adult help)
- Stickers or stamps
How to make it:
- Stack 6–8 small sheets inside the cardstock cover.
- Staple along the edge or sew a simple stitch; press flat.
- Wrap washi tape over the spine and add labels or stamps.
- Smooth edges, then use for doodles or notes.
3. Envelope Origami Animals

These are simple origami envelopes that look like animals—like a fox, bear, or cat—with ears and faces on the flap. Kids love slipping secret notes inside and drawing funny expressions.
Materials Needed:
- Square origami or colored paper
- Glue stick
- Black marker
- Colored pencils
- Tiny stickers (optional)
How to make it:
- Fold a square into a classic origami envelope (triangle base, fold corners inward).
- Shape or glue small paper triangles as ears under the flap.
- Draw eyes, nose, whiskers, and patterns.
- Tuck a note inside and press the flap closed with a sticker.
4. Paper Clip Flag Page Markers

These are small paper flags glued to paper clips that mark pages in books or planners. Kids enjoy choosing colors and tiny patterns, and the result feels tidy and useful.
Materials Needed:
- Colored paper scraps
- Large paper clips
- Glue stick or double-sided tape
- Hole punch (optional)
- Stickers or washi tape (optional)
How to make it:
- Cut small rectangles and fold each over the top of a paper clip.
- Glue the folded paper together with the clip inside.
- Trim the end into a triangle flag and decorate with washi or stickers.
- Let dry, then slide onto a page to mark spots.
5. Confetti Stationery Set

This is a matching letter paper and envelope set with colorful paper confetti sealed under clear tape borders. Kids love sprinkling “confetti” and seeing plain paper turn party-ready.
Materials Needed:
- White or pastel printer paper
- Plain envelopes
- Colored paper scraps (for confetti)
- Clear packing tape
- Hole punch or scissors
How to make it:
- Punch or snip tiny confetti circles from colored scraps.
- Line paper edges with clear tape sticky-side up, sprinkle confetti, then seal with another tape layer.
- Add a matching tape-confetti strip to the envelope flap.
- Smooth everything flat and write a cheerful letter.
6. Pop-Up Birthday Card with Banner

This card opens to a little paper banner that pops up across the inside. Kids love the surprise effect and picking colors for the mini flags.
Materials Needed:
- Cardstock for card base
- Colored paper for flags
- String or embroidery floss
- Glue stick
- Markers
How to make it:
- Fold cardstock to make a card.
- Cut tiny triangle flags and glue them to a short string.
- Glue string ends to the inside fold so the banner pops when opened; add “Happy Birthday.”
- Decorate the front; let dry before standing it up.
7. Stamped Pattern Writing Paper

This is custom writing paper covered in simple repeating stamps like stars, leaves, or smiley faces. Kids enjoy making their own “printed” pages and choosing ink colors.
Materials Needed:
- Blank printer paper
- Foam stickers or small erasers (for stamps)
- Bottle caps or wood blocks (stamp bases)
- Washable ink pads or paint
- Ruler (optional lines)
How to make it:
- Stick foam shapes to caps to make stamps.
- Stamp a border or a light all-over pattern on paper.
- Use a ruler to draw faint lines if desired.
- Let dry, then use for letters or lists.
8. Rainbow Edge Notepad

This is a glued stack of small papers with a painted rainbow edge that looks bright from the side. Kids like the instant “store-bought” look and the joy of peeling off a sheet.
Materials Needed:
- Small paper sheets (same size)
- Binder clips
- PVA glue or school glue
- Acrylic paint or markers
- Wax paper (to protect table)
How to make it:
- Stack papers evenly and clamp one edge with binder clips.
- Brush a thin layer of glue along the clamped edge; let dry and repeat once.
- Paint the glued edge in rainbow stripes or solid color.
- Dry fully, remove clips, and start using your notepad.
9. Decorative Paper Envelopes with Liner

These are pretty envelopes made from patterned paper with a contrasting liner inside. Kids enjoy picking mix-and-match designs and seeing the fancy peek of color.
Materials Needed:
- Patterned scrapbook paper
- Thin colored paper for liner
- Glue stick or double-sided tape
- Envelope template (store-bought or traced from an envelope)
- Scissors
How to make it:
- Trace and cut the envelope shape from patterned paper.
- Fold flaps inward and crease; dry-fit before gluing.
- Cut a slightly smaller liner and glue to the inside flap.
- Seal sides, press flat, and tuck a card inside.
10. Corner Bookmark Monsters

These are triangle corner bookmarks with silly monster faces that hug a page corner. Kids love adding teeth, tongues, and googly eyes for personality.
Materials Needed:
- Square colored paper
- Glue stick
- White and red paper scraps (teeth and tongue)
- Black marker
- Googly eyes (optional)
How to make it:
- Fold a square into a corner pocket (origami corner bookmark base).
- Tuck and glue flaps to form a sturdy triangle.
- Add paper teeth and tongue; draw spots and brows; glue eyes.
- Let dry, then slide onto a book page.
11. Tear-and-Glue Mosaic Note Cards

These are flat note cards covered in tiny torn-paper tiles that make simple pictures or patterns. Kids enjoy tearing shapes without scissors and creating bold textures.
Materials Needed:
- Blank folded cards or cardstock rectangles
- Colored paper scraps
- Glue stick
- Pencil (for light outlines)
- Stickers (optional)
How to make it:
- Lightly sketch a simple shape (heart, star, initial).
- Tear colored paper into small pieces and glue inside the outline like tiles.
- Fill the background with a contrasting color.
- Press flat and let dry before writing inside.
12. Daily Doodle Postcards

These are postcard-sized cards with a printed or drawn frame and space for a quick doodle and note. Kids like mailing their art or trading with friends.
Materials Needed:
- Heavy cardstock cut to postcard size
- Ruler and black pen (to draw frame)
- Colored pencils or markers
- Postage stamp (if mailing)
- Stickers (optional)
How to make it:
- Cut cardstock to 4×6 inches and draw a neat border frame.
- Add a faint center line and address boxes on the back.
- Doodle a simple scene on the front and color it.
- Let ink dry, add a short note, and mail or gift it.
13. Fold-and-Tuck Mini Gift Bags

These are tiny gift bags made from pretty paper, perfect for stickers or candy, with a folded base and ribbon handle. Kids enjoy turning flat sheets into real packaging they can fill.
Materials Needed:
- Patterned paper
- Glue stick or double-sided tape
- Hole punch
- Ribbon or twine
- Stickers or labels
How to make it:
- Fold paper into a tube and seal the side with tape.
- Fold the bottom into overlapping flaps and glue to make a base.
- Punch two top holes and thread ribbon handles; tie knots.
- Add a label and fill with a tiny note or treats.
14. Calendar Sticky Tabs

These are paper tabs labeled with months or subjects that stick out of notebooks for quick finding. Kids like color-coding and seeing a neat row of tabs grow along the edge.
Materials Needed:
- Colored paper cut into small rectangles
- Clear tape or laminating sheets
- Fine-tip marker
- Scissors
- Ruler
How to make it:
- Fold rectangles in half to make tabs.
- Write month names or subjects on each tab.
- Cover each tab with clear tape, trimming edges for durability.
- Tape or glue tabs along page edges, spaced evenly.


