

Table of Contents Show
Keeping little hands busy can be tough, especially on rainy days or when you need a calm activity for a classroom. If you’re searching for simple projects that spark imagination, these space-themed crafts are easy, colorful, and preschool-friendly.
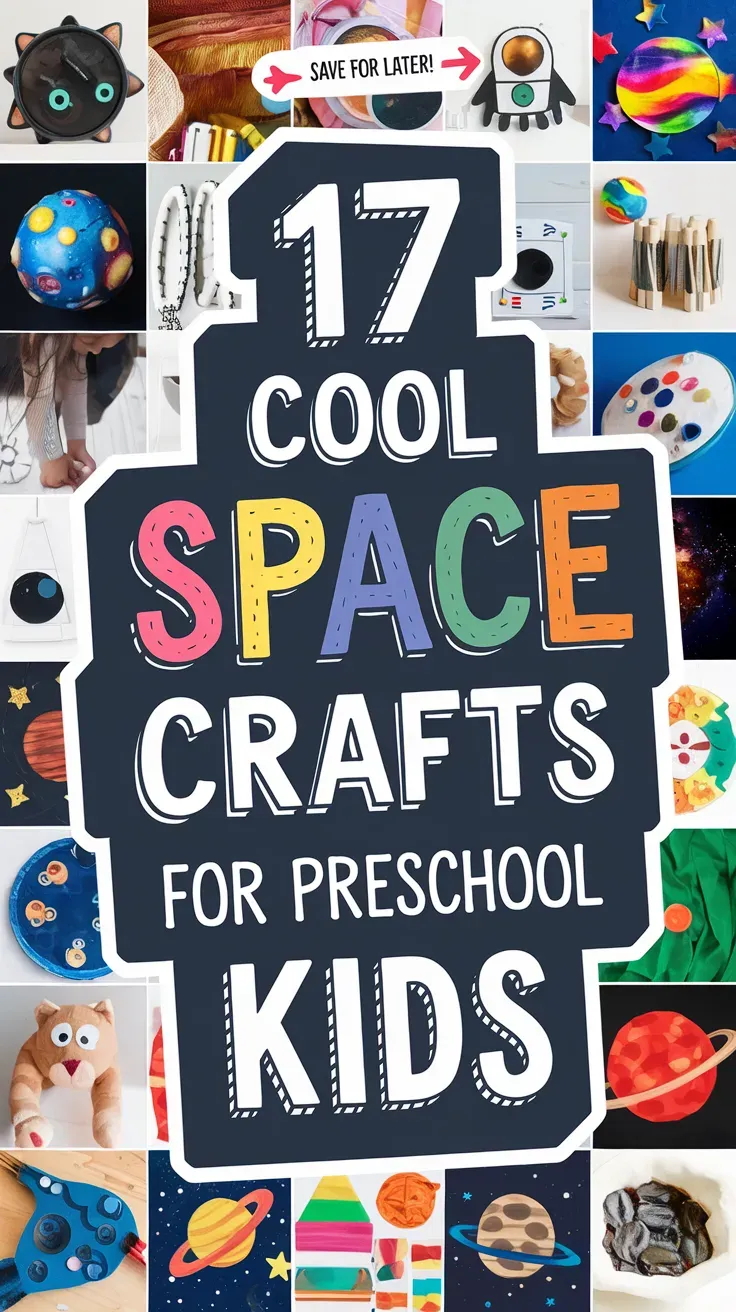
Each idea uses basic supplies and turns them into rockets, planets, stars, and more.
Use this list to plan a week of space fun or pick one quick project today—let’s blast off into the ideas!
1. Paper Plate Rocket Ship
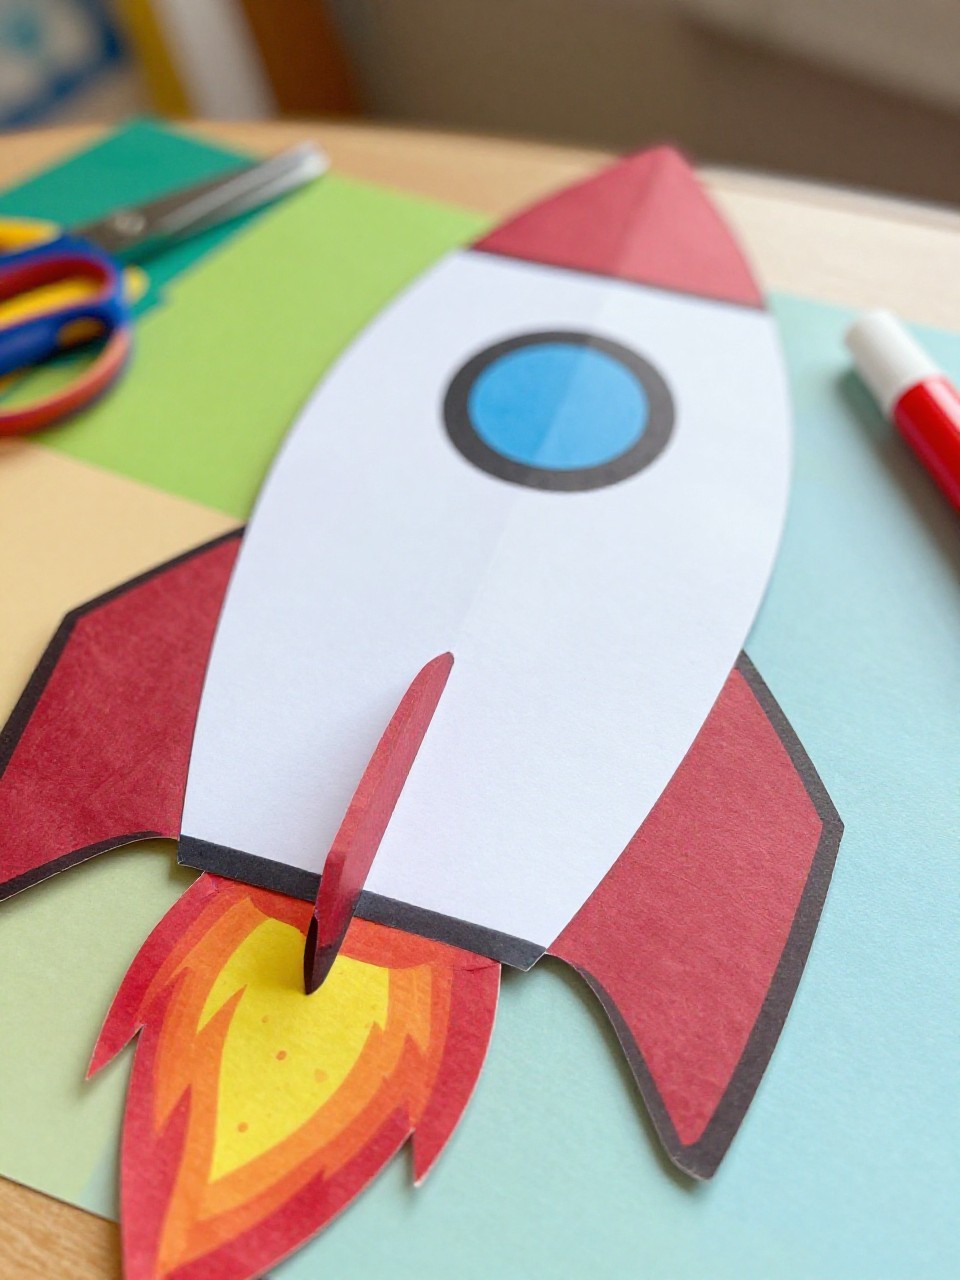
This craft makes a tall, colorful rocket from a paper plate folded into a sleek ship with a bright flame tail. Kids love choosing bold colors and stickers, and it’s easy enough for small hands to assemble with help.
Materials Needed:
For People Who Love to Make Things ✂️
- Paper plate (thin, 9-inch)
- Construction paper (red, orange, yellow for flames; other colors for fins)
- Glue stick
- Safety scissors
- Star stickers [optional]
How to make it:
- Fold the paper plate in half to make the rocket body.
- Cut triangles for fins and a small window circle; glue onto the plate.
- Layer red, orange, and yellow paper strips as a “flame” and glue to the bottom.
- Add star stickers, let dry, and stand it up for pretend play.
2. Handprint Astronaut
This looks like a cute astronaut with the child’s painted handprint as the space suit and a round helmet on top. Kids enjoy seeing their own hand become a space explorer, and it makes a sweet keepsake.
Materials Needed:
- White paint and small brush
- Blue or black cardstock (space background)
- Silver or gray paper (helmet circle)
- Glue stick
- Markers for details
How to make it:
- Paint the child’s hand white and press it onto dark cardstock (fingers down for legs).
- Cut a silver circle for the helmet and glue at the top of the palm.
- Draw buttons, a name tag, and stars around the astronaut.
- Let the print dry flat, then display on a wall or fridge.
3. Sponge-Stamped Galaxy Art
This painting shows a soft, swirly galaxy with mixed blues, purples, and pinks made by dabbing sponges. Kids love how easy it is to blend colors and watch stars appear with splatter or stickers.
Materials Needed:
- Black construction paper
- Washable paints (blue, purple, pink, white)
- Small sponges or sponge pieces
- Toothbrush or old brush for star splatter
- Star stickers [optional]
How to make it:
- Set black paper on a covered table.
- Dip sponge pieces in paint and dab in circular clusters to make galaxy clouds.
- Splatter tiny white paint stars with a toothbrush, or add star stickers.
- Let dry and hang as night-sky art.
4. Toilet Paper Roll Rocket
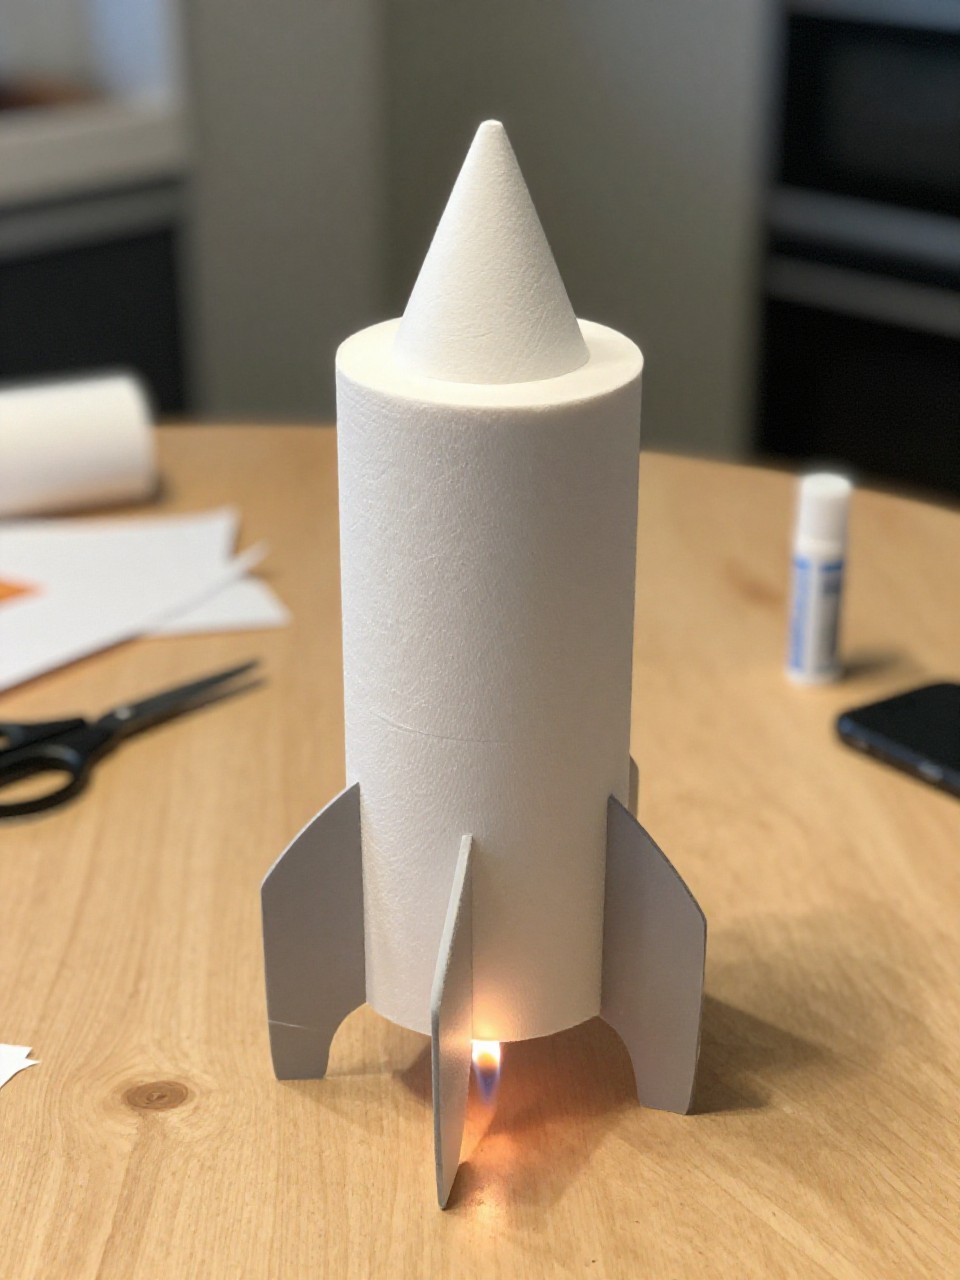
A cardboard tube becomes a rocket with a cone top, side fins, and tissue paper flames. Preschoolers enjoy decorating the tube and “whooshing” it around the room.
Materials Needed:
- Toilet paper roll
- Construction paper (for cone and fins)
- Tissue paper (red/orange/yellow)
- Glue stick or tape
- Markers and stickers
How to make it:
- Wrap the tube with colored paper.
- Cut a circle, snip one line, and roll into a cone; tape to the top. Add paper fins.
- Glue tissue paper strips inside the bottom for flames; decorate the body.
- Let the glue set and zoom the rocket through “space.”
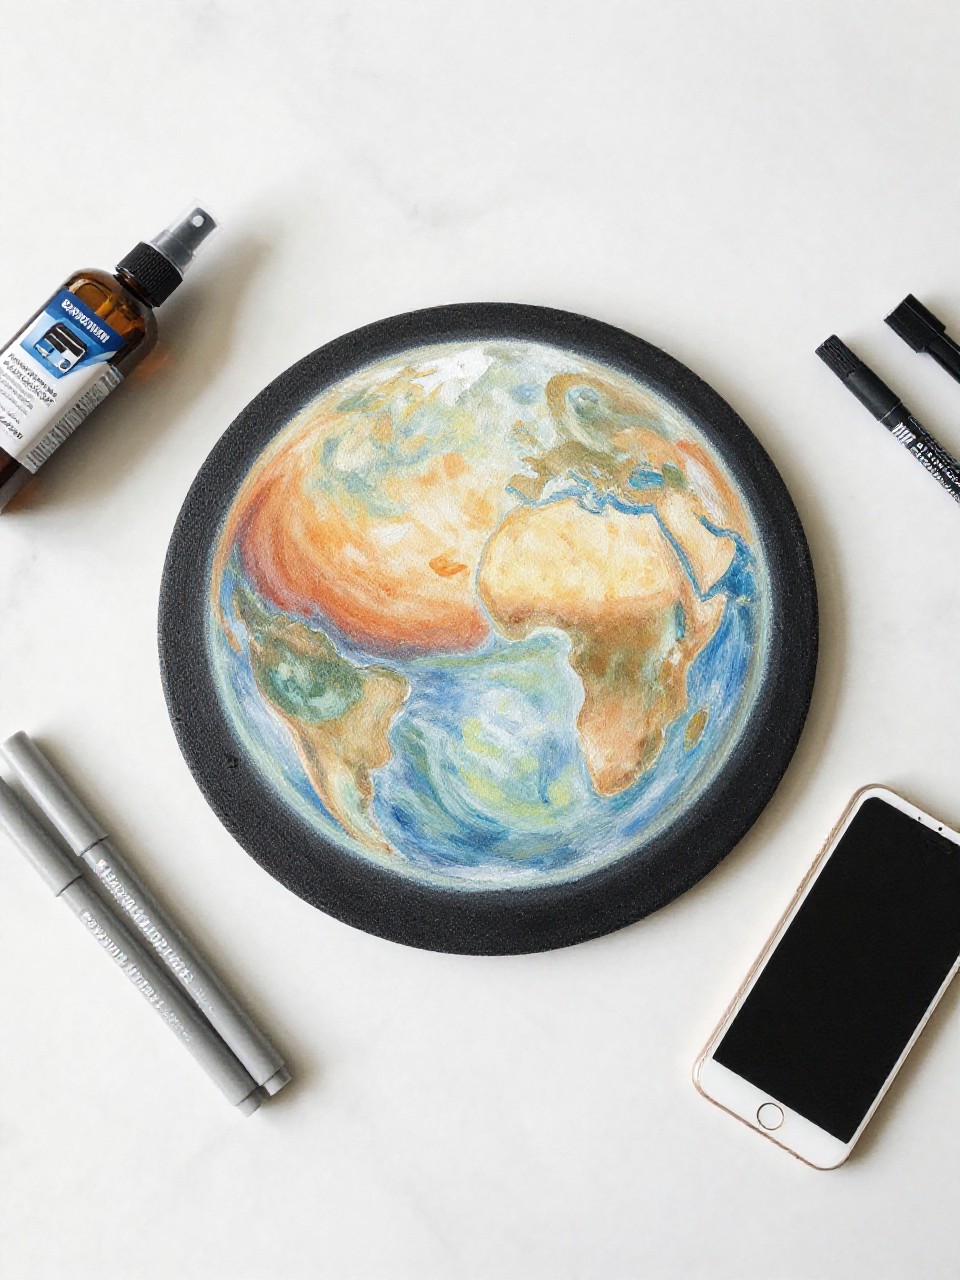
5. Paper Plate Planet Saturn
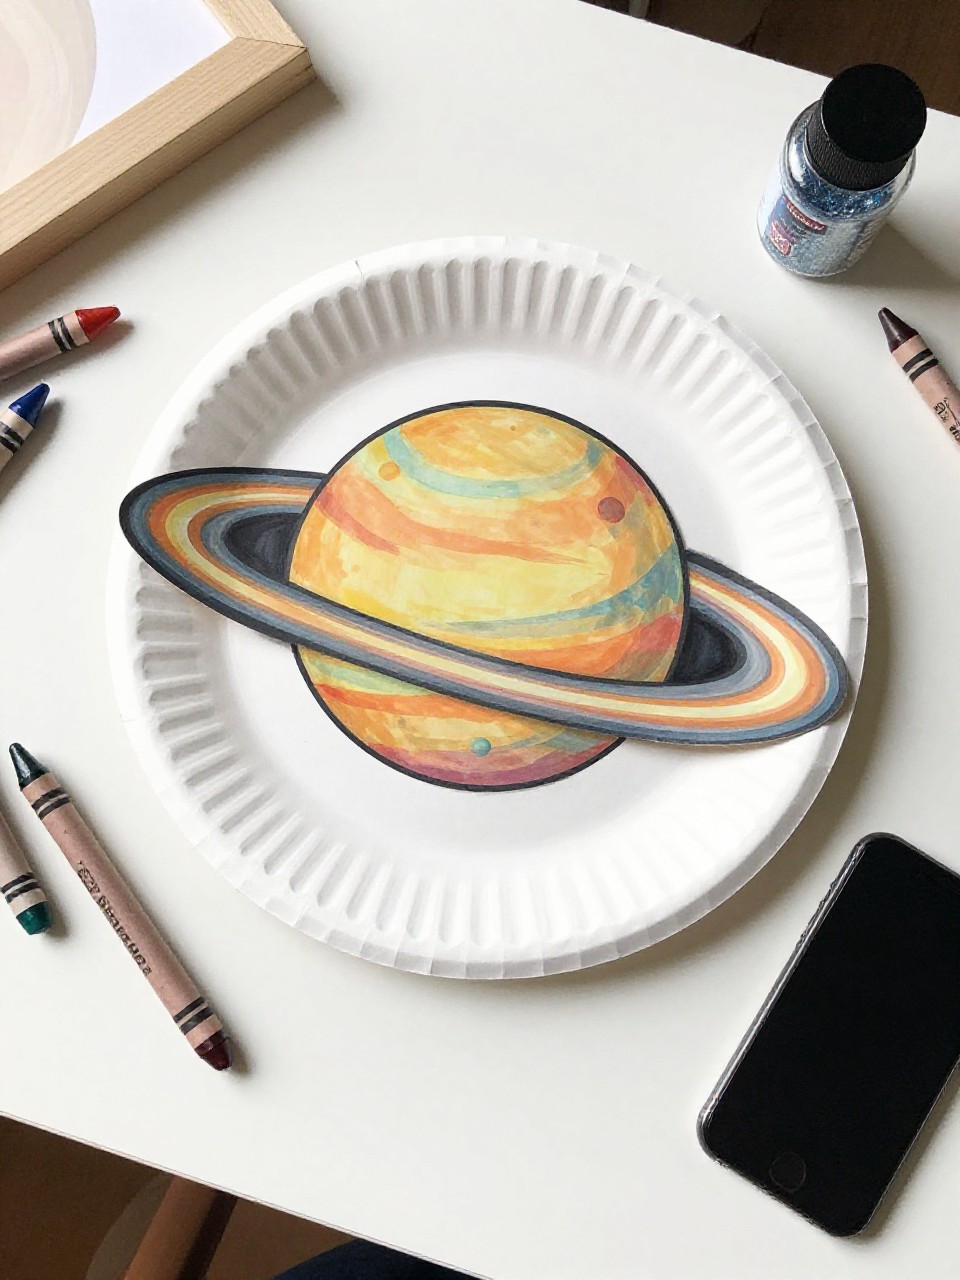
This craft makes Saturn with painted rings using a cut paper plate and a round paper planet. Kids love spinning the ring piece and choosing planet colors.
Materials Needed:
- Paper plate
- Construction paper circle (for planet)
- Paint or markers
- Glue or tape
- Glitter or metallic crayons [optional]
How to make it:
- Cut a slit in the paper plate and remove the center to make a ring.
- Color or paint the ring with lines; decorate the planet circle.
- Glue or tape the planet behind the ring so it peeks through.
- Add shimmer, let dry, and hang with string.
6. Constellation Dot Cards
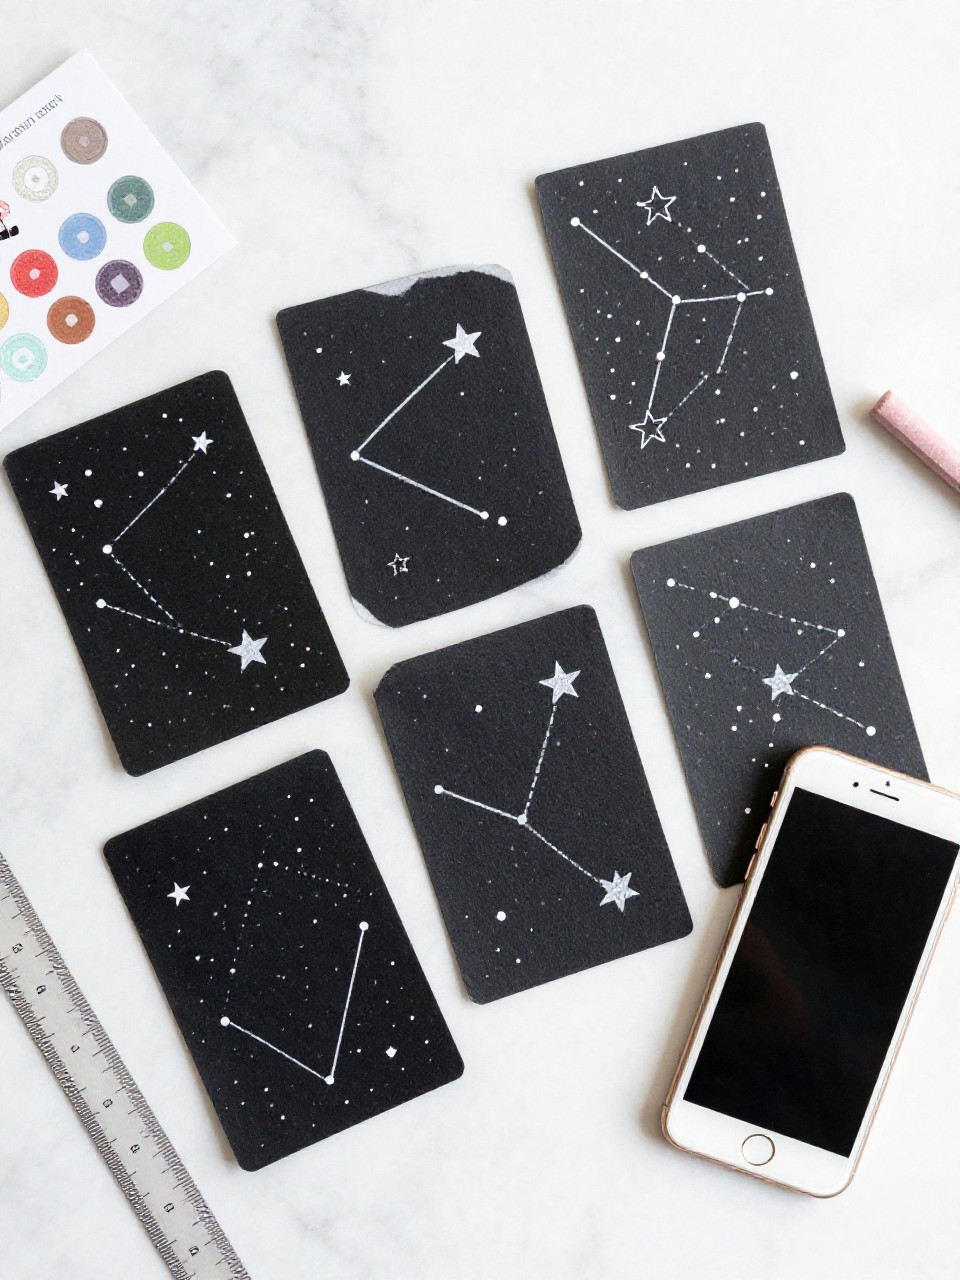
Kids create simple star patterns by placing sticker dots on dark cards and connecting them with chalk lines. They love making “their own” constellations and practicing fine motor skills.
Materials Needed:
- Black or navy cardstock cut into small cards
- Small star or circle sticker dots
- White chalk or gel pen
- Ruler [optional]
- Hole punch and string [optional for hanging]
How to make it:
- Give each child a dark card.
- Place sticker dots as “stars” in simple shapes.
- Gently draw lines between dots to form constellations.
- Punch a hole, add string, and display as a star set.
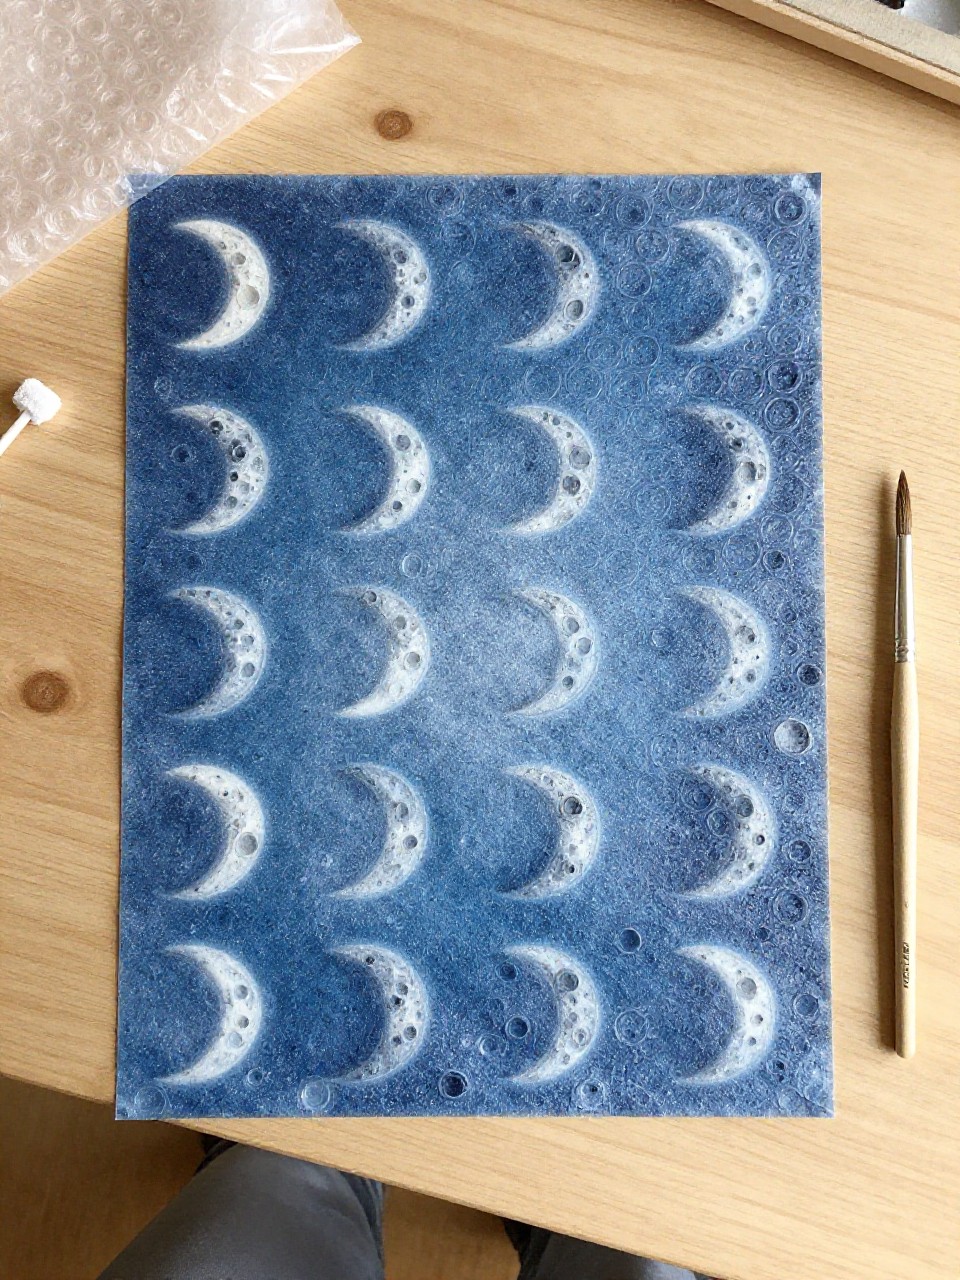
7. Moon Crater Foil Rubbing
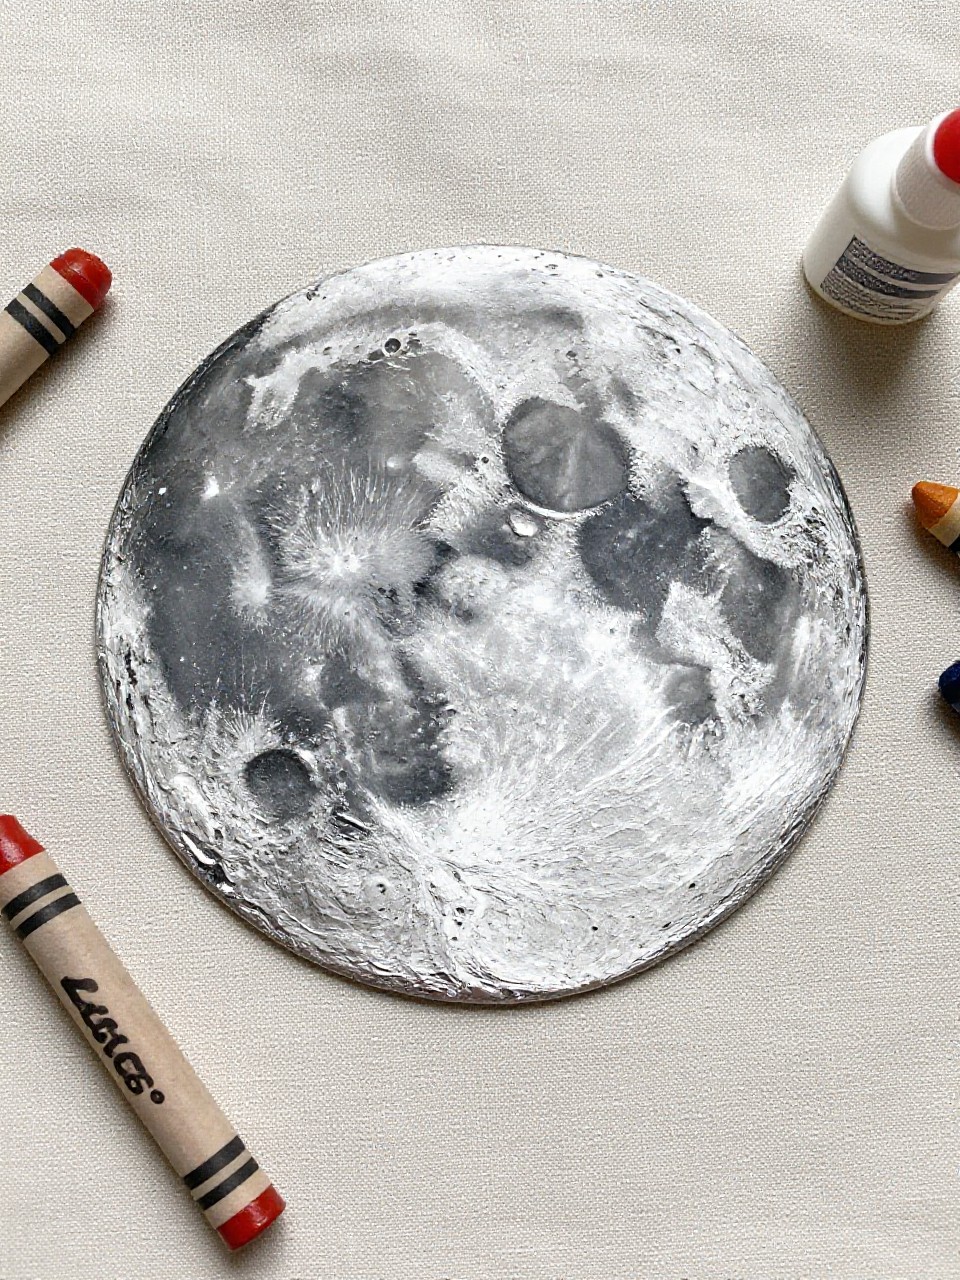
This looks like a bumpy moon surface made by gluing pasta or beads under foil, then rubbing with crayons. Kids enjoy the surprise texture and shiny moon look.
Materials Needed:
- Cardboard square
- Dried pasta or small beads (for craters)
- Glue
- Aluminum foil
- Crayons or markers
How to make it:
- Glue pasta or beads onto cardboard in round “crater” clusters; let dry.
- Wrap the board tightly with foil, shiny side out.
- Gently rub with gray crayon to reveal bumps; add shadow and stars.
- Display as a metallic moon tile.
8. Puffy Paint Cloud Nebula
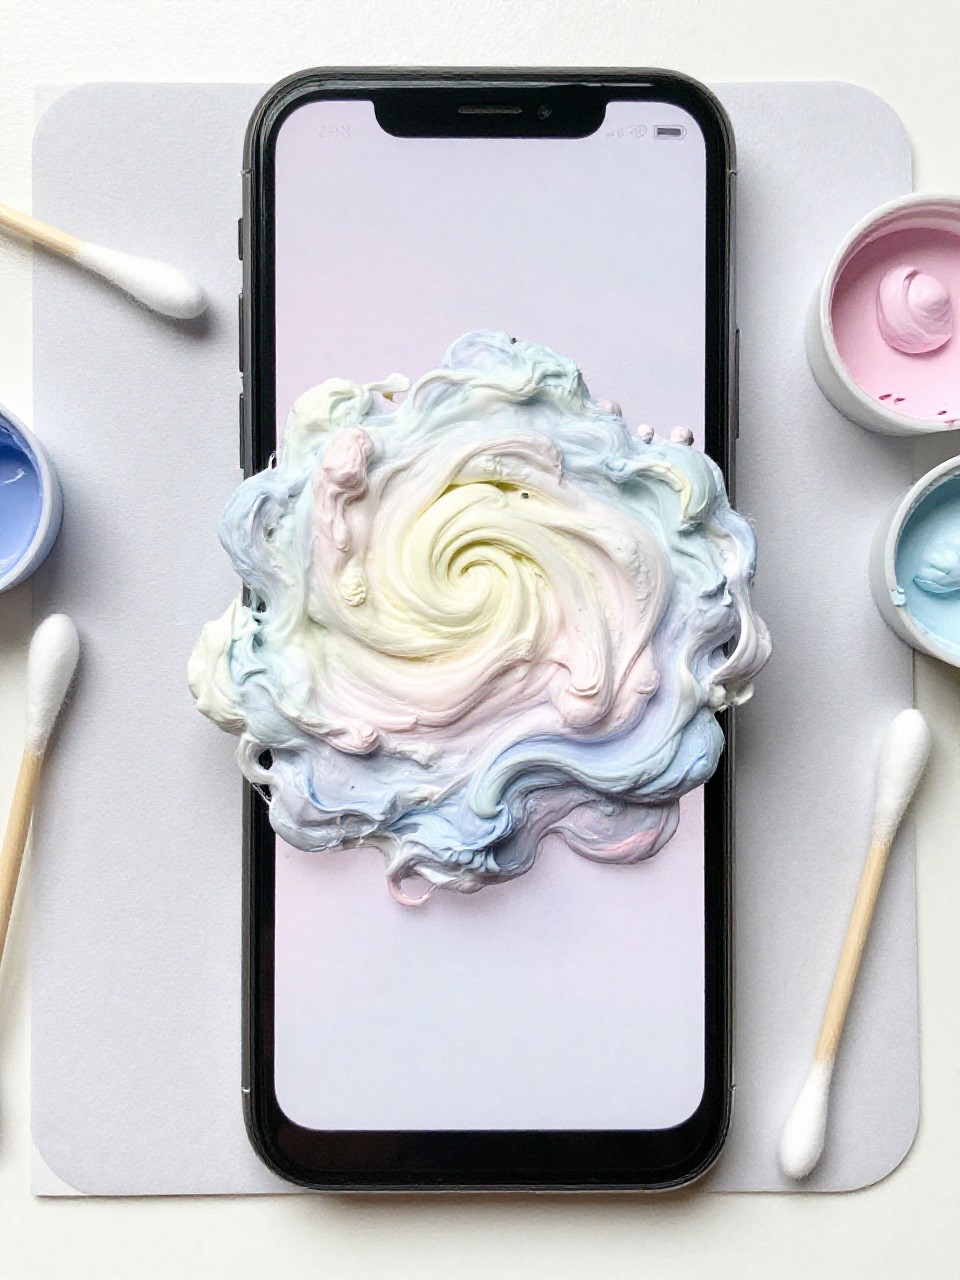
A fluffy nebula appears with puffy paint made from shaving cream and glue, swirled with food coloring. Kids love the soft, 3D look and mixing gentle colors.
Materials Needed:
- Black cardstock
- Shaving cream
- White school glue
- Food coloring or liquid watercolor
- Cotton swabs
How to make it:
- Mix equal parts shaving cream and glue in a cup.
- Spoon blobs onto cardstock and swirl with cotton swabs.
- Add a drop of color and gently marble to make a nebula.
- Let dry puffy and display flat.
9. Paper Tube Solar System Mobile
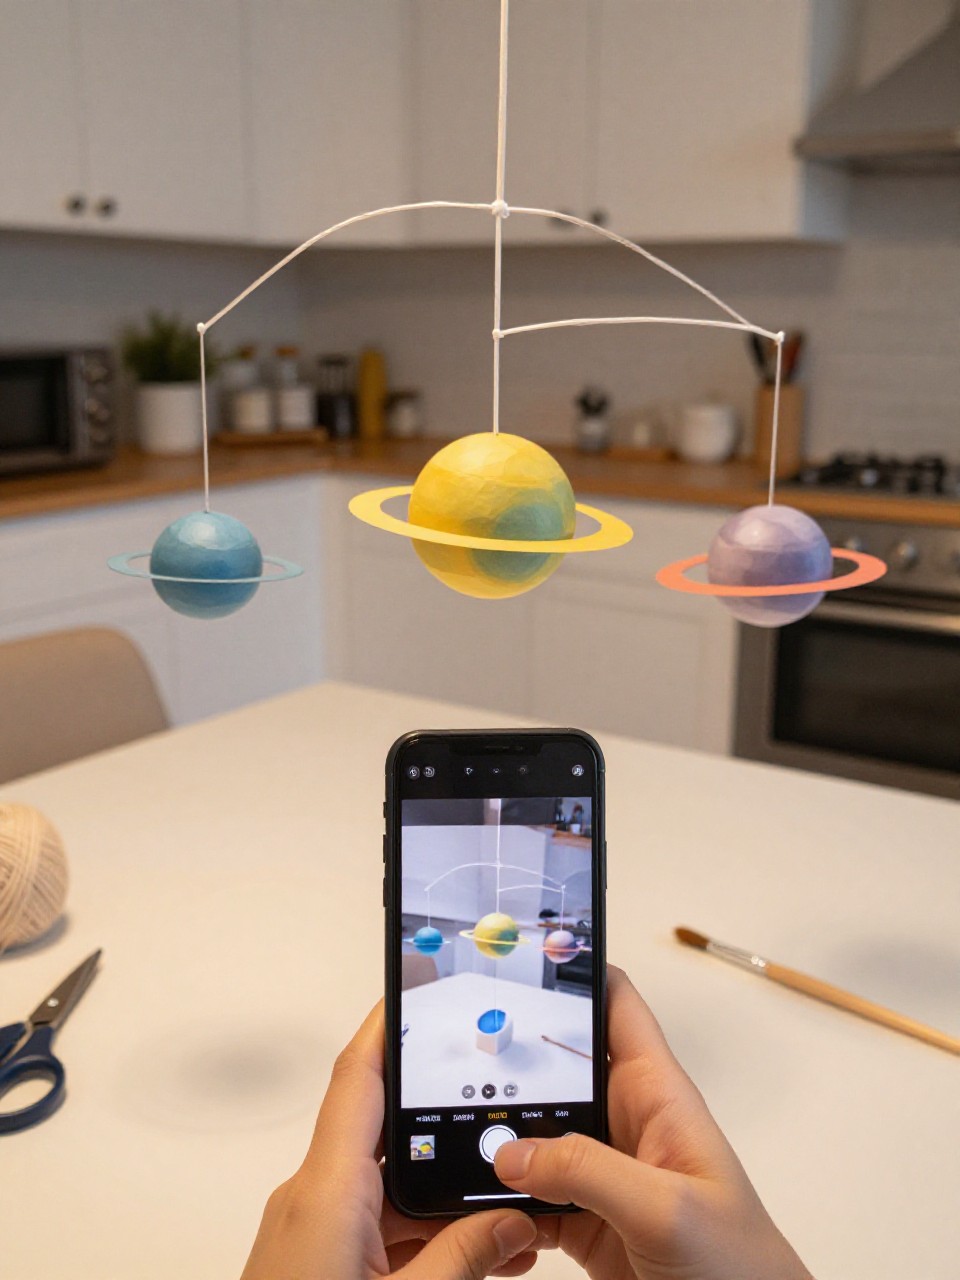
This mobile shows hanging planets made from painted paper tube slices, arranged from the sun outward. Kids enjoy painting each “planet donut” and watching them spin.
Materials Needed:
- Paper towel tube
- Paints and brushes
- Yarn or string
- Wooden dowel or stick hanger
- Hole punch
How to make it:
- Paint the tube with different planet colors and patterns; let dry.
- Slice the tube into rings and label the back lightly.
- Punch a hole in each ring and tie to strings of different lengths.
- Tie strings to a dowel and hang the mobile.
10. Starry Night Sensory Bottle
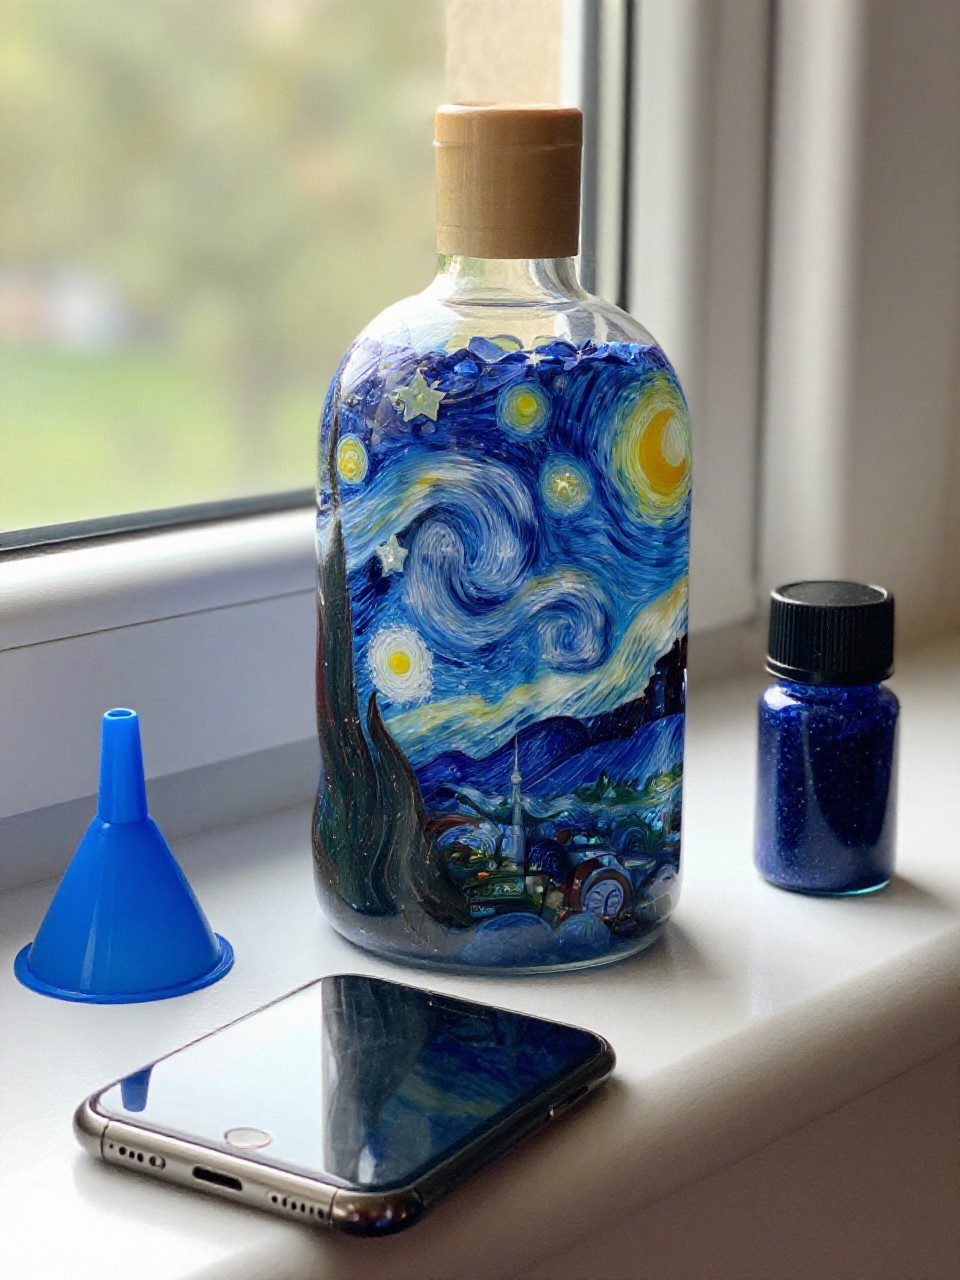
A clear bottle filled with glitter “stars,” beads, and blue water looks like a tiny space jar. Kids love shaking it to see stars drift and calm down as they settle.
Materials Needed:
- Clear plastic bottle with lid
- Water and a little clear glue
- Fine glitter and star sequins
- Blue food coloring
- Hot glue or strong tape for sealing (adult)
How to make it:
- Fill the bottle mostly with water, add a squeeze of clear glue.
- Add a drop of blue coloring, glitter, and star sequins.
- Close, test shake, adjust glitter, then seal the lid securely.
- Use as a calm-down, space-viewing bottle.
11. Footprint Rocket Art
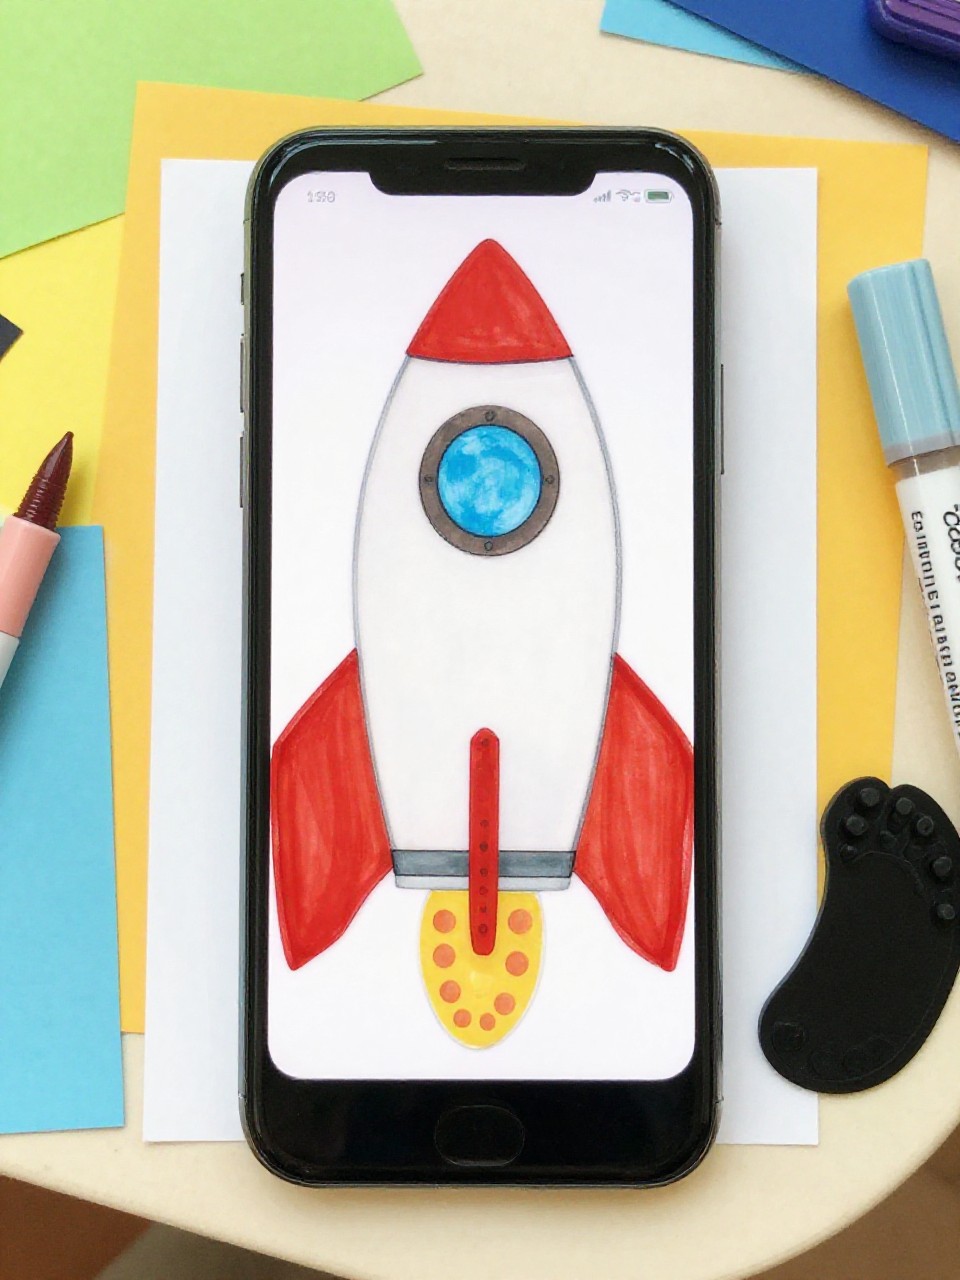
This playful art turns a painted footprint into a rocket with fins and fire. Kids giggle at using their feet and love turning prints into flying ships.
Materials Needed:
- White paper or cardstock
- Washable paint (any color for footprint)
- Construction paper scraps (fins, window, flames)
- Glue stick
- Markers
How to make it:
- Paint the bottom of the foot with washable paint and stamp onto paper (heel up).
- Add paper fins, a circle window, and tissue flames to the toe side.
- Draw stars and a moon around the rocket.
- Let dry and hang proudly.
12. Shape Space Shuttle Collage
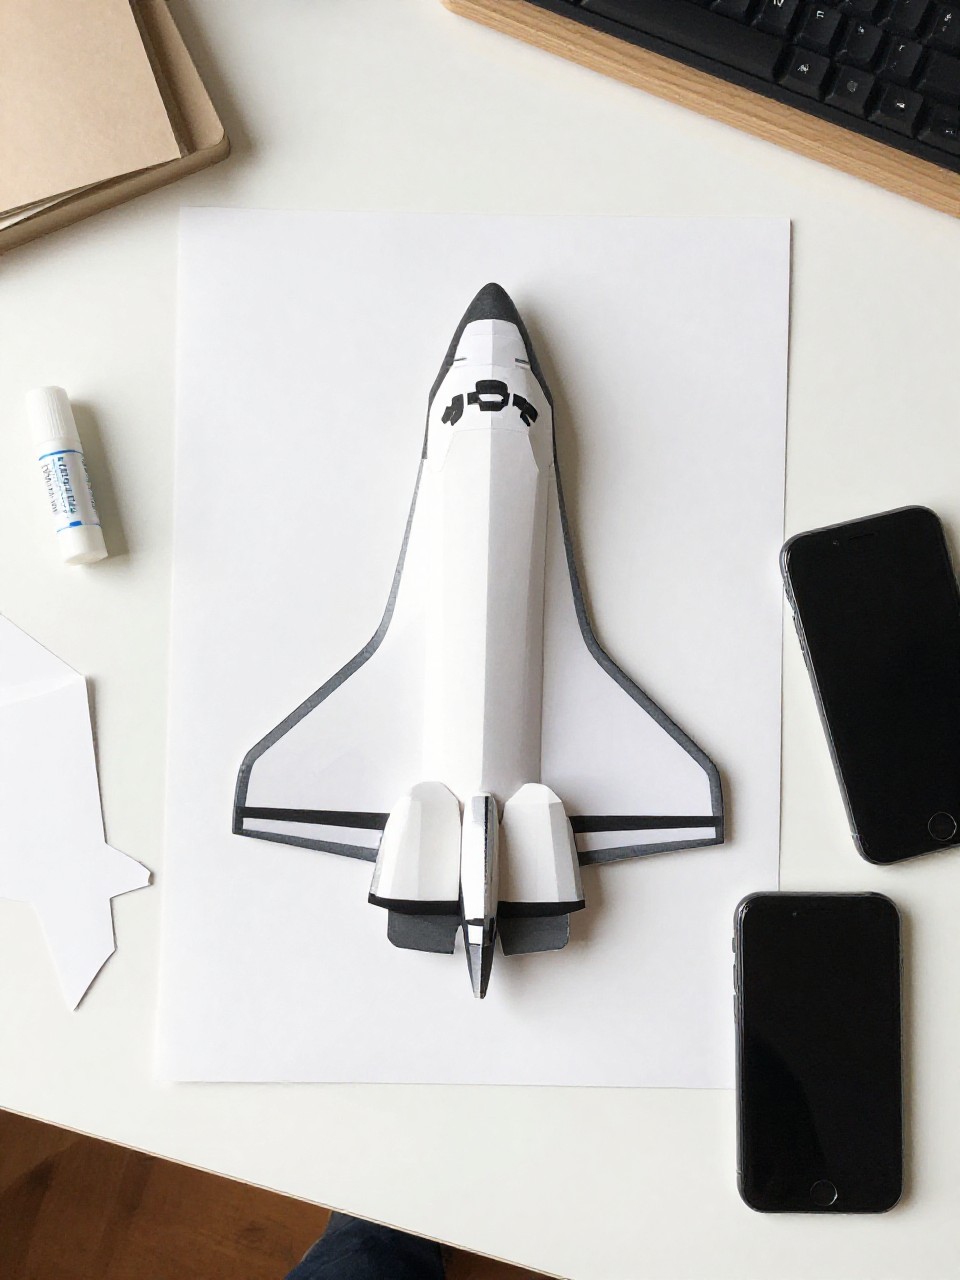
This collage builds a space shuttle using simple shapes like rectangles, triangles, and circles. Kids enjoy matching shapes and building a real vehicle they recognize.
Materials Needed:
- Colored construction paper (white, black, gray, orange)
- Pre-cut shapes (rectangles, triangles, circles)
- Glue stick
- Black cardstock background
- Star stickers [optional]
How to make it:
- Place the black background on the table.
- Arrange white rectangles for the shuttle body, triangles for wings, and circles for windows.
- Add orange shapes for booster flames; glue in place.
- Finish with star stickers and a name label.
13. Coffee Filter Planet Painting
A round coffee filter becomes a soft, blended planet with markers and water spray. Kids love watching colors spread and make natural stripes and swirls.
Materials Needed:
- White coffee filters
- Washable markers
- Spray bottle with water
- Paper towels
- String [optional for hanging]
How to make it:
- Flatten a coffee filter and color it with markers in bands and spots.
- Lightly mist with water to blend; watch the colors spread.
- Pat dry on paper towels and let fully dry.
- Hang as single planets or a string of many.
14. Bubble Wrap Printed Moons
This print shows a cratered moon made by stamping bubble wrap dipped in paint. Kids enjoy the pop-texture pattern and quick stamping motion.
Materials Needed:
- Bubble wrap piece
- Gray and white washable paint
- Paper plates for paint trays
- Dark blue paper
- Round stencil or bowl [optional]
How to make it:
- If desired, trace a large circle on blue paper.
- Paint bubble wrap with gray and dab white highlights.
- Press bubble wrap onto the circle area to print craters.
- Let dry and add small star dots around it.
15. Popsicle Stick Star Wand
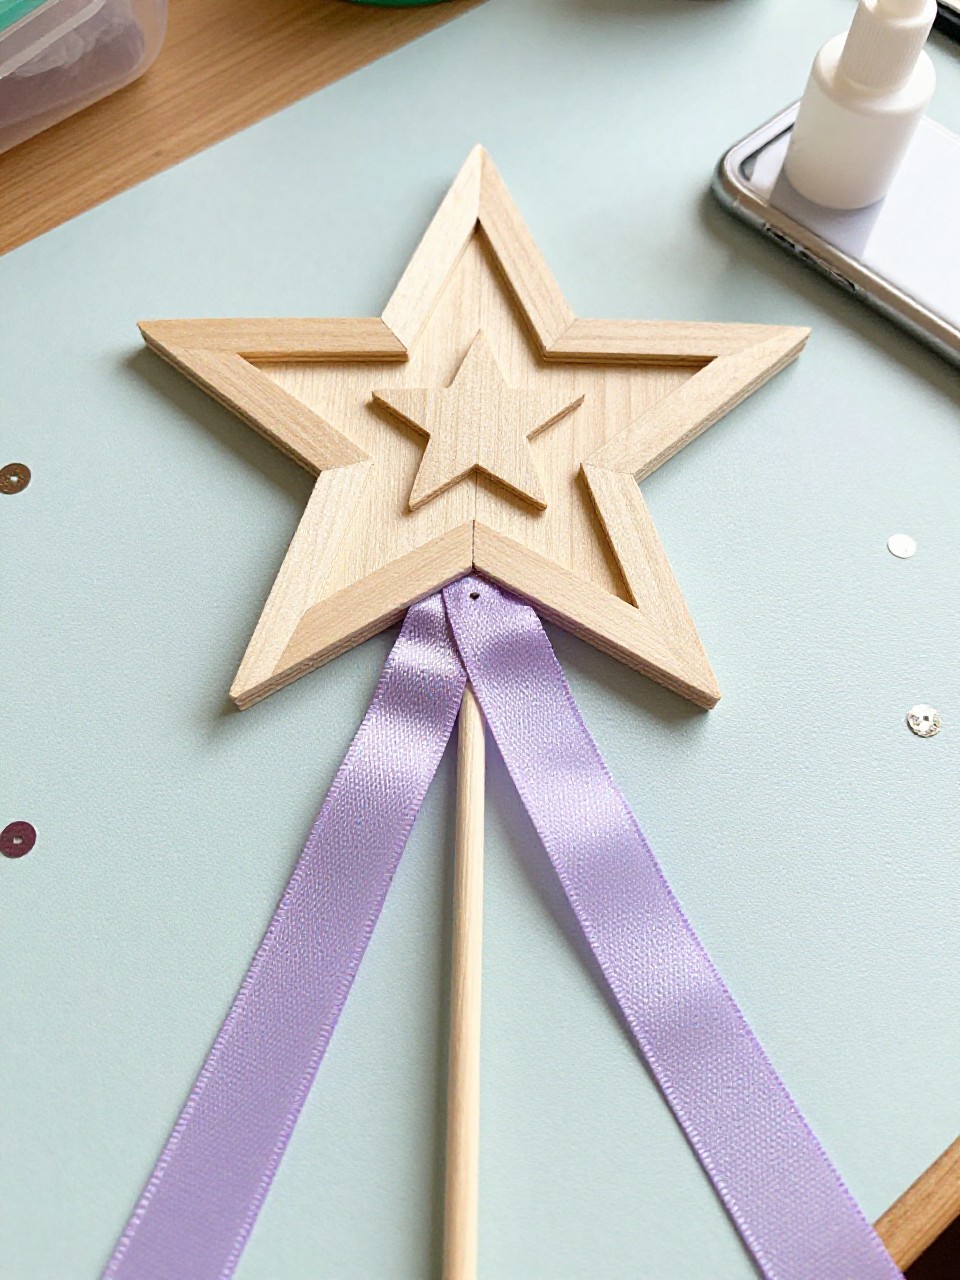
A sparkly star on a stick becomes a space wand for pretend play. Kids love choosing glitter colors and “casting” moon magic.
Materials Needed:
- Craft sticks
- Yellow or gold cardstock (star shape)
- Glue
- Ribbon or yarn pieces
- Glitter glue or sequins
How to make it:
- Cut or trace a star from cardstock.
- Glue the star to the top of a craft stick.
- Add ribbon tails and decorate with glitter glue or sequins.
- Let dry and wave your star through space.
16. Egg Carton Alien Friends
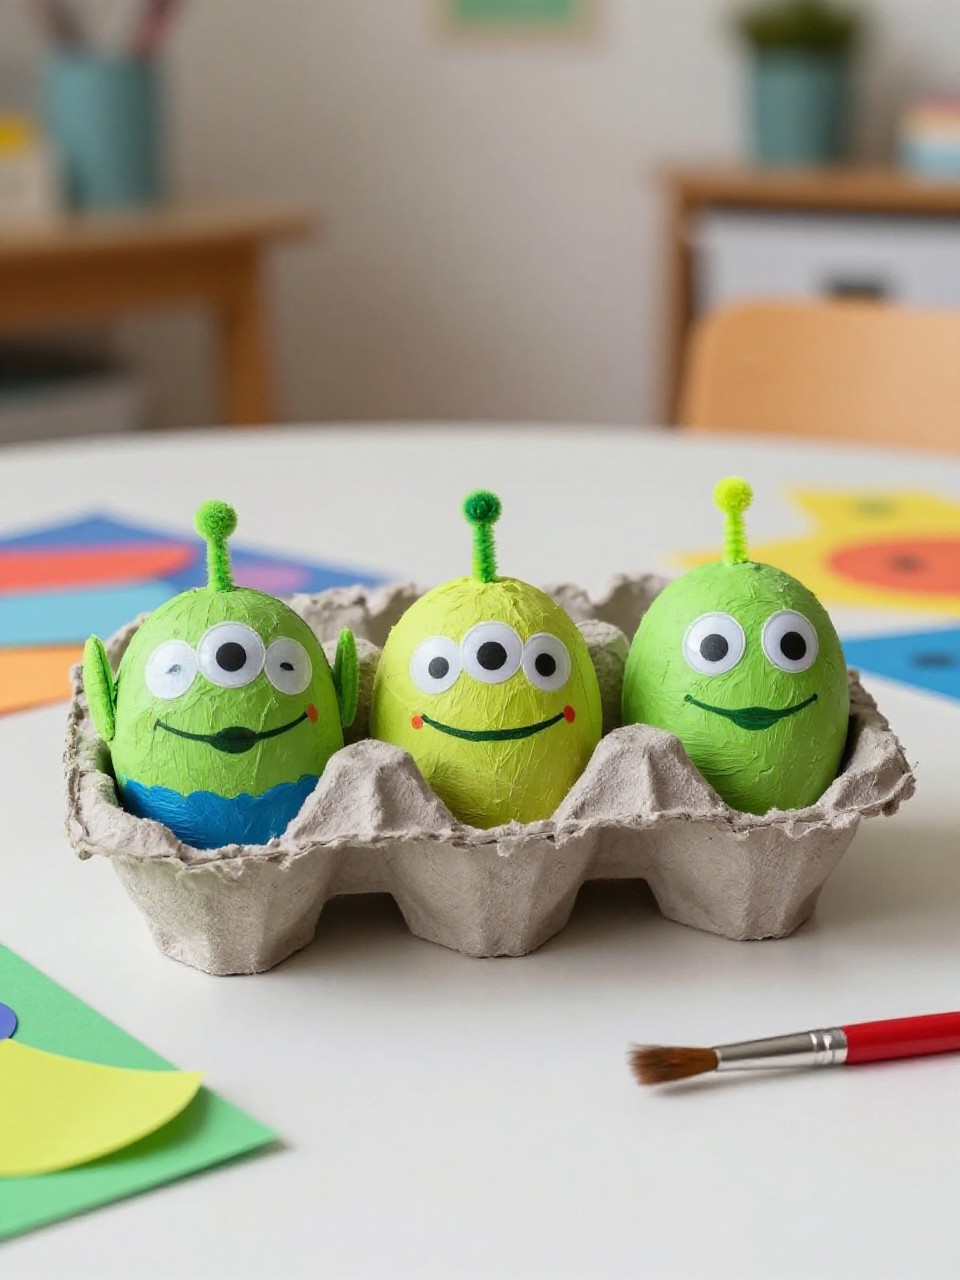
These look like funny little aliens made from egg carton cups with googly eyes and pipe-cleaner antennae. Kids enjoy inventing wild colors and silly faces.
Materials Needed:
- Cardboard egg carton cups
- Paints and brushes
- Googly eyes
- Pipe cleaners
- Glue
How to make it:
- Cut out egg cups and paint them bright alien colors.
- Poke tiny holes and add bent pipe cleaners as antennae.
- Glue on googly eyes and draw mouths or spots.
- Let dry and set up an alien family on a shelf.
17. Starlight Name Rocket Banner
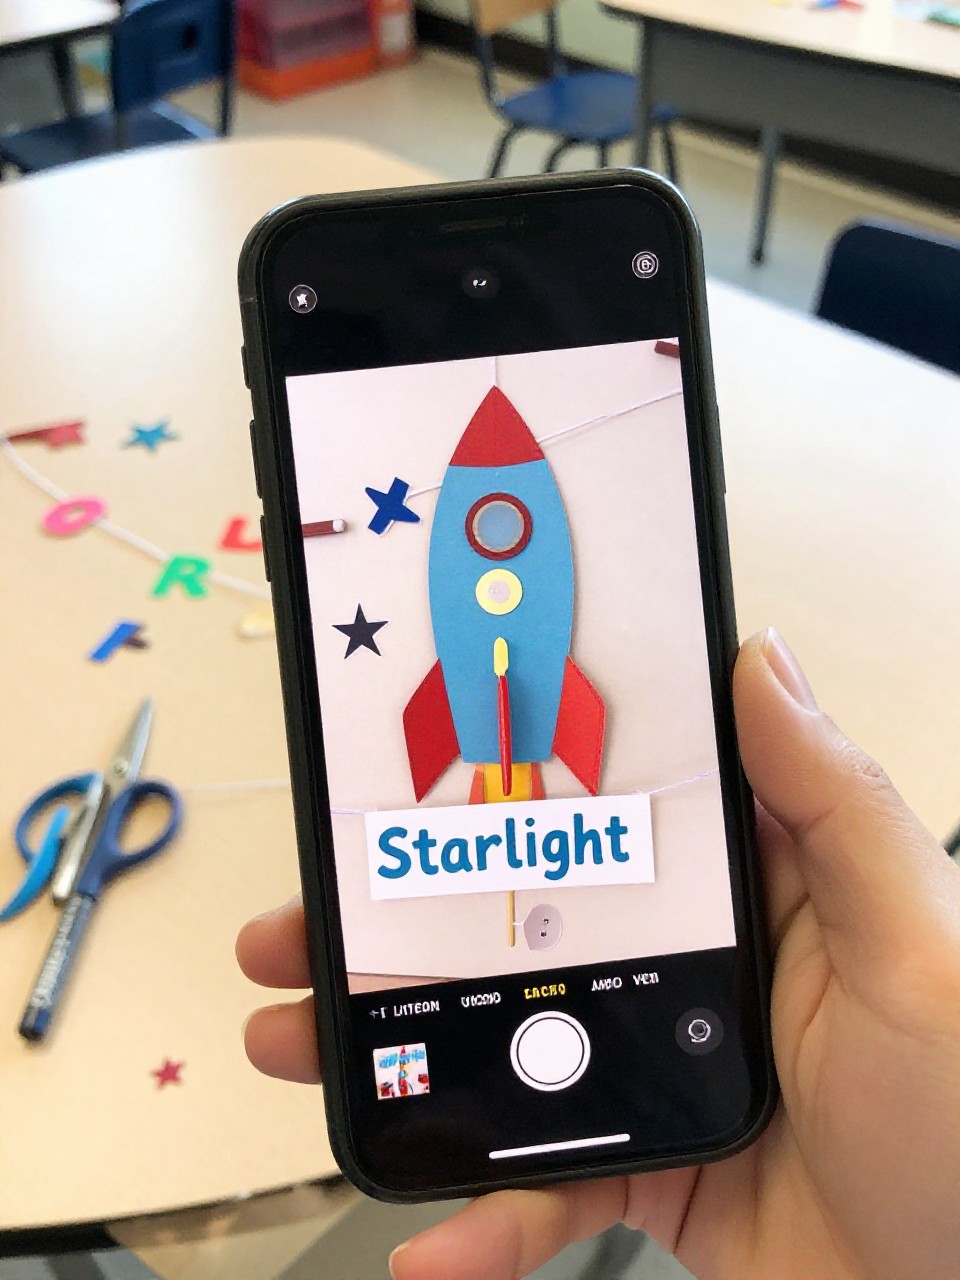
This banner spells a child’s name on rocket shapes, each with a star and flame. Kids love seeing their name fly across the room and choosing colors for each letter.
Materials Needed:
- Construction paper (various colors)
- String or yarn
- Hole punch
- Markers and star stickers
- Glue stick
How to make it:
- Cut simple rocket shapes—tall rectangles with a triangle top—for each letter.
- Write one letter per rocket, add a star window and paper flames.
- Punch holes at the top and thread rockets onto string in order.
- Hang the banner on a wall or across a doorway.