


Table of Contents Show
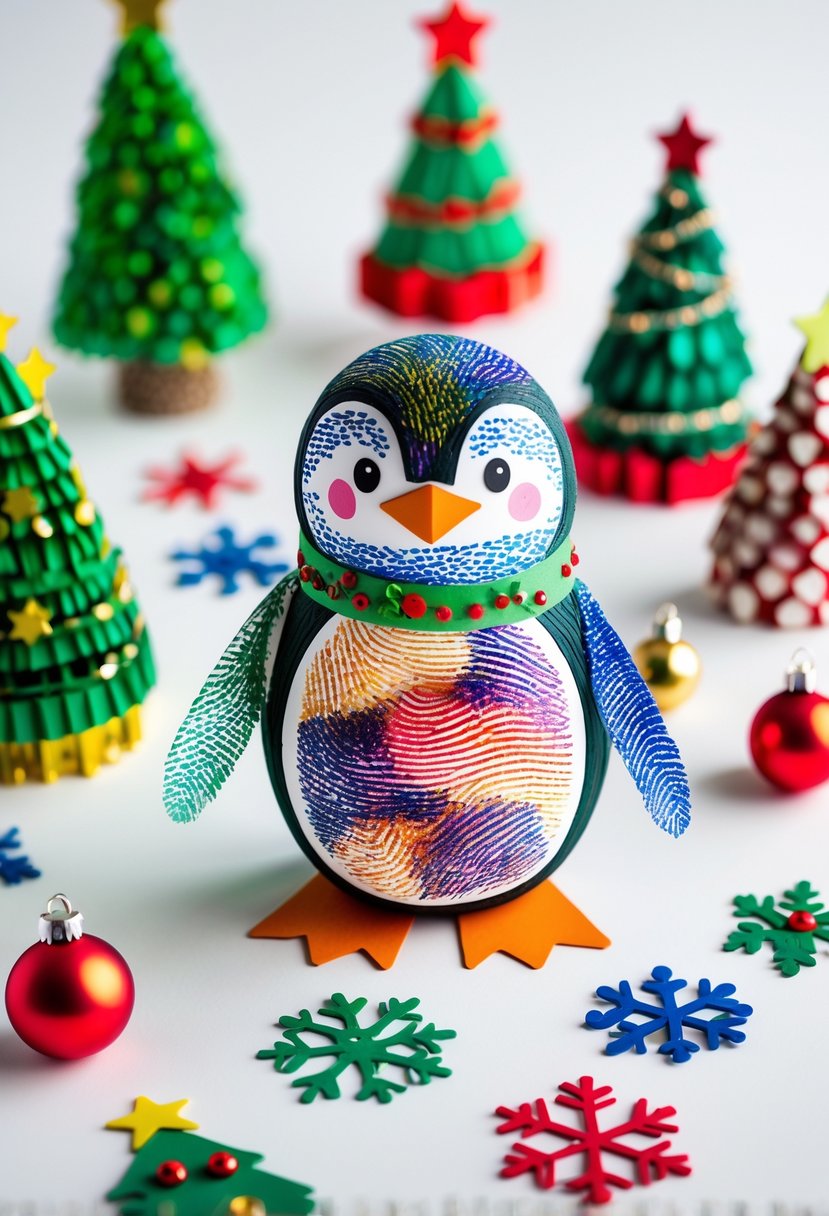
Fingerprint penguin crafts are a delightful mix of creativity and keepsake art. This cute winter project lets kids and adults alike create a playful penguin using colorful fingerprints as feathers.

It’s a fun, sensory craft that celebrates individuality—no two penguins ever look the same!
The combination of simple shapes and fingerprint textures gives the project a cheerful, handmade charm.
How to Make a Fingerprint Penguin Craft
Whether you display it as holiday décor, turn it into a greeting card, or use it as a classroom project, this penguin is sure to bring smiles all season long.
For People Who Love to Make Things ✂️
Materials
- White and black cardstock or thick paper
- Washable paint or ink pads (blue, green, purple, orange, yellow, and red)
- Scissors
- Glue stick or craft glue
- Orange paper (for beak and feet)
- Googly eyes or black marker for eyes
- Paint palette or small plate
- Baby wipes or damp paper towel for cleanup
- Optional: ribbon or small felt scarf for decoration
Shop the materials


The steps

Step 1: Prepare the Penguin Body
Cut a large oval from white cardstock for the penguin’s belly and a slightly larger oval from black cardstock for its outer body.
Glue the white oval on top of the black one, leaving a black border around the edges. This creates the penguin’s basic shape.
Step 2: Add the Beak and Feet
Cut a small triangle from orange paper for the beak and two webbed feet for the bottom. Glue the beak in the center of the face area and the feet at the bottom edge. This immediately brings the penguin to life and sets up the design for the fun fingerprint details.
Step 3: Create the Fingerprint Feathers
Dip your fingertip lightly into one color of paint and press it onto the white belly section of the penguin. Continue adding fingerprints in different colors—blues, purples, yellows, or even reds—to create a layered feather effect.
You can blend shades for a soft ombré look or use bold colors for a cheerful, patchwork-style design. Allow the paint to dry completely before moving on.
Step 4: Add the Wings and Face Details
Cut two wing shapes from black or green paper and glue them to each side of the penguin’s body. Then glue or draw on two eyes just above the beak. If you’re using googly eyes, make sure they’re evenly spaced for a balanced look.
Step 5: Accessorize Your Penguin
Wrap a thin strip of felt or ribbon around the penguin’s neck to create a cozy scarf. Add small dots of paint or tiny beads for “scarf decorations.”
For extra winter flair, glue a small pom-pom on the scarf or sprinkle a little glitter on the belly once the fingerprints are dry.
Step 6: Make It 3D (Optional)
If you’d like your penguin to stand upright, cut a short strip of cardboard and fold it into a triangular stand.
Glue it to the back so your penguin can sit proudly on a shelf or mantel. This is great for display during the holidays or as a classroom decoration.
Step 7: Let It Dry and Display
Allow all glue and paint to dry completely before moving or framing your penguin. You can display it on a wall, hang it from a string as an ornament, or even glue it to the front of a folded card to make a handmade holiday greeting.