


Table of Contents Show
Painting poppies is one of those relaxing ideas that looks bold without being hard to do. If you’ve ever wanted an easy flower subject but didn’t know where to start, poppies are a great choice because their shapes are simple and forgiving.
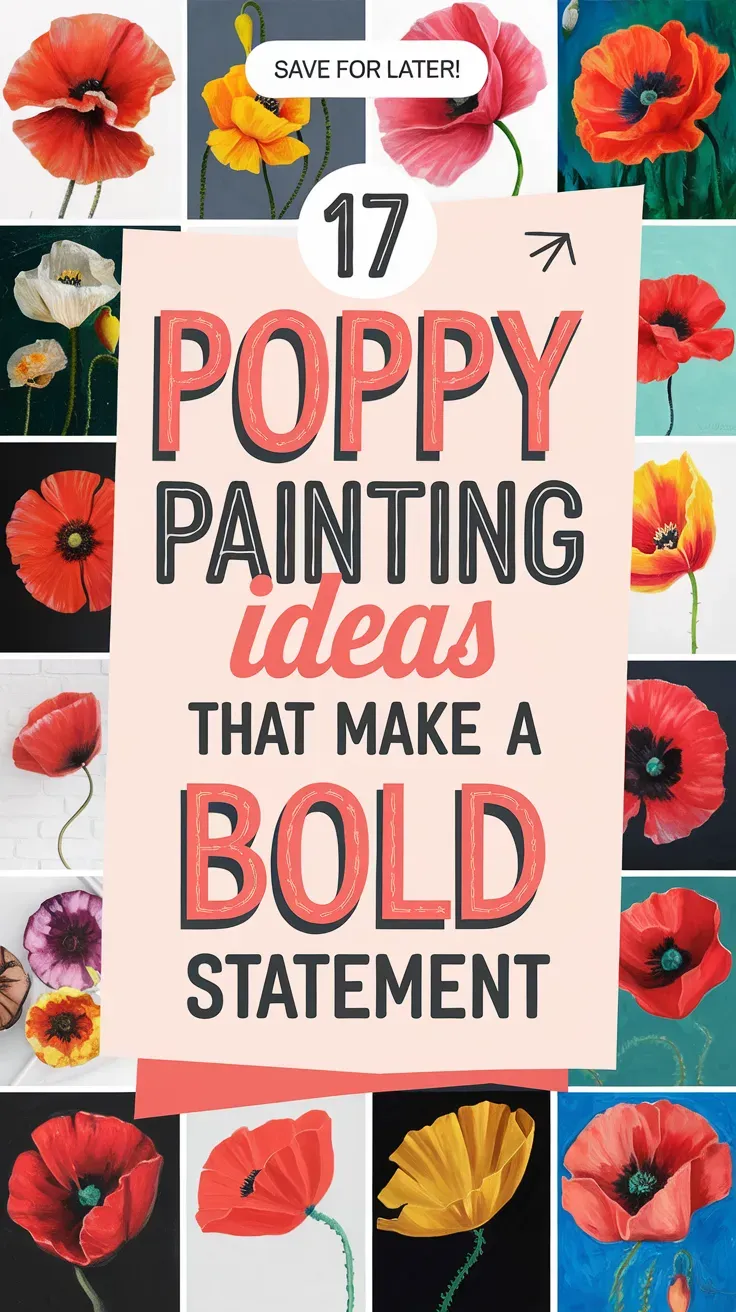
This list will give you beginner-friendly poppy painting ideas you can finish in an afternoon and feel proud to display.
Let’s jump into 17 projects that bring bright, confident color to your space.
1. Bold Red Poppy Canvas Painting

A bright red poppy blooms in the center of a canvas, with loose green stems and a soft, blended background. It’s satisfying because you can keep the petals simple and still get a dramatic result. This one is great for beginners who want wall art that pops.
Materials Needed:
For People Who Love to Make Things ✂️
- Stretched canvas
- Acrylic paint
- Paintbrushes in multiple sizes
- Palette or paint tray
- Optional sealer or varnish
Steps to Make:
- Prime the canvas if needed and lightly sketch a large poppy circle and stem.
- Paint a soft background wash (sky blue, cream, or gray) with broad strokes.
- Block in red petals with overlapping brush strokes, leaving small gaps for highlights.
- Add a dark center and a few thin stems with a smaller brush.
- Let it dry fully, then seal and hang it where the color can shine.
2. Poppy Field Horizon Canvas Art

This canvas shows a simple field of red poppies stretching toward a warm horizon, with a calm sky above. It’s relaxing because you can paint the flowers as quick little dabs, not perfect shapes. Great for anyone who likes landscapes but wants an easy version.
Materials Needed:
- Stretched canvas
- Acrylic paint
- Paintbrushes in multiple sizes
- Palette or paint tray
- Optional sealer or varnish
Steps to Make:
- Paint the sky first with long horizontal strokes and let it dry a bit.
- Brush in the distant field band using muted greens and browns near the horizon.
- Dot in far-away poppies with a small brush, then add larger ones in the front.
- Paint a few loose stems and darker shadow patches to give depth.
- Dry completely, varnish if you want, and display it as cozy wall art.
3. Minimal Black-and-Red Poppy Line Canvas

The finished canvas has one or two poppies made with thin black lines and bold red petal shapes, leaving lots of clean white space. It’s a calm project because you don’t need many colors, and the simple style hides small mistakes. Perfect for modern home decor.
Materials Needed:
- Stretched canvas
- Acrylic paint
- Paintbrushes in multiple sizes
- Palette or paint tray
- Optional sealer or varnish
Steps to Make:
- Keep the canvas white and lightly draw a poppy outline with pencil.
- Paint red petal sections with a flat brush, leaving a few uneven edges for texture.
- Use a fine brush to add black line stems and a dark center.
- Add tiny black dots or short strokes near the center for detail.
- Let it dry and seal for a clean, gallery-style look.
4. Sunset Poppies Canvas Silhouette

This canvas shows black poppy stems and seed pods silhouetted against a warm sunset blend of orange, pink, and purple. It feels rewarding because the background can be messy and blended, while the poppies are simple dark shapes on top. Great for a quick evening paint session.
Materials Needed:
- Stretched canvas
- Acrylic paint
- Paintbrushes in multiple sizes
- Palette or paint tray
- Optional sealer or varnish
Steps to Make:
- Blend the sunset background across the canvas while the paint is still wet.
- Let the background set for a few minutes so the dark paint won’t smear.
- Paint thin black stems rising from the bottom with a liner brush.
- Add poppy buds and simple flower silhouettes with rounded, uneven edges.
- Dry fully, seal, and hang it where warm light will bring out the blend.
5. Abstract Poppy Petals Texture Canvas

The finished piece looks like close-up poppy petals made from thick, layered brush strokes in reds, corals, and hints of peach. This is satisfying because you’re focusing on texture, not perfect flower shapes. It’s beginner-friendly and looks expensive on the wall.
Materials Needed:
- Stretched canvas
- Acrylic paint
- Paintbrushes in multiple sizes
- Palette or paint tray
- Optional sealer or varnish
Steps to Make:
- Choose 3–4 red shades and mix small variations on your palette.
- Paint large curved petal shapes that overlap, using a medium brush.
- Add thicker strokes on top with a smaller brush to create ridges and depth.
- Blend a few edges lightly, but keep some hard, brushy lines for texture.
- Let it dry well, then seal to protect the raised paint layers.
6. Two-Poppy Bouquet Canvas Painting

This canvas shows two poppies leaning toward each other like a simple bouquet, with soft green leaves and a gentle background wash. It’s great for beginners because you can paint one flower at a time and keep the shapes loose. The finished piece looks sweet on a bedroom or hallway wall.
Materials Needed:
- Stretched canvas
- Acrylic paint
- Paintbrushes in multiple sizes
- Palette or paint tray
- Optional sealer or varnish
Steps to Make:
- Paint a light background wash and let it dry until it’s no longer shiny.
- Sketch two poppy heads and stems so they slightly overlap.
- Paint the petals with red and a bit of darker shading near the center.
- Add stems, leaves, and a few quick highlight strokes on petal edges.
- Dry, varnish if desired, and frame or hang as simple floral decor.
7. Blue Background Poppy Pop Canvas

The finished canvas has bright red poppies that stand out against a bold blue background with visible brush texture. This one is fun because the color contrast does most of the work for you. It’s perfect if you want a statement piece without complicated details.
Materials Needed:
- Stretched canvas
- Acrylic paint
- Paintbrushes in multiple sizes
- Palette or paint tray
- Optional sealer or varnish
Steps to Make:
- Paint the whole canvas blue with broad strokes, letting brush lines show.
- When the blue is dry, sketch simple poppy shapes in a few spots.
- Fill in petals with red, adding darker red near the petal bases.
- Dot in black centers and add a few quick green stems.
- Let everything dry and seal to keep the colors bright over time.
8. Monochrome Poppy Study Canvas
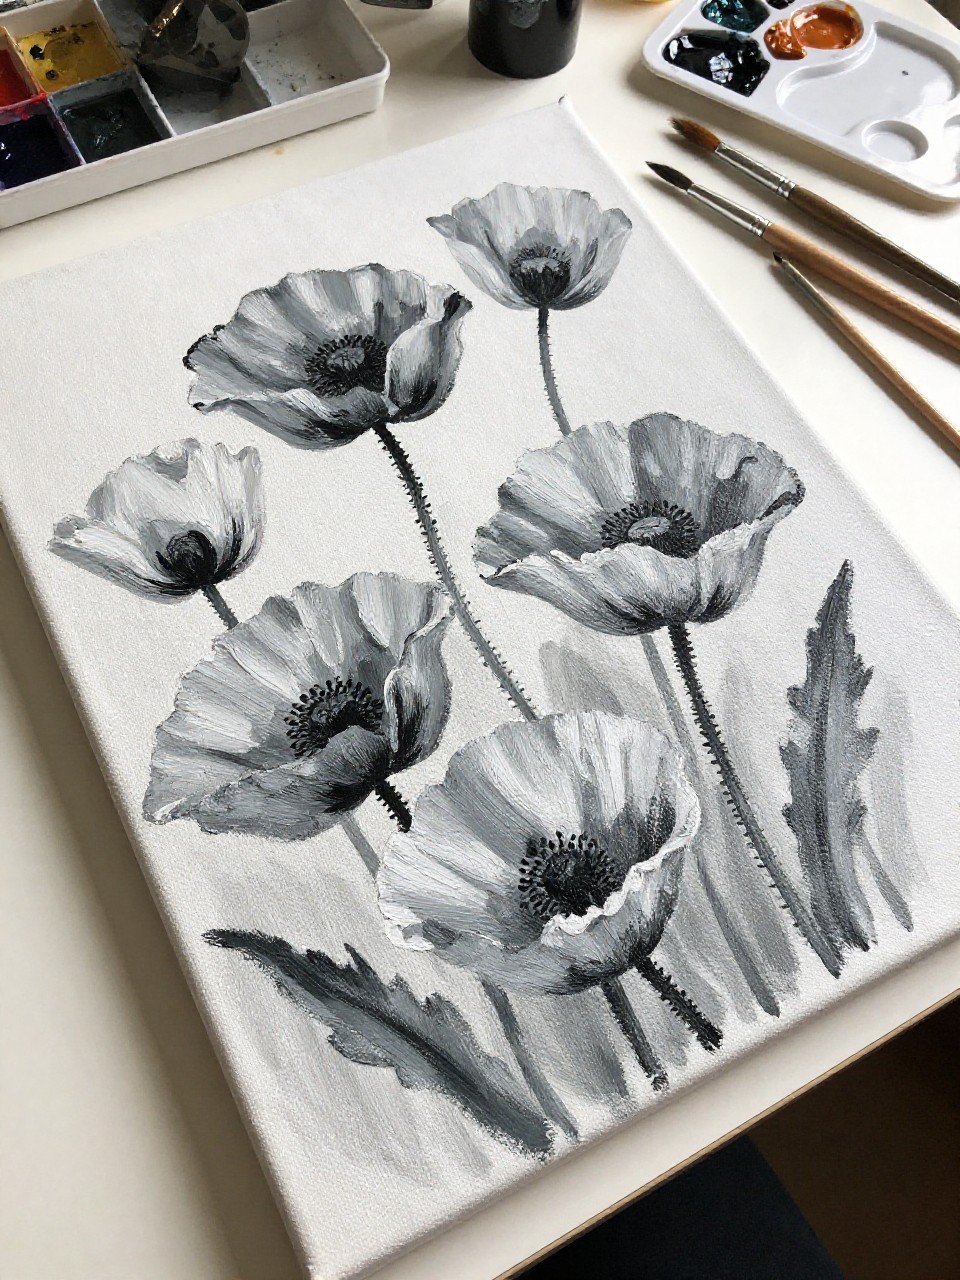
This canvas shows poppies painted only in shades of gray and black, focusing on light and shadow instead of bright color. It’s satisfying because it teaches you how to shape petals with value, and it still looks bold and dramatic. Great for beginners who want to practice shading.
Materials Needed:
- Stretched canvas
- Acrylic paint
- Paintbrushes in multiple sizes
- Palette or paint tray
- Optional sealer or varnish
Steps to Make:
- Mix several grays on your palette, from very light to nearly black.
- Sketch one large poppy and a couple of buds with simple outlines.
- Paint petals in mid-gray first, then add darker shadows near folds and centers.
- Use a lighter gray to add highlights along the top petal edges.
- Dry fully and seal for a finished, classic look.
9. Poppy Corner Border Canvas

The finished piece has poppies climbing up one corner of the canvas like a floral border, leaving open space for a clean, airy feel. It’s relaxing because you can build the design slowly, adding one flower at a time. This is great for small walls or as part of a gallery set.
Materials Needed:
- Stretched canvas
- Acrylic paint
- Paintbrushes in multiple sizes
- Palette or paint tray
- Optional sealer or varnish
Steps to Make:
- Lightly mark a corner path where the stems will travel upward.
- Paint thin green stems first so you know where flowers will sit.
- Add red poppy blooms at different angles along the stem line.
- Paint dark centers and a few simple leaves to fill gaps without crowding.
- Let dry, seal, and hang it with the blank space facing outward for balance.
10. Loose Watercolor-Style Poppies Canvas
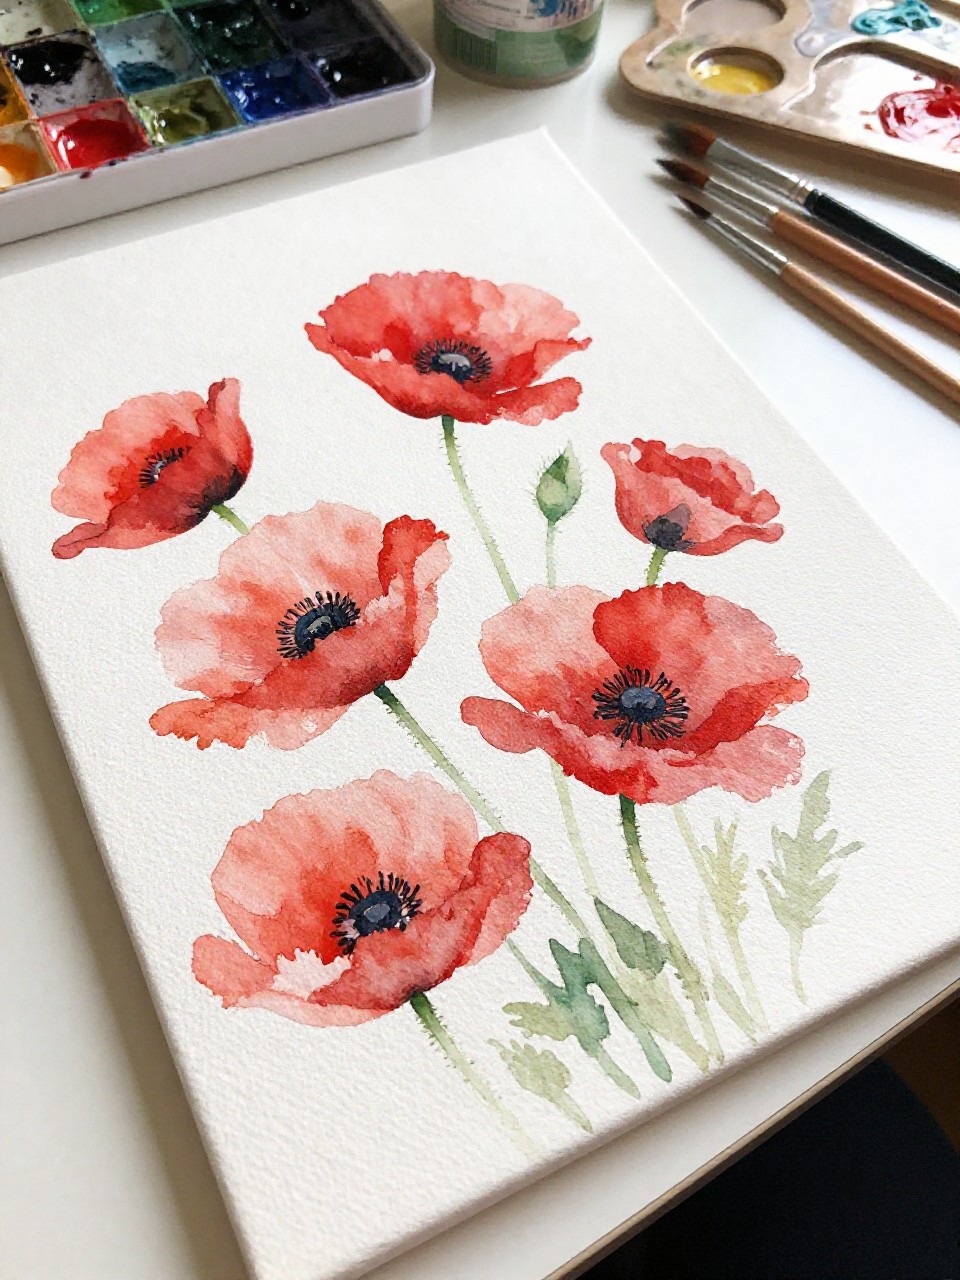
This canvas looks like soft watercolor poppies, with see-through layers and gentle color bleeding, even though it’s made with acrylic. It’s satisfying because you can let the paint do its thing and keep the flowers airy and light. Perfect for a calm, weekend project.
Materials Needed:
- Stretched canvas
- Acrylic paint (thinned with water)
- Paintbrushes in multiple sizes
- Palette or paint tray
- Optional sealer or varnish
Steps to Make:
- Thin your acrylic paint with water to create transparent washes.
- Lay down soft red petal shapes with a wet brush and let edges feather out.
- Add a second layer once dry to deepen a few petals and create overlap.
- Paint small dark centers and a few light green stems with quick strokes.
- Dry fully and seal gently to avoid changing the soft look too much.
11. Poppy Triptych Mini Canvas Set

The finished project is three small canvases that line up to form one poppy scene, like petals and stems flowing across the panels. It’s great for beginners because each canvas is small and less intimidating. When you hang them together, they look bold and intentional.
Materials Needed:
- Three mini stretched canvases
- Acrylic paint
- Paintbrushes in multiple sizes
- Palette or paint tray
- Optional sealer or varnish
Steps to Make:
- Place the three canvases side by side and lightly sketch the design across all panels.
- Paint a simple shared background so the set feels connected.
- Fill in poppy petals and stems, making sure lines continue from one canvas to the next.
- Add centers, shadows, and a few highlights to guide the eye across the set.
- Dry, seal, and hang with small gaps between the canvases for a clean finish.
12. Gold-Accent Poppy Canvas
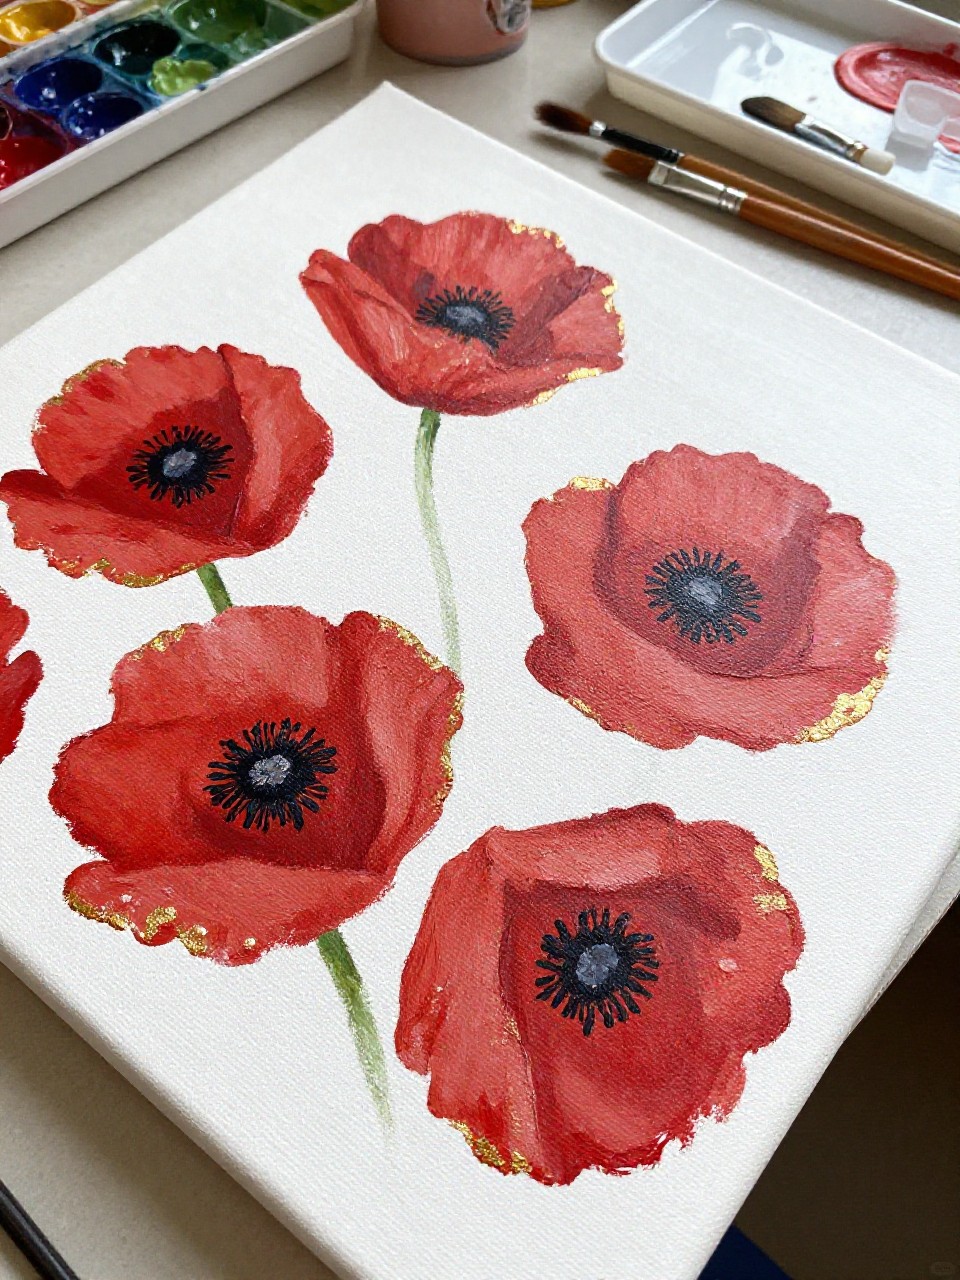
This canvas shows rich red poppies with small touches of gold paint on the petal edges and around the centers. It feels special because the metallic highlights catch the light, even with simple brush work. Great for a beginner who wants something a little fancy without extra stress.
Materials Needed:
- Stretched canvas
- Acrylic paint (including metallic gold)
- Paintbrushes in multiple sizes
- Palette or paint tray
- Optional sealer or varnish
Steps to Make:
- Paint a dark or neutral background so the gold will stand out.
- Block in poppy petals with deep reds and a few darker shadow areas.
- Add dark centers and thin stems with a smaller brush.
- Use a detail brush to lightly trace gold along a few petal edges and center marks.
- Dry completely and seal to protect the metallic shine.
13. Night Sky Poppies Canvas

The finished canvas shows red poppies rising from the bottom against a deep navy “night sky” background speckled with soft stars. It’s soothing because the background is just layered dark paint, and the poppies can be simple and bold. This makes a strong statement in a cozy reading corner.
Materials Needed:
- Stretched canvas
- Acrylic paint
- Paintbrushes in multiple sizes
- Palette or paint tray
- Optional sealer or varnish
Steps to Make:
- Paint the canvas navy and blend in a little black for depth.
- Splatter tiny white dots for stars using a stiff brush and watered paint.
- Once dry, paint poppy petals in red near the bottom, overlapping a few blooms.
- Add dark centers and thin stems, keeping the lower area slightly shadowy.
- Let dry, seal, and display where the dark background feels dramatic.
14. Soft Pastel Poppies Canvas Painting
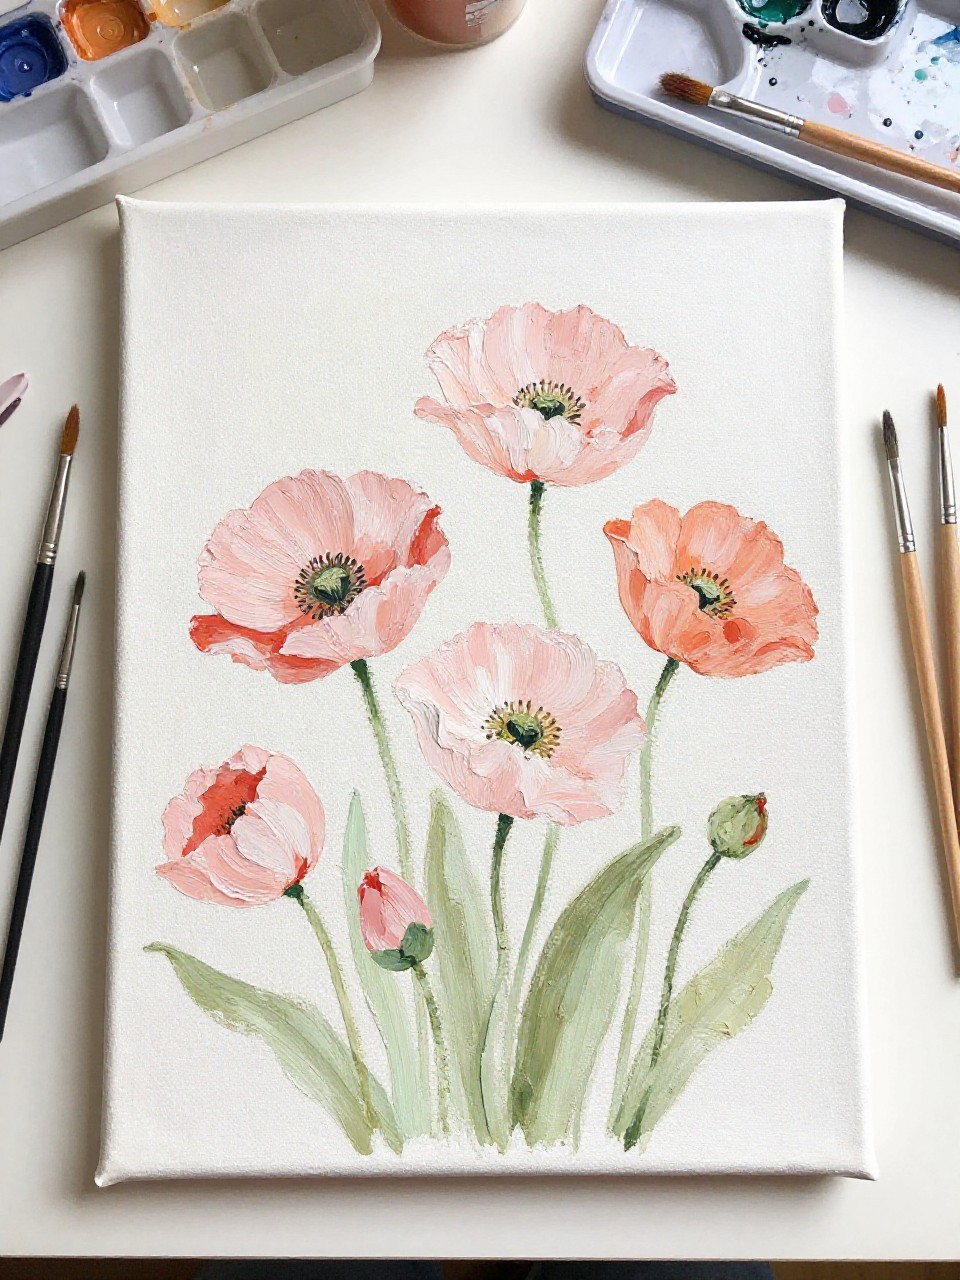
This canvas has poppies painted in softer shades like blush, coral, and dusty rose, with gentle green stems. It’s satisfying because the lighter colors forgive uneven brush strokes and still look pretty. Great for beginners who want poppies that feel calm instead of loud.
Materials Needed:
- Stretched canvas
- Acrylic paint
- Paintbrushes in multiple sizes
- Palette or paint tray
- Optional sealer or varnish
Steps to Make:
- Paint a pale background (cream, light gray, or very light blue) and dry it.
- Mix your reds with white to create pastel versions on the palette.
- Paint poppy petals with loose, rounded strokes and soft overlaps.
- Add muted green stems and small centers in gray-brown instead of black.
- Dry fully and seal for a soft, finished look.
15. Close-Up Single Poppy Canvas Study

The finished canvas is a close-up view of one poppy, with big petals filling most of the space and a dark center that pulls you in. It’s a great beginner project because you can focus on one flower and practice shading slowly. The bold scale makes it look confident and modern.
Materials Needed:
- Stretched canvas
- Acrylic paint
- Paintbrushes in multiple sizes
- Palette or paint tray
- Optional sealer or varnish
Steps to Make:
- Sketch a large poppy so the petals reach near the canvas edges.
- Paint the petal base color first, covering the whole flower area.
- Add darker reds where petals overlap and curve toward the center.
- Paint the center in black and deep purple, then add tiny highlight dots.
- Dry, seal, and hang it where the large bloom can be the focal point.
16. Poppy Wreath Circle Canvas

This canvas shows a simple wreath made of poppies arranged in a circle, leaving an open center space. It’s relaxing because you can repeat the same petal shapes around the ring and adjust as you go. This makes a lovely gift idea, especially if you add a name or short word in the center.
Materials Needed:
- Stretched canvas
- Acrylic paint
- Paintbrushes in multiple sizes
- Palette or paint tray
- Optional sealer or varnish
Steps to Make:
- Lightly trace a circle on the canvas using a bowl or round object.
- Paint a thin ring of green stems and leaves to guide your layout.
- Add red poppy blooms around the circle, turning each one a little for variety.
- Paint dark centers and add small highlights to keep the wreath lively.
- Let dry, seal, and display on a shelf or entryway wall.
17. Stormy Sky Poppies Canvas Contrast

The finished canvas shows bright poppies under a moody gray “storm” sky, with strong contrast that feels bold and emotional. It’s satisfying because the sky can be rough and layered, and the poppies still stand out clearly. Great for beginners who like dramatic art without tiny details.
Materials Needed:
- Stretched canvas
- Acrylic paint
- Paintbrushes in multiple sizes
- Palette or paint tray
- Optional sealer or varnish
Steps to Make:
- Paint the sky with layered grays, using uneven strokes to suggest clouds.
- Blend a darker gray near the top and a lighter gray near the horizon.
- Once dry, paint red poppies along the bottom with a few taller stems.
- Add dark centers and a couple of wind-bent stems for movement.
- Dry fully, seal, and hang it where the contrast can make a statement.


