


Table of Contents Show
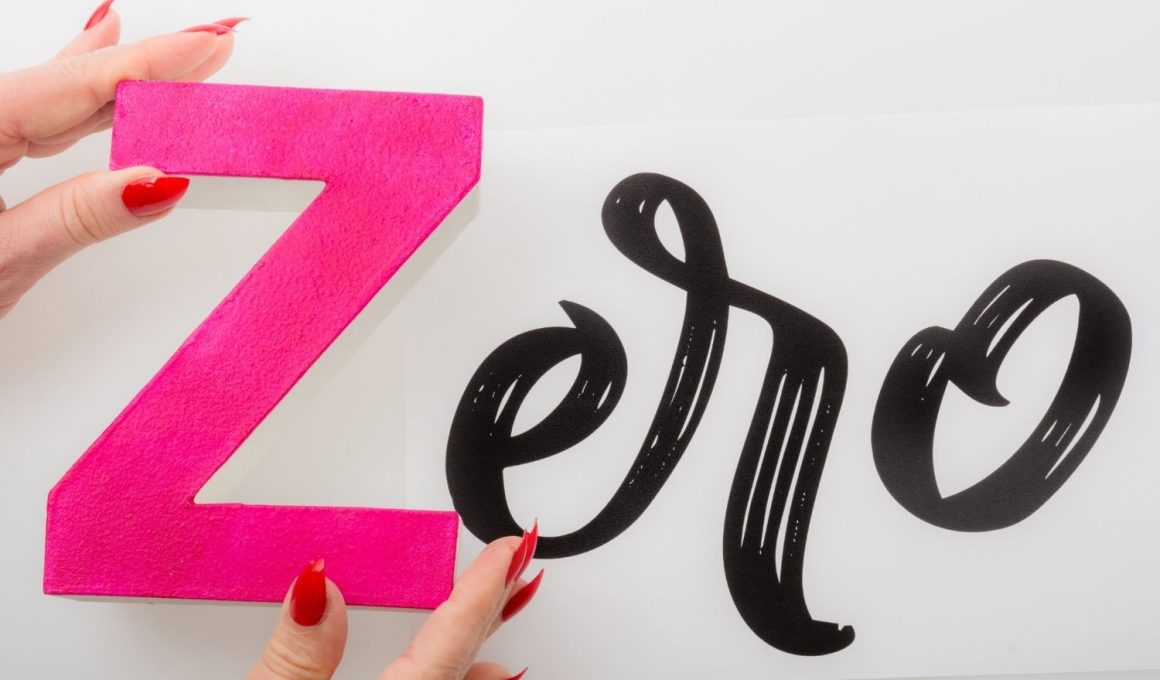
Keeping kids busy can be tough, especially when you want activities that are simple, low-mess, and actually fun. If you’re teaching the alphabet, planning a classroom center, or need a rainy-day project, these easy “Z” crafts will save the day.
This list gives you creative, beginner-friendly ideas that clearly highlight the letter Z while keeping little hands engaged.
Grab your supplies and let’s jump into 15 fun ways to make the letter Z come to life.
1. Zigzag Letter Z Collage
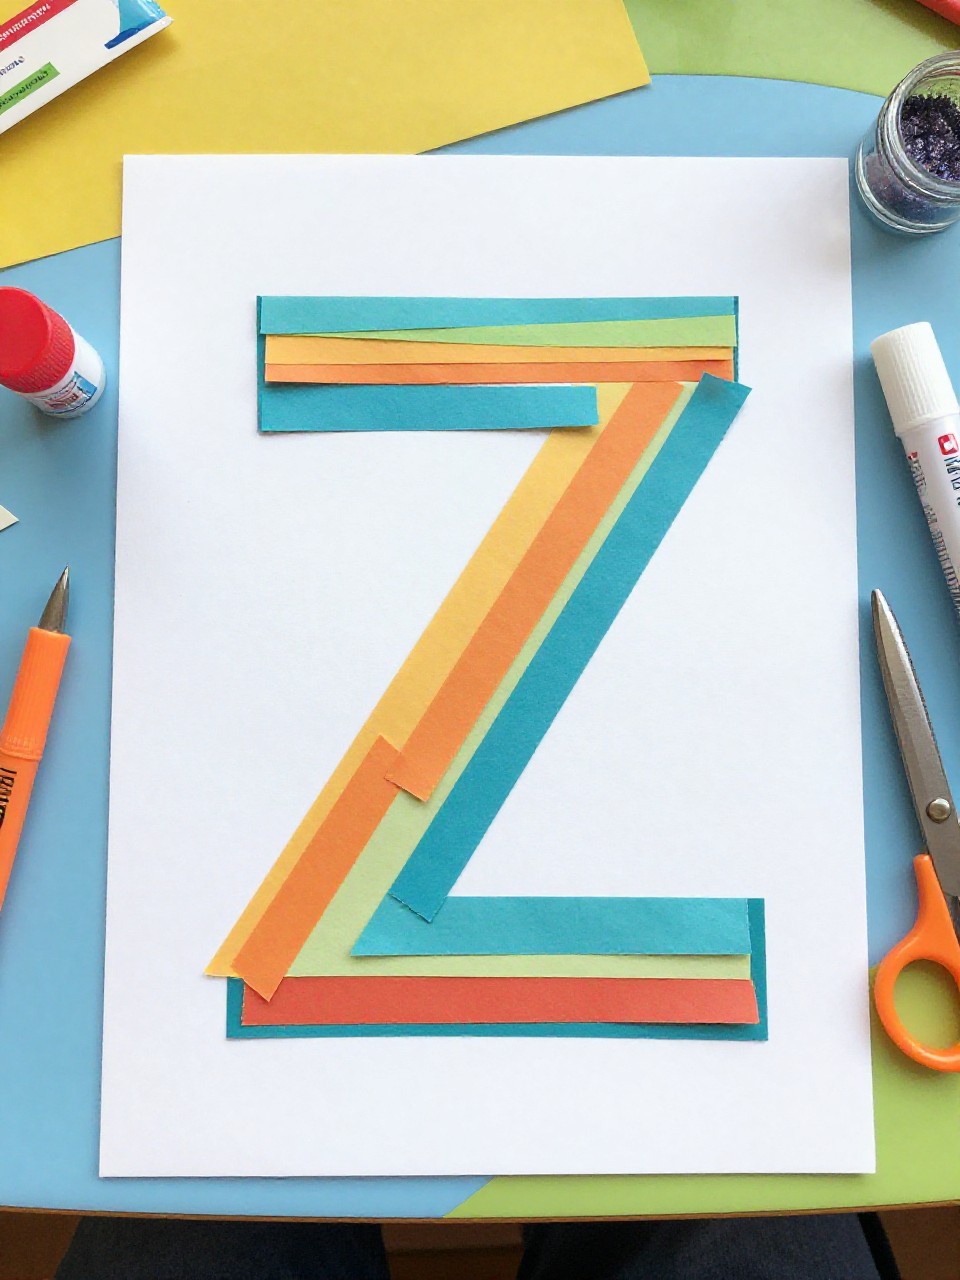
This craft turns a big letter Z into a zigzag road of bright paper strips, buttons, and stickers. Kids love sticking pieces down in patterns and seeing the bold Z pop off the page—it’s simple and very satisfying.
Materials Needed:
For People Who Love to Make Things ✂️
- Cardstock with a large Z outlined
- Colored paper strips cut in zigzags
- Glue stick
- Stickers or buttons (optional)
- Washable markers (optional)
How to make it:
- 1. Print or draw a large block letter Z on cardstock.
- 2. Cut or tear zigzag strips of colored paper to fit inside the Z.
- 3. Glue the strips down to fill the Z; add stickers, buttons, or marker dots.
- 4. Let dry flat and hang on the wall as a bright alphabet display.
2. Paper Plate Z Zebra
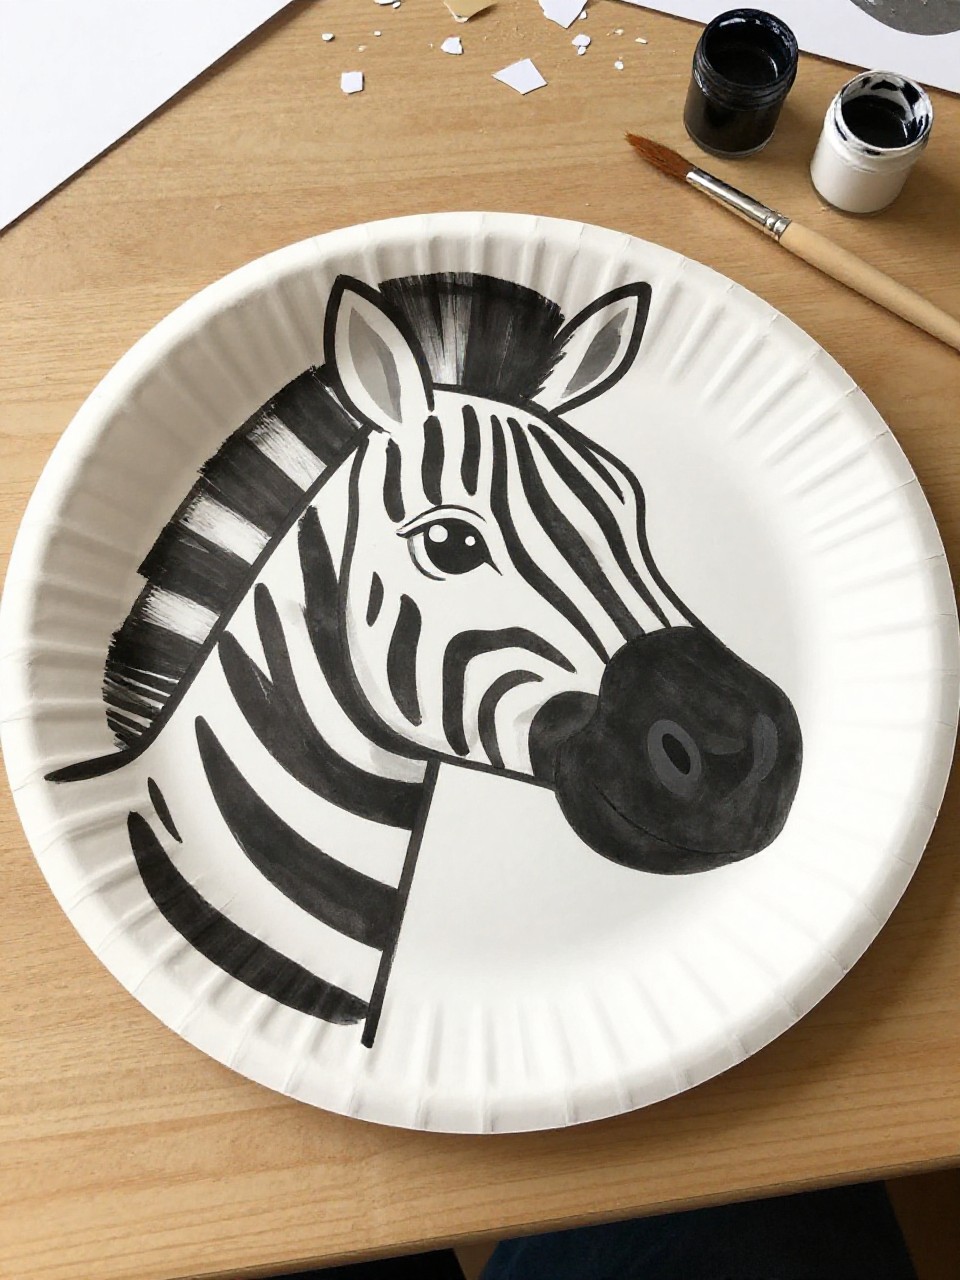
A paper plate turns into a zebra with a bold letter Z stripe across its body. Kids enjoy painting stripes and adding ears and a snout, and they’ll remember Z is for Zebra every time they see it.
Materials Needed:
- Paper plate
- Black and white paint (or markers)
- Construction paper (ears, snout)
- Googly eyes
- Glue stick
How to make it:
- 1. Paint the paper plate white if needed and let it dry.
- 2. Add black stripes and paint or draw a large Z stripe across the plate.
- 3. Cut and glue on paper ears, a snout, and googly eyes.
- 4. Let dry, then display as a cute “Z is for Zebra” face.
3. Z Is for Zipper Art
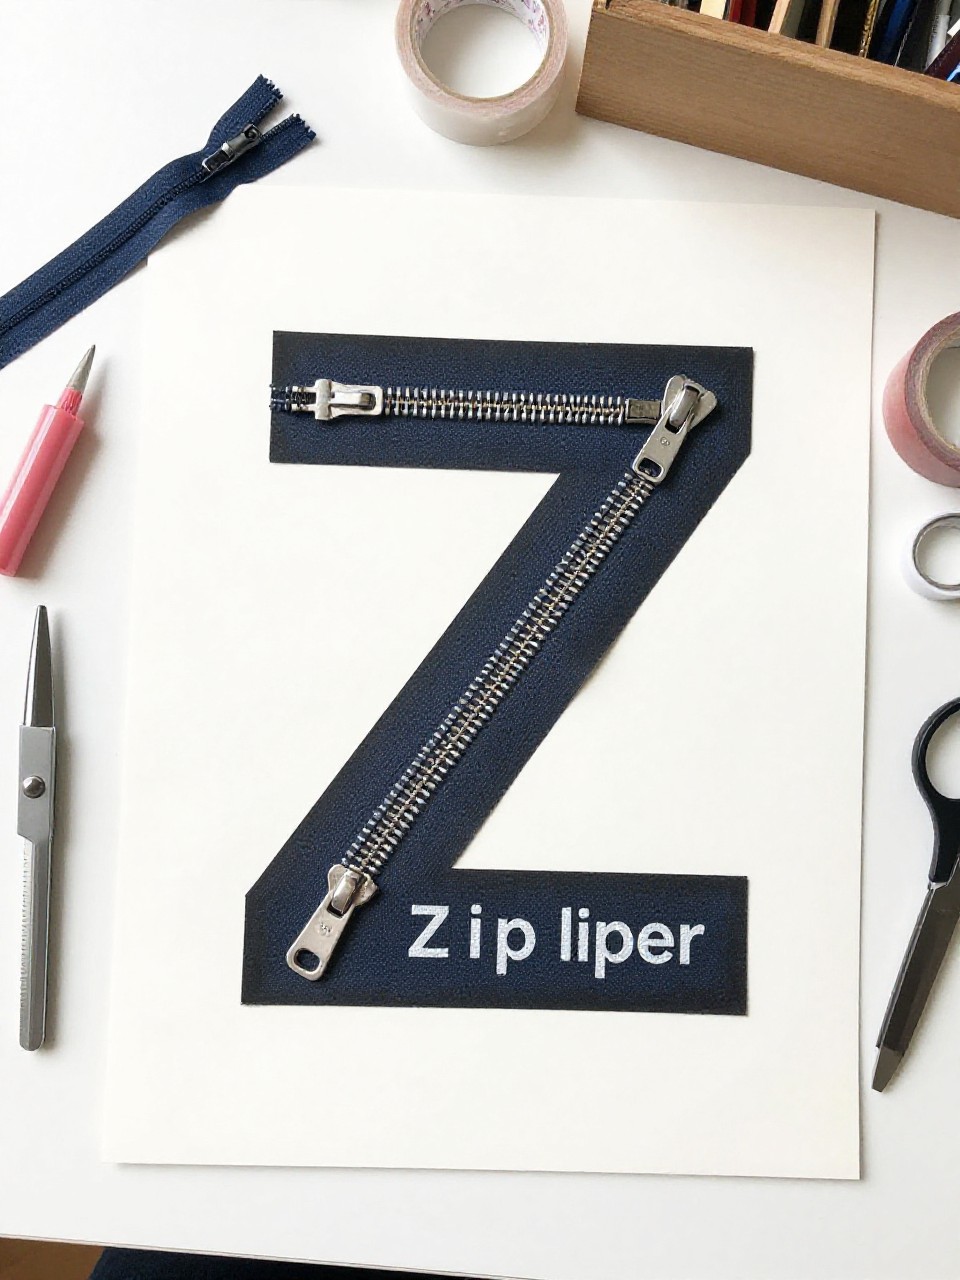
A big letter Z gets decorated with real or pretend zippers for a tactile, silly look. Kids love opening and closing the zipper and arranging pieces to trace the Z shape.
Materials Needed:
- Cardstock with a large Z
- Old zippers or zipper trims (or paper “zipper” strips with drawn teeth)
- Glue (tacky glue works best)
- Washi tape (optional)
How to make it:
- 1. Outline or print a big Z on cardstock.
- 2. Arrange zippers along the Z lines and glue them down.
- 3. Add washi tape borders or draw stitching around the Z.
- 4. Let dry completely before handling the moving zipper parts.
4. Zoo-in-a-Z Silhouette
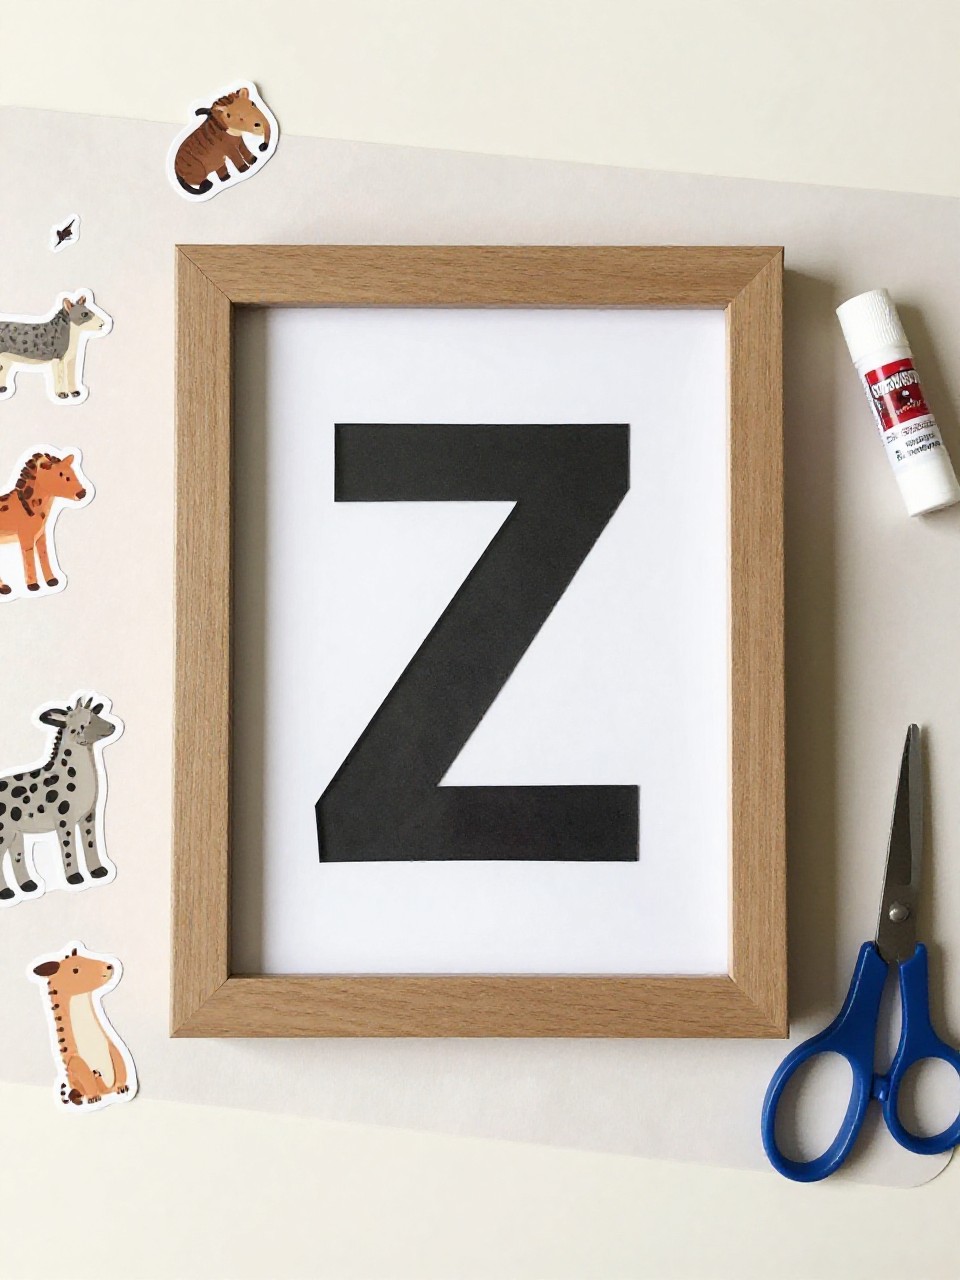
A bold Z silhouette becomes a tiny zoo window filled with animal stickers or cutouts. Kids like choosing animals and arranging a mini “zoo” inside the letter.
Materials Needed:
- Black cardstock Z frame (cut out the inside)
- Colored paper backing
- Animal stickers or magazine cutouts
- Glue stick
- Marker for title (optional)
How to make it:
- 1. Cut a large Z from black cardstock and remove the inner space to make a frame.
- 2. Glue the Z frame onto a bright backing paper.
- 3. Fill the Z window with animal stickers or small cutouts.
- 4. Write “Zoo” or “Z is for Zoo” at the top and display.
5. Zesty Citrus Letter Z Print
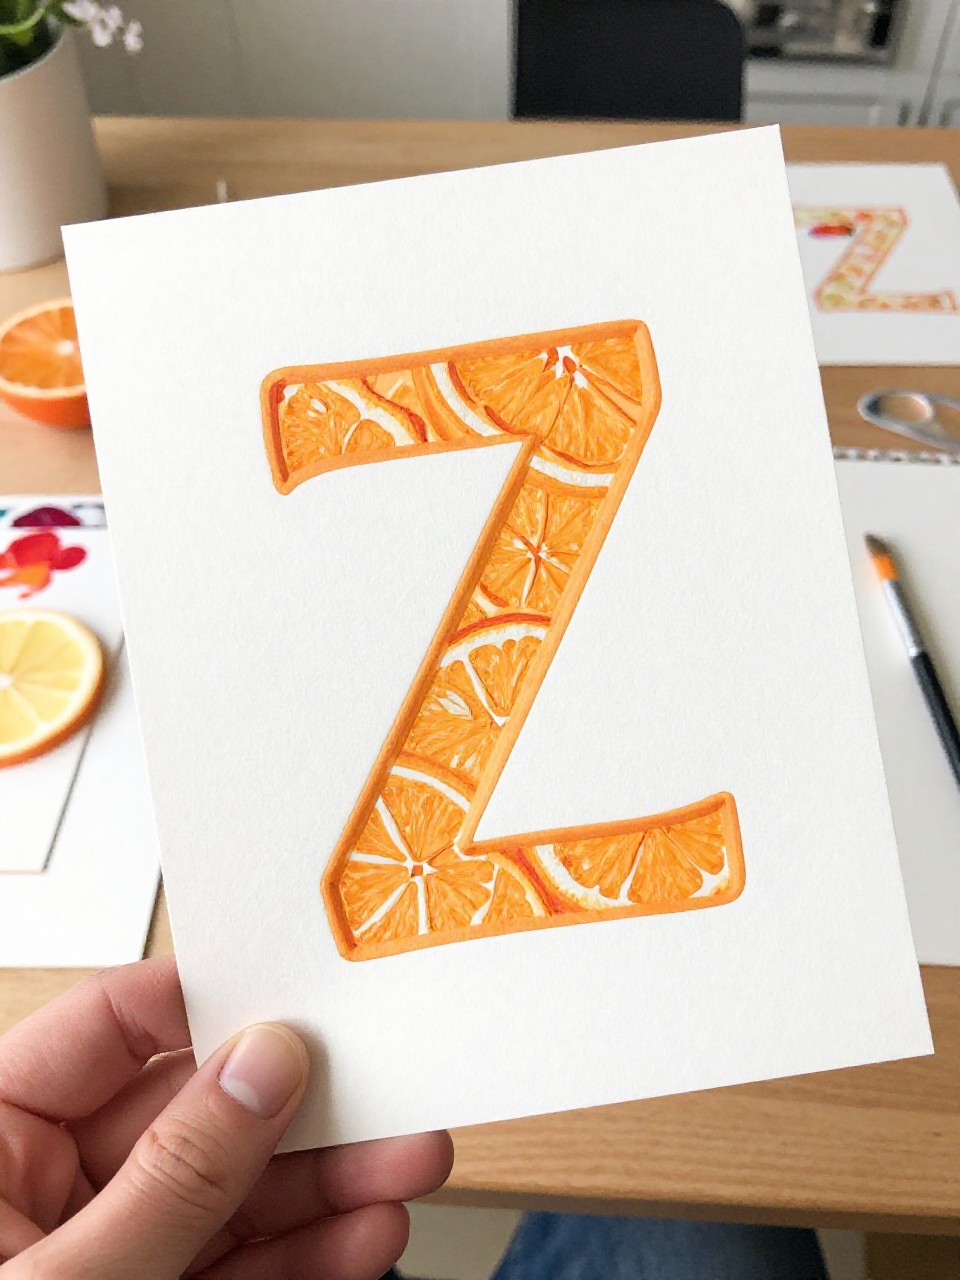
A letter Z gets stamped with citrus slices to make bright, zesty patterns. Kids love the fresh smells and watching the dotted fruit textures appear in the shape of Z.
Materials Needed:
- Cardstock with a large Z lightly drawn
- Lemon/lime/orange slices (or foam stamps)
- Washable paint in citrus colors
- Paper plate for paint
- Apron or smock
How to make it:
- 1. Pour small puddles of paint on a paper plate.
- 2. Dip fruit slices into paint and stamp along the Z lines.
- 3. Fill the Z with colorful prints; add small dots with fingertips if desired.
- 4. Let dry and hang the cheerful citrus Z art.
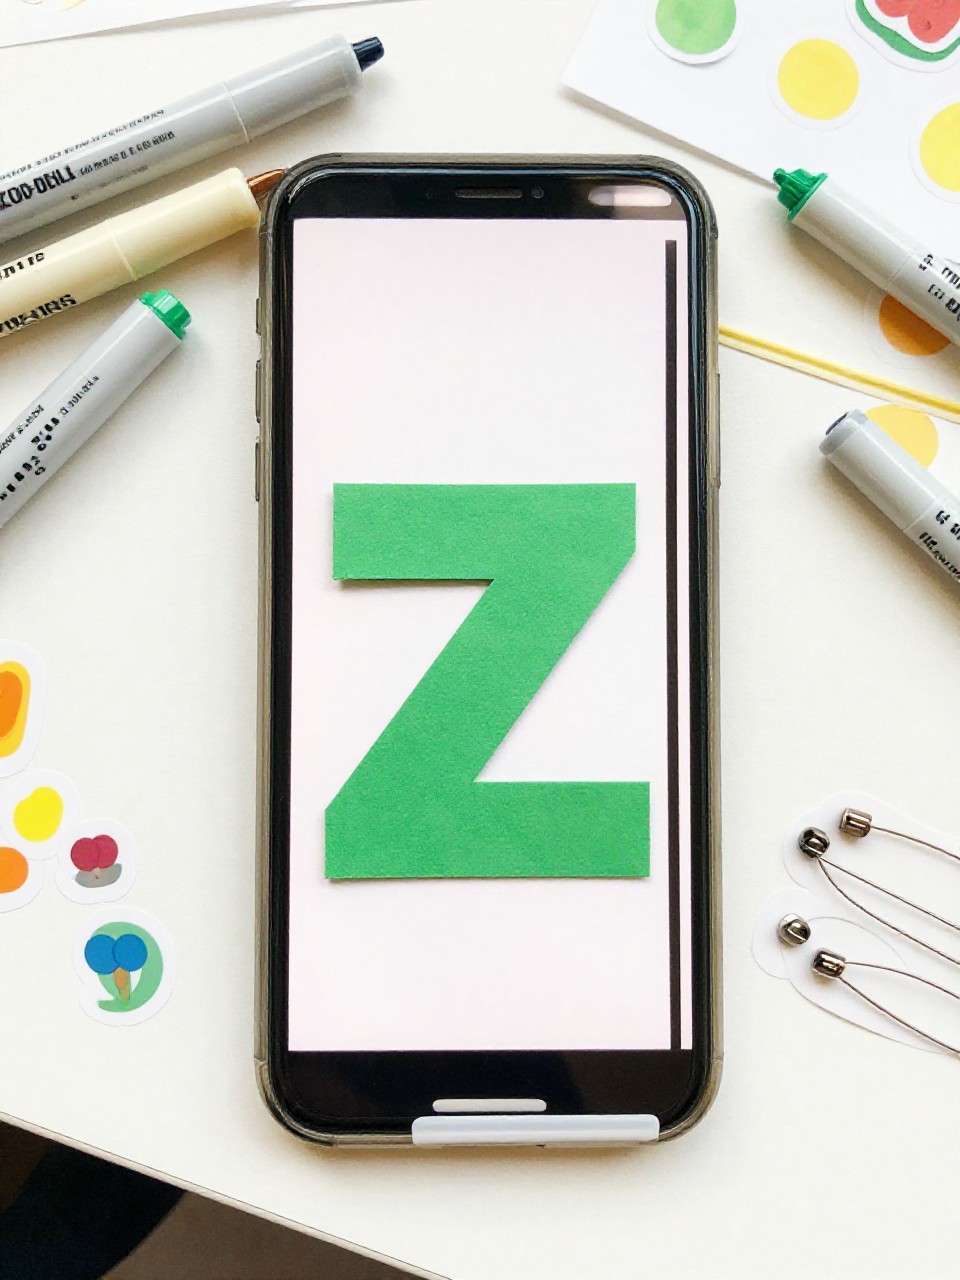
6. Zippered Felt Z Pouch
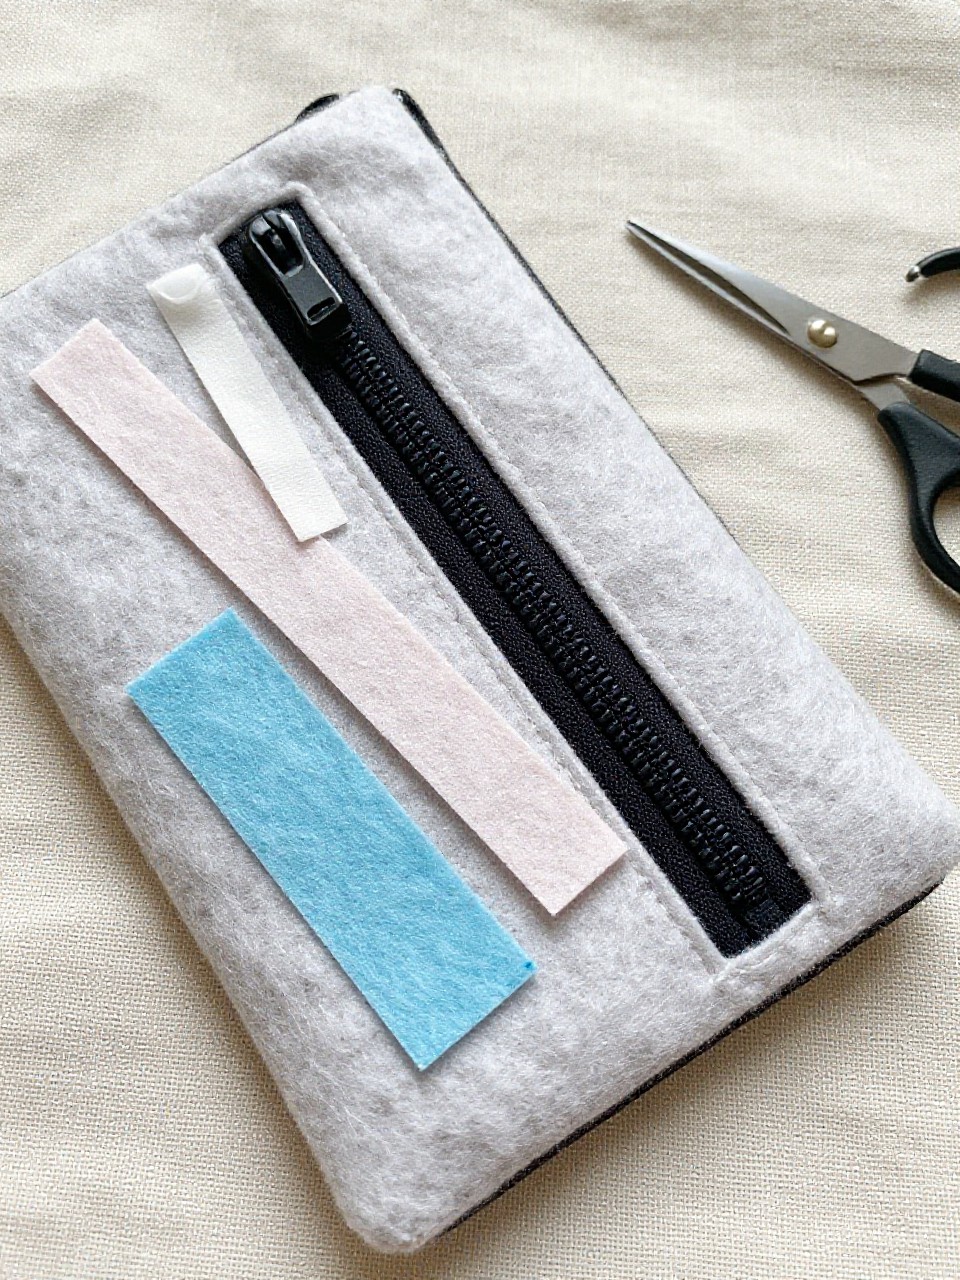
Sew or glue a simple felt pouch shaped like the letter Z with a short zipper at the top. Kids enjoy stashing tiny treasures inside and love that the pouch is literally shaped like Z.
Materials Needed:
- Felt sheets
- Short zipper
- Fabric glue or needle and thread
- Chalk or marker to trace Z
- Clips or pins
How to make it:
- 1. Trace and cut two large Z shapes from felt.
- 2. Attach the zipper along the top edge of the Z with fabric glue or stitching.
- 3. Glue or sew around the rest of the Z to join the two pieces.
- 4. Let dry if glued; use for crayons or small notes.
7. Popsicle Stick Zigzag Z
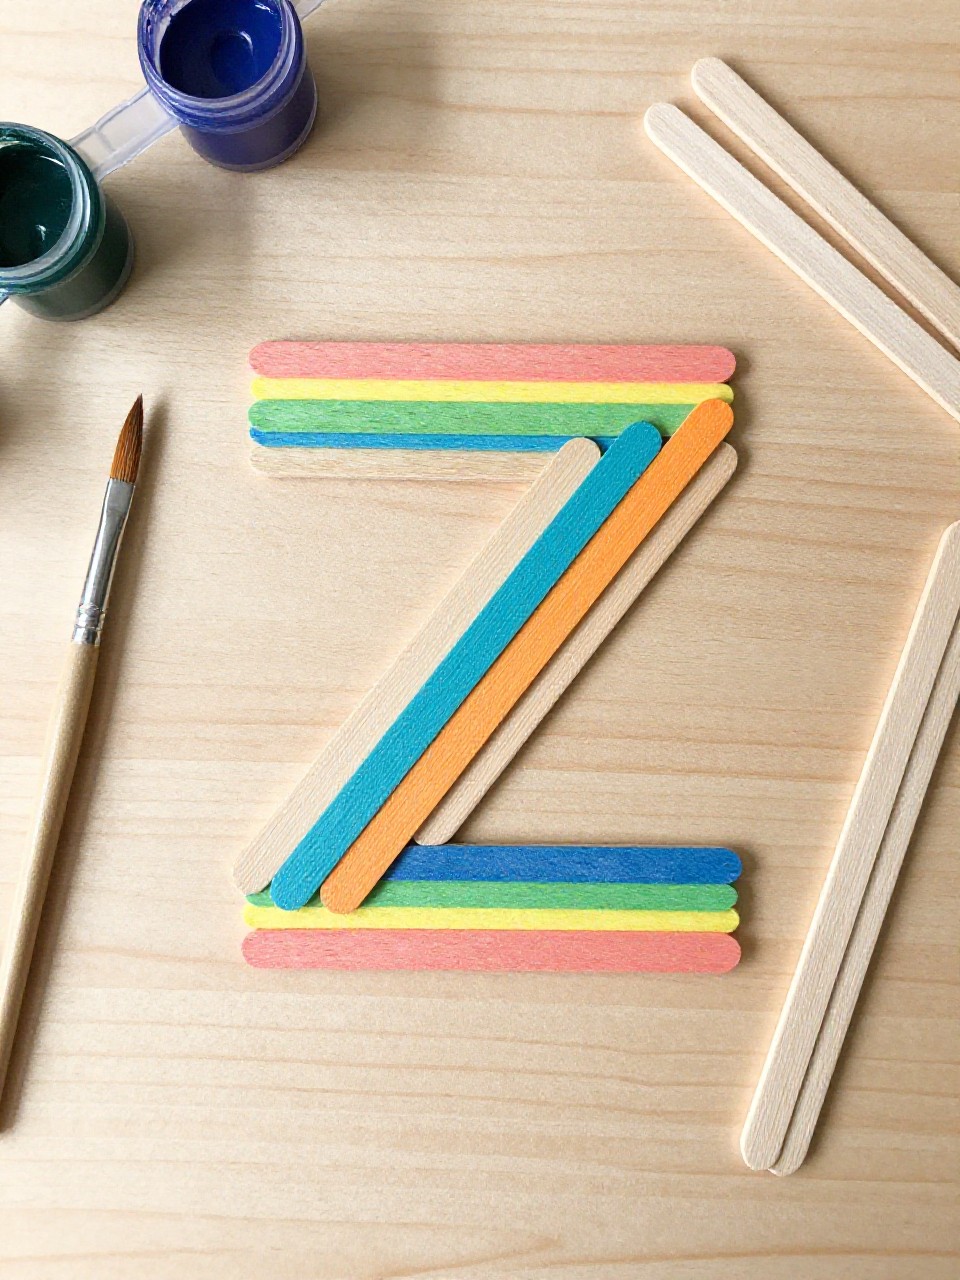
Craft sticks build a big zigzag letter Z that’s sturdy and bold. Kids like arranging the sticks into the Z shape and painting it bright colors.
Materials Needed:
- Popsicle sticks
- Craft glue
- Acrylic paint or markers
- String or magnet (optional for hanging)
- Paper to protect table
How to make it:
- 1. Lay out sticks to form a large Z (two parallels with one diagonal).
- 2. Glue sticks together, adding extra sticks to thicken lines if needed.
- 3. Paint or color the Z in stripes, dots, or a rainbow.
- 4. Let dry and attach string or a magnet to display.
8. Zany Monster Z Puppet
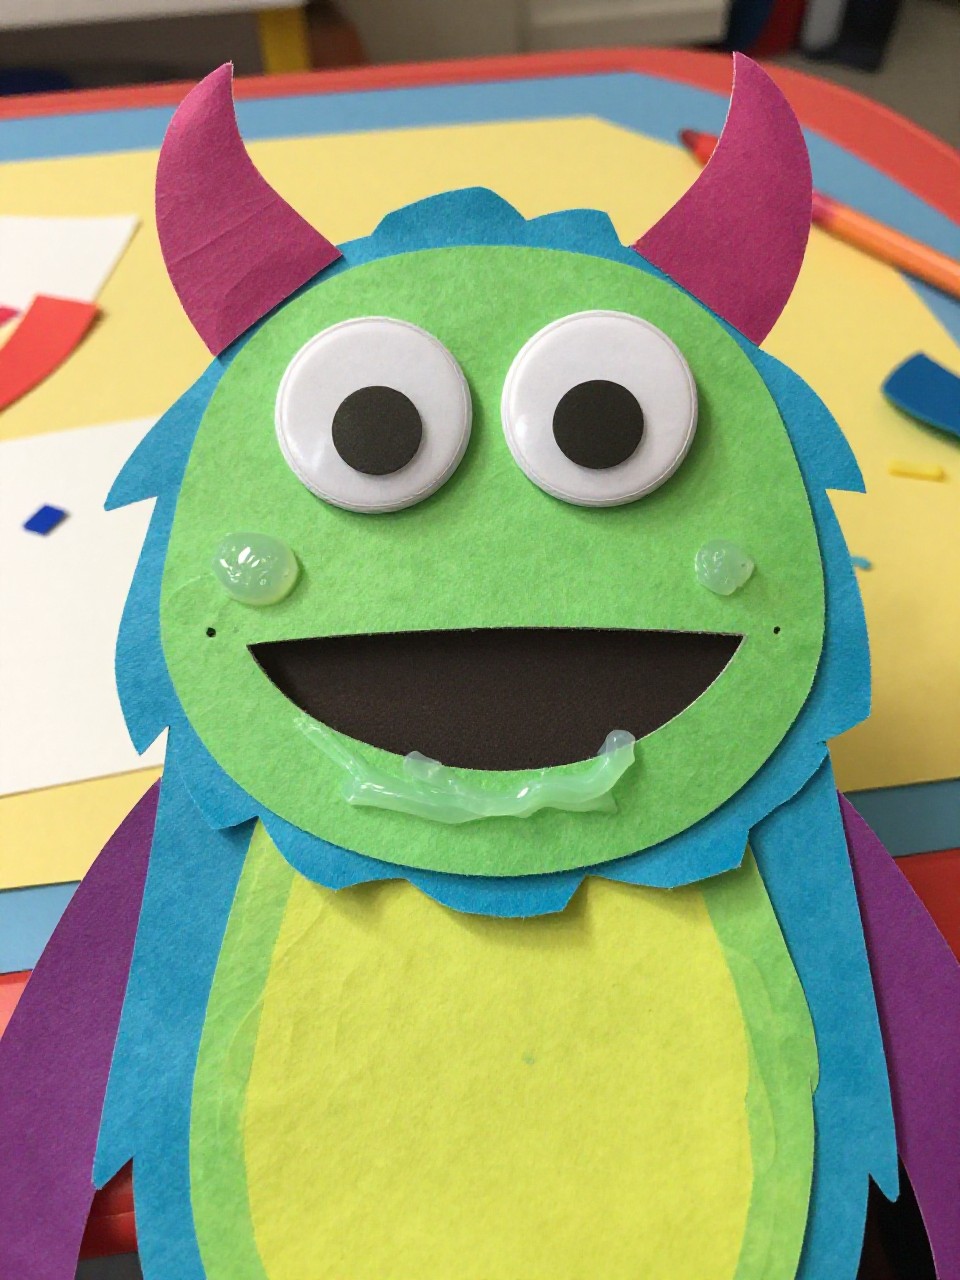
A goofy monster shaped like the letter Z comes alive as a simple puppet. Kids enjoy giving it wild eyes, zigzag teeth, and silly voices during pretend play.
Materials Needed:
- Cardstock or craft foam
- Craft sticks
- Googly eyes
- Markers and glue
- Scrap paper for teeth, hair, and tongue
How to make it:
- 1. Cut a chunky Z from cardstock or foam.
- 2. Glue a craft stick handle to the back.
- 3. Add googly eyes, zigzag teeth, and paper hair or horns.
- 4. Let dry, then put on a zany Z monster show.
9. Glitter Galaxy Z
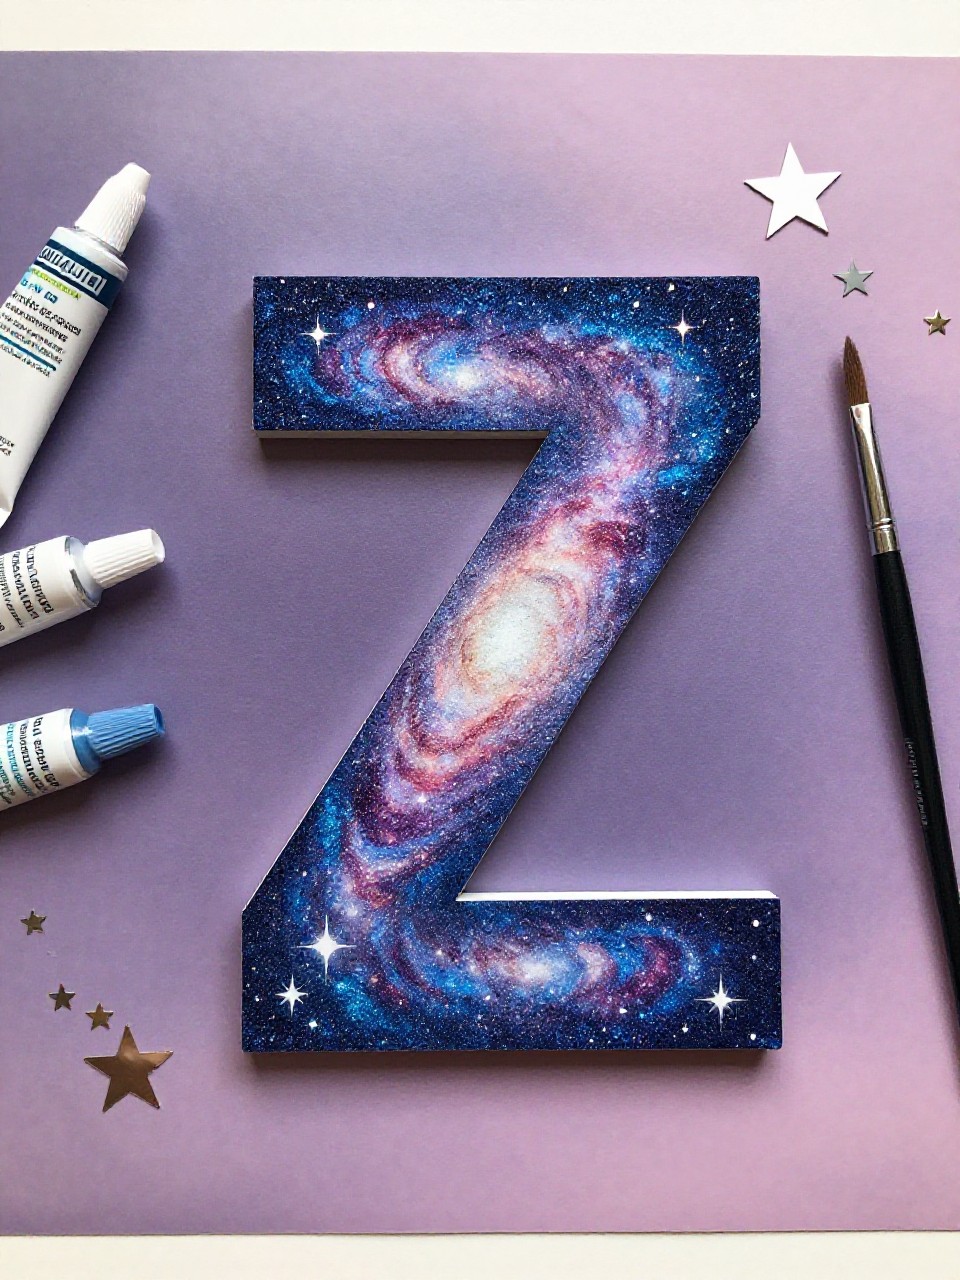
A dark background Z sparkles with star stickers and swirls of glitter glue to look like outer space. Kids love the shimmer and the simple magic of turning a letter into a tiny galaxy.
Materials Needed:
- Black cardstock with a big Z outlined
- Glitter glue in silver/blue/purple
- Star stickers or sequins
- Chalk or gel pens (optional)
- Scrap paper to catch glitter
How to make it:
- 1. Outline or mask off a Z on black cardstock.
- 2. Trace the Z with glitter glue and fill the inside with swirls.
- 3. Add star stickers or sequins inside the Z.
- 4. Let dry flat and remove any masking tape if used.
10. Zoodle Noodle Z Art
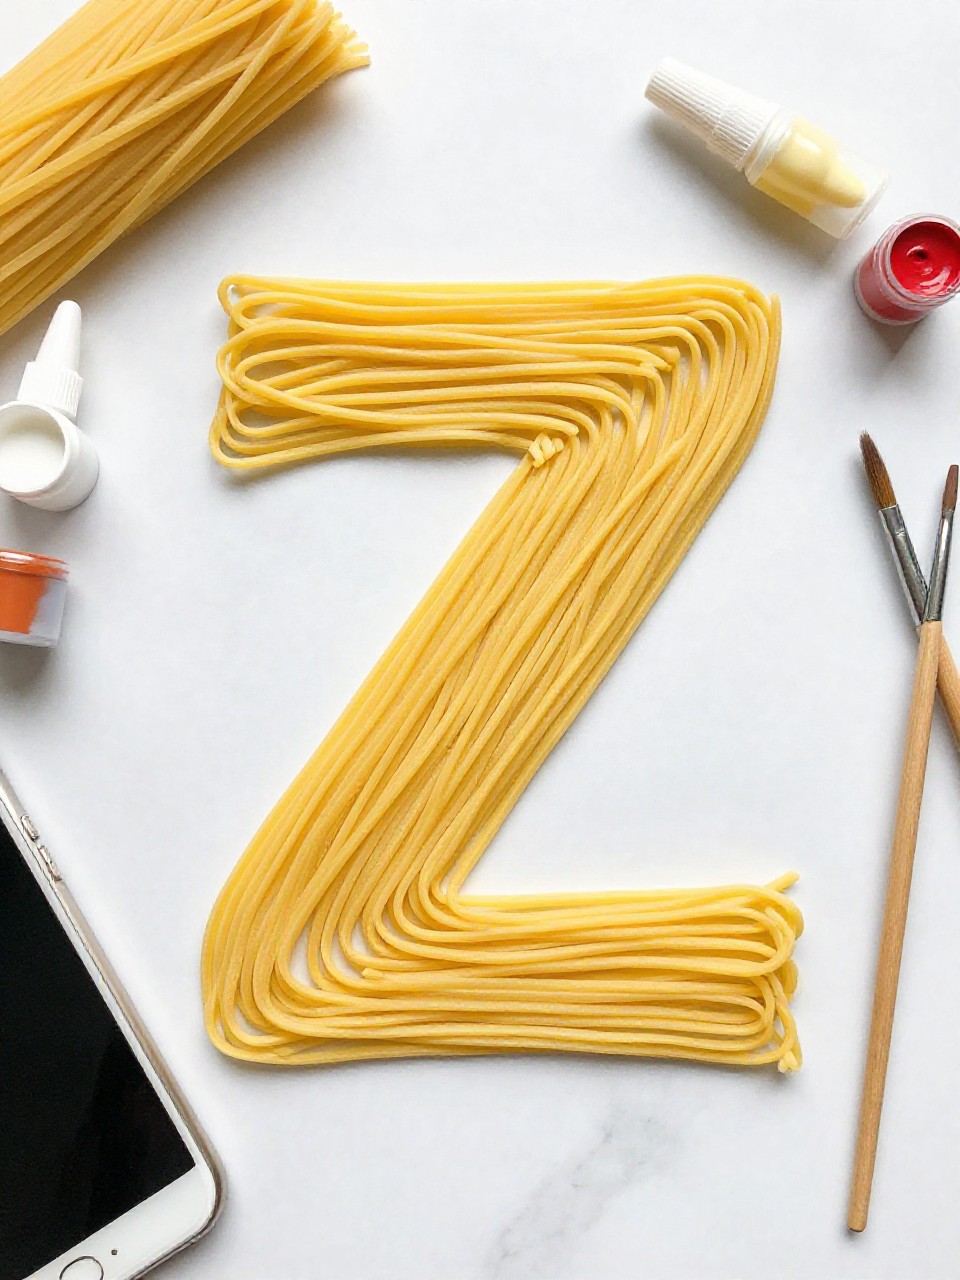
Dry pasta “zoodles” or spiral pasta forms a textured letter Z on cardboard. Kids enjoy the crunchy texture, painting the noodles, and seeing the raised Z design.
Materials Needed:
- Cardboard base
- Spiral pasta or zoodle-shaped pasta
- White glue
- Acrylic paint and brush
- Marker for outline
How to make it:
- 1. Draw a big Z on cardboard.
- 2. Glue pasta along the Z outline and fill the shape.
- 3. Once dry, paint the pasta in bright colors or a single bold hue.
- 4. Let dry and prop it up as a 3D alphabet piece.
11. Zigzag Yarn-Wrapped Z
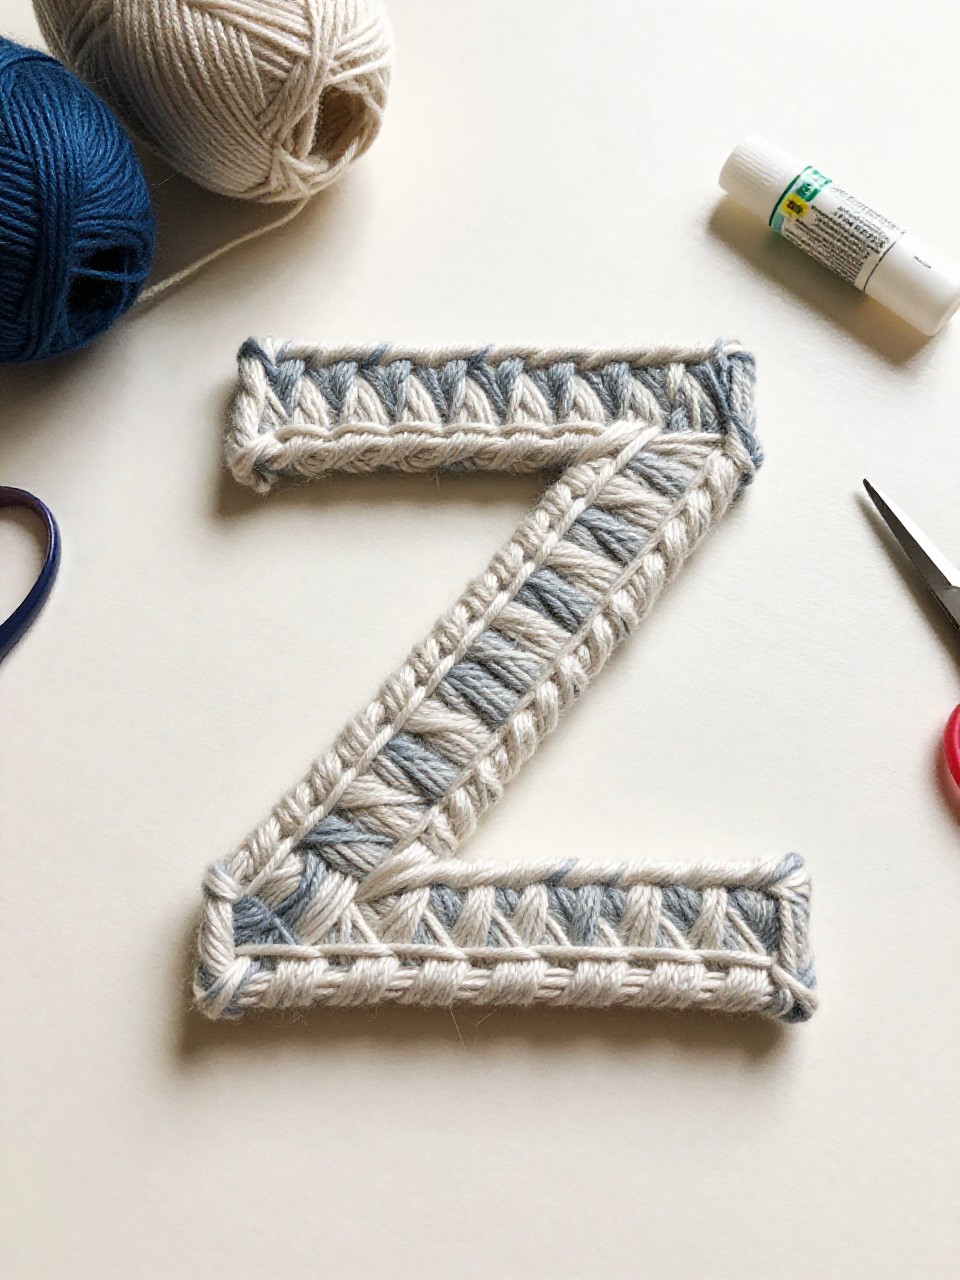
Cardboard cut into a large Z gets wrapped with colorful yarn in zigzag patterns. Kids like the steady rhythm of wrapping and the cozy, finished look.
Materials Needed:
- Cardboard Z cutout
- Yarn in several colors
- Tape or glue to secure ends
- Small scissors
- Beads or buttons (optional)
How to make it:
- 1. Cut a sturdy Z from cardboard.
- 2. Tape one yarn end to the back and start wrapping across the Z.
- 3. Switch colors to make zigzag sections; glue loose ends.
- 4. Add a few beads or buttons, then hang it up.
12. Zookeeper Badge with Mini Z
Make a simple paper badge that says “Zookeeper” with a proud mini letter Z and a tiny animal doodle. Kids enjoy wearing their badge while they read about animals or play pretend zoo.
Materials Needed:
- Cardstock circle or badge shape
- Safety pin or tape
- Markers
- Animal sticker or small drawing
- Glue stick
How to make it:
- 1. Cut a circle badge and write “Zookeeper” across the top.
- 2. Draw or glue a small Z in the center.
- 3. Add an animal sticker or quick doodle next to the Z.
- 4. Tape or pin the badge to a shirt and start the game.
13. Zebra-Stripe Handprint Z
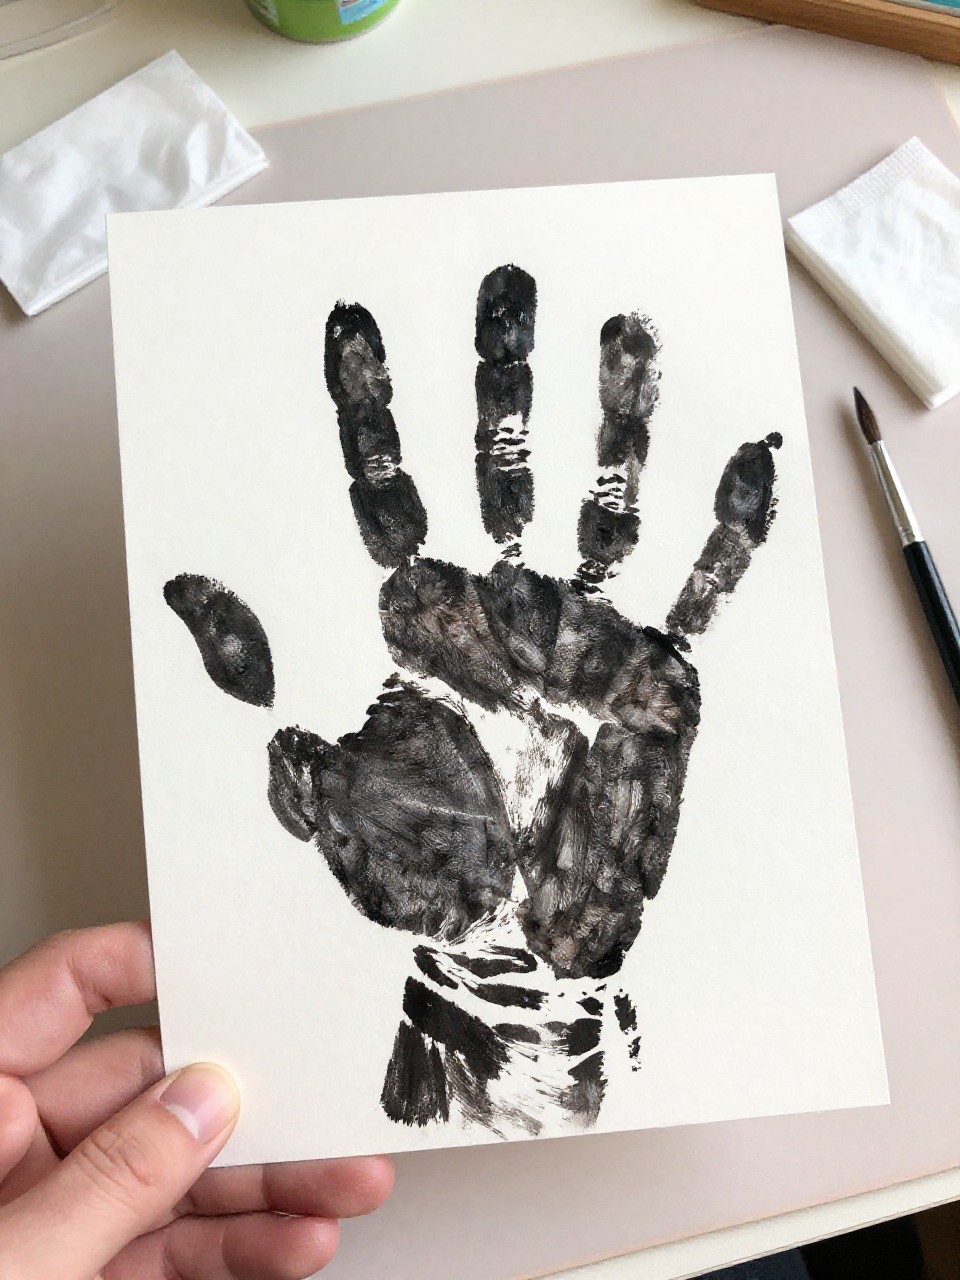
A painted handprint becomes the background for a bold Z with zebra stripes. Kids love the messy fun of handprinting and seeing the letter stand out with animal patterns.
Materials Needed:
- White cardstock
- Washable black and white paint
- Marker for outlining Z
- Wet wipes or sink nearby
- Googly eyes (optional tiny zebra face)
How to make it:
- 1. Paint a hand with black and white stripes and press onto paper.
- 2. Once dry, draw a large Z over the handprint.
- 3. Fill the Z with neat zebra stripes; add a tiny zebra face in a corner if desired.
- 4. Let dry and hang as a keepsake.
14. Ziggurat Block Z Sculpture
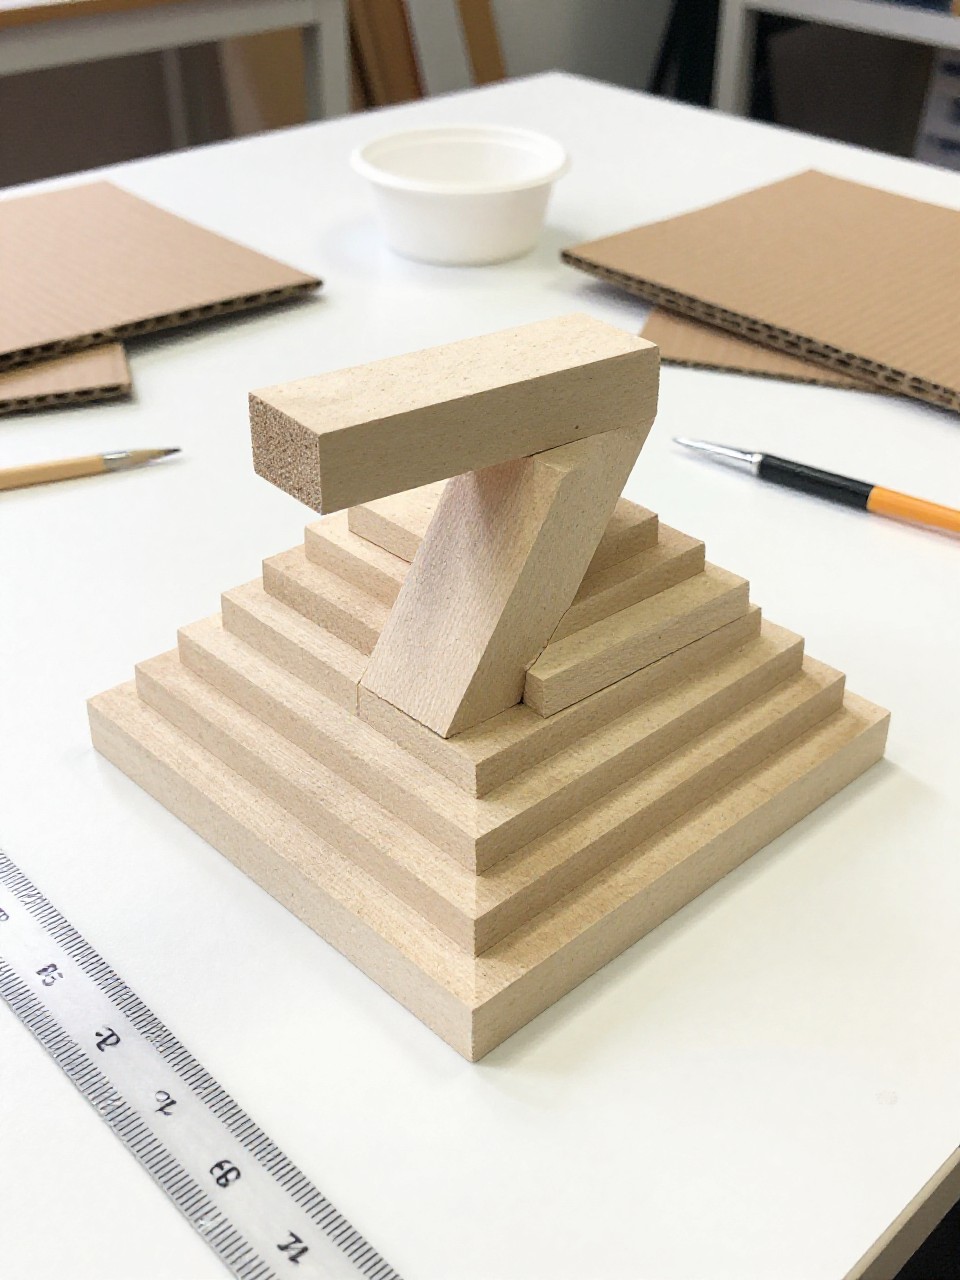
Build a stepped “ziggurat” letter Z using small cardboard squares stacked in layers. Kids enjoy stacking and gluing the little blocks to see a 3D Z take shape.
Materials Needed:
- Cardboard squares or cork tiles
- White glue or tacky glue
- Ruler and pencil (optional)
- Paint or markers
- Base board
How to make it:
- 1. Sketch a large Z on a base board.
- 2. Glue cardboard squares along the Z lines, stacking to make steps.
- 3. Paint or color the sculpture in stone or bright colors.
- 4. Let dry and display as a mini architecture project.
15. Zippy Streamer Letter Z Wand
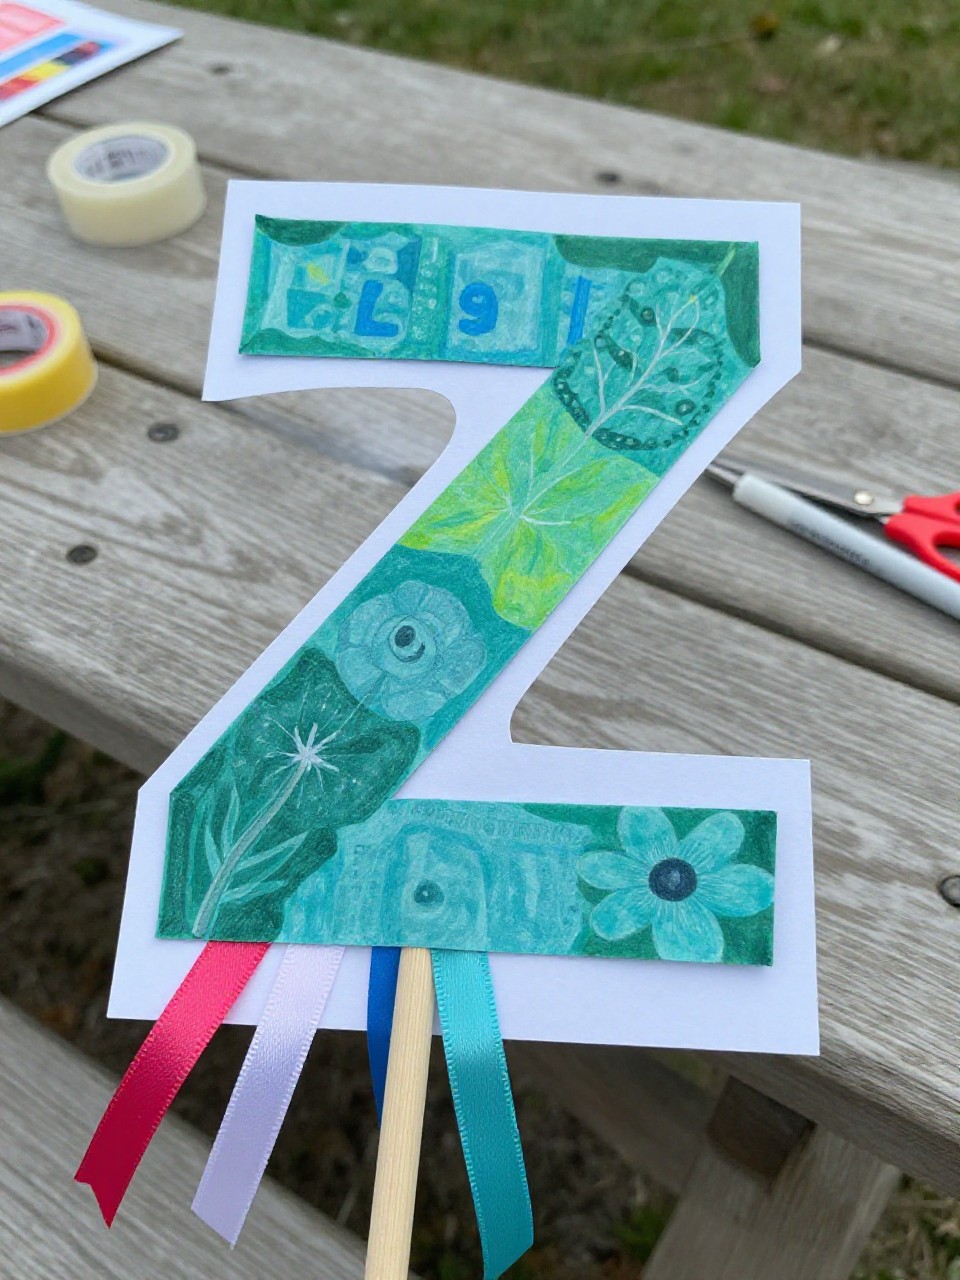
A cardboard Z becomes a playful wand with ribbons or crepe streamers that whoosh when waved. Kids love dancing, tracing Zs in the air, and pretending to cast “zoom” spells.
Materials Needed:
- Cardboard Z cutout
- Dowel or sturdy straw
- Ribbon or crepe streamers
- Tape and glue
- Markers or paint
How to make it:
- 1. Cut a chunky Z from cardboard and decorate it with markers or paint.
- 2. Tape or glue streamers to the bottom or points of the Z.
- 3. Attach the dowel or straw handle to the back with strong tape.
- 4. Let any glue dry, then wave and trace big Z shapes in the air.


