Table of Contents Show
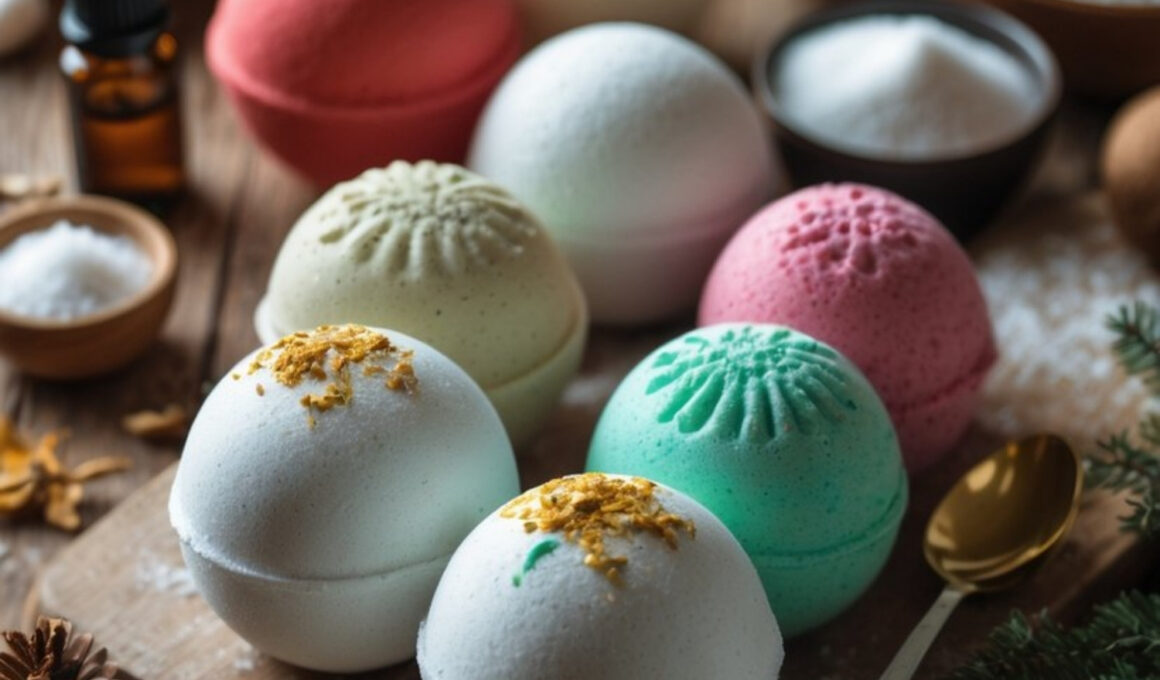
Homemade bath bombs are a delightful DIY gift or self-care treat that turn any bath into a relaxing spa experience.
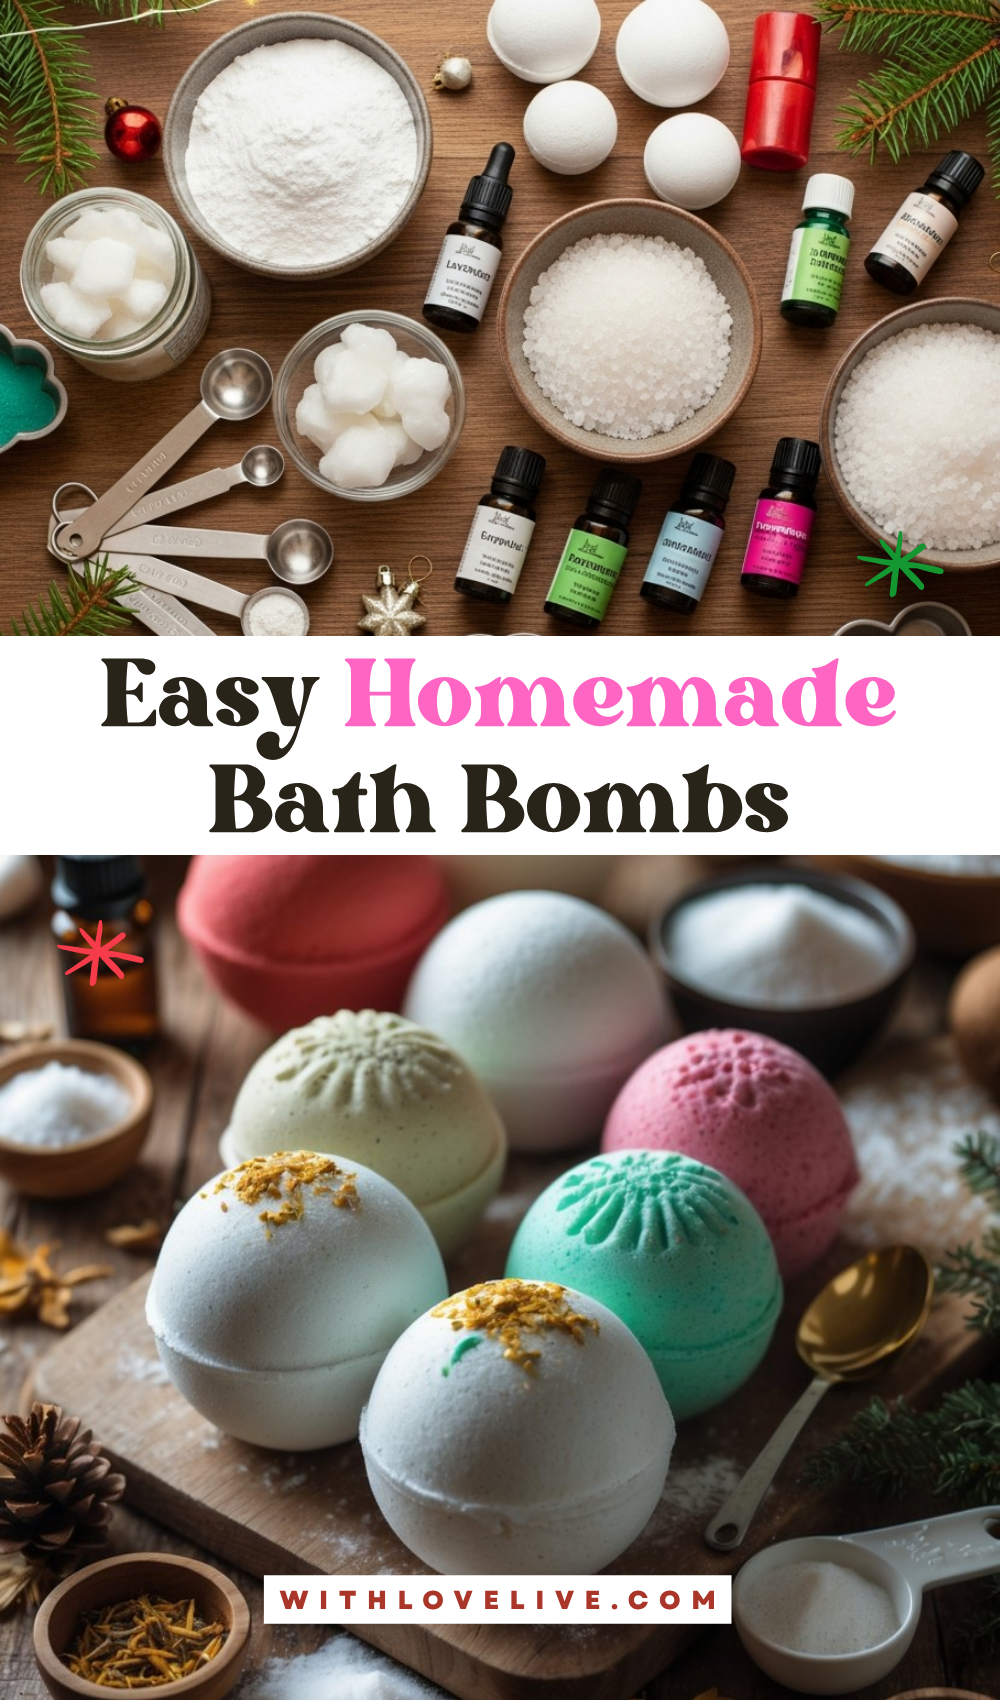
With just a few basic ingredients—baking soda, citric acid, and essential oils—you can create fizzy, fragrant spheres that soothe the skin and melt away stress.
Making them at home is simple, cost-effective, and allows you to personalize scents, colors, and decorations to fit the season.
How to Make Homemade Bath Bombs
Whether you’re crafting them for a Christmas gift basket or a cozy winter pampering night, these bath bombs will make every bath feel like a luxurious escape.
For People Who Love to Make Things ✂️
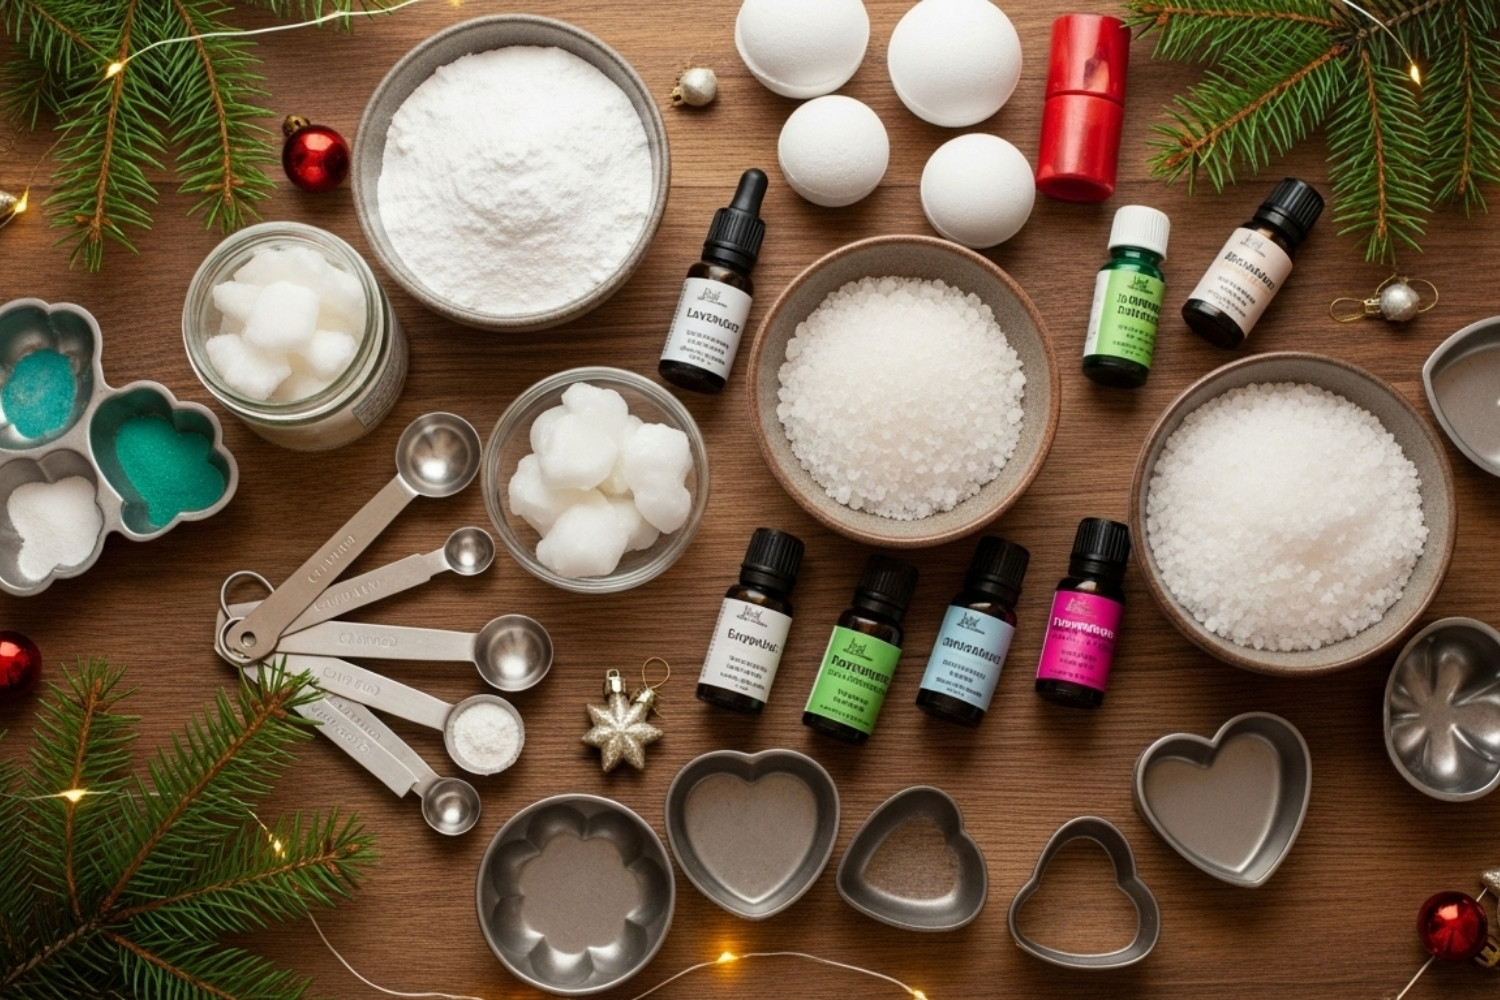
Materials
- 1 cup baking soda
- ½ cup citric acid
- ½ cup Epsom salt
- ½ cup cornstarch
- 2½ tbsp coconut oil (melted) or sweet almond oil
- ¾ tbsp water (or witch hazel)
- 10–15 drops of essential oils (lavender, peppermint, or citrus work well)
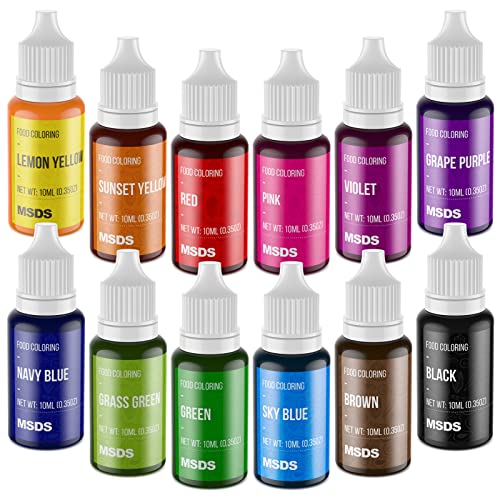
- Food coloring or mica powder (optional)
- Bath bomb molds (silicone or metal)
- Mixing bowls, whisk, and measuring cups
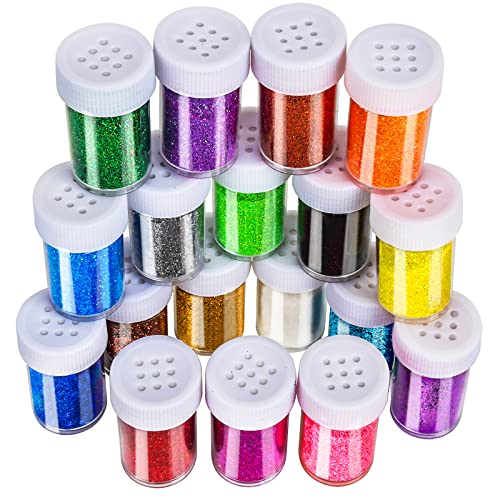
- Dried flower petals or glitter (optional for decoration)
Shop the materials
The steps
Step 1: Mix the Dry Ingredients
In a large bowl, combine the baking soda, citric acid, Epsom salt, and cornstarch. Use a whisk to blend everything evenly.
These dry ingredients form the fizzy, soothing base of your bath bomb, so make sure there are no clumps.
Step 2: Combine the Wet Ingredients
In a small bowl, mix together the melted coconut oil, water (or witch hazel), essential oil, and a few drops of food coloring if desired. Stir until everything is well blended—the scent and color will carry through the whole mixture.
Step 3: Slowly Mix Wet and Dry
Add the wet ingredients to the dry mixture a little at a time, whisking continuously. Do this slowly to avoid activating the fizzing reaction too early. The texture should feel like damp sand—moist enough to hold its shape when squeezed but not soggy.
Step 4: Fill the Molds
Pack the mixture tightly into each half of your bath bomb mold, slightly overfilling both sides. Press the halves together firmly to seal. Let them sit in the mold for a minute or two before gently removing. If they crumble, try adding a tiny bit more liquid.
Step 5: Add Finishing Touches
Before closing the molds, you can sprinkle a few dried flower petals, glitter, or herbs into one side for decoration. This adds a beautiful touch, especially if you’re gifting them.
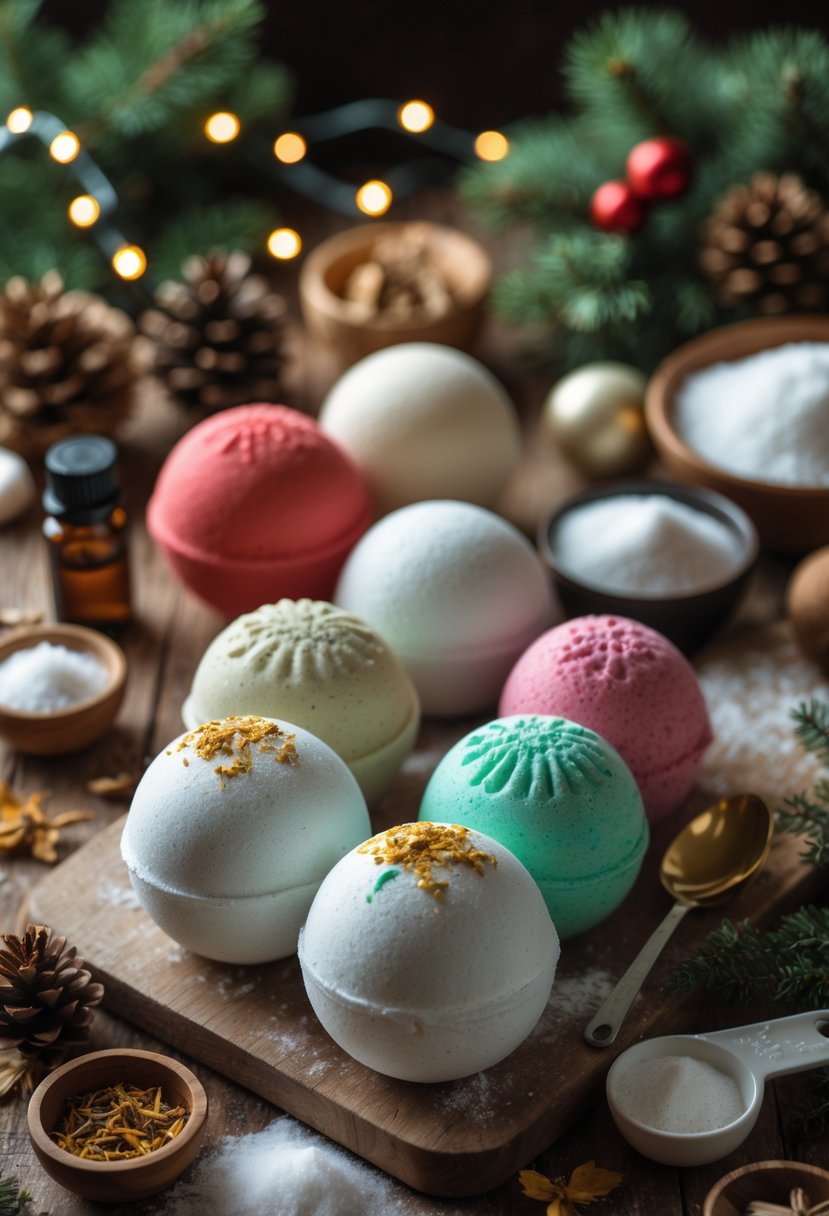
Step 6: Let Them Dry
Place the bath bombs on parchment paper or a soft towel and let them air dry for 24–48 hours. They’ll harden as they sit. Avoid humid areas since moisture can cause them to fizz prematurely.
Step 7: Store or Gift
Once fully dry, store your bath bombs in an airtight container or wrap them in clear plastic and tie with a ribbon. They make perfect holiday gifts, especially when packaged in small boxes or jars.