

Table of Contents Show
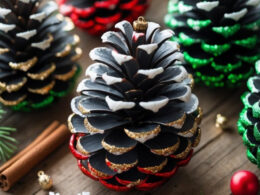
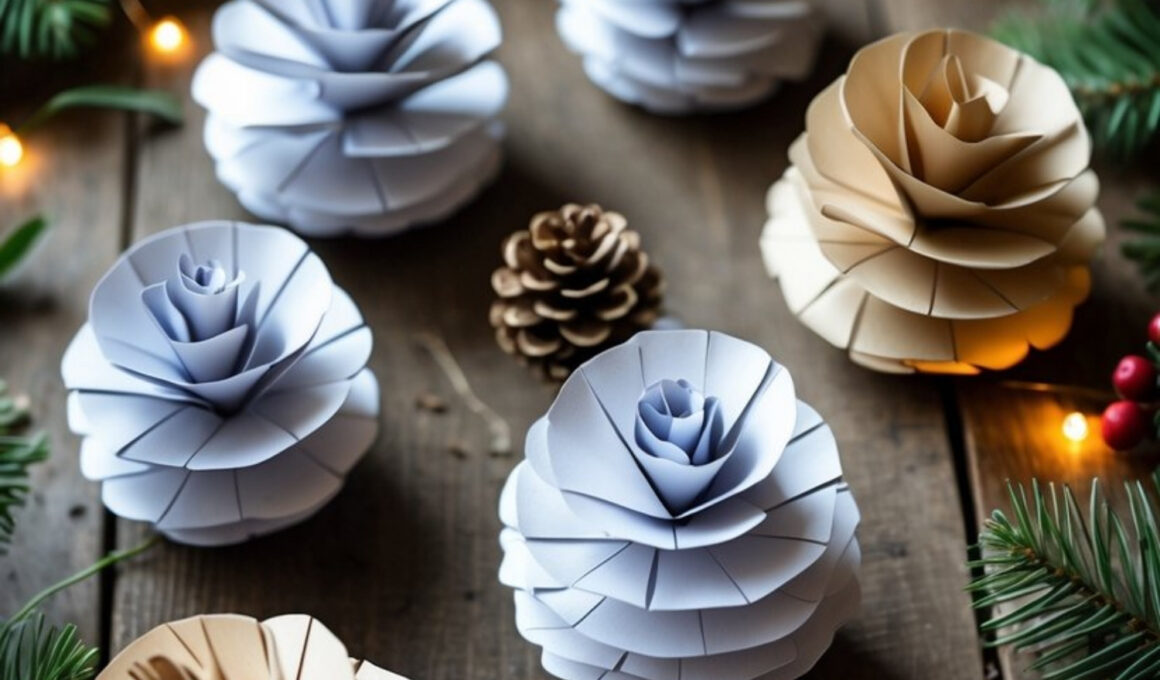
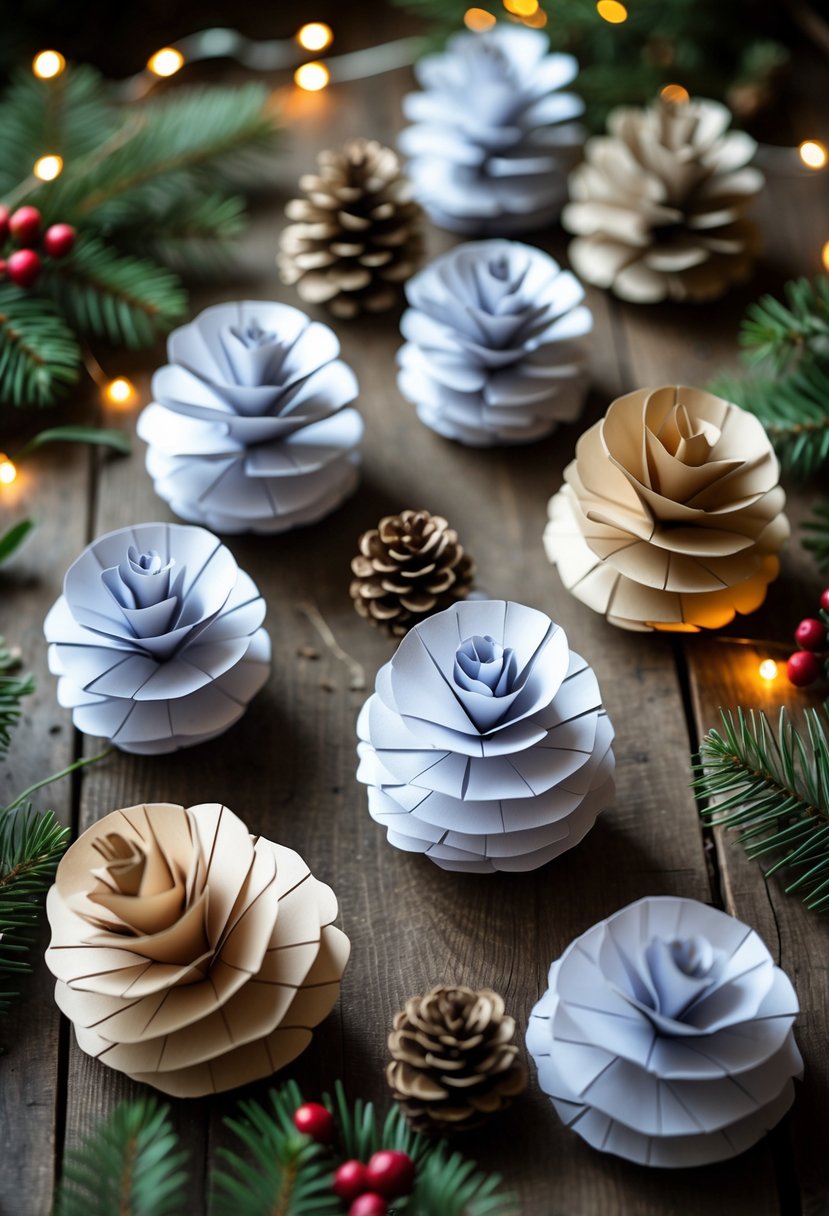
Paper pinecones are a beautiful way to bring the charm of nature indoors — no mess, no sap, just cozy handmade goodness. They look incredibly realistic, and you can make them in any color to match your holiday decor.

Whether displayed in a bowl, hung on a Christmas tree, or used in wreaths and garlands, these paper versions have all the warmth and texture of real pinecones with a creative twist.
This craft is simple enough for beginners yet detailed enough to look elegant and professional.
How to Make Paper Pinecones Christmas Craft
You’ll enjoy how meditative the process feels — cutting, folding, and layering each piece into a perfectly formed pinecone. They’re also durable, so you can reuse them every season as part of your winter decorations.
For People Who Love to Make Things ✂️
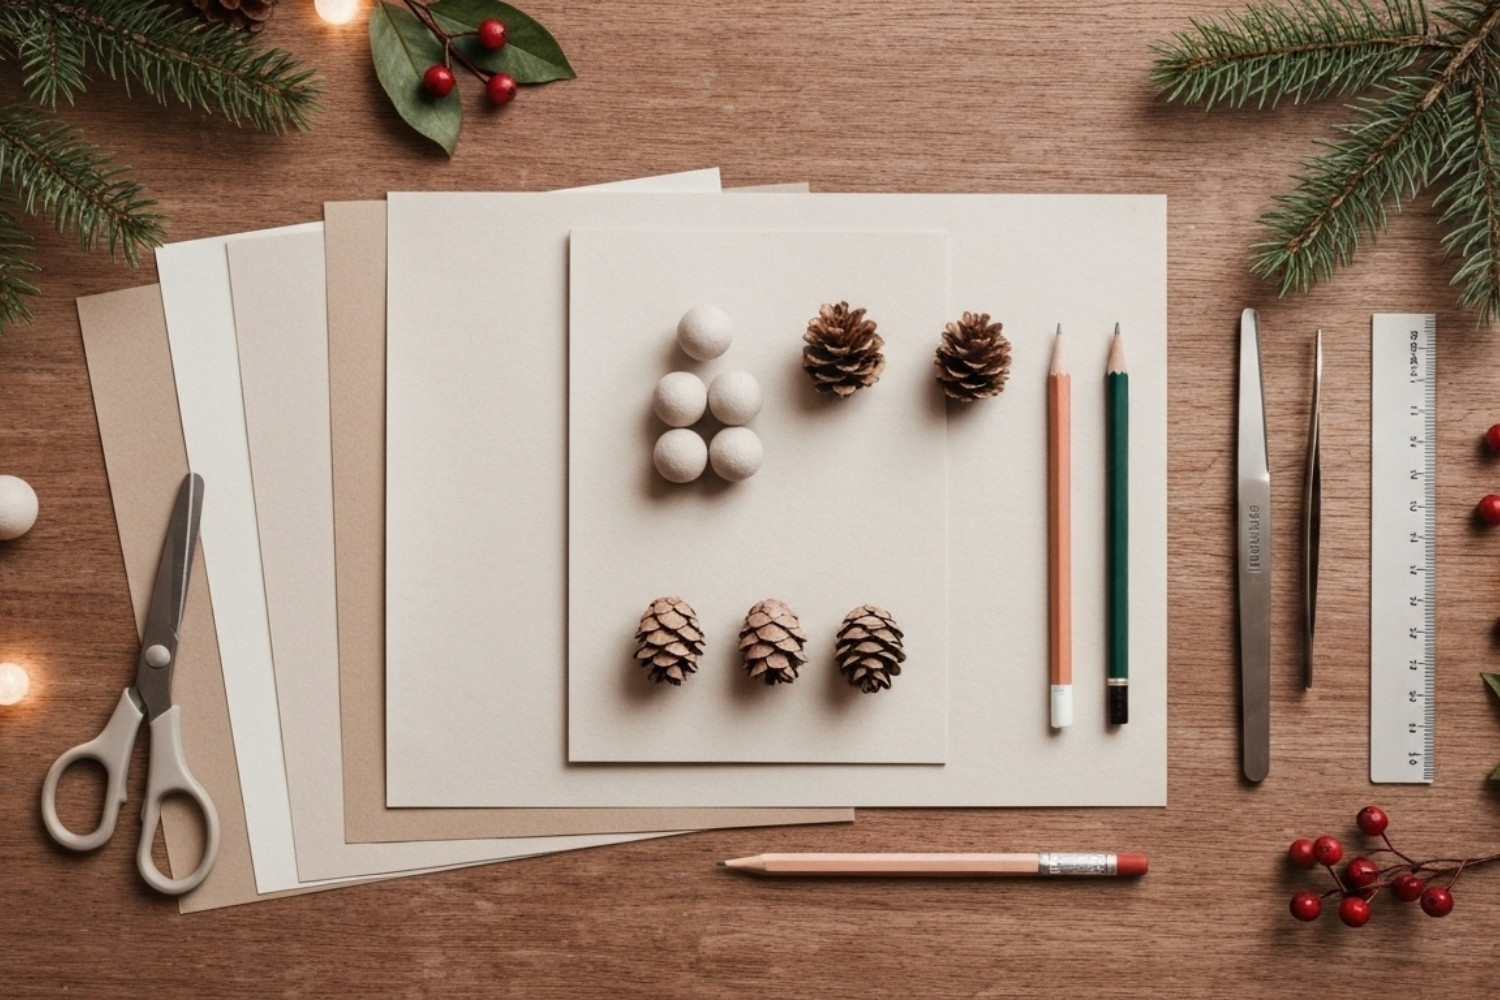
Materials
- Colored or textured craft paper (brown, beige, white, or metallic tones)
- Scissors
- Glue stick or craft glue
- Pencil and ruler
- Small foam ball or paper cone (as the base)
- Tweezers (optional, for detailed placement)
Shop the materials


The steps
Step 1: Cut the Paper Pieces
Start by cutting several strips of paper about 1 inch wide and 5–6 inches long. Then, cut each strip into small oval or teardrop shapes — these will form the scales of your pinecone.
You’ll need about 40–60 pieces depending on the size of your finished cone. For a more natural effect, vary the shape and size slightly as you go.
Step 2: Prepare the Base
Use a small foam ball or roll a piece of paper into a tight cone to create the base. If you’re using a paper cone, secure it with glue so it holds its shape firmly.
This will serve as the structure where you’ll attach your paper scales. Trim the bottom flat so your pinecone can stand upright later.
Step 3: Start Gluing the Layers
Begin at the bottom of your base and attach the first row of paper scales. Apply a small dot of glue to the pointed end of each piece and press it firmly against the base.
Slightly overlap each piece as you move around the cone to mimic the natural spiral of a real pinecone. Work slowly and allow each row to dry slightly before moving upward.
Step 4: Continue Layering to the Top
As you add more layers, gradually make the paper pieces smaller. This creates a tapered effect and helps the pinecone look more realistic. Use tweezers if needed to place the smaller pieces neatly near the top.
Once you reach the tip, roll one last small piece of paper into a tight spiral and glue it in place to finish the top.
Step 5: Shape, Dry, and Display
Gently bend the edges of the paper scales outward for added depth and dimension. Allow your finished pinecone to dry completely for about an hour.
Once dry, you can dust it with a touch of white paint or glitter to mimic snow, or leave it natural for a classic look.
Display them in bowls, garlands, or tree arrangements for a handmade holiday touch.