Table of Contents Show
Hand-painted wooden spoons are a fun and easy way to add a festive touch to your home or as a unique gift.
They combine creativity with practicality, making them great for decorating your kitchen, hanging on the tree, or giving as handmade presents.
With just a few simple materials, you can transform plain wooden spoons into cheerful, colorful pieces featuring snowflakes, holly, or candy-cane stripes.
How to Make Hand-Painted Wooden Spoons
It’s a relaxing craft that’s perfect for cozy evenings and brings a warm, handmade charm to the season.
For People Who Love to Make Things ✂️
Materials
- Plain wooden spoons (new or lightly sanded clean ones)
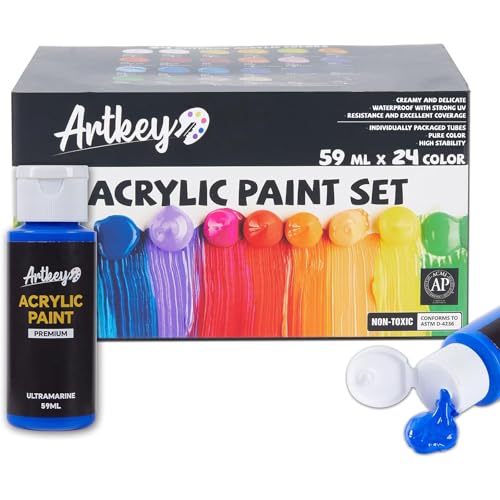
- Acrylic paints in red, green, white, and gold
- Fine and medium paintbrushes
- Painter’s tape (optional for neat lines)
- Pencil for sketching designs
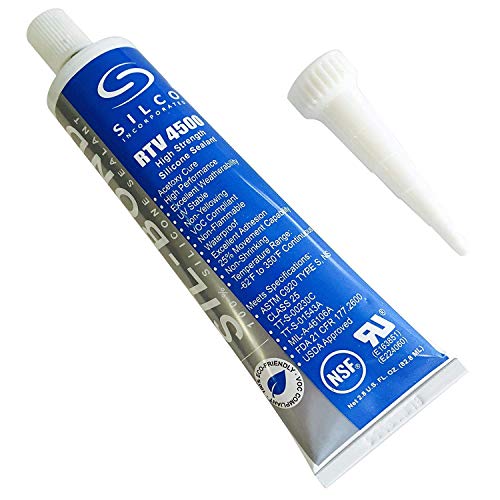
- Clear food-safe sealant (if you plan to use them for cooking)
- Paper towels and a cup of water
Shop the materials


The steps

Step 1: Prepare the Wooden Spoons
Lay down a sheet of newspaper or parchment to protect your workspace. Wipe each spoon with a dry cloth to remove dust or oils.
If they’re too smooth or glossy, lightly sand the surface to help the paint stick better.
Decide which part of the spoon you’ll decorate—some people paint only the handles for a minimalist look, while others add designs to the bowl for more flair.
Step 2: Plan and Sketch Your Designs
Using a pencil, gently sketch simple Christmas motifs like snowflakes, holly leaves, stars, or stripes. Avoid pressing too hard to keep pencil marks light.
If you’re painting multiple spoons, plan a variety of designs so each one feels unique but still cohesive as a set. You can also use painter’s tape to mark off sections for stripes or dipped-color effects.
Step 3: Apply the Base Colors
Start with your background color first. Paint the handle or the bowl area using a medium brush, applying smooth, even strokes. Let the first coat dry for about 15 minutes before adding a second if needed.
Mixing a touch of white paint into bold colors like red or green can create a softer, more festive tone. Let everything dry fully before moving to details.
Step 4: Add Decorative Details
Once your base coat is dry, use a fine brush for detailed work like snowflake lines, dots, or holly berries. Take your time with this step—small strokes give the cleanest result.
To create candy-cane stripes, carefully remove any painter’s tape and fill alternating sections with red and white paint. Keep a damp paper towel nearby to quickly fix small mistakes before the paint sets.

Step 5: Seal and Display
After all designs have dried for at least an hour, apply a thin layer of clear sealant to protect the paint and give the spoons a slight sheen. For spoons intended for cooking, use a food-safe sealant and apply it only to the handles.
Once sealed, let them dry overnight. Arrange them in a mason jar, gift them with a recipe card, or hang them as part of your holiday decor.