Table of Contents Show
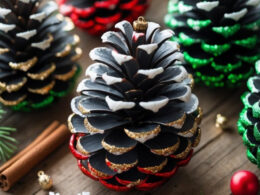
These Glittered Pinecone Centerpieces are a timeless and easy way to bring winter sparkle into your home. They capture that cozy, festive feeling we all love during the holidays — the shimmer of snow, the scent of pine, and the glow of Christmas lights.

Whether displayed on your dining table, mantel, or entryway, these pinecones instantly add rustic charm and elegance to your space.
What makes this craft so special is how simple it is. With just a few materials, you can transform ordinary pinecones into sparkling holiday accents that look straight out of a boutique.
How to Make Glittered Pinecone Centerpieces
You can customize them with gold, silver, or even frosted white glitter to match your decor. Plus, they’re great for both adults and kids to make together, adding a personal, handmade touch to your holiday decorating.
For People Who Love to Make Things ✂️
Materials
- Pinecones (cleaned and dried)
- White craft glue or Mod Podge
- Small paintbrushes
- Glitter (silver, gold, or color of choice)
- Paper plate or tray (for catching excess glitter)
- Decorative accents: faux berries, pine sprigs, ribbon, or mini ornaments
- Hot glue gun (optional for attaching embellishments)
- Clear sealant spray (optional for long-lasting shine)
Shop the materials


The steps

Step 1: Clean and Prepare the Pinecones
Start by cleaning your pinecones to remove dirt or bugs. Bake them on a foil-lined tray at 200°F (93°C) for about 20 minutes to dry them out completely. Let them cool before handling. This step ensures the glue and glitter stick properly.
Tip: If your pinecones are tightly closed, the baking will help them open up beautifully.
Step 2: Apply the Glue
Use a small paintbrush to apply a thin layer of glue or Mod Podge to the edges of each pinecone scale. You can cover just the tips for a subtle frosted look or brush the entire pinecone for a full glitter effect. Work in sections so the glue doesn’t dry before you add the glitter.
Pro Tip: For a more natural snowy effect, use white glue mixed with a bit of silver glitter instead of covering the entire surface.
Step 3: Add the Glitter
Place your pinecone over a paper plate or tray and gently sprinkle glitter over the glued areas. Turn the pinecone as you go to cover all sides evenly. Shake off the excess glitter and let it dry on the tray for about 30 minutes.
Creative Twist: Mix different shades of glitter — silver with champagne gold or white with iridescent shimmer — to create depth and a more elegant finish.
Step 4: Seal and Decorate
Once your glittered pinecones are dry, lightly spray them with clear sealant to keep the glitter from shedding. Then, use a hot glue gun to attach small embellishments like faux berries, pine needles, or tiny bows for added detail.
Optional: Attach a loop of ribbon to the top to turn them into hanging ornaments, or group several together for a table centerpiece.
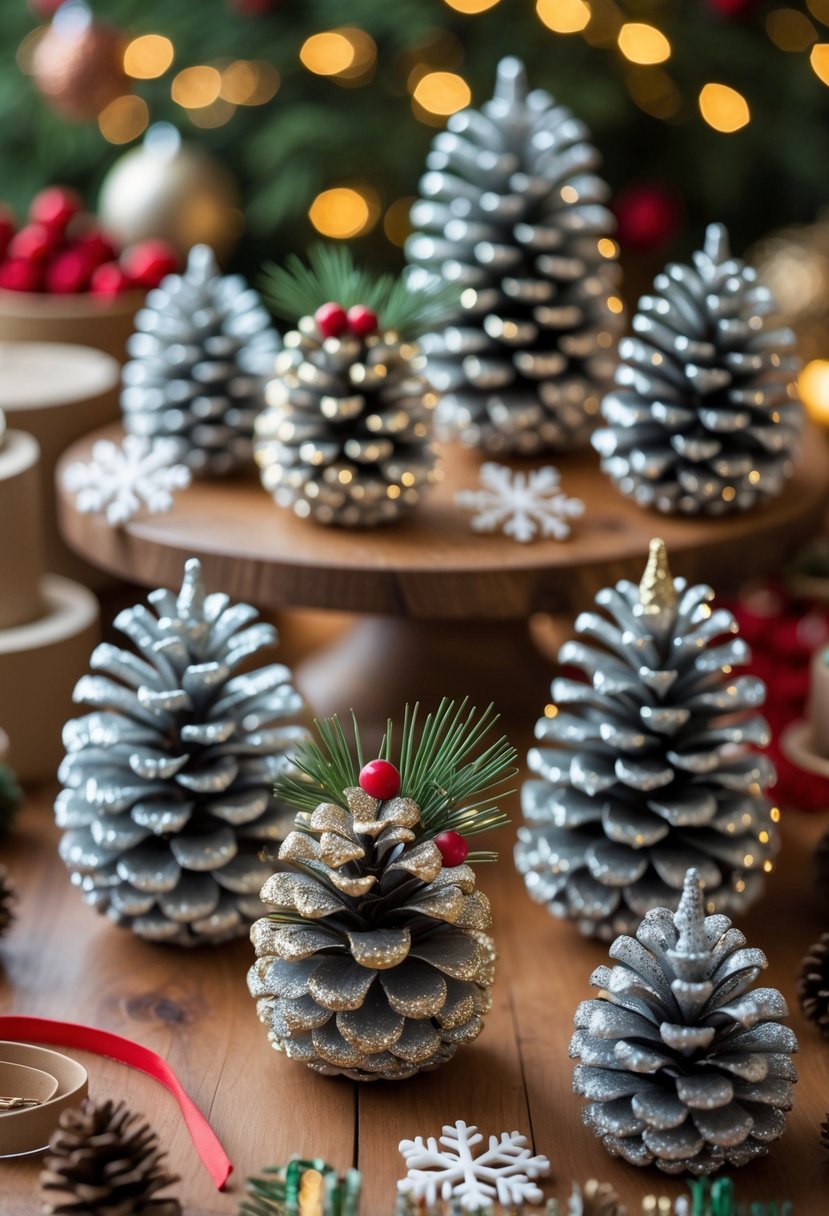
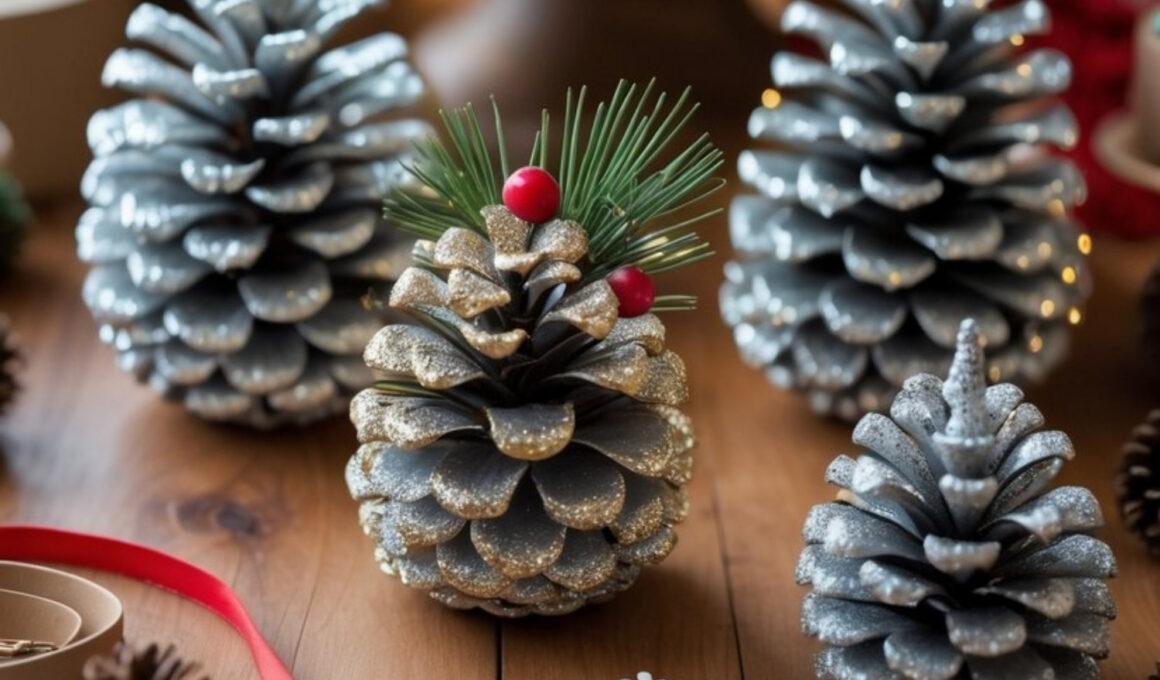
Step 5: Arrange Your Centerpiece
Place your finished pinecones in a wooden tray, glass bowl, or decorative dish. Surround them with candles, pine branches, or snowflake cutouts for a complete festive display. These centerpieces also pair beautifully with Christmas greenery or as part of a winter wedding table setup.
Step 6: Enjoy or Gift
Set them on your table and let them sparkle under the holiday lights! They also make perfect handmade gifts — simple, elegant, and full of Christmas warmth. Wrap a few in a clear cellophane bag tied with ribbon for a charming homemade present.