


Table of Contents Show
Nothing says “thoughtful holiday giving” like a hand-painted gift bag. Instead of buying store-bought ones, you can make your own using simple paper bags and a few art supplies.
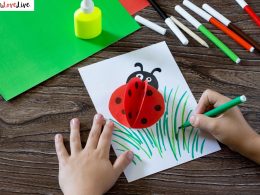
This craft adds a personal, handmade touch to your Christmas presents, and it’s an easy, enjoyable activity to do with kids or friends.
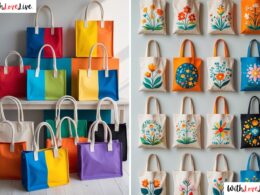
Whether you paint classic Christmas trees, ornaments, snowflakes, or holly branches, these designs bring festive charm to your gifts and make every package feel special.
How to Make Gift Bags with Painted Christmas Motifs
These painted gift bags are not only beautiful but also eco-friendly — you can reuse plain paper bags or repurpose ones you already have. It’s an affordable and creative way to express your holiday spirit while giving your wrapping a warm, homemade feel.
For People Who Love to Make Things ✂️
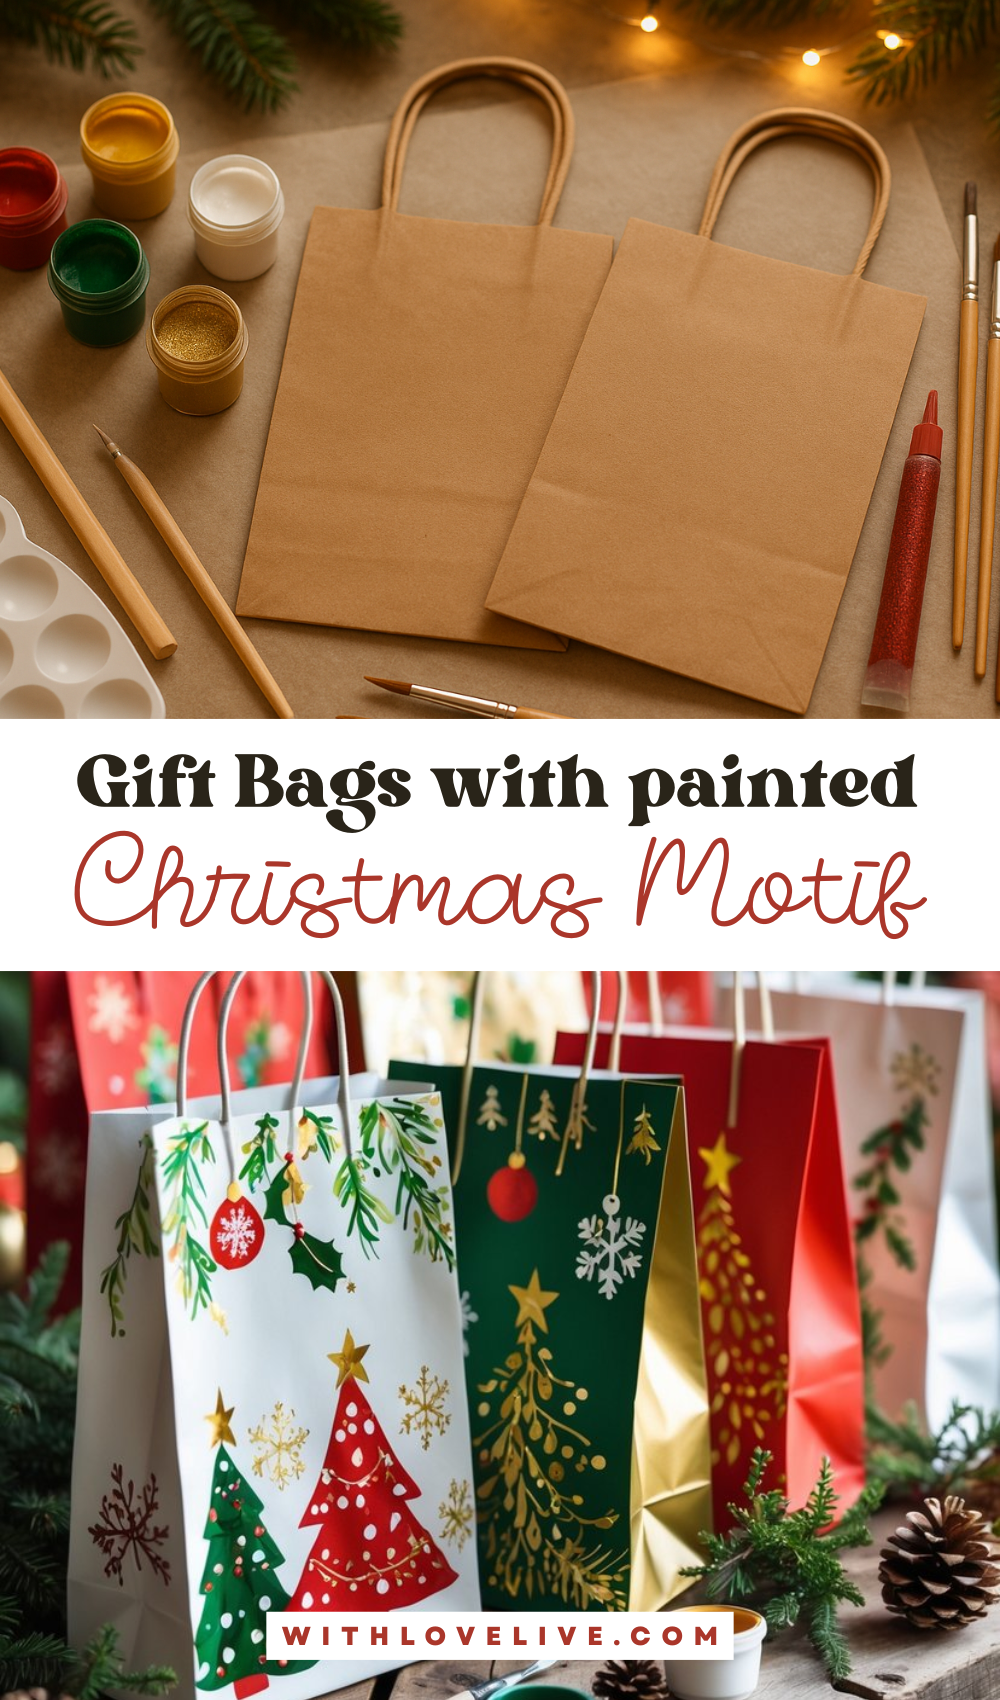
Materials
- Plain paper gift bags (white, red, green, or kraft brown)
- Acrylic paints in Christmas colors (red, green, gold, white)
- Fine and medium paintbrushes
- Pencil (for sketching designs)
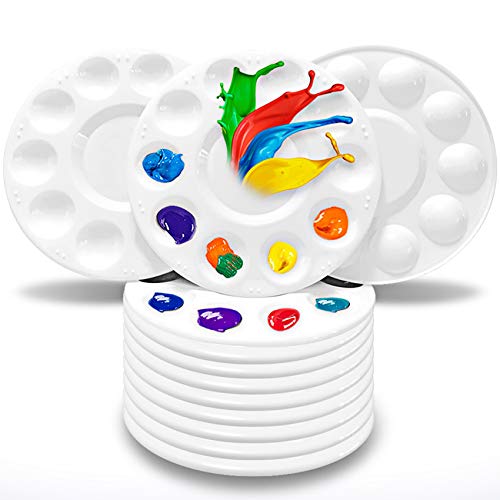
- Paint palette or small cups for mixing
- Glitter glue (optional)
- Protective sheet or newspaper (to cover your work area).
Shop the materials


The steps to follow 😅

Step 1: Prepare Your Workspace
Lay out a protective sheet or newspaper to keep your area clean. Set your bags upright and make sure the surface is smooth and dry. Keep your brushes, paints, and a cup of water close by.
This preparation helps you move smoothly through each design without smudging or rushing.
Step 2: Sketch Your Design
Using a light pencil, sketch simple Christmas motifs such as trees, ornaments, stars, or snowflakes. Don’t worry about perfection — hand-drawn lines give your bags a personal, handcrafted look.
Plan the design so it fills the front panel without crowding the edges.
Step 3: Start Painting the Base Colors
Begin by filling in your main shapes with solid colors. For example, paint your Christmas tree in green, ornaments in red or gold, and stars in bright yellow.
Let the first layer dry before adding any details. Using thin layers helps prevent the paint from wrinkling the paper.
Step 4: Add Details and Highlights
Once the base layer is dry, use a fine brush to add small details like polka dots on trees, gold garlands, or white snowflakes.
You can even mix a little white into your colors to create shading and depth. Add glitter glue for sparkle, but let it dry completely before handling the bag.
Step 5: Final Touches and Drying
Inspect your design and touch up any uneven edges or smudges. Stand the bags upright and allow them to dry for at least an hour.
Once dry, your hand-painted Christmas gift bags are ready to fill with gifts, tissue paper, or small greenery for a festive finishing touch.