Table of Contents Show
Keeping kids busy and focused can be tough, especially when homework time rolls around or a rainy day hits. Simple DIY stationery projects give them something fun to make and then actually use for school or home study.
In this list, you’ll find easy crafts that turn plain supplies into colorful, organized tools. Each idea is beginner-friendly, budget-friendly, and satisfying to finish.
Let’s jump into creative study stationers you can make today.
1. Washi Tape Pencil Makeover
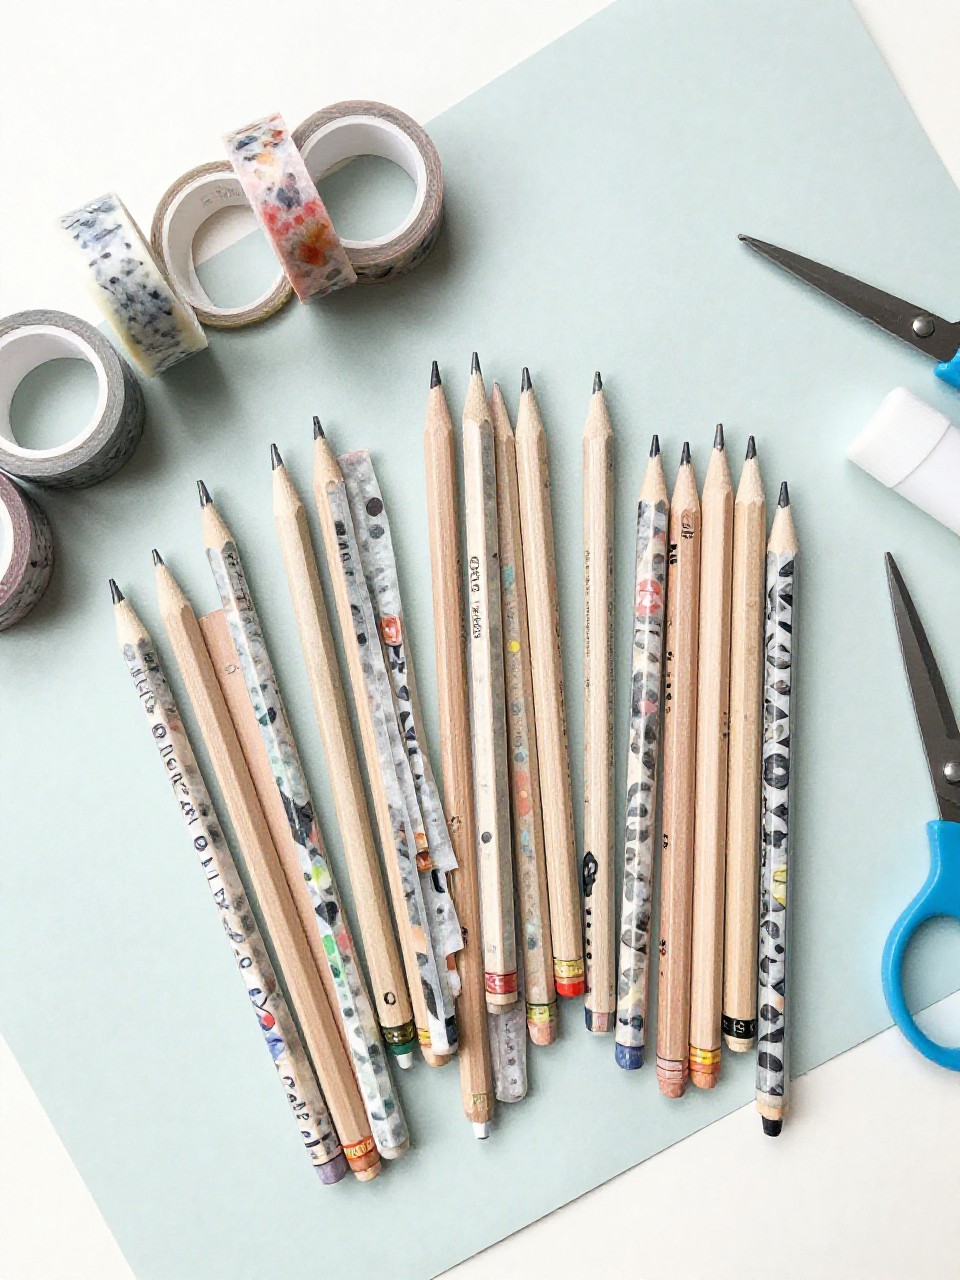
These bright pencils are wrapped in patterned washi tape so they look cheerful and unique on any desk. Kids love picking colors and patterns, and it’s quick enough for a short craft break. It’s easy and mess-free.
Materials Needed:
For People Who Love to Make Things ✂️
- Plain wooden pencils (sharpened or unsharpened)
- Assorted washi tapes
- Scissors
- Clear tape or clear-dry glue (optional seal)
How to make it:
- Clean pencil surface and remove any stickers.
- Wrap washi tape around the barrel in neat spirals or stripes, trimming at the ends.
- Add small accent strips near the eraser for extra color.
- Seal edges with clear tape or a thin layer of clear-dry glue; let dry and use.
2. Pocket Folder from a Cereal Box
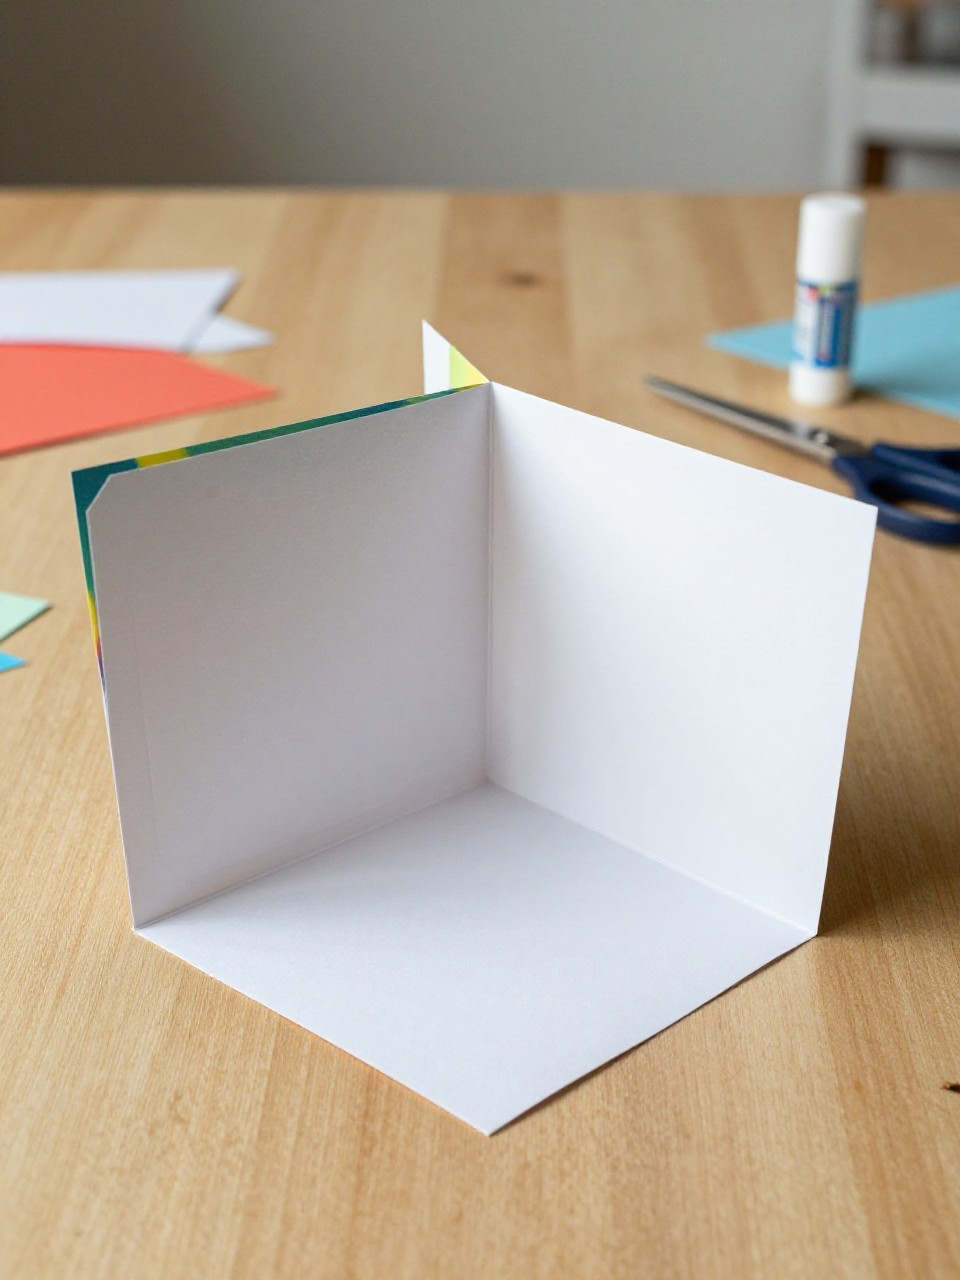
This sturdy pocket folder is made from a cereal box and covered in paper, perfect for storing worksheets and notes. Kids enjoy turning trash into treasure and choosing their own cover design. It’s a practical upcycle.
Materials Needed:
- Empty cereal box (washed and dried)
- Colored paper or wrapping paper
- Glue stick
- Scissors or craft knife (adult help)
- Stickers or labels (optional)
How to make it:
- Cut the cereal box open and shape it into a simple folder with two inside pockets.
- Glue colored paper over the outside and inside to cover graphics.
- Add labels, stickers, or your name on the front.
- Press under books to flatten while drying; fill with papers when set.
3. Sticky-Note Bookmark Flags
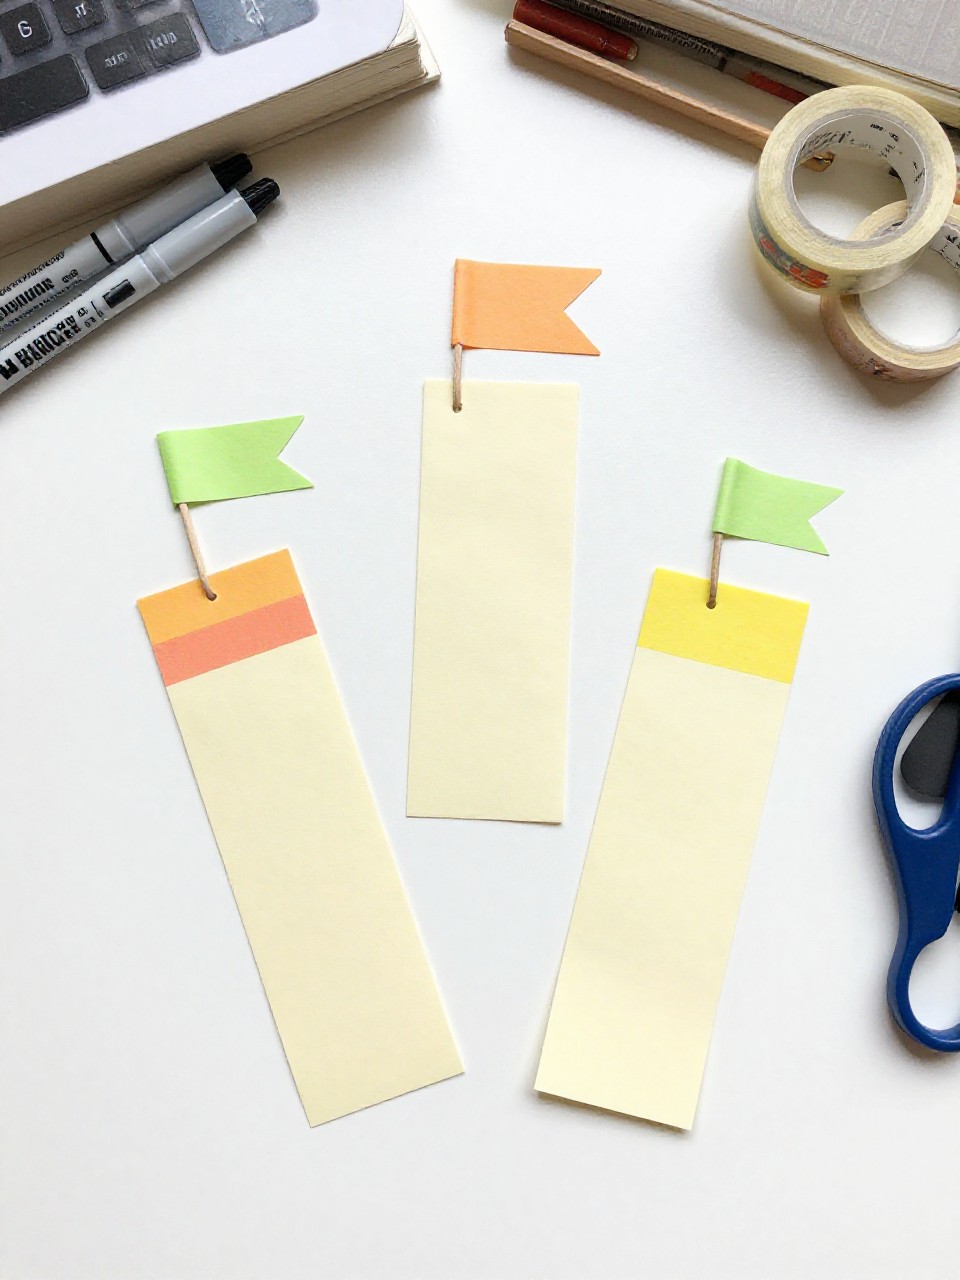
These slim bookmarks hold sticky-note flags so students can mark pages and write quick reminders. Kids like choosing colors and feel proud using something they customized during reading time. It’s fast and very beginner friendly.
Materials Needed:
- Cardstock strips (1–2 inches wide)
- Sticky-note page flags or mini sticky notes
- Washi tape or markers
- Hole punch and ribbon (optional)
How to make it:
- Cut cardstock into bookmark-length strips.
- Decorate with washi tape borders or marker doodles.
- Stick a small stack of page flags at the top or middle of the strip.
- Punch a hole and add ribbon if desired; slide into your book and use the flags.
4. DIY Pencil Pouch from a Zipper Bag
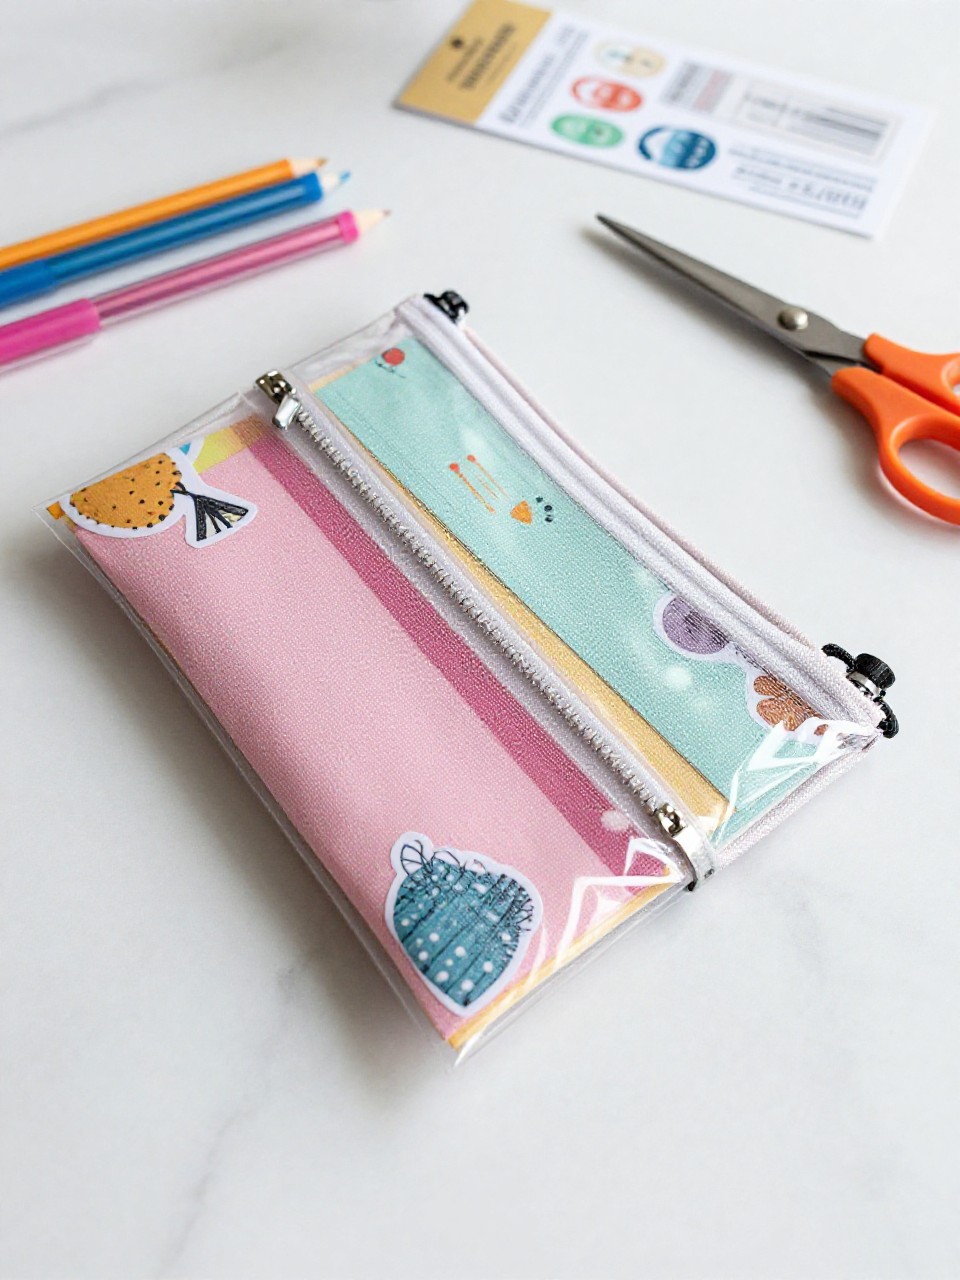
This clear zipper pouch becomes a cute pencil holder with paper inserts and labels, great for backpacks or desks. Kids enjoy changing the look by swapping colorful inserts and stickers. It’s quick, neat, and useful.
Materials Needed:
- Clear flat zipper bag (pencil-size)
- Colored paper or scrapbook paper
- Stickers or labels
- Ruler and scissors
- Permanent marker (optional)
How to make it:
- Measure the bag and cut paper to slide inside as a decorative background.
- Insert the paper and smooth it flat.
- Add stickers or label the outside with name and class.
- Fill with pencils and pens; wipeable surface keeps it clean.
5. Color-Coded Binder Tabs
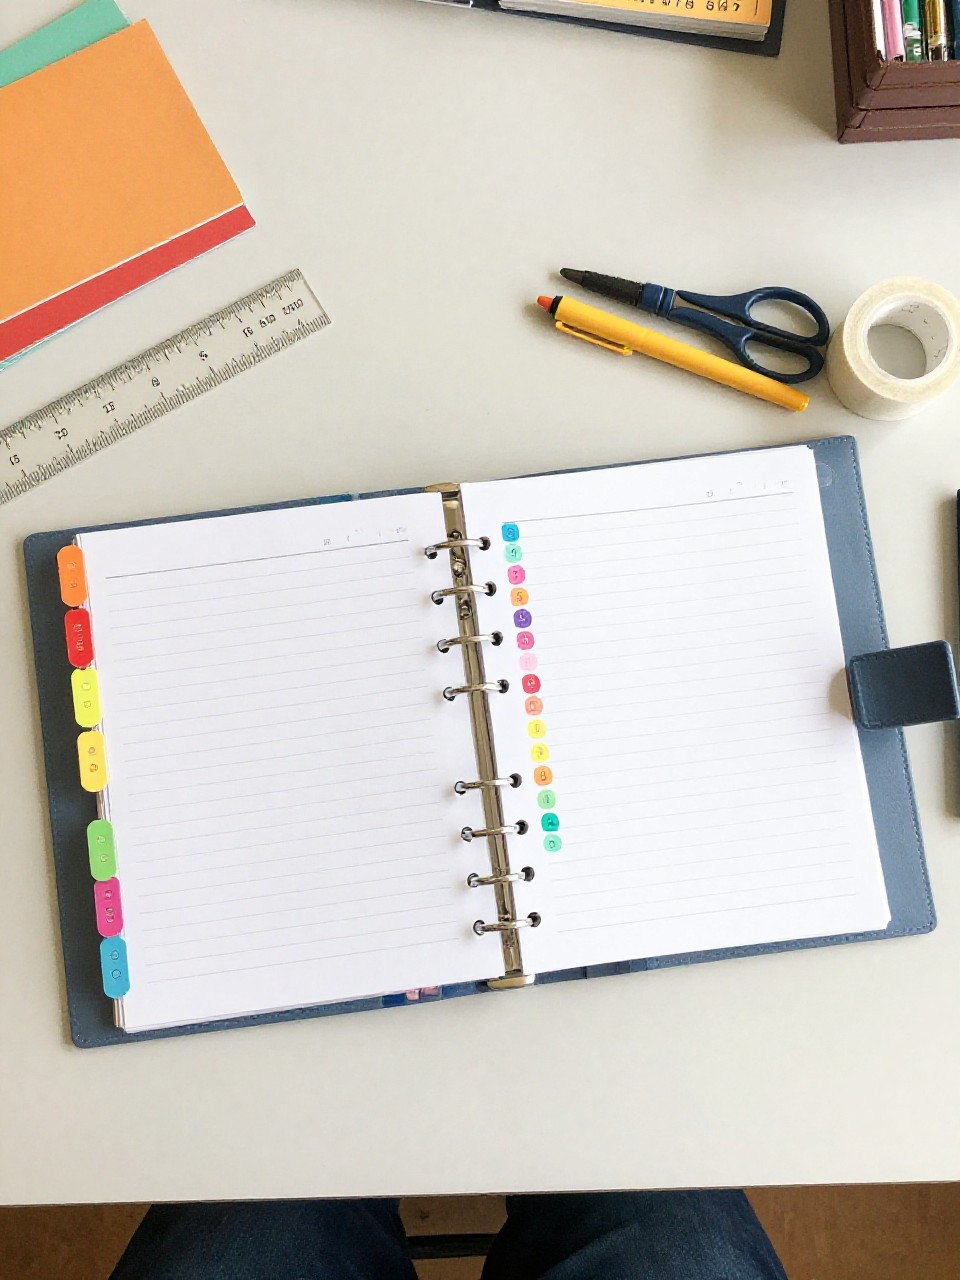
Bold cardstock tabs clip onto binder pages to separate subjects and units. Kids like choosing a color system that makes schoolwork feel organized and calm. It’s simple and satisfying.
Materials Needed:
- Cardstock in assorted colors
- Double-sided tape or glue stick
- Clear tape for reinforcement
- Marker for labeling
- Ruler and scissors
How to make it:
- Cut small tab rectangles and fold each in half.
- Attach folded tabs to page edges with double-sided tape.
- Label each tab with subject names, then reinforce edges with clear tape.
- Press flat under a heavy book for a few minutes before filing.
6. Painted Eraser-Top Pencil Toppers
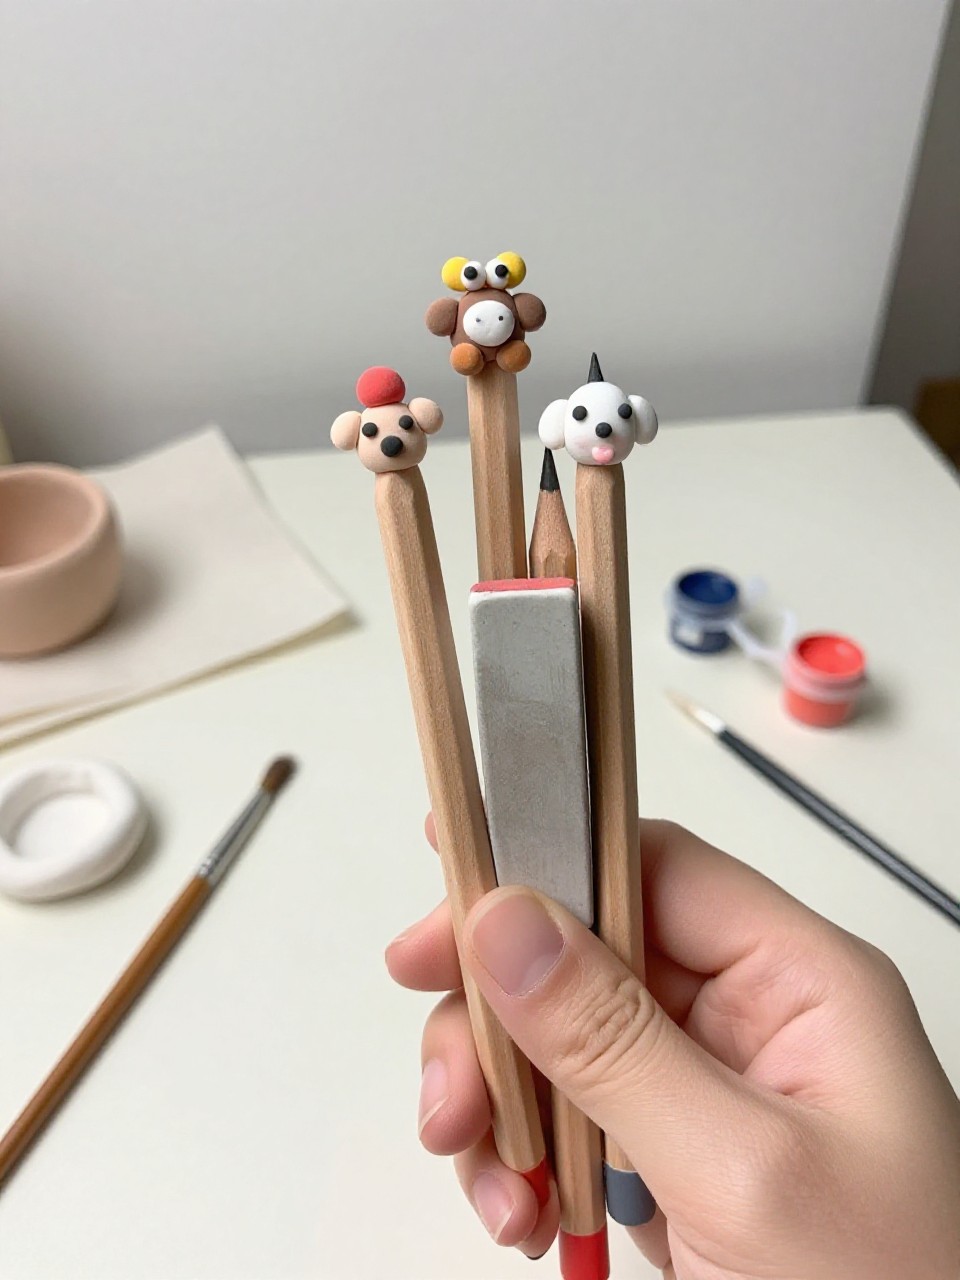
Air-dry clay shapes sit on pencil tops and are sealed for everyday use, turning pencils into tiny characters or icons. Kids love sculpting simple shapes like stars, hearts, or books, then painting them. It’s a fun, low-mess project.
Materials Needed:
- Air-dry clay
- Acrylic paint and small brush
- Clear sealant or Mod Podge
- Pencils
- Toothpick (for making holes)
How to make it:
- Roll small clay balls and shape simple designs.
- Use a toothpick to make a hole that fits a pencil top snugly.
- Let dry fully, then paint and add tiny details.
- Seal with Mod Podge; slide onto pencils when dry.
7. Magnetic Homework Clips
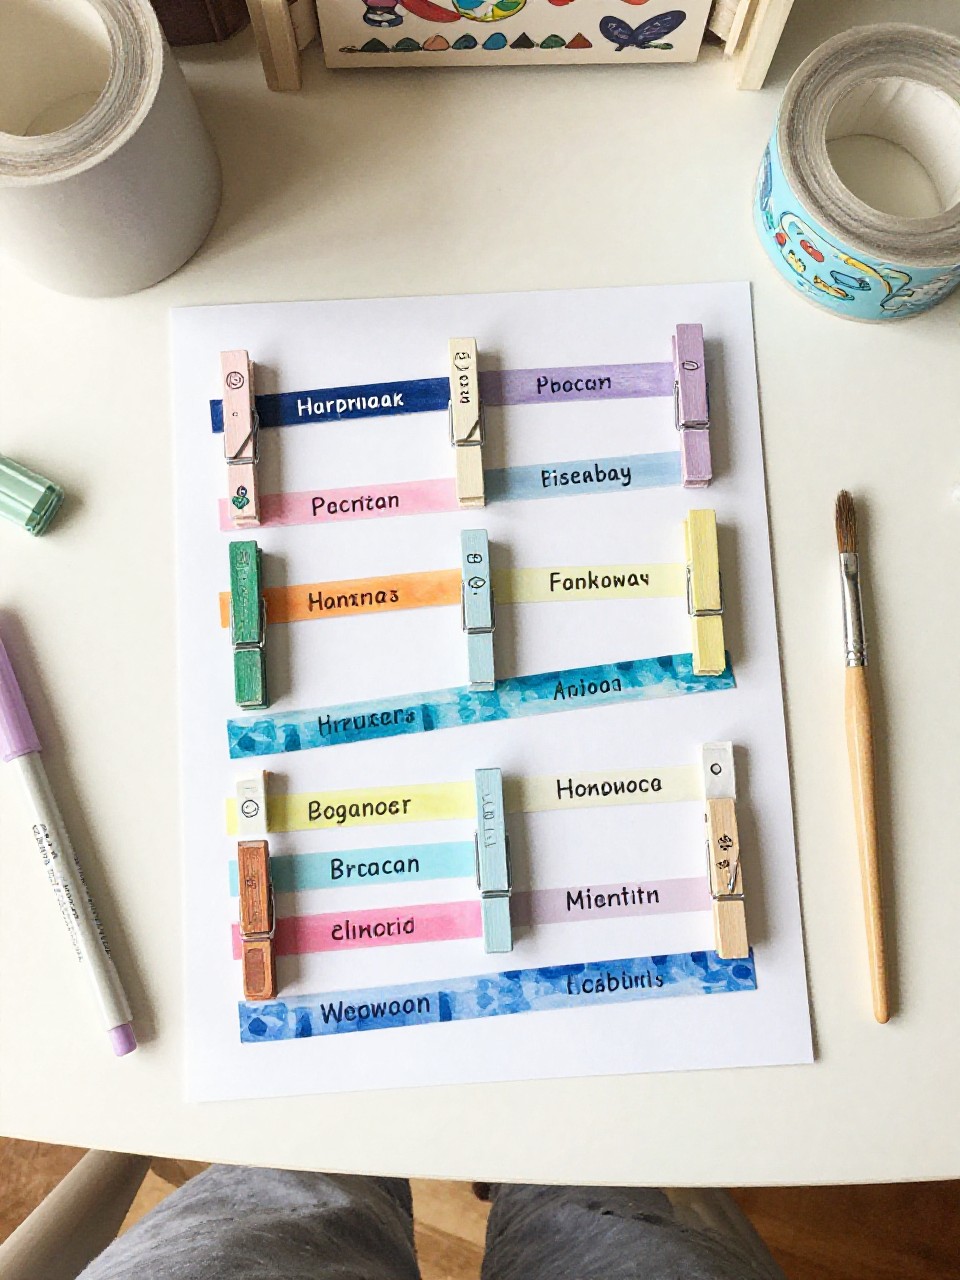
Large clothespins become subject clips with magnets for posting reminders or worksheets on a fridge or locker. Kids enjoy painting and naming their clips, and they help keep homework in sight. Easy and fast.
Materials Needed:
- Wooden clothespins (large)
- Acrylic paint or markers
- Self-adhesive magnet strips
- Stickers or letter decals (optional)
- Clear sealant (optional)
How to make it:
- Paint or color the clothespins and let them dry.
- Add subject names or icons with markers or stickers.
- Stick magnet strips on the back.
- Seal if desired; clip notes and stick them to a metal surface.
8. Paper Roll Desk Organizer
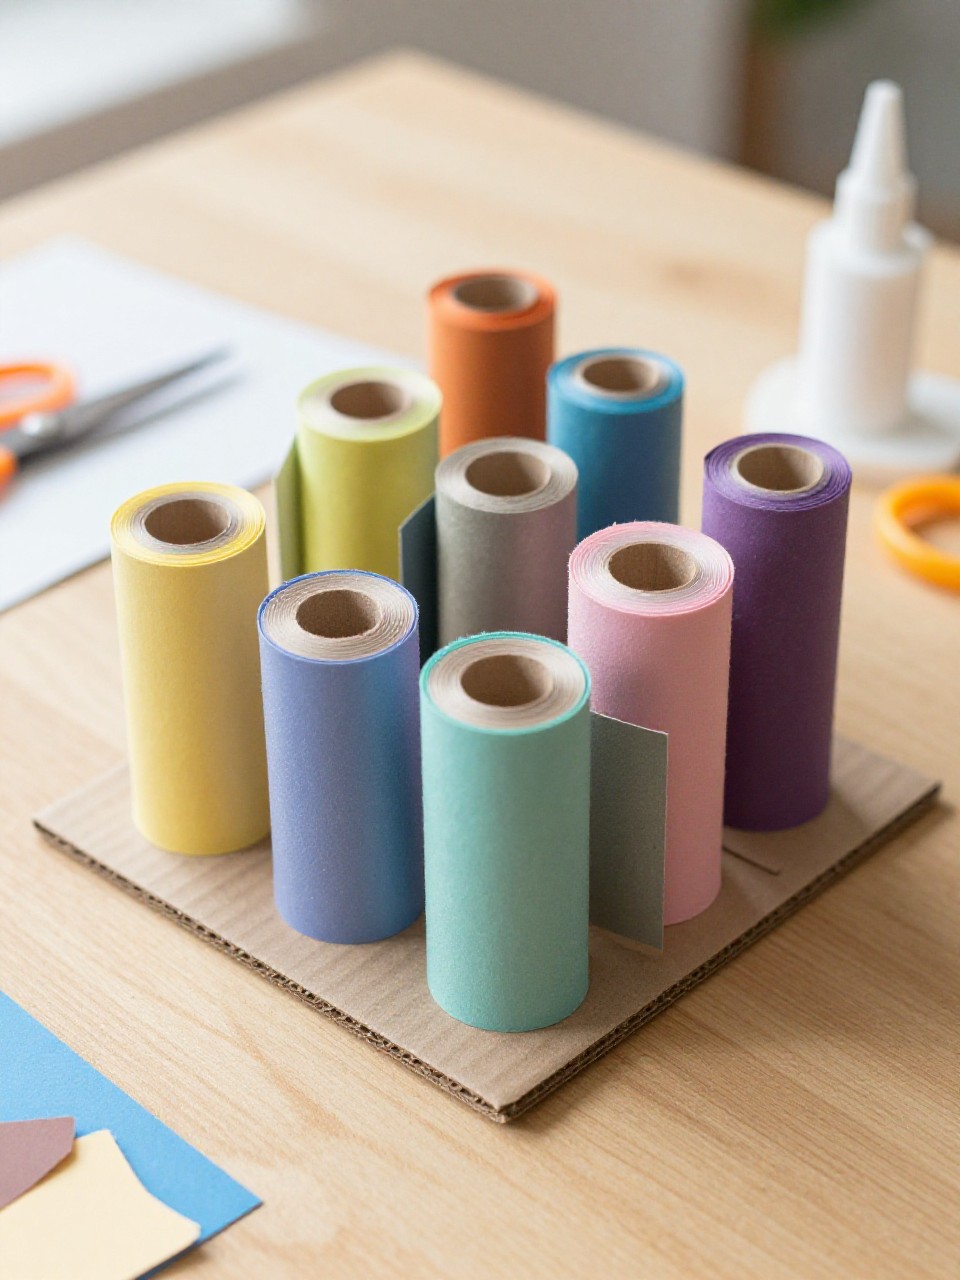
Toilet paper rolls turn into a cluster of colorful holders for pens, scissors, and rulers. Kids enjoy arranging different heights and patterns to design their own desk station. It’s a great recycled craft.
Materials Needed:
- Empty toilet paper or paper towel rolls
- Cardboard base piece
- Colored paper or paint
- Glue (tacky or hot glue with adult help)
- Stickers or washi tape (optional)
How to make it:
- Cut rolls to varied heights and paint or wrap them in colored paper.
- Glue the rolls upright onto a sturdy cardboard base.
- Decorate with washi tape stripes and stickers.
- Let dry fully; organize pens and tools inside each tube.
9. DIY Ruler Bookmarks
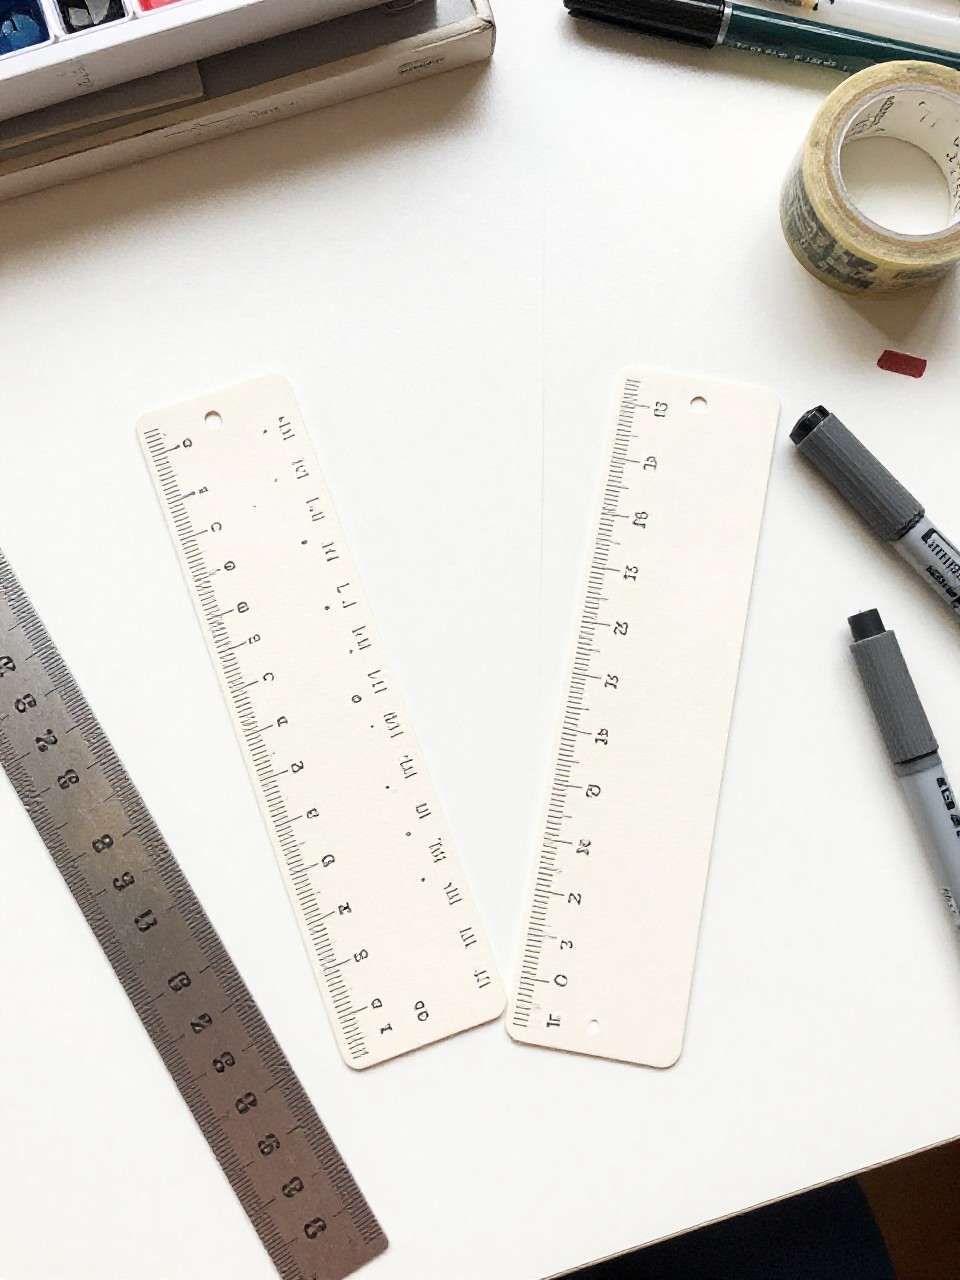
These sturdy bookmarks double as simple rulers with clear inch and centimeter marks. Kids like drawing the lines and adding small doodles, then using them during reading or math. Great for precision practice.
Materials Needed:
- Thin cardstock or laminated cardstock strips
- Ruler and pencil
- Fine-tip permanent marker
- Stickers (optional)
- Hole punch and string (optional)
How to make it:
- Cut cardstock into long, narrow strips.
- Use a real ruler to mark inches and centimeters; trace marks with a fine-tip marker.
- Add a name, small doodles, or stickers.
- Laminate or cover with clear tape for durability; punch a hole and add string if desired.
10. Personalized Subject Notebooks
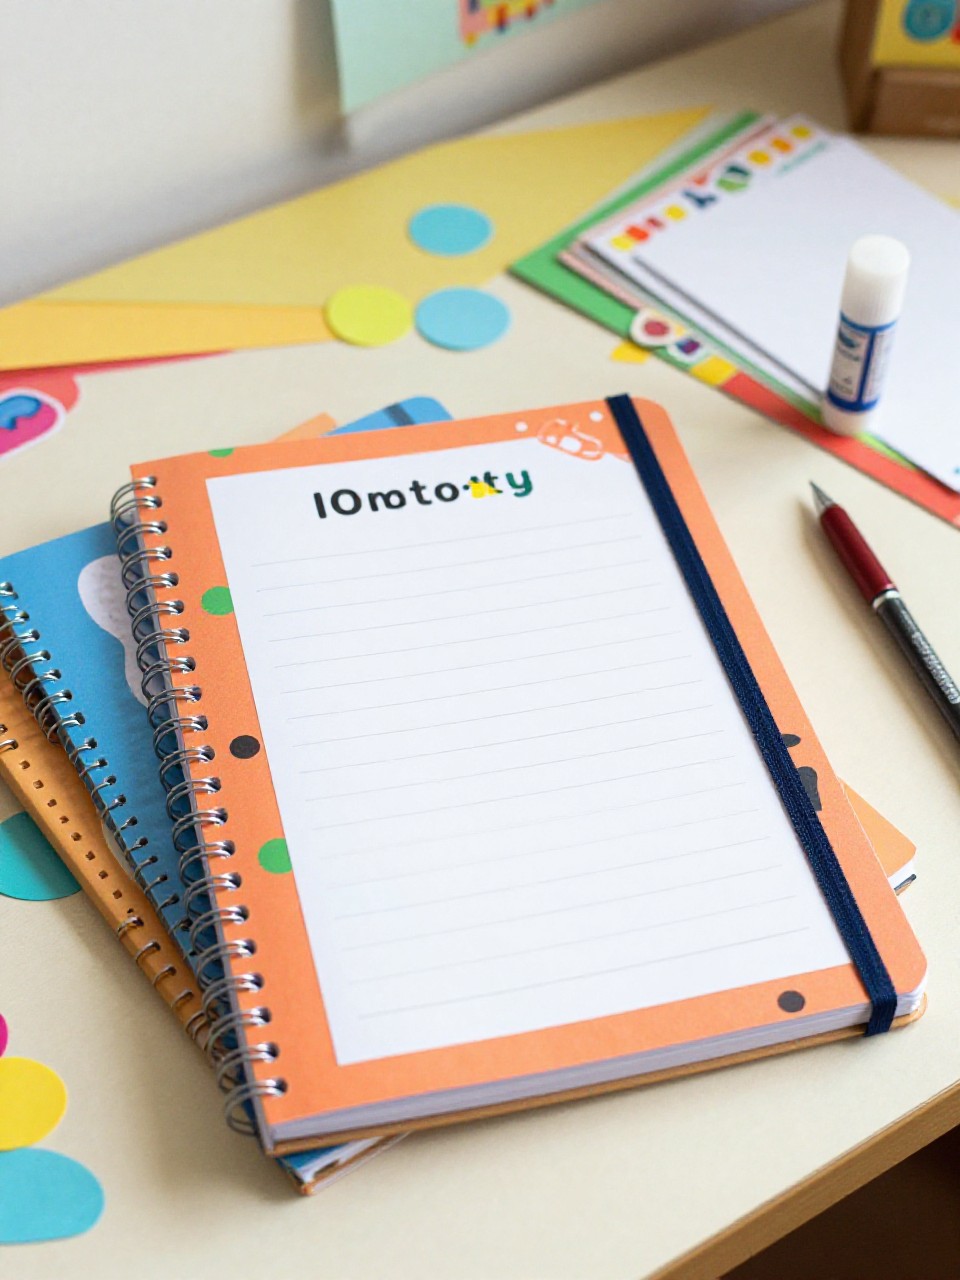
Plain notebooks get custom covers with bold titles, colors, and simple collages that match each subject. Kids enjoy designing a look for math, science, reading, and art, making school feel more personal. It’s creative and useful.
Materials Needed:
- Plain composition or spiral notebooks
- Colored paper and magazine cutouts
- Glue stick
- Letter stickers or markers
- Clear contact paper or packing tape (to protect)
How to make it:
- Plan a cover layout with colored paper blocks and cutouts.
- Glue pieces down and add a big subject title.
- Decorate edges with washi tape or doodles.
- Cover with clear contact paper or tape to protect; label the spine.
11. Corner Page Monster Tabs

These folded paper corner bookmarks hug the page and look like cute study monsters with teeth and eyes. Kids love the silly faces and bright colors, and they help mark reading spots. Simple origami-style folds.
Materials Needed:
- Square origami or colored paper
- Glue stick
- Googly eyes or paper eyes
- White paper for teeth
- Markers
How to make it:
- Fold a square into a corner pocket triangle.
- Tuck and glue flaps to form the pocket.
- Add paper teeth, eyes, and doodled details.
- Let glue dry; slide onto the corner of a book page.
12. Weekly Study Planner Pad

A simple tear-off planner pad made from stacked pages and a glued spine keeps tasks tidy for the week. Kids enjoy making their own layout and feel proud tearing off each finished week. It’s organized and empowering.
Materials Needed:
- Printer paper or cut A5 sheets
- Template or ruler and markers
- Binder clips
- PVA glue or padding compound
- Cardstock backing
How to make it:
- Design a weekly layout on one page, then copy or print 20–30 sheets.
- Stack pages with a cardstock backing and clamp with binder clips along the top edge.
- Brush PVA glue along the clamped edge to form a pad; add 2–3 coats.
- Let dry completely; remove clips and start planning your week.