


Table of Contents Show
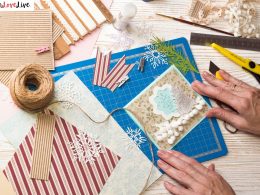
Keeping kids busy or planning a quick classroom activity can be hard, especially when you don’t have special supplies. That’s why I love envelope crafts—you can turn scrap paper into useful, cute mail in minutes. This list gives you simple, fun envelope ideas that use paper you already have, like magazines, printer paper, notebook sheets, and gift wrap.
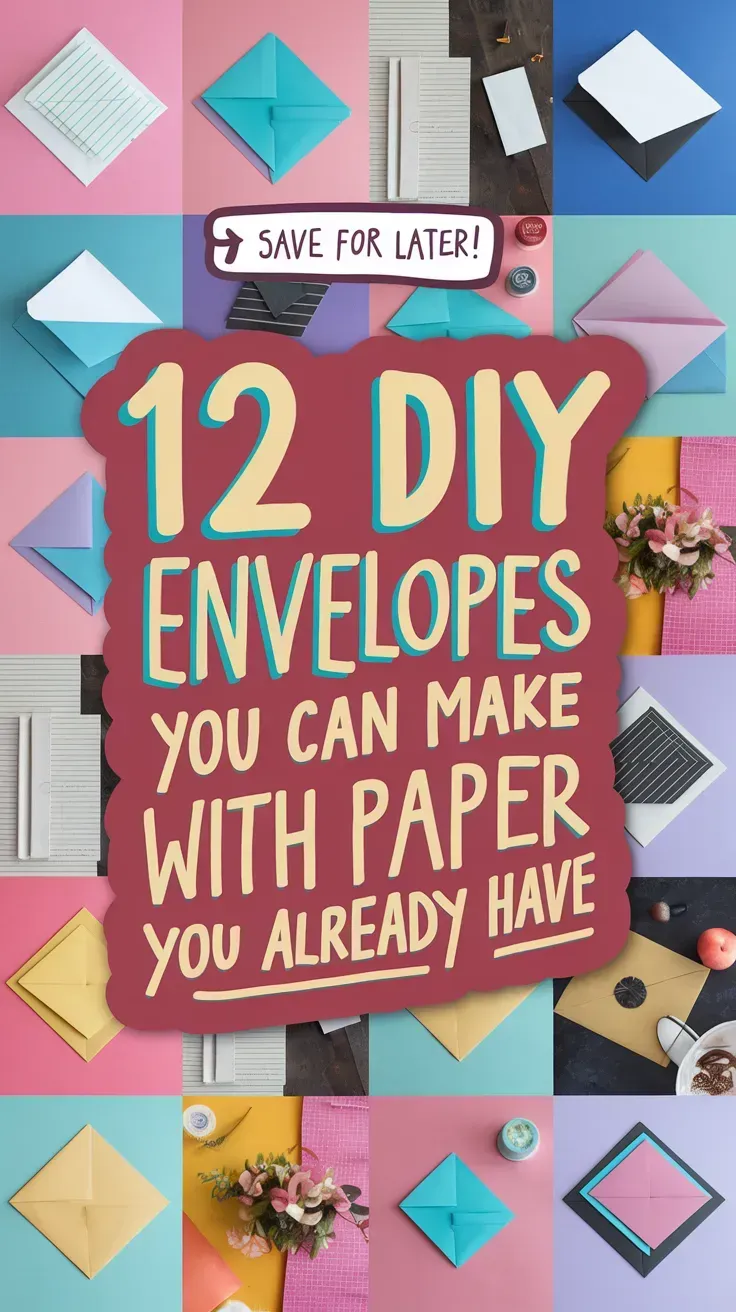
You’ll find easy folds, playful decorations, and clever closures. Let’s dive into 12 DIY envelopes you can make today.
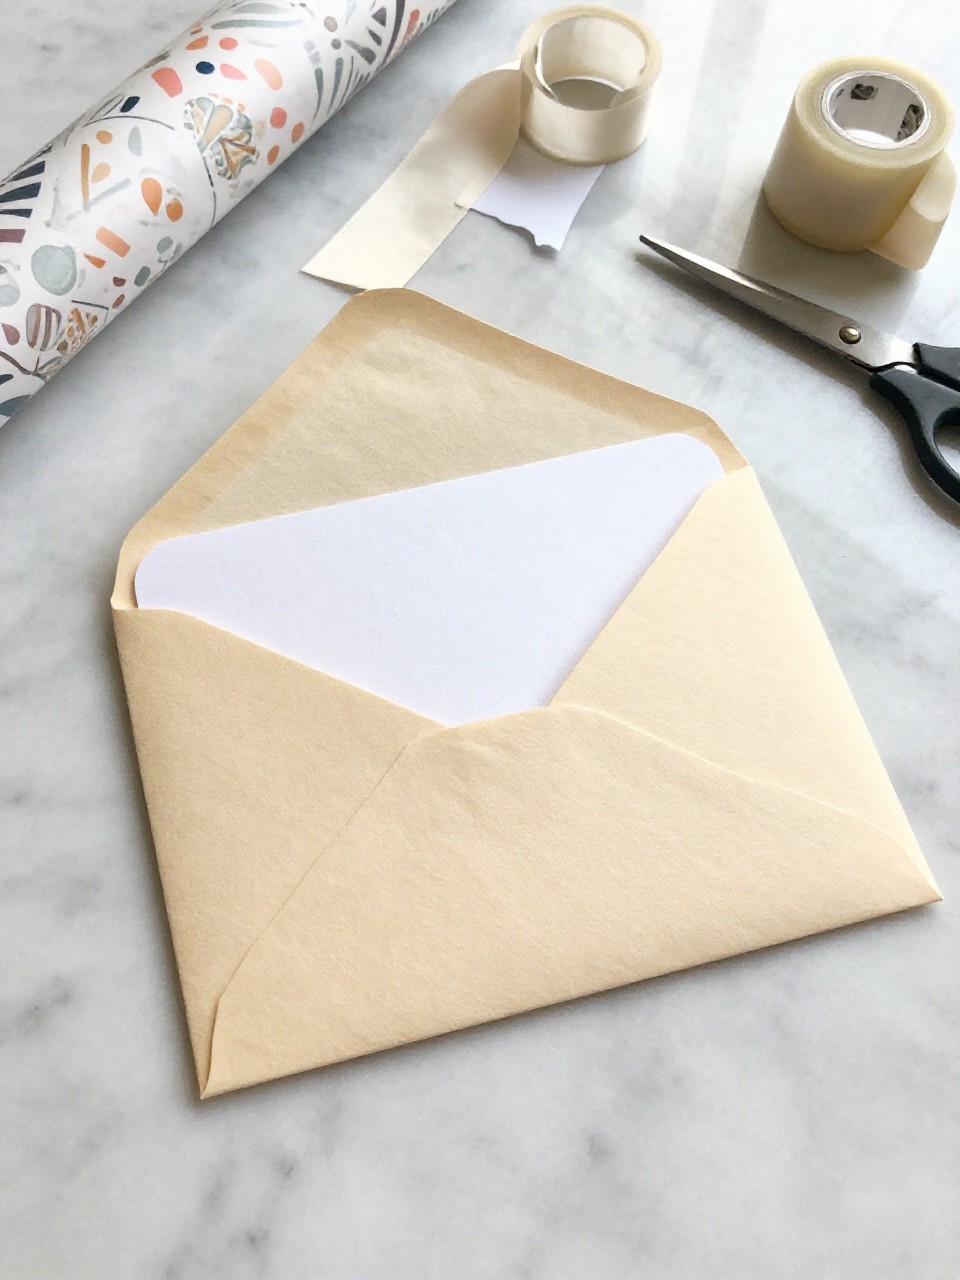
1. Classic Square-Fold Envelope
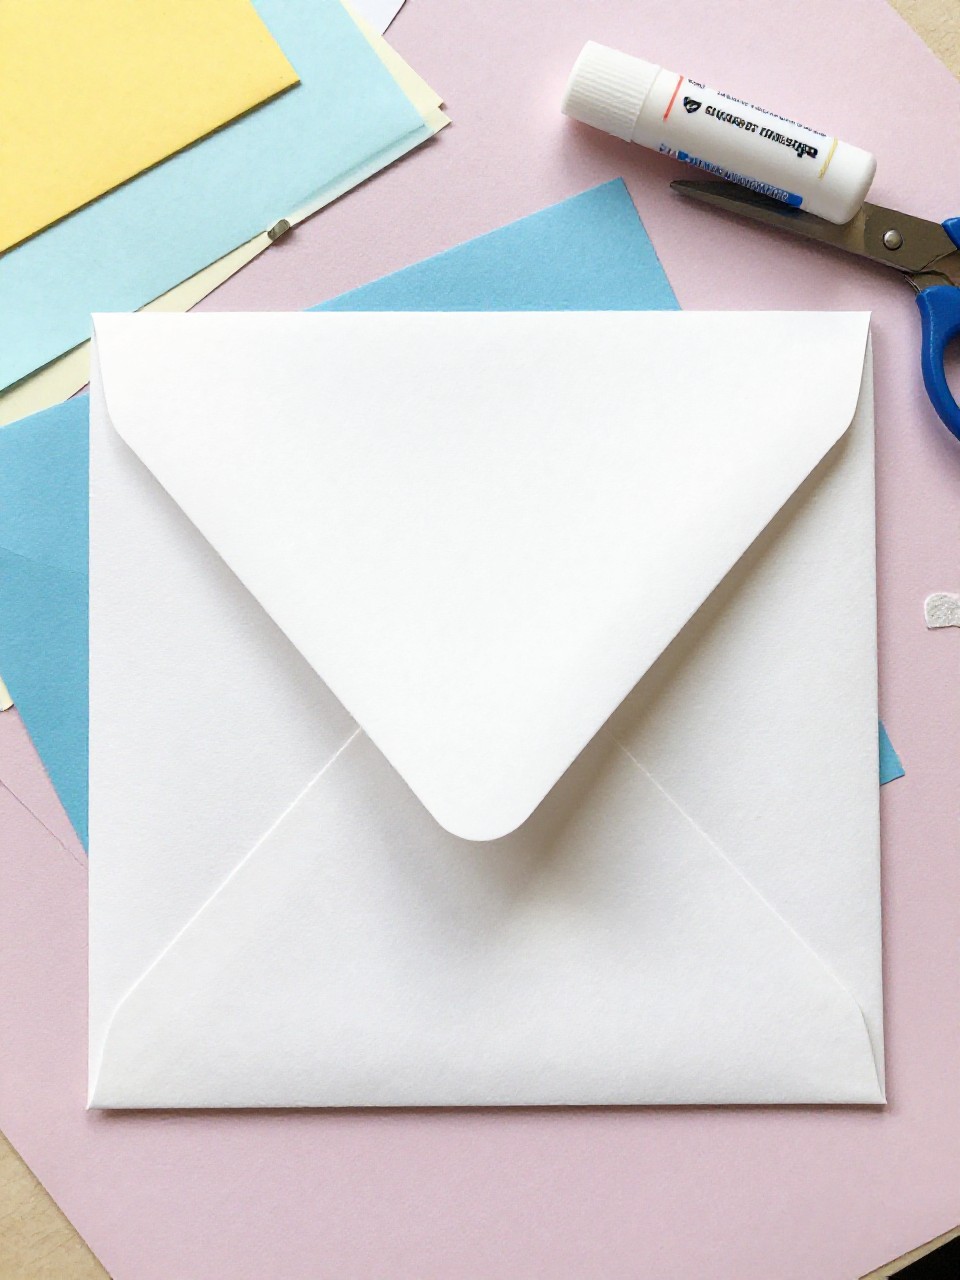
This looks like a neat, square envelope with a pointed top flap, perfect for cards or notes. Kids enjoy the simple folds and seeing a flat sheet turn into real “mail.” It’s beginner-friendly and quick.
Materials Needed:
- Any square paper (wrapping paper, scrapbook scraps, or cut printer paper)
- Glue stick or double-sided tape
- Ruler (optional for creases)
- Sticker or washi tape (optional seal)
How to make it:
For People Who Love to Make Things ✂️
- Start with a square sheet. Mark the center lightly.
- Fold the left and right corners into the center so they meet.
- Fold the bottom corner up to overlap slightly; glue to hold. Fold the top corner down to make a flap.
- Press creases well and seal the flap with a sticker or washi when you add your note.
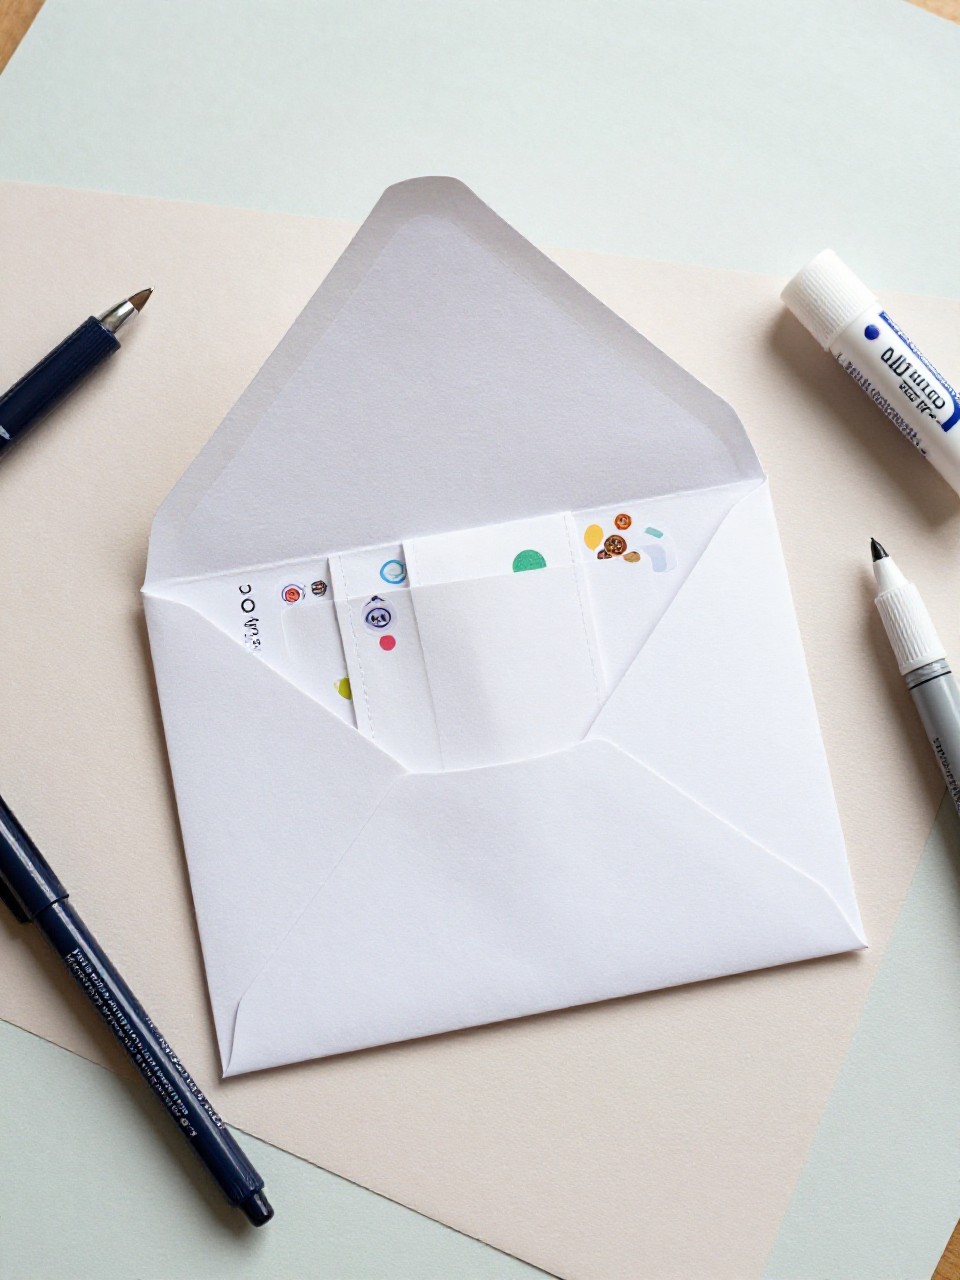
2. No-Glue Origami Pocket Envelope
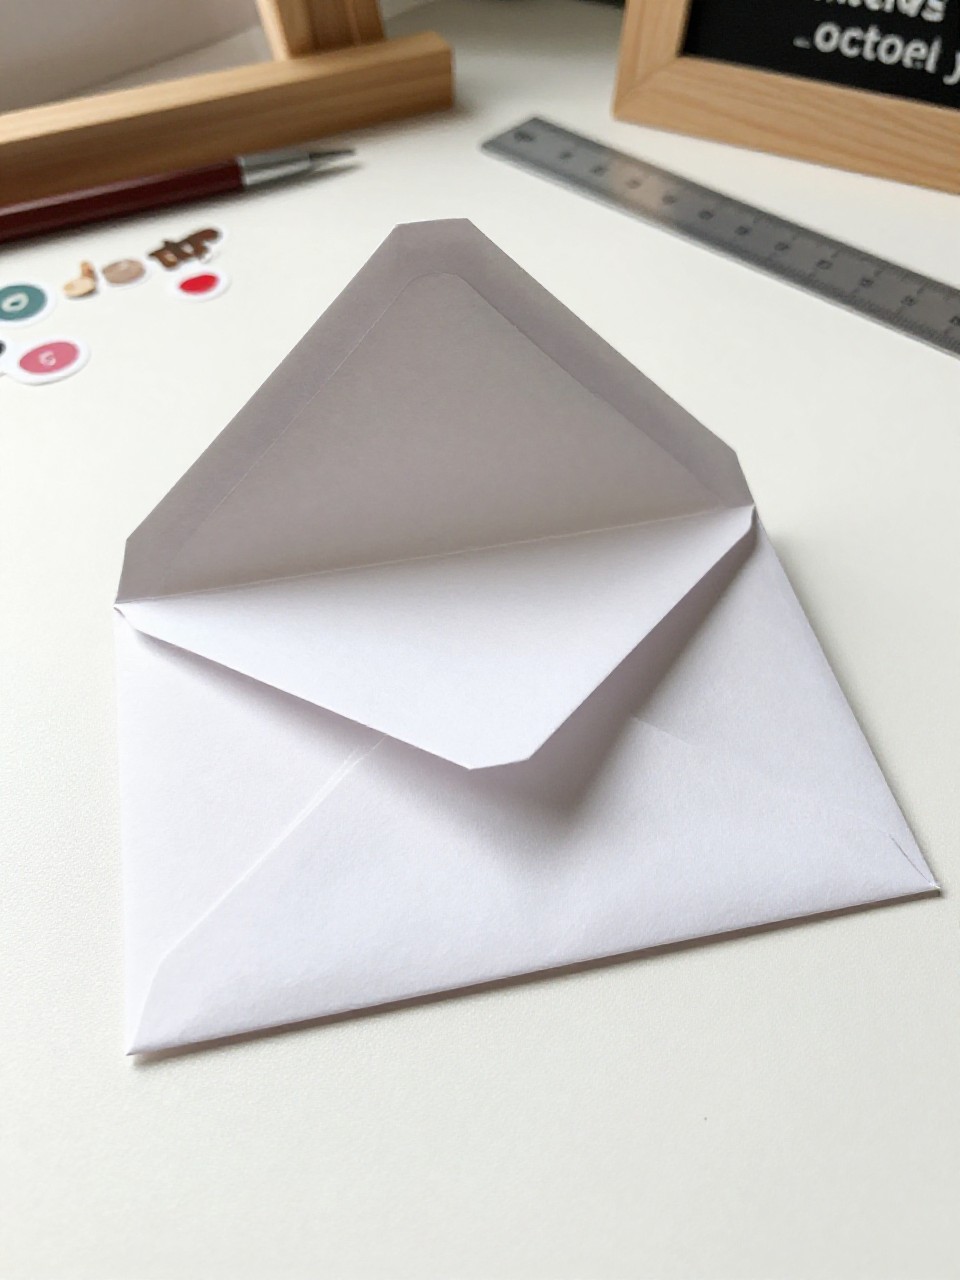
This envelope looks like a tidy pocket with a tucked-in flap, made only by folding. It feels like a mini magic trick, and kids love that it stays shut without glue.
Materials Needed:
- Rectangular paper (printer paper, notebook paper, or a magazine page)
- Ruler or old gift card (for sharp creases)
- Small sticker (optional for extra hold)
How to make it:
- Fold the paper in half lengthwise, then unfold. Fold each long edge to meet the center crease.
- Fold the bottom up about one-third. Tuck the bottom corners inward to form pockets.
- Fold the top down to create a closing flap; tuck the flap into the pockets.
- Press all creases. Add a sticker if you want extra security.
3. Heart-Fold Love Note Envelope
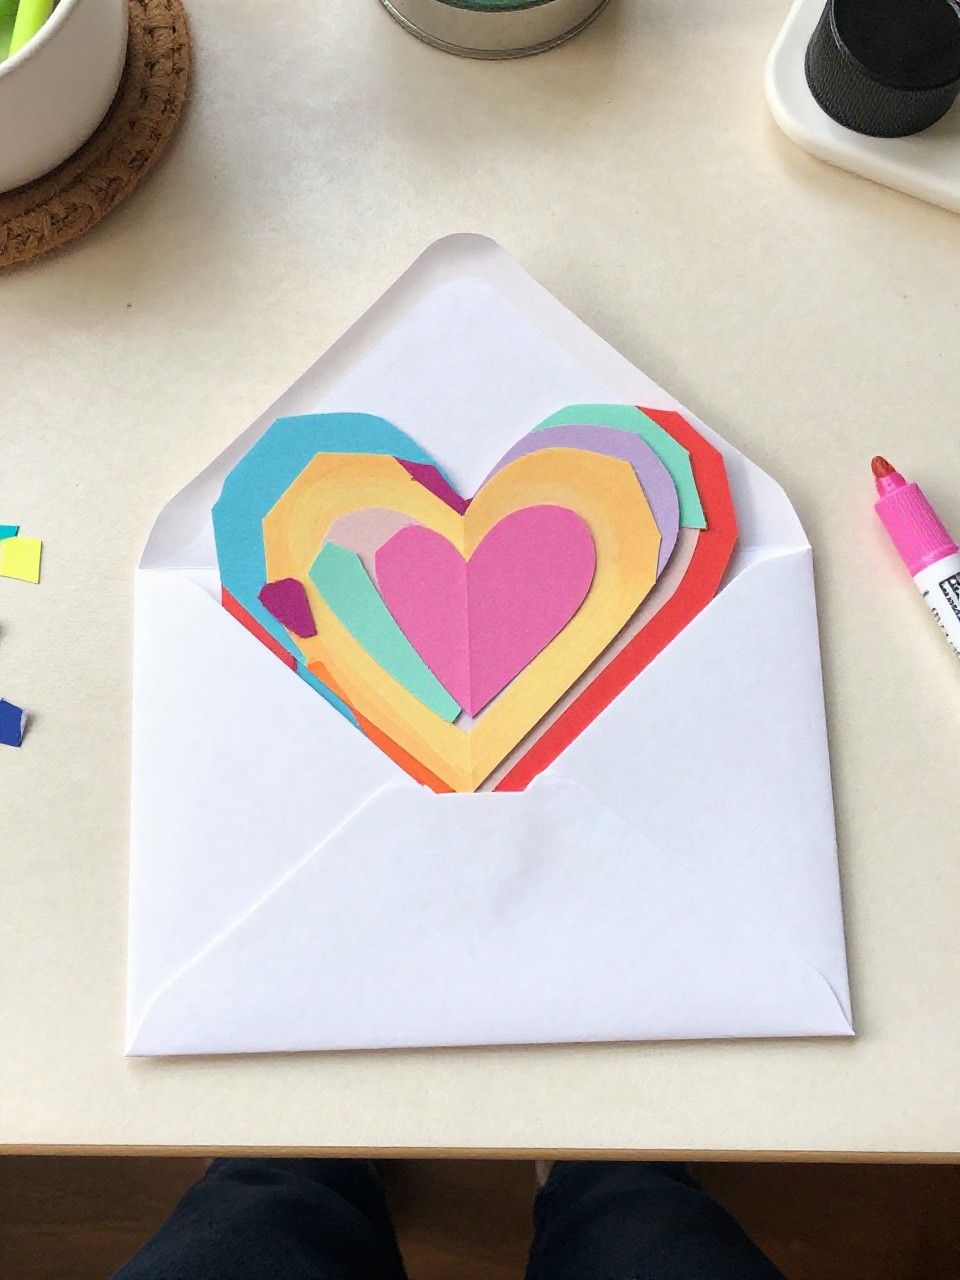
This envelope looks like a big heart that folds into a small sealed note with the top curves forming the flap. It’s cute and satisfying, great for Valentine’s Day or just-because notes.
Materials Needed:
- Heart-shaped paper cut from any sheet (old gift wrap, construction paper, or painted paper)
- Glue stick (optional)
- Marker for a tiny message (optional)
How to make it:
- Cut a large heart. Place it point-down.
- Fold the left and right sides of the heart toward the center so they overlap a little.
- Fold the bottom point up, then fold the top curves down to meet the bottom.
- Crease well and add a dab of glue if needed to keep it closed.
4. Magazine Page Collage Envelope
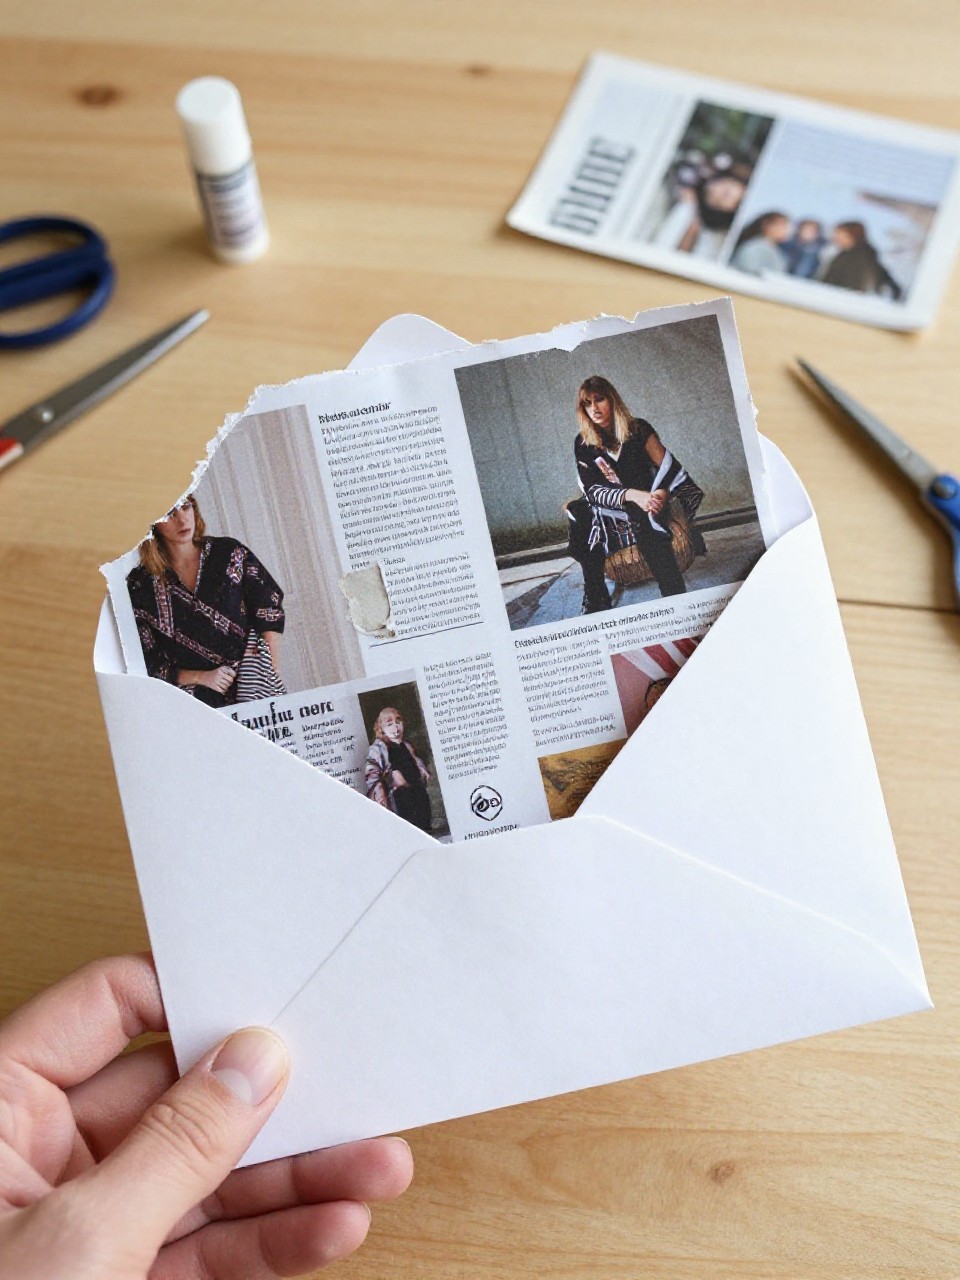
This one looks bold and artsy, made from a single magazine page so the outside shows colorful photos and text. Kids enjoy choosing pages and seeing a unique envelope every time.
Materials Needed:
- One glossy magazine page
- Glue stick or double-sided tape
- Scissors
- Sticker label or washi tape (optional for address area)
How to make it:
- Trim the page to a rectangle. Place it face down.
- Fold the bottom up to create a pocket; glue the left and right edges.
- Fold the top down for the flap; round the corners if you like.
- Add a sticker label on the front for writing a name or note.
5. Notebook Paper School-Note Envelope
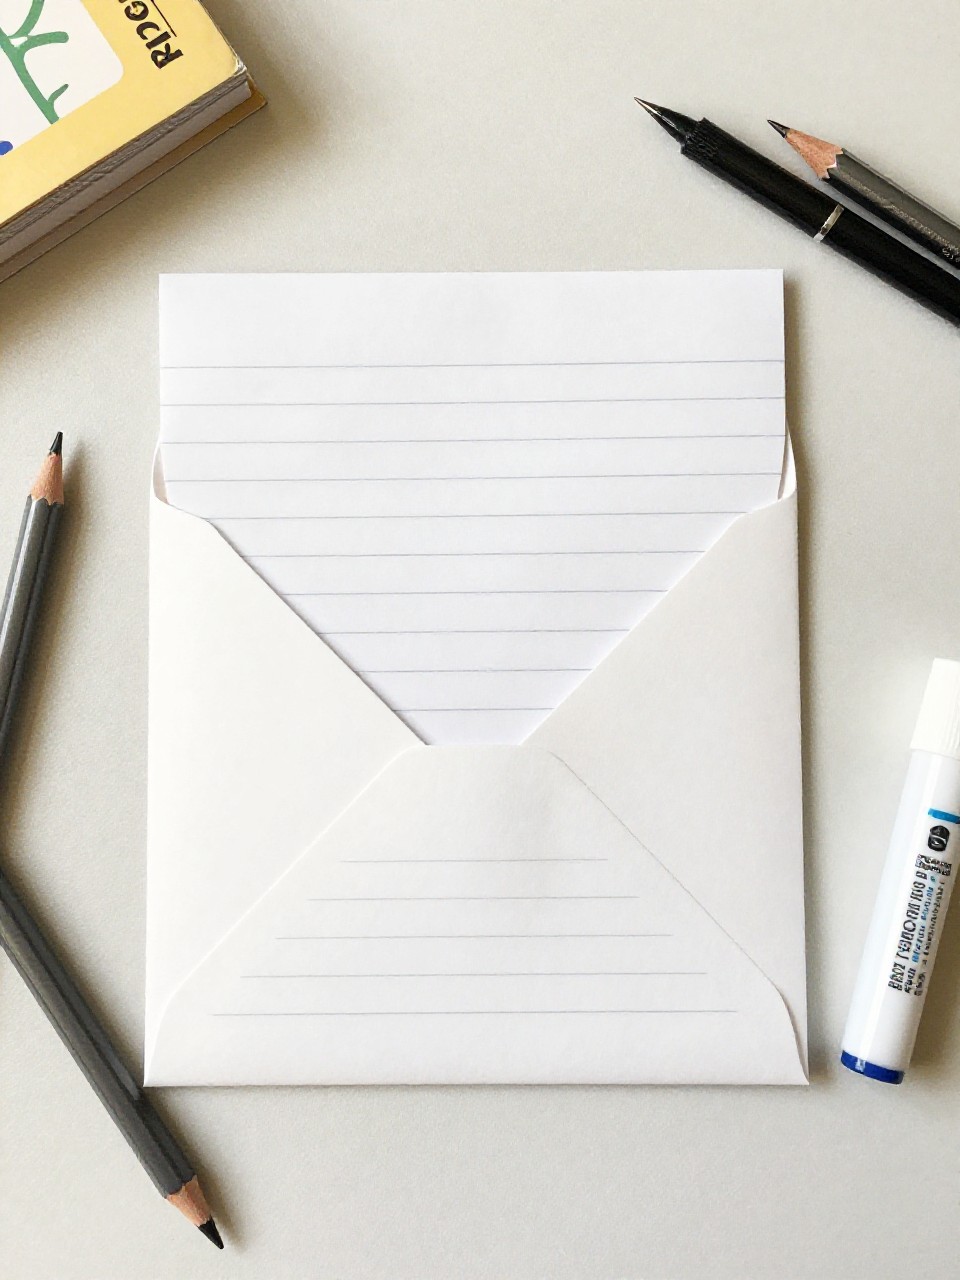
This looks like a simple lined paper envelope with the red margin as a cute design detail. It’s great for lunchbox notes, and kids love writing their message right on the envelope.
Materials Needed:
- Lined notebook paper
- Glue stick or tape
- Pen or marker
- Small sticker (optional)
How to make it:
- Fold the paper in half widthwise. Trim sides to make a neat rectangle.
- Fold the bottom up to form a pocket; glue the side edges.
- Fold the top down for a flap; round or angle the corners.
- Write a name or doodles on the front and seal with a sticker.
6. Wrapping Paper Gift Card Envelope
This is a small, tidy sleeve sized for a gift card, using leftover wrapping paper for a festive look. Kids enjoy picking patterns and making a quick holder that feels store-bought.
Materials Needed:
- Scrap wrapping paper
- Tape or glue stick
- Ruler
- Sticker or ribbon scrap (optional)
How to make it:
- Cut a rectangle: about 4.5 x 6 inches. Place pattern down.
- Fold short sides in to overlap slightly; tape or glue.
- Fold one short end up 0.5 inch and glue inside for a clean bottom.
- Slide in the card and fold the top flap down; add a sticker or ribbon tie.
7. Accordion-Booklet Envelope
This envelope opens to a tiny accordion with 2–3 pockets inside for stickers or notes. Kids love hiding small treasures and decorating each pocket differently.
Materials Needed:
- Any lightweight paper strip (from printer paper or wrapping paper), about 3 x 12 inches
- Glue stick
- Markers or stickers
- Small label (optional)
How to make it:
- Fold the strip in thirds like an accordion.
- Glue the bottom edges of the first two panels to make pockets; leave the last panel as a flap.
- Round the flap corners and decorate each pocket.
- Add a label on the front and tuck the flap into a pocket to close.
8. Window Peekaboo Envelope
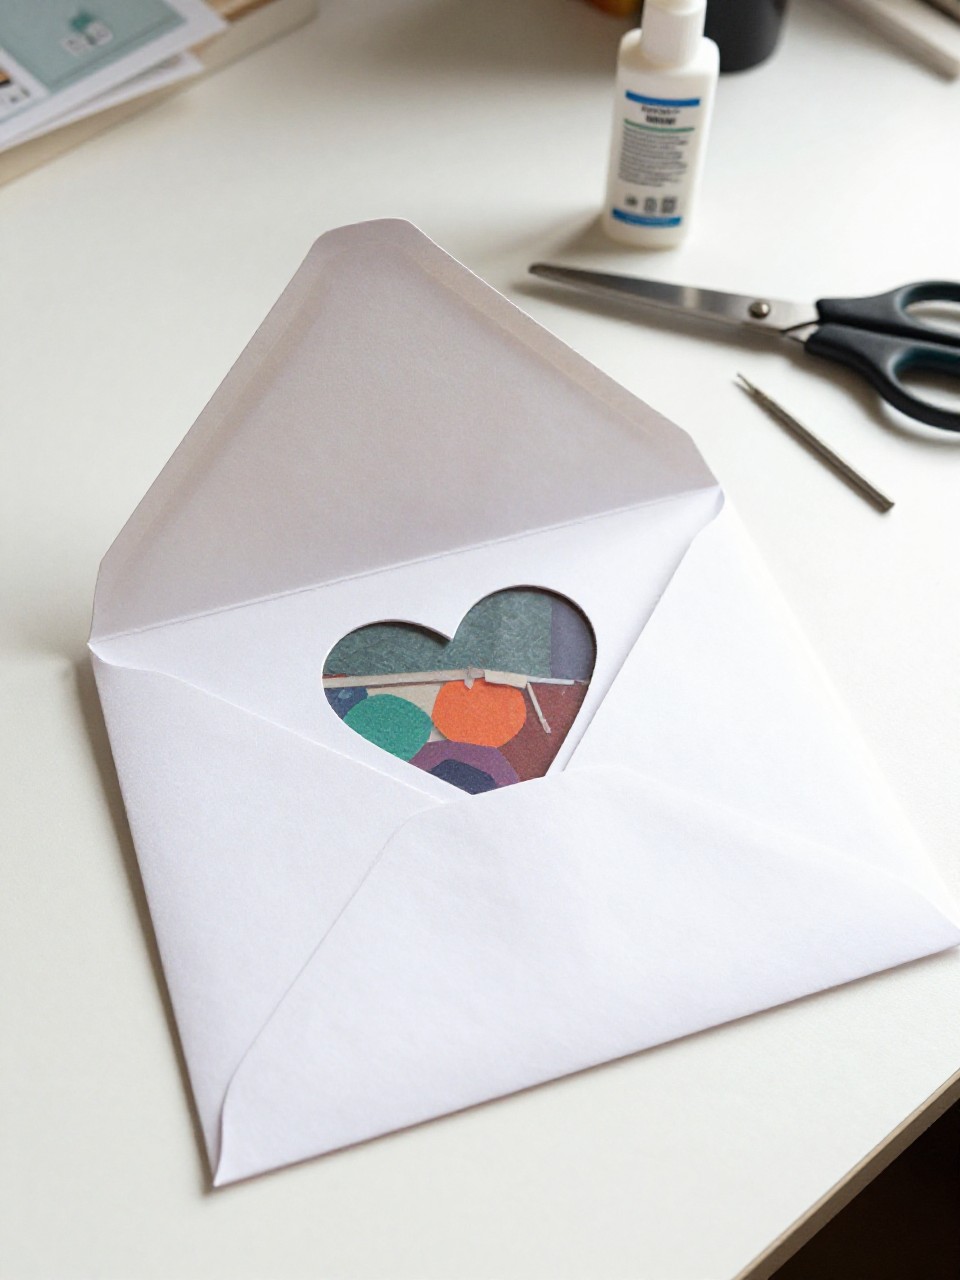
This envelope has a small cut-out window on the front with a clear view of the note or drawing inside. Kids enjoy picking the window shape and seeing a sneak peek.
Materials Needed:
- Cardstock weight paper (or layered printer paper for sturdiness)
- Scissors or craft knife (adult help)
- Clear tape or scrap of plastic wrap (for window)
- Glue stick
- Stickers or markers (optional)
How to make it:
- Fold paper into a simple pocket with a top flap (like item 1), but do not glue yet.
- Cut a small shape on the front panel; tape plastic wrap inside to make a window.
- Glue side seams to form the pocket.
- Decorate and slide in your note so it shows through the window.
9. Triangle Seed Packet Envelope
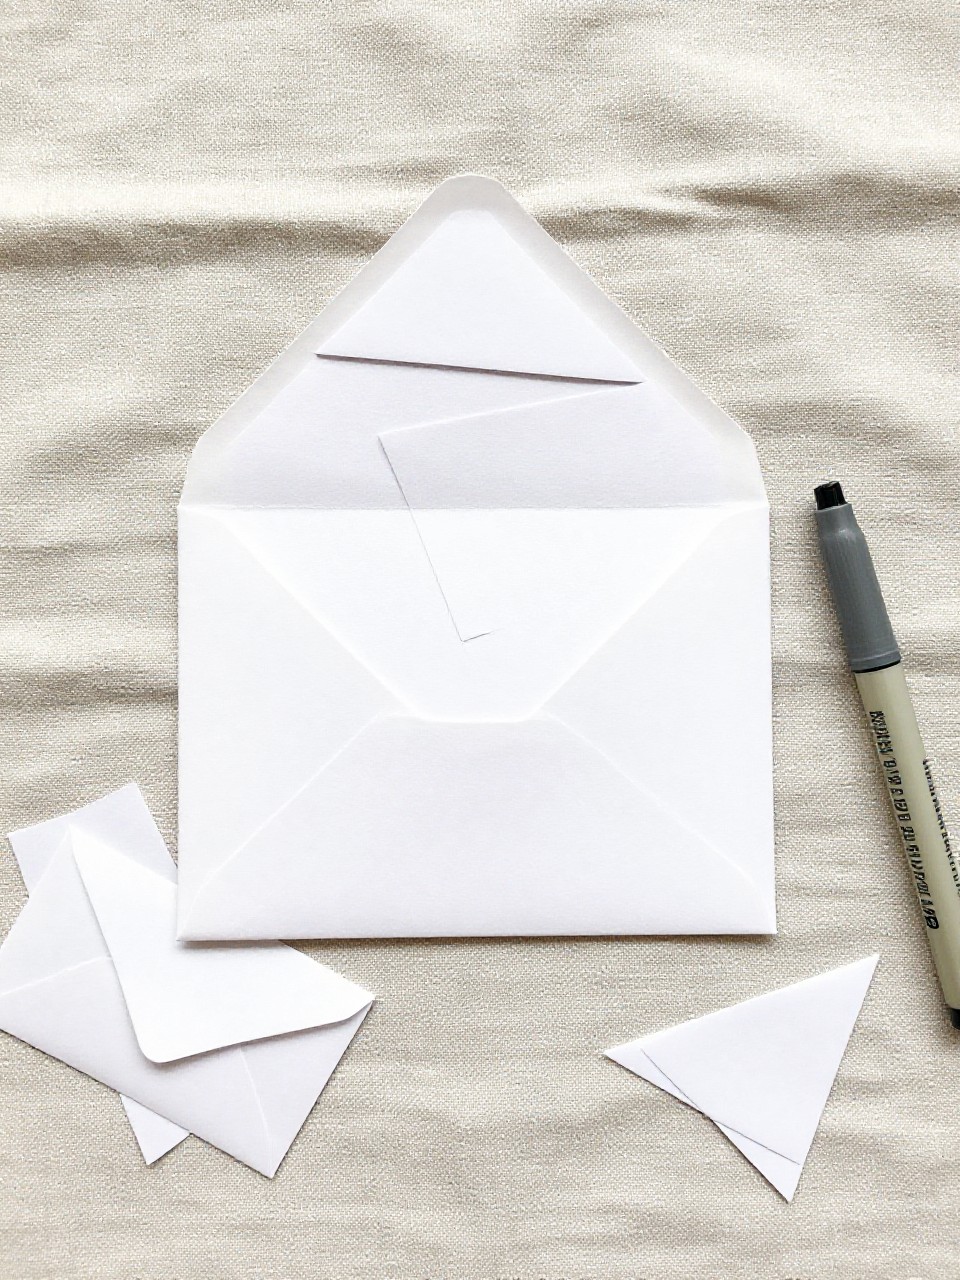
This looks like a tiny triangle envelope often used for seeds, confetti, or tiny notes. Kids enjoy the snug fold and the cute, pocket-size result.
Materials Needed:
- Small square paper (origami scrap, notebook square, or gift wrap)
- Glue stick or tape
- Marker for label
How to make it:
- Turn the square into a diamond and fold in half to make a triangle.
- Fold the right corner across to the left edge; then fold the left corner across to the right edge, tucking one flap into the other.
- Tuck the top flap down to close; add a dot of glue if needed.
- Label the front and draw a small icon.
10. Book Page Vintage Envelope
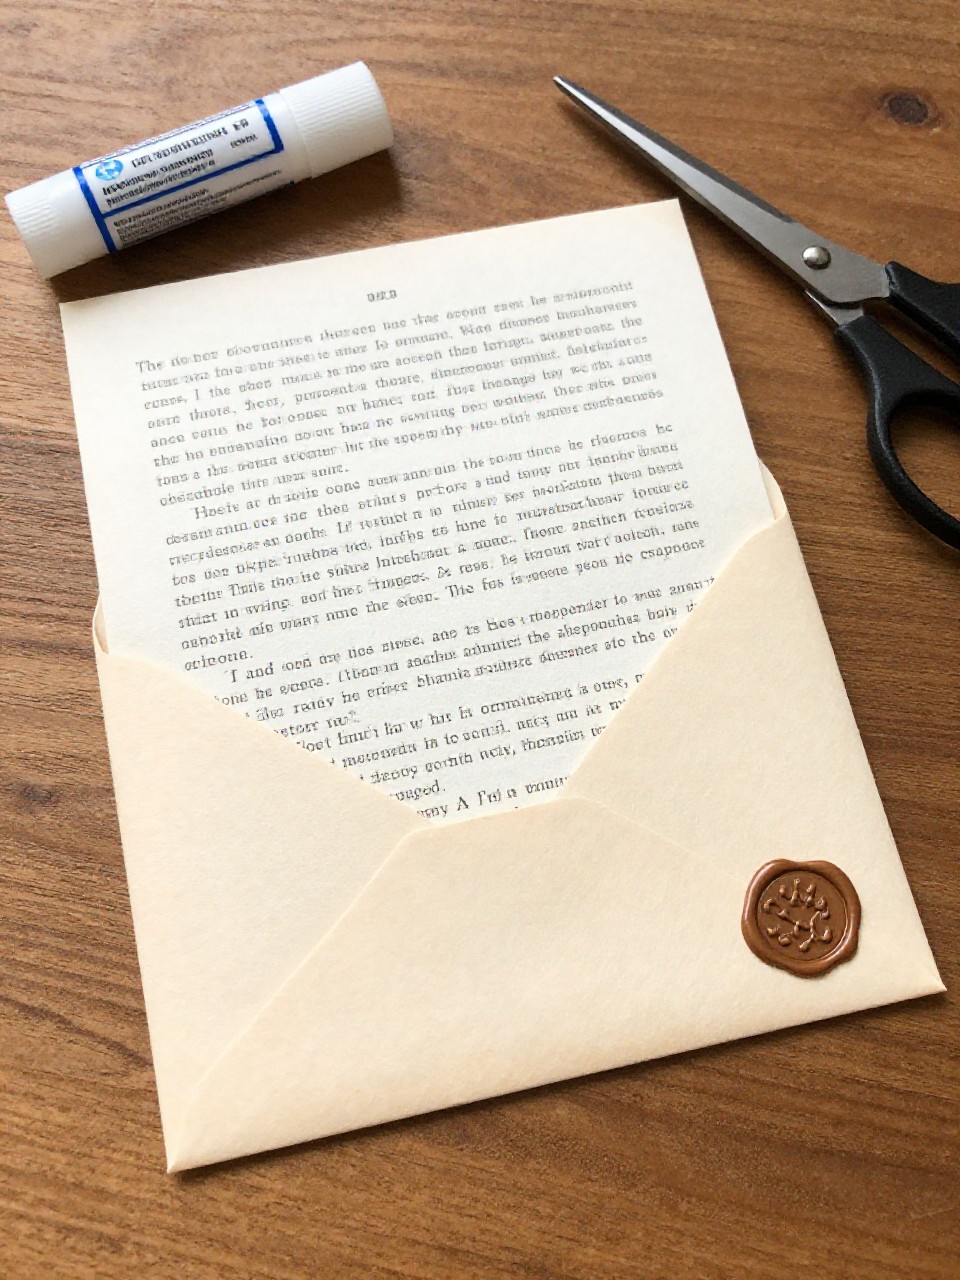
This envelope looks rustic and bookish, made from an old, damaged book page with pretty text. Kids enjoy the vintage style and the quick fold-and-glue steps.
Materials Needed:
- One book page (from a thrifted or damaged book)
- Glue stick
- Scissors
- Sticker seal or wax-look sticker (optional)
How to make it:
- Trim to a rectangle. Fold bottom up to make a pocket and glue the sides.
- Fold top down into a flap; trim to a soft point or curve.
- Reinforce thin areas with a strip of glued paper inside.
- Seal with a sticker and write the name across the text.
11. Crayon-Resist Painted Envelope
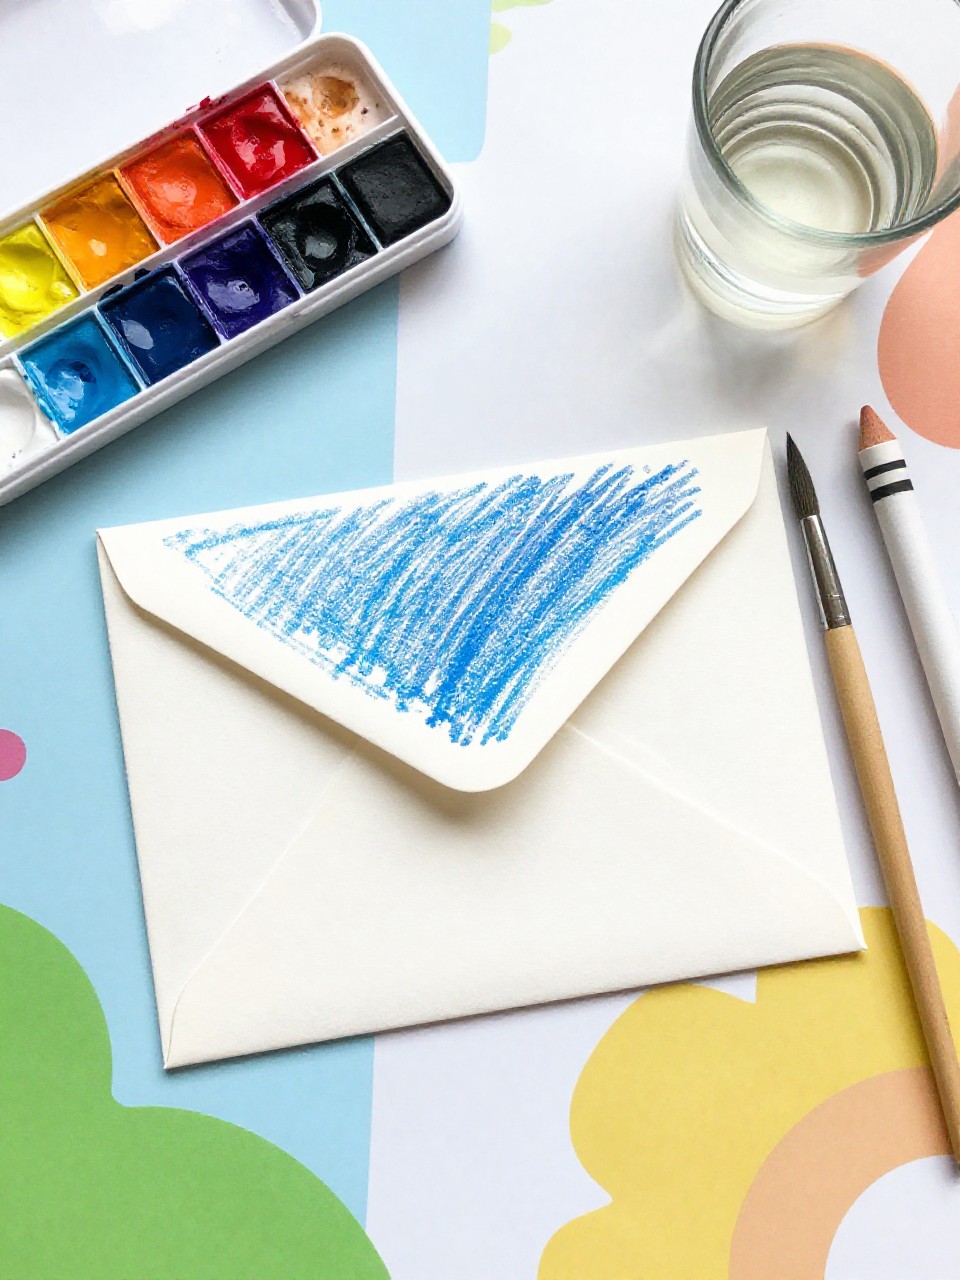
This envelope has bright, watercolor-like swirls with secret white crayon patterns that show through. Kids love the surprise reveal when the paint glides over the wax.
Materials Needed:
- Plain printer paper
- White crayon
- Watercolor paint or diluted food coloring
- Brush and water
- Glue stick
How to make it:
- Draw patterns or words with white crayon all over the paper.
- Paint a light wash of color over the page and let dry.
- Fold into a classic envelope shape and glue side seams.
- Add a contrasting label for the address or name.
12. Washi-Edge Letterfold Envelope
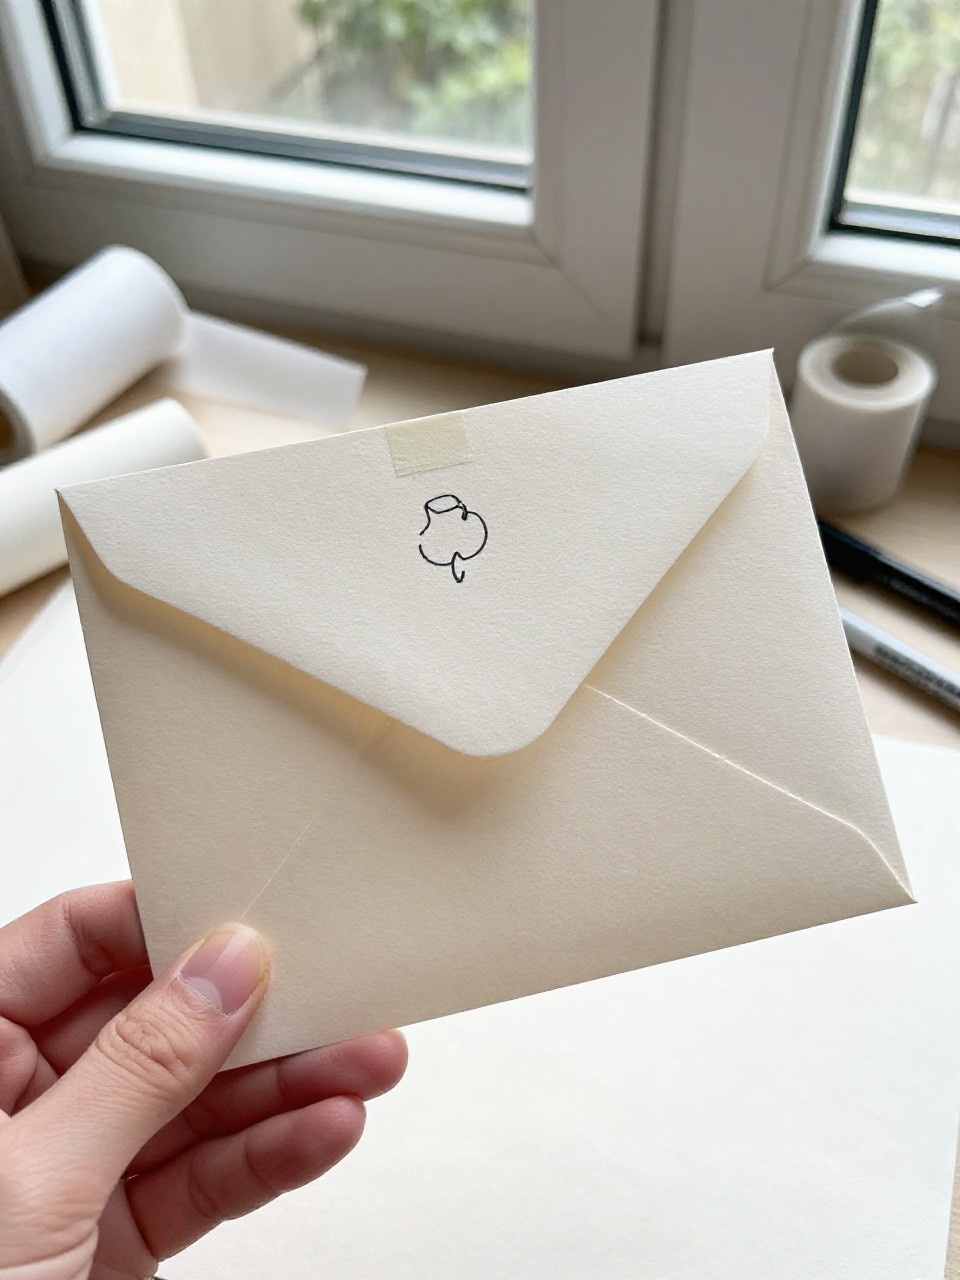
This looks like a letter that folds into its own envelope, with tidy washi-taped edges that act as seals. Kids enjoy writing the letter first, then folding and decorating the outside.
Materials Needed:
- Any letter-size paper (printer paper or stationery)
- Washi tape or masking tape
- Marker or stamp (optional)
How to make it:
- Write your note on one side. Flip the paper over.
- Fold the bottom up to the middle, then the top down over it to form thirds.
- Fold in the left and right sides slightly to create a closed packet.
- Seal the edges and flap with washi tape and add doodles or a stamp.