
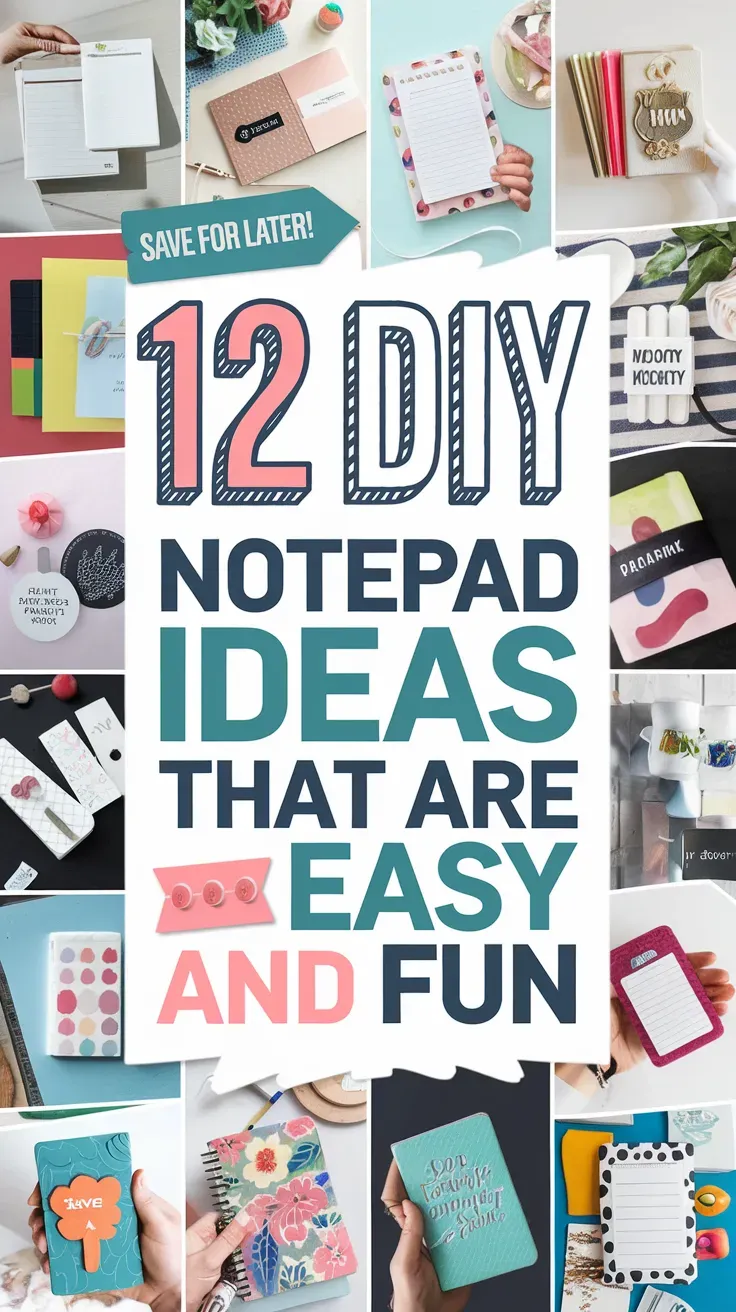
Table of Contents Show
Keeping kids busy, planning lessons, or just needing a quick rainy-day project can be tough. DIY notepads are small, useful, and fast to make, so they’re great for home or classroom craft time. In this list, you’ll find simple, fun notepad ideas you can personalize with colors, shapes, and themes.
Each project uses easy materials and helps kids feel proud of something they can actually use.
Let’s jump into the notepad ideas!
1. Rainbow Scrap Paper Notepad
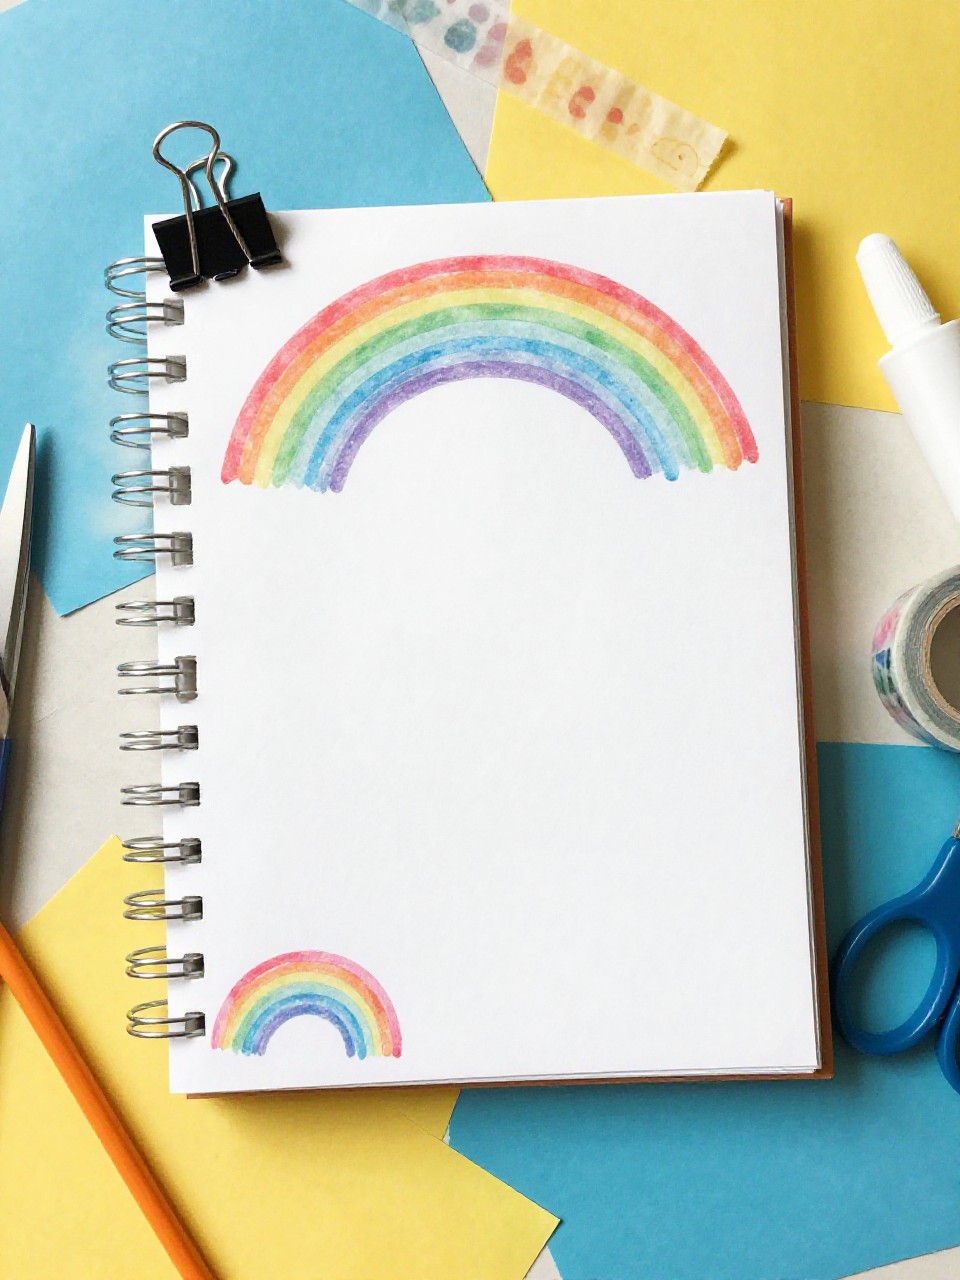
A chunky mini notepad with colorful, uneven layers that look like a rainbow stack. Kids love choosing the order of colors and watching paper scraps turn into a fresh pad they can doodle in. This is an easy beginner project.
Materials Needed:
For People Who Love to Make Things ✂️
- Colorful paper scraps (any size, trimmed to match)
- Cardstock for back cover
- White glue or PVA
- Binder clips
- Washi tape (optional)
How to make it:
- Trim paper scraps to the same size; cut a cardstock back to match.
- Stack papers with cardstock on the bottom and tap edges even.
- Clip the stack on two sides; brush glue along one edge and press washi tape over the glued edge.
- Let it dry flat for 30–60 minutes, then remove clips and start jotting.
2. Doodle Cover Mini Jot Pad
A pocket-size notepad with a white cover covered in hand-drawn doodles, stars, and smiley faces. Kids enjoy drawing the cover and seeing their art turn into something they can carry around.
Materials Needed:
- Printer paper or sketch paper (cut to quarter-size)
- White cardstock for cover
- Stapler or long-reach stapler
- Markers or gel pens
- Stickers (optional)
How to make it:
- Cut paper and cardstock to the same small size.
- Place cardstock on top of the paper stack and staple along the top edge.
- Doodle and decorate the cover with markers and stickers.
- Flip the pages to test; press flat under a book for 10 minutes if needed.
3. Painted Strip Glue-Bound Notepad

A tidy notepad with a painterly stripe across the glued edge, like a bold brushstroke binding. Kids love painting the binding and peeling off the first sheet—it feels like a real store-bought pad.
Materials Needed:
- Copy paper (cut to desired size)
- Chipboard or cereal box for back
- PVA or white glue
- Paint and brush
- Binder clips
How to make it:
- Stack paper with the chipboard back and align one edge.
- Clip the other sides to hold tight; brush a generous coat of glue on the top edge.
- When tacky, paint a bright stripe over the glued edge.
- Let dry fully and remove clips; trim stray glue strings if needed.
4. Recycled Magazine Collage Notepad
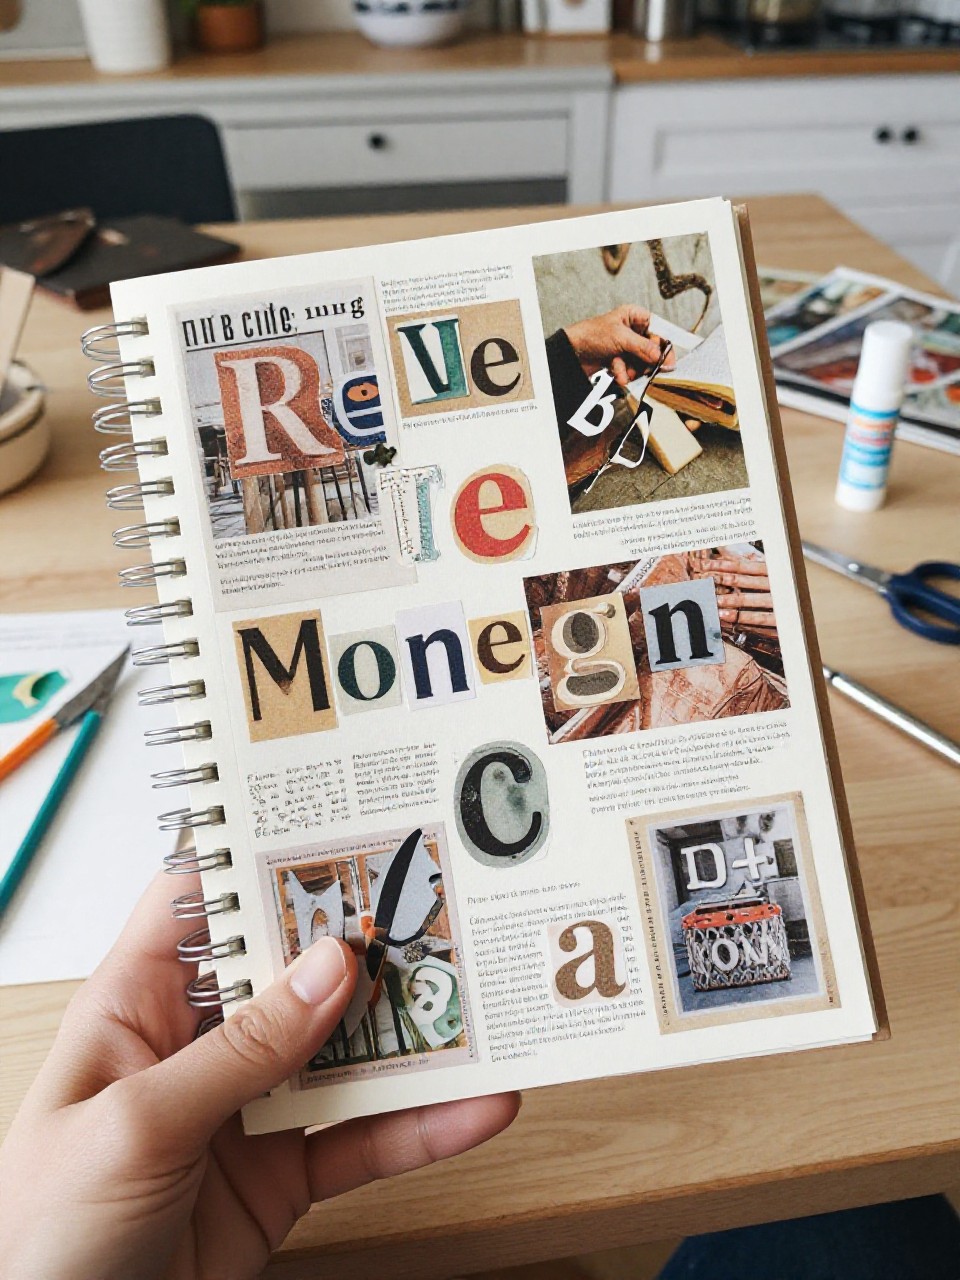
A funky notepad with a cover made from cut-out magazine letters and patterns. Kids enjoy hunting for cool words and colors, making each pad feel like a mini zine.
Materials Needed:
- Plain paper for pages
- Thin cardboard for front and back covers
- Old magazines
- Glue stick
- Stapler or washi tape
How to make it:
- Cut paper and cardboard covers to the same size.
- Collage magazine bits on the front cover with a glue stick.
- Stack pages between covers; staple along the top or wrap washi tape over the edge.
- Press under a heavy book for 20 minutes to set, then use.
5. Sticky-Style DIY Tear-Off Notepad
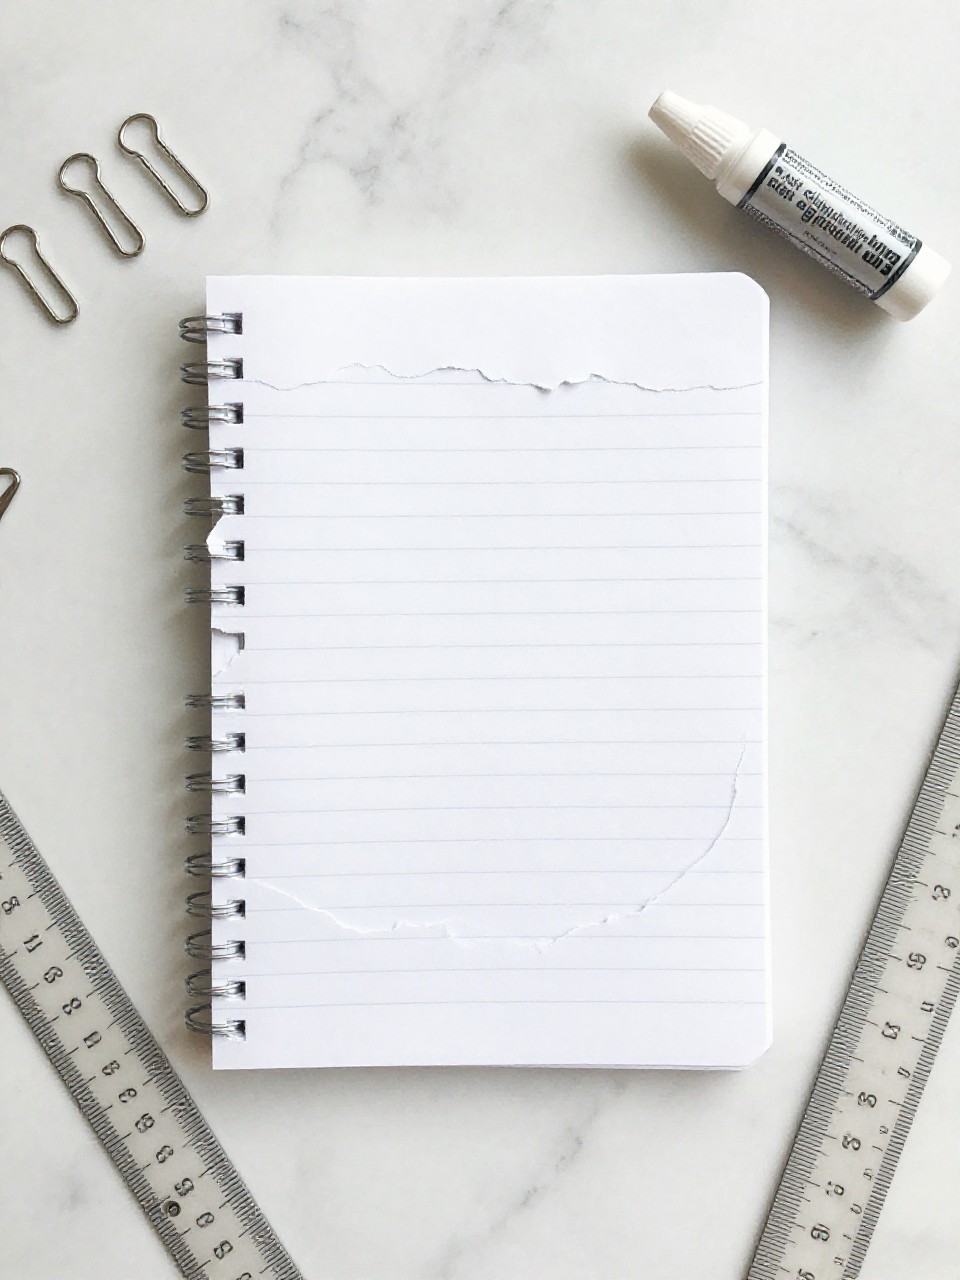
A clean, simple notepad where pages tear off easily, using a dab of removable glue for a “sticky note” feel. Kids love peeling and posting notes around the house or classroom.
Materials Needed:
- Smooth paper (cut to square or rectangle)
- Cardstock back
- Removable craft glue or repositionable glue stick
- Binder clips
- Ruler (optional)
How to make it:
- Align paper and cardstock; tap one edge flat and clip the other sides.
- Run a thin, even line of removable glue along the top edge.
- Smooth with a ruler edge for a clean coat.
- Let it dry, unclip, and peel off a page to test the stick.
6. Washi Spine Flip Notepad
A bright flip notepad with a patterned washi tape spine that bends easily. Kids enjoy choosing patterns and making mix-and-match sets.
Materials Needed:
- Printer paper or colored paper (small rectangles)
- Cardstock front and back
- Washi tape (patterned)
- Scissors
- Optional: small hole punch and string
How to make it:
- Stack papers between cardstock covers and align one short edge.
- Wrap washi tape tightly around the aligned edge, front to back, overlapping slightly.
- Press the tape well and add a second layer if needed.
- Punch a corner hole and tie string if you want a hanging tag.
7. Envelope Pocket Notepad
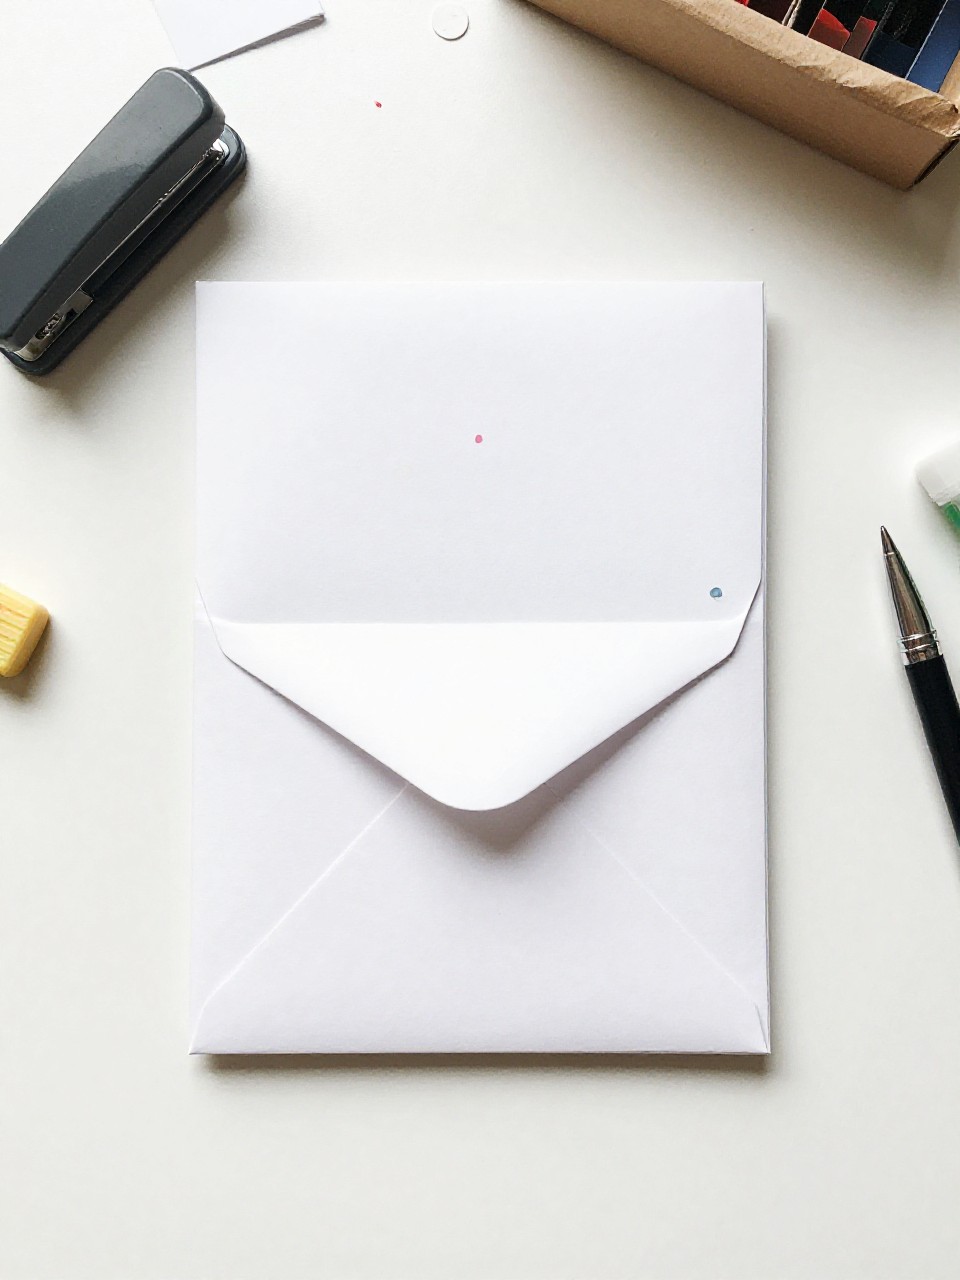
A slim notepad with a mini envelope as the front cover pocket for stickers or receipts. Kids love tucking tiny treasures inside while keeping notes.
Materials Needed:
- Small envelopes
- Paper for pages (cut to fit inside envelope size)
- Thin cardboard for back
- Glue stick
- Stapler
How to make it:
- Size pages to match the envelope and cut a cardboard back.
- Stack pages on the back and place the envelope on top with the flap facing out.
- Staple along the top edge through all layers.
- Glue the envelope body to the top page so it opens as a pocket on the cover.
8. Paint Chip Color Swatch Notepad
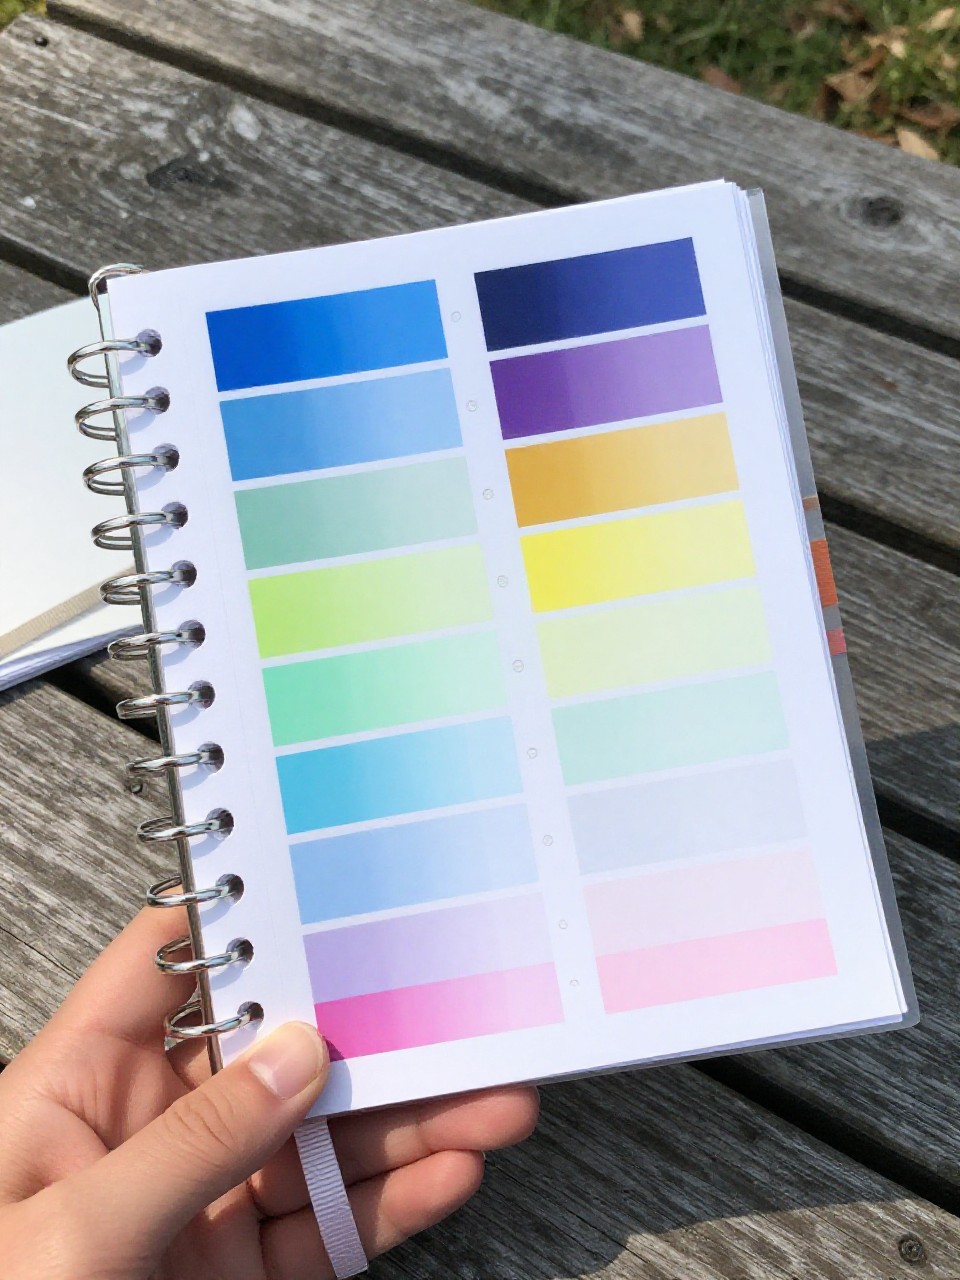
A compact notepad made from paint chip cards cut and stacked by hue, creating a gradient effect. Kids enjoy mixing colors and flipping through the shades.
Materials Needed:
- Free paint chip cards (from hardware stores)
- Hole punch
- Binder ring or ribbon
- Label stickers (optional)
- Fine-tip marker
How to make it:
- Cut paint chips to the same size rectangles.
- Punch a hole in the top corner of each.
- Thread onto a binder ring or tie with ribbon.
- Add a label sticker to the front chip and title your pad.
9. Postcard Travel Notepad
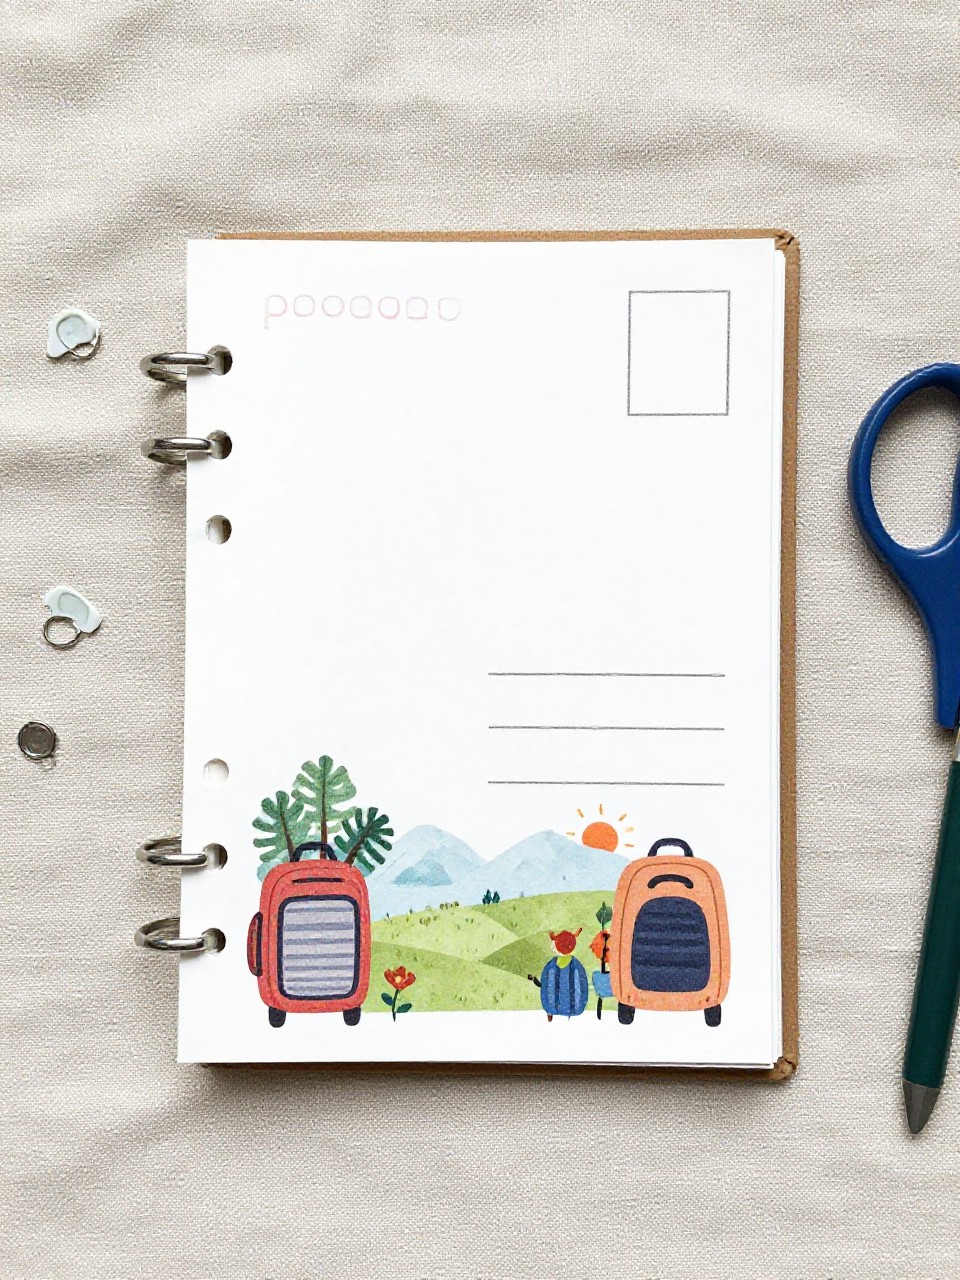
A sturdy notepad with a vintage or fun postcard as the front cover. Kids love choosing postcards from places they know or dream of visiting.
Materials Needed:
- Postcard (front cover)
- Plain paper (cut to postcard size)
- Thin cardboard back
- Two mini brads or a stapler
- Washi tape (optional)
How to make it:
- Cut paper and backing to match the postcard size.
- Stack backing, papers, then the postcard on top, aligned at the top edge.
- Staple twice along the top or pierce two holes and insert brads.
- Cover the top edge with washi if you’d like a finished look.
10. Stitch-Bound Kraft Notepad
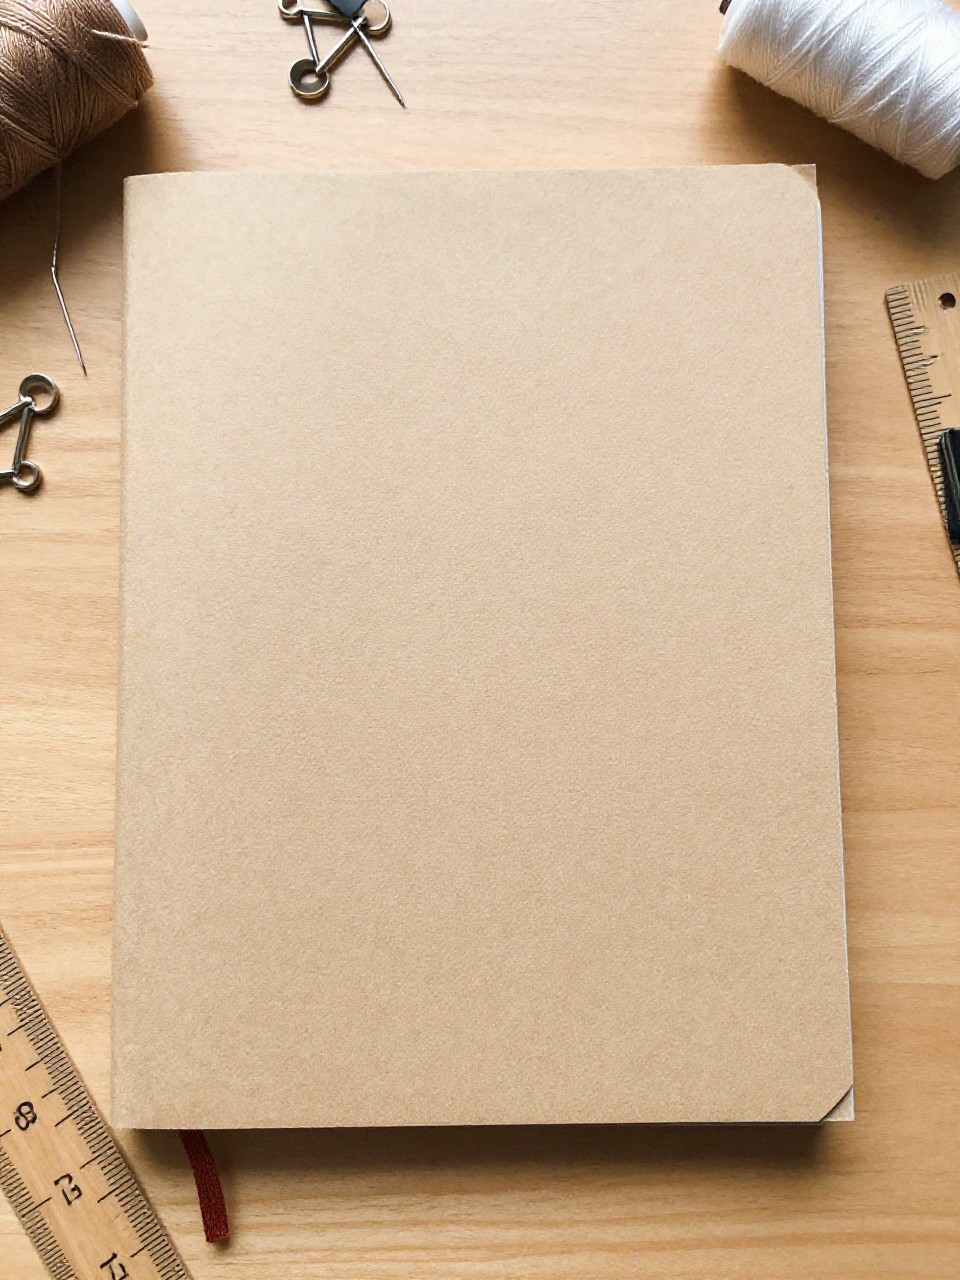
A rustic notepad with a kraft paper cover and visible thread stitches along the spine. Kids enjoy simple sewing and the cozy book feel.
Materials Needed:
- Kraft paper for cover
- Plain or dotted paper for pages
- Large needle and embroidery thread
- Binder clips
- Ruler and pencil
How to make it:
- Fold cover and pages in half to make a booklet; clip edges to hold.
- Mark three to five dots along the fold and pierce holes with the needle.
- Sew in-and-out along the fold and tie a knot inside.
- Trim threads, press flat under a book for 15 minutes.
11. Shape Cut-Out Window Notepad
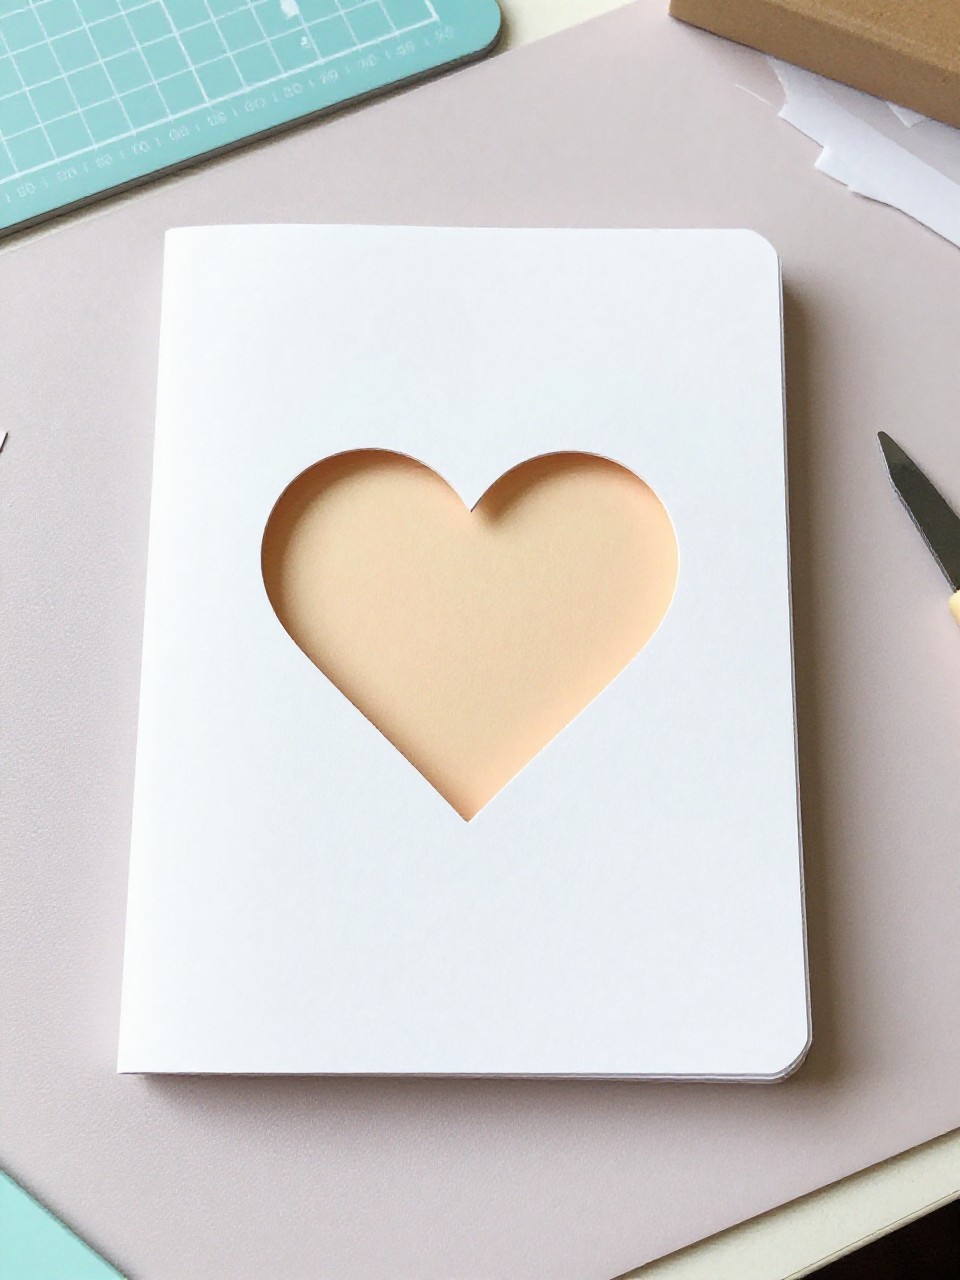
A playful notepad with a cover that has a cut-out window (heart, star, or circle) revealing the first page’s color. Kids love peeking through the shape and swapping the first page color.
Materials Needed:
- Cardstock cover
- Colored paper for first page + white pages behind
- Craft knife or scissors
- Cutting mat
- Glue stick or stapler
How to make it:
- Cut all pages to size; draw a simple shape on the cover.
- Carefully cut out the shape to create a window.
- Stack colored page on top of white pages and place the window cover over.
- Staple the top edge or glue the top, then change the first page color anytime.
12. Clipboard-Style Flip Notepad

A small flip-top pad clipped under a mini clothespin or binder clip on a DIY cardboard “clipboard.” Kids enjoy the click of the clip and the portable, official feel.
Materials Needed:
- Cardboard rectangle (clipboard)
- Patterned paper for covering the board
- Notepad pages (small stack)
- Mini binder clip or clothespin
- Glue stick
How to make it:
- Cover the cardboard with patterned paper and glue smooth.
- Stack your pages and align at the top.
- Clip the pages to the top of the board with the binder clip.
- Decorate the board edges; swap in new pages when you run out.