Table of Contents Show
Keeping kids busy, planning simple classroom activities, or just giving your desk a cute refresh can feel hard on busy days. These DIY memo pad ideas are quick to make, budget-friendly, and satisfying to use. You’ll find playful, practical designs that add color to notes, reminders, and lists.
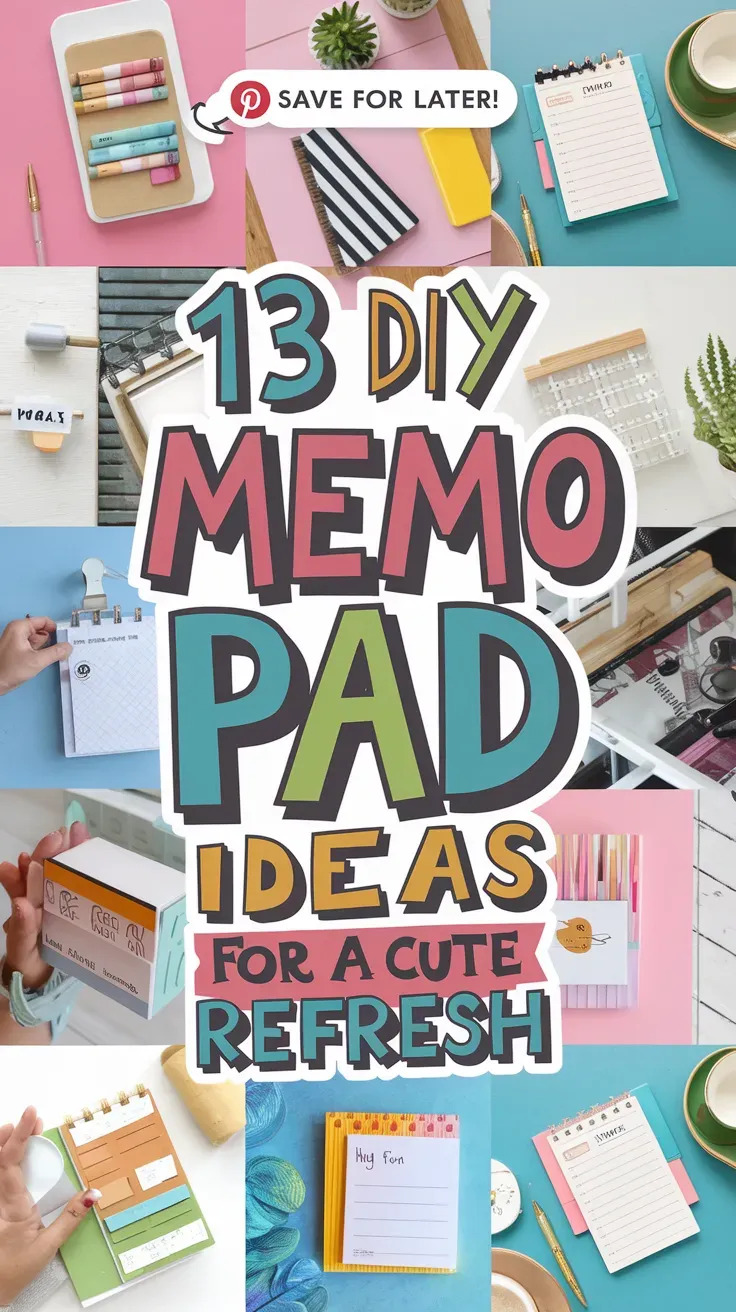
Pick a favorite, gather a few supplies, and let’s turn plain paper into cheerful memo pads you’ll actually want to use.
1. Pastel Rainbow Tear-Off Memo Pad
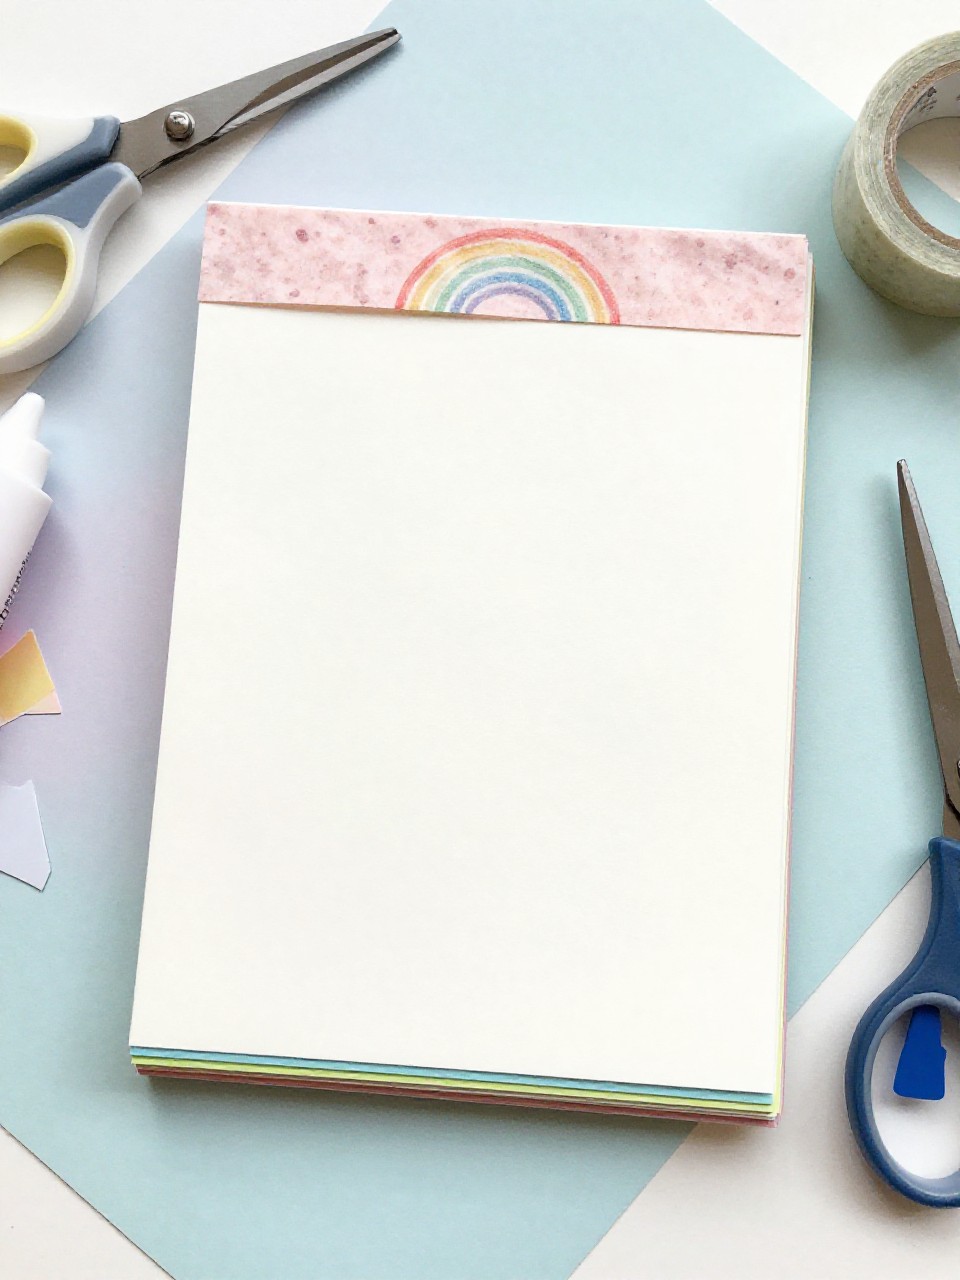
This memo pad stacks soft pastel pages into a small rainbow block with a glued top edge for easy tearing. Kids love choosing color order and watching the pad turn from a pile of paper into a tidy, useful block—simple and very satisfying.
Materials Needed:
- Pastel printer paper, cut into 3×3-inch squares
- White PVA glue or padding compound
- Binder clips or clothespins
- Cardstock backing
- Washi tape (optional)
How to make it:
For People Who Love to Make Things ✂️
- Cut paper into even squares and align edges with a cardstock backing underneath.
- Clamp the stack along one edge with binder clips.
- Brush glue along the clamped edge, add washi tape trim if you like.
- Let dry fully, remove clips, and start tearing off colorful notes.
2. Fruit Slice Sticky-Style Memo Pad

Shaped like citrus wedges, each small sheet looks like a slice of lemon, lime, or orange. Kids enjoy tracing and stacking the juicy colors, and the fruit shapes make everyday reminders feel fun.
Materials Needed:
- Colored paper in yellow, orange, green, and white
- Glue stick
- Fine-tip black marker
- Cardstock for template
- Double-sided tape (for light stickiness)
How to make it:
- Make a half-circle template from cardstock and trace fruit shapes onto colored paper.
- Cut stacks of half-circles; glue a thin white “pith” layer on top sheets.
- Draw tiny citrus segments with the marker.
- Stack shapes, add a light strip of double-sided tape at the top back, and press to bind.
3. Mini Polaroid Photo Memo Pad

Each sheet looks like a tiny Polaroid frame with a blank space for notes. It’s charming to write quick thoughts “inside the photo,” and kids love drawing doodles like snapshots.
Materials Needed:
- White cardstock and white printer paper
- Black pen or fine marker
- Ruler
- PVA glue or padding compound
- Binder clips
How to make it:
- Cut paper into rectangles with a thicker bottom border, like a Polaroid.
- Stack sheets with one cardstock backer and clip the top.
- Brush glue on the top edge to bind.
- Draw a thin frame line on the top sheet; let dry and start jotting notes.
4. Kawaii Cloud Fluffy-Edge Memo Pad
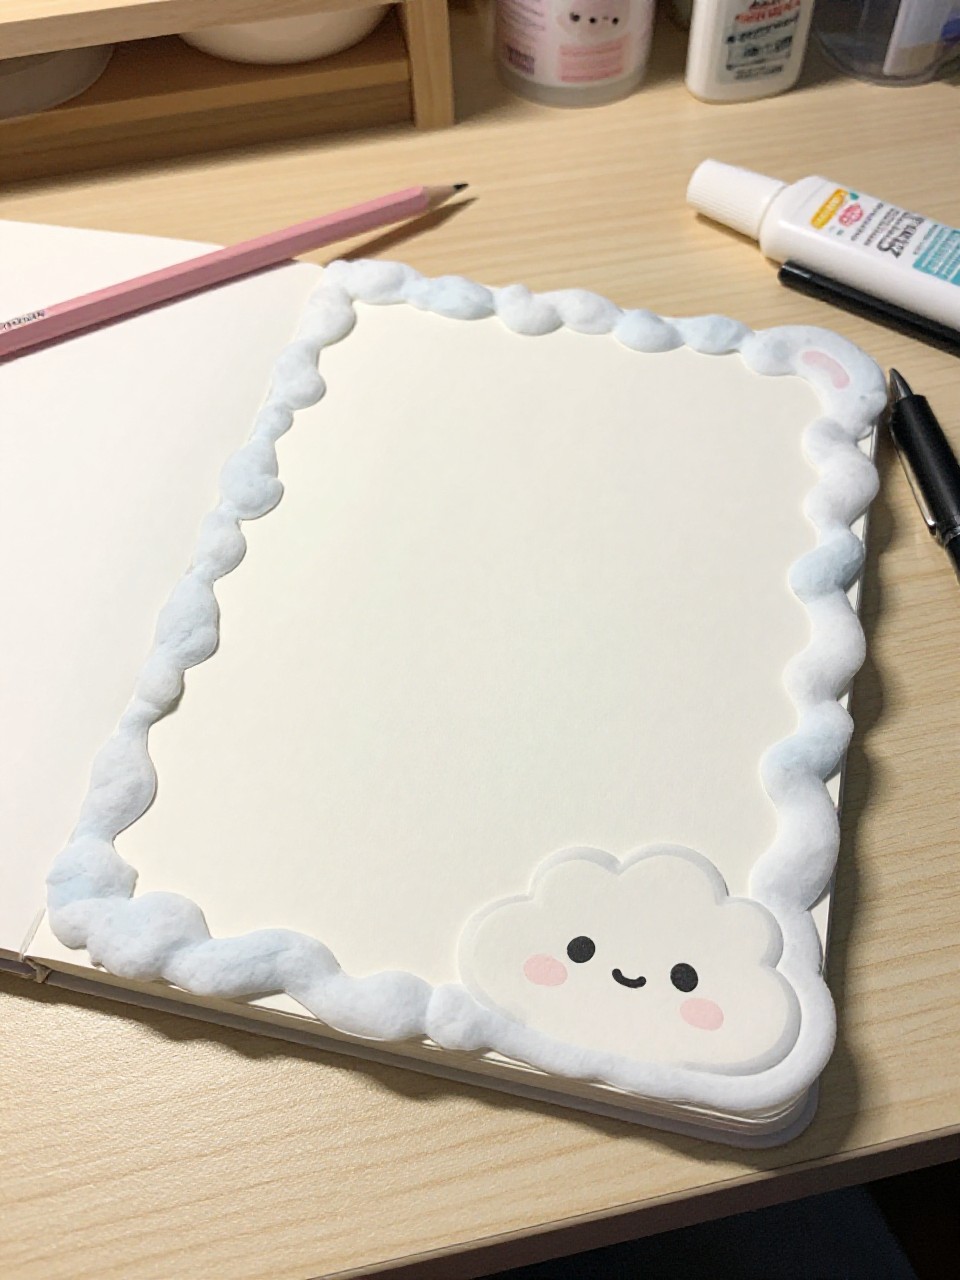
This memo pad has soft cloud-shaped pages with cute faces and tiny blush marks. The rounded edges feel cozy, and kids enjoy adding expressions, turning quick notes into cheerful weather buddies.
Materials Needed:
- White and light blue paper
- Pink colored pencil or crayon
- Black gel pen
- Cardstock backing
- PVA glue and binder clips
How to make it:
- Trace a simple cloud shape onto multiple sheets and cut as a stack.
- Align pages with a cardstock backer and clip the top.
- Glue along the top curve; draw tiny eyes and smiles on the top few sheets, add blush.
- Dry fully and peel off a fluffy cloud note whenever needed.
5. Scrapbook Edge Patchwork Memo Pad
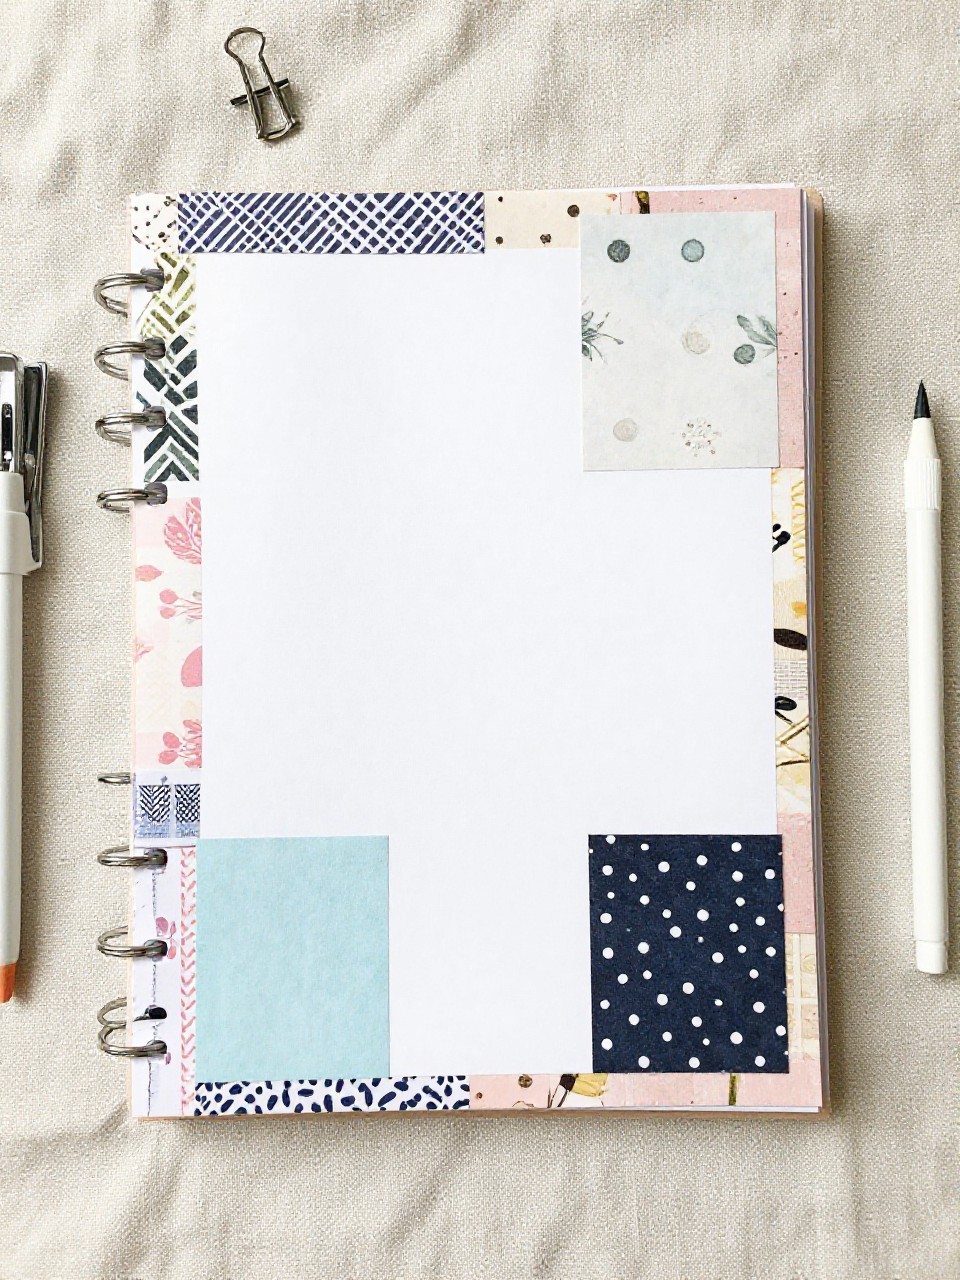
Made from mixed patterned papers, each sheet feels like a mini scrapbook tile with a trimmed, even top for tearing. Kids love choosing prints and seeing the colorful patchwork stack grow.
Materials Needed:
- Assorted scrapbook paper scraps
- Paper trimmer or scissors
- Cardstock backing
- PVA glue or padding compound
- Binder clips
How to make it:
- Trim scraps into uniform rectangles (about 3×4 inches).
- Arrange colors in a pleasing order; stack with cardstock backing.
- Clip and brush glue across the top edge.
- Dry, unclip, and enjoy one-of-a-kind patterned note pages.
6. Polka-Dot Stamped Circle Memo Pad
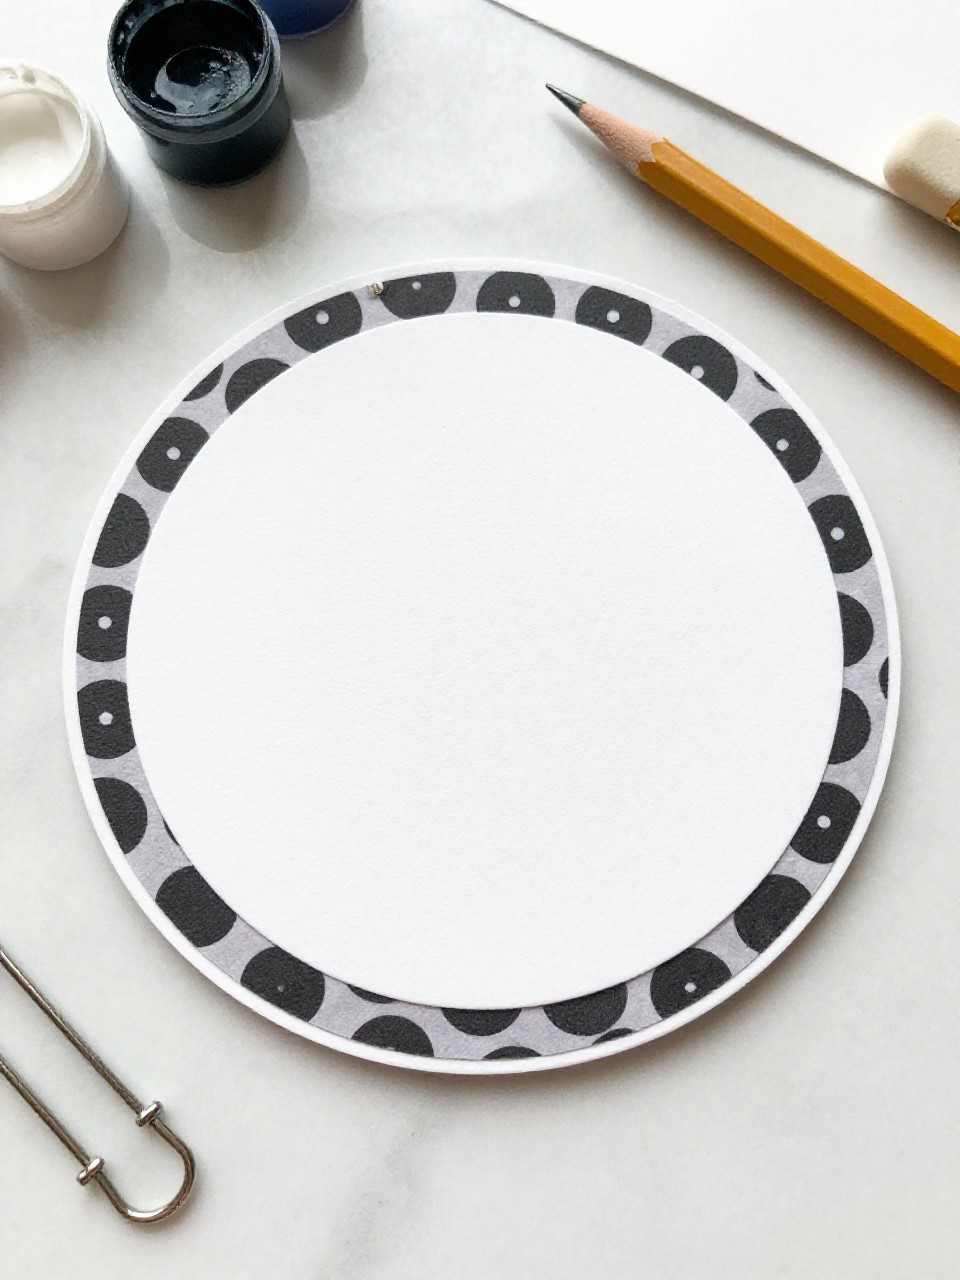
Round sheets with bold painted dots make playful memo spots for quick reminders. Stamping is easy and soothing, and the circles look adorable on any desk.
Materials Needed:
- White paper
- Round object for tracing (cup) and pencil
- Acrylic paint and pencil eraser or cotton swab for dots
- Cardstock backing
- PVA glue and clips
How to make it:
- Trace and cut a stack of circles.
- Clip the stack with a cardstock backer and glue along a small arc at the top.
- Stamp colorful dots on the top few pages with an eraser and paint.
- Let dry completely before peeling off dotted notes.
7. Simple Grid Paper To-Do Memo Pad

This small pad uses grid or dot paper so lists feel neat and tidy. Kids and adults both enjoy checking boxes and keeping tasks in line—it feels organized and calm.
Materials Needed:
- Grid or dot printer paper
- Cardstock backing
- PVA glue or padding compound
- Binder clips
- Thin washi tape (optional tab)
How to make it:
- Cut grid paper into small rectangles (2.5×4 inches).
- Stack with a cardstock backer and clip at the top.
- Brush glue along the top edge; add a washi tape strip as a trim tab.
- Dry, unclip, and start writing tidy to-do lists.
8. Botanical Pressed-Leaf Memo Pad

A slim pad with a clear cover shows a tiny pressed leaf or fern on top, while inside pages stay clean for notes. Nature lovers enjoy collecting leaves and seeing them framed in a simple, pretty pad.
Materials Needed:
- White paper
- Thin clear acetate or transparency sheet (cover)
- Small pressed leaf or fern
- Cardstock backing
- PVA glue, double-sided tape, and clips
How to make it:
- Cut paper and cardstock into matching rectangles; cut acetate to the same size.
- Tape the leaf to the inside of the acetate cover at the top.
- Stack paper, add cardstock back, place acetate on top, and clip.
- Glue along the top edge to bind; let dry and admire the botanical window.
9. Sticky Spine Cork-Back Memo Pad

This pad has a cork backing for durability and grip, with a lightly tacky top edge for quick sticking to a monitor or wall. It feels sturdy and looks neat on modern desks.
Materials Needed:
- White or colored paper
- Thin cork sheet or cork coaster
- Double-sided tape and PVA glue
- Craft knife and ruler
- Binder clips
How to make it:
- Cut paper into small rectangles and trim cork to the same size.
- Stack paper on cork; clip the top edge.
- Brush glue across the top to bind; add a thin strip of double-sided tape on the pad’s back top for grip.
- Dry, unclip, and peel notes as needed.
10. Watercolor Wash Memo Pad

Each page has a soft watercolor wash at the top, leaving space below for writing. Painting the gradient is relaxing, and the colorful edge makes every note feel special.
Materials Needed:
- Watercolor paper or thicker printer paper
- Watercolor paints and brush
- Cardstock backing
- PVA glue and clips
- Paper towel
How to make it:
- Cut pages to size and lightly paint a wash across the top of each sheet; let dry.
- Stack painted sheets with a cardstock backer and clip.
- Glue along the painted edge to bind.
- Dry fully, then tear off dreamy, artful notes.
11. Speech Bubble Comic Memo Pad

Shaped like classic comic speech bubbles, these notes make reminders look like they’re talking. Kids love drawing mini characters to “say” the message—simple, funny, and bold.
Materials Needed:
- White cardstock and printer paper
- Black marker
- Scissors
- PVA glue and clips
- Colored pencils (optional)
How to make it:
- Create a speech bubble template from cardstock and trace onto stacks of paper.
- Cut shapes as a group; align with a cardstock backer and clip.
- Glue along the top bubble edge; add a bold outline to the top sheet.
- Dry and peel off talkative notes for lockers, doors, or desks.
12. Matchbook Flip Memo Pad

This tiny pad tucks into a cardstock “matchbook” cover that flips closed. Snapping the cover open and shut feels neat, and it travels well in a pocket or backpack.
Materials Needed:
- Cardstock for cover
- Plain paper for sheets
- Stapler
- Washi tape (optional)
- Corner rounder punch (optional)
How to make it:
- Cut cardstock into a strip and score two folds to make a short flap and a tall back.
- Stack small paper sheets and staple near the bottom of the tall back panel.
- Tuck the short flap up to hold the pages; add washi trim and round corners if you like.
- Flip open to write and tear sheets off above the staples.
13. Calendar Corner Memo Pad

A compact pad with a tiny monthly calendar printed at the top and blank space below. It’s satisfying to cross off days and jot quick goals, making it perfect for desks or homework stations.
Materials Needed:
- White printer paper
- Simple month grid printed or hand-drawn
- Cardstock backing
- PVA glue and clips
- Fine pen or marker
How to make it:
- Print or draw a small month grid at the top of multiple sheets; cut to size.
- Stack pages with a cardstock backer and clip the top.
- Brush glue along the top edge; let dry completely.
- Unclip and start using dated notes for tasks and reminders.