
Table of Contents Show
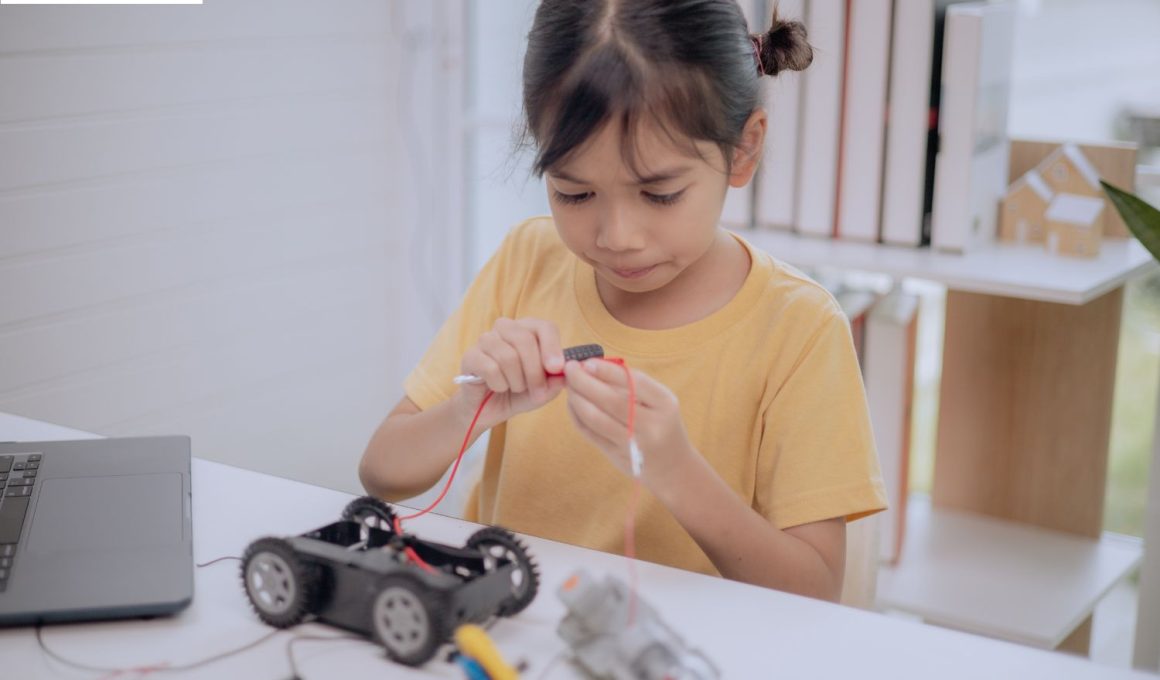
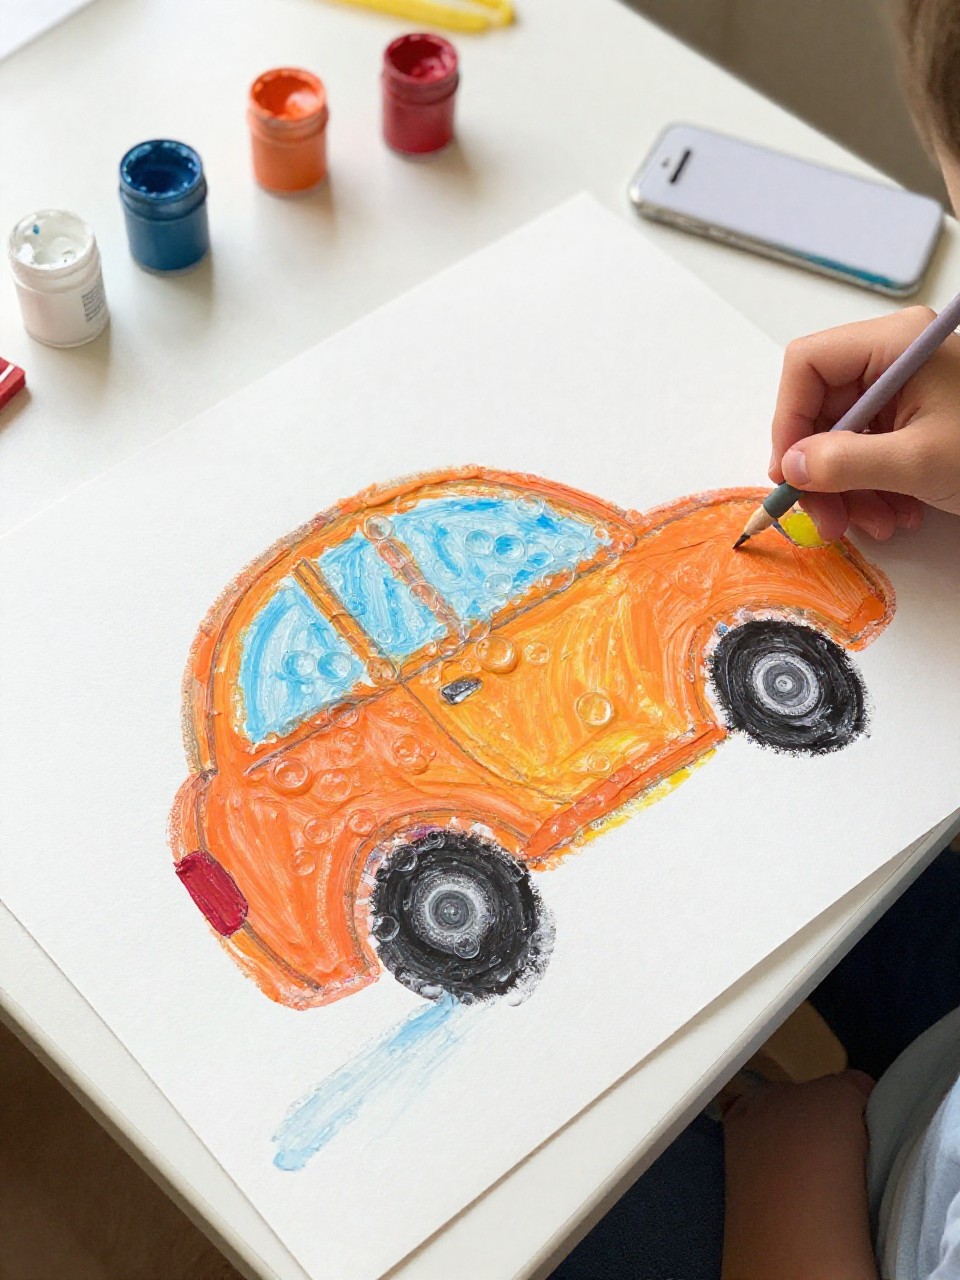
Preschoolers love cars, but parents and teachers don’t always have time for complicated projects. These quick, colorful crafts look wow-worthy on a shelf and are simple enough for little hands. Each idea uses basic supplies you probably already own—paper rolls, cardboard, paint, and tape.
If your kiddo loves zooms, vrooms, and building tiny worlds, these easy wins will keep them busy, proud, and learning fine-motor skills along the way.
1. Cardboard Tube Race Car

A toilet paper roll becomes a sleek little racer with bold colors and simple wheels. Kids love “driving” their car by pushing it on a table, and the tube shape feels real and sturdy.
Materials Needed:
- Empty toilet paper roll
- Craft paint or markers
- Bottle caps (4) and paper fasteners
How to make it:
For People Who Love to Make Things ✂️
- 1. Paint the tube any color and let it dry.
- 2. Cut a small “U” seat opening on top.
- 3. Poke holes on both sides front and back; attach bottle caps with paper fasteners.
- 4. Add racing stripes and a number with markers.
2. Paper Plate Steering Wheel
Turn a paper plate into a pretend steering wheel for dramatic play. It looks clean and bold, and kids instantly start “driving” around the room.
Materials Needed:
- Paper plate
- Black paint or marker
- Cardboard scrap
How to make it:
- 1. Color the plate black.
- 2. Cut three wedge openings to make a classic wheel spoke look.
- 3. Cut a small circle from cardboard; glue it in the center as a hub.
- 4. Add a horn dot with a marker.
3. Sponge Stamp Traffic Cars
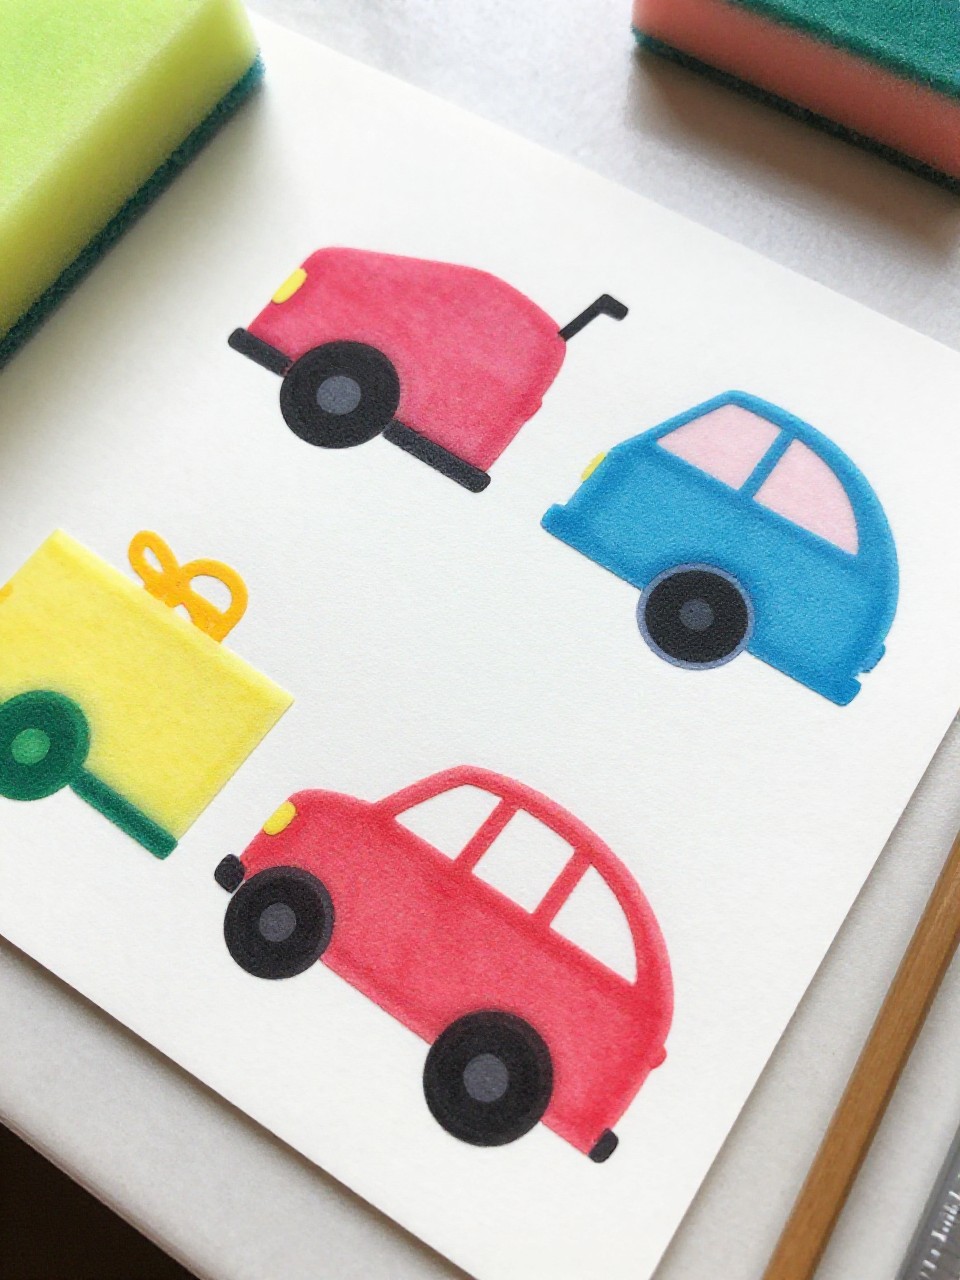
Cut sponges into simple car shapes and stamp bold, blocky cars onto paper. The prints look graphic and modern, like tiny posters.
Materials Needed:
- Kitchen sponges
- Washable paint
- Cardstock
How to make it:
- 1. Cut a rectangle sponge with a small roof bump to make a car shape.
- 2. Dip the sponge in paint and stamp cars across the paper.
- 3. Use a fingertip to dot wheels and headlights.
- 4. Add road lines with a paintbrush.
4. Clothespin and Button Car
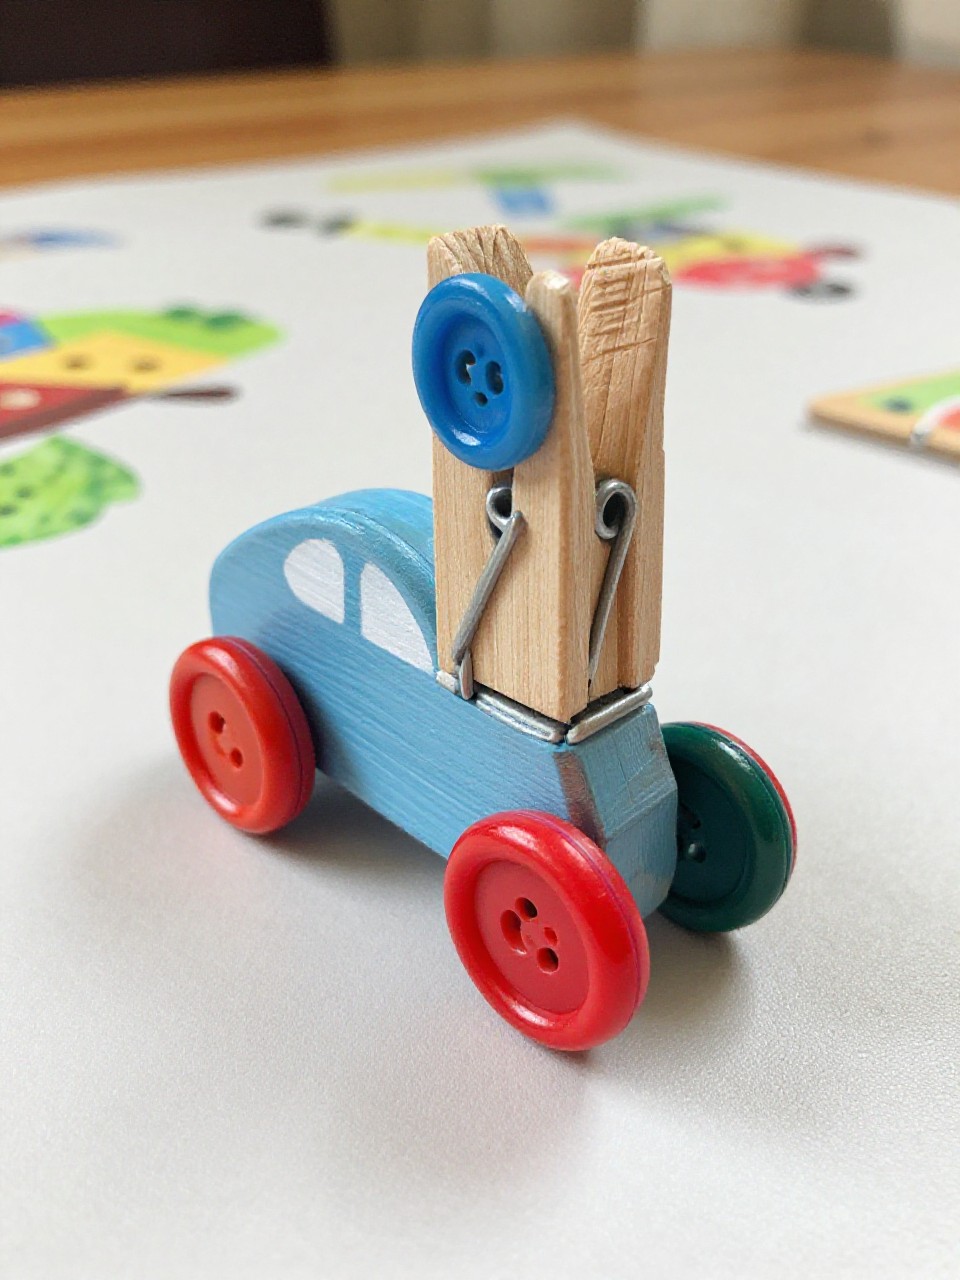
This mini car clips to a shelf edge and actually rolls a little with button “wheels.” It’s tiny, colorful, and satisfying to make.
Materials Needed:
- Wooden clothespin
- Large buttons (4)
- Craft glue
How to make it:
- 1. Paint or color the clothespin and let it dry.
- 2. Glue two buttons on each side near the ends as wheels.
- 3. Draw windows and a number on the body.
- 4. Clip it onto cardboard “ramps” to play.
5. Washi Tape Road City
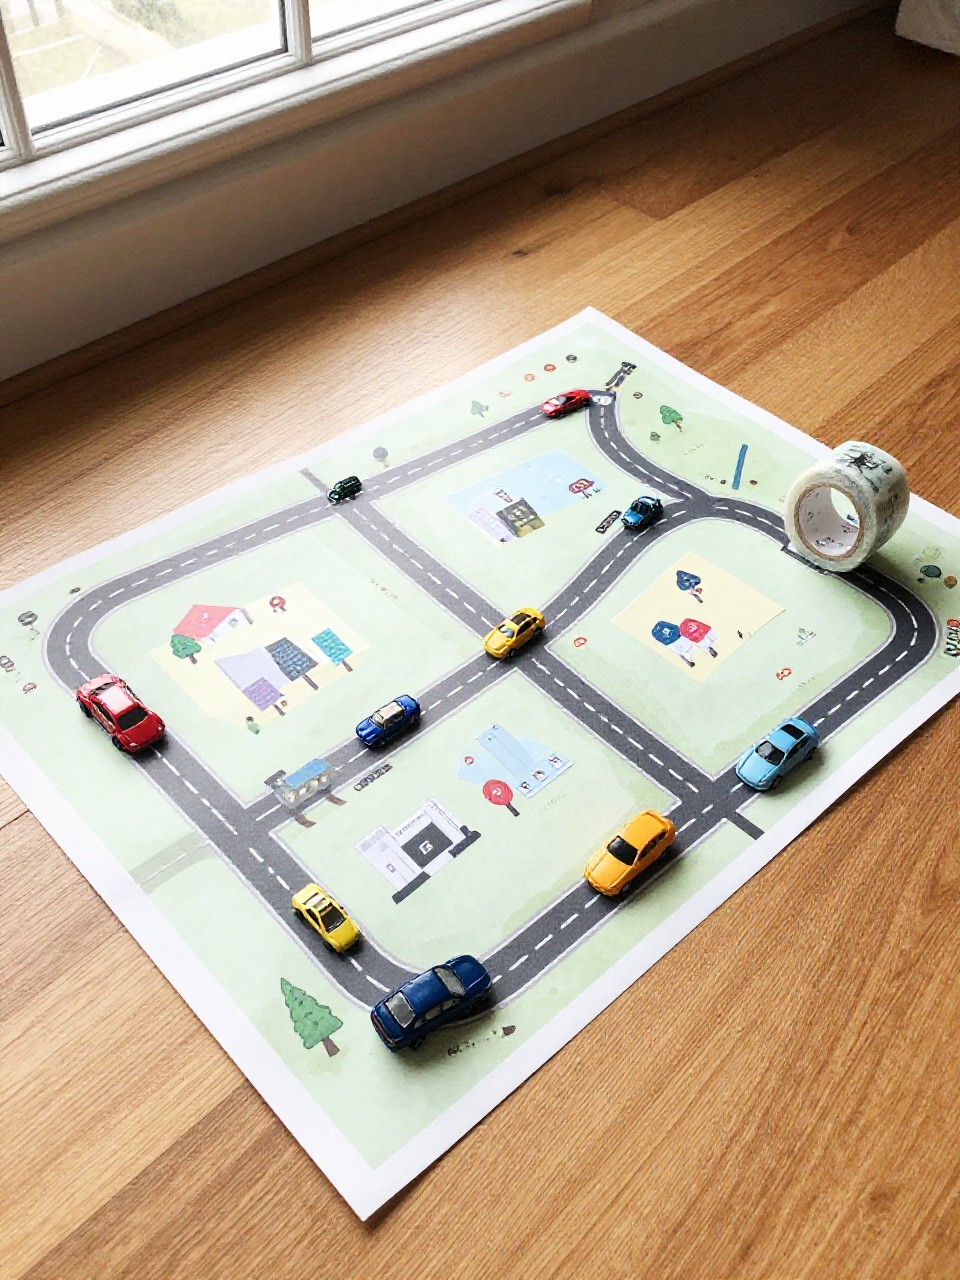
Build a stylish mini city right on the floor using patterned washi tape for roads. The clean lines make toy cars look amazing while kids design their own map.
Materials Needed:
- Washi tape (black/gray/striped)
- Paper squares or sticky notes (buildings)
- Toy cars
How to make it:
- 1. Lay straight and curved tape lines to form roads on the floor or table.
- 2. Add crosswalks and parking spots with small tape pieces.
- 3. Fold paper squares into simple buildings and label them.
- 4. Drive toy cars through your custom city.
6. Egg Carton Convertible
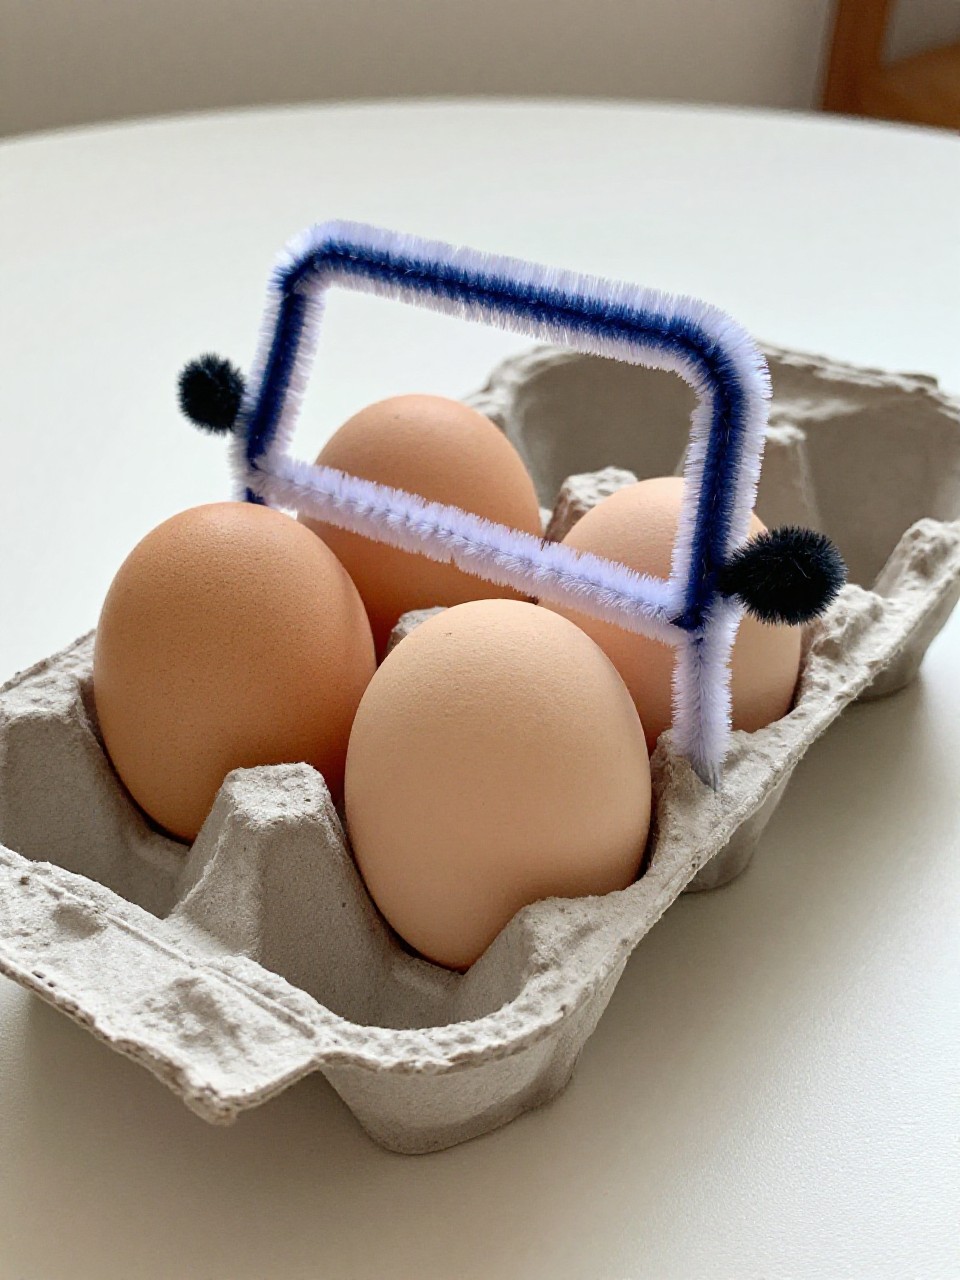
An egg cup becomes a cute open-top car with a friendly face. The bumpy texture paints up beautifully and feels whimsical.
Materials Needed:
- Cardboard egg carton
- Paint and brush
- Pipe cleaners
How to make it:
- 1. Cut out one egg cup and trim edges flat.
- 2. Paint the cup and let it dry.
- 3. Poke two tiny holes and thread a pipe cleaner as a windshield.
- 4. Draw headlights, a smile, and add tiny paper wheels if you like.
7. Pool Noodle Pull-Back Car

Make a chunky, colorful car body from a pool noodle slice and add a rubber-band pull. It’s squishy, safe, and surprisingly zippy.
Materials Needed:
- Pool noodle slice
- Rubber band
- Jumbo craft stick
How to make it:
- 1. Cut a 2-inch slice of pool noodle.
- 2. Poke two small slits opposite each other and loop a rubber band through.
- 3. Slide a craft stick through the rubber band so it hangs below as a “winder.”
- 4. Twist the stick, set it down, and let it go.
8. Paper Strip Accordion Car
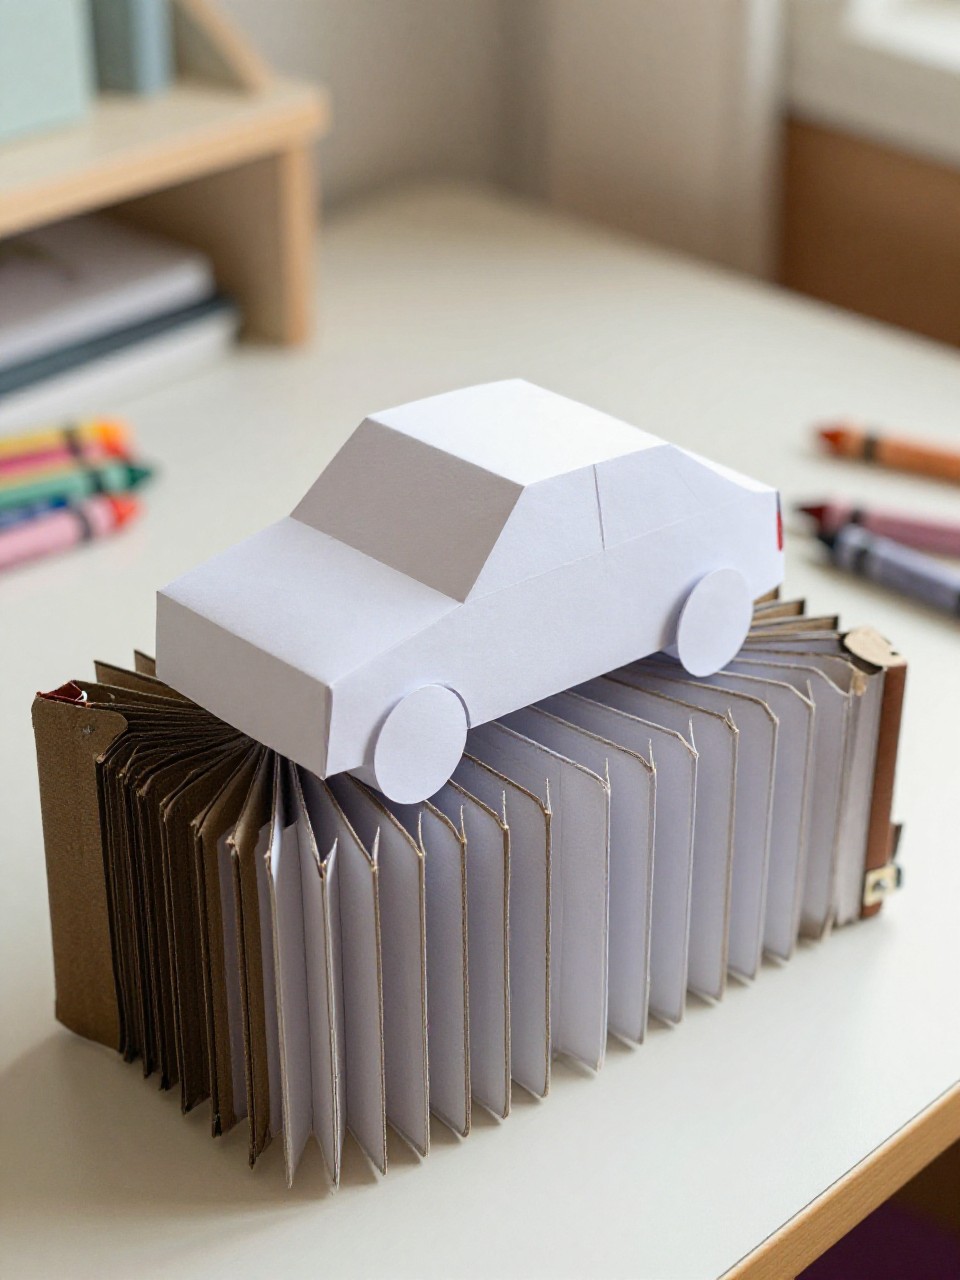
This car pops with a bouncy accordion base that wiggles as it moves. The layered paper strips look neat and sculptural.
Materials Needed:
- Colored paper
- Glue stick
- Markers
How to make it:
- 1. Fold two paper strips into accordions and glue them side by side.
- 2. Cut a simple car silhouette and glue it on top.
- 3. Add paper circles for wheels.
- 4. Draw windows and a license plate.
9. Bubble Wrap Paint Cars
Use bubble wrap to stamp fun “tire textures” on a car drawing. The dotted pattern looks like real tread and feels satisfying to press.
Materials Needed:
- Bubble wrap
- Washable paint
- White paper and marker
How to make it:
- 1. Draw a simple car outline on paper.
- 2. Brush paint onto a small piece of bubble wrap.
- 3. Press the bubble wrap onto the wheels and along the bottom of the car.
- 4. Add details like lights and a bumper.
10. Felt Road Roll-Up
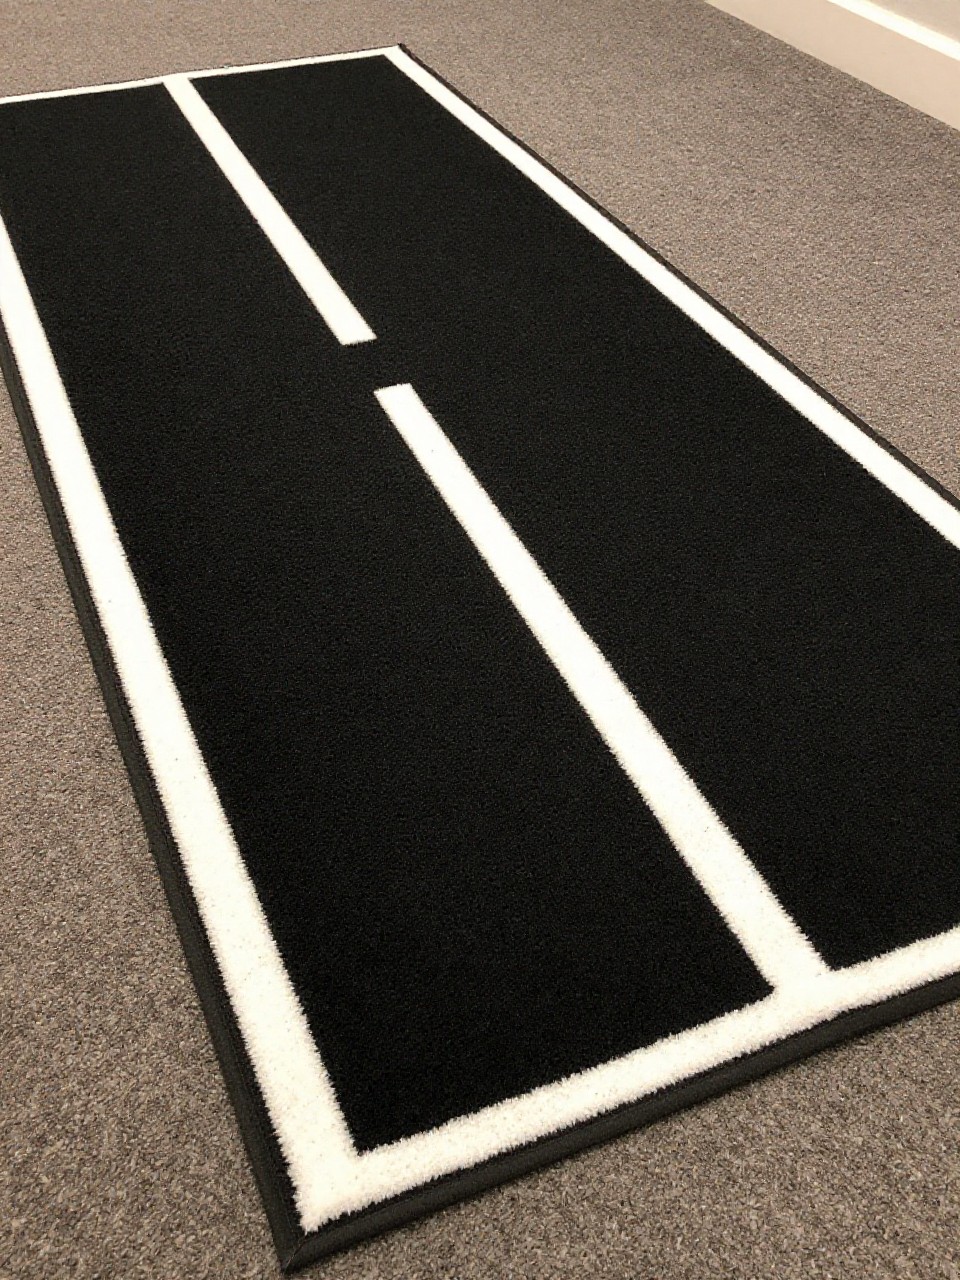
Create a soft, portable road mat that rolls up like a sushi roll. The felt textures and bold shapes make it look store-bought but it’s super simple.
Materials Needed:
- Black felt sheet
- White felt scraps
- Glue
How to make it:
- 1. Cut a large rectangle of black felt for the road.
- 2. Glue thin white strips down the center as lane lines.
- 3. Add felt squares as parking spots.
- 4. Roll it up and secure with a rubber band for on-the-go play.
11. Rainbow Box Truck
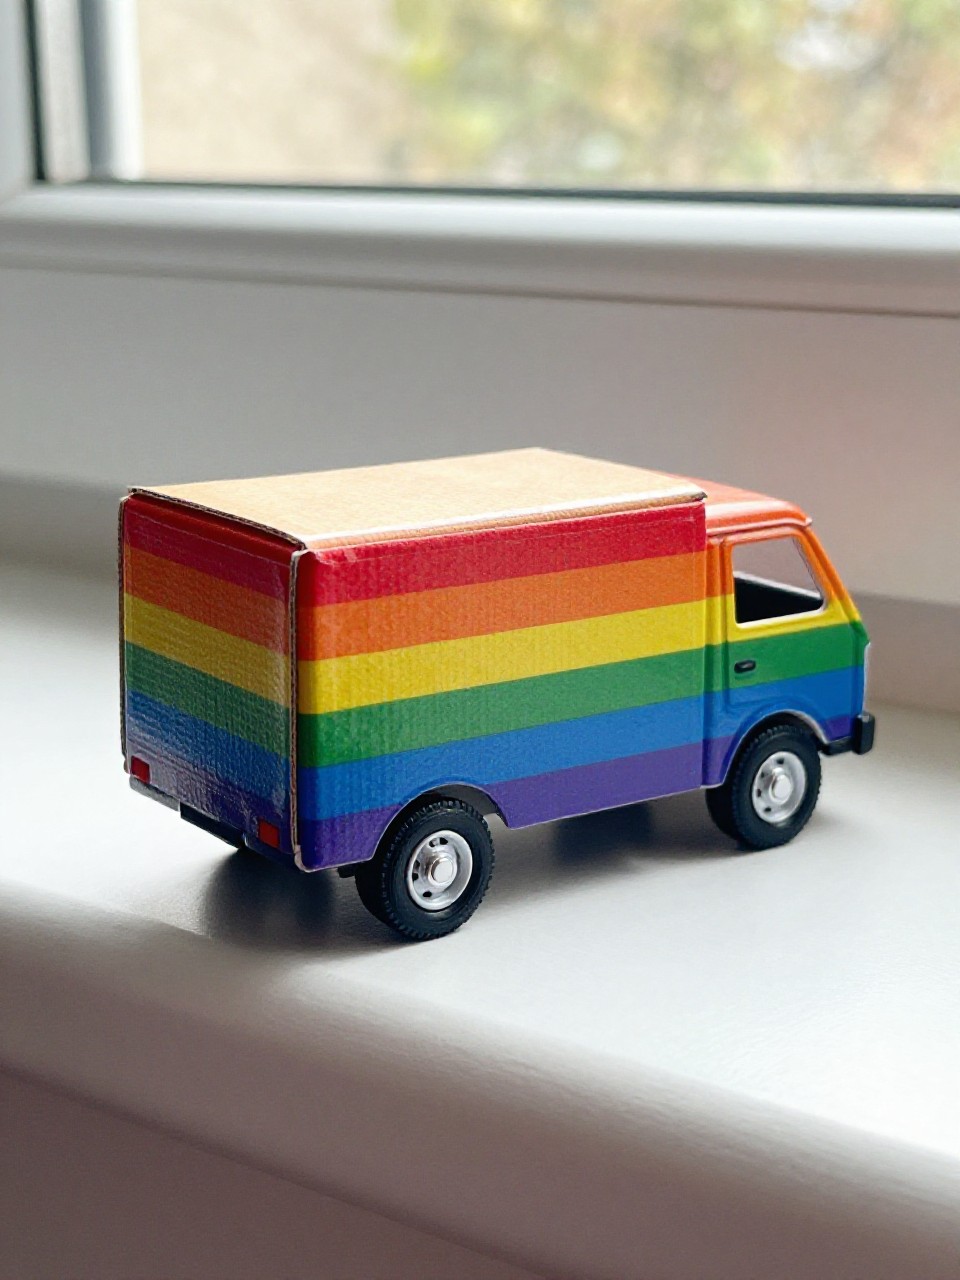
Turn a small box into a cute delivery truck with a rainbow side panel. The clean, blocky shape makes it easy for preschoolers to decorate.
Materials Needed:
- Small cardboard box
- Colored tape or paper
- Bottle caps (4)
How to make it:
- 1. Cover the box with colored tape or paper.
- 2. Add a rainbow stripe down the side.
- 3. Glue on bottle caps as wheels.
- 4. Draw windows and lights with marker.
12. Leaf Cars Nature Drive
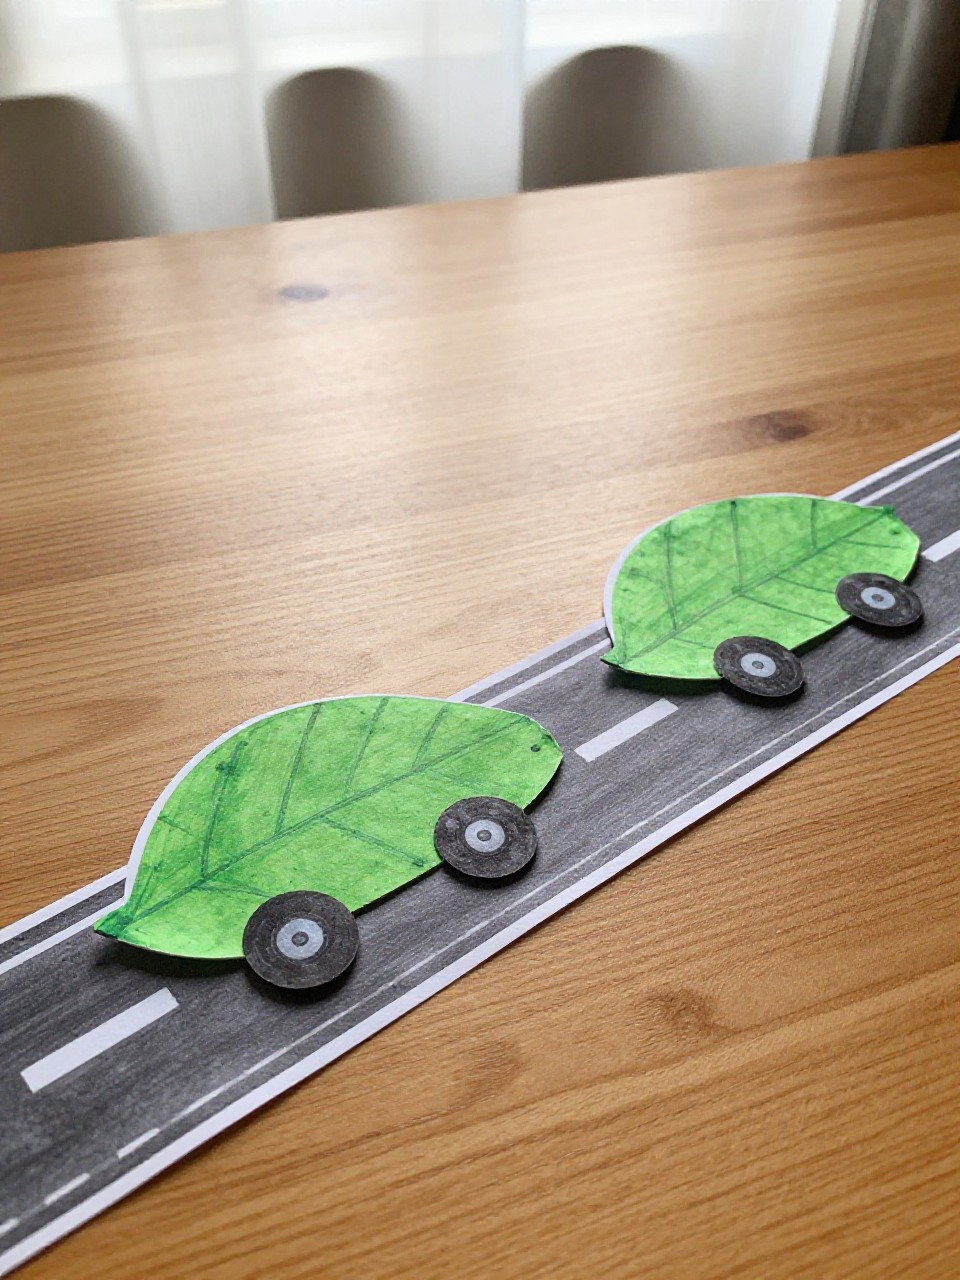
Use real leaves as car bodies for a beautiful, earthy craft. Each leaf car looks unique and delicate like a tiny artwork.
Materials Needed:
- Assorted leaves
- Glue stick
- Paper and markers
How to make it:
- 1. Collect flat leaves in different shapes.
- 2. Glue leaves onto paper as the car bodies.
- 3. Add paper or drawn wheels and windows.
- 4. Draw a curvy road and trees around them.
13. Cork Rollers Paint Car
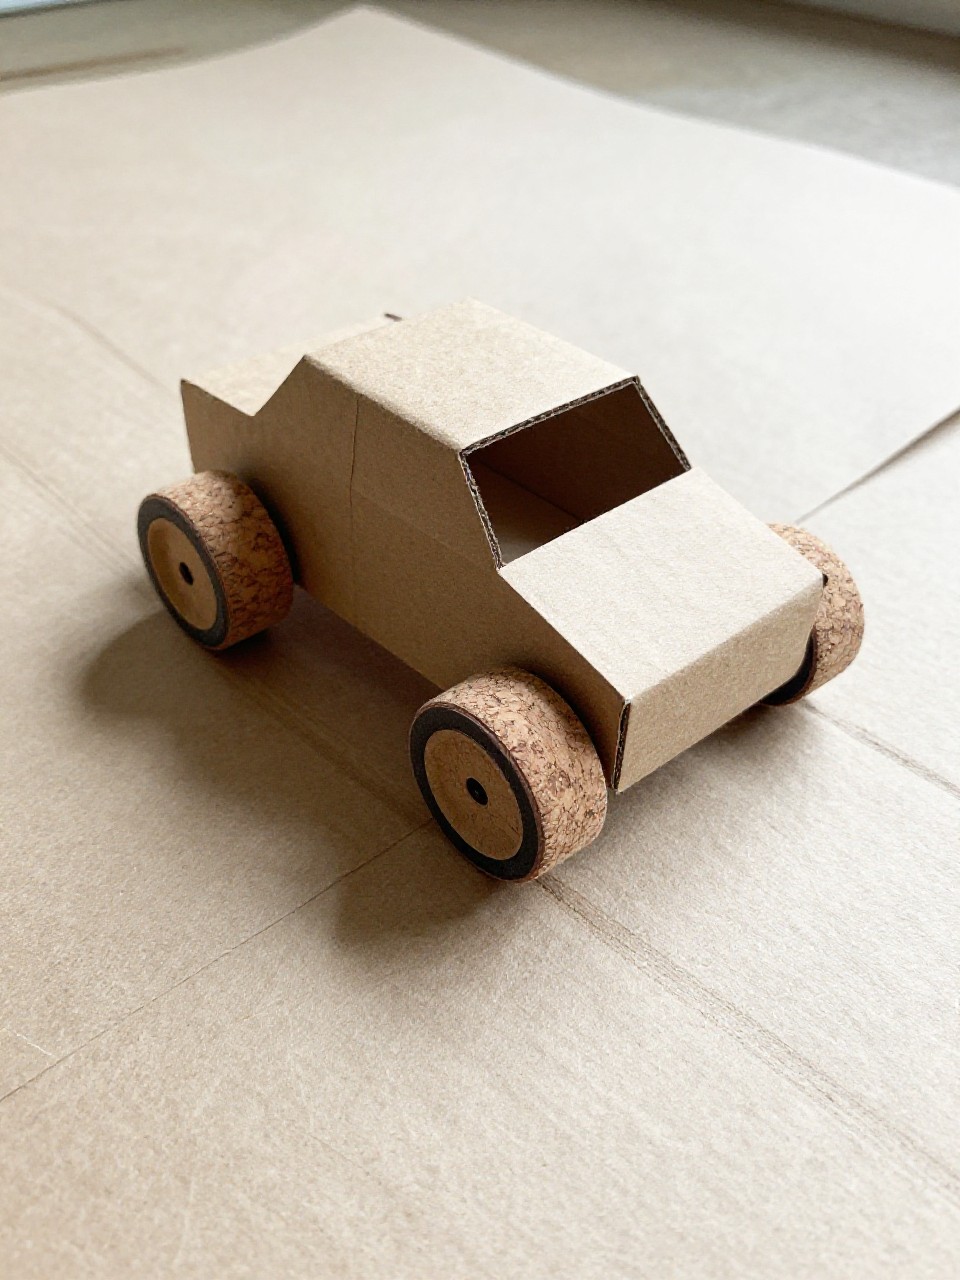
Attach corks as wheels to a small cardboard car and dip them in paint to “drive” patterns. The rolling dots make playful tracks.
Materials Needed:
- Wine corks (2)
- Cardboard car cutout
- Washable paint
How to make it:
- 1. Cut a simple car shape from cardboard.
- 2. Glue a cork under the front and one under the back as rollers.
- 3. Dip the cork edges in paint.
- 4. Roll across paper to make colorful tracks.
14. Shoebox Garage with Lift

Build a chic little garage from a shoebox, complete with a string “lift.” It looks like a mini playset and stores cars neatly.
Materials Needed:
- Shoebox
- String
- Tape and markers
How to make it:
- 1. Cut a big front door and smaller side door in the box.
- 2. Tape in a folded cardboard ramp.
- 3. Tie a string to a small cardboard platform for a simple lift.
- 4. Decorate with parking numbers and arrows.
15. Sticker-Dot Headlight Cars
Bold dot stickers become headlights and wheels on a simple car outline. The graphic circles make the design pop instantly.
Materials Needed:
- Dot stickers (various sizes)
- White paper
- Black marker
How to make it:
- 1. Draw a large, simple car outline.
- 2. Add two big dot stickers as wheels.
- 3. Use smaller dots for headlights and taillights.
- 4. Add lines and a license plate with marker.
16. Paper Cup Monster Car
Give a paper cup goofy eyes and big wheels for a silly monster ride. The round cup body makes it look plump and friendly.
Materials Needed:
- Paper cup
- Googly eyes
- Construction paper
How to make it:
- 1. Turn the cup on its side and glue on googly eyes.
- 2. Cut out two large paper circles and glue as wheels.
- 3. Add a toothy mouth and flames with paper scraps.
- 4. Push it along the floor and make monster sounds.