


Table of Contents Show
If you’ve ever watched a preschooler zoom a spoon across the table making “whoosh” sounds, you know the airplane phase is real. The tricky part is finding crafts that feel wow-worthy without needing fancy tools or endless prep.
These 16 airplane crafts look impressive on a classroom shelf, yet they’re quick, safe, and beginner-friendly.
Each idea builds fine motor skills, encourages pretend play, and uses common supplies you likely already have.
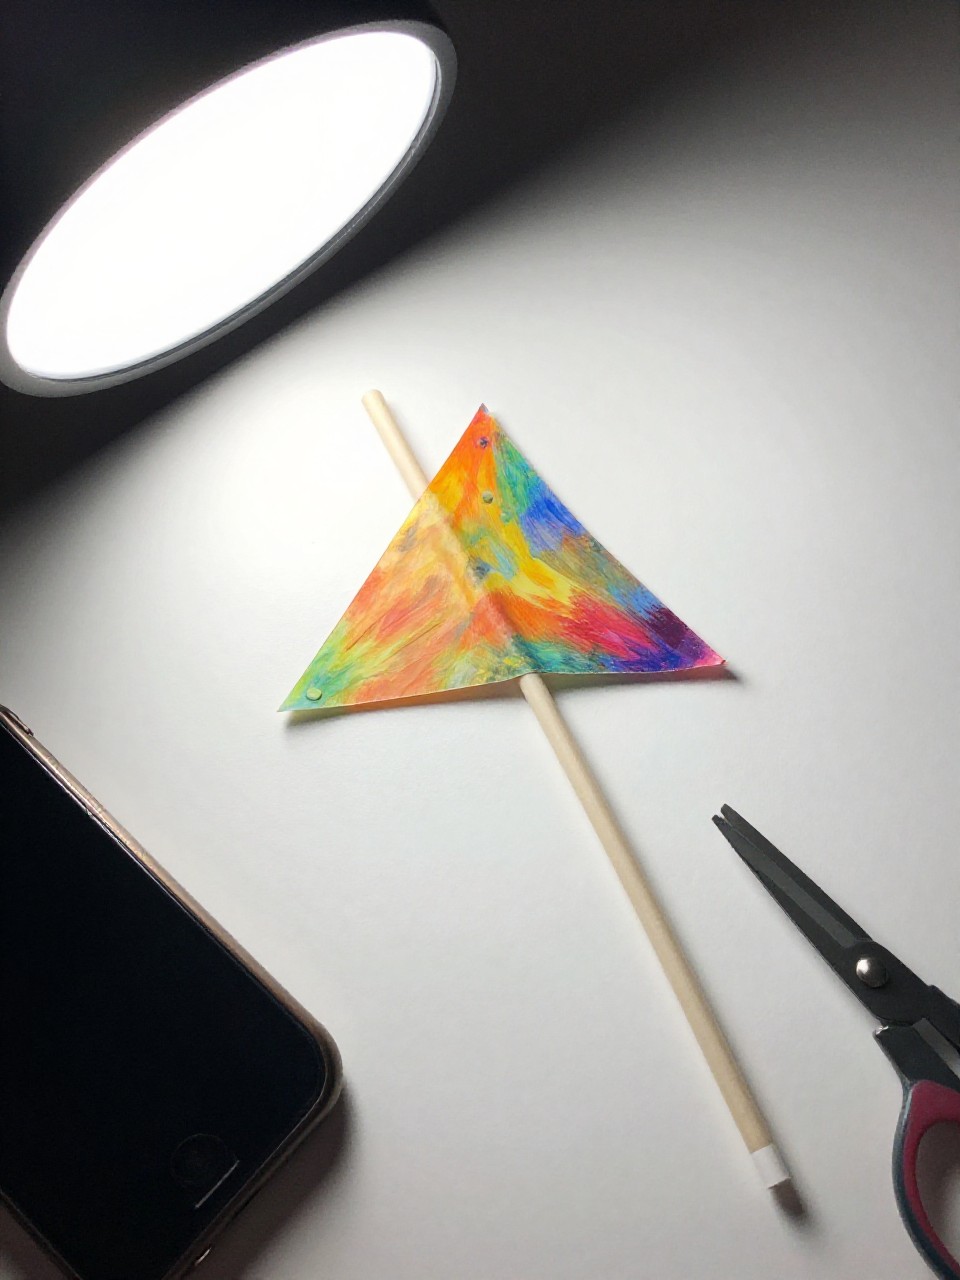
1. Rainbow Runway Paper Plane
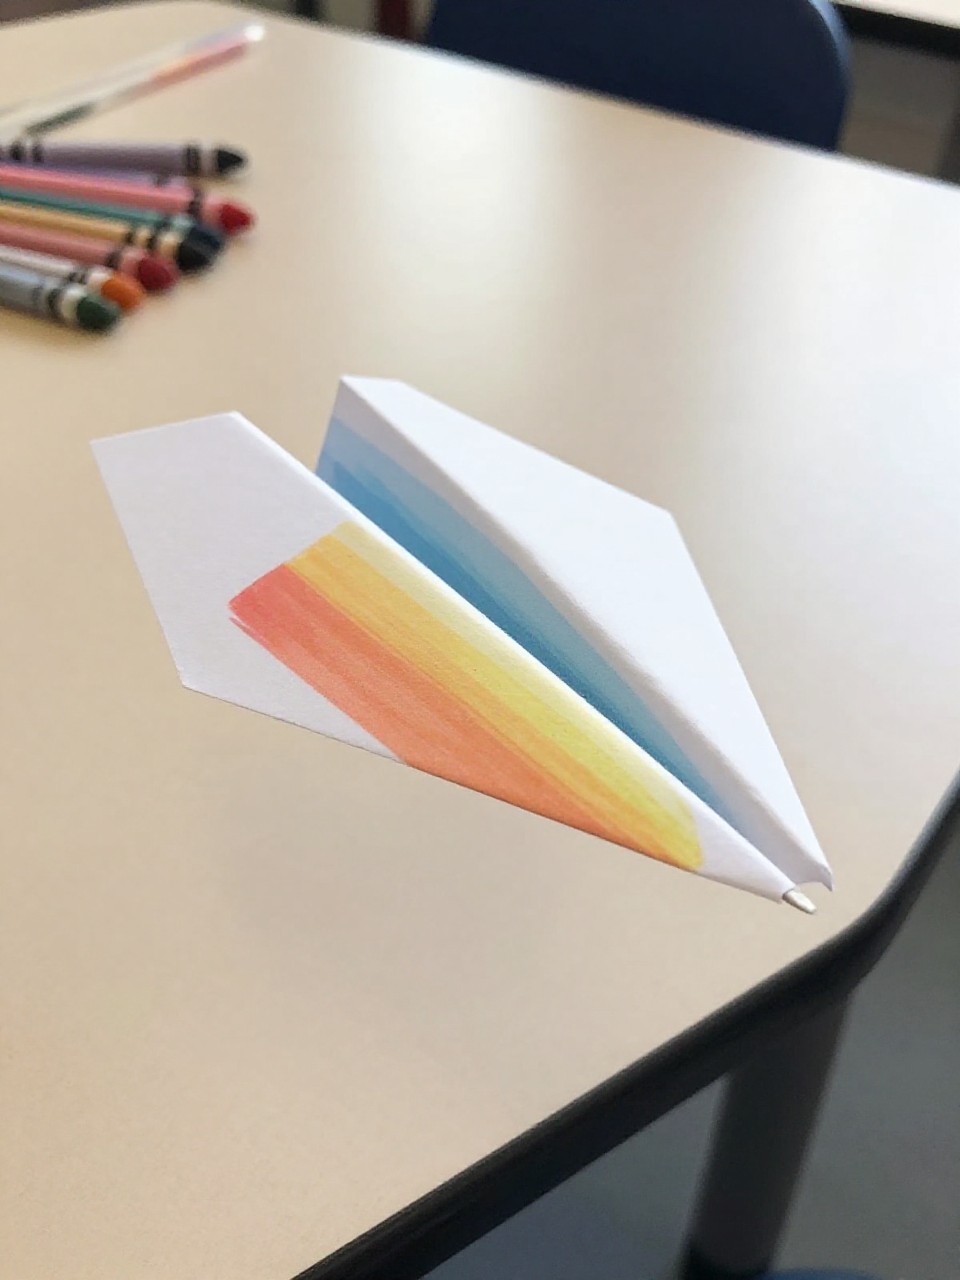
A bold, color-blocked paper plane that actually flies. The rainbow stripes make it feel special, and the weighted nose helps little hands get a satisfying glide.
Materials Needed:
For People Who Love to Make Things ✂️
- Colorful construction paper
- Glue stick
- Washi tape or crayons
How to make it:
- 1. Fold a simple dart paper airplane from construction paper.
- 2. Add rainbow strips of tape or colored bands with crayons on the wings.
- 3. Glue a small scrap of paper inside the nose to add a tiny bit of weight.
- 4. Test-fly and adjust wing tips slightly for balance.
2. Clothespin Jet with Craft Stick Wings

This little jet clips onto backpacks or curtains. The sleek lines make it look pro, but it’s just a clothespin and sticks—snap together in minutes.
Materials Needed:
- Wooden clothespin
- 2–3 mini craft sticks
- Washable paint or markers
How to make it:
- 1. Color or paint the clothespin and craft sticks; let dry.
- 2. Glue one stick across the top front for wings and a small piece on the back for the tail.
- 3. Add jet “windows” with a marker.
- 4. Clip it to a string and fly it around the room.
3. Bubble-Wrap Cloud Airport Collage
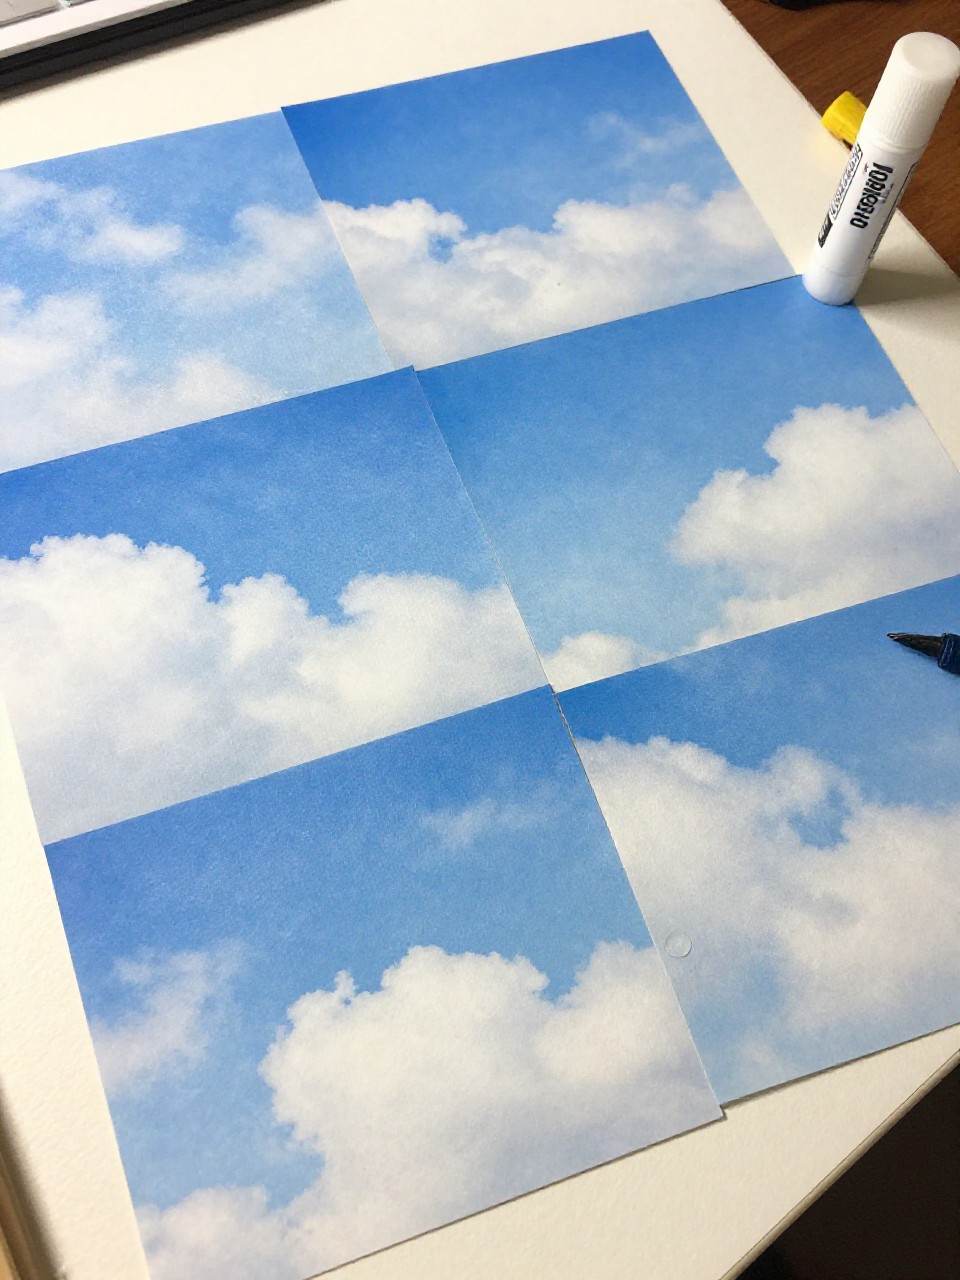
Kids build a soft runway scene full of bumpy “clouds.” The bubbly texture begs to be touched and turns a simple collage into a sky adventure.
Materials Needed:
- Blue cardstock
- Bubble wrap scraps
- Cotton balls
How to make it:
- 1. Glue bubble wrap pieces onto blue cardstock for puffy clouds.
- 2. Pull apart cotton balls and glue for extra fluffy clouds.
- 3. Draw a simple runway with a marker at the bottom.
- 4. Add a small paper plane sticker or cutout zooming through the clouds.
4. Paper Cup Propeller Plane
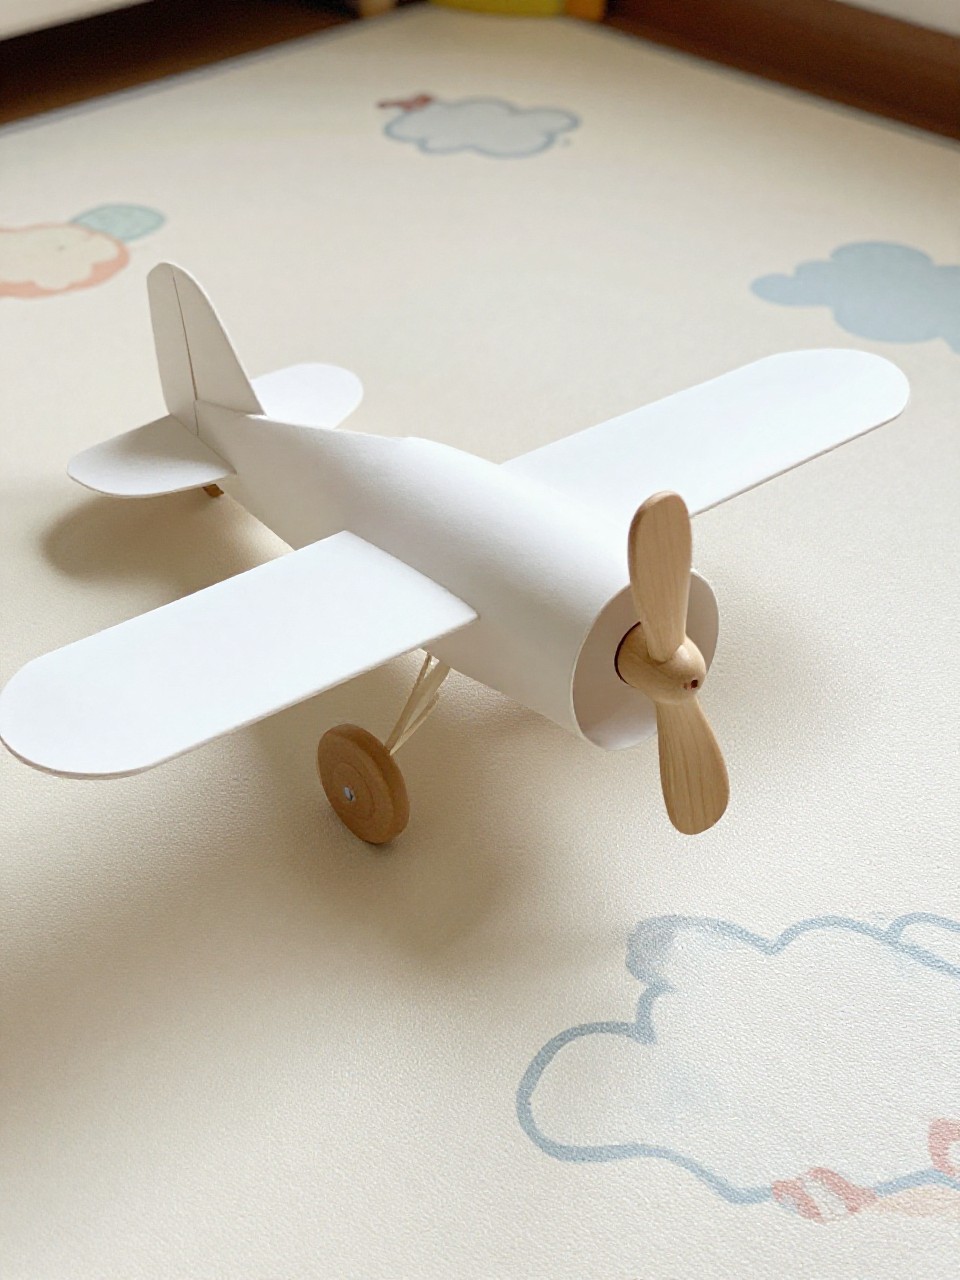
This chubby plane looks like a toy store find, with a spinning front propeller. The cup body gives it a sturdy, holdable shape for dramatic takeoffs.
Materials Needed:
- Paper cup
- 1 craft stick
- Brass fastener (paper brad)
How to make it:
- 1. Poke a tiny hole in the cup’s bottom center.
- 2. Cut a short length from the craft stick for a propeller and poke a hole in its middle.
- 3. Attach the propeller to the cup with the brad so it spins.
- 4. Draw windows and wings on the cup sides with marker.
5. Foam Plate Glider
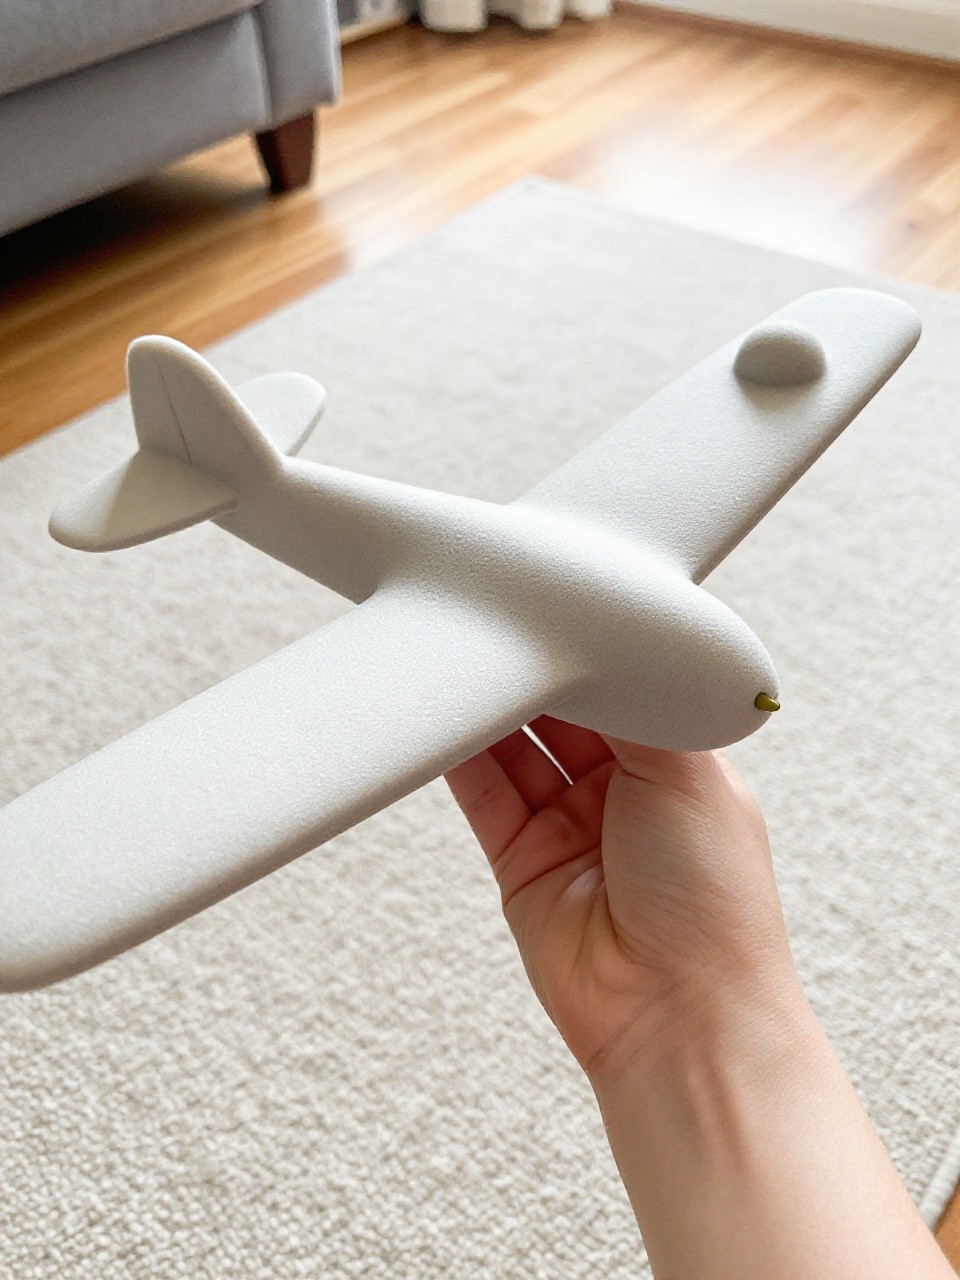
A lightweight plane with cut-out wings that actually swoops. The curved foam helps it catch air for gentle living-room flights.
Materials Needed:
- Foam paper plate
- Scissors (adult help)
- Washi tape or markers
How to make it:
- 1. Cut a slit across the plate’s center (adult assist).
- 2. Cut a wing strip from another plate and slide it through the slit.
- 3. Decorate body and wings with tape or marker patterns.
- 4. Bend wing tips slightly up and test glide.
6. Playdough Airport with Craft Stick Planes
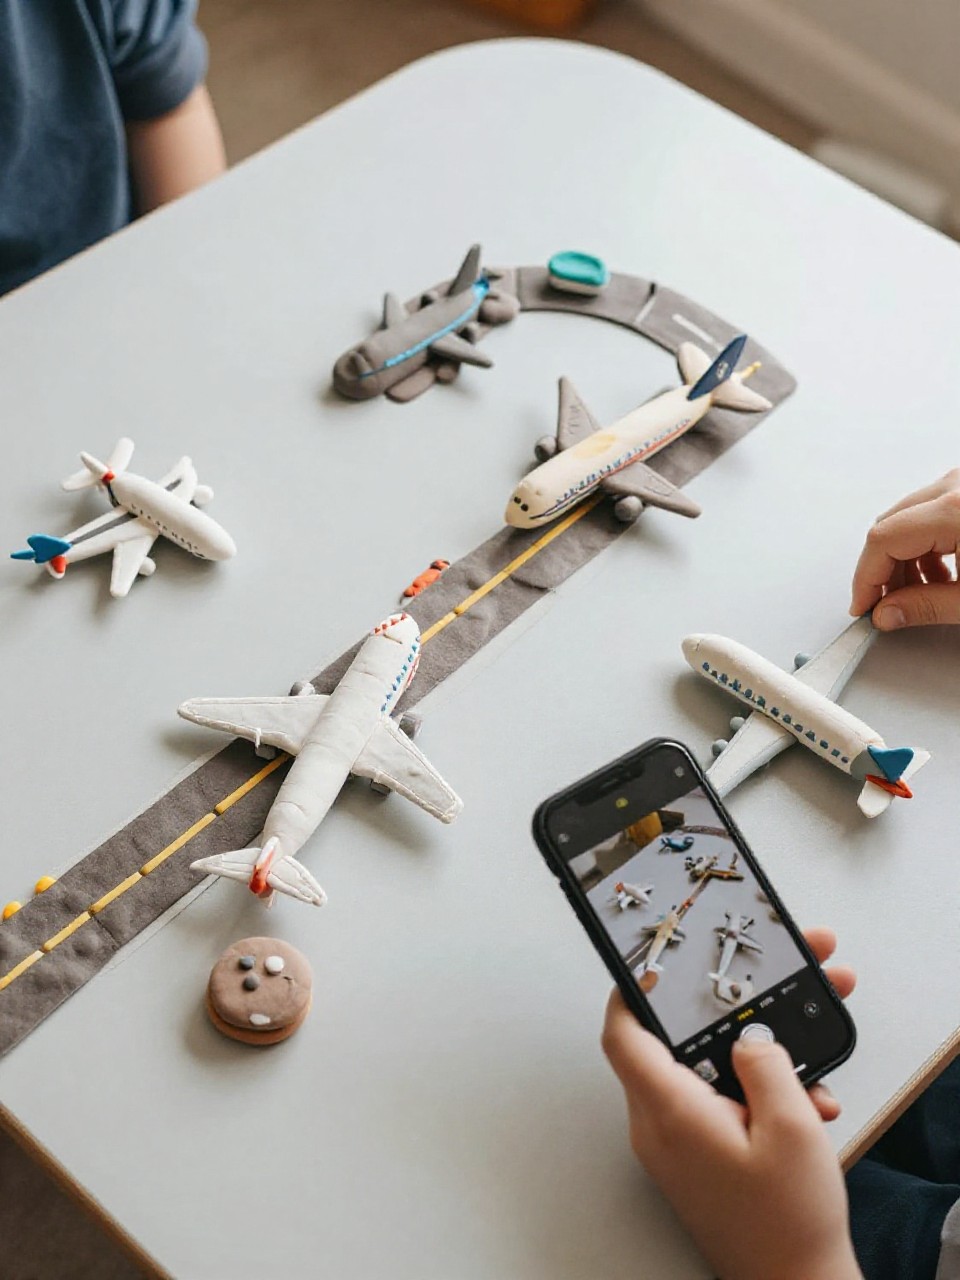
A mini world where planes park, refuel, and taxi. Squishy runways and stick planes invite storytelling and open-ended play.
Materials Needed:
- Playdough
- Craft sticks
- Paper triangles
How to make it:
- 1. Roll playdough into long “runways” and flatten.
- 2. Make planes by gluing paper triangles onto craft sticks as wings.
- 3. Press small playdough balls for control towers and lights.
- 4. Land and take off the stick planes across the dough runways.
7. Sky-in-a-Bag Window Gel Art
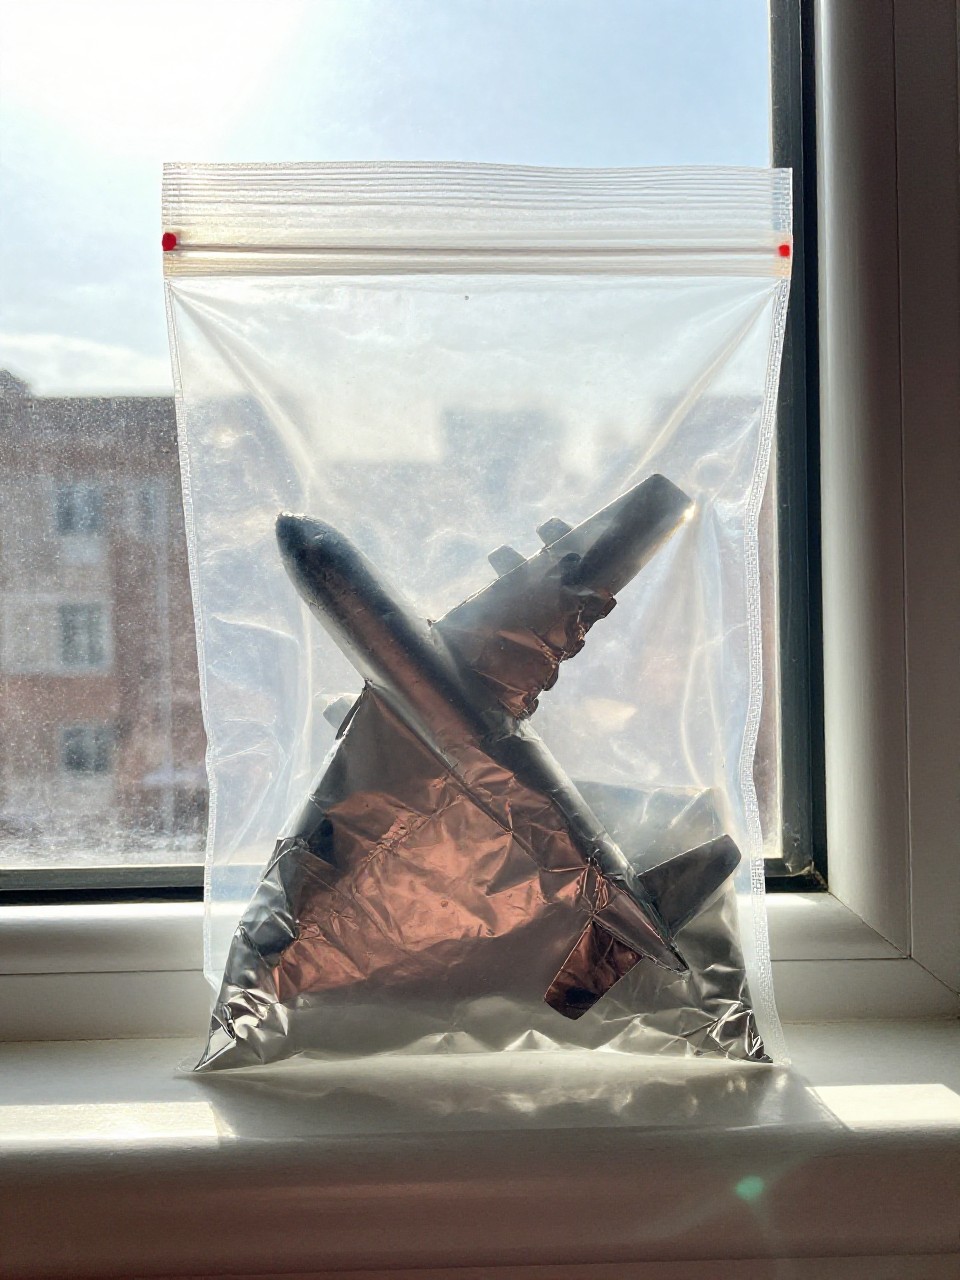
A squishy, mess-free sky scene kids can press and move. Little foil planes “fly” through gel clouds right on the window.
Materials Needed:
- Zip-top sandwich bag
- Hair gel or clear dish soap
- Aluminum foil
How to make it:
- 1. Fill bag with a few spoonfuls of gel; seal tightly.
- 2. Cut small plane shapes from foil and slip them into the bag.
- 3. Add a tiny drop of blue food coloring if desired and squish to mix.
- 4. Tape bag to the window and let kids push planes through the “sky.”
8. Straw and Triangle Paper Jet
A bold, geometric jet that whooshes when you blow. It looks like modern art but is as simple as triangles and a straw.
Materials Needed:
- Drinking straw
- Construction paper
- Tape
How to make it:
- 1. Cut a large triangle for the body and two small ones for wings.
- 2. Tape the small triangles as wings on the sides.
- 3. Tape the straw along the bottom center as the fuselage.
- 4. Hold the straw and launch the jet forward with a flick.
9. Egg Carton Nose-Plane
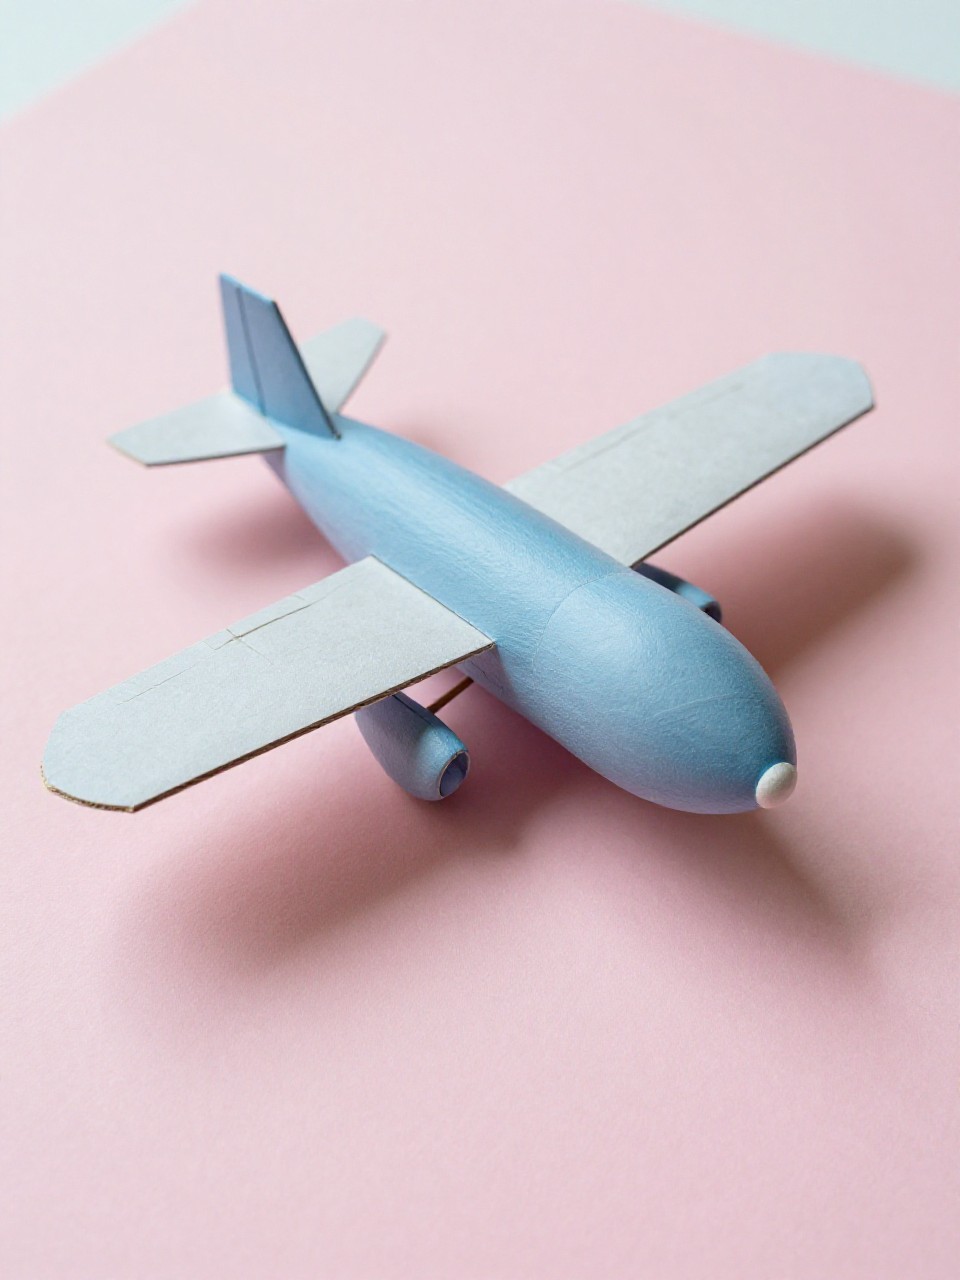
Chunky and cute, this plane has a rounded nose and stubby wings—perfect for preschool hands. Painted dots and windows make it pop.
Materials Needed:
- Cardboard egg carton cup
- Cardstock
- Washable paint
How to make it:
- 1. Cut out one egg carton cup; paint and let dry.
- 2. Cut two cardstock wings and a tail; glue to the sides and back.
- 3. Draw windows and a smiley pilot face on the front.
- 4. Add landing gear dots under the nose with marker.
10. Button Window Airliner
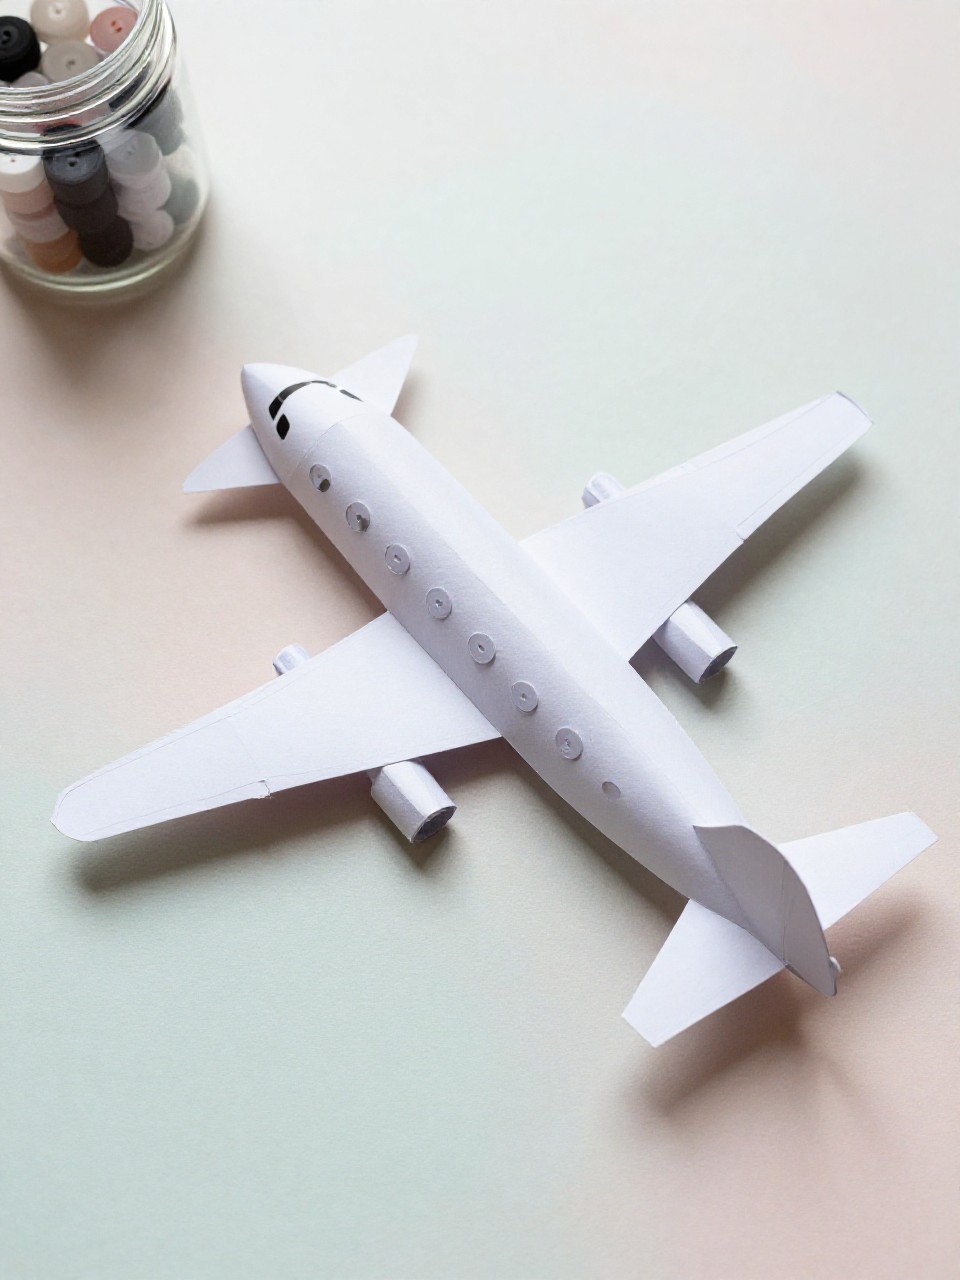
Shiny buttons become airplane windows in a sleek silhouette. The contrast of flat paper and raised buttons looks delightfully tactile.
Materials Needed:
- Black or navy cardstock
- Assorted small buttons
- Glue
How to make it:
- 1. Cut an airplane silhouette from cardstock.
- 2. Glue a row of small buttons as windows along the body.
- 3. Add a larger button as the cockpit window.
- 4. Mount on light-colored paper to make it stand out.
11. Spinny Propeller Tube Plane
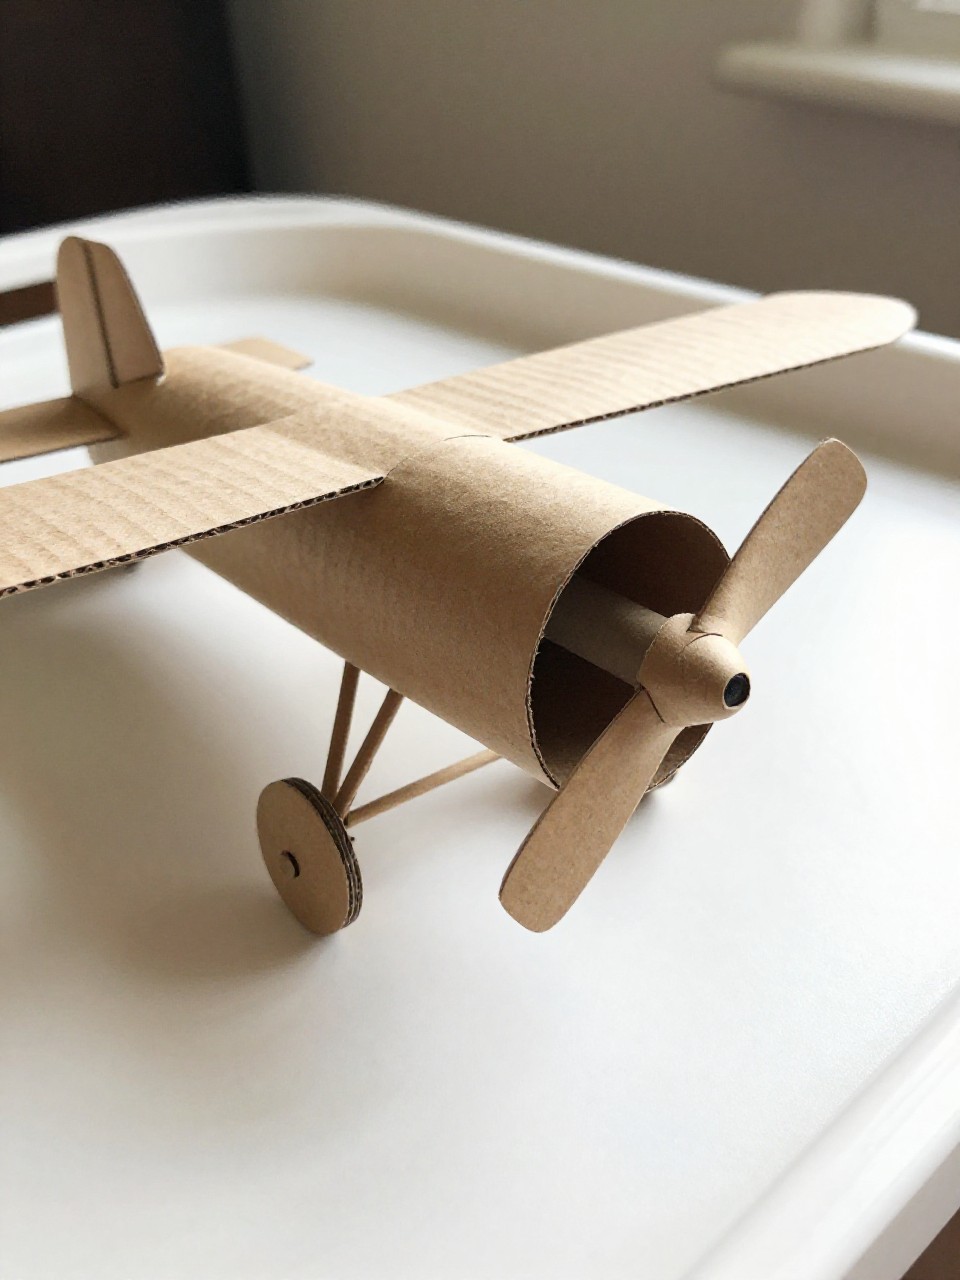
A toilet paper tube turns into a vintage prop plane with a real spinner. Kids love twisting the nose to “start the engine.”
Materials Needed:
- Cardboard tube
- Paper circle
- Brass fastener (paper brad)
How to make it:
- 1. Decorate the tube with markers or paint.
- 2. Cut and decorate a paper circle; snip two slots to form a simple propeller.
- 3. Poke a small hole in the tube front and prop center; attach with brad to spin.
- 4. Glue on paper wings and a tail from scraps.
12. Puffy Paint Cloud Flight Path
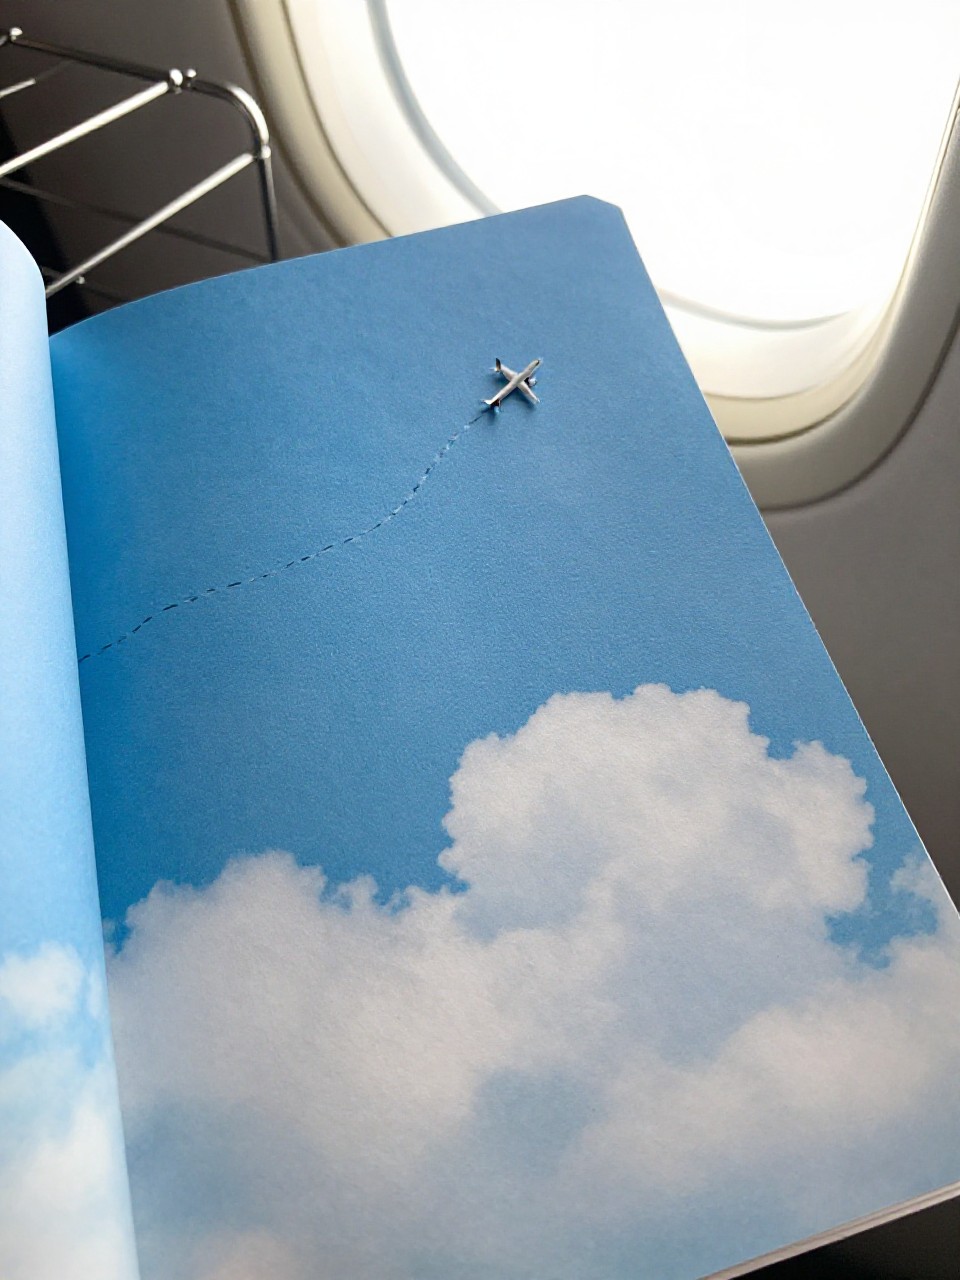
Kids “draw” the flight path through puffy, raised clouds. It dries into a textured sky that begs for fingertip tracing.
Materials Needed:
- Blue paper
- Puffy paint or white glue mixed with shaving cream
- Black marker
How to make it:
- 1. Squeeze puffy paint clouds across the blue page.
- 2. Use marker to draw a dashed flight path weaving between clouds.
- 3. Add a tiny paper or sticker airplane at the end of the path.
- 4. Let dry completely so the clouds stay raised.
13. Popsicle Stick Biplane Magnet
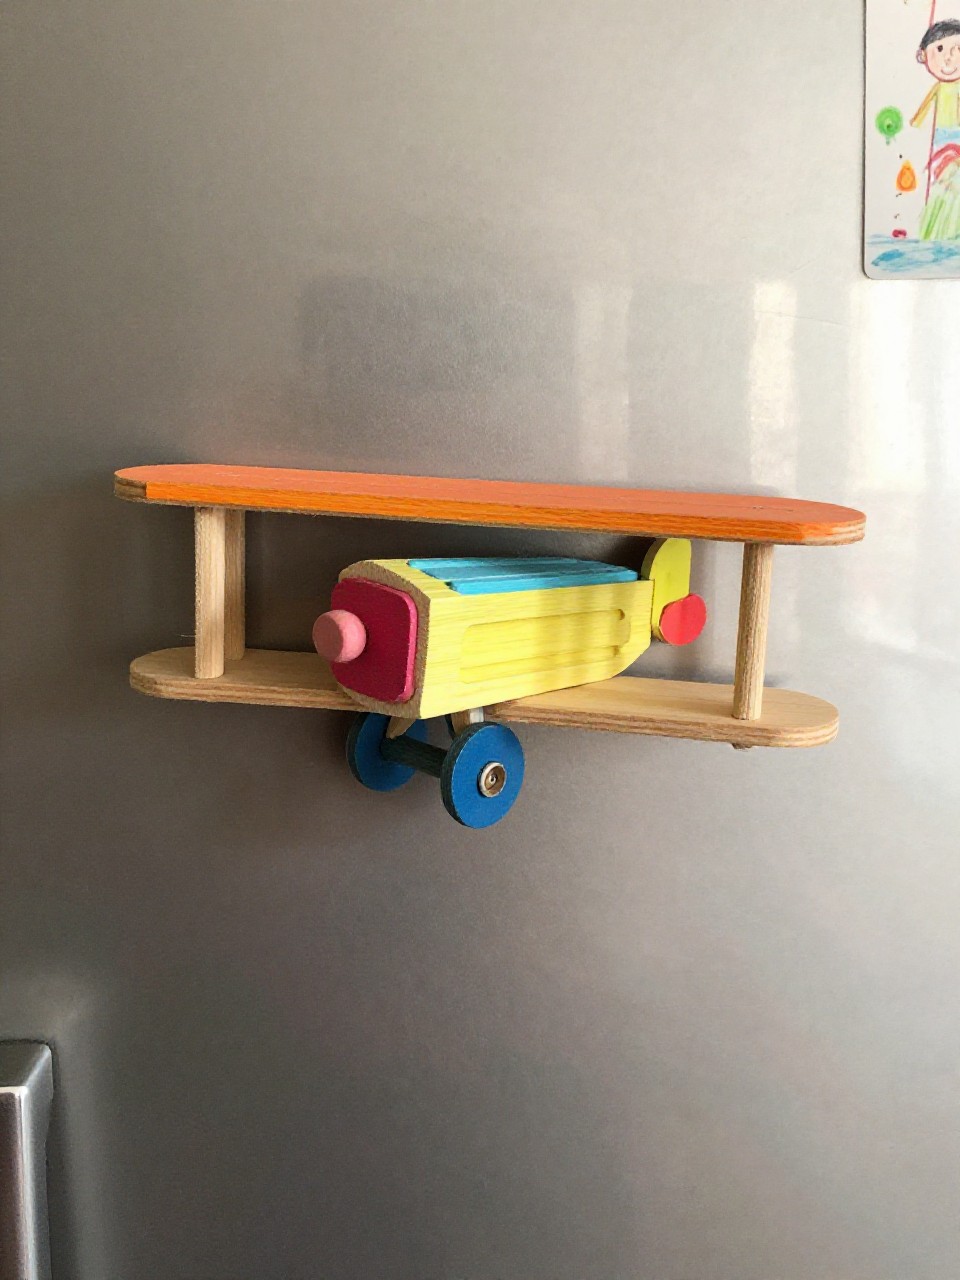
Layered wings give this mini biplane a vintage charm, and the fridge magnet means proud display every day.
Materials Needed:
- 3–4 popsicle sticks
- Small magnet strip
- Glue
How to make it:
- 1. Color sticks with markers or paint.
- 2. Glue two sticks parallel as top and bottom wings; one as the body.
- 3. Add a short piece at the back for the tail.
- 4. Stick a magnet strip on the back for display.
14. Handprint Jet Silhouette
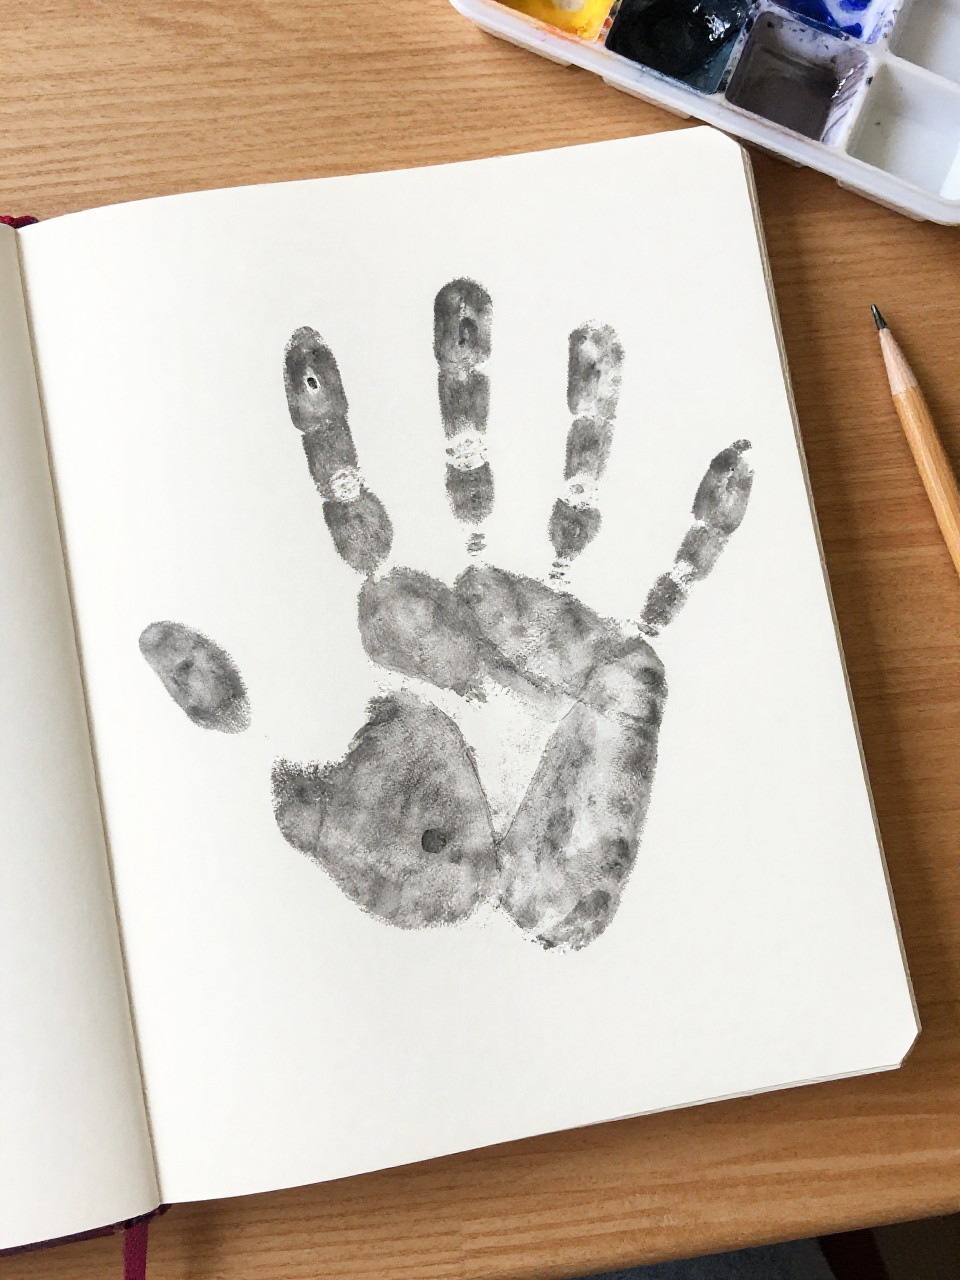
Turn a child’s handprint into a speedy jet—sweet keepsake with a bold graphic look. The negative space trick looks fancy but is super simple.
Materials Needed:
- White paper
- Black paint or marker
- Tape
How to make it:
- 1. Tape a simple paper jet cutout onto white paper as a stencil.
- 2. Paint the child’s hand and stamp all around the stencil.
- 3. Peel off the stencil to reveal a crisp jet silhouette.
- 4. Add name and date for a keepsake.
15. Ribbon-Tail Sky Streamer

This “airplane” is all about motion—kids run and watch the ribbons trail like contrails. It’s beautiful outdoors on a breezy day.
Materials Needed:
- Paper triangle
- Ribbon scraps or yarn
- Drinking straw
How to make it:
- 1. Tape ribbons to the wide end of the paper triangle.
- 2. Tape the triangle onto the top of a straw as the plane body.
- 3. Decorate with stickers or markers.
- 4. Run and watch the tails flutter behind.
16. Envelope Glider Mail Plane
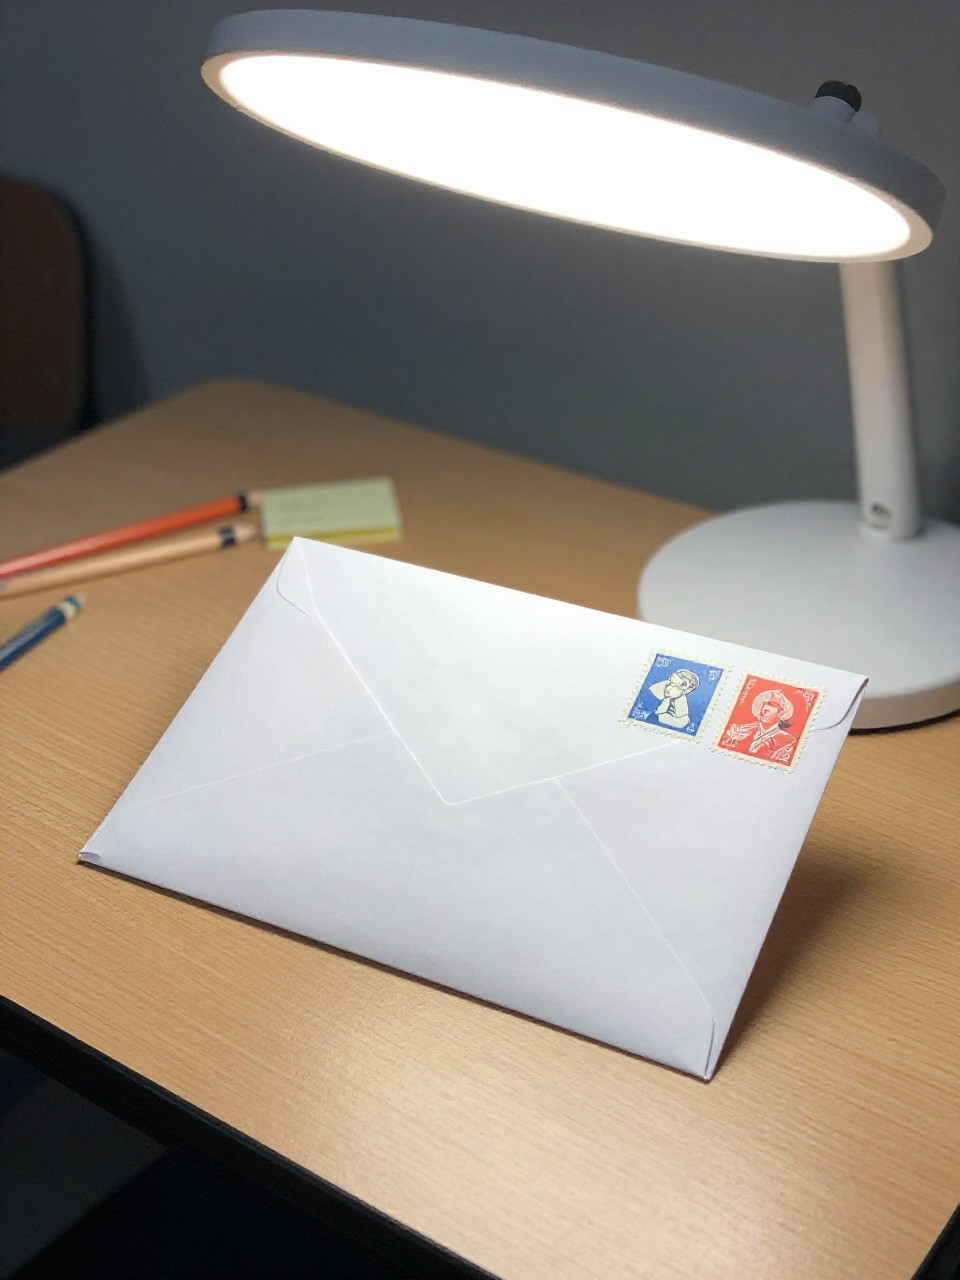
An ordinary envelope folds into a clean-lined mail plane, perfect for “airmail” notes. It looks crisp, flies surprisingly well, and can carry tiny messages.
Materials Needed:
- Small envelope
- Stickers or markers
- Paper scrap for note
How to make it:
- 1. Seal the envelope and fold it lengthwise like a classic paper plane.
- 2. Trim the wing edges slightly for a sleek look.
- 3. Add mail-themed stickers and a tiny drawn stamp.
- 4. Tuck a tiny note into a slit on top and send “airmail” across the room.


