


Table of Contents Show
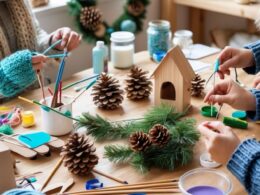
End of summer crafts are a sweet way to slow down and save a few memories before the season changes. Kids can use them to remember beach days, pool afternoons, family trips, sunny walks, camp fun, backyard play, and all the little summer moments that made the break feel special.
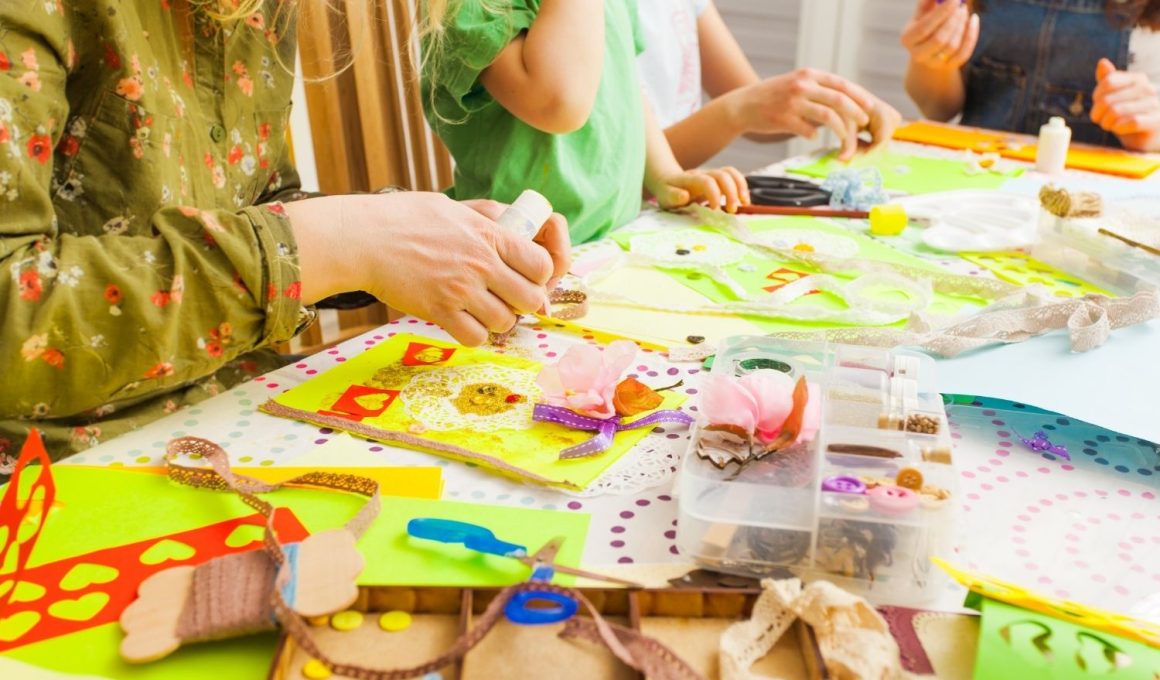
These craft ideas are simple, colorful, and easy to make with supplies you may already have at home. They also work well for classrooms, daycare groups, summer camps, or weekend craft time.
From memory jars and sunset art to paper suitcases and summer scrapbooks, each project gives kids a fun way to wrap up the season with something cute and meaningful.
1. Summer Memory Jar
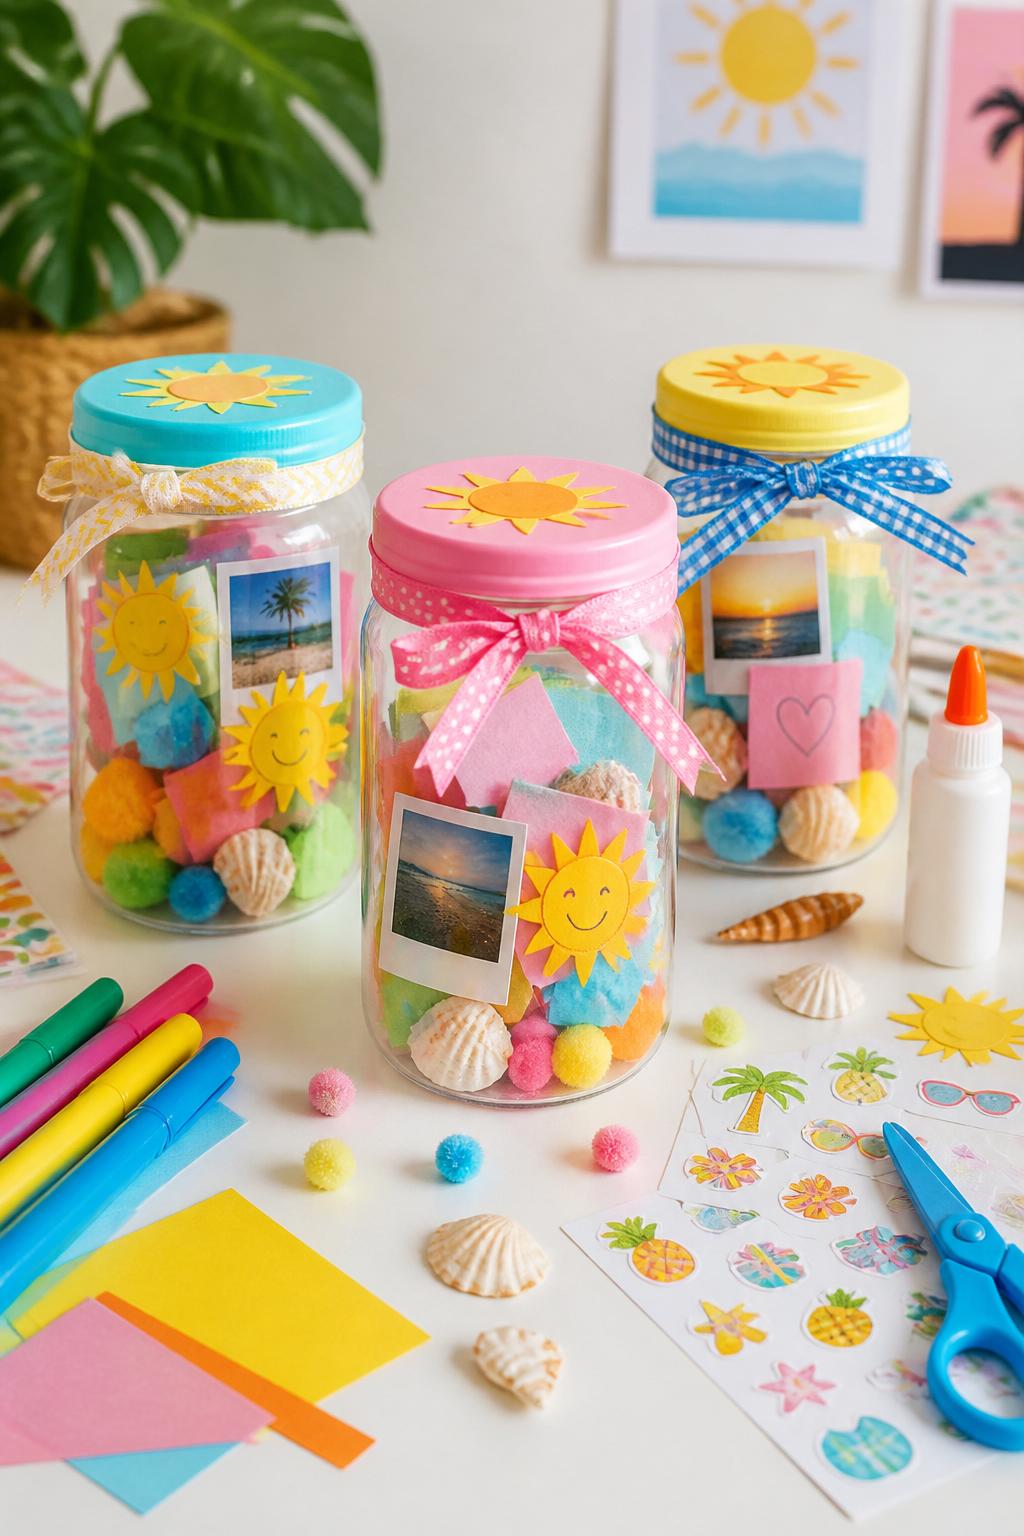
A summer memory jar is a lovely way for kids to save their favorite moments before the season ends. They can add small drawings, notes, photos, shells, tickets, or paper shapes that remind them of places they went and things they enjoyed.
Materials Needed:
For People Who Love to Make Things ✂️
- Clear plastic jar
- Small paper strips
- Markers
- Stickers
- Ribbon
- Small shells, beads, or pom-poms
- Glue
- Child-safe scissors
Steps To Make:
- Give each child a clean plastic jar.
- Cut small paper strips for summer memories.
- Let kids draw or write simple notes about their favorite summer moments.
- Add the notes into the jar.
- Drop in shells, beads, pom-poms, or small paper suns.
- Decorate the outside with stickers and ribbon.
- Place the jar on a shelf as a keepsake.
2. Paper Plate Sunset Beach
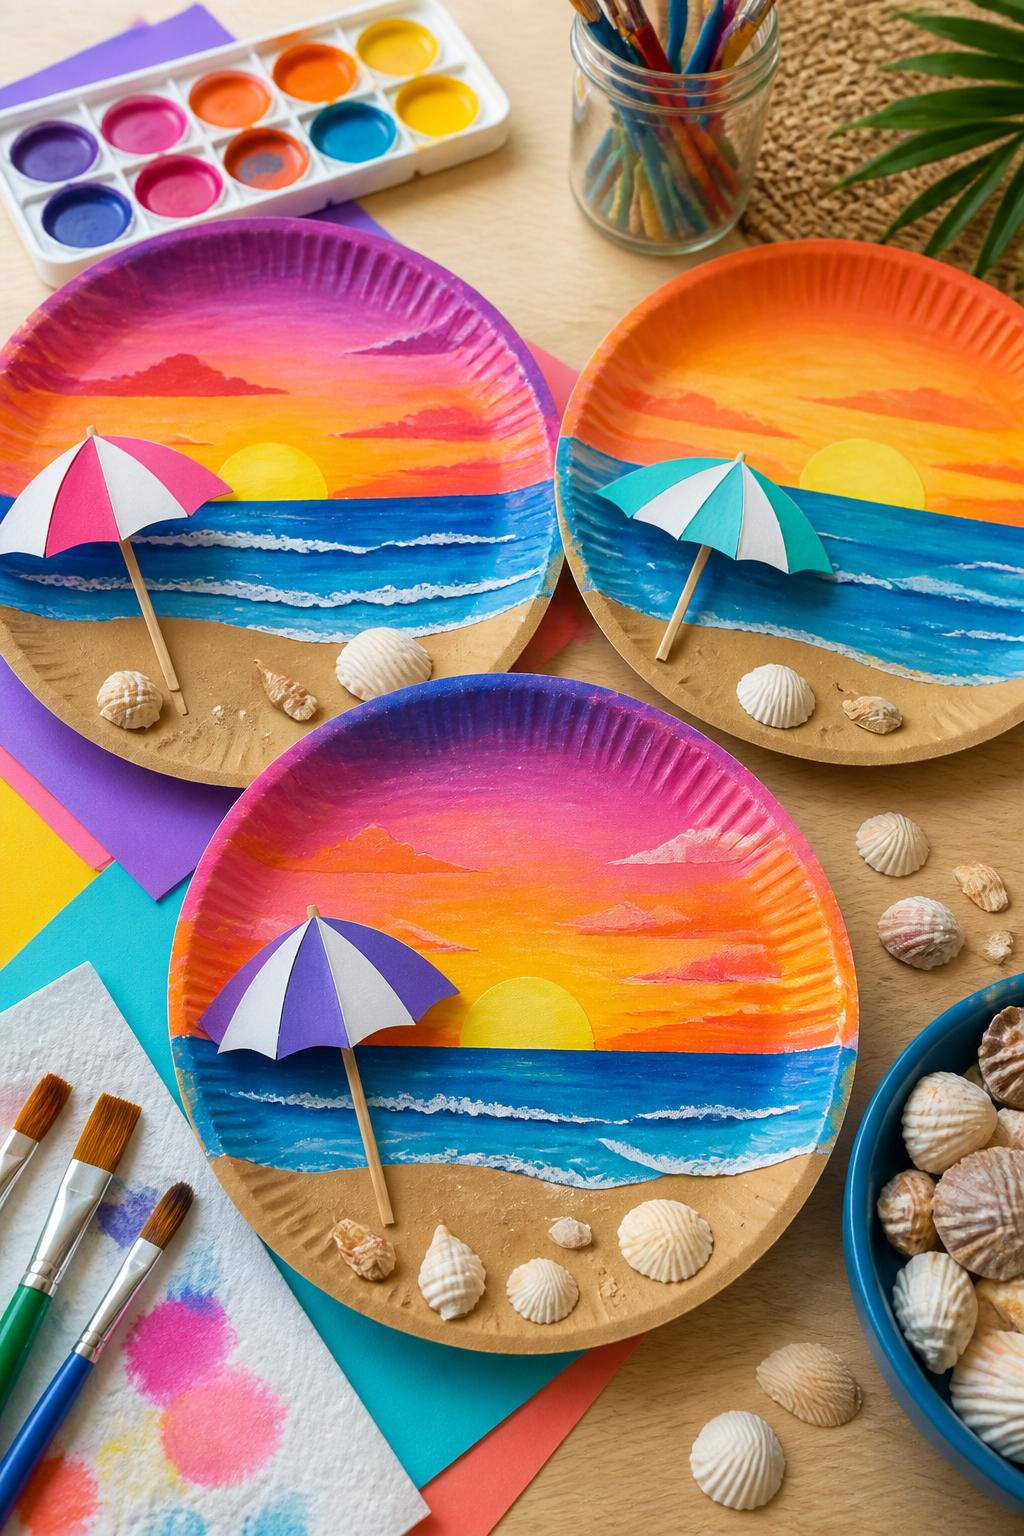
This craft feels perfect for saying goodbye to summer because it captures that warm sunset feeling. Kids can paint bold sky colors and then add simple beach details to make each scene different.
Materials Needed:
- Paper plates
- Washable paint
- Paintbrushes
- Tan and blue construction paper
- Glue stick
- Child-safe scissors
- Shell stickers or paper shells
Steps To Make:
- Paint the top half of the plate with sunset colors.
- Let the colors blend slightly.
- Cut tan paper for sand and blue paper for water.
- Glue the sand and water onto the lower half of the plate.
- Add tiny paper umbrellas, shells, or beach towels.
- Let the plate dry fully.
- Display the finished sunset scenes together.
3. End of Summer Scrapbook Page
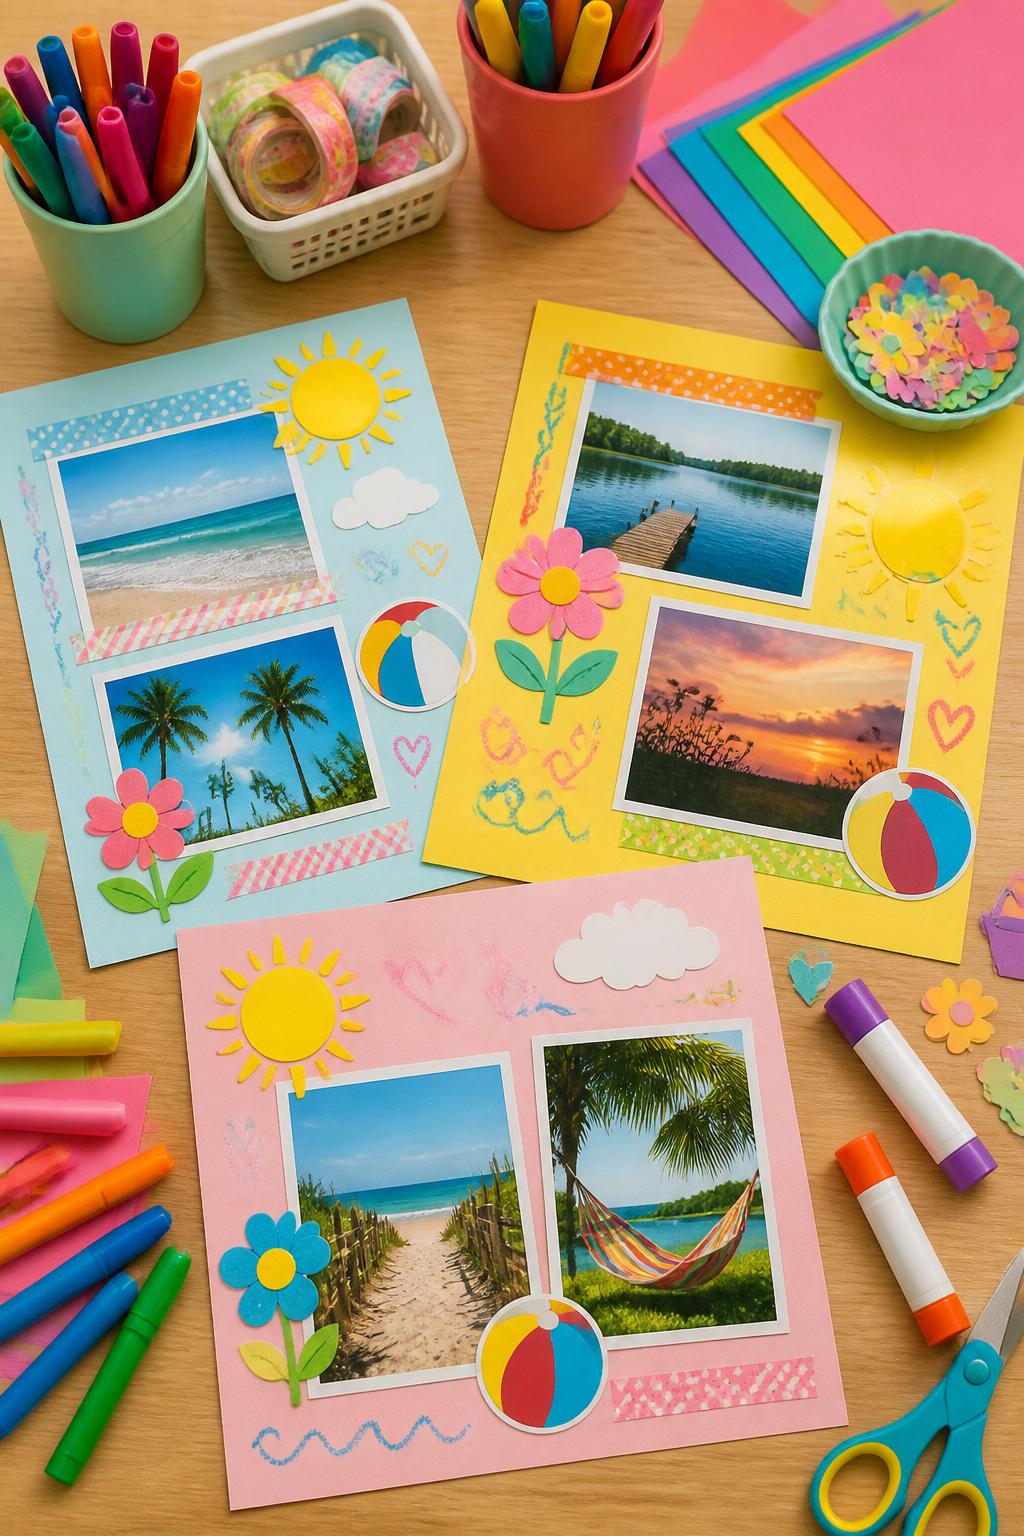
A one-page scrapbook is easier for kids than making a full album. It gives them a simple space to place summer photos, drawings, stickers, and little paper details that show what they loved most.
Materials Needed:
- Cardstock
- Printed photos or drawings
- Stickers
- Washi tape
- Glue stick
- Markers
- Paper scraps
- Child-safe scissors
Steps To Make:
- Give each child a sheet of cardstock.
- Let them choose a few summer photos or drawings.
- Glue the photos or drawings onto the page.
- Add stickers, paper suns, beach balls, or flowers.
- Use washi tape to make borders.
- Let kids draw extra summer details.
- Save the page in a folder or hang it up.
4. Goodbye Summer Paper Suitcase
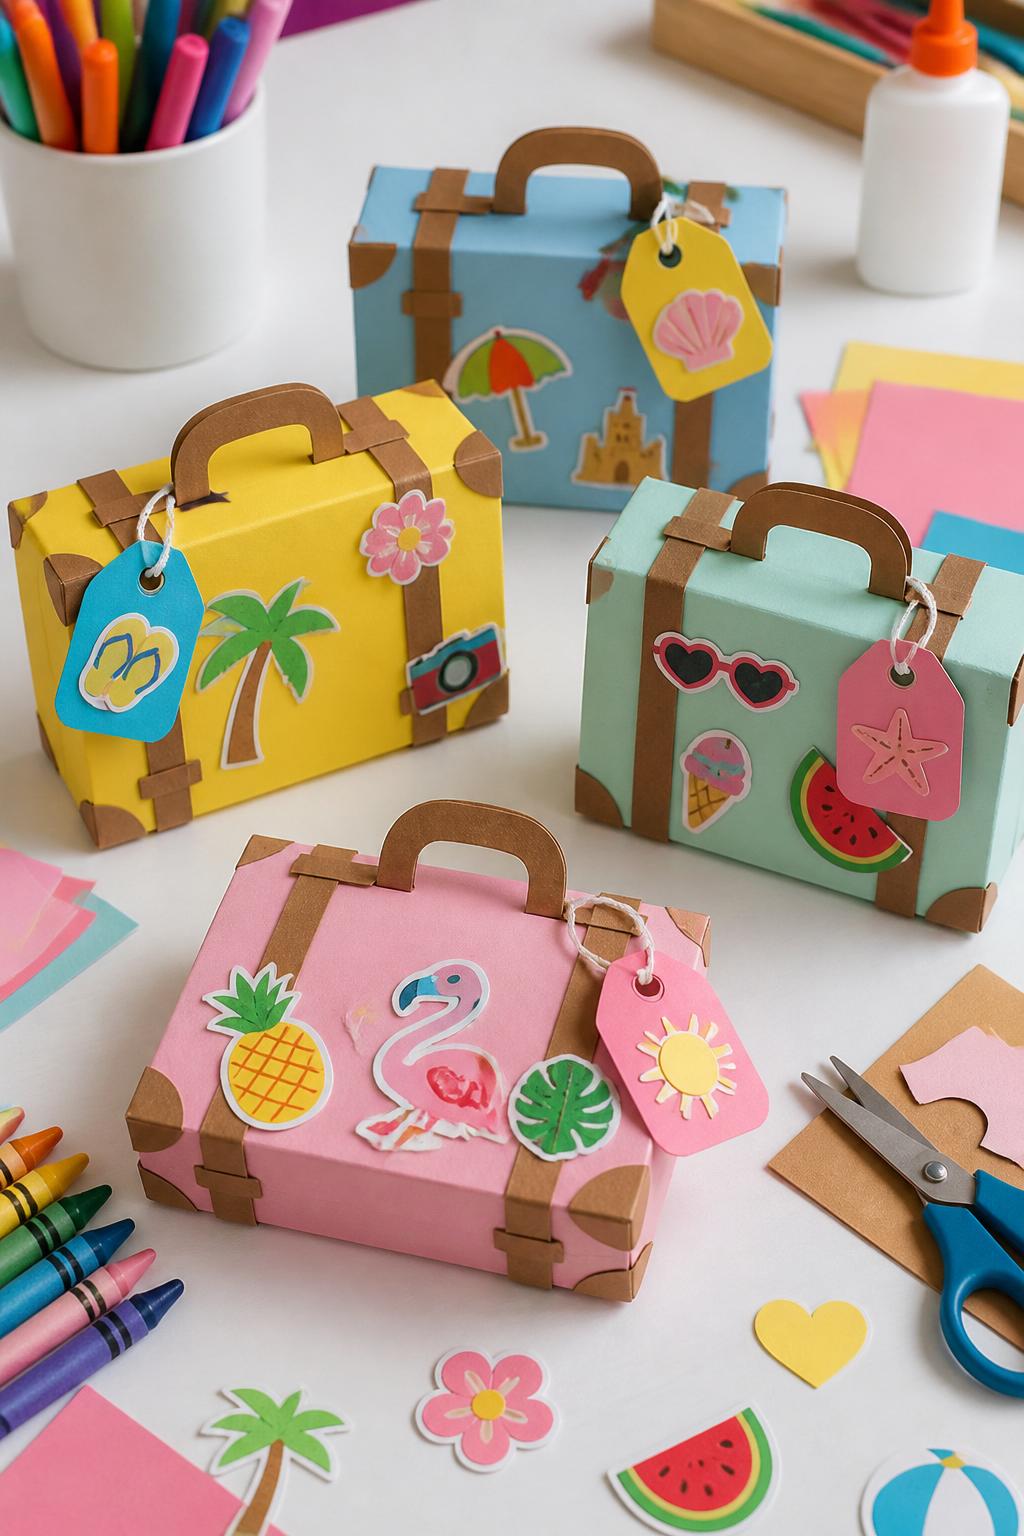
This paper suitcase craft is a fun way for kids to think about where summer took them, even if it was just the backyard, pool, park, or grandma’s house. It can also hold tiny drawings or memory notes inside.
Materials Needed:
- Cardstock
- Brown or colorful construction paper
- Stickers
- Markers
- Glue stick
- Child-safe scissors
- Small paper strips
Steps To Make:
- Fold cardstock in half to make a small suitcase shape.
- Cut a handle from paper and glue it to the top.
- Add paper straps or corner pieces.
- Let kids decorate the outside with stickers and drawings.
- Cut small paper notes for favorite summer memories.
- Place the notes inside the folded suitcase.
- Close it and save it as a keepsake.
5. Popsicle Stick Photo Frame
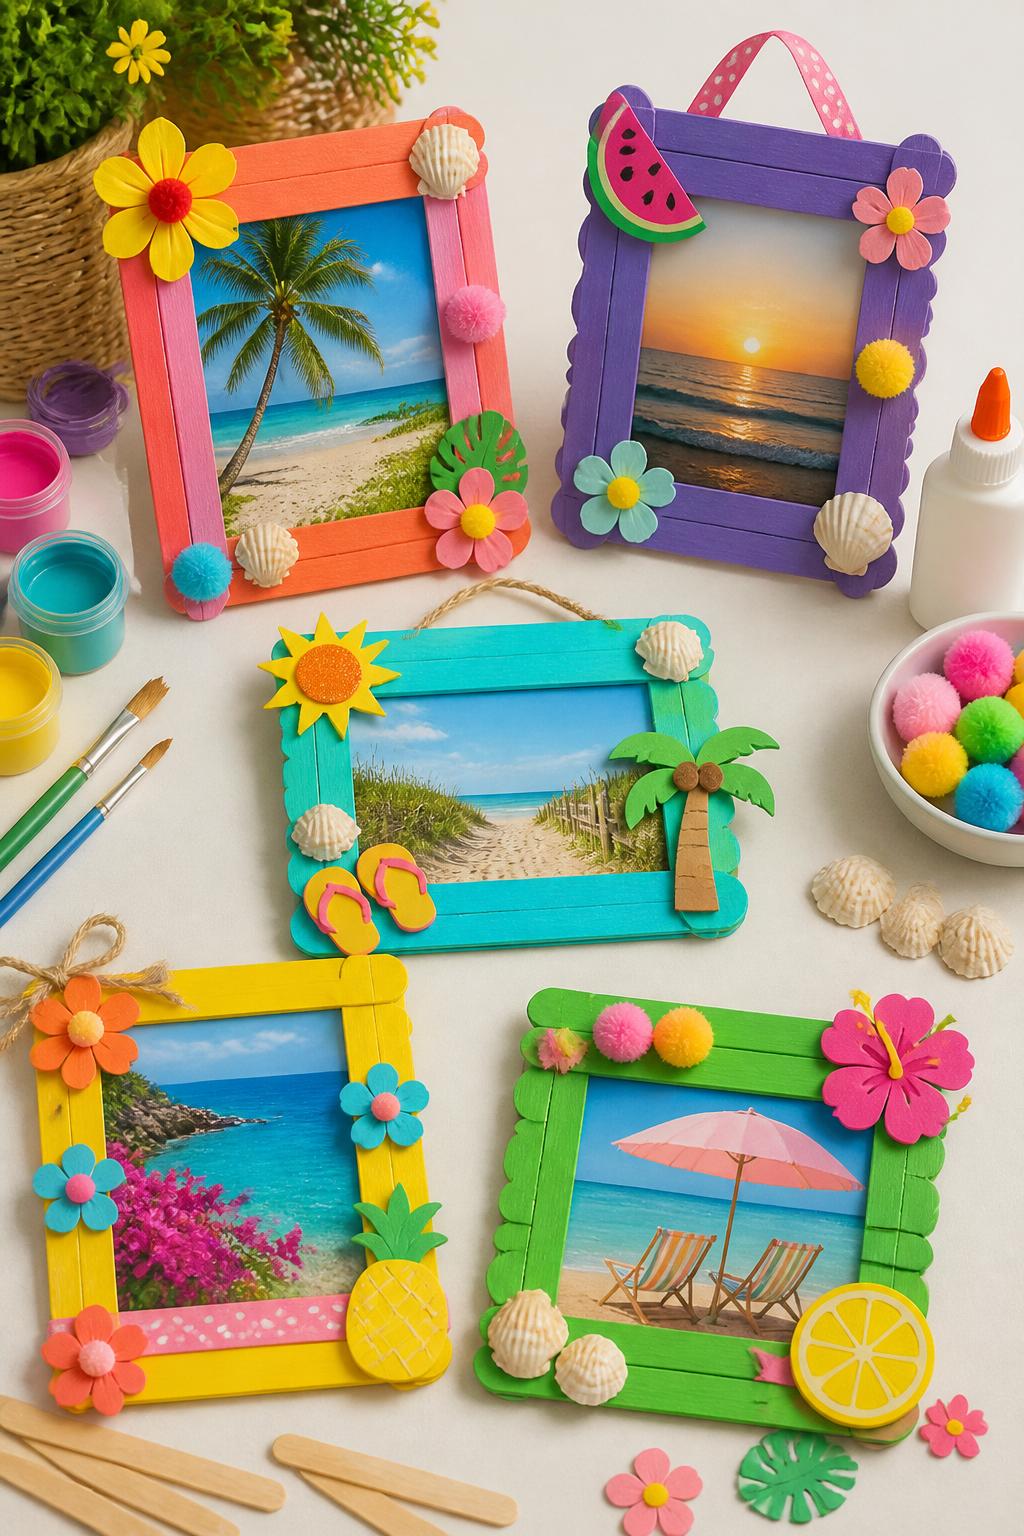
This photo frame is cute, easy, and useful after the craft is finished. Kids can decorate it with summer colors and add a favorite photo from vacation, camp, a family outing, or a fun day at home.
Materials Needed:
- Popsicle sticks
- Washable paint
- Glue
- Small printed photo
- Stickers, pom-poms, or paper shapes
- Ribbon
- Magnet strip, optional
Steps To Make:
- Paint the popsicle sticks and let them dry.
- Glue four sticks into a square frame.
- Glue extra sticks behind the frame for support.
- Add a small photo behind the opening.
- Decorate the frame with stickers, paper shapes, or pom-poms.
- Add ribbon at the top if hanging.
- Let the frame dry flat.
6. Summer Bucket List Collage
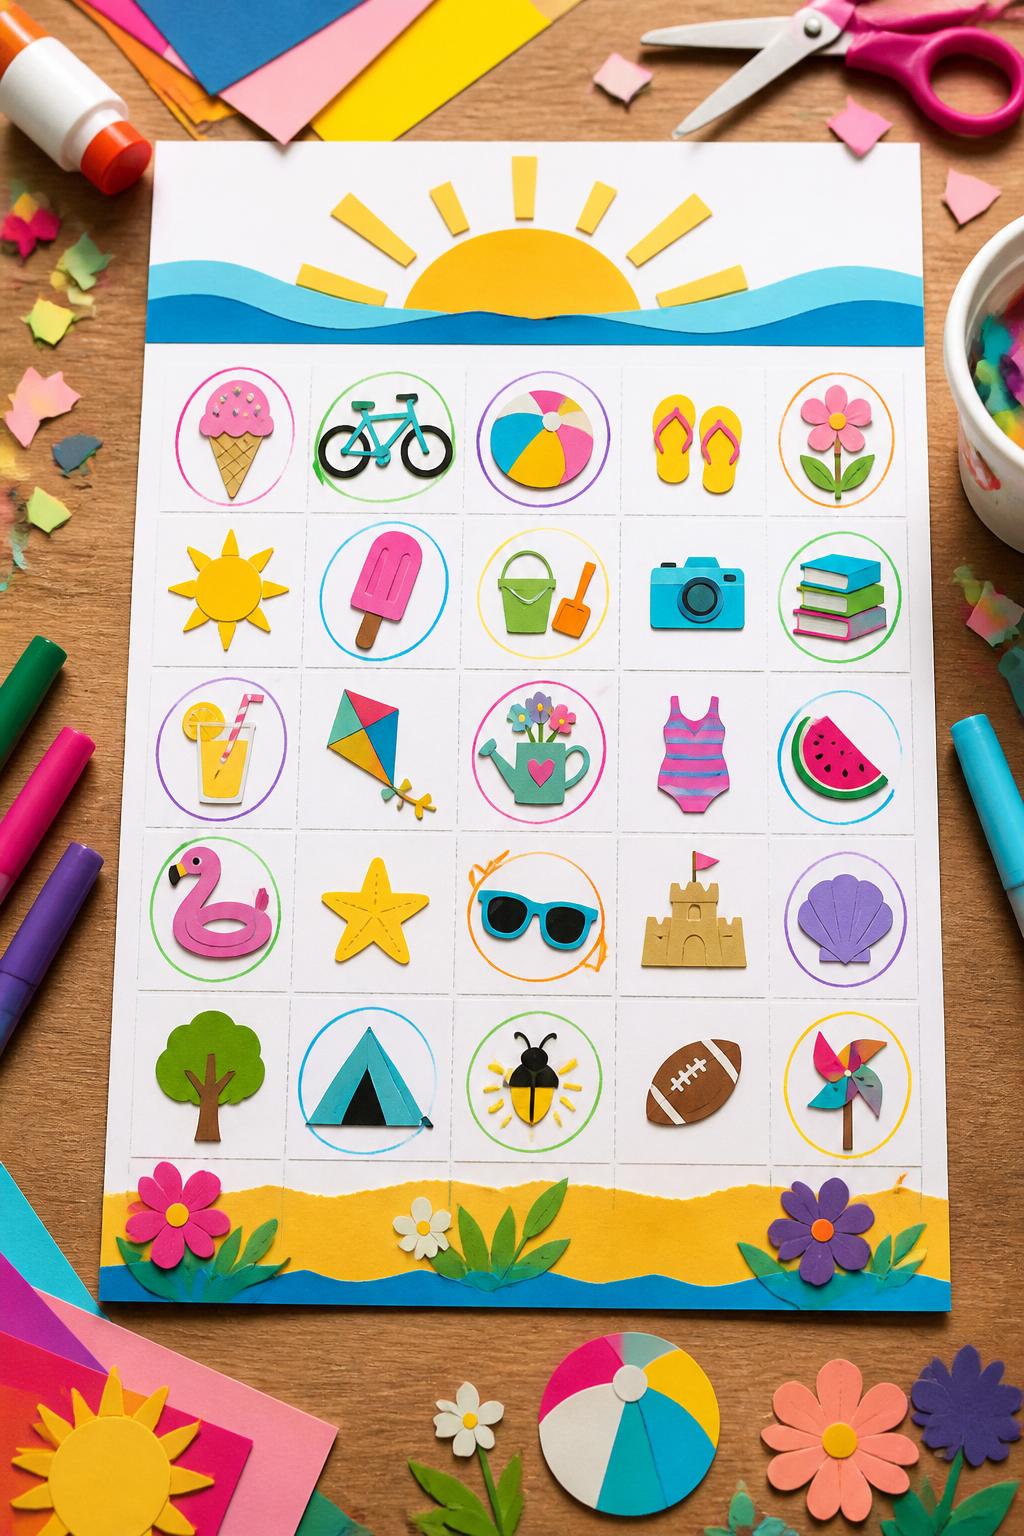
This collage helps kids remember what they did over summer in a creative way. Instead of writing a long list, they can use little pictures, stickers, and drawings to show their favorite activities.
Materials Needed:
- Cardstock
- Stickers
- Construction paper
- Markers
- Glue stick
- Child-safe scissors
- Crayons
Steps To Make:
- Ask kids to think of summer activities they enjoyed.
- Cut or draw small icons for each activity.
- Glue the icons onto cardstock.
- Add stickers, borders, and colorful marks.
- Circle or check the activities they completed.
- Let them add extra drawings around the page.
- Display the collage as a summer recap.
7. Pressed Flower Goodbye Summer Card
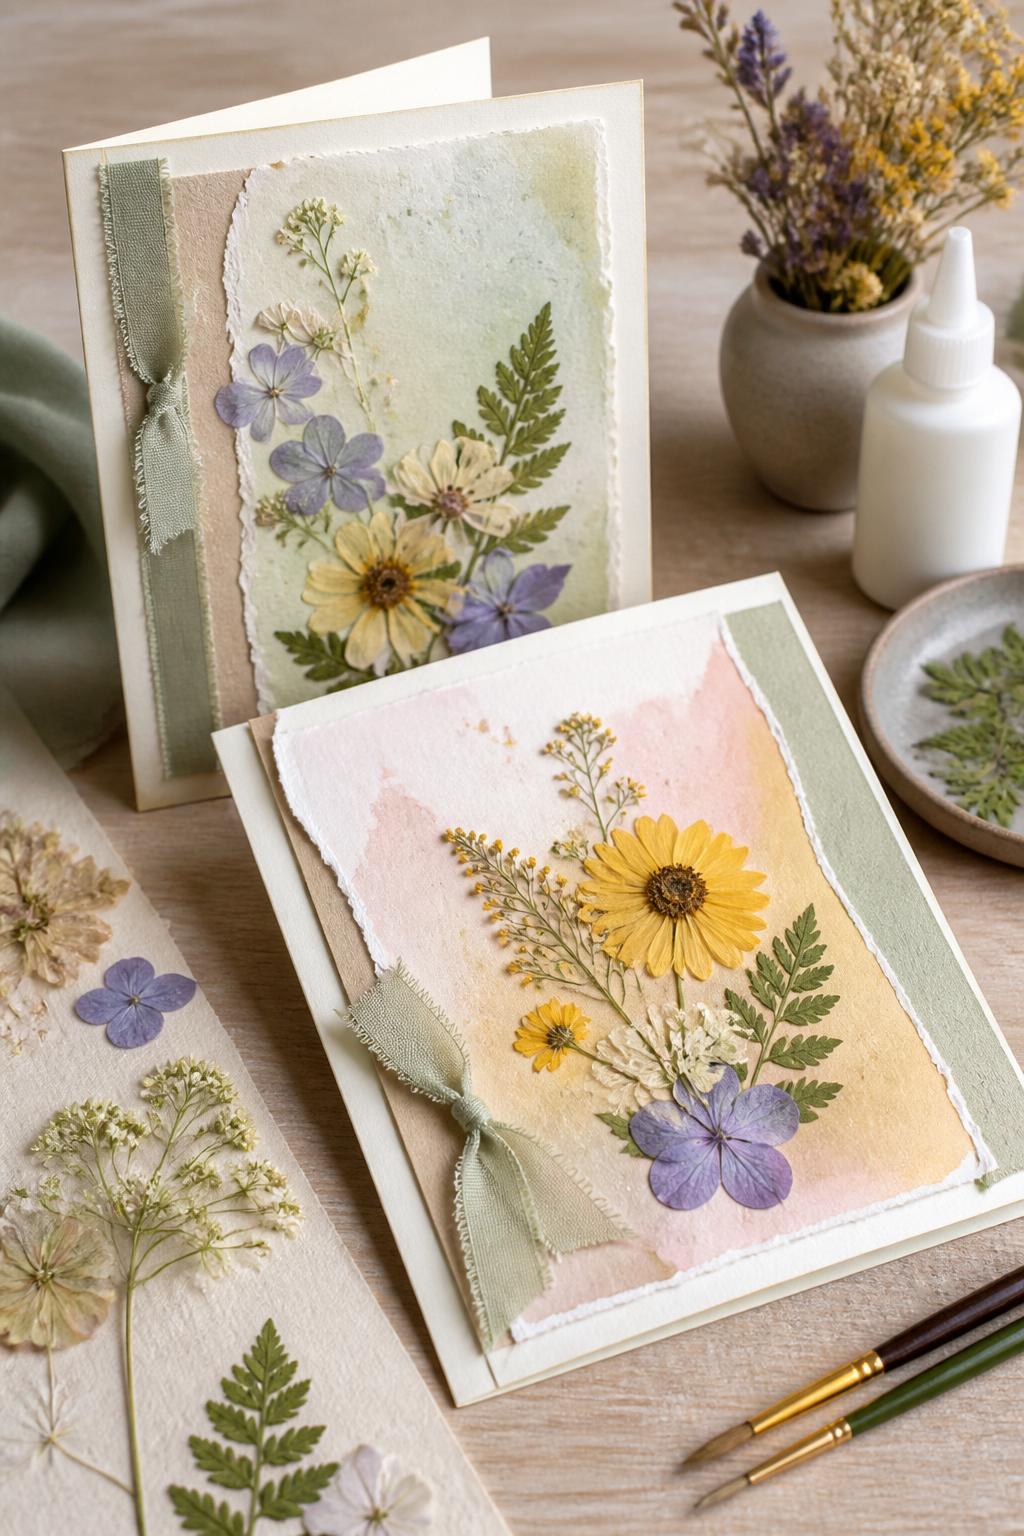
Pressed flower cards feel gentle and meaningful for the end of summer. Kids can use flowers or leaves collected from walks, then turn them into cards for family, teachers, friends, or themselves.
Materials Needed:
- Folded cardstock
- Pressed flowers or leaves
- Glue stick or craft glue
- Watercolor paint, optional
- Paintbrush
- Ribbon, optional
- Clear contact paper, optional
Steps To Make:
- Press flowers or leaves ahead of time in a heavy book.
- Fold cardstock into a card shape.
- Paint a soft background if desired.
- Arrange pressed flowers on the front.
- Glue them down carefully.
- Add ribbon or a paper border.
- Let the card dry before giving or saving it.
8. Paper Chain Countdown to School
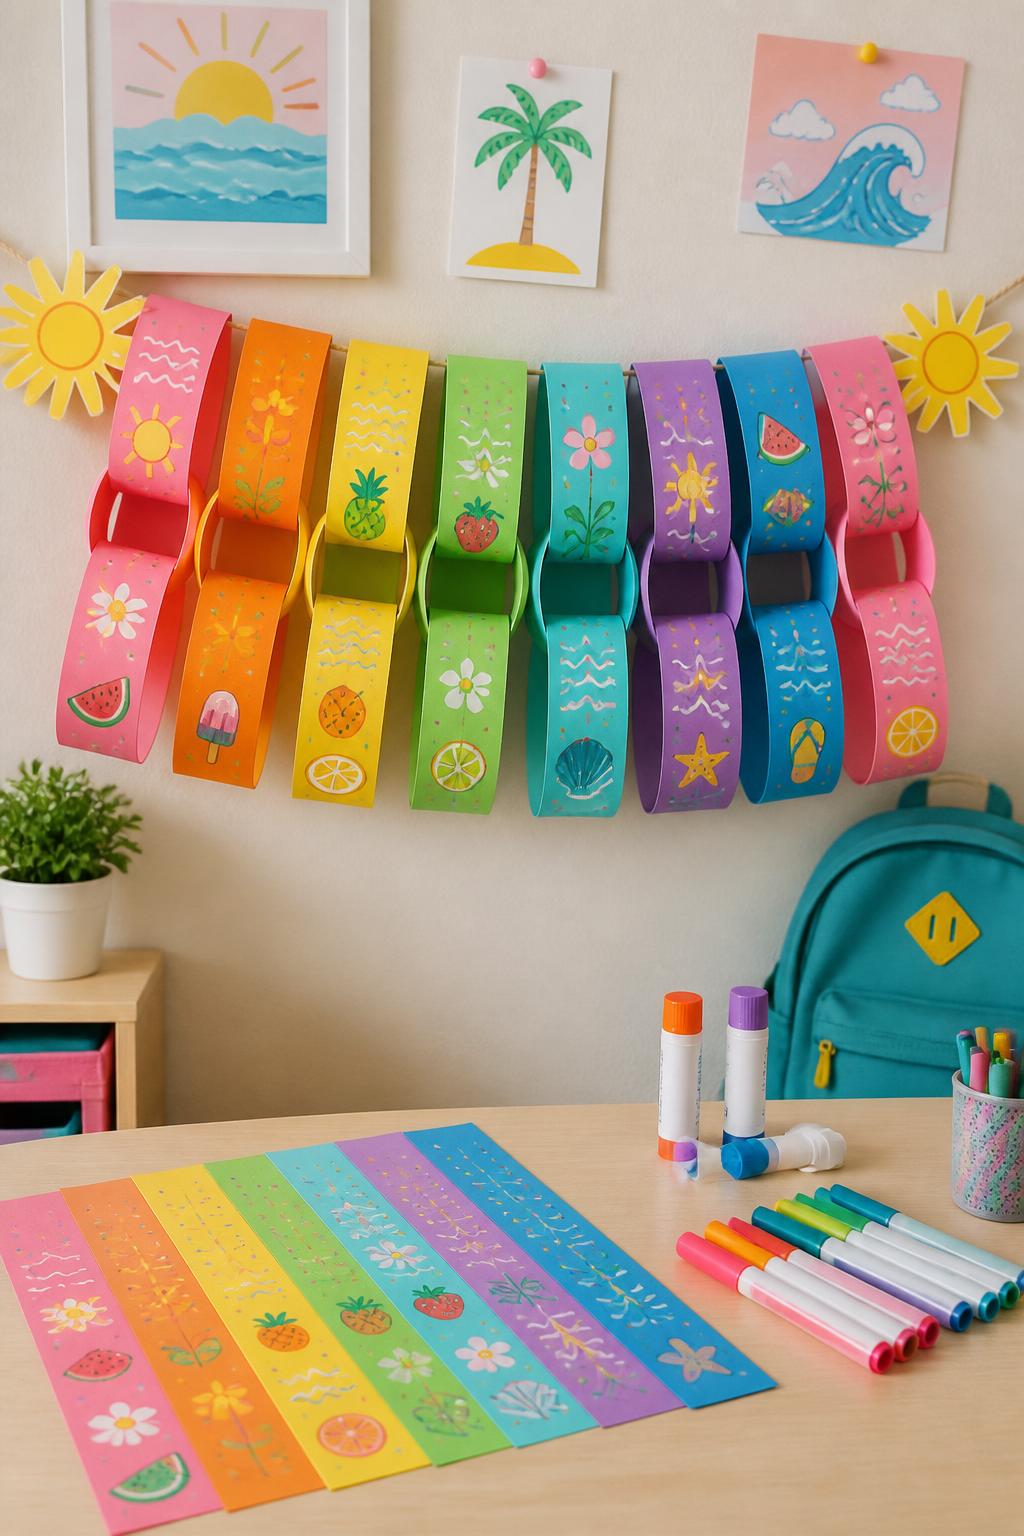
This craft helps kids move from summer into school in a fun and visual way. Each paper loop can hold a memory, a small goal, or a simple activity for the last days of summer.
Materials Needed:
- Construction paper
- Markers
- Stickers
- Glue stick or tape
- Child-safe scissors
- String, optional
Steps To Make:
- Cut construction paper into strips.
- Let kids decorate each strip with summer designs.
- Add a simple memory or activity to each strip if desired.
- Loop one strip and glue or tape it closed.
- Add the next strip through the first loop.
- Keep adding strips to make a chain.
- Remove one loop each day as summer ends.
9. Summer Seashell Wind Chime
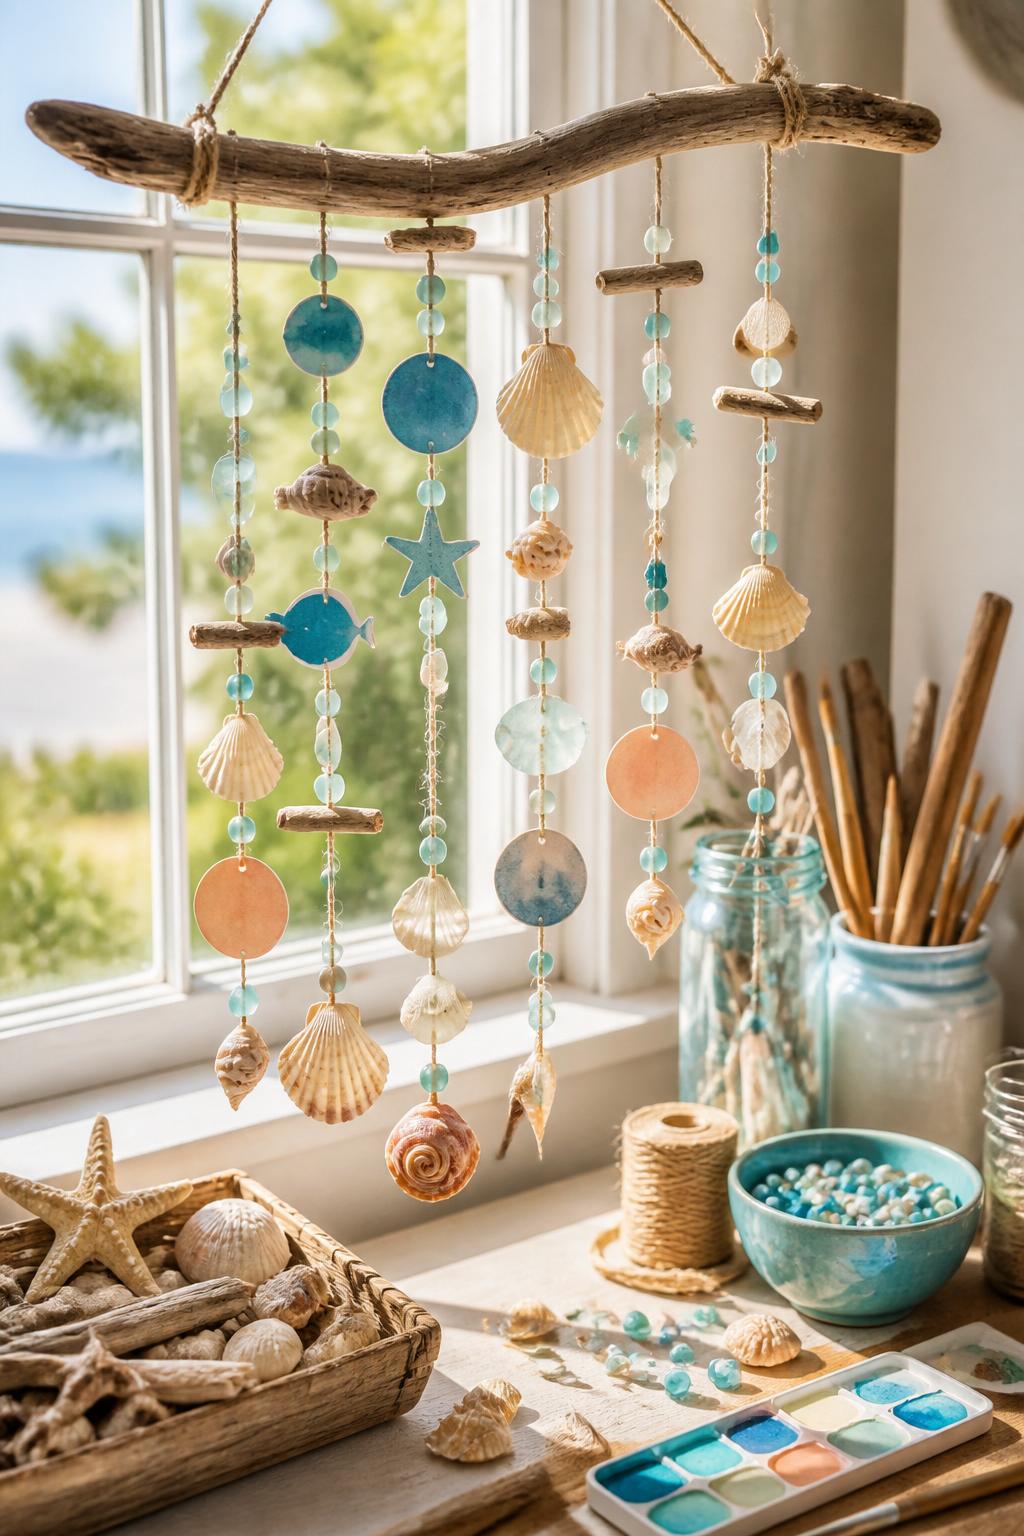
A seashell wind chime is a sweet way to use shells from a beach trip or craft-store shells from a summer-themed activity. It makes a pretty keepsake that kids can hang near a window or porch.
Materials Needed:
- Small shells
- Beads
- Twine or yarn
- Small stick or driftwood piece
- Child-safe scissors
- Glue, optional
- Paper charms, optional
Steps To Make:
- Cut several pieces of twine or yarn.
- Tie beads and shells along each piece.
- If the shells do not have holes, glue them to the string with adult help.
- Tie each string to a small stick.
- Add paper suns, fish, or stars if desired.
- Tie one longer string at the top for hanging.
- Hang the wind chime in a safe indoor or covered spot.
10. End of Summer Handprint Sun
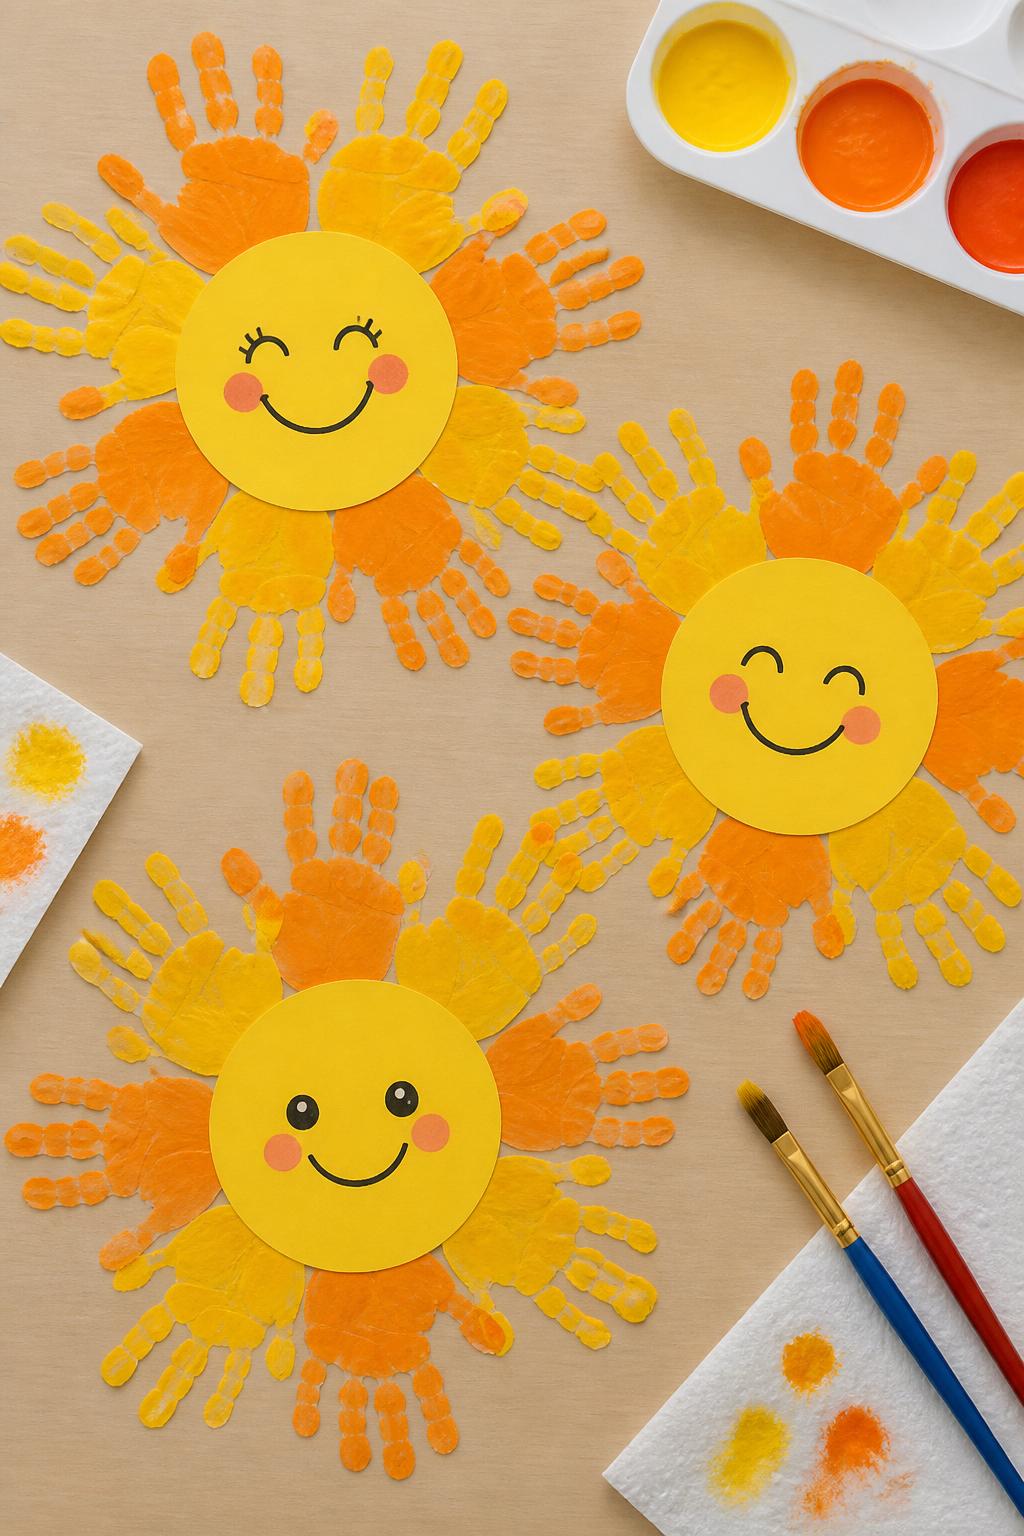
This handprint sun is a sweet keepsake because it captures a child’s hand size at the end of the season. It is bright, simple, and easy to display at home or in a classroom.
Materials Needed:
- Yellow construction paper
- Orange and yellow washable paint
- White cardstock
- Glue
- Marker
- Paintbrush
- Wipes for cleanup
Steps To Make:
- Cut a yellow circle for the sun’s center.
- Paint the child’s hand with yellow or orange paint.
- Help them press handprints around white cardstock in a circle shape.
- Let the handprints dry.
- Glue the yellow circle in the middle.
- Draw a simple smiling face.
- Add the child’s name and date on the back.
11. Mini Summer Memory Book
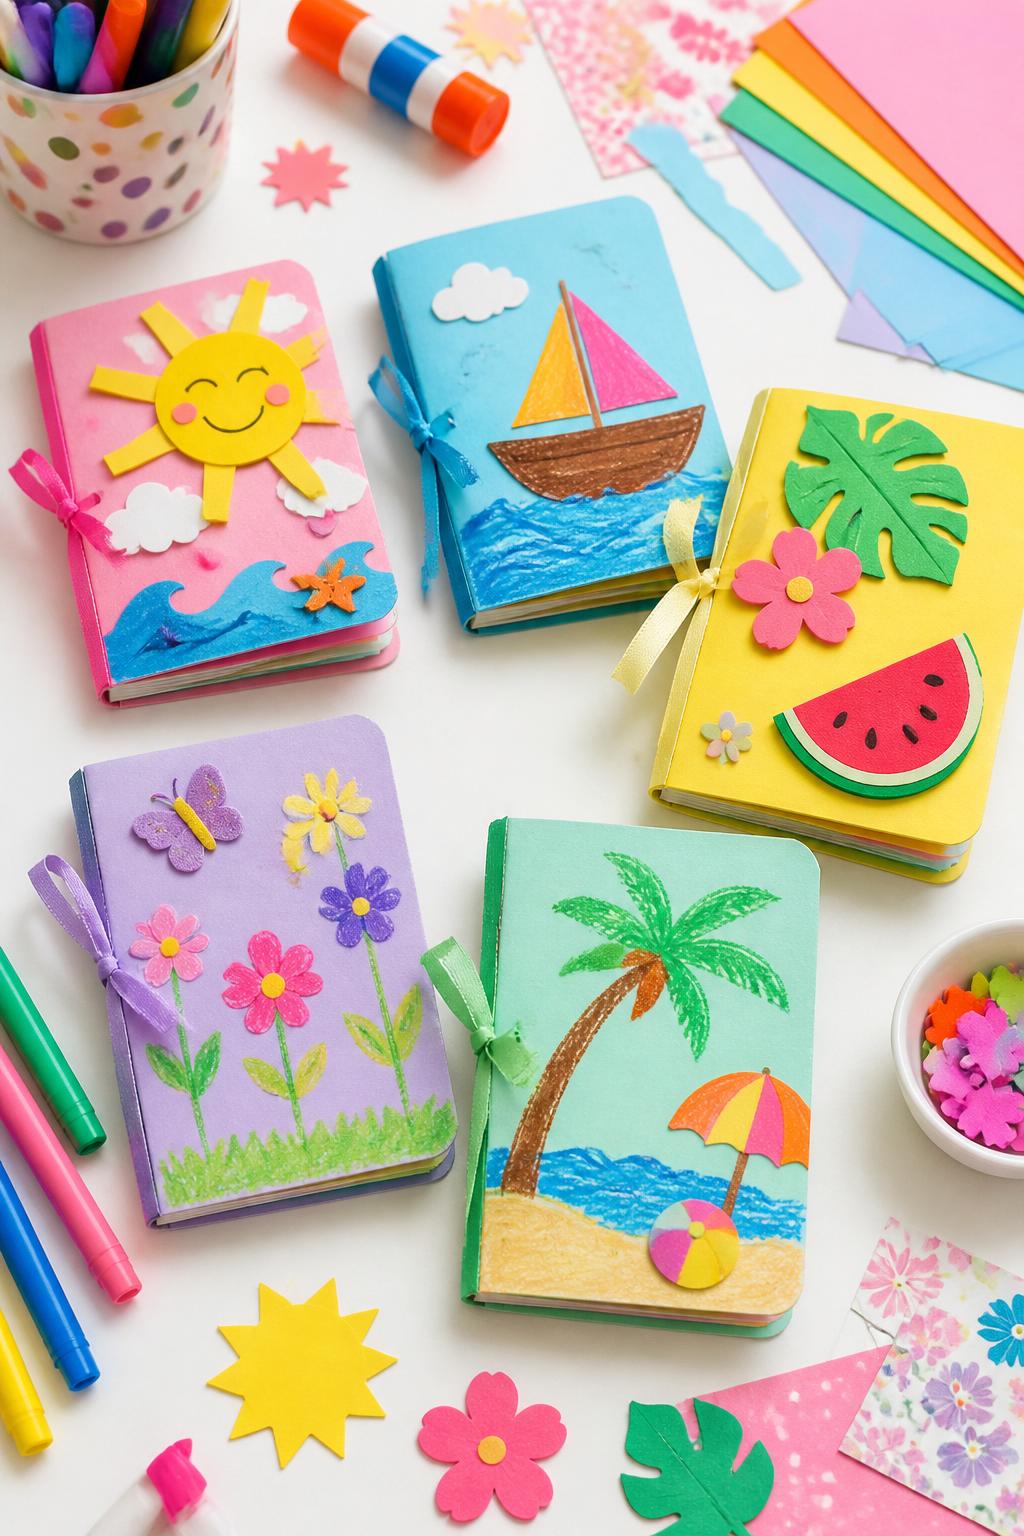
A mini memory book is great for kids who like drawing, writing, or saving little moments. It does not need to be fancy, but it gives them a personal place to remember the season.
Materials Needed:
- Several sheets of paper
- Cardstock for cover
- Stapler or hole punch and ribbon
- Markers
- Stickers
- Glue stick
- Paper scraps
Steps To Make:
- Fold several sheets of paper in half.
- Add a cardstock cover.
- Staple the folded edge or tie with ribbon through punched holes.
- Let kids decorate the cover.
- Fill each page with a summer drawing, photo, or memory.
- Add stickers and paper shapes.
- Keep the book as an end-of-summer keepsake.
12. Painted Rock Summer Favorites
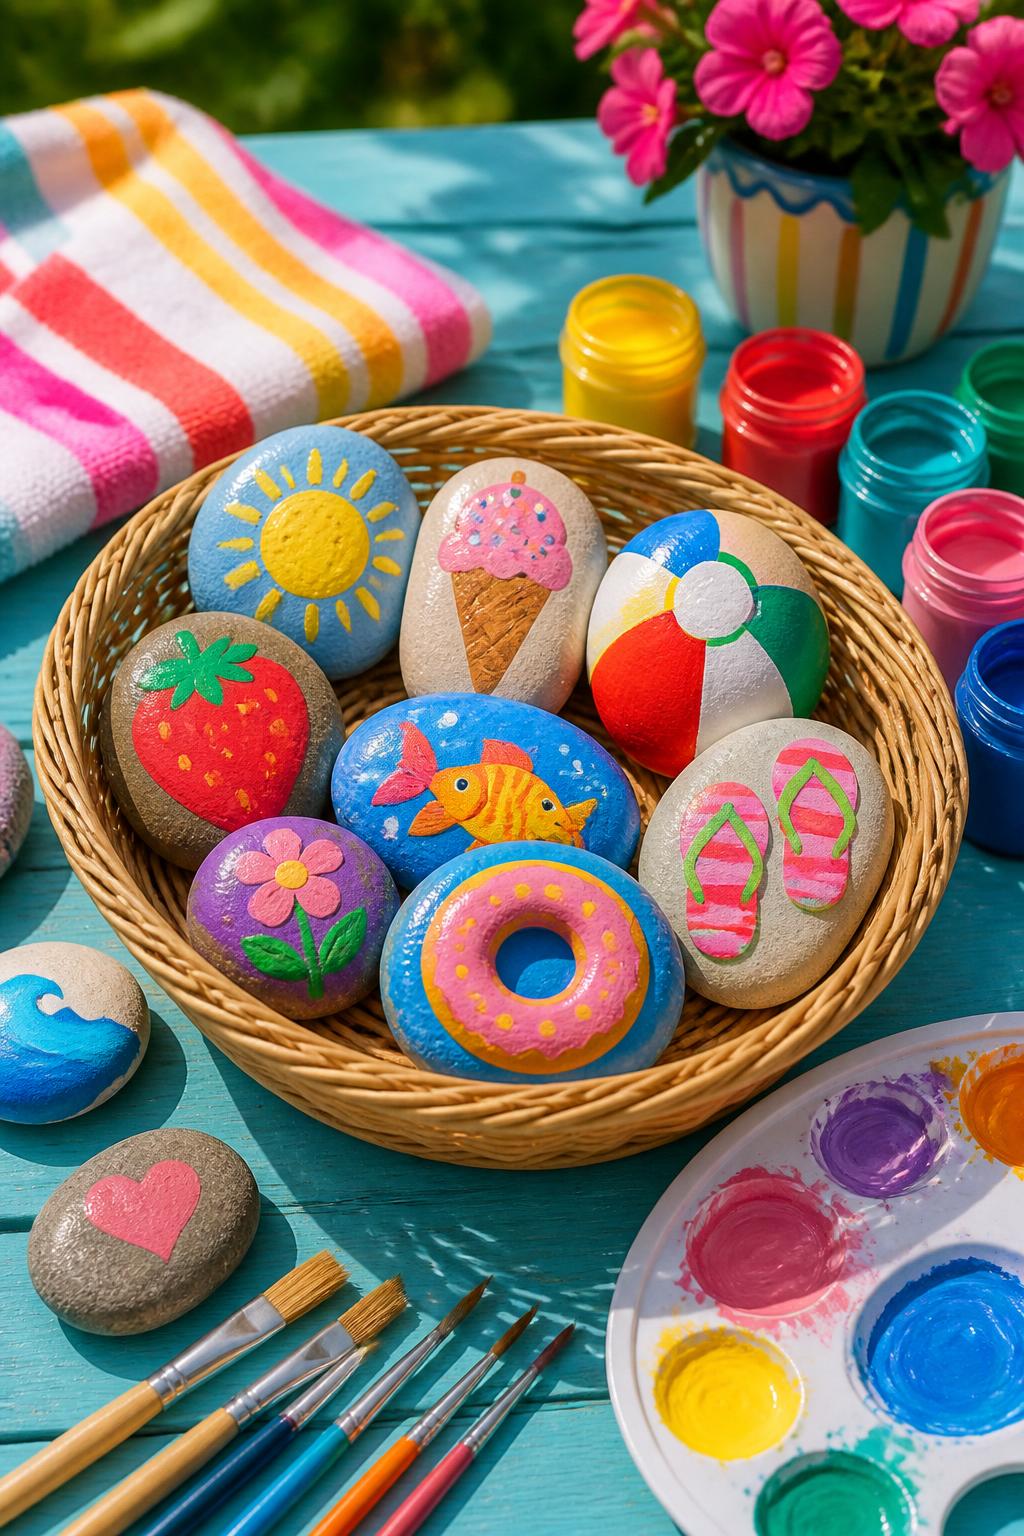
Painted rocks are a fun way for kids to show their favorite parts of summer. Each rock can represent one memory, activity, snack, place, or sunny day.
Materials Needed:
- Smooth rocks
- Acrylic or washable craft paint
- Paintbrushes
- Paint pens, optional
- Paper plate
- Clear sealer, adult-applied if used outside
Steps To Make:
- Wash and dry the rocks.
- Ask kids to choose summer favorites to paint.
- Paint simple shapes like suns, fruit, fish, flowers, or ice cream.
- Let each color dry before adding small details.
- Add dots, lines, or patterns with paint pens.
- Let the rocks dry fully.
- Place them in a basket, garden, or memory display.
13. Last Beach Day Paper Collage

This collage lets kids build a full beach scene using torn and cut paper. It is easy to adapt, so younger kids can stick large pieces while older kids can add smaller details.
Materials Needed:
- Blue cardstock
- Tan, yellow, orange, and white paper
- Paper scraps
- Glue stick
- Crayons
- Child-safe scissors
- Stickers, optional
Steps To Make:
- Use blue cardstock as the background.
- Tear tan paper for sand and glue it at the bottom.
- Tear blue paper strips for waves.
- Add a yellow or orange sunset in the sky.
- Cut small beach details like umbrellas, shells, or towels.
- Glue everything into place.
- Let kids add crayon details when finished.
14. Summer Favorites Mobile
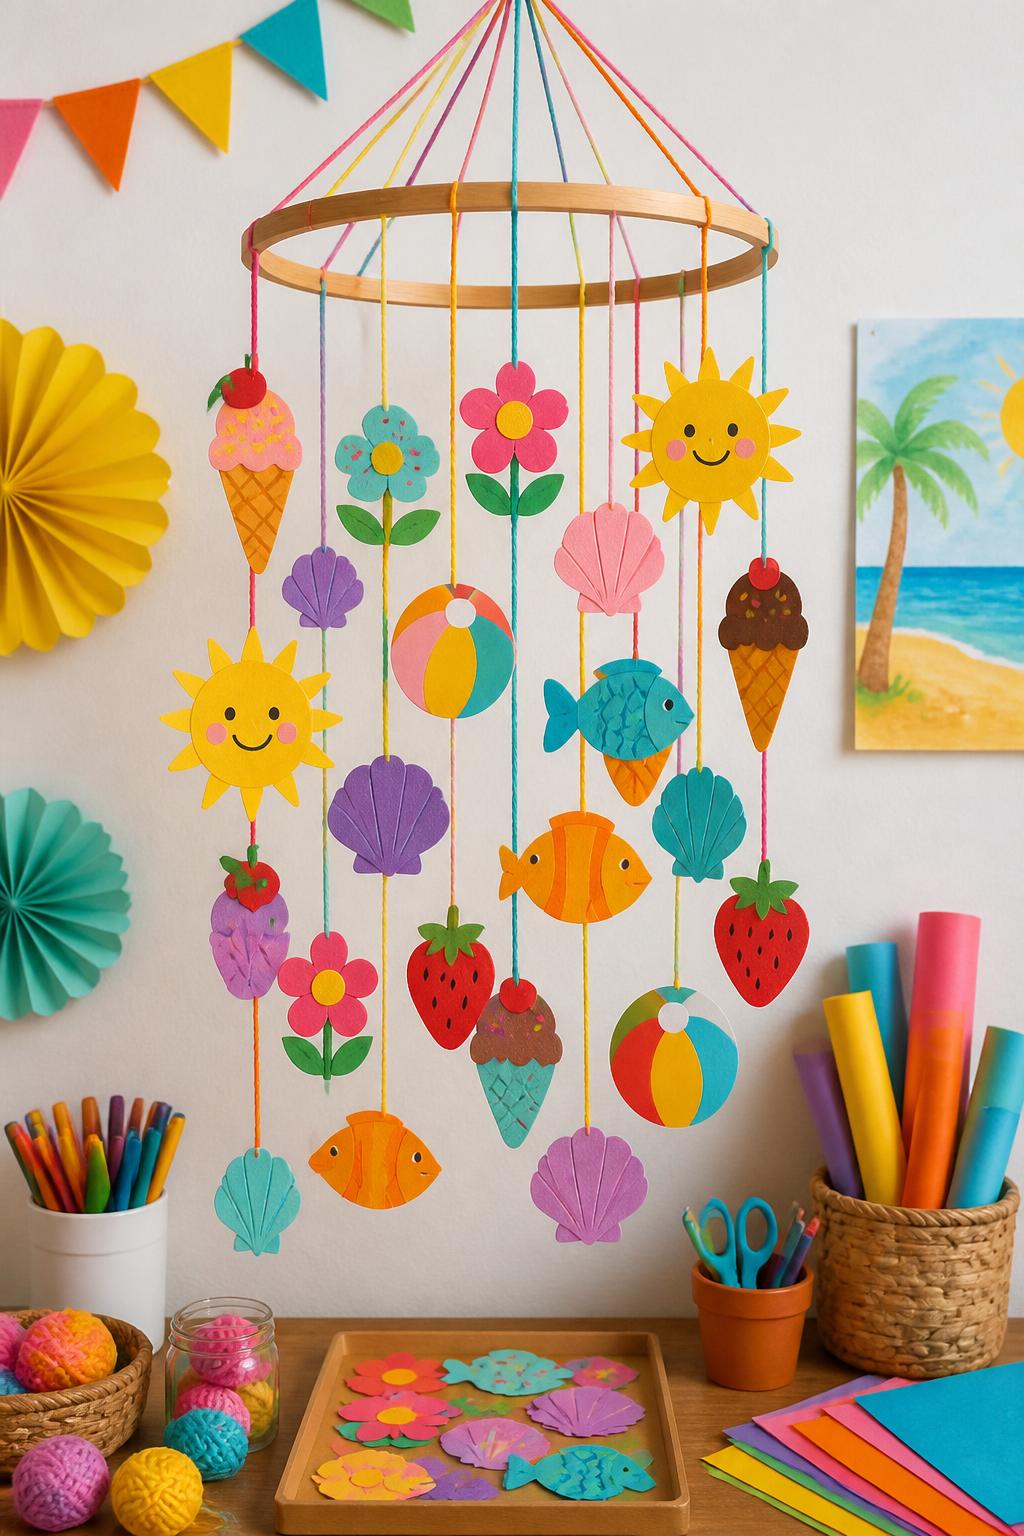
This mobile brings together all the little things kids loved about summer. It looks cute hanging in a bedroom, playroom, classroom, or daycare space and can be made with simple paper shapes.
Materials Needed:
- Construction paper
- Wooden hoop or paper plate ring
- Yarn or string
- Glue stick
- Markers
- Hole punch
- Child-safe scissors
Steps To Make:
- Cut summer shapes from construction paper.
- Choose shapes like suns, shells, fruit, flowers, fish, or ice cream cones.
- Let kids decorate each shape with markers.
- Punch a hole at the top of each shape.
- Tie each shape to yarn.
- Attach the yarn pieces to a hoop or paper plate ring.
- Hang the mobile in a safe spot.