
Table of Contents Show
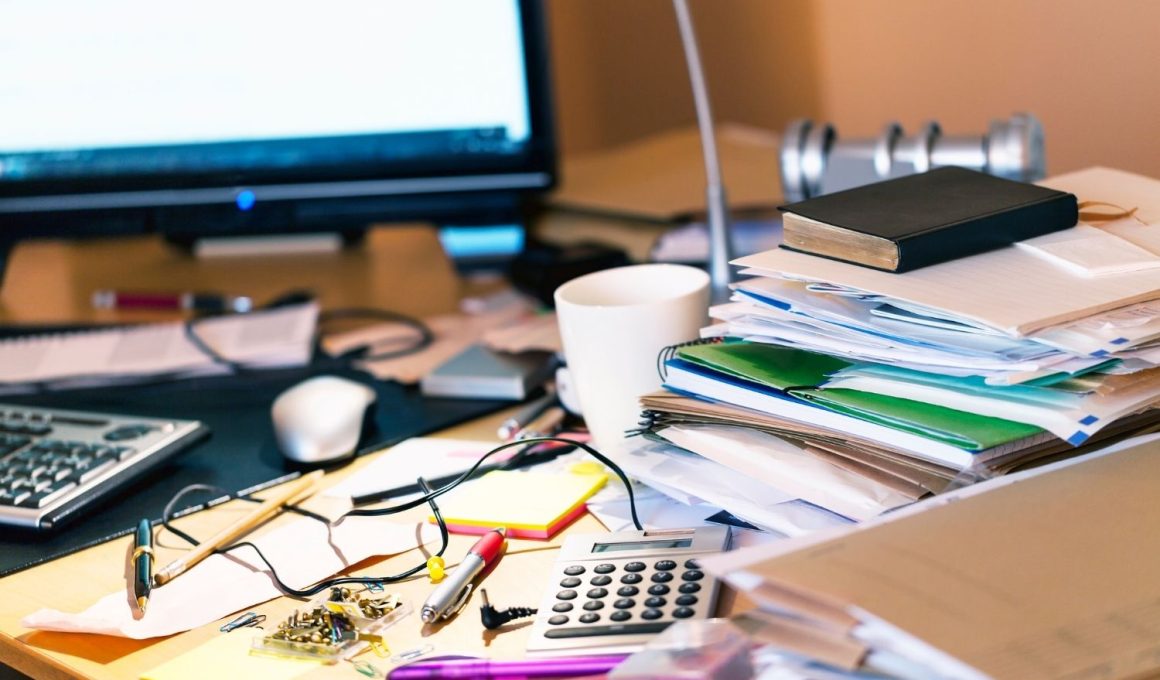
Keeping pencils and papers tidy can be hard, especially when kids are home, the classroom is busy, or a rainy day hits. If you’re looking for simple crafts that are useful and fun, this list is for you. These easy organizer projects turn everyday items into colorful storage for pens, notes, clips, and more.
Let’s jump into 13 ideas that help you create a neat, happy desk in no time.
1. Cereal Box Magazine Holder
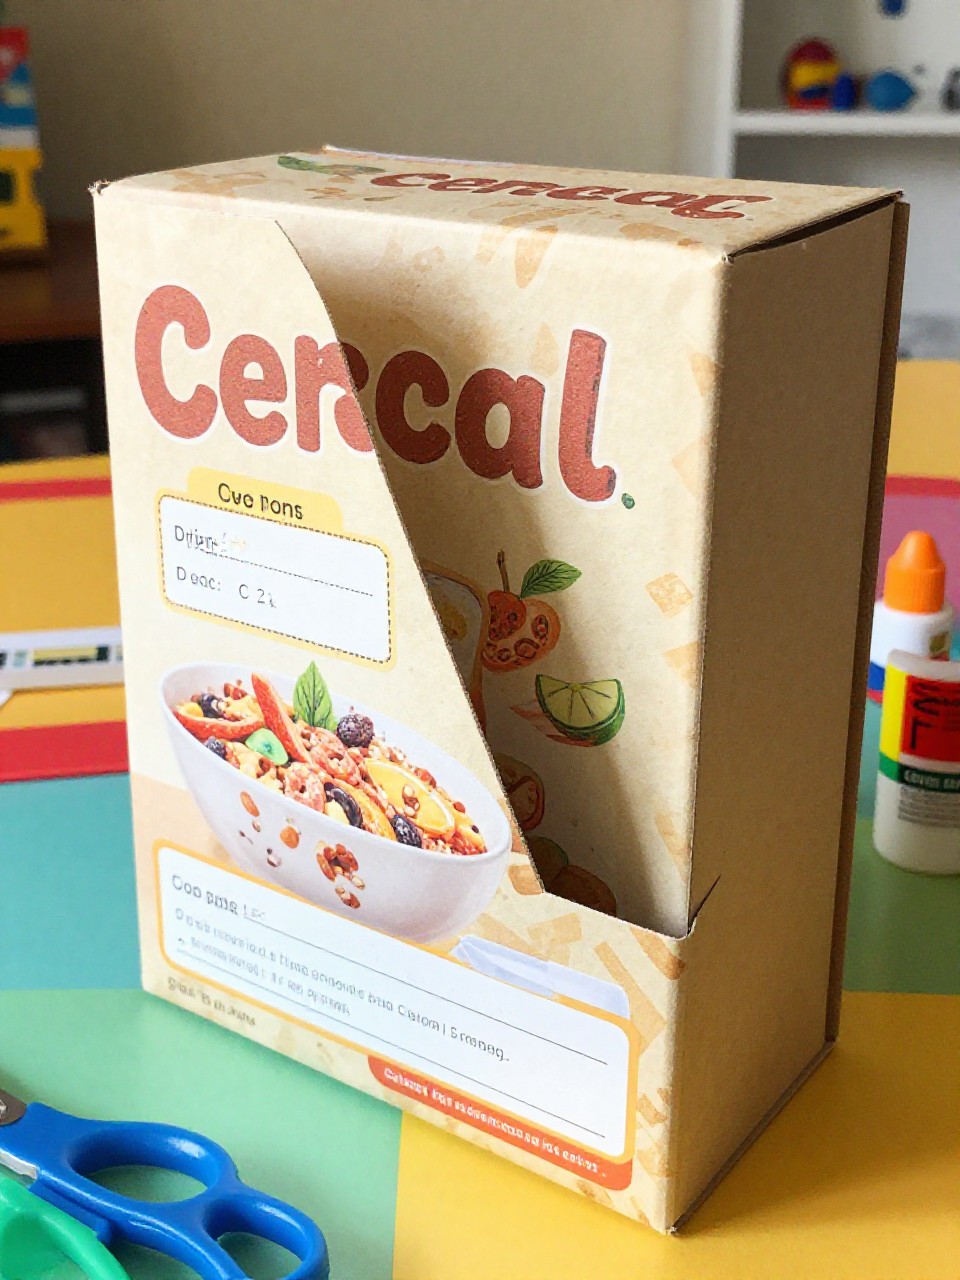
This organizer stands tall and slim, ready to hold notebooks, sketchpads, and folders with a bright patterned cover. Kids enjoy turning a plain box into a bold statement piece with paper and stickers, and it’s very beginner friendly.
Materials Needed:
- Empty cereal box (family size works best)
- Wrapping paper or scrapbook paper
- Glue stick or double-sided tape
- Scissors
- Stickers or labels
How to make it:
For People Who Love to Make Things ✂️
- Cut one corner of the cereal box diagonally to form a slanted magazine holder shape.
- Wrap the box with paper, securing edges with glue or tape.
- Add stickers or labels to the spine for subjects or names.
- Let glue set, then stand it on the desk and slide in notebooks.
2. Tin Can Pencil Caddy
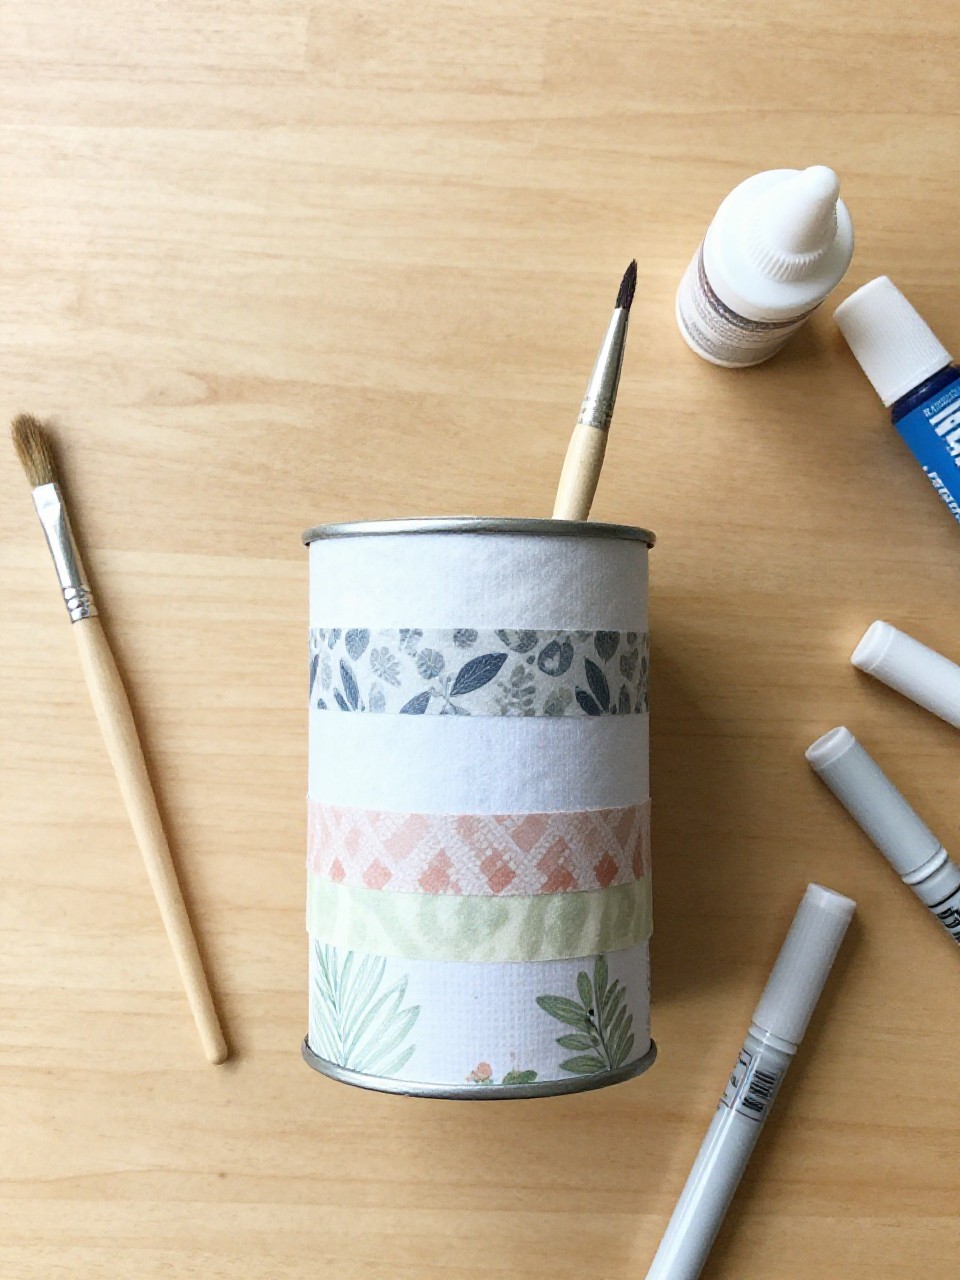
This is a shiny, sturdy cup wrapped in cheerful paper or fabric that keeps pencils and markers standing tall. Kids love the quick makeover and the clink of dropping in fresh supplies; it’s an easy upcycle win.
Materials Needed:
- Clean, label-free tin can (edges filed or taped)
- Decorative paper or fabric
- Mod Podge or white glue
- Paintbrush
- Washi tape (optional)
How to make it:
- Measure and cut paper or fabric to fit the can’s height and wrap-around length.
- Brush glue on the can and smooth the cover around it.
- Seal with a thin Mod Podge coat and add washi tape rims for flair.
- Let dry fully before filling with pens and markers.
3. Shoebox Drawer Stack
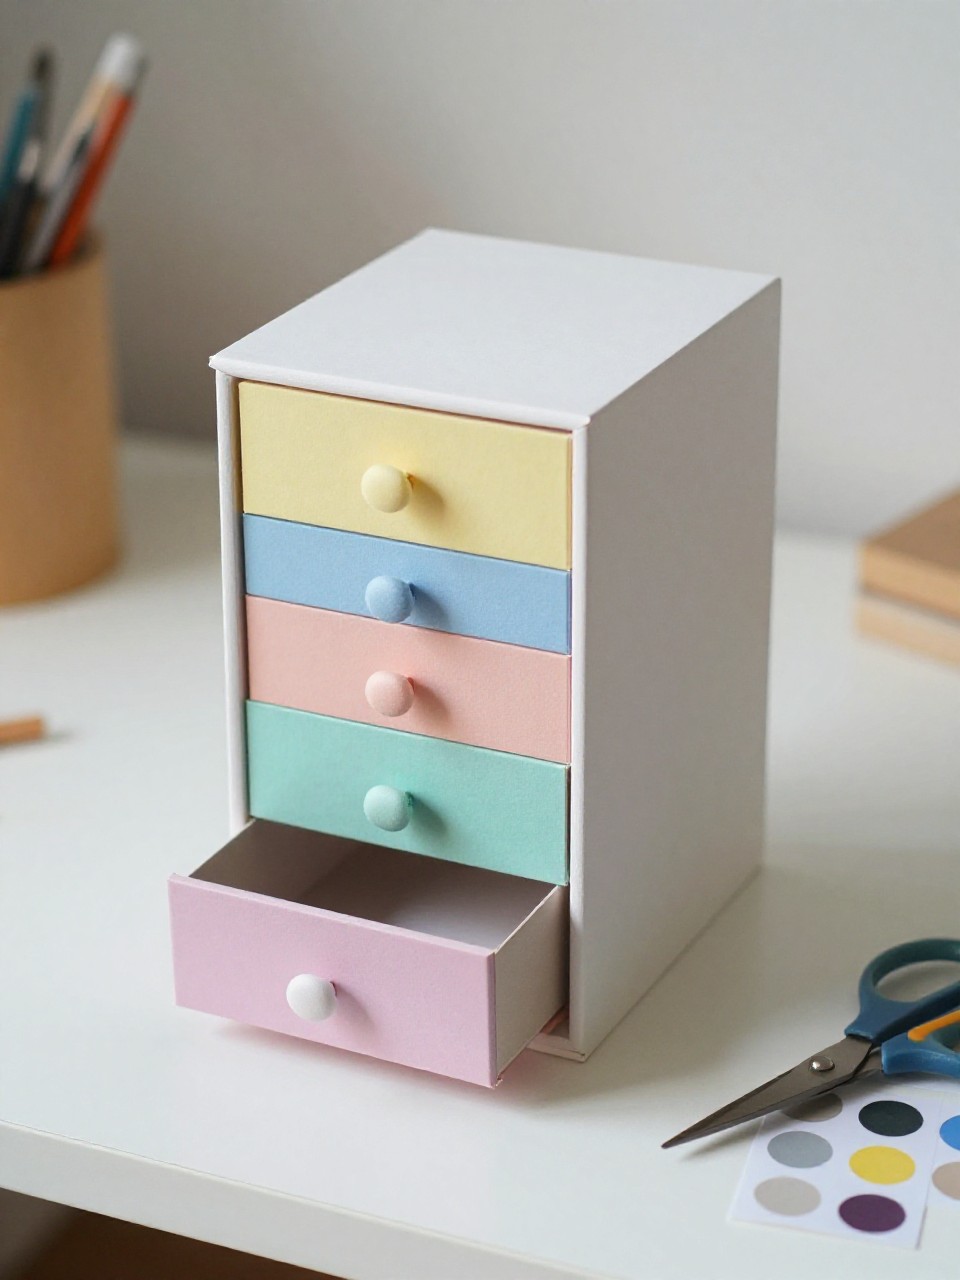
This looks like a mini chest with pull-out drawers made from small boxes, perfect for crayons, stickers, or sticky notes. Kids enjoy choosing colors for each “drawer,” and pulling them open feels like real furniture.
Materials Needed:
- 3-4 small boxes (shoebox bottoms or snack boxes)
- Wrapping paper or contact paper
- Glue or double-sided tape
- Ribbon or paper tabs for pulls
- Labels (optional)
How to make it:
- Cover each box inside and out with paper or contact paper.
- Stack boxes and secure with glue or tape to form a tower.
- Attach ribbon loops or folded paper tabs as drawer pulls.
- Label drawers and let everything set before filling.
4. Rainbow Popsicle Stick Pen Stand
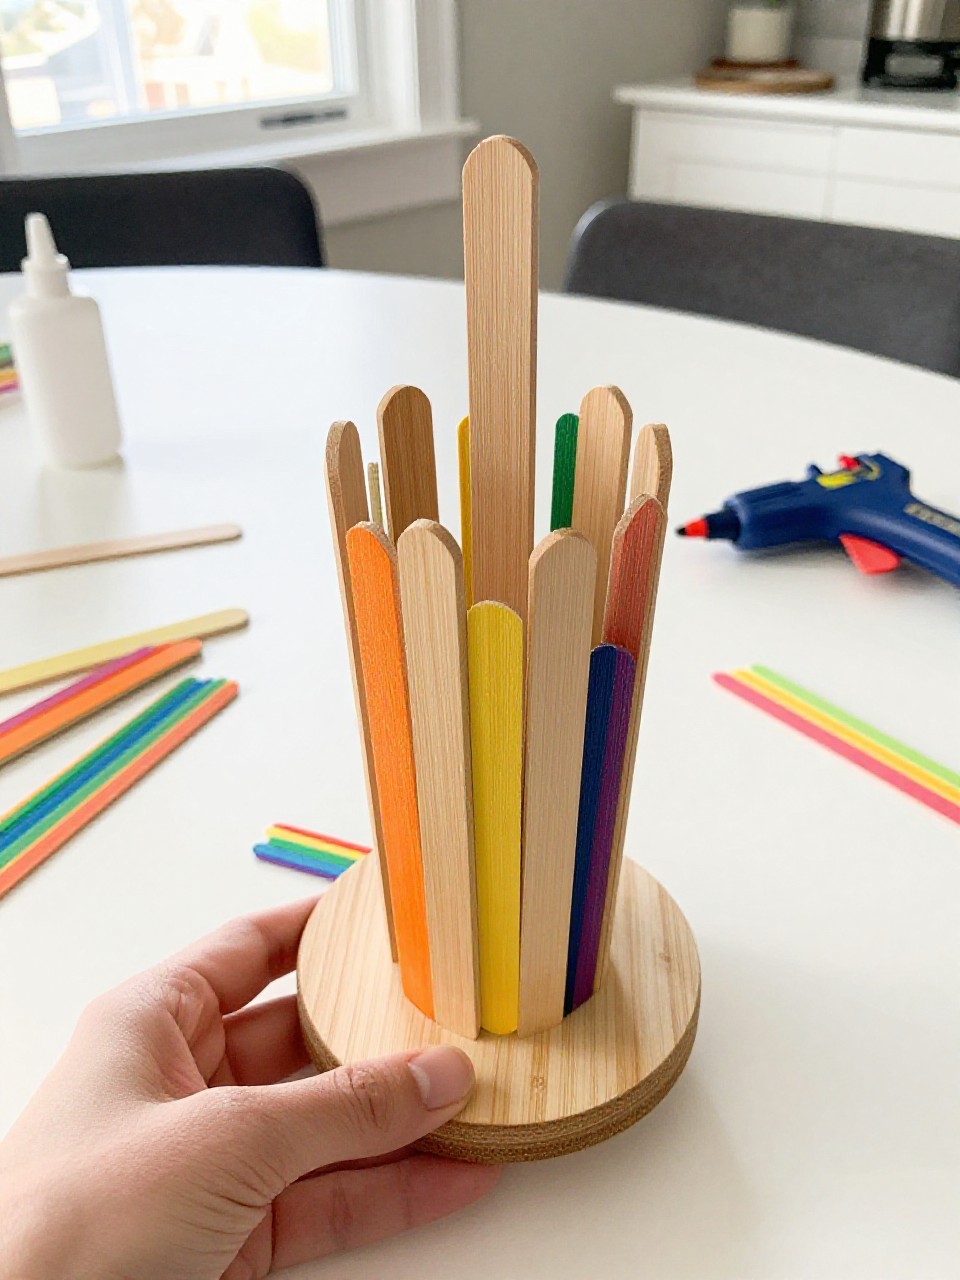
This organizer is a colorful cylinder made from popsicle sticks around a cup, showing a rainbow stripe effect. Kids love arranging the colors and seeing a simple cup turn into bright desk art.
Materials Needed:
- Empty yogurt cup or short can
- Popsicle sticks (colored or painted)
- Hot glue (adult help) or strong craft glue
- Twine or ribbon (optional)
- Small gem stickers (optional)
How to make it:
- Wrap the cup with glue and press sticks vertically around it.
- Arrange sticks in rainbow order or patterns as you go.
- Tie a ribbon or twine bow around the middle and add gems.
- Let dry and fill with pens and highlighters.
5. Cardboard Tube Desk Carousel
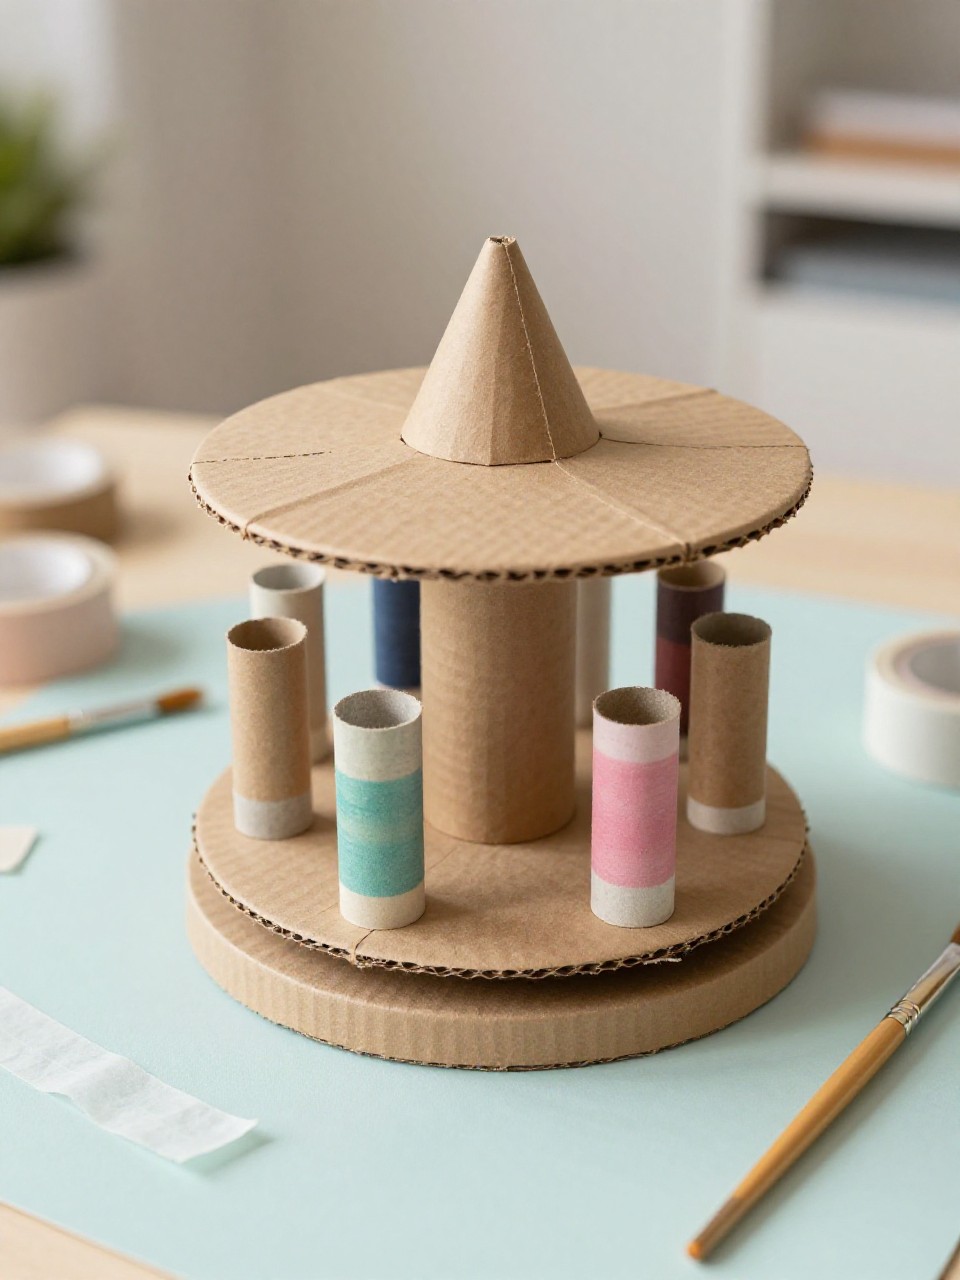
This is a round spinning holder with several cardboard tubes glued to a lazy Susan base, sorting pens, brushes, and scissors. Kids enjoy spinning it to find colors fast, and it feels like a real art store display.
Materials Needed:
- Cardboard tubes (paper towel and toilet paper tubes)
- Round cardboard or plastic lazy Susan base
- Acrylic paint and brushes
- Hot glue (adult help)
- Stickers or washi tape
How to make it:
- Paint tubes in bright colors and let dry.
- Arrange tubes on the base in a circle and hot glue them down.
- Add washi tape trims or stickers to label sections.
- Spin gently to test, then fill each tube with supplies.
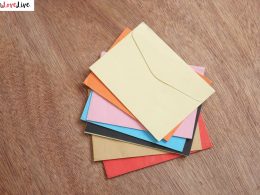
6. Envelope Wall Pocket Board
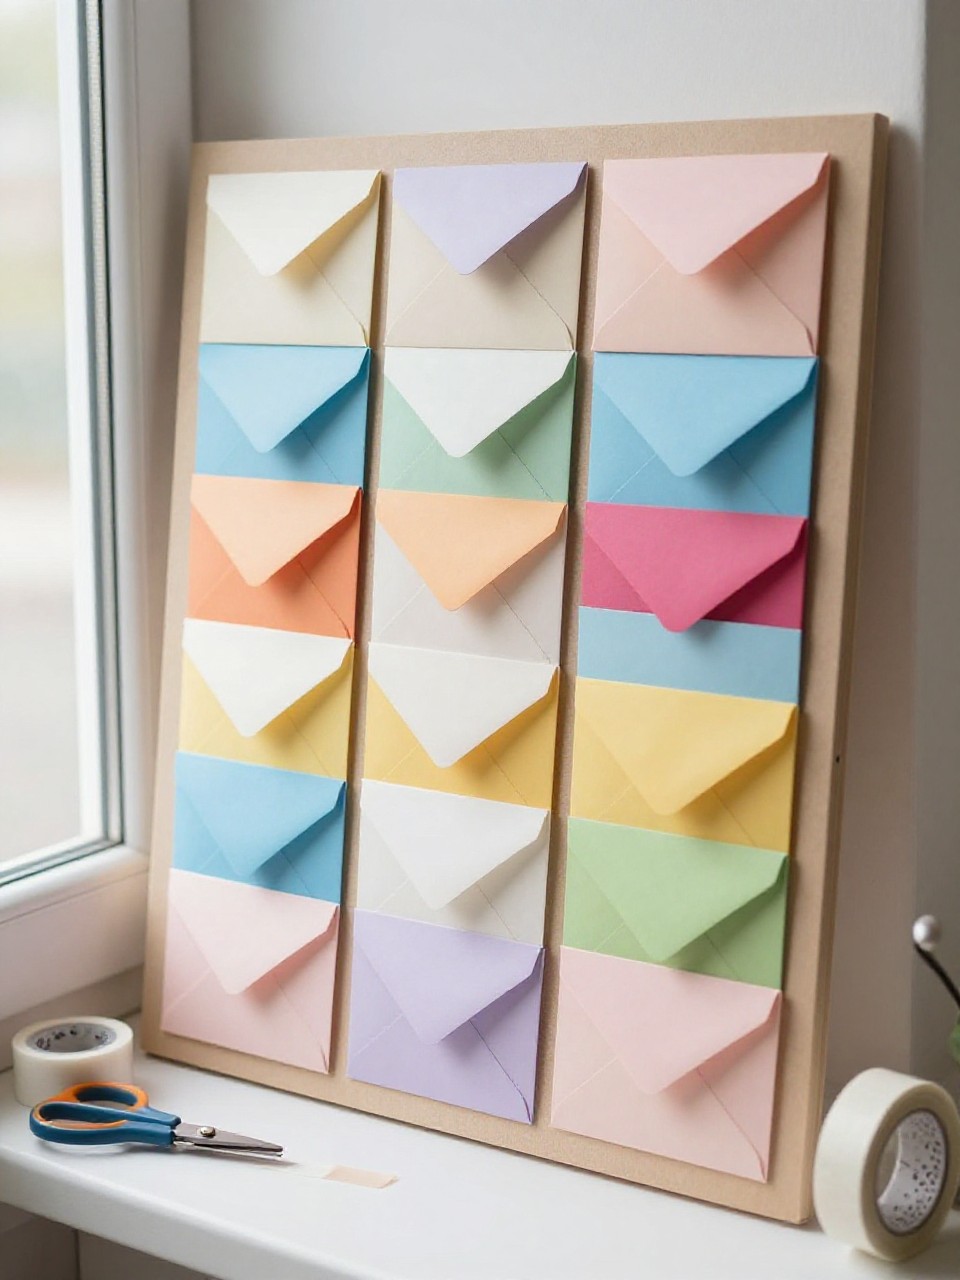
This organizer looks like a flat board with cute pockets for notes, coupons, and stickers. Kids enjoy choosing envelope patterns and sliding in little surprises; it’s simple and satisfying.
Materials Needed:
- Sturdy cardboard or foam board
- Colorful envelopes (assorted sizes)
- Glue or double-sided tape
- Washi tape for borders
- Command strip or string for hanging
How to make it:
- Cut board to fit your wall space and cover edges with washi tape.
- Arrange envelopes in rows and glue them onto the board.
- Label envelopes for notes, lists, and rewards.
- Hang near the desk and tuck in papers.
7. Mason Jar Chalk-Label Holders
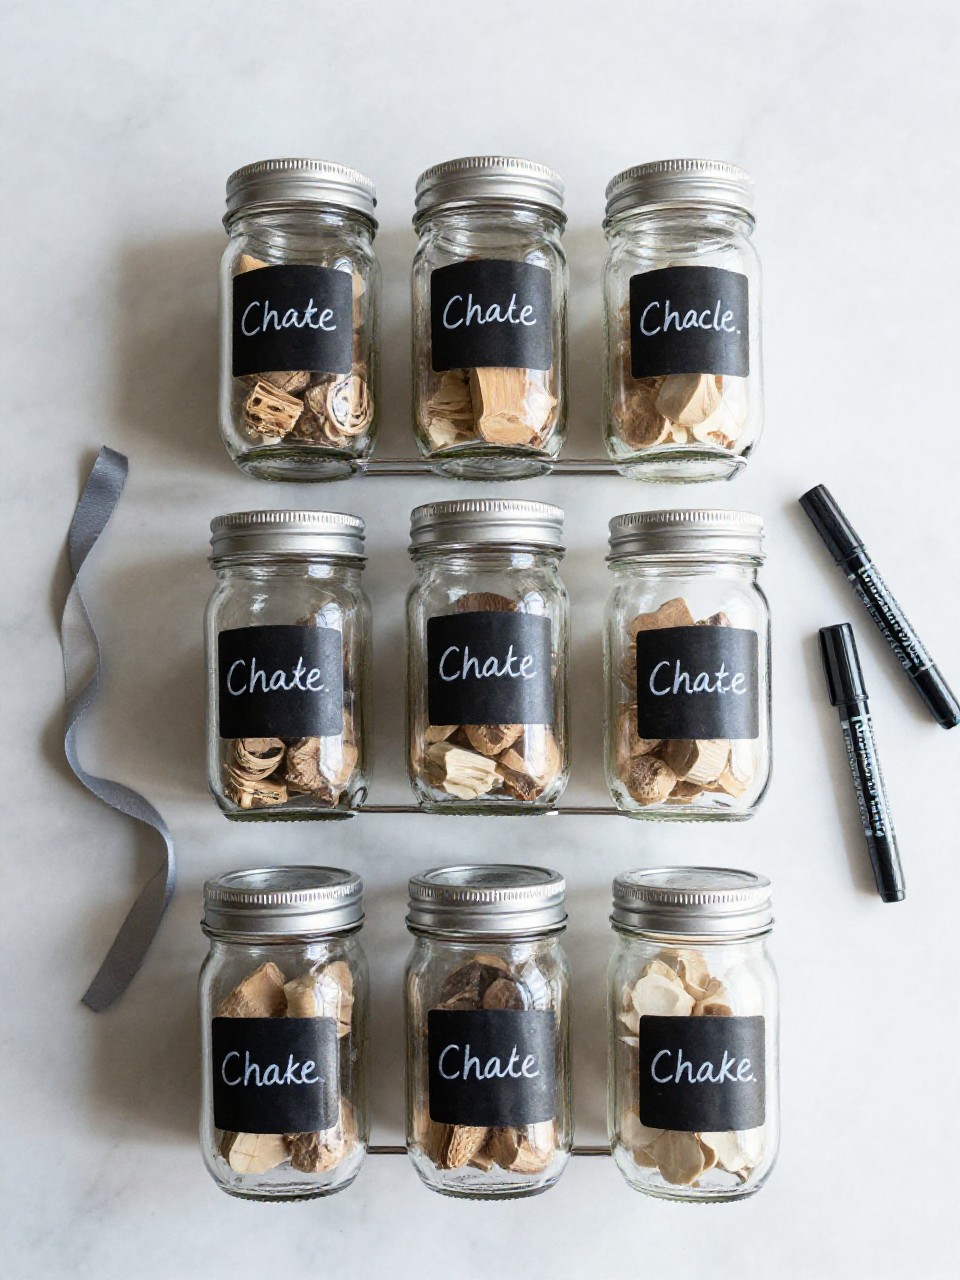
These are clear jars with matte chalk labels for “pens,” “brushes,” or “clips,” making a neat, farmhouse-style set. Kids enjoy writing the labels and changing them anytime.
Materials Needed:
- Mason jars or recycled glass jars
- Chalkboard labels or chalkboard paint
- Chalk or chalk marker
- Ribbon or twine (optional)
- Small pebbles or beads for weight (optional)
How to make it:
- Apply chalkboard labels to clean jars or paint a label area and let it dry.
- Write category names with chalk or marker.
- Tie ribbon or twine around the neck for decoration.
- Add pebbles for stability and fill with supplies.
8. Drawer Divider from Cereal Boxes
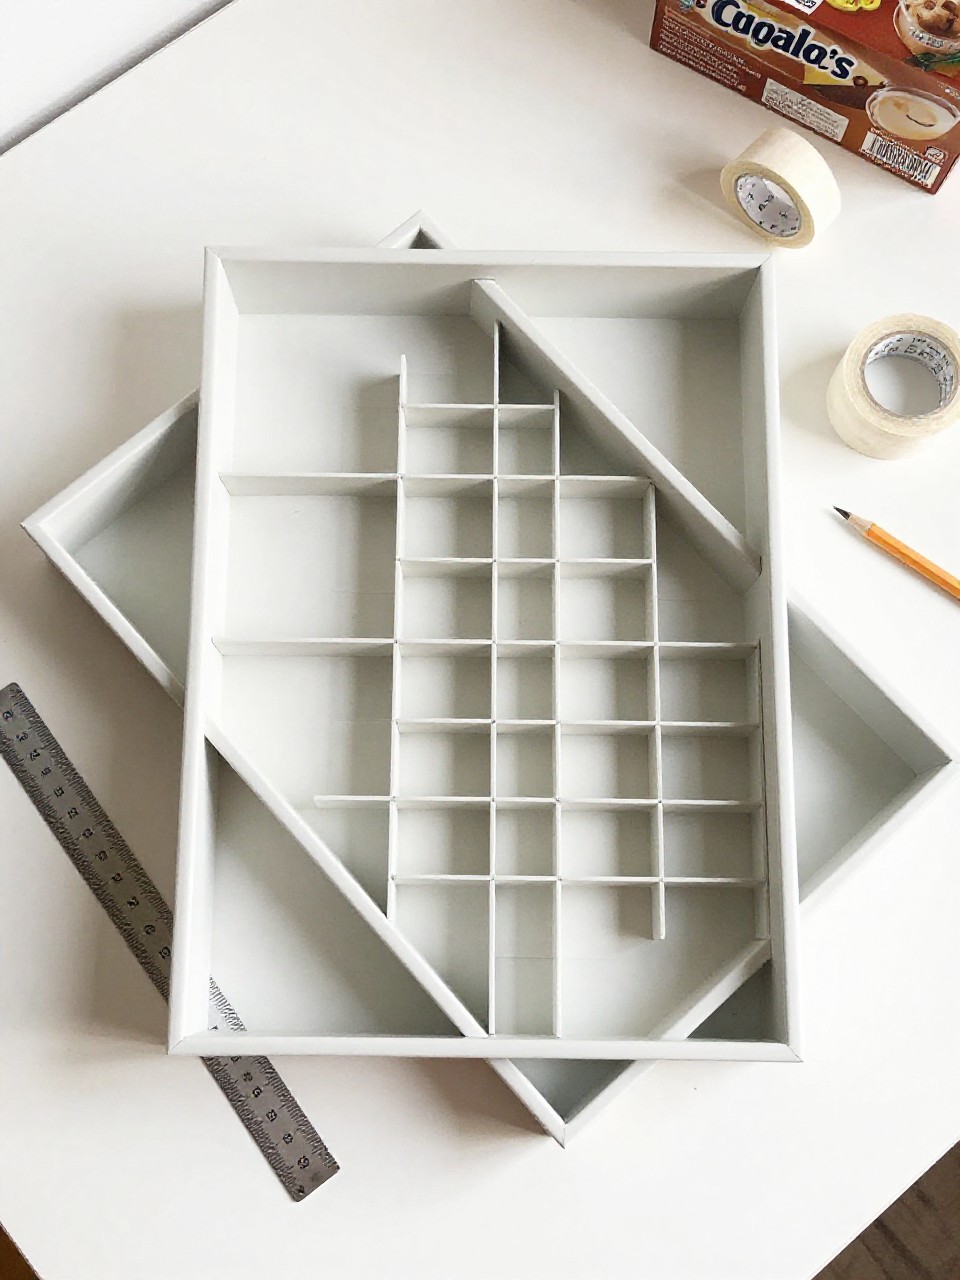
This is a set of slim, custom dividers that fit inside a desk drawer to keep erasers, tape, and clips in line. Kids like measuring their own spaces and seeing a messy drawer turn tidy fast.
Materials Needed:
- Empty cereal or cracker boxes
- Ruler and pencil
- Scissors or craft knife (adult help)
- Decorative paper or washi tape
- Glue stick
How to make it:
- Measure your drawer and mark divider heights on boxes.
- Cut strips to size and fit them together in a grid.
- Cover visible edges with paper or washi for a clean look.
- Place the grid in the drawer and sort supplies.
9. Pegboard Cup Station
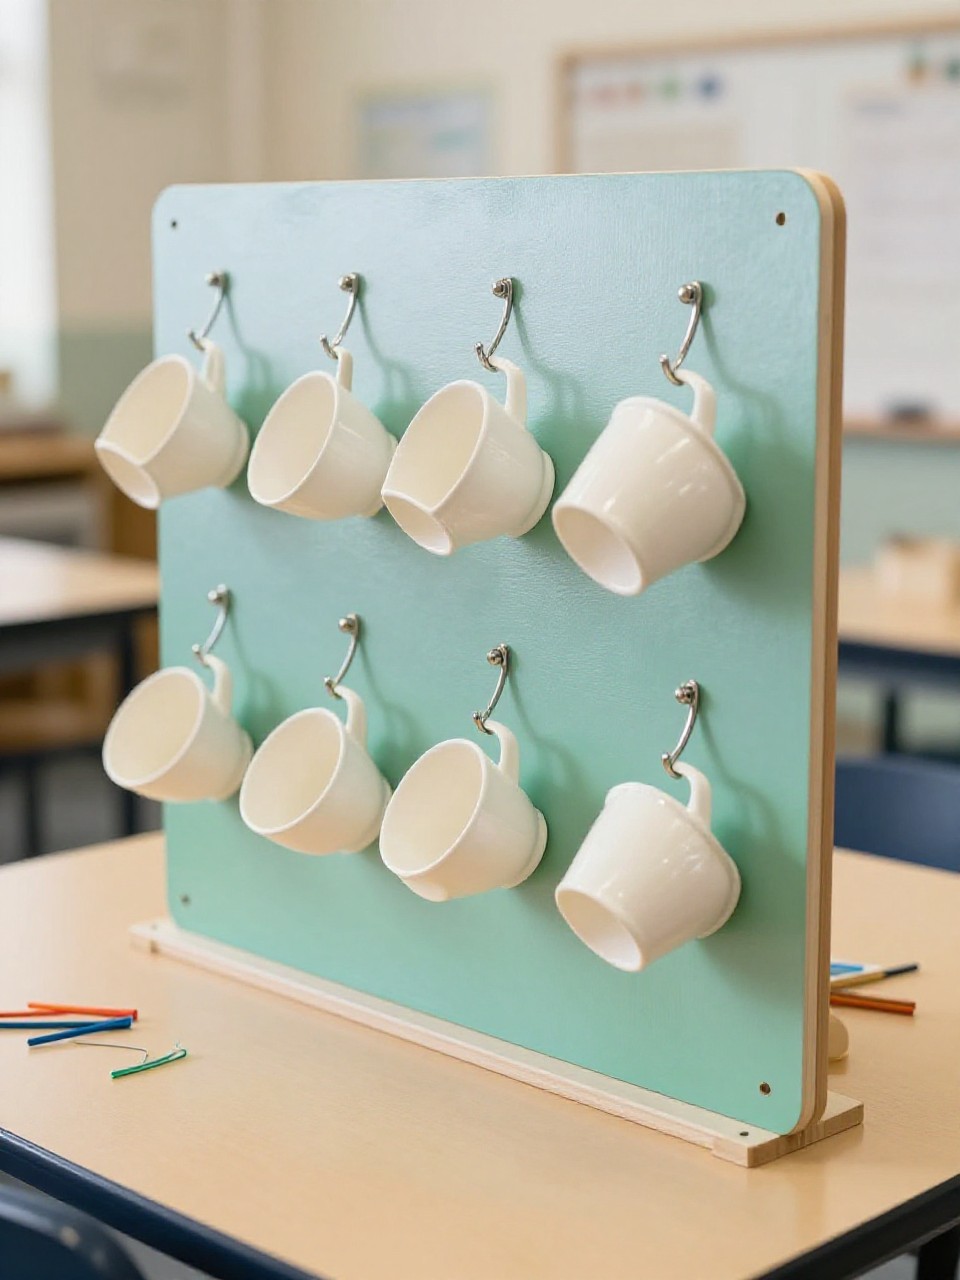
This is a mini pegboard with hanging cups for markers, scissors, and rulers, turning vertical space into storage. Kids enjoy arranging hooks and shifting cups as their needs change.
Materials Needed:
- Small pegboard panel
- Pegboard hooks
- Lightweight plastic cups with handle holes
- Zip ties or metal rings
- Paint (optional)
How to make it:
- Paint the pegboard if desired and let it dry.
- Insert hooks and attach cups using zip ties or rings.
- Arrange cups by height and label if needed.
- Mount near the desk and fill with tools.
10. Folded Paper Accordion File
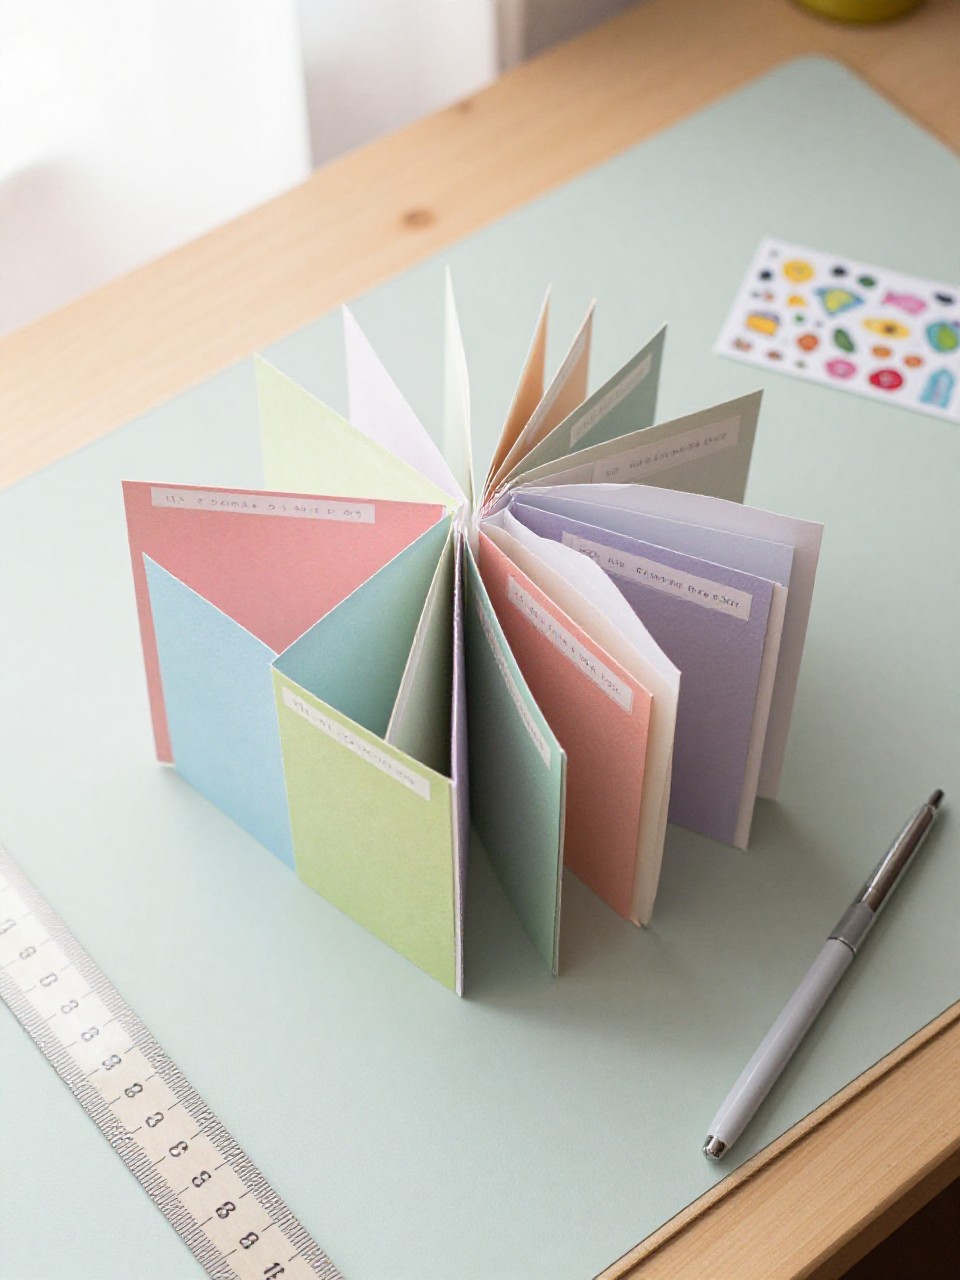
This looks like a slim, colorful file with several expanding pockets for stickers, receipts, and small notes. Kids love folding the paper and seeing the pockets pop open; it’s quick and mess-free.
Materials Needed:
- Heavy scrapbook paper or cardstock
- Glue stick or double-sided tape
- Velcro dot or button with string
- Ruler and pencil
- Stickers for labels
How to make it:
- Fold cardstock into equal accordion panels to form pockets.
- Glue the sides of alternate panels to create compartments.
- Add a Velcro dot or string button closure.
- Label each pocket and slide in small papers.
11. Painted Shoe Organizer for Desks
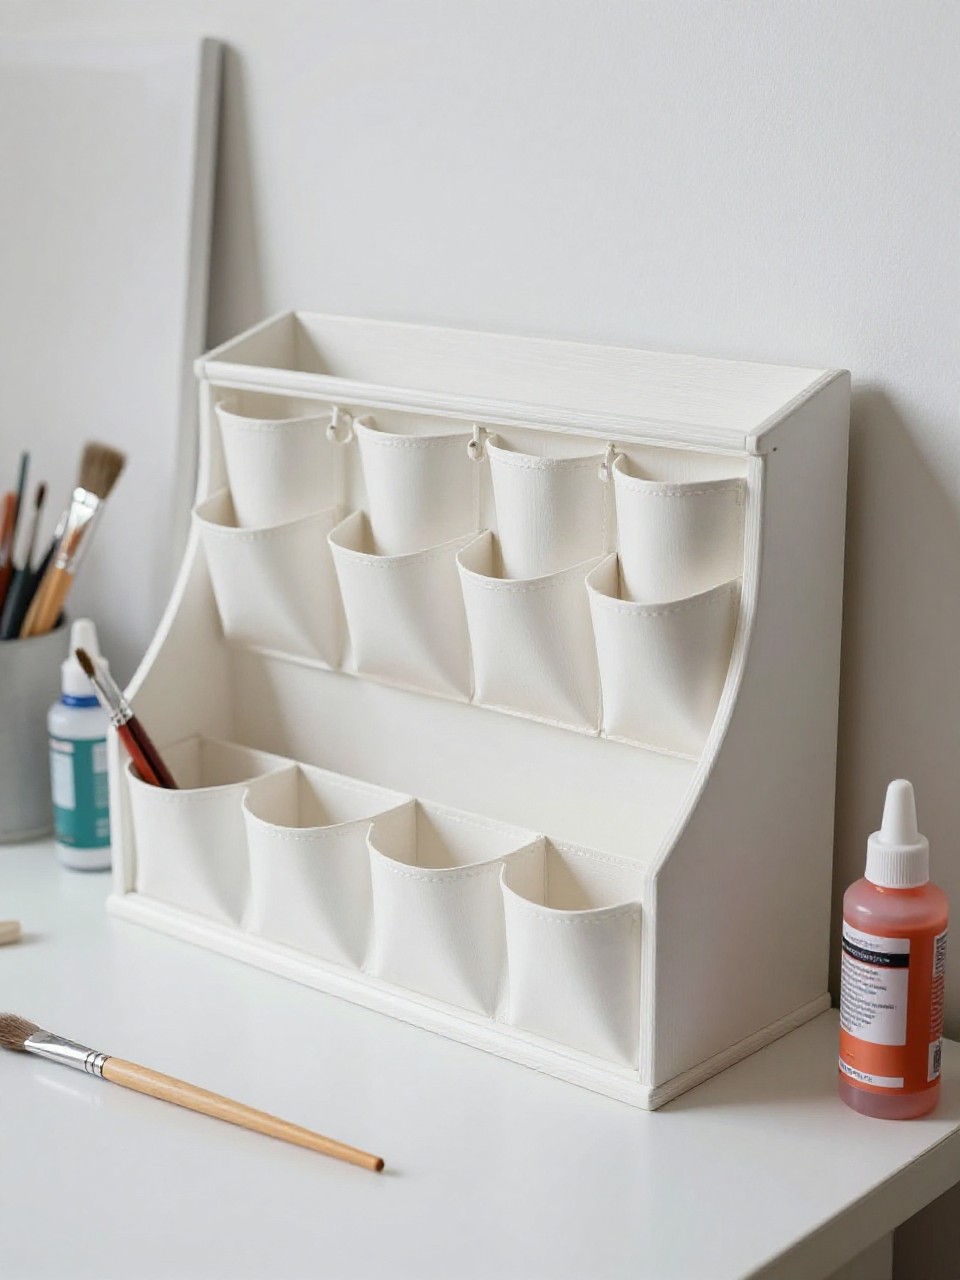
This is a cut-down fabric shoe organizer turned into desk-side pockets for notebooks, rulers, and flashcards. Kids enjoy painting patterns on each pocket and choosing what goes where.
Materials Needed:
- Hanging fabric shoe organizer (cut to desk height)
- Fabric paint and brushes
- Scissors
- Command hooks or nails
- Labels (optional)
How to make it:
- Trim the organizer to fit beside or behind the desk.
- Paint simple shapes or stripes on each pocket and let dry.
- Hang it with hooks and add labels.
- Fill pockets with supplies and enjoy the extra space.
12. Magnetic Spice Tin Supply Dots
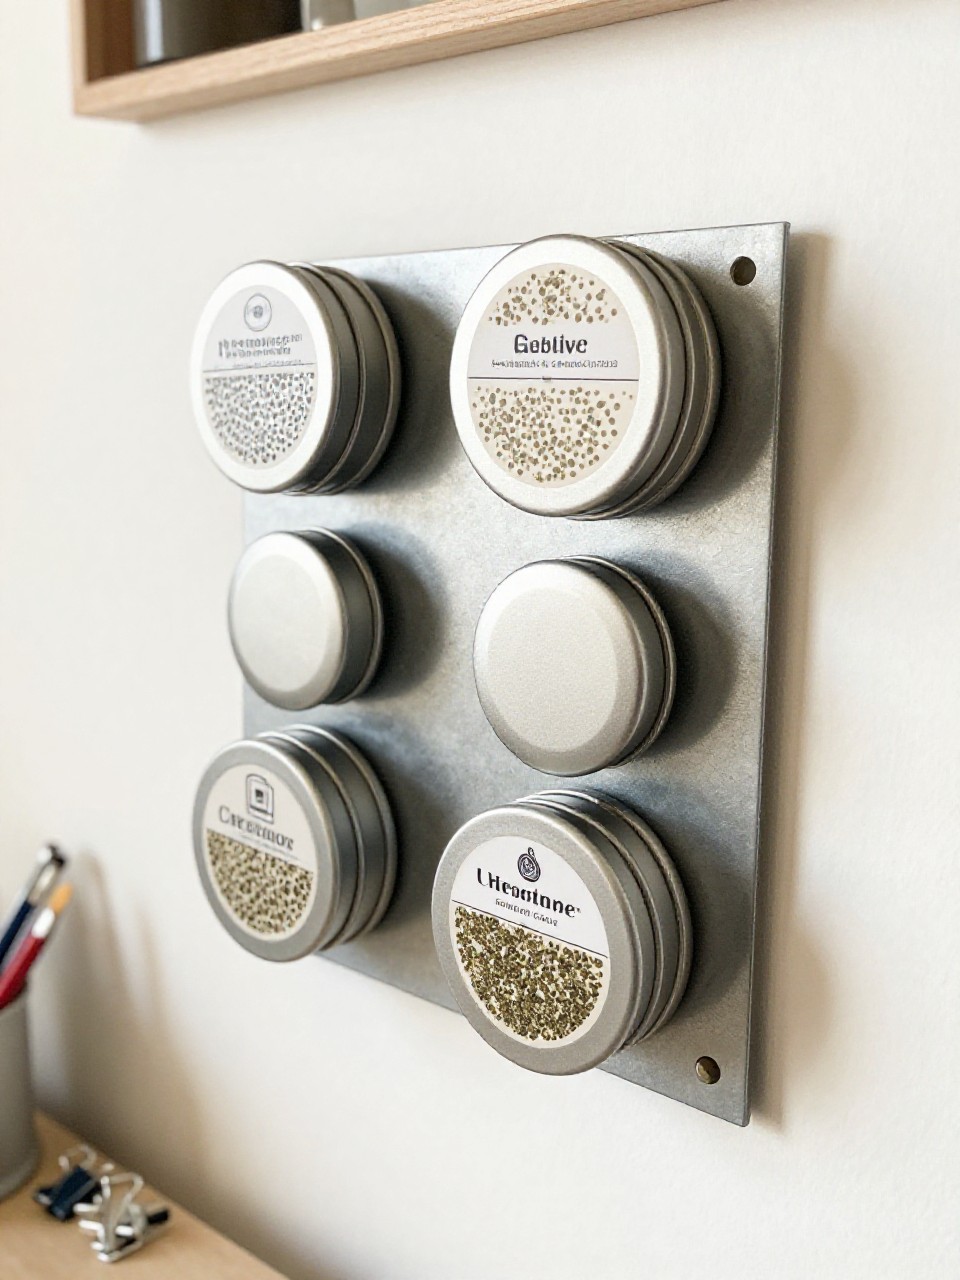
These are small metal tins with clear lids and magnets on the back, perfect for paper clips, push pins, and beads. Kids like peeking through the lids and snapping tins on and off a metal surface.
Materials Needed:
- Empty spice tins with clear lids (or small metal favor tins)
- Strong adhesive magnets
- Labels or paint pens
- Metal board or side of a filing cabinet
- Sequins or beads (optional for display)
How to make it:
- Stick magnets to the back of each tin and let the adhesive cure.
- Label or decorate lids with paint pens.
- Fill with tiny supplies and click onto a metal surface.
- Rearrange as needed for a tidy look.
13. Bookend Notepad Holder
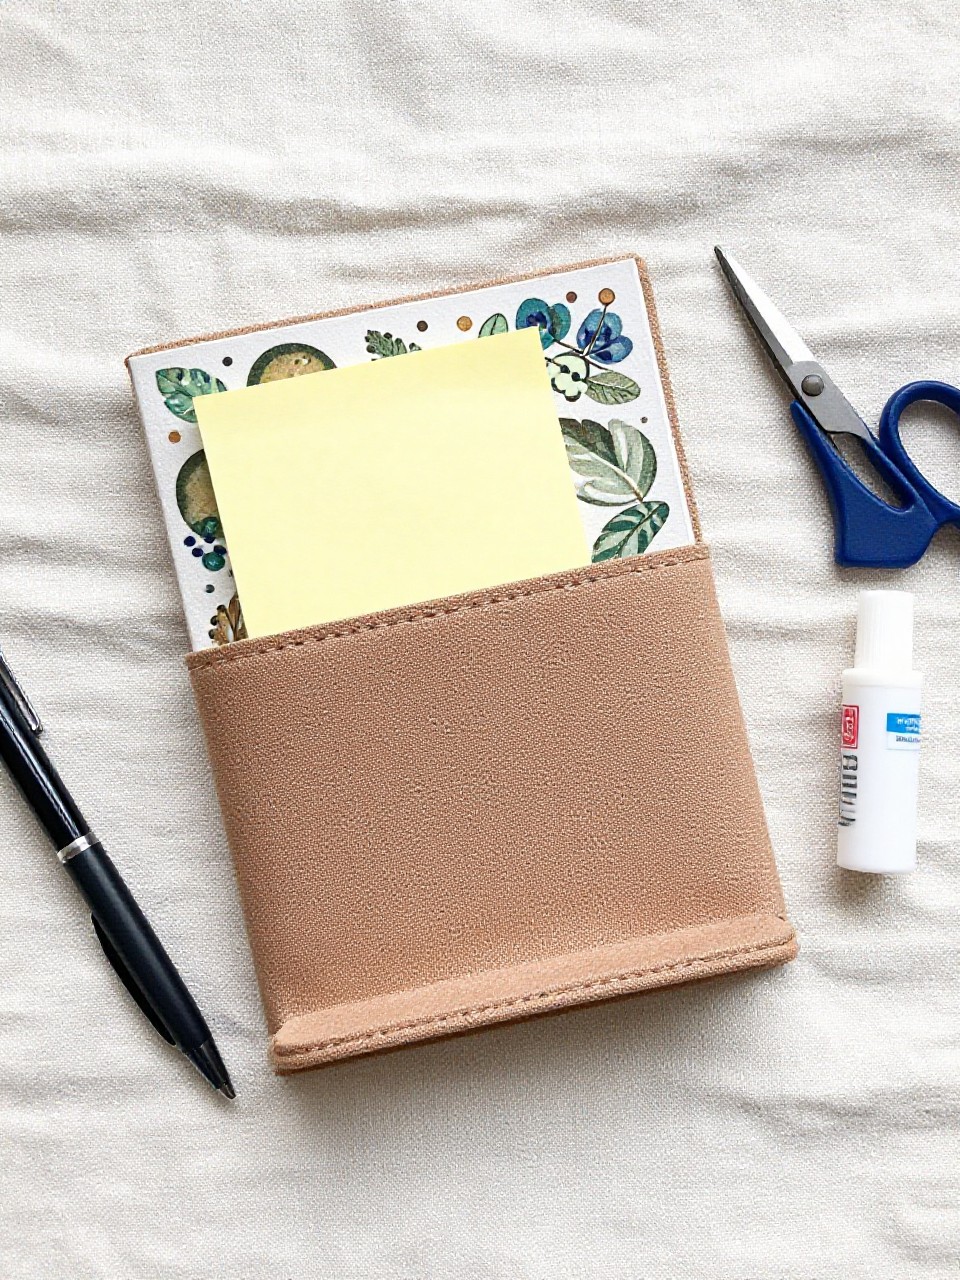
This looks like a sturdy bookend with a front pocket for sticky notes and a slot for pens, keeping quick jot items within reach. Kids enjoy decorating the flat sides and sliding in a rainbow of notes.
Materials Needed:
- Metal or wooden bookend
- Thick cardstock or a small cardboard box front
- Hot glue or strong tape
- Acrylic paint or patterned paper
- Velcro dots (optional for pen loop)
How to make it:
- Paint or cover the bookend to match your desk.
- Glue a cardstock or box-front pocket onto the bookend’s face.
- Add a small Velcro loop on the side to hold a pen.
- Let dry, then tuck in sticky notes and a favorite pen.