


Table of Contents Show
Finding a painting idea that feels relaxing (and still looks stylish) can be harder than it sounds. Jute bags are a great beginner surface because they’re cheap, useful, and forgiving if your lines aren’t perfect.
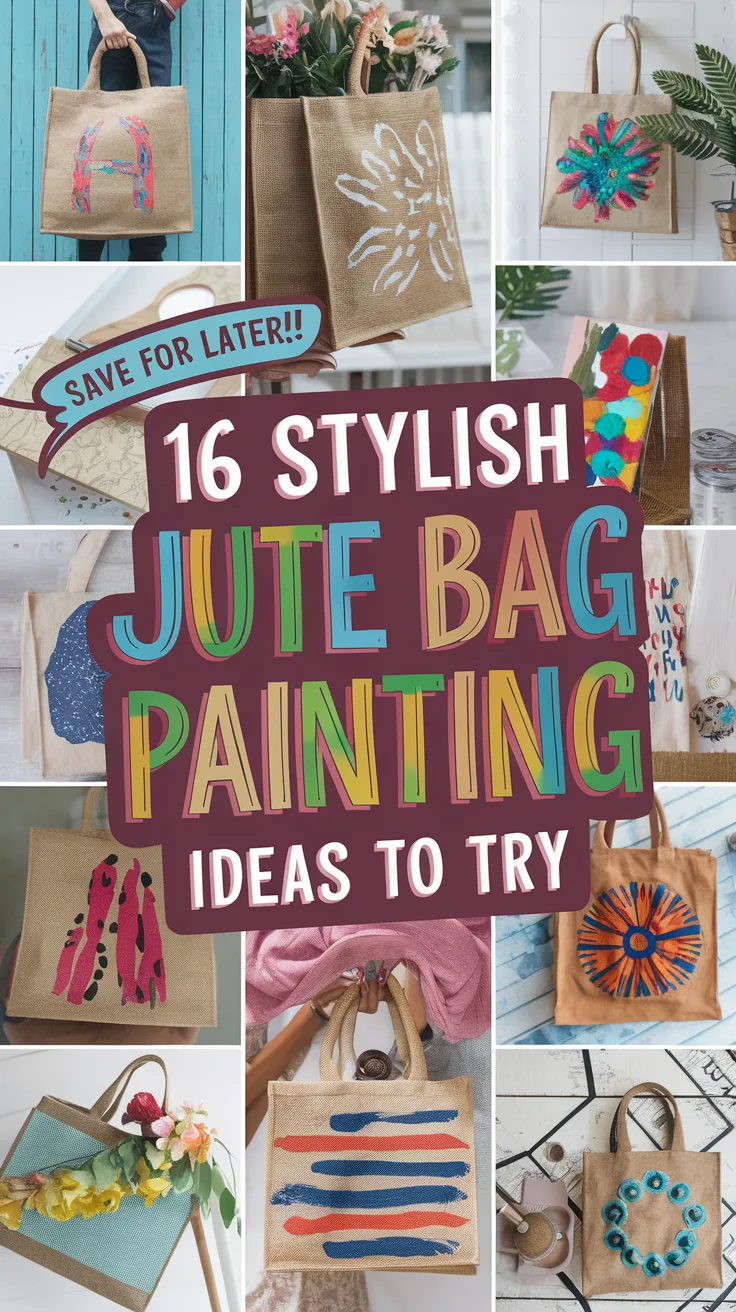
In this list, you’ll find simple jute bag painting ideas that look handmade in the best way.
Grab one plain bag and a few paints, and let’s get into the fun part.
1. Wildflower Border Jute Bag

A simple row of hand-painted wildflowers runs along the bottom edge of the jute bag, with loose stems and tiny petals that show brush texture. This is soothing to paint because each flower can be slightly different, so beginners don’t have to aim for perfect symmetry. It also makes a plain bag look sweet and gift-ready.
Materials Needed:
For People Who Love to Make Things ✂️
- Jute tote bag
- Acrylic paint (or fabric acrylic)
- Paintbrushes in multiple sizes
- Palette or paint tray
- Painter’s tape
- Optional fabric sealer or varnish
Steps to Make:
- Lay the jute bag flat and slide cardboard inside to stop paint from bleeding through.
- Tape a straight guideline near the bottom to keep your flower border even.
- Paint thin green stems and leaves first, letting brush strokes stay visible.
- Add small flower heads in 2–3 colors, then dot in centers and tiny highlights.
- Let it dry fully, then seal lightly if desired before using the bag.
2. Minimal Black Line Art Face Tote

The jute bag shows a single-line face drawing in black paint, with a few simple shapes that feel modern and calm. It’s satisfying because you can go slow and steady, and the design still looks stylish even if your line wobbles a bit. Great for anyone who likes minimalist decor and easy projects.
Materials Needed:
- Jute tote bag
- Acrylic paint (black) or fabric paint
- Paintbrushes in multiple sizes
- Palette or paint tray
- Pencil or tailor’s chalk
- Optional fabric sealer or varnish
Steps to Make:
- Flatten the bag and insert cardboard inside.
- Lightly sketch a simple face using pencil or chalk, keeping it large and centered.
- Paint the main continuous line slowly with a small brush, following the sketch.
- Add a few extra details like a closed eye line, a nose curve, or a tiny earring dot.
- Dry completely, then seal if you want extra durability.
3. Sunny Lemon Branch Jute Market Bag

A bright lemon branch stretches diagonally across the jute bag, with layered yellow fruit and soft green leaves that show blended paint. This one feels cheerful and fresh, and it’s beginner-friendly because lemons are just circles with a few shaded edges. It’s perfect for a market bag that looks happy without being too busy.
Materials Needed:
- Jute tote bag
- Acrylic paint (yellow, green, white)
- Paintbrushes in multiple sizes
- Palette or paint tray
- Pencil
- Optional fabric sealer or varnish
Steps to Make:
- Place cardboard inside the bag and smooth the surface with your hand.
- Sketch a simple branch line and a few lemon circles along it.
- Paint the lemons with yellow, then add white highlights and a darker yellow shadow edge.
- Fill in leaves with green, layering lighter green strokes on top for texture.
- Let the bag dry flat, then seal lightly before carrying.
4. Soft Ombre Sunset Stripe Tote

The jute bag has a wide painted stripe that fades from warm pink to orange to golden yellow, with visible blending marks from the brush. It’s relaxing because you don’t need precise shapes—just slow color mixing and gentle strokes. The finished look is modern and looks great with simple outfits.
Materials Needed:
- Jute tote bag
- Acrylic paint (pink, orange, yellow, white)
- Paintbrushes in multiple sizes
- Palette or paint tray
- Sponge (optional)
- Optional fabric sealer or varnish
Steps to Make:
- Insert cardboard into the bag and decide where the stripe will sit (middle works well).
- Paint a band of pink, then a band of orange, then yellow, leaving edges slightly wet.
- Blend where colors meet using light back-and-forth strokes or a damp sponge.
- Add a thin white highlight line near the top of the stripe for a clean, finished feel.
- Dry flat and seal if you plan to use it often.
5. Navy Polka Dot Jute Tote

This jute bag is covered in hand-painted navy dots, with a few dots slightly different sizes to show a charming handmade look. It’s satisfying because you can paint one dot at a time and stop whenever you feel done. Beginners love it because it’s hard to “mess up” a playful pattern.
Materials Needed:
- Jute tote bag
- Acrylic paint (navy or dark blue)
- Paintbrushes in multiple sizes
- Palette or paint tray
- Round sponge dauber or pencil eraser (optional)
- Optional fabric sealer or varnish
Steps to Make:
- Smooth the bag flat with cardboard inside to keep the front panel firm.
- Lightly mark a few dot placements so spacing feels balanced.
- Stamp or paint dots across the bag, switching between small and medium sizes.
- Add a second coat on a few dots so some look darker and more textured.
- Let dry completely, then seal for extra hold.
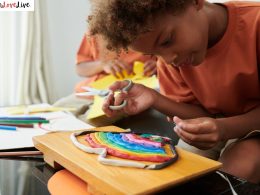
6. Boho Rainbow Arch Jute Bag

A set of hand-painted rainbow arches sits in the center of the jute bag, using warm earthy colors with slightly rough brush edges that feel cozy. This is great for beginners because arches are simple to draw, and small imperfections make it look more handmade. It’s a cute project for gifts and weekend crafting.
Materials Needed:
- Jute tote bag
- Acrylic paint (terracotta, blush, mustard, cream)
- Paintbrushes in multiple sizes
- Palette or paint tray
- Pencil
- Optional fabric sealer or varnish
Steps to Make:
- Insert cardboard and sketch a large arch rainbow with 4–5 bands.
- Paint the biggest band first, then work inward, letting each color dry slightly.
- Add a cream band to brighten the design and give it a clean focal point.
- Touch up edges with short strokes so the arch lines look smooth but still hand-painted.
- Dry flat, then seal lightly for longer wear.
7. Tropical Palm Leaf Corner Design

Two large palm leaves rise from one bottom corner of the jute tote, with layered greens and a few lighter strokes for leaf veins. This feels satisfying because you build the leaf shape with simple strokes, and it starts looking “real” fast. It’s a stylish choice if you want something bold but still easy.
Materials Needed:
- Jute tote bag
- Acrylic paint (dark green, light green, white)
- Paintbrushes in multiple sizes
- Palette or paint tray
- Pencil
- Optional fabric sealer or varnish
Steps to Make:
- Place cardboard inside and sketch two long leaf shapes from a corner.
- Paint the main leaf base in dark green, following the leaf direction with strokes.
- Layer lighter green strokes on top to form individual leaf “fingers.”
- Add thin vein lines and a few white highlight strokes for depth.
- Dry fully and seal if desired.
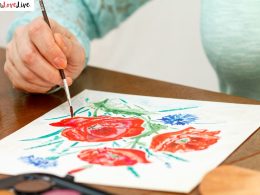
8. Pink Peony Bouquet Tote

The center of the jute bag shows a loose bouquet of pink peonies with soft petals, darker centers, and a few green leaves peeking out. This is calming because you can paint petals in layers, and the flowers don’t need to be perfect to look pretty. It’s ideal for anyone who wants a romantic, decorative tote.
Materials Needed:
- Jute tote bag
- Acrylic paint (pink, burgundy, green, white)
- Paintbrushes in multiple sizes
- Palette or paint tray
- Paper towel (for blotting)
- Optional fabric sealer or varnish
Steps to Make:
- Insert cardboard and lightly sketch 2–3 big flower circles in the center.
- Block in pale pink petals with loose, curved strokes.
- Add darker pink or burgundy near the centers, then soften with a slightly damp brush.
- Paint leaves and small buds around the flowers, blotting with paper towel for texture.
- Let dry flat and seal for everyday use.
9. Geometric Triangle Pattern Jute Bag

This jute bag has a row of hand-painted triangles in soft neutrals, with slightly uneven edges that show it was painted by hand. It’s a great beginner project because you can use tape to guide shapes and repeat a simple pattern. The finished bag looks clean, modern, and easy to match.
Materials Needed:
- Jute tote bag
- Acrylic paint (black, beige, white, tan)
- Paintbrushes in multiple sizes
- Palette or paint tray
- Painter’s tape
- Optional fabric sealer or varnish
Steps to Make:
- Slide cardboard into the bag and tape off a horizontal band area.
- Use painter’s tape to mark triangle shapes, pressing tape firmly into the jute texture.
- Paint inside the triangles with alternating colors, using two thin coats if needed.
- Peel tape carefully while paint is slightly damp to keep edges crisp.
- Dry completely and seal if you want the pattern to last longer.
10. Cute Strawberry Patch Tote

A scattered “patch” of strawberries covers the front of the jute tote, with red fruit, tiny seeds, and leafy green tops painted in layers. This is fun because each strawberry is a small win, and you can paint as many as you like. It’s perfect for beginners who want a playful, colorful look.
Materials Needed:
- Jute tote bag
- Acrylic paint (red, green, white, yellow)
- Paintbrushes in multiple sizes
- Palette or paint tray
- Pencil
- Optional fabric sealer or varnish
Steps to Make:
- Insert cardboard and lightly sketch small strawberry shapes across the front panel.
- Paint each strawberry red, leaving a little jute showing for texture.
- Add green tops with quick upward strokes, then dot seeds with yellow or white.
- Shade one side of each strawberry with a darker red to give simple depth.
- Let dry flat and seal if desired.
11. Monogram Letter with Leafy Wreath

A large hand-painted monogram letter sits in the middle of the jute bag, framed by a loose leafy wreath that wraps naturally around it. This is satisfying because it feels personal, and the leaves are made from simple brush strokes. It’s a lovely idea for a custom gift or an everyday tote.
Materials Needed:
- Jute tote bag
- Acrylic paint (black or deep green)
- Paintbrushes in multiple sizes
- Palette or paint tray
- Pencil
- Optional fabric sealer or varnish
Steps to Make:
- Place cardboard inside and sketch your letter in the center with pencil.
- Lightly sketch a circular wreath around it, leaving space between leaves.
- Paint the letter first with steady strokes, then let it dry a few minutes.
- Add leaves around the circle using quick teardrop strokes, layering a few darker ones.
- Dry fully and seal for a longer-lasting monogram.
12. Ocean Wave Stripe Jute Bag

A set of wavy blue stripes flows across the jute bag, with white foam dots and blended edges that show brush movement. It’s relaxing because you can paint slow curves and let the wave pattern be imperfect. This makes a great beach tote that looks handmade and breezy.
Materials Needed:
- Jute tote bag
- Acrylic paint (two blues, white)
- Paintbrushes in multiple sizes
- Palette or paint tray
- Sponge (optional)
- Optional fabric sealer or varnish
Steps to Make:
- Insert cardboard and lightly draw 4–6 wavy lines across the bag front.
- Paint the darkest blue stripes first, following the curves with long strokes.
- Add lighter blue bands between them and blend edges in a few places for movement.
- Dot white “foam” along some curves and dab gently with a sponge for soft texture.
- Dry flat and seal if you plan to carry it often.
13. Dainty Daisy Chain Handle Accent

Small white daisies and tiny green leaves are painted along the top edge of the jute bag near the handles, like a soft garland. This is great for beginners because the flowers are simple and quick, and you don’t have to fill the whole bag. It’s a calm project that still feels special and detailed.
Materials Needed:
- Jute tote bag
- Acrylic paint (white, yellow, green)
- Paintbrushes in multiple sizes
- Palette or paint tray
- Pencil
- Optional fabric sealer or varnish
Steps to Make:
- Flatten the bag with cardboard inside and lightly mark a curved chain line near the handles.
- Paint small white petals in clusters, leaving space between each daisy.
- Add yellow centers with a dotting motion using a small brush tip.
- Paint tiny green leaves and thin connecting stems to make the chain look continuous.
- Dry completely, then seal lightly if desired.
14. Abstract Color Block Jute Tote

This jute bag has bold, hand-painted color blocks—like rectangles and half-circles—overlapping slightly with thick, textured edges. It’s satisfying because you can choose any colors you like, and the shapes don’t have to be perfect. The finished tote looks artsy and modern with very little drawing skill.
Materials Needed:
- Jute tote bag
- Acrylic paint (3–4 colors)
- Paintbrushes in multiple sizes
- Palette or paint tray
- Painter’s tape (optional)
- Optional fabric sealer or varnish
Steps to Make:
- Insert cardboard and plan 4–6 big shapes with light pencil marks.
- Paint the largest shape first, using thick strokes so the texture shows.
- Add a second and third shape that overlap slightly, letting some jute peek through.
- Outline one edge with a darker shade or add a few short accent lines for contrast.
- Let dry flat and seal if you want the blocks to stay crisp.
15. Cozy Cottage Mushroom Trio Bag

Three cute mushrooms sit near the bottom center of the jute bag, painted in warm reds and browns with tiny dots and a bit of shading. This is relaxing because mushrooms are simple shapes, and the small details are fun without being hard. It’s a sweet fall-themed project that still feels stylish.
Materials Needed:
- Jute tote bag
- Acrylic paint (red, brown, cream, white)
- Paintbrushes in multiple sizes
- Palette or paint tray
- Pencil
- Optional fabric sealer or varnish
Steps to Make:
- Slide cardboard into the bag and sketch three mushroom caps and stems.
- Paint stems in cream and add a light brown shadow on one side.
- Paint caps red or brown, leaving visible brush strokes for a cozy handmade look.
- Dot small white spots on caps and add grass strokes at the base for a finished scene.
- Dry fully, then seal if you want it to last through daily use.
16. Gold Starry Night Jute Tote

A deep navy painted circle sits on the jute bag like a night sky window, sprinkled with hand-painted gold stars and a soft moon. This is satisfying because you can layer dark paint, then add tiny star details one at a time. It’s perfect for beginners who want something dramatic but still simple.
Materials Needed:
- Jute tote bag
- Acrylic paint (navy, black, gold, white)
- Paintbrushes in multiple sizes
- Palette or paint tray
- Round sponge (optional)
- Optional fabric sealer or varnish
Steps to Make:
- Insert cardboard and lightly draw a large circle in the center of the bag.
- Paint the circle navy, blending a little black around the edges for depth.
- Add a small moon with white, then soften one side with a light gray stroke.
- Paint gold stars and dots, making some brighter with a second layer of gold.
- Dry flat and seal lightly to protect the dark paint and metallic details.